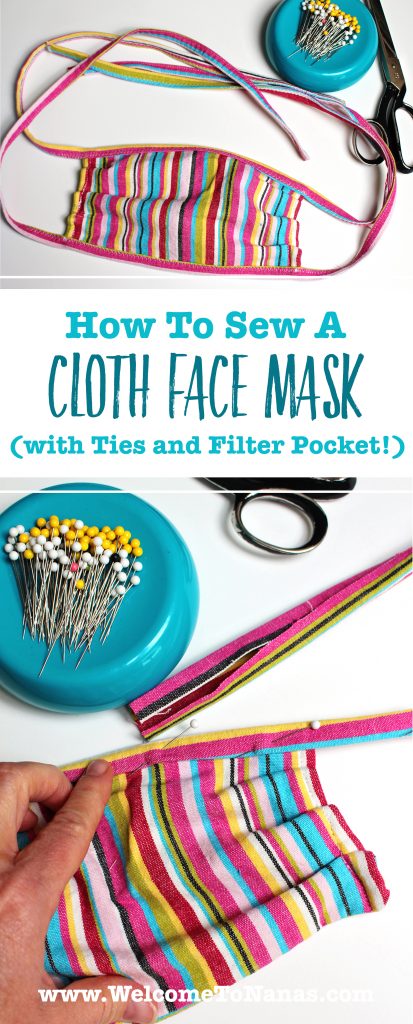
Sew a fast and easy face mask
Do you need help making a face mask? I’ve sewn a number of face masks for family members. Each time I make one it gets easier and faster to do. Let's look at how to sew a face mask with ties and filter pocket.
Many people are needing to have face masks for new requirements in the areas where they live. The governor in our state is making face masks mandatory in a number of circumstances.
Face mask instructions
Here are some free instructions on how to sew a face mask with ties and filter pocket that takes minimal sewing on a machine.
Fabric for your face mask
This takes ⅓ yard of fabric that is tightly woven, I prefer all cotton (but it can be a cotton/polyester blend).
(OR- You may choose ¼ yard fabric and one package of bias tape. But bias tape is hard to find these days.)
Note: The fabric I used, seen in these pictures was a bit too heavy to sew easily. But the pattern was so fun I did it anyways! I recommend fabric that isn’t quite so thick. Also I cut one 6x9 piece a different direction to use up fabric scraps. That’s why the stripes go a wonky direction. Hoping that doesn’t drive you too crazy!
Cutting instructions
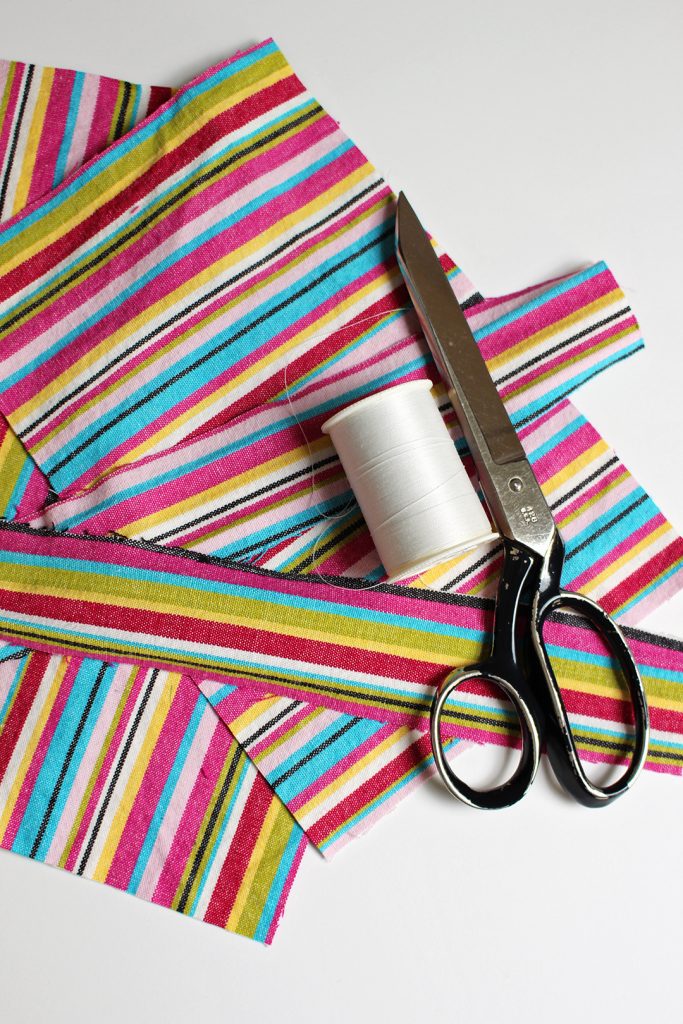
Cut two pieces of fabric that are 1 ¾ inch wide and the width of the fabric (42-45 inches long).
Next, cut three pieces of fabric that measure 6 inches by 9 inches.

Sewing instructions for the face mask
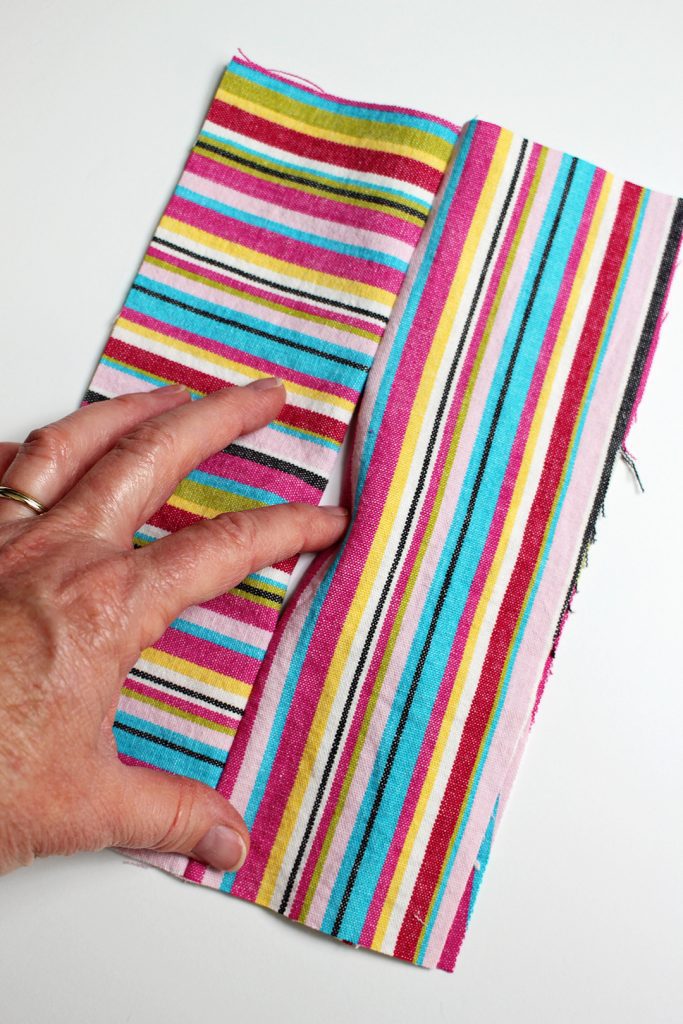
Place two pieces of 6x9 inch fabric together, right sides together. Fold the fabric in half, with a hot dog fold, and hard crease with your fingers to mark the half way point across the fabric.
Sew along this fold from one 6 inch side in for 3 inches and backstitch well. Then sew along this fold from the other 6 inch side in for 3 inches and backstitch well.
Open the fabric so that the right sides are showing. Now there is a slit opening in the center of the rectangle. I think it looks like a tissue box opening.
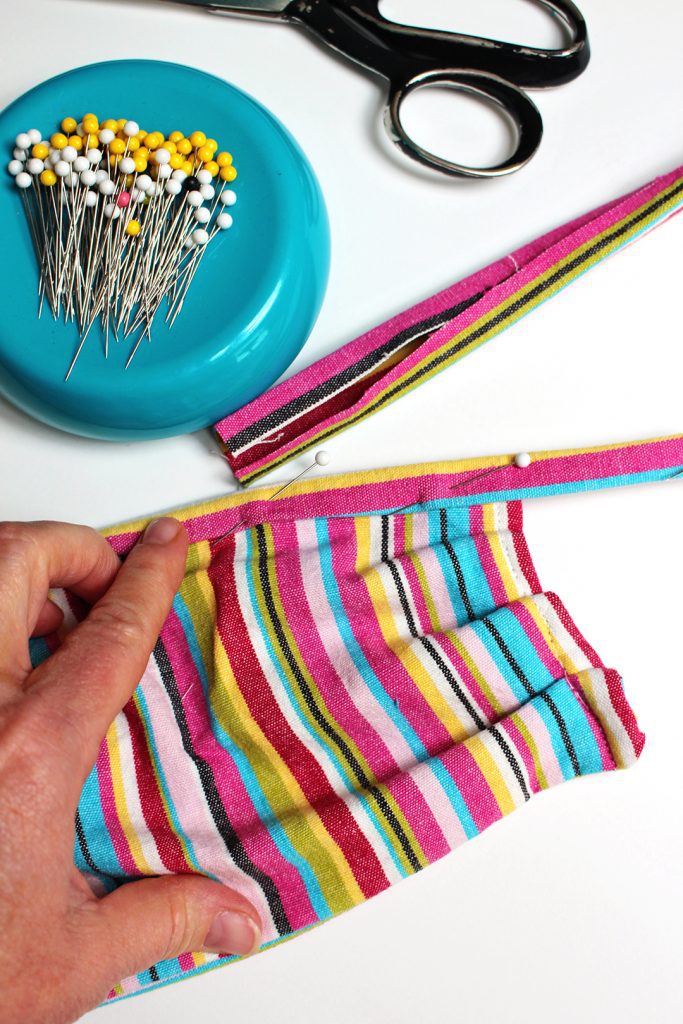
Place the third piece of 6x9 inch fabric on top of the sewn pieces. Put right sides together and pin the edges.
Note- it doesn’t matter which side you choose to pin it on, it works either way.
Sew a ⅜ inch seam all the way around the rectangle, pivoting at the corners.
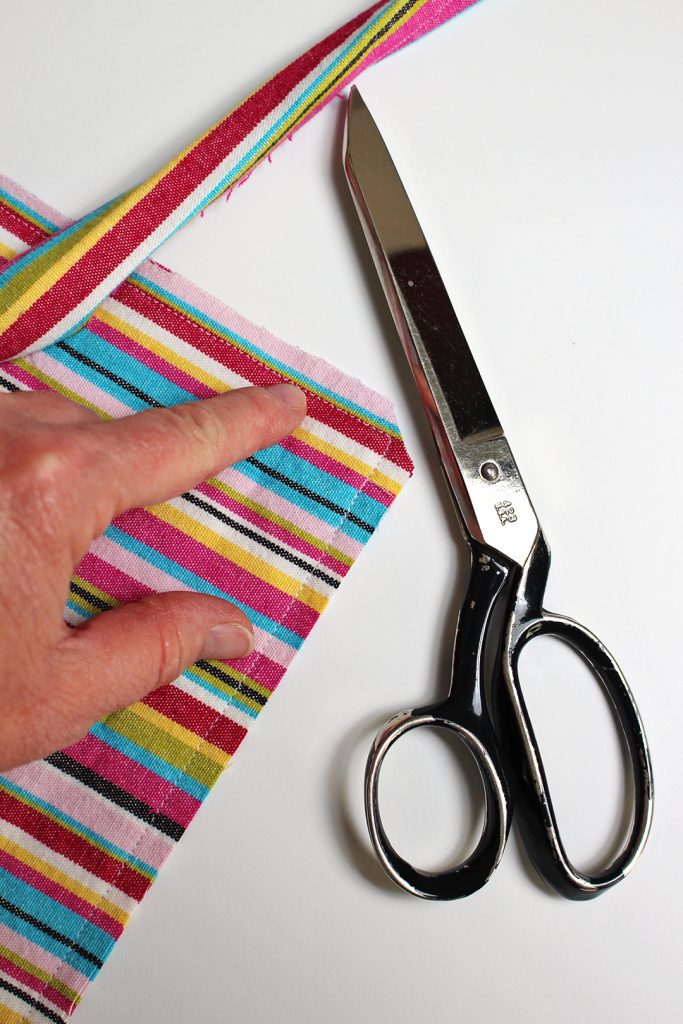
Clip a bit of each corner off the rectangle without cutting off any of the seam. This keeps the mask from having bulky corners when it is turned inside out.
Reach through the slit opening of the mask, take hold of the third piece you just sewed on and pull it through the opening. This will turn the mask inside out and it will have finished edges.
Tip: push the corners out to be as square as possible.
This next step is a bit tricky
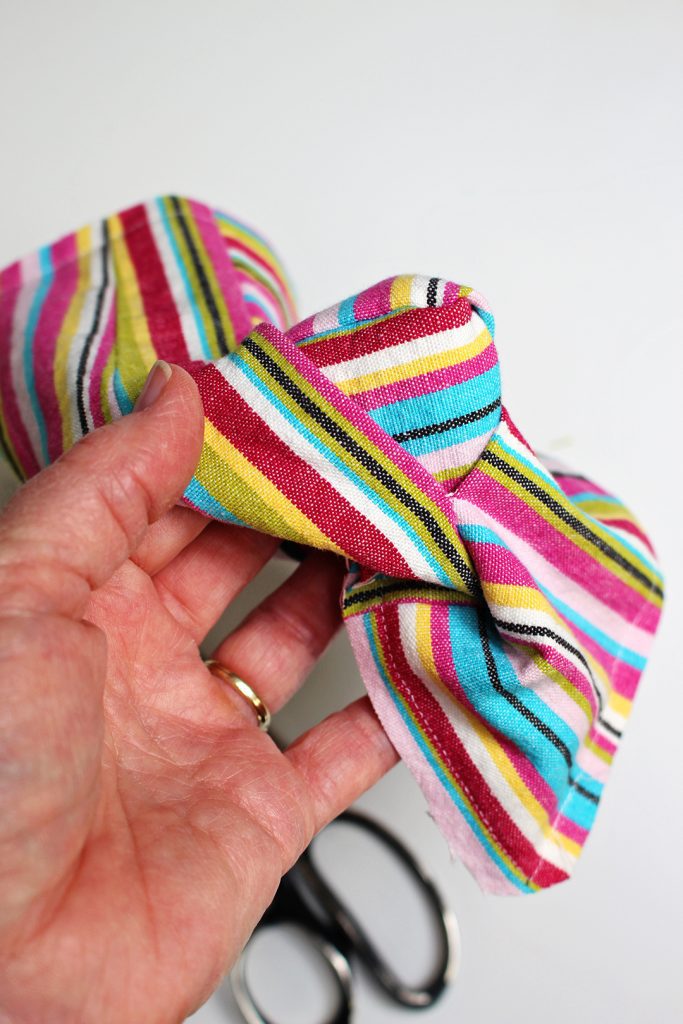
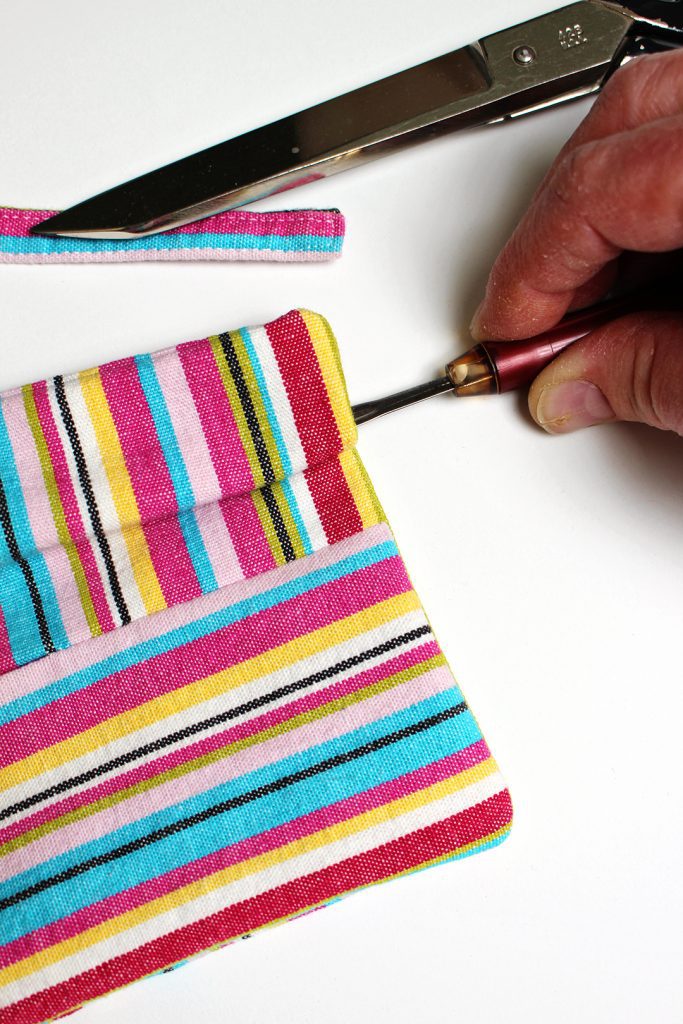
Make three small tucks in each six inch side of the mask. Sew about ¼ inch from the edge down the side of the mask to hold these tucks in place. Backstitch over the tucks OR sew the edge twice to make it strong.
Tip: I use a seam ripper to make the three tucks as shown in the picture. This works slick!
Making the ties
Take the two long pieces and go to the iron and ironing board.
Note: I know, I know, an IRON? How archaic! 😉 You can Google it if you need to know what it looks like!
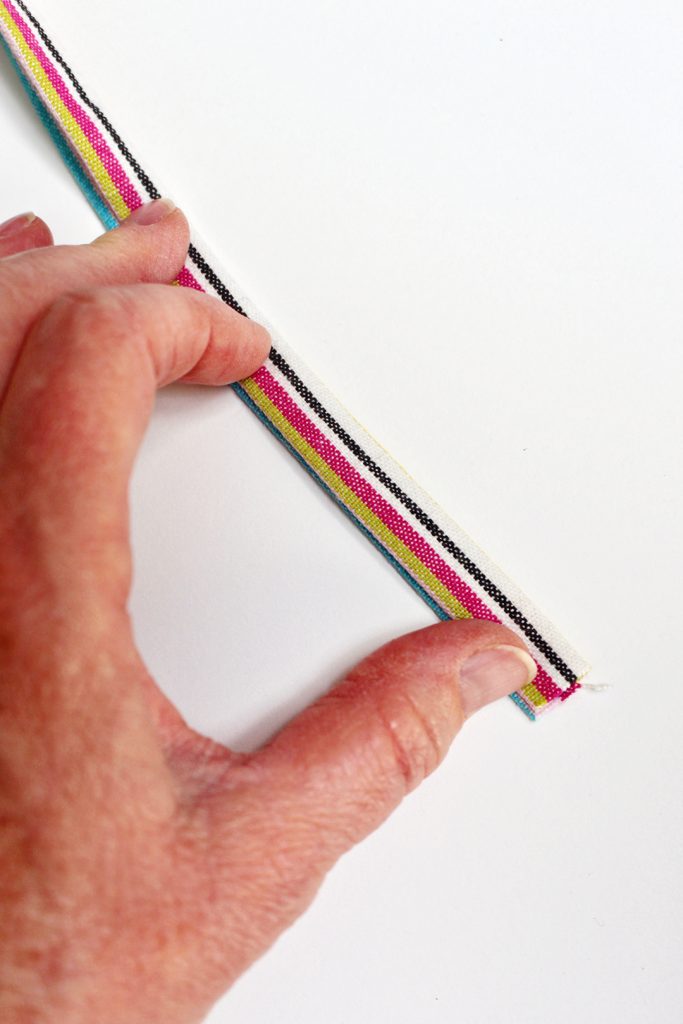
Press each long piece in half, one at a time, with wrong sides together.
Then press the unfinished long edge in to the crease line. Do this on both sides.
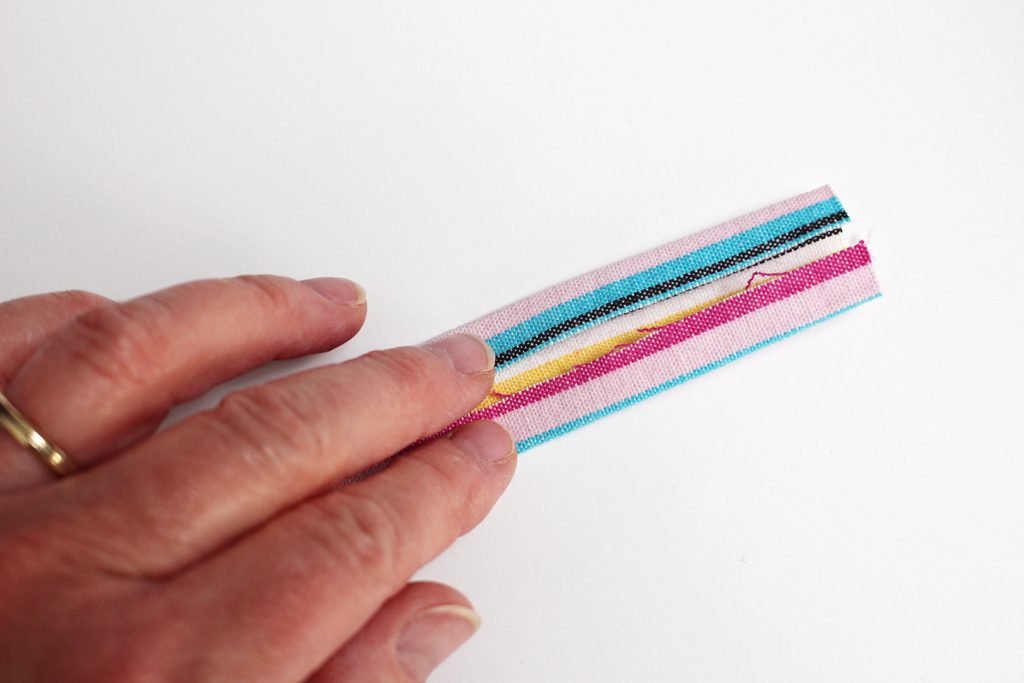
This gives you two pieces that will work kind of like a bias tape.
Note: if you have purchased a package of bias tape you will not need to do this step. Just cut the piece of 3 yard bias tape in half so you have two pieces.
Sew on the ties
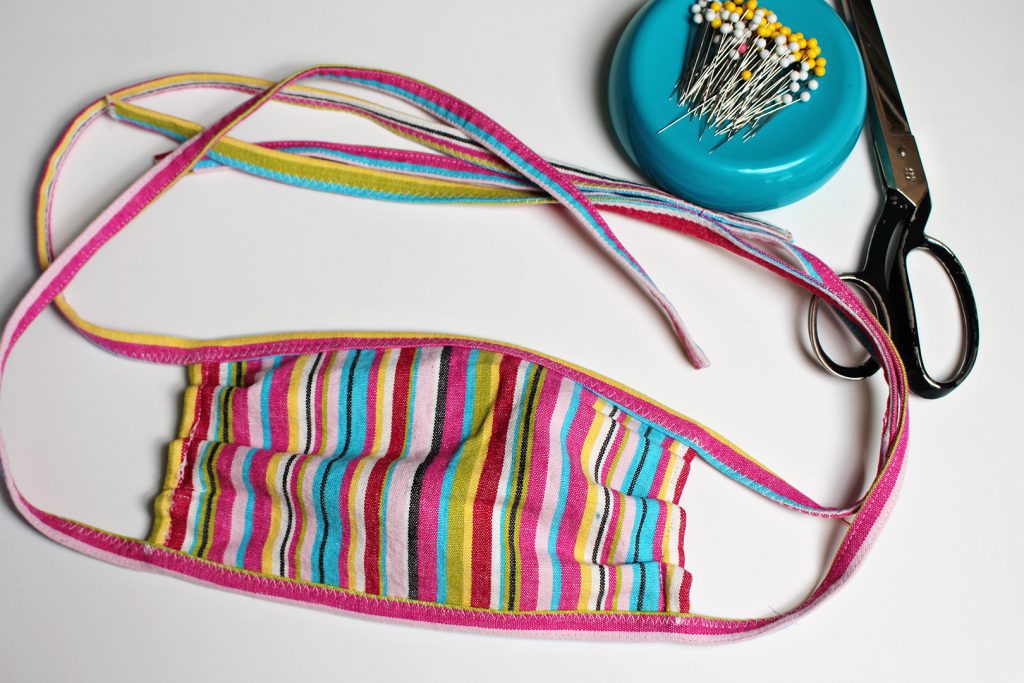
Take one of the long pieces and tuck the 9 inch side of the mask inside- placing it at the half way point of the long piece. Pin in place.
Using a zig-zag stitch, sew the open edge of the long piece, stitch across the mask, and continue stitching to the other end of the long piece. This holds one edge of the mask into the long piece and creates a tie on either side of the face mask.
Repeat this step with the other long piece and the other side of the mask.

Boom. You are done.
I promise that if you make another mask it will go much faster now that you have the process down.
Note: These work well for kids if you cut down the size a bit and just do two tucks on the side instead of three.

Making a filter to put in the pocket
Lastly, a filter can be tucked inside the face mask for extra protection. There are a number of possibilities for fabric to use as a filter. From what I have read, some cotton t-shirt fabric or a reusable grocery bag fabric work well. Mine is cut from a reusable grocery bag.
Cut a piece of fabric that is 4 inches by 7 inches in size and slightly round the corners.
Slip this through the opening in the back of your face mask into the pocket that is inside.
Be sure to replace this filter and wash the mask often.
So, Covid-19 is not going away. Be safe and be considerate. Hoping these instructions on how to sew a face mask with ties and filter pocket are helpful to you and yours.
Blessings!!
Welcome to Nana’s! Where there’s fun things to do with your “grand” kids!
Come join the fun at www.WelcomeToNanas.com


Leave a Reply