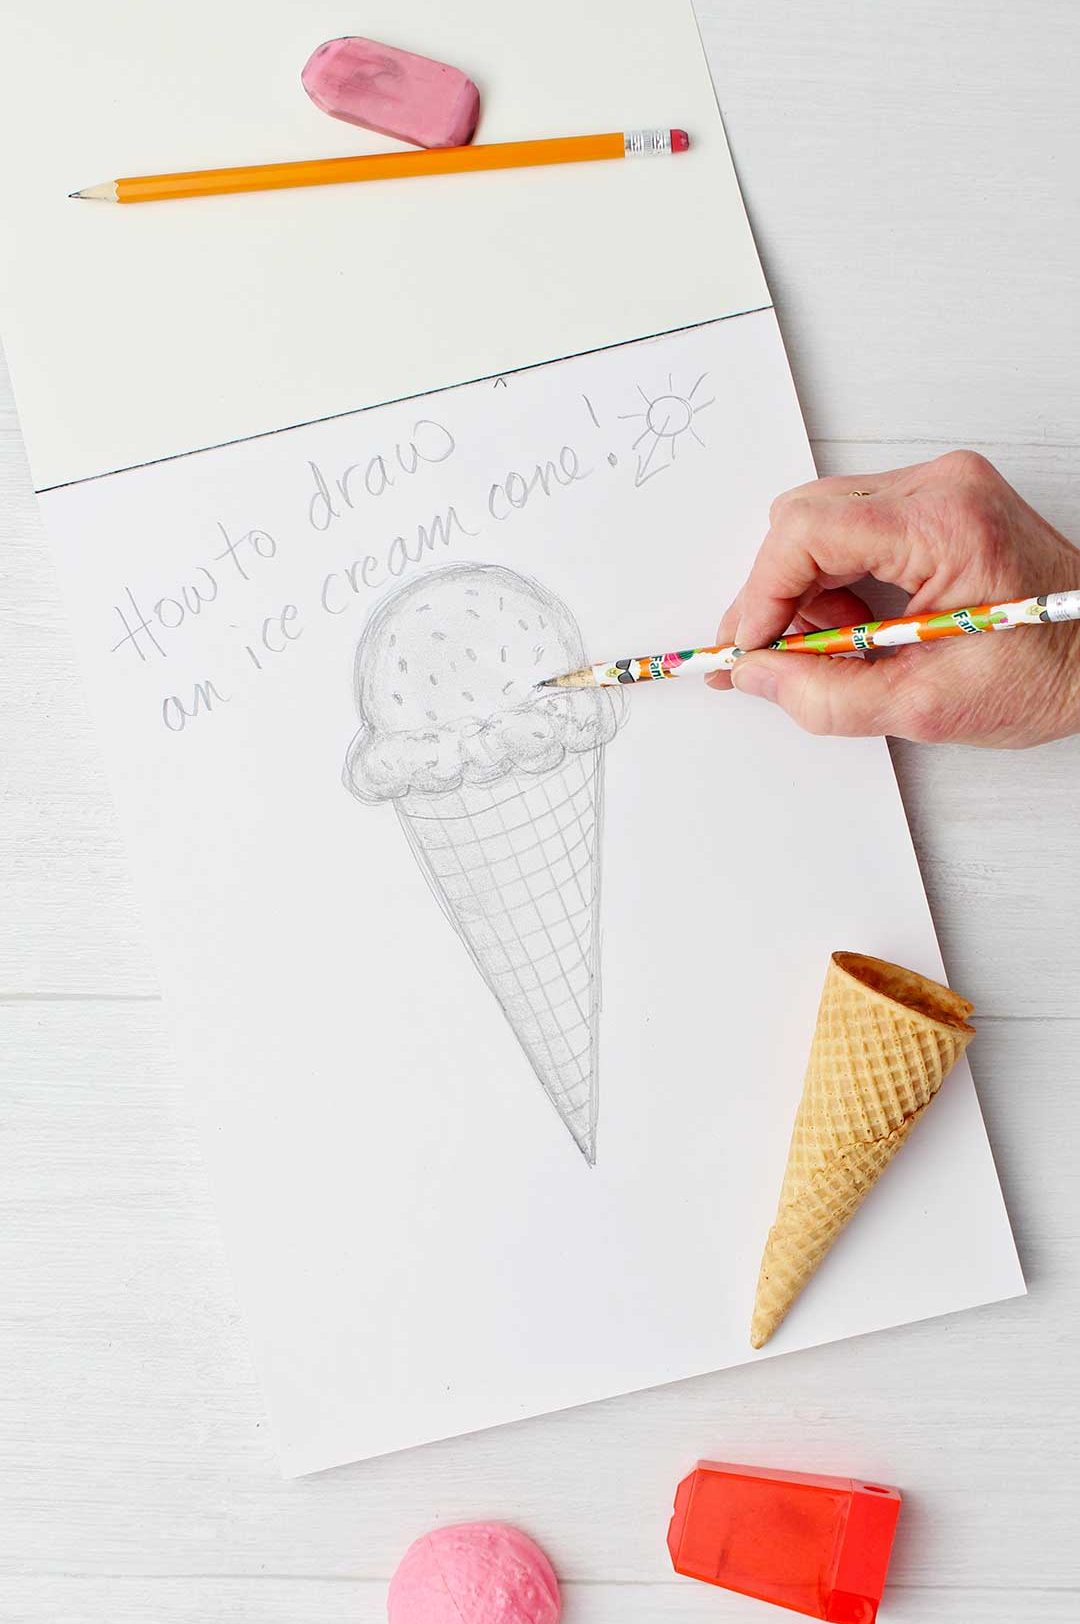
How to draw an ice cream cone
Learn How to Draw an Ice Cream Cone just in time for summer hot weather and ice cream.
These easy instructions show you how to draw a cone shape that will help you in your drawings.
Don’t be shy, give it a try!
You scream, I scream, we all scream for ice cream!
I grew up with this saying as we made home made ice cream in the summer heat.
We would have ice cream parties out on the back patio as often as possible, we just looked for an excuse.
So when I thought of learning how to draw a cone, an ice cream cone came to mind.
What is cone shaped?
And the only thing that I had that was cone shaped was an actual ice cream cone! Convenient, huh?
So we will learn to draw a cone by drawing an ice cream cone- that sounds fun.
How to Draw a Cone Shape
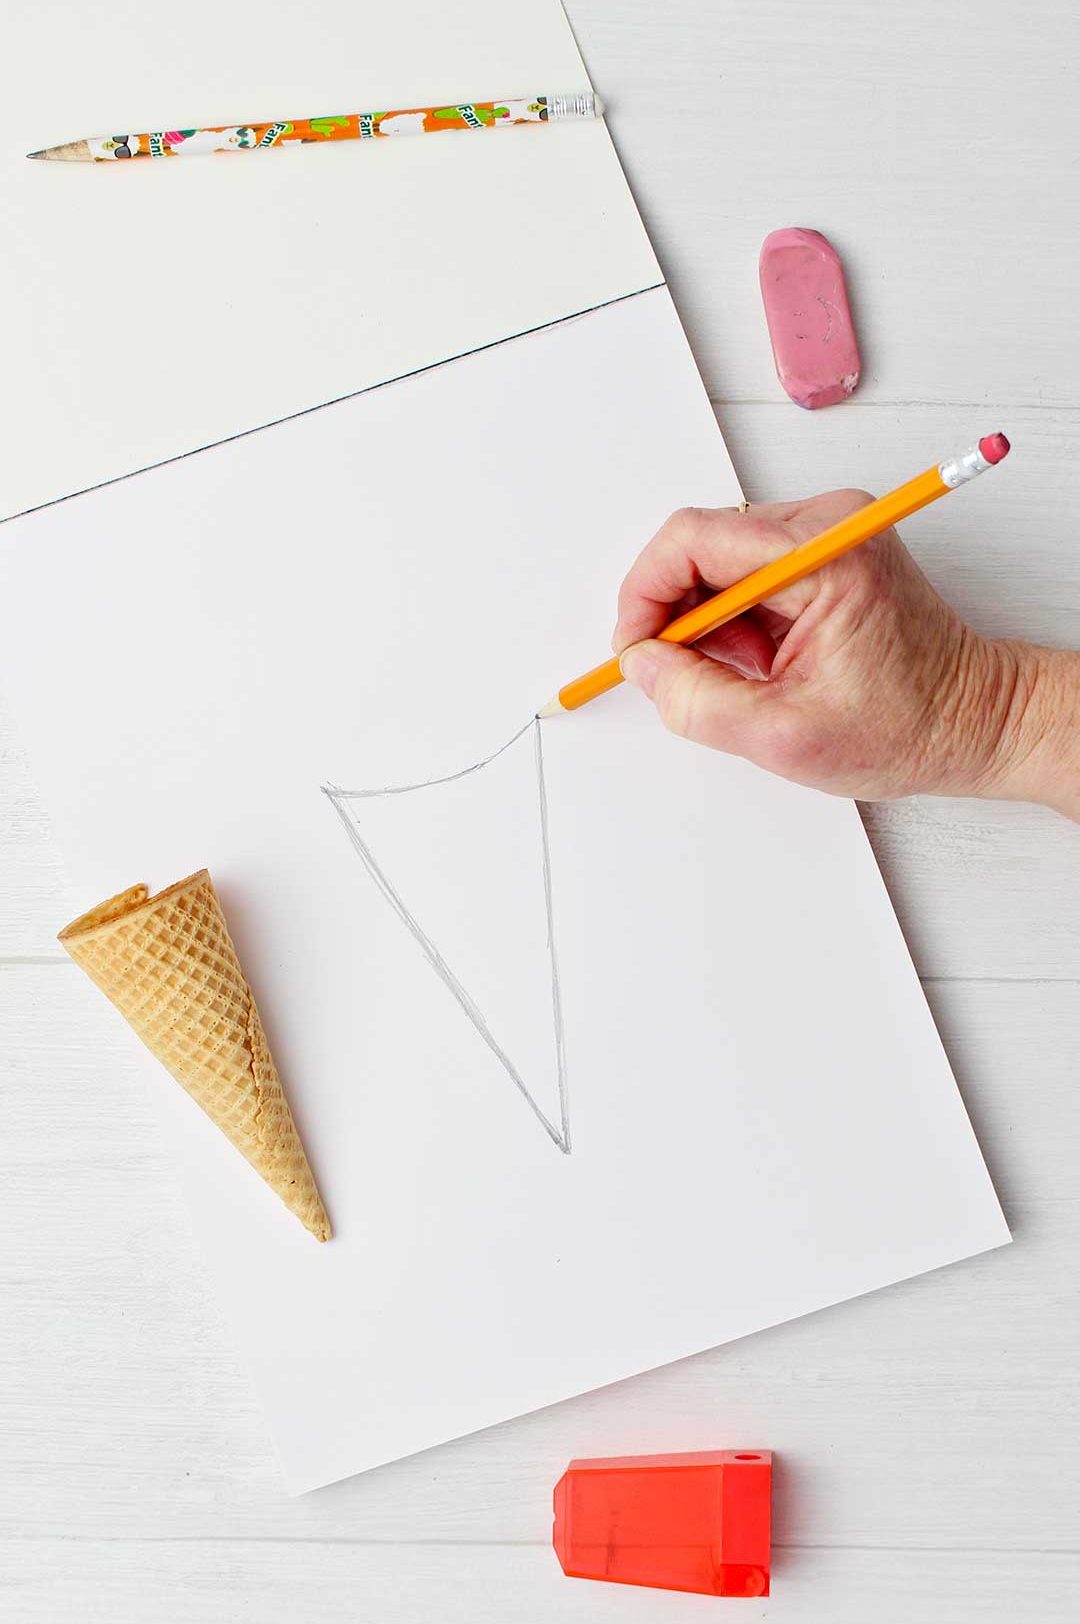
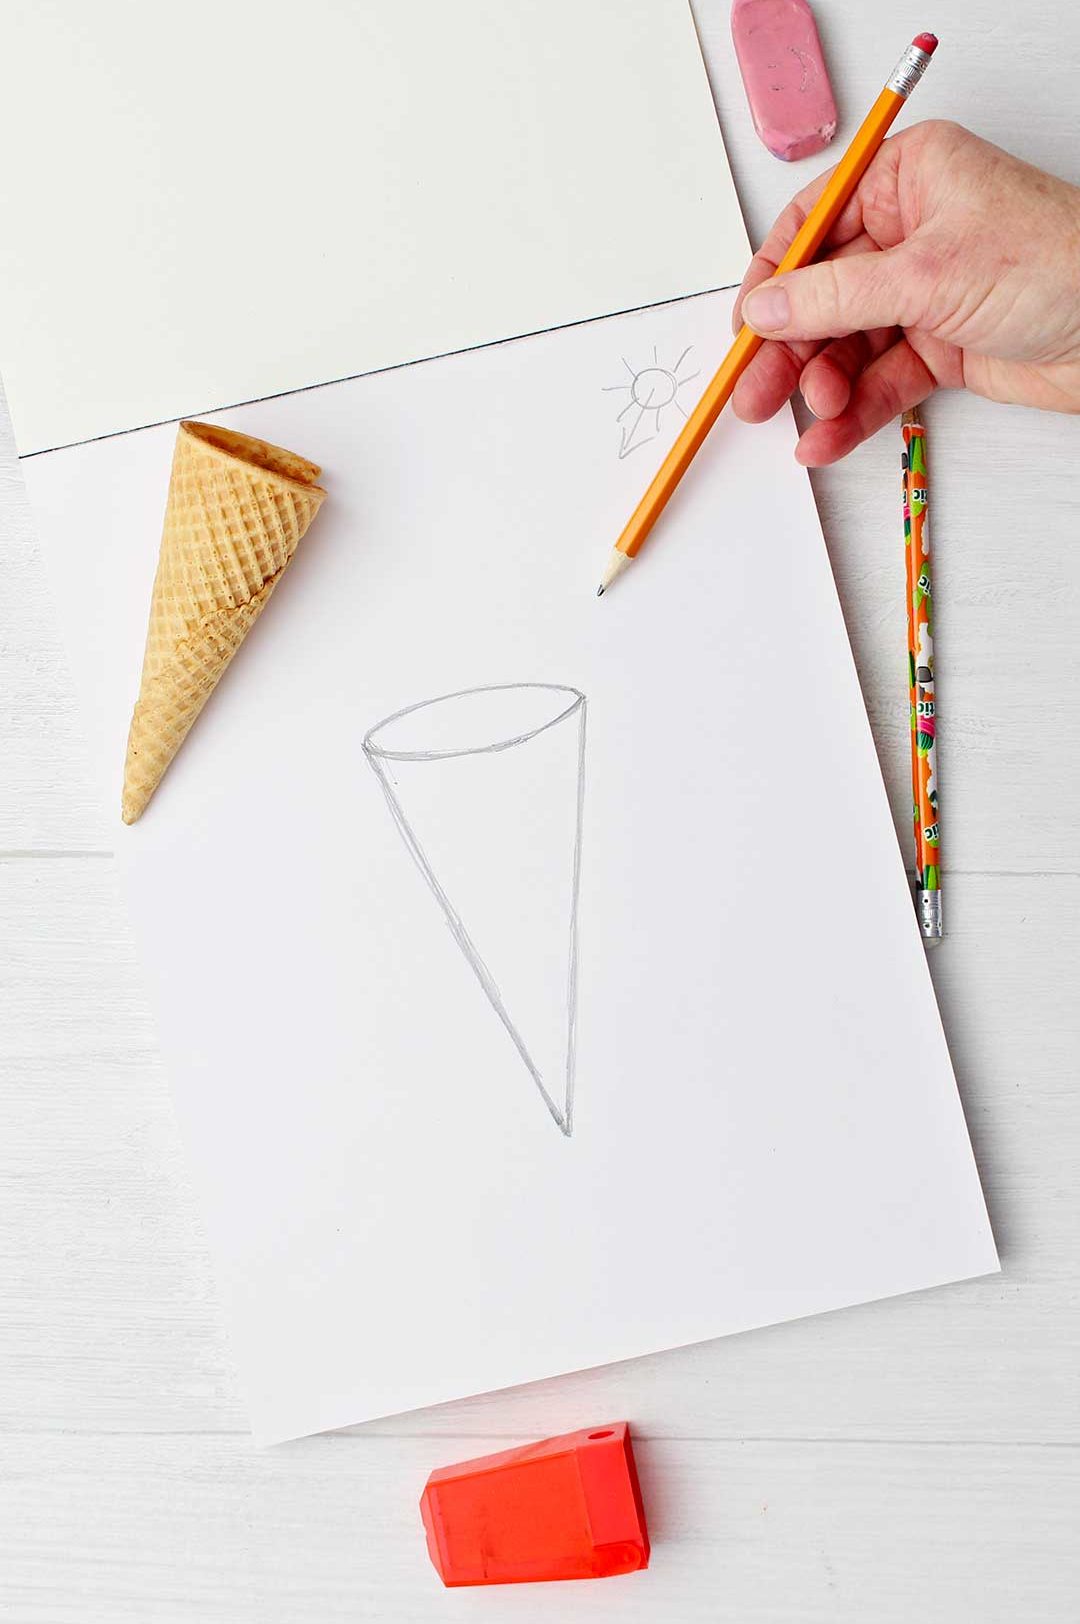
A cone begins by drawing a deep “V” shape.
Remember the smile line we talked about when learning how to draw a sphere? Well, we use a smile line to connect the two top tips of the “V”.
Then draw a line, like an upside-down smile line, over the top.
See how that makes an oval on top of the cone? The farther you tip the top of the ice cream cone away from you, the less deep the smile line is, and the narrower the oval shape becomes.
Shading a cone shape
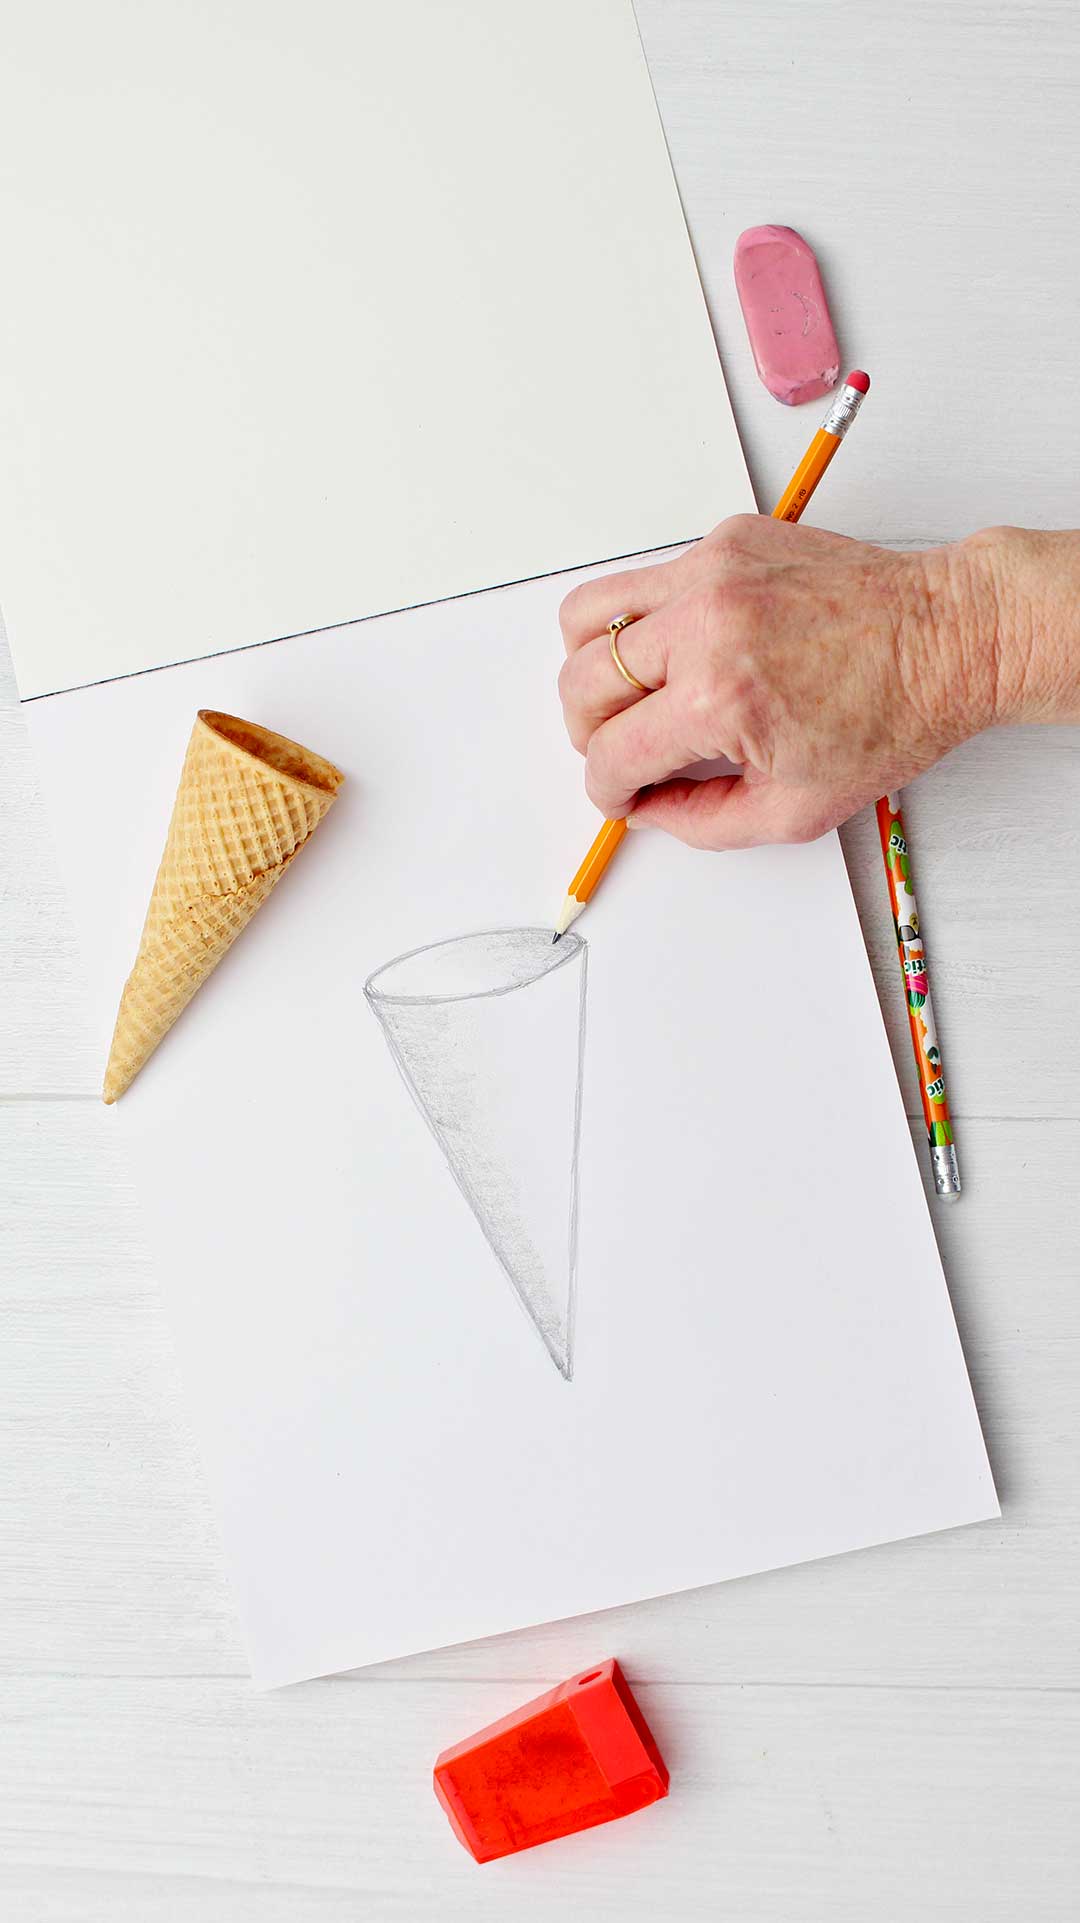
If we image that the light source is coming from the top right, then the shadowing is on the left side of the cone, away from the light.
Lay the pencil over on its side and gently rub the paper for shading.
Shade the inside of the cone on the right side. The right side of the cone would be blocking the light inside the cone.
Then shade the left side of the cone, on what is the outside of the cone. See how the cone would be blocking the light from getting to that side of the cone too?
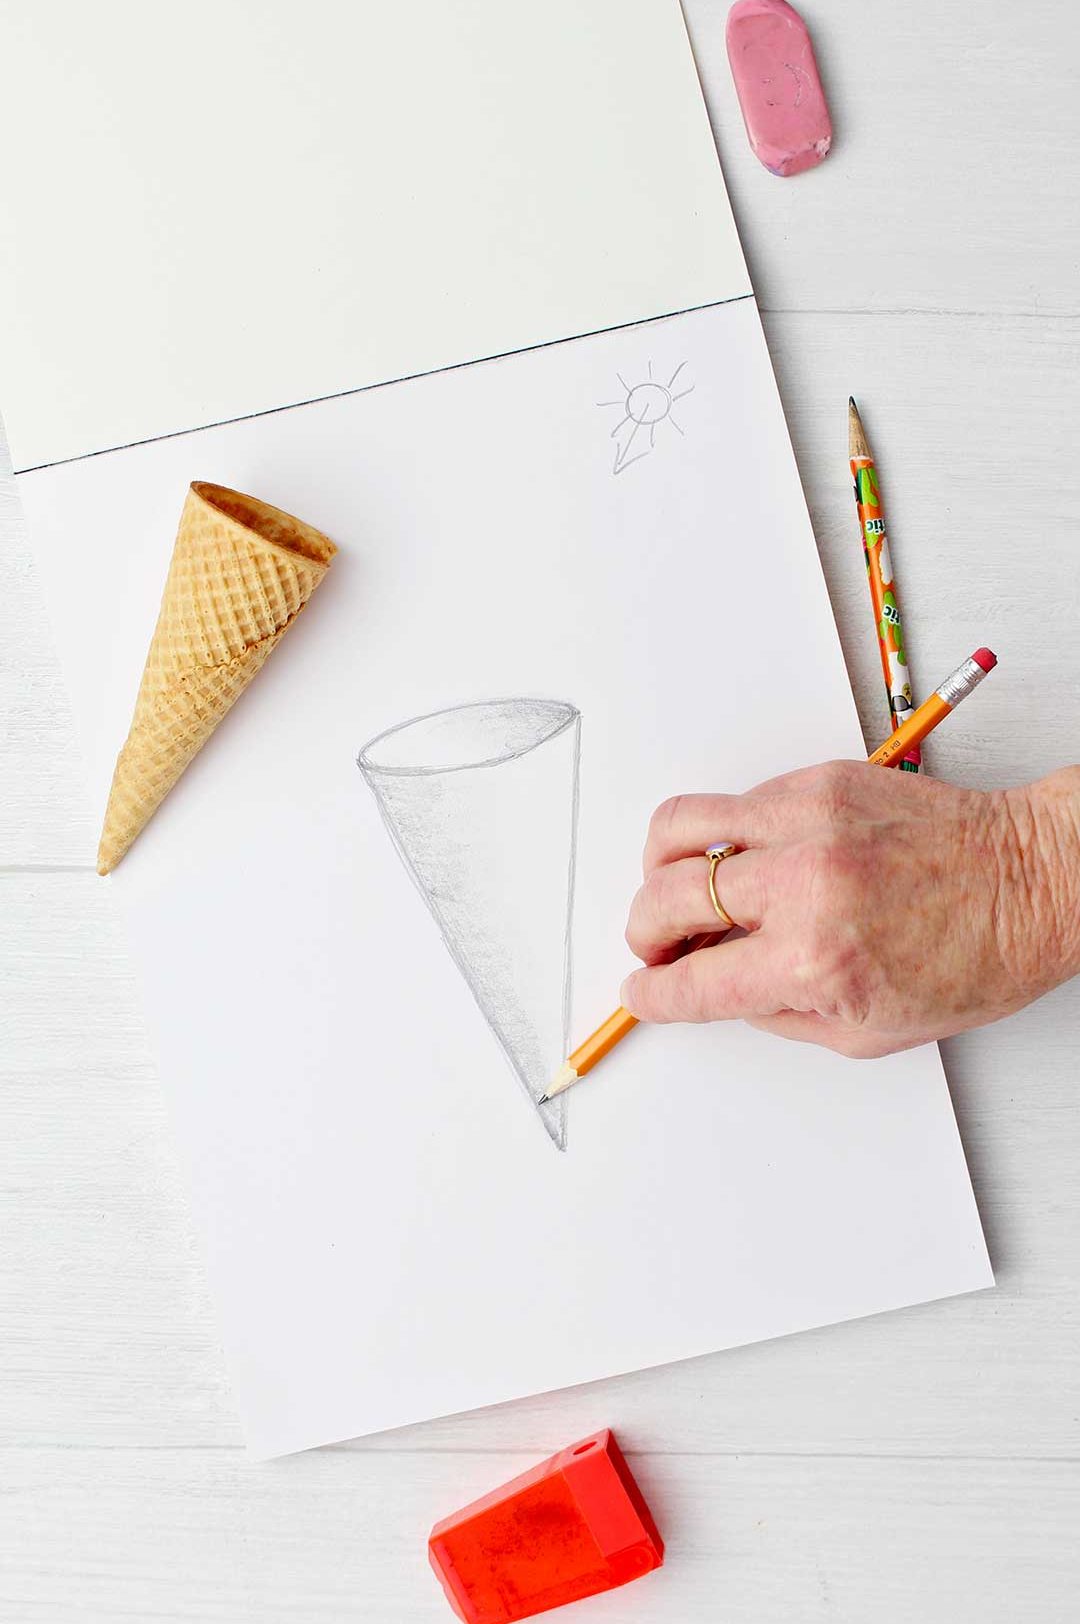
Blend with your finger.
Now, gently run your finger over the area you shaded so it kind of smudges. This is blending.
Finish by making the lines on the cone as shown to look like the actual ice cream sugar cone.
You could leave the cone without lines if you want to use it for some other purpose in your drawing.
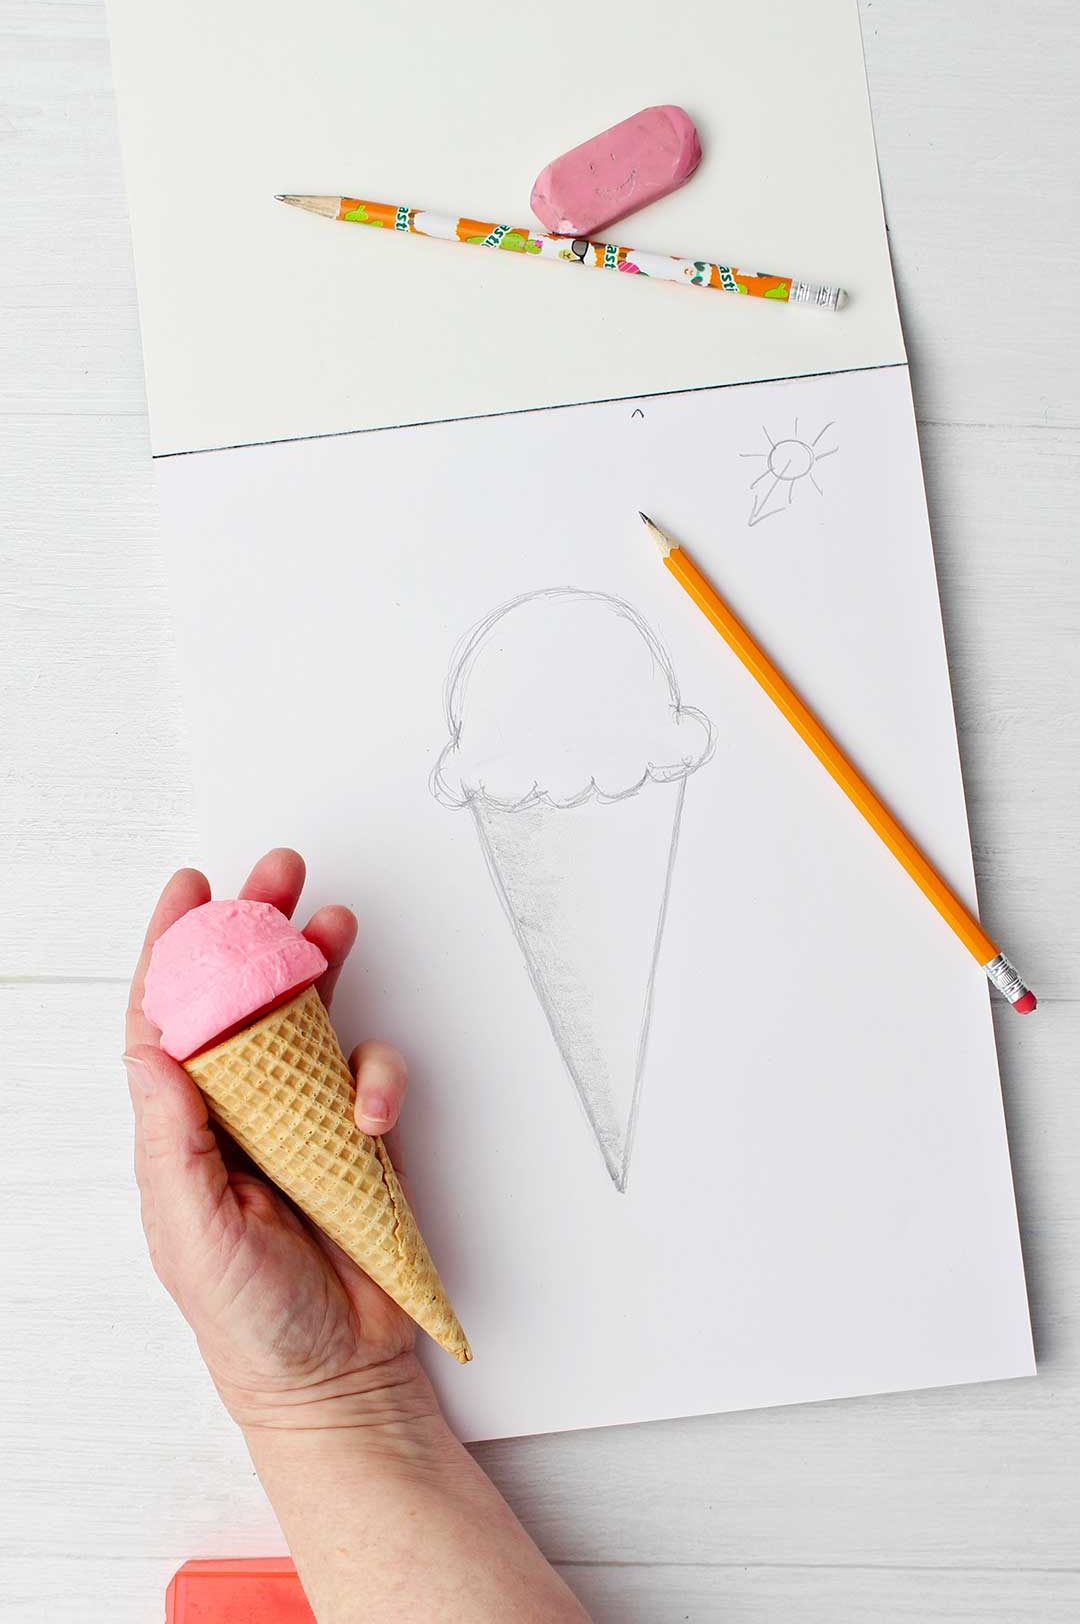
But who want’s an empty ice cream cone???
Let’s add some ice cream to that cone! We will start with one scoop but you can add more if you want!
Erase the top of the cone and shading
The ice cream would be sitting on top of the cone and would block the open top that we drew earlier.
So either erase the oval and the shading there or redraw the cone without adding the top smile lines and shading.
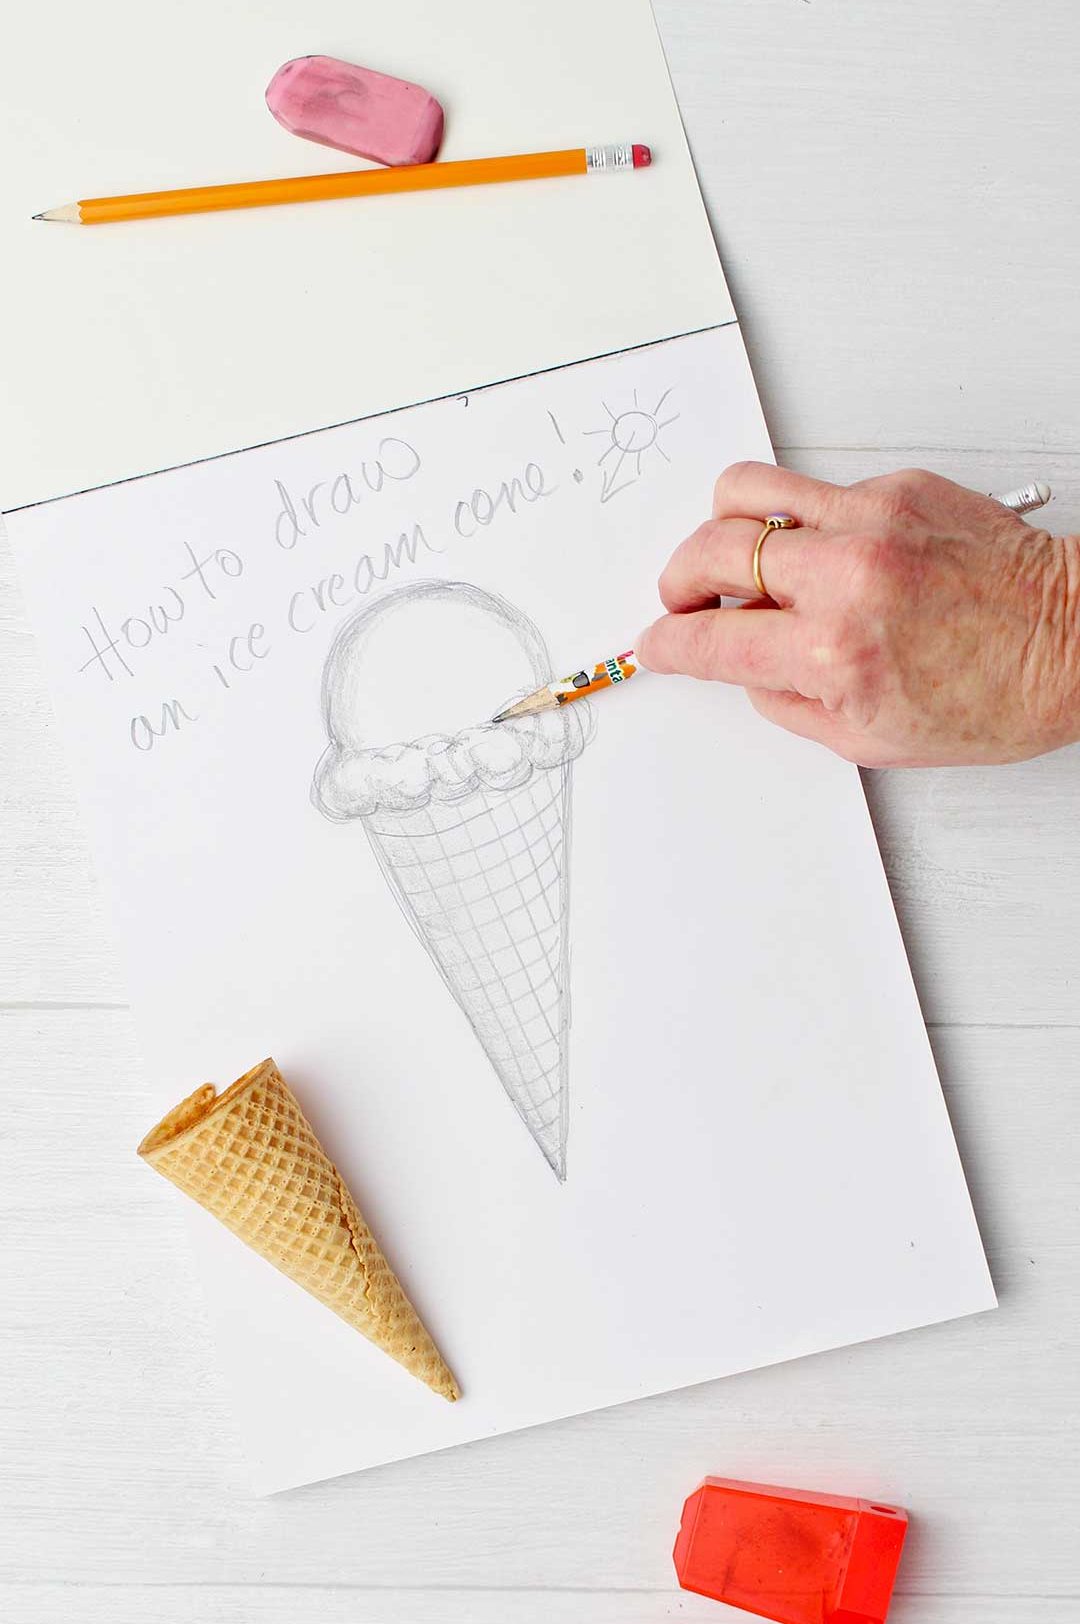
Draw a scoop of ice cream
Now, draw a very rounded line over the top of the cone, like a very rounded hill. This will be a large scoop of ice cream. (I’m getting hungry.)
Instead of the smile line at the top of the cone shape, draw a scalloped smile line that looks like the edge of a puffy cloud. This will be the bottom edge of the scoop of ice cream.
Then add some scalloped lines that are above but follow that bottom edge, making it look like a long narrow cloud.

Shading the ice cream
Shade (with the side of the pencil lead) just a little over the top and around the bottom edge of the ice cream scoop.
Do a bit of blending with your finger.
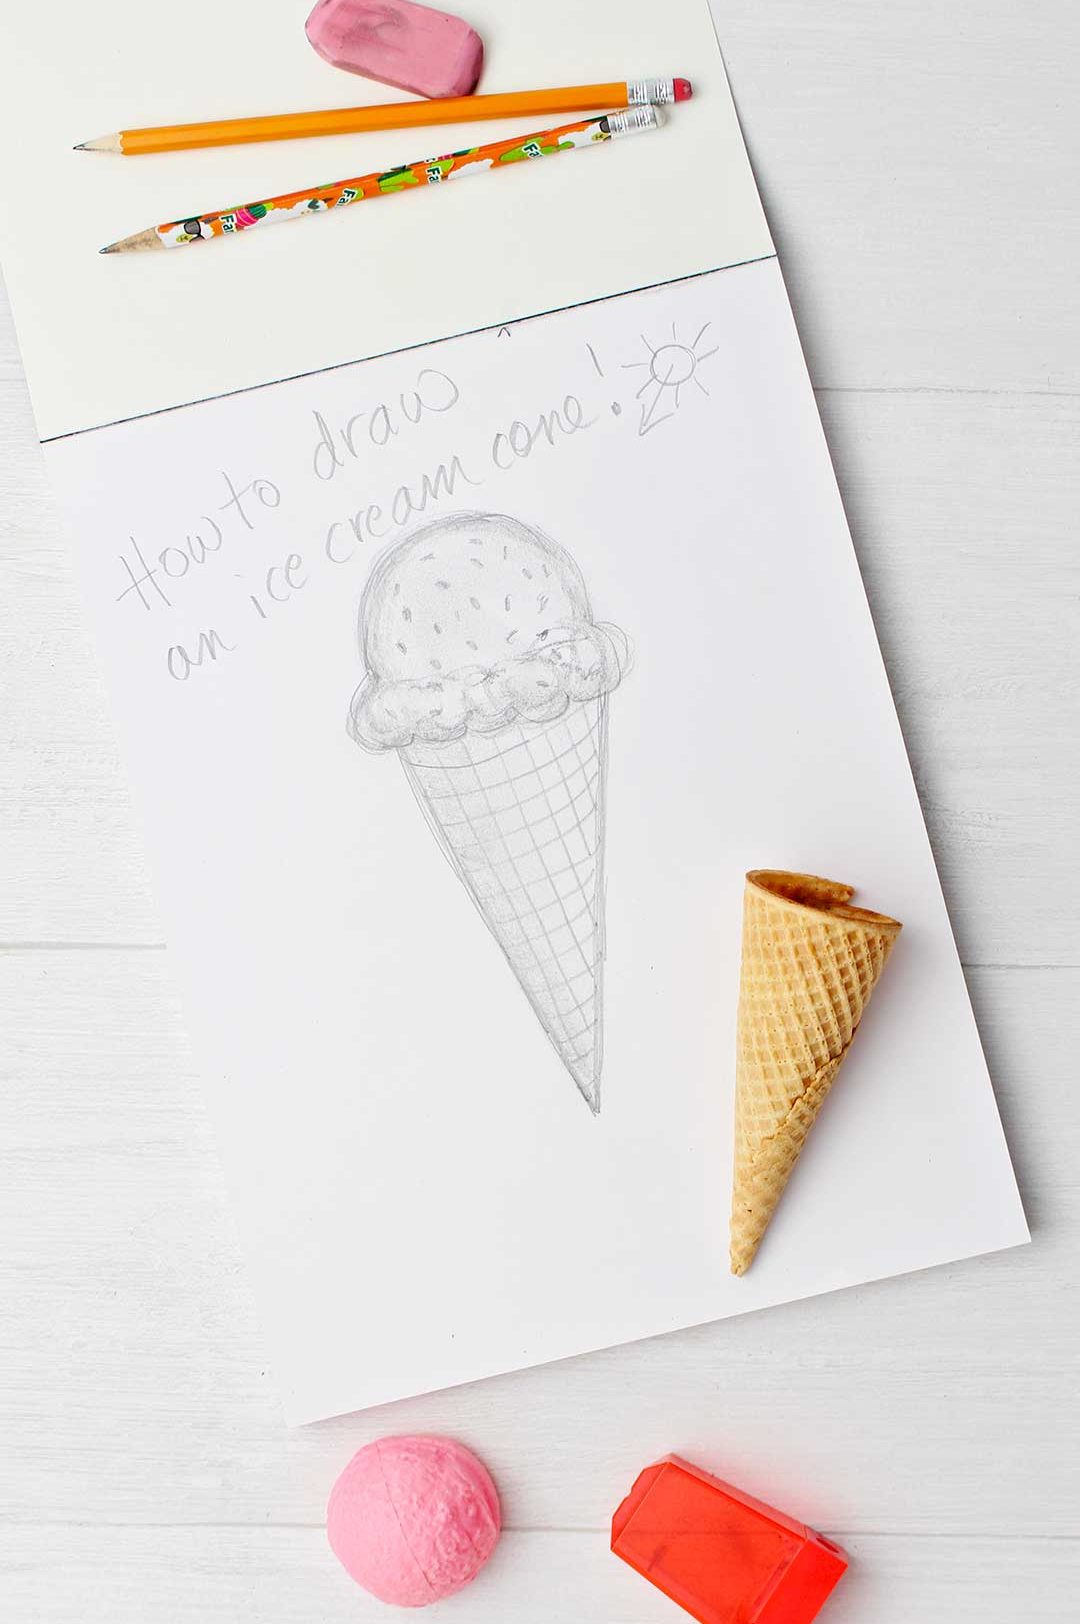
How to Draw an Ice Cream Cone
What do you think? That wasn’t very hard, was it?
If you don’t want a plain dip of ice cream you can draw some small dots or small squares across the ice cream to make it look like nuts or chocolate chips! Yum.
Add color with colored pencils or crayons if you want to.
YouTube fan? You can watch it on YouTube here: How to Draw an Ice Cream Cone YouTube
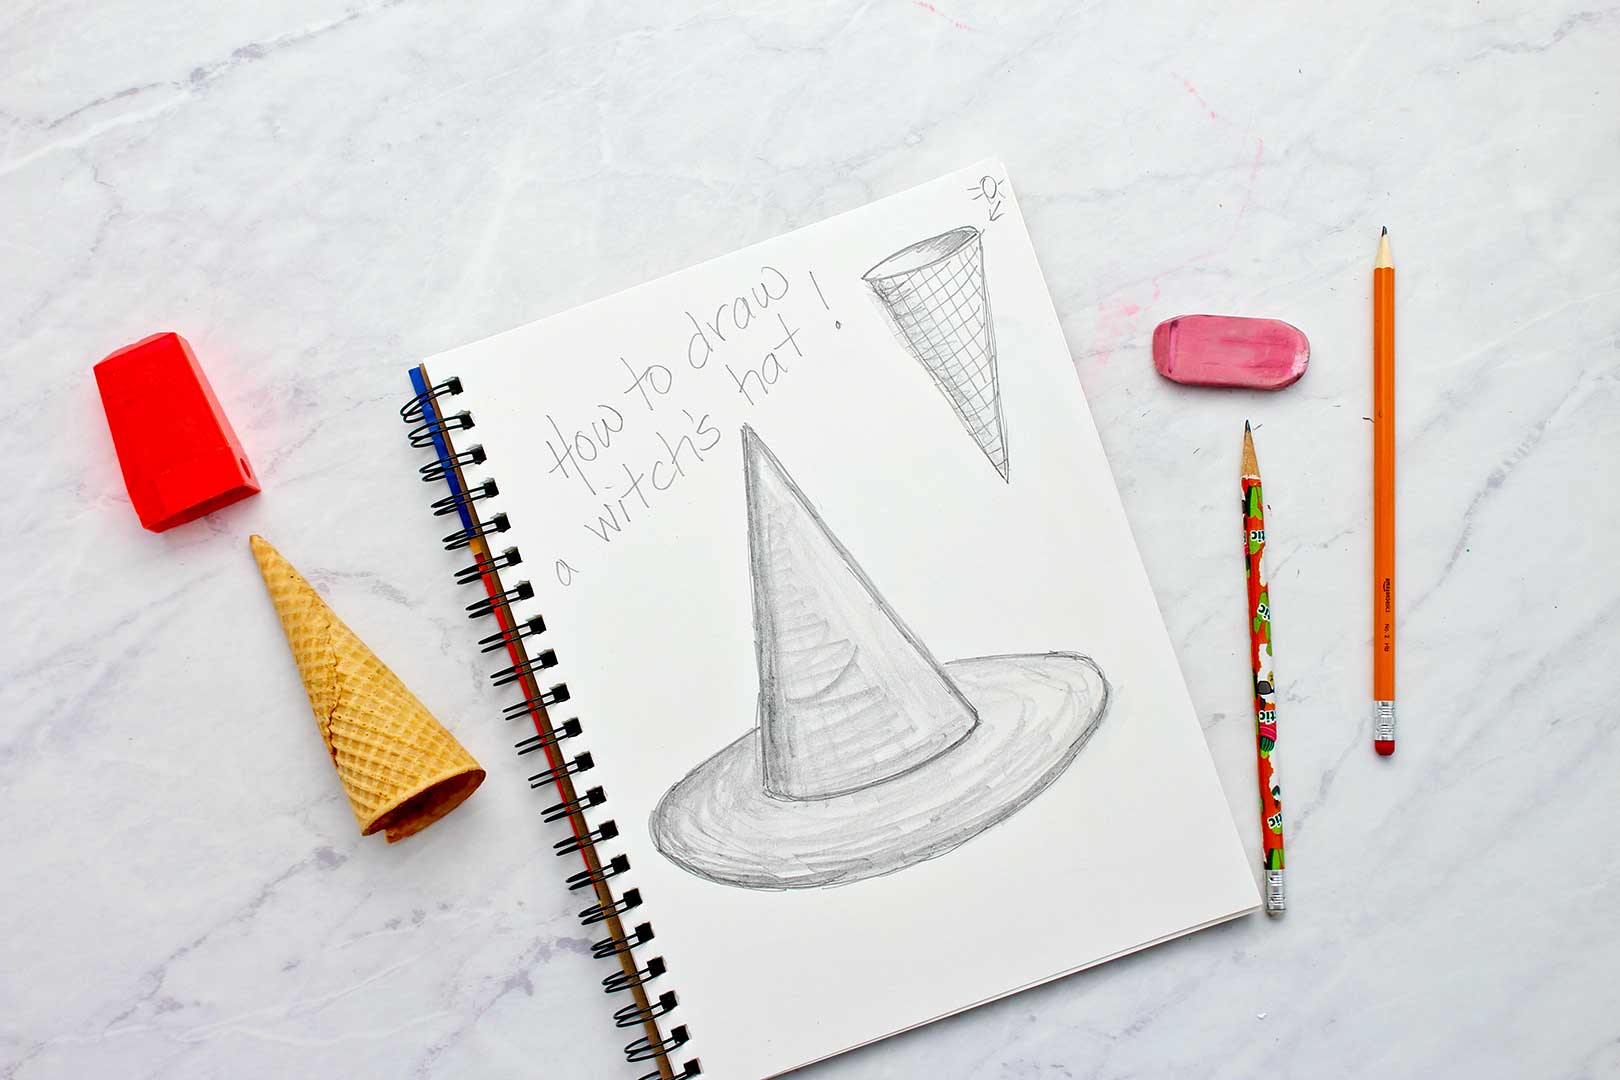
How to Draw a Witch Hat- another how to draw a cone post
In a past post, How to Draw a Witch Hat, we learned how to draw a cone with the point at the top. If you would like to see how that is done, click this link and give it a try too.
That gives you two different ways to draw a cone shape for your drawings.
Keep practicing!!
Remember, drawing takes practice. So doodle in your spare time and get this the way you want it. Practice makes perfect.
Here are some other How to Draw posts.
More ice cream posts from Welcome To Nanas!
OK, so now I'm thinking of other posts we have done about ice cream. Here they are...
- Make Your Own Ice Cream in a Bag
- We All Scream for Ice Cream Coloring Page
- Let's Make Homemade Ice Cream
Enjoy!
If you try this craft, let me know! Go ahead and leave a comment, rate it, and tag a photo with #WelcometoNanas wherever you post.Come join the fun at https://welcometonanas.com
How to Draw an Ice Cream Cone
Equipment
- none needed
Items Required
Instructions
- A cone begins by drawing a deep “V” shape. Remember the smile line we talked about when learning how to draw a sphere? Well, we use a smile line to connect the two top tips of the “V”. Then draw a line, like an upside-down smile line, over the top. See how that makes an oval on top of the cone? The farther you tip the top of the ice cream cone away from you, the less deep the smile line is, and the narrower the oval shape becomes.
- If we image that the light source is coming from the top right, then the shadowing is on the left side of the cone, away from the light.Lay the pencil over on its side and gently rub the paper for shading. Shade the inside of the cone on the right side. The right side of the cone would be blocking the light inside the cone. Then shade the left side of the cone, on what is the outside of the cone. See how the cone would be blocking the light from getting to that side of the cone too?
- Now, gently run your finger over the area you shaded so it kind of smudges. This is blending. Finish by making the lines on the cone as shown to look like the actual ice cream sugar cone.You could leave the cone without lines if you want to use it for some other purpose in your drawing.
- Let’s add some ice cream to that cone! We will start with one scoop but you can add more if you want!The ice cream would be sitting on top of the cone and would block the open top that we drew earlier.So either erase the oval and the shading there or redraw the cone without adding the top smile lines and shading. Erase the top of the cone and shading
- Now, draw a very rounded line over the top of the cone, like a very rounded hill. This will be a large scoop of ice cream. (I’m getting hungry.)Instead of the smile line at the top of the cone shape, draw a scalloped smile line that looks like the edge of a puffy cloud. This will be the bottom edge of the scoop of ice cream.Then add some scalloped lines that are above but follow that bottom edge, making it look like a long narrow cloud.
- Shade (with the side of the pencil lead) just a little over the top and around the bottom edge of the ice cream scoop. Do a bit of blending with your finger.
- If you don’t want a plain dip of ice cream you can draw some small dots or small squares across the ice cream to make it look like nuts or chocolate chips! Yum.Add color with colored pencils or crayons if you want to.
Video
Supplies for How to Draw an Ice Cream Cone:


Leave a Reply