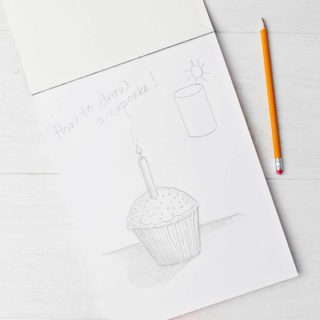
How to Draw a Cupcake
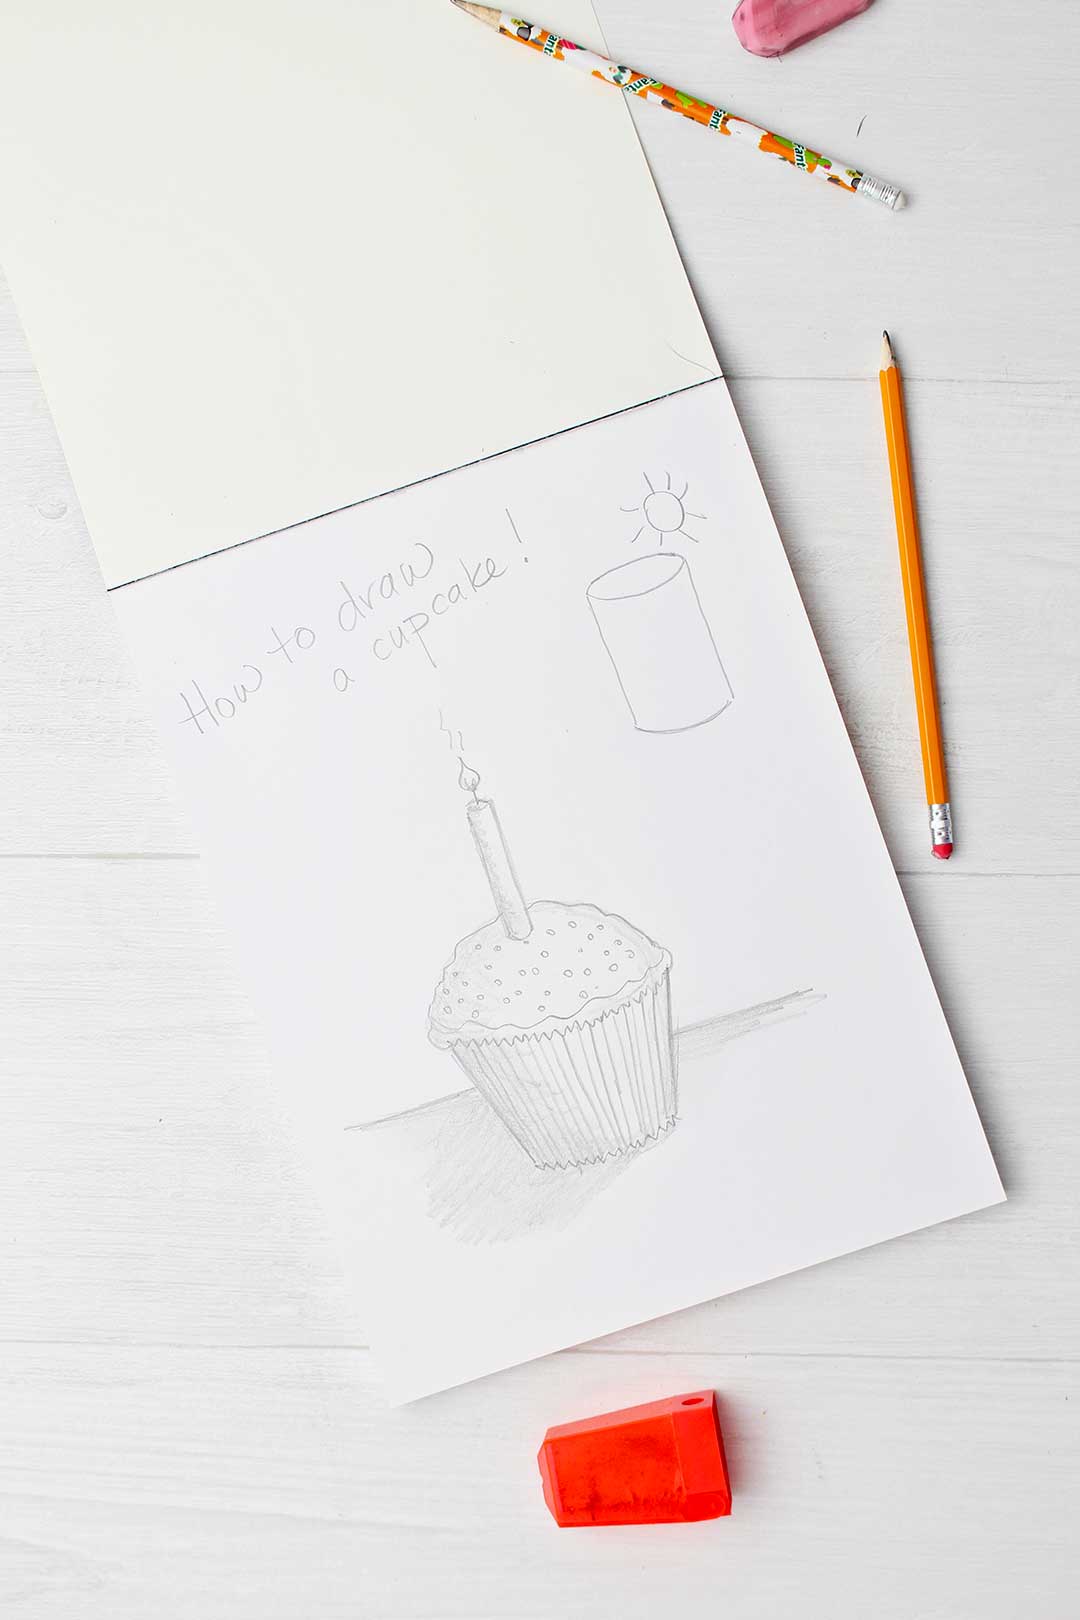
You can learn how to draw a cupcake step by step and even add a candle on top for fun!
A cupcake is a variation of a cylinder which we learned to draw earlier. Come give it a try. You can do this!!
How do you draw a cylinder?
There are so many things around us that can be drawn when you learn the basics of drawing a cylinder.
Grab your drawing pad, pencil and eraser and let’s try it together.
Review drawing a cylinder
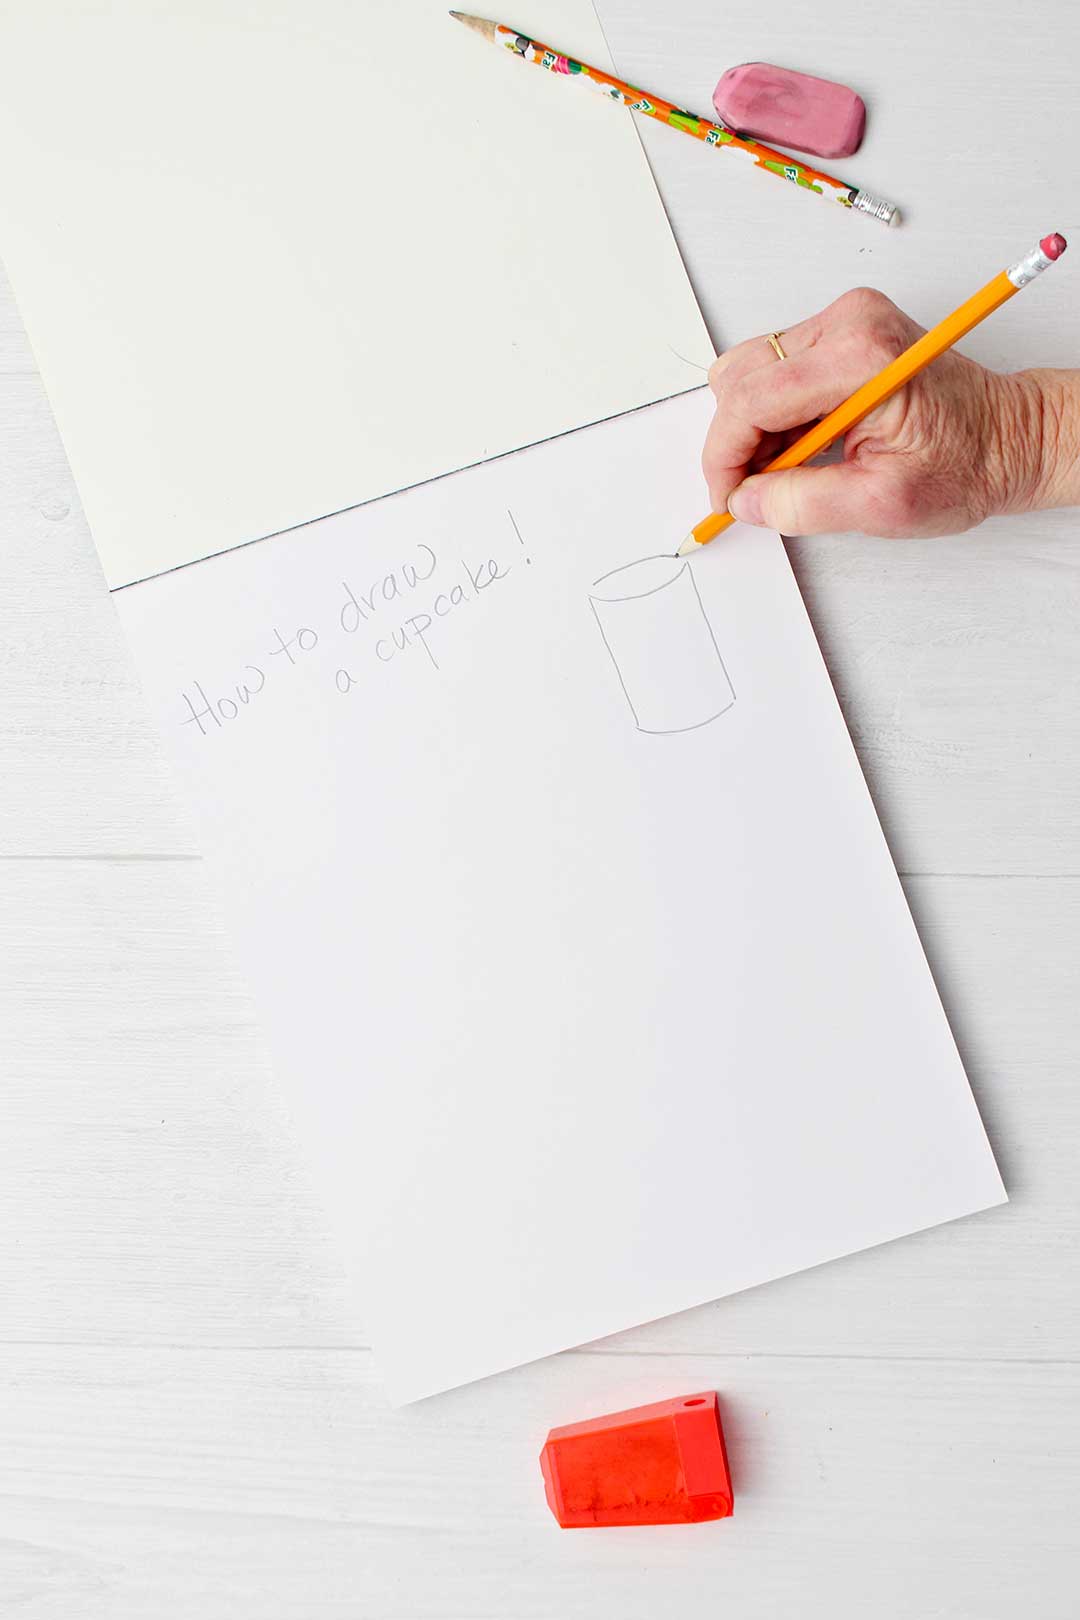
A cylinder basically starts with two parallel lines. The way you draw these lines makes the cylinder tall or short, narrow or wide (lines that are long or short, close together or wide apart).
Draw two parallel lines. The lines I draw in the video make a nice size if I want to make my cylinder drawing into a soda can or can of food.
Add a “smile” line to connect the two lines at the bottom and then draw a matching “smile” line to connect them at the top. When I say matching, I mean that both lines are similar in the amount of curve they have, they look similar.
Draw an upside down “smile” line that is a similar curve to the one below it, just upside down.
This makes the cylinder look 3D.
If you would like a review and to watch the video, head over to the post on How to Draw a Cylinder. The post and video will show you how to shade the cylinder to make it look even more 3D.
Be sure to come back and try the cupcake drawing though, don’t get lost!
How to draw a cupcake step by step
Drawing a cupcake is just a slight variation of drawing a cylinder.
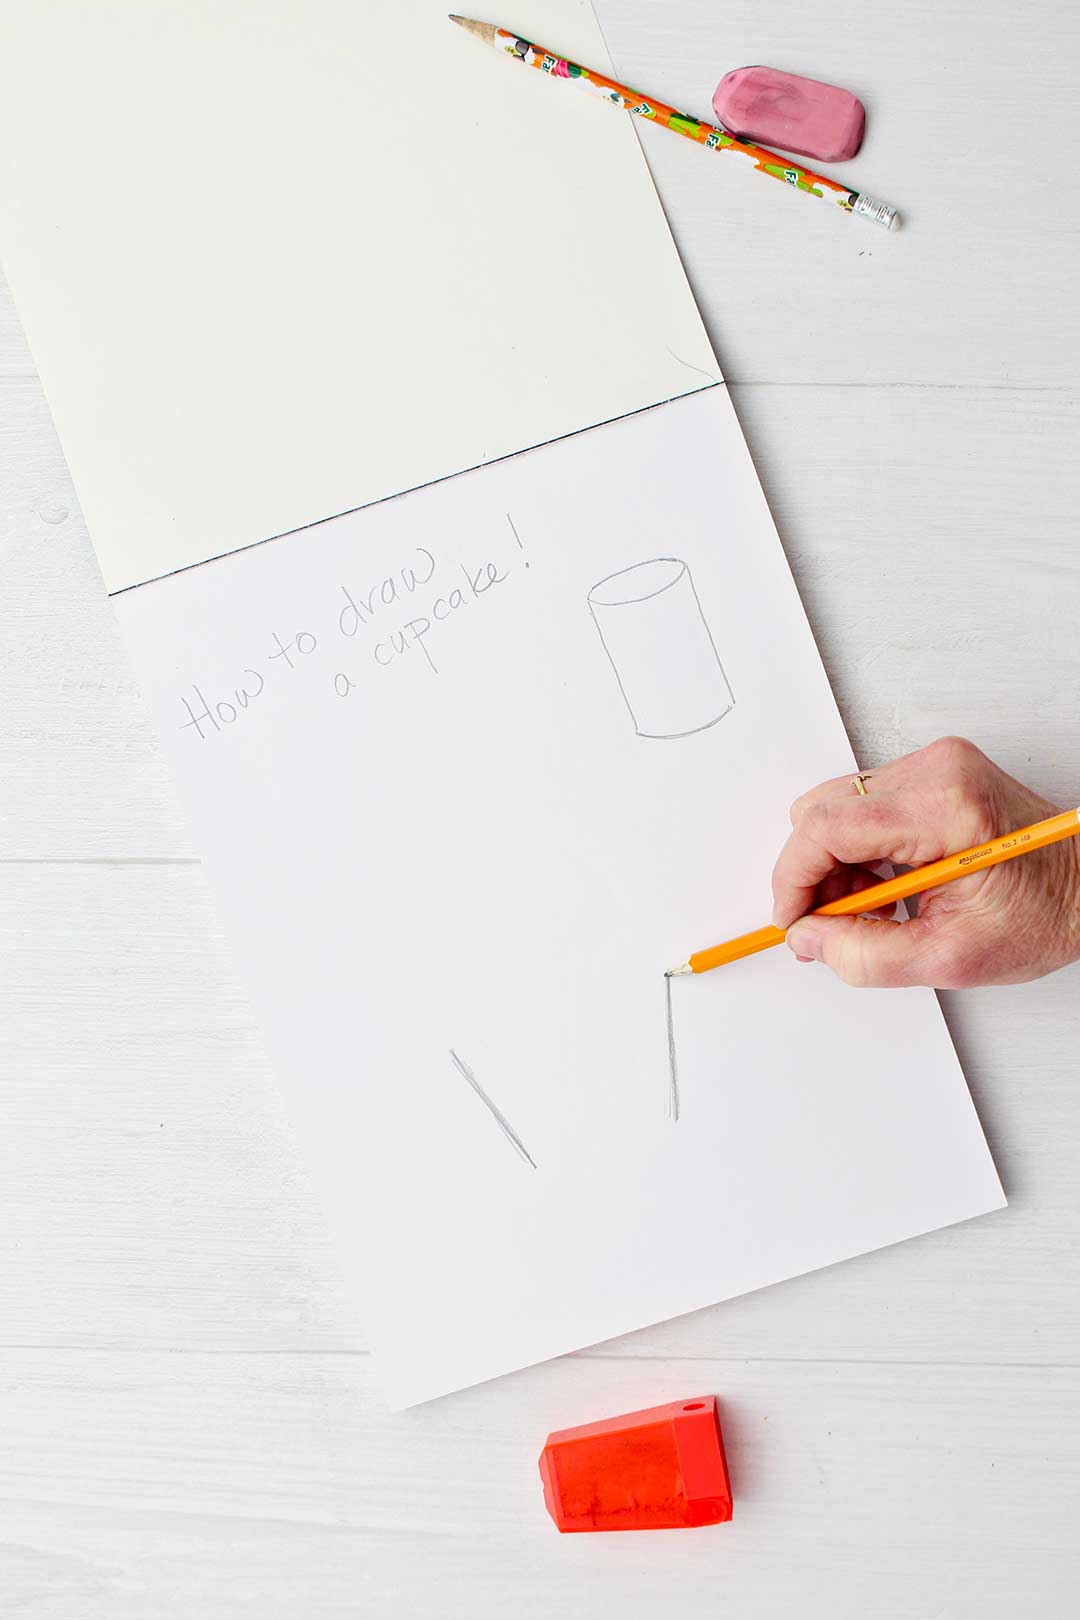
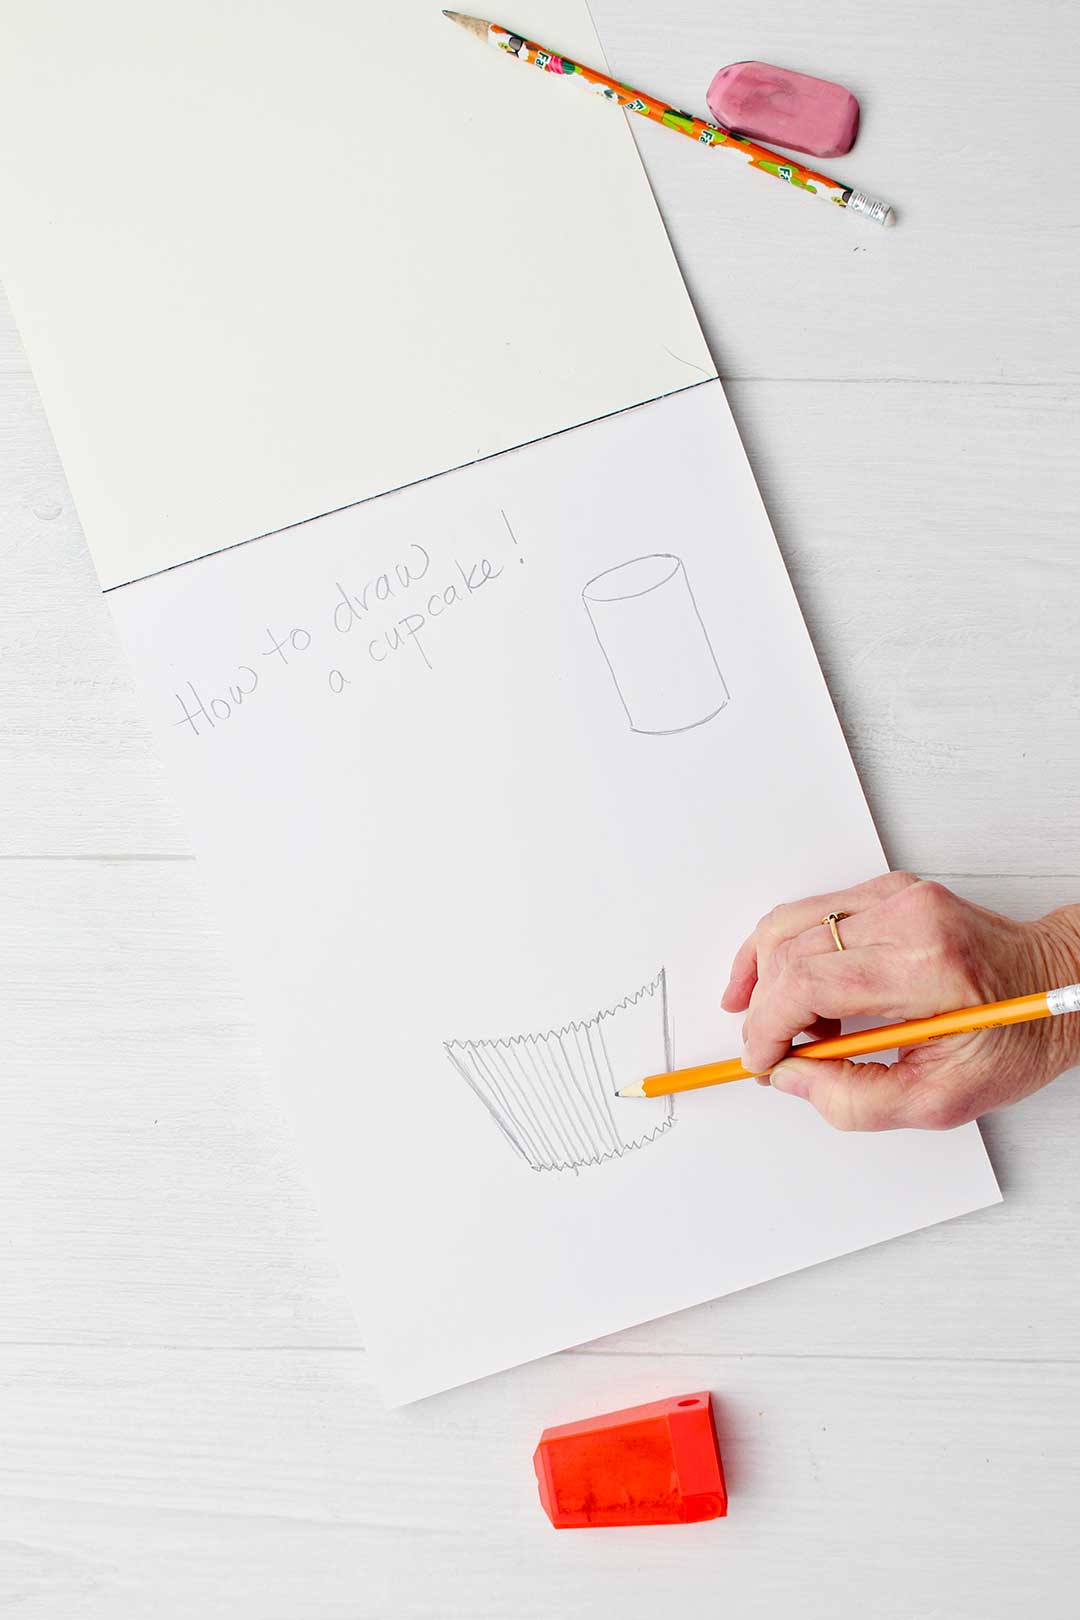
Instead of drawing the first two lines parallel, you will draw them at a slight slant. The top of the first two lines will be further apart than the bottom of the two lines. These represent the sides of the cupcake liner.
Lightly draw two matching “smile” lines to connect the bottom of the two lines and to connect the top of the two lines.
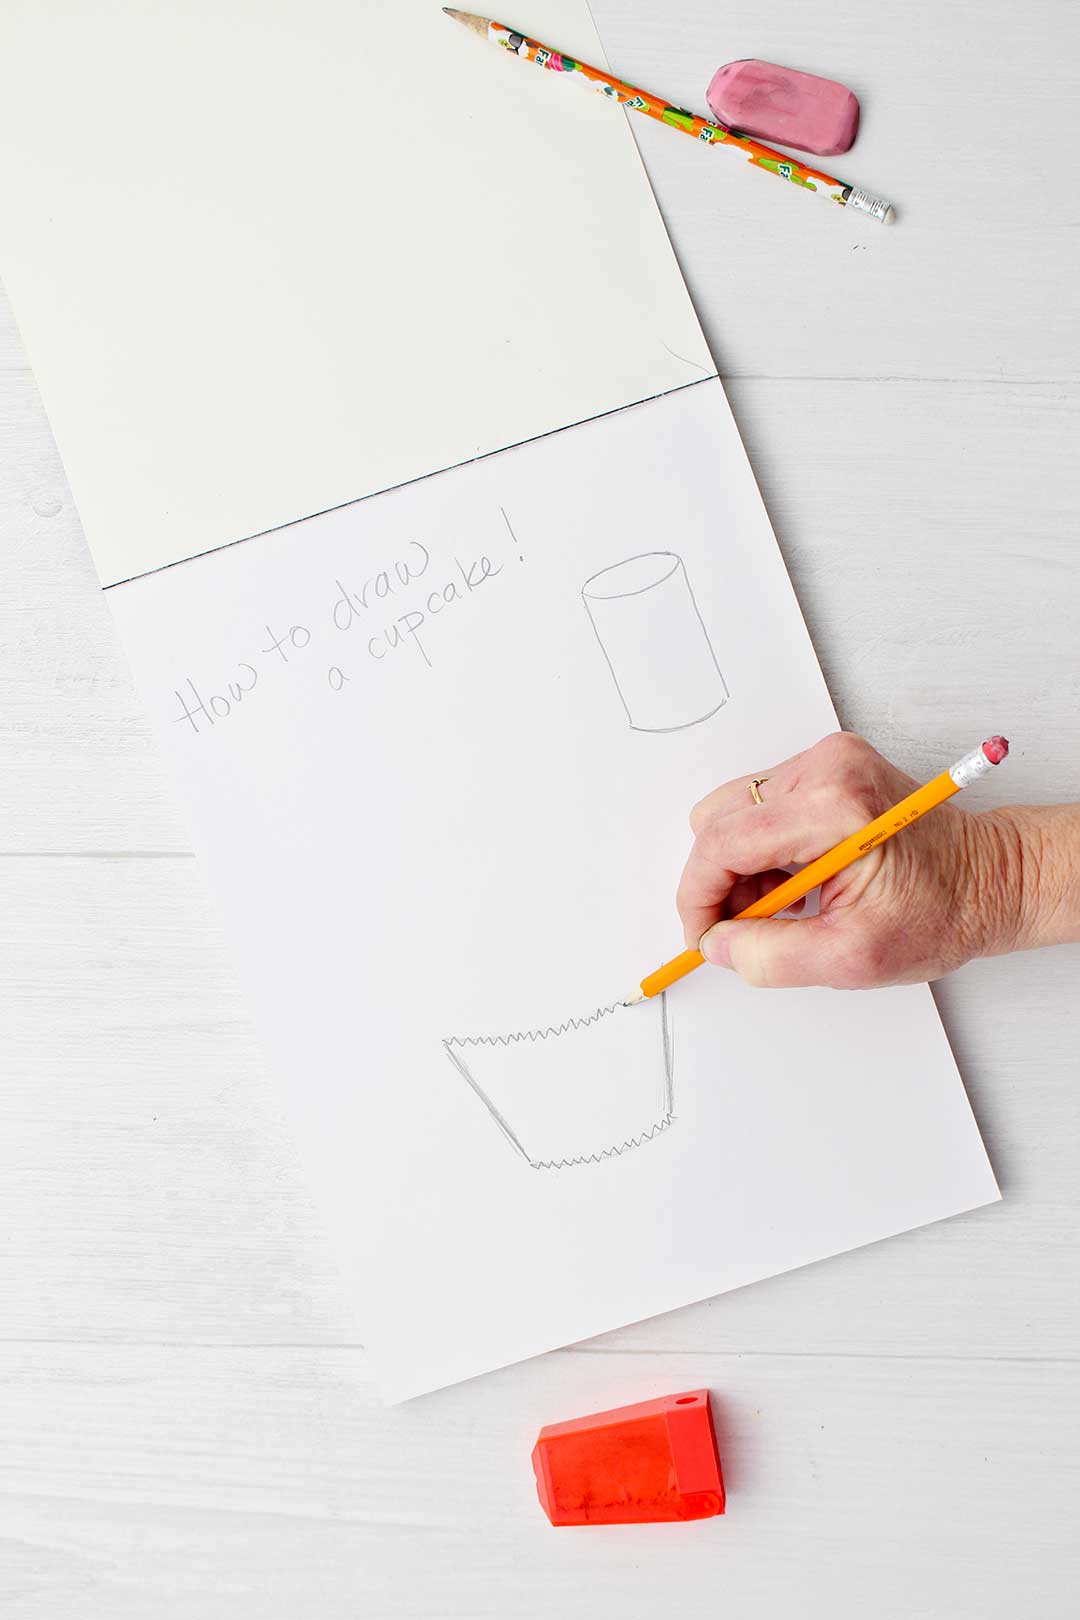
Zigzag smiles
Now go over these lightly drawn smile lines with a very small zigzag line. This will create the look of the pleated cupcake paper top and bottom edges.
Follow this up by drawing a series of lines from the top to the bottom of the cupcake paper. This completes the look of the pleats in the cupcake papers.
Notice that the lines to the left slant slightly to the left. The lines in the center go straight up and down. And the lines to the right slant slightly to the right.
How to draw a cute cupcake
Doesn’t that look cute?
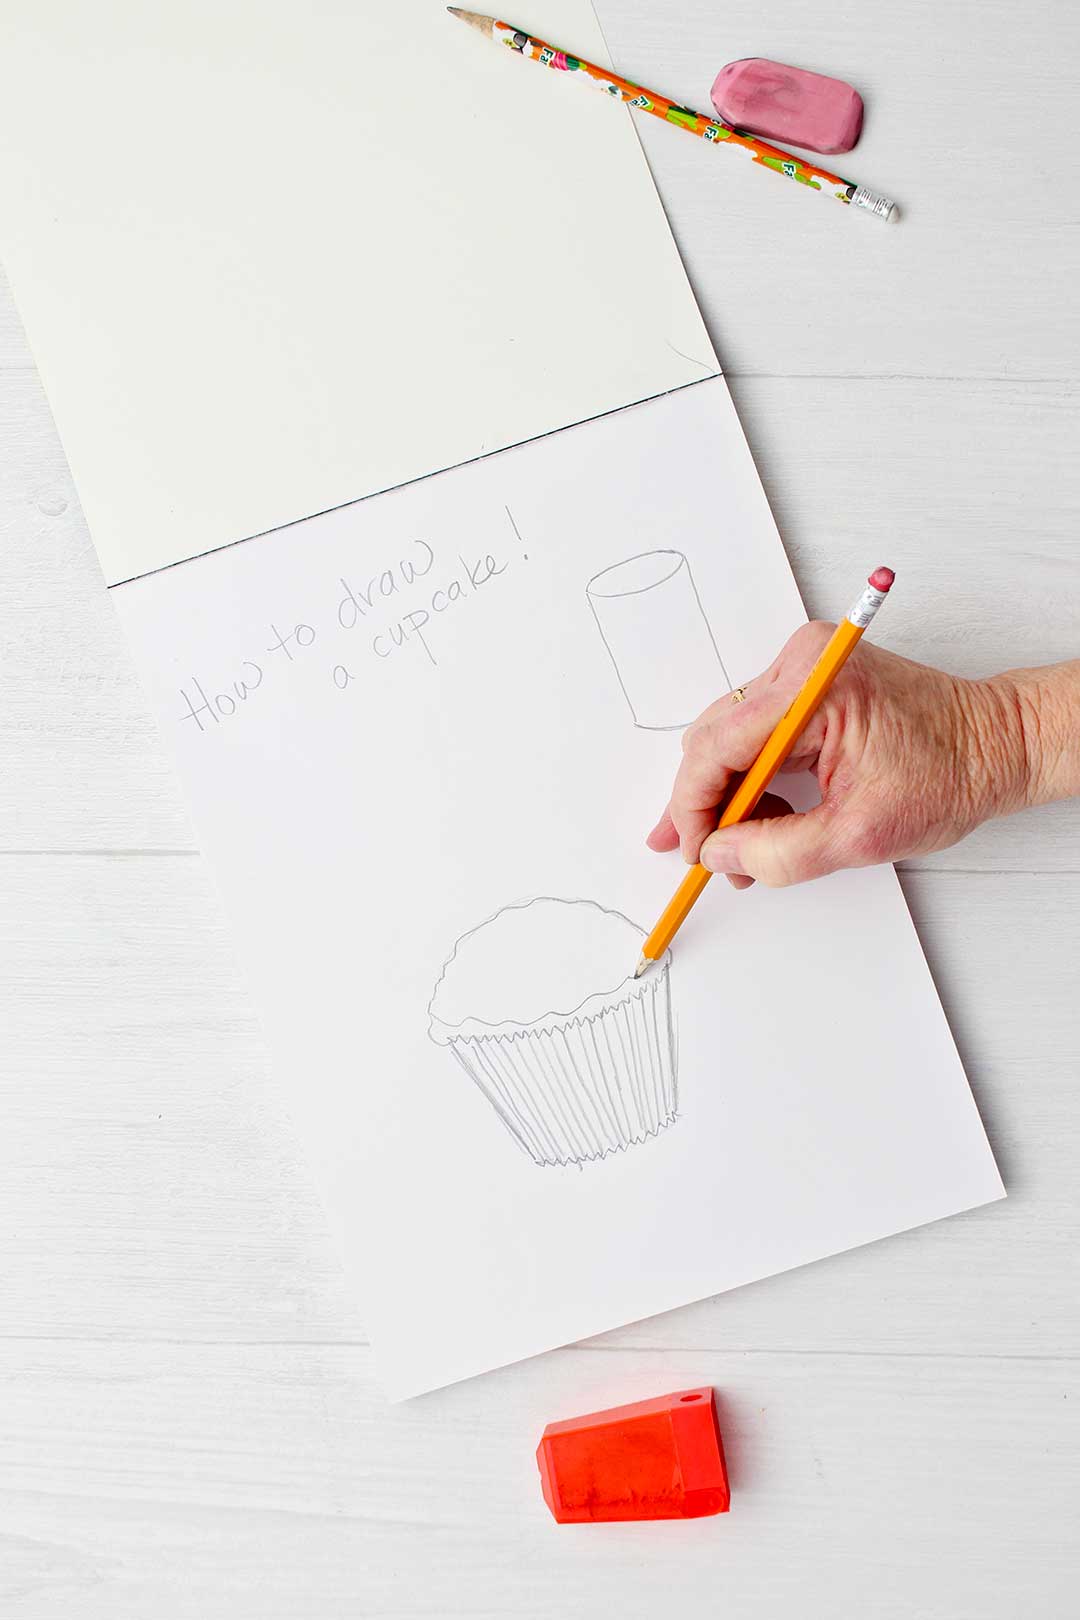
Now for the top of the cupcake!
Lightly sketch an arched line up and over the top of the cupcake paper you have drawn.
Go over this line again making it a bit “bumpy” because a cupcake is never exactly smooth.
Draw a similar bumpy smile line right above the top cupcake liner to be the bottom of the frosting.
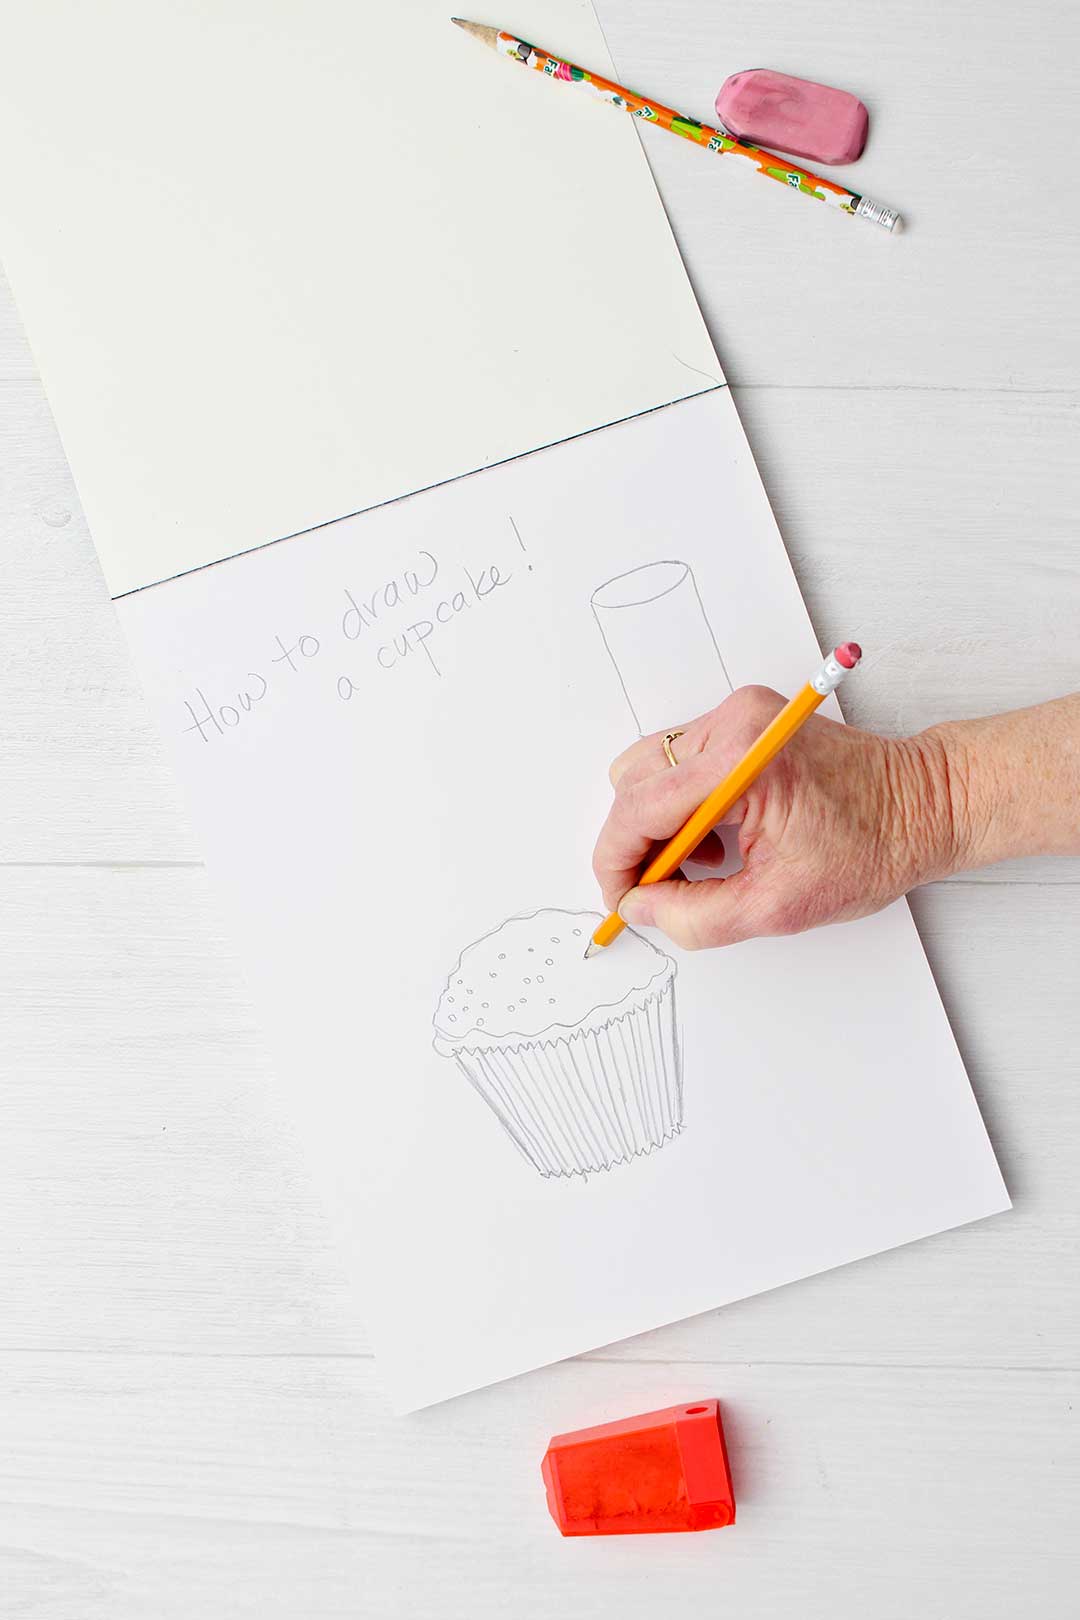
Want some sprinkles? I do!
Add small circles or small rectangles over the frosting area of the cupcake to be sprinkles! That’s fun, isn’t it?
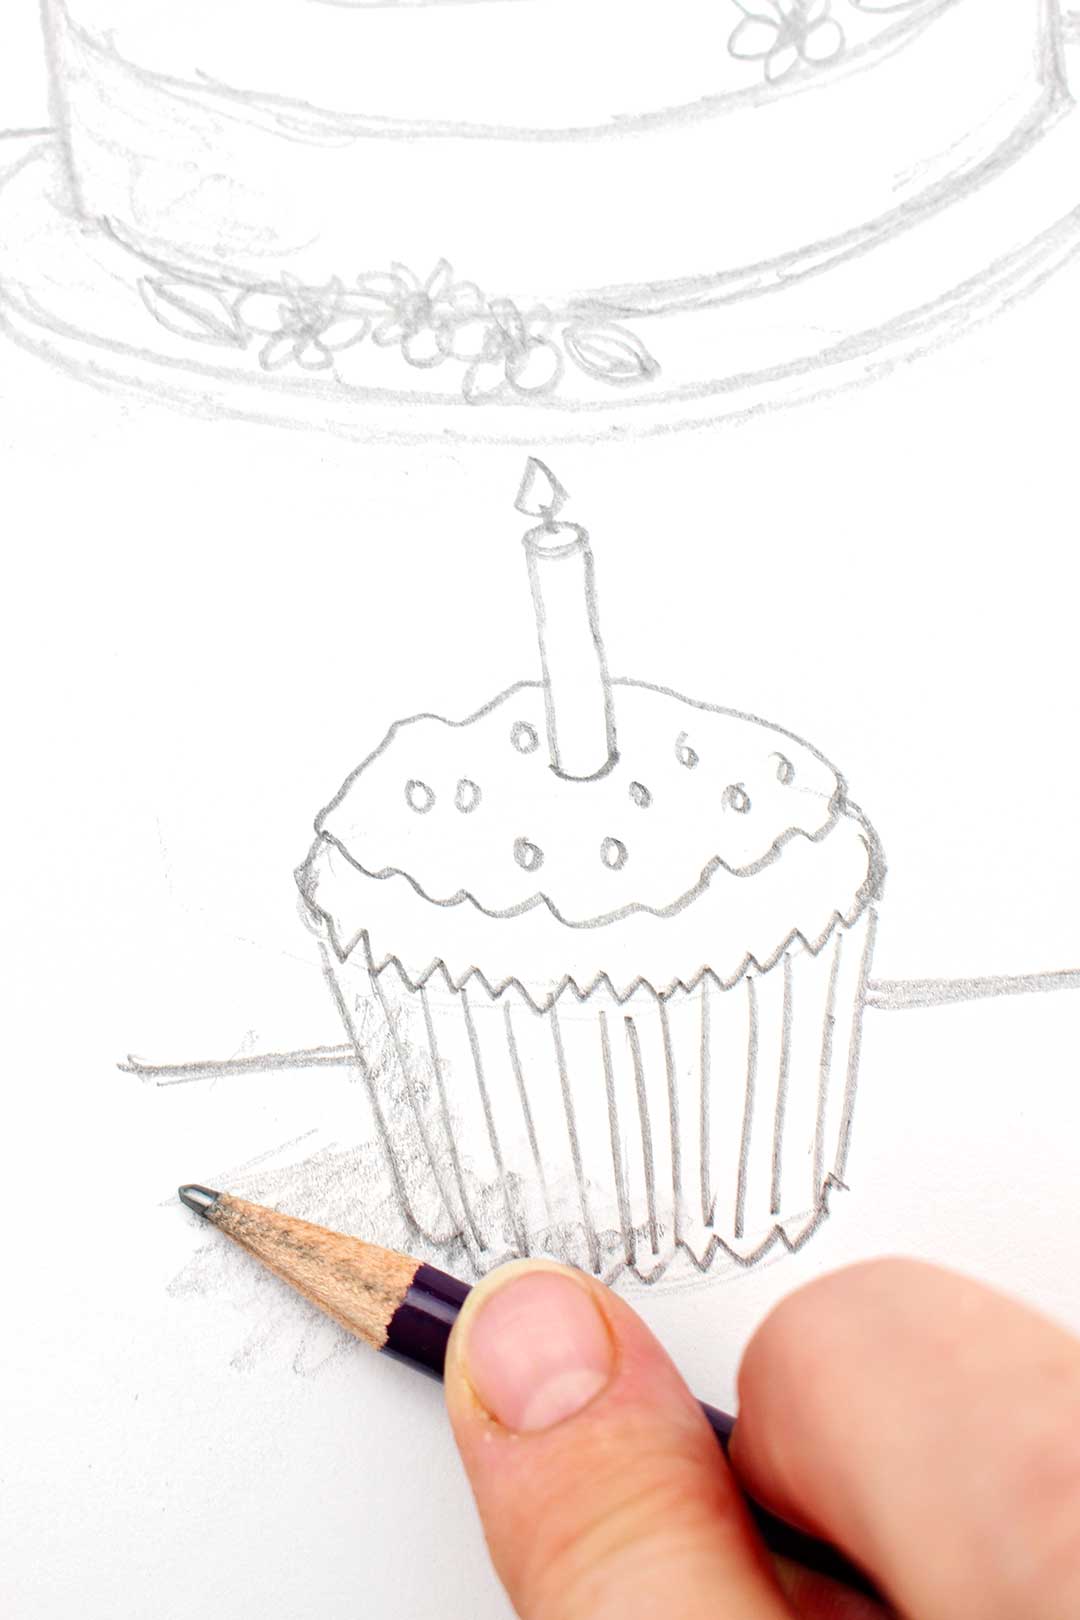
How to draw a birthday cupcake
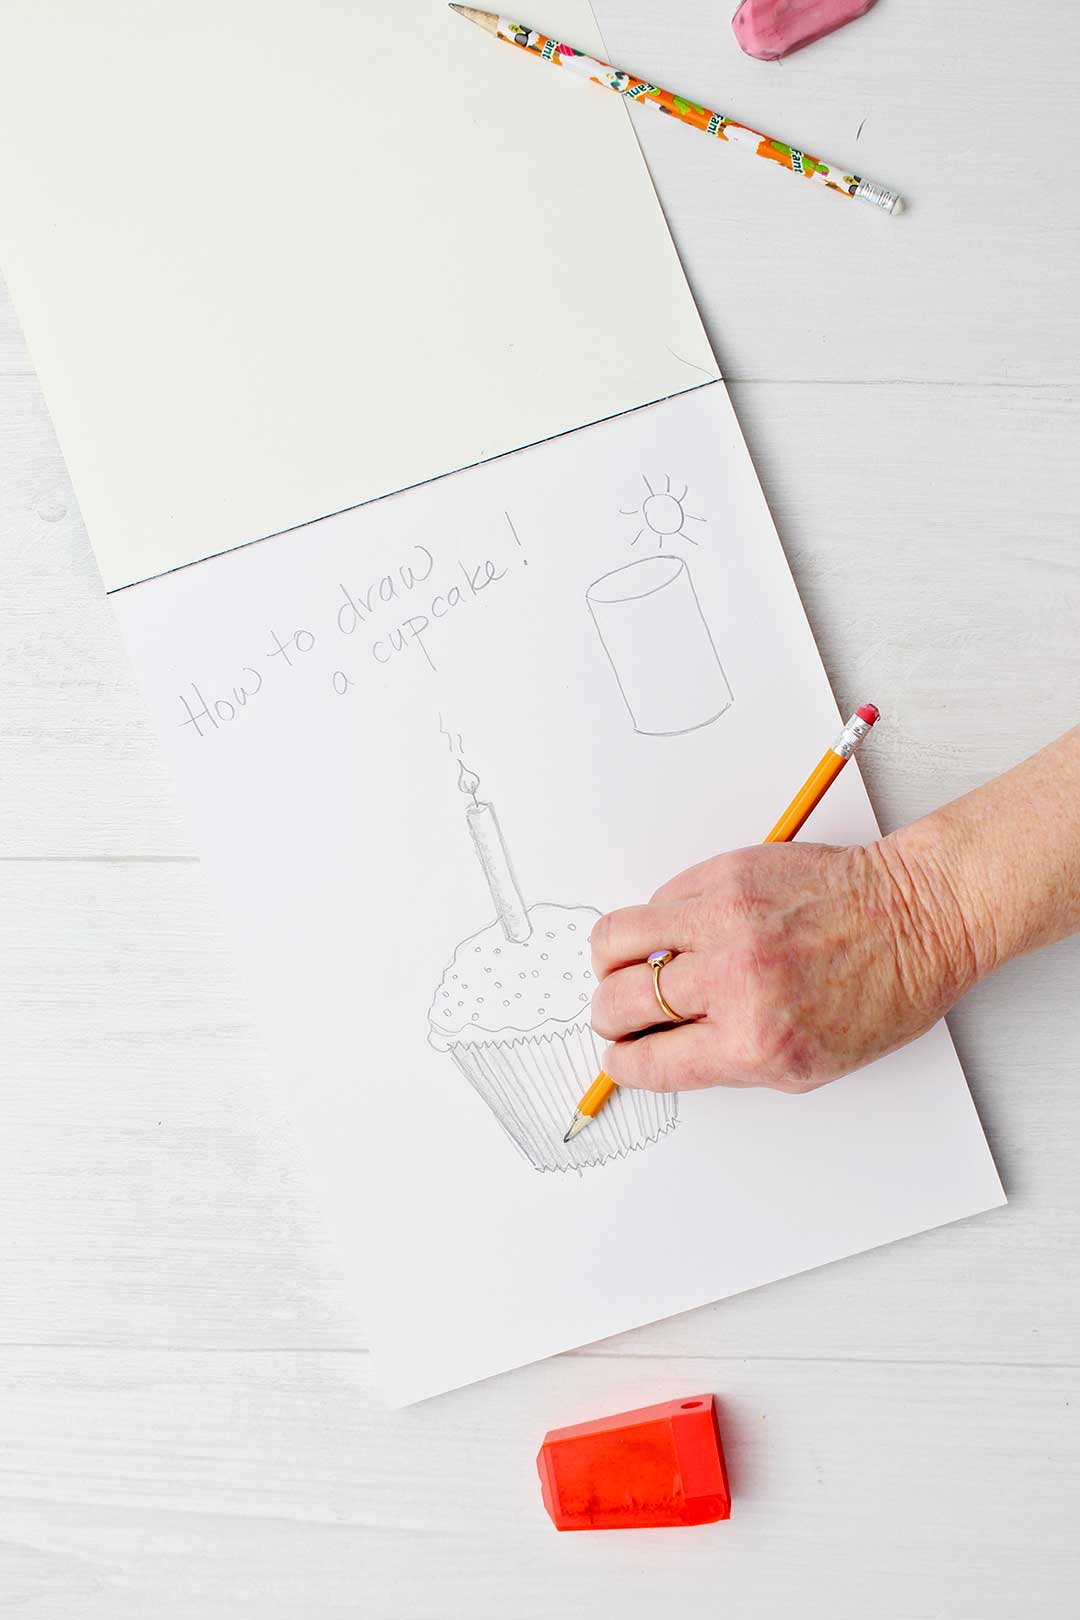
I want a candle on top!
You can leave your cupcake like this or add a birthday candle.
What shape is a birthday candle? You guessed it, it is a tall and narrow cylinder!
Draw two vertical parallel lines that are pretty close together. These two lines will start about ½ inch down into the frosting area of your cupcake and are about the same height as your cupcake paper. You can make yours taller, shorter, or wider if you want to!
Connect the bottom of the two lines with a small smile line and the top two lines with a matching smile line.
Draw an upside-down smile line over the top of the candle to make it look 3D.
Erase the cupcake line and sprinkles that are showing through your candle.
Add a short line on the top of the candle to be a wick.
A tear drop shape on the top of the wick will look like a flame! I added a couple small lines in the flame and over the flame to make it look more like fire.

The final step is to do some shading.
Pretend that there is a light source to the upper right of the paper, and it is shining down towards the lower left. The light hits the right side of the cupcake, leaves the left side shaded and makes a cast shadow on the table to the left.
Draw shading on the left side of the candle and cupcake by leaning your pencil to the side and gently rubbing the side of the pencil lead on the paper. This leaves a light rubbing mark instead of a sharp line.
Use your finger to smudge this a bit to make it look more like a shadow.
Lastly do some rubbing on the left side of the cupcake to look like the cupcakes shadow on the tabletop. I did draw horizontal lines on either side of the cupcake to represent the edge of a tabletop. You can do that too if you want.
How to draw a cupcake easy- YouTube!
If you like to watch videos on YouTube subscribe and/or watch the video here: YouTube link to How to Draw a Cupcake.
More how to draw posts with videos:
Need some supplies to keep drawing?
If you want to continue learning How to Draw you may want to pick up a drawing pad, a drawing kit, OR a few drawing pencils and an eraser or kneaded eraser. It helps to have a bag to put them in so they are all together and you can bring it with you whenever you want! Drawing is SO portable, goes anywhere you go!
Enjoy!
If you try this craft, let me know! Go ahead and leave a comment, rate it, and tag a photo with #WelcometoNanas wherever you post.
Come join the fun at https://welcometonanas.com
How to Draw a Cupcake
Equipment
- Pencil sharpener
Items Required
Instructions
- Drawing a cupcake is just a slight variation of drawing a cylinder. Instead of drawing the first two lines parallel, you will draw them at a slight slant. The top of the first two lines will be further apart than the bottom of the two lines. These represent the sides of the cupcake liner.
- Lightly draw two matching “smile” lines to connect the bottom of the two lines and to connect the top of the two lines.Now go over these lightly drawn smile lines with a very small zigzag line. This will create the look of the pleated cupcake paper top and bottom edges.Follow this up by drawing a series of lines from the top to the bottom of the cupcake paper. This completes the look of the pleats in the cupcake papers. Zigzag smiles
- Lightly sketch an arched line up and over the top of the cupcake paper you have drawn. Go over this line again making it a bit “bumpy” because a cupcake is never exactly smooth.Draw a similar bumpy smile line right above the top cupcake liner to be the bottom of the frosting.Want some sprinkles? I do! Add small circles or small rectangles over the frosting area of the cupcake to be sprinkles! That’s fun, isn’t it?
- You can leave your cupcake like this or add a birthday candle.What shape is a birthday candle? You guessed it, it is a tall and narrow cylinder! Draw two vertical parallel lines that are pretty close together. These two lines will start about ½ inch down into the frosting area of your cupcake and are about the same height as your cupcake paper. You can make yours taller, shorter, or wider if you want to!Connect the bottom of the two lines with a small smile line and the top two lines with a matching smile line. Draw an upside-down smile line over the top of the candle to make it look 3D.Erase the cupcake line and sprinkles that are showing through your candle.Add a short line on the top of the candle to be a wick.A tear drop shape on the top of the wick will look like a flame! I added a couple small lines in the flame and over the flame to make it look more like fire.
- Pretend that there is a light source to the upper right of the paper, and it is shining down towards the lower left. The light hits the right side of the cupcake, leaves the left side shaded and makes a cast shadow on the table to the left.Draw shading on the left side of the candle and cupcake by leaning your pencil to the side and gently rubbing the side of the pencil lead on the paper. This leaves a light rubbing mark instead of a sharp line. Use your finger to smudge this a bit to make it look more like a shadow.Lastly do some rubbing on the left side of the cupcake to look like the cupcakes shadow on the tabletop. I did draw horizontal lines on either side of the cupcake to represent the edge of a tabletop. You can do that too if you want.
- If you like to watch videos on YouTube subscribe and/or watch the video here: YouTube link to How to Draw a Cupcake.


Leave a Reply