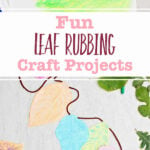
Let me walk you through making these Fun Leaf Rubbing Craft Projects, step-by-step. It is an easy craft for kids that you can pull off any time, as you already have all the supplies in your home!
Jump to:
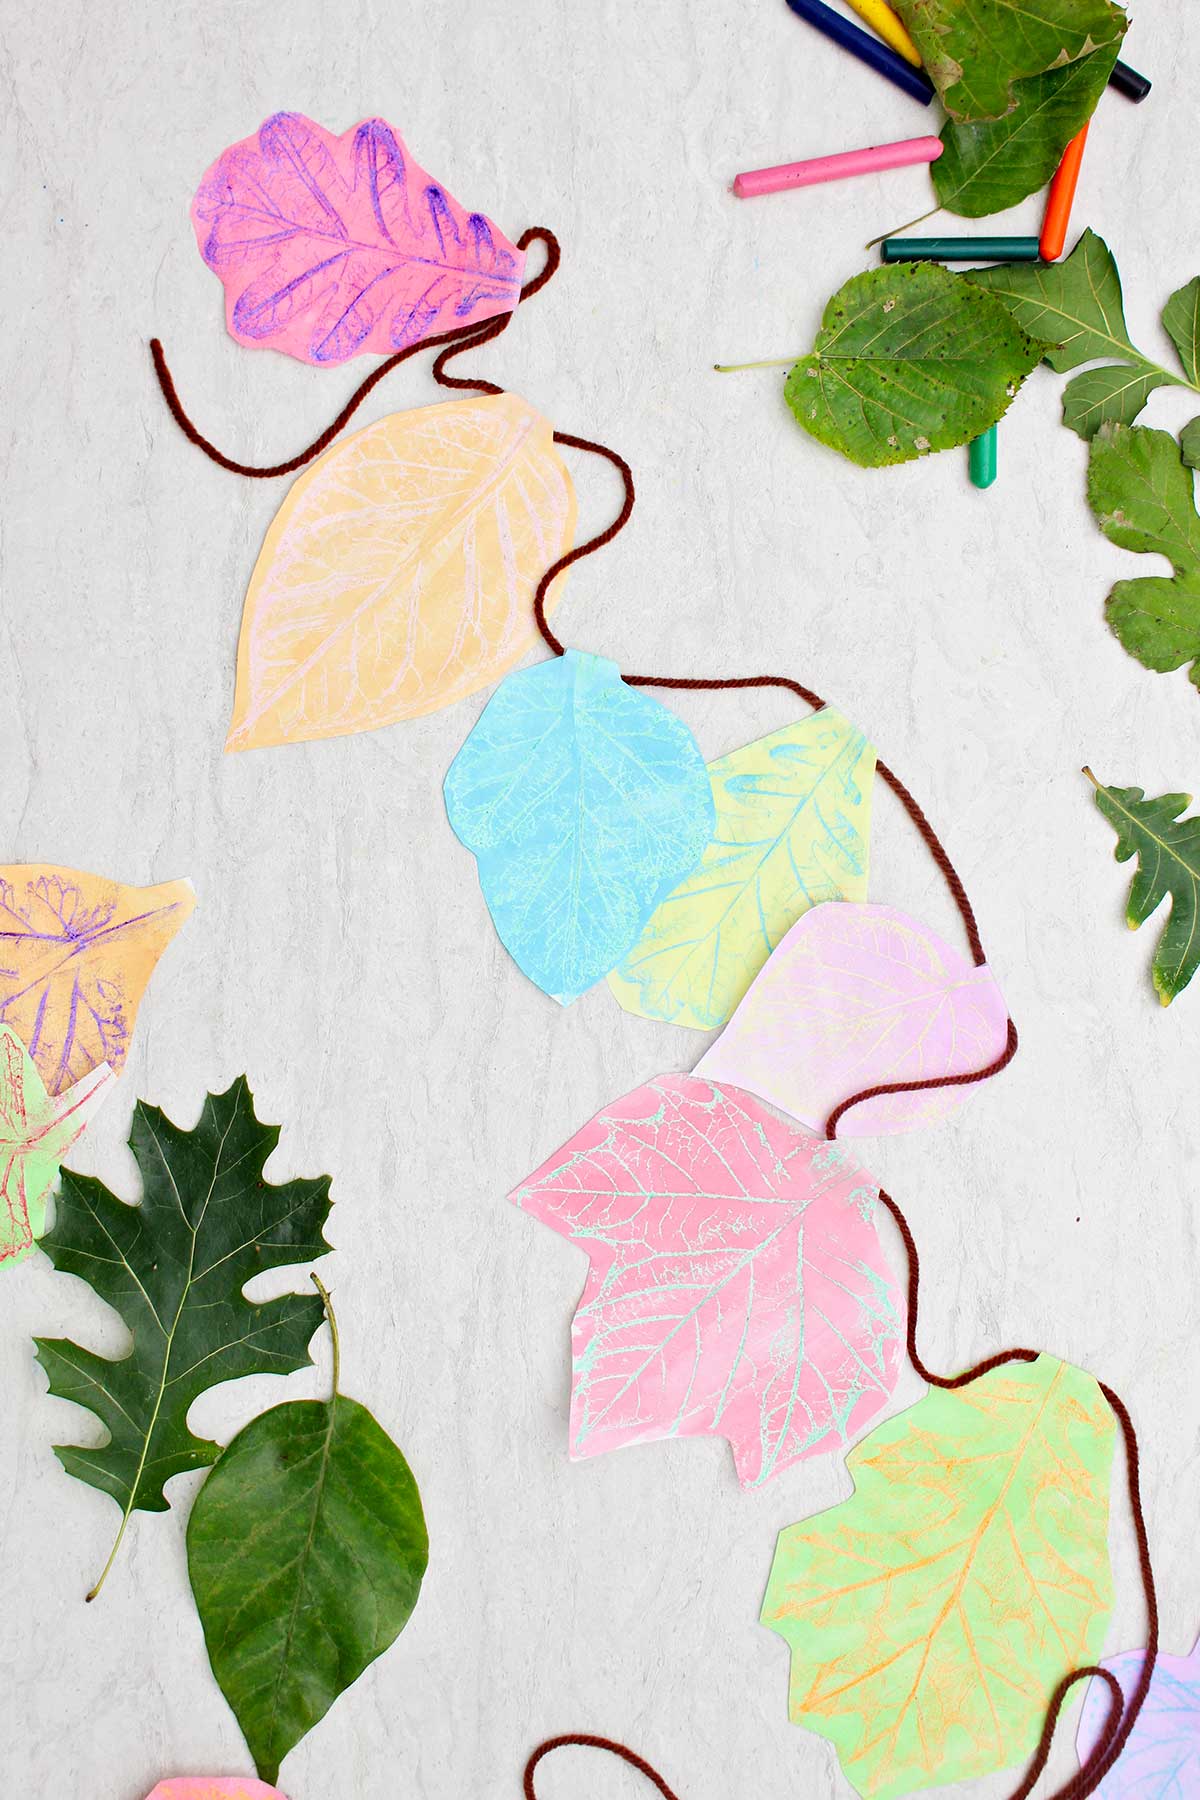
Cute Craft Alert: Crayon Leaf Rubbing & Watercolor Wash
Last weekend the grandkids and I wanted to make a craft. I had leaf rubbing in mind but thought they would think it was boring. Boy was I wrong.
We talked and laughed the whole way through. And I can’t count how many times one of us said, “This is so beautiful”, or “This is so much fun!”, or “Look at this one!”
As a Mom and Nana for over 40 years I’ve made leaf rubbing crafts SO many times. But the crayon and watercolor resist technique made it feel completely new. The grandkids and I truly enjoyed every step of the process.
We did every step of this craft together and worked as a team to make one garland and one wreath. It was a wonderful group project. I hadn’t thought about that aspect when we started.
Grab the supplies and adapt the Fun Leaf Rubbing Craft to fit your group and circumstance.
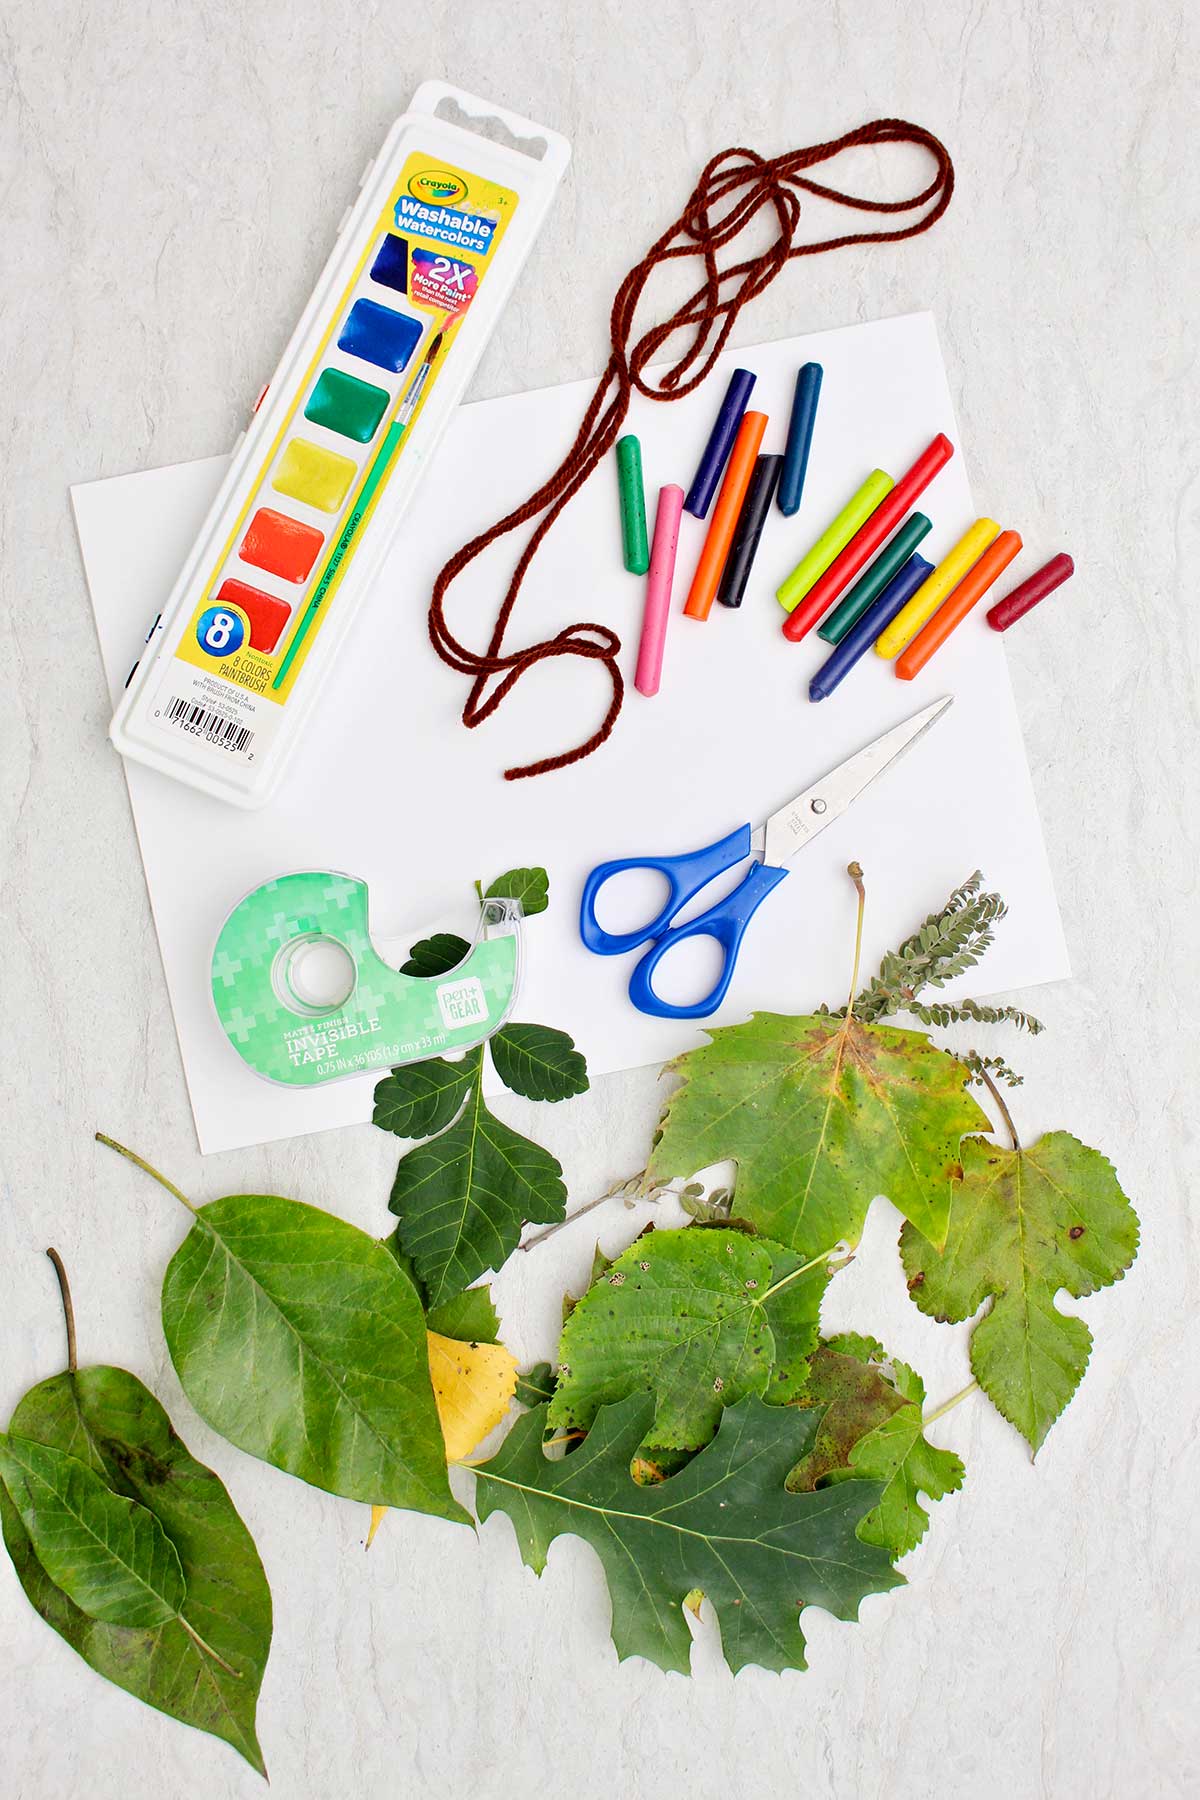
Supplies for Leaf Rubbing Activity
You don’t need much to bring these cute leaf rubbing projects to life. I think you'll have most of these things already in your home!
- Leaves- Leaves collected from your yard.
- White copy paper- Lightweight white copy paper works best.
- Crayons- Crayons that have the papers removed, in several colors.
- Crayola watercolors and brush- I recommend Crayola watercolor paints for their vibrant colors.
- Paint brush- If your watercolor paint brush has gone missing!
- Scissors- Scissors
- Yarn or ribbon- Yarn or ribbon for the garland in the color of your choice.
- Tape- Tape to attach the leaves to the yarn.
- Cardboard- A larger piece of cardboard for making a wreath (optional).
Steps to Make Leaf Rubbing Art
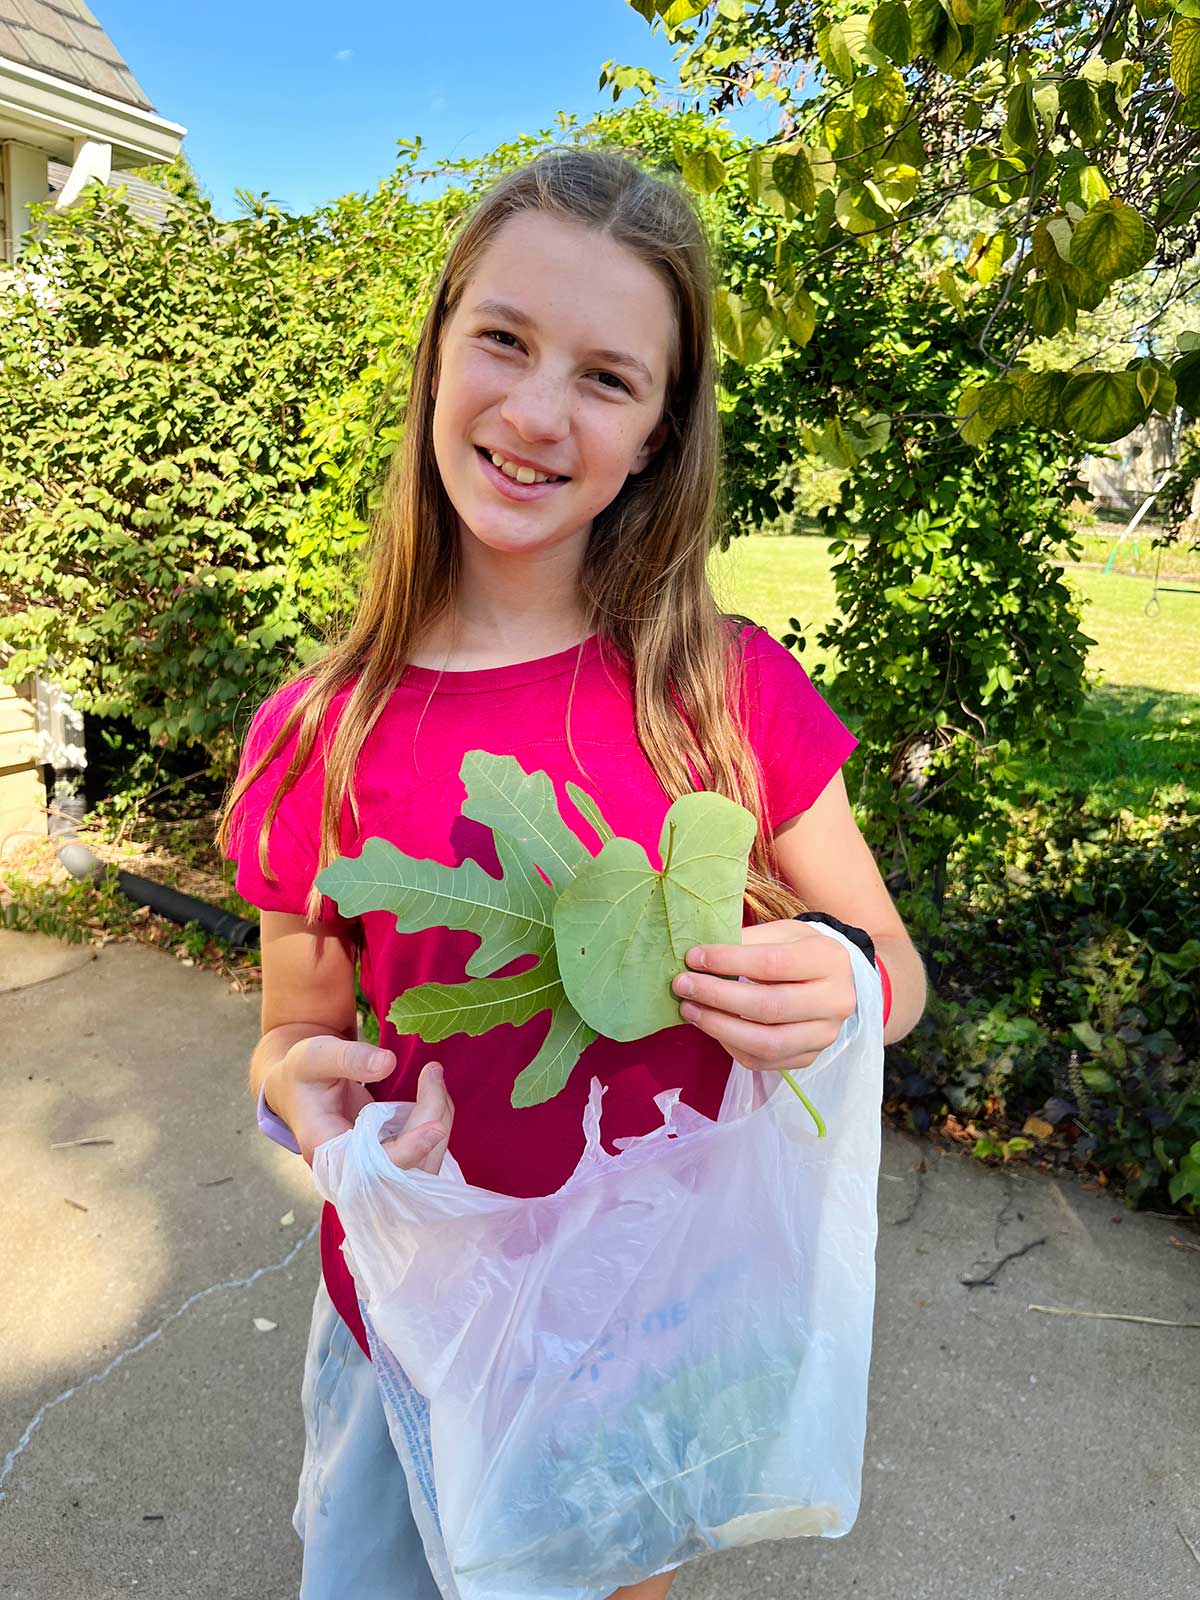
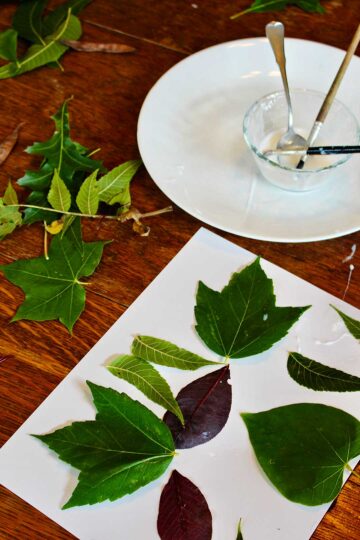
- Go outside in your yard and collect some leaves that are in good condition. Find a variety of types. If collecting elsewhere, be sure to ask permission.
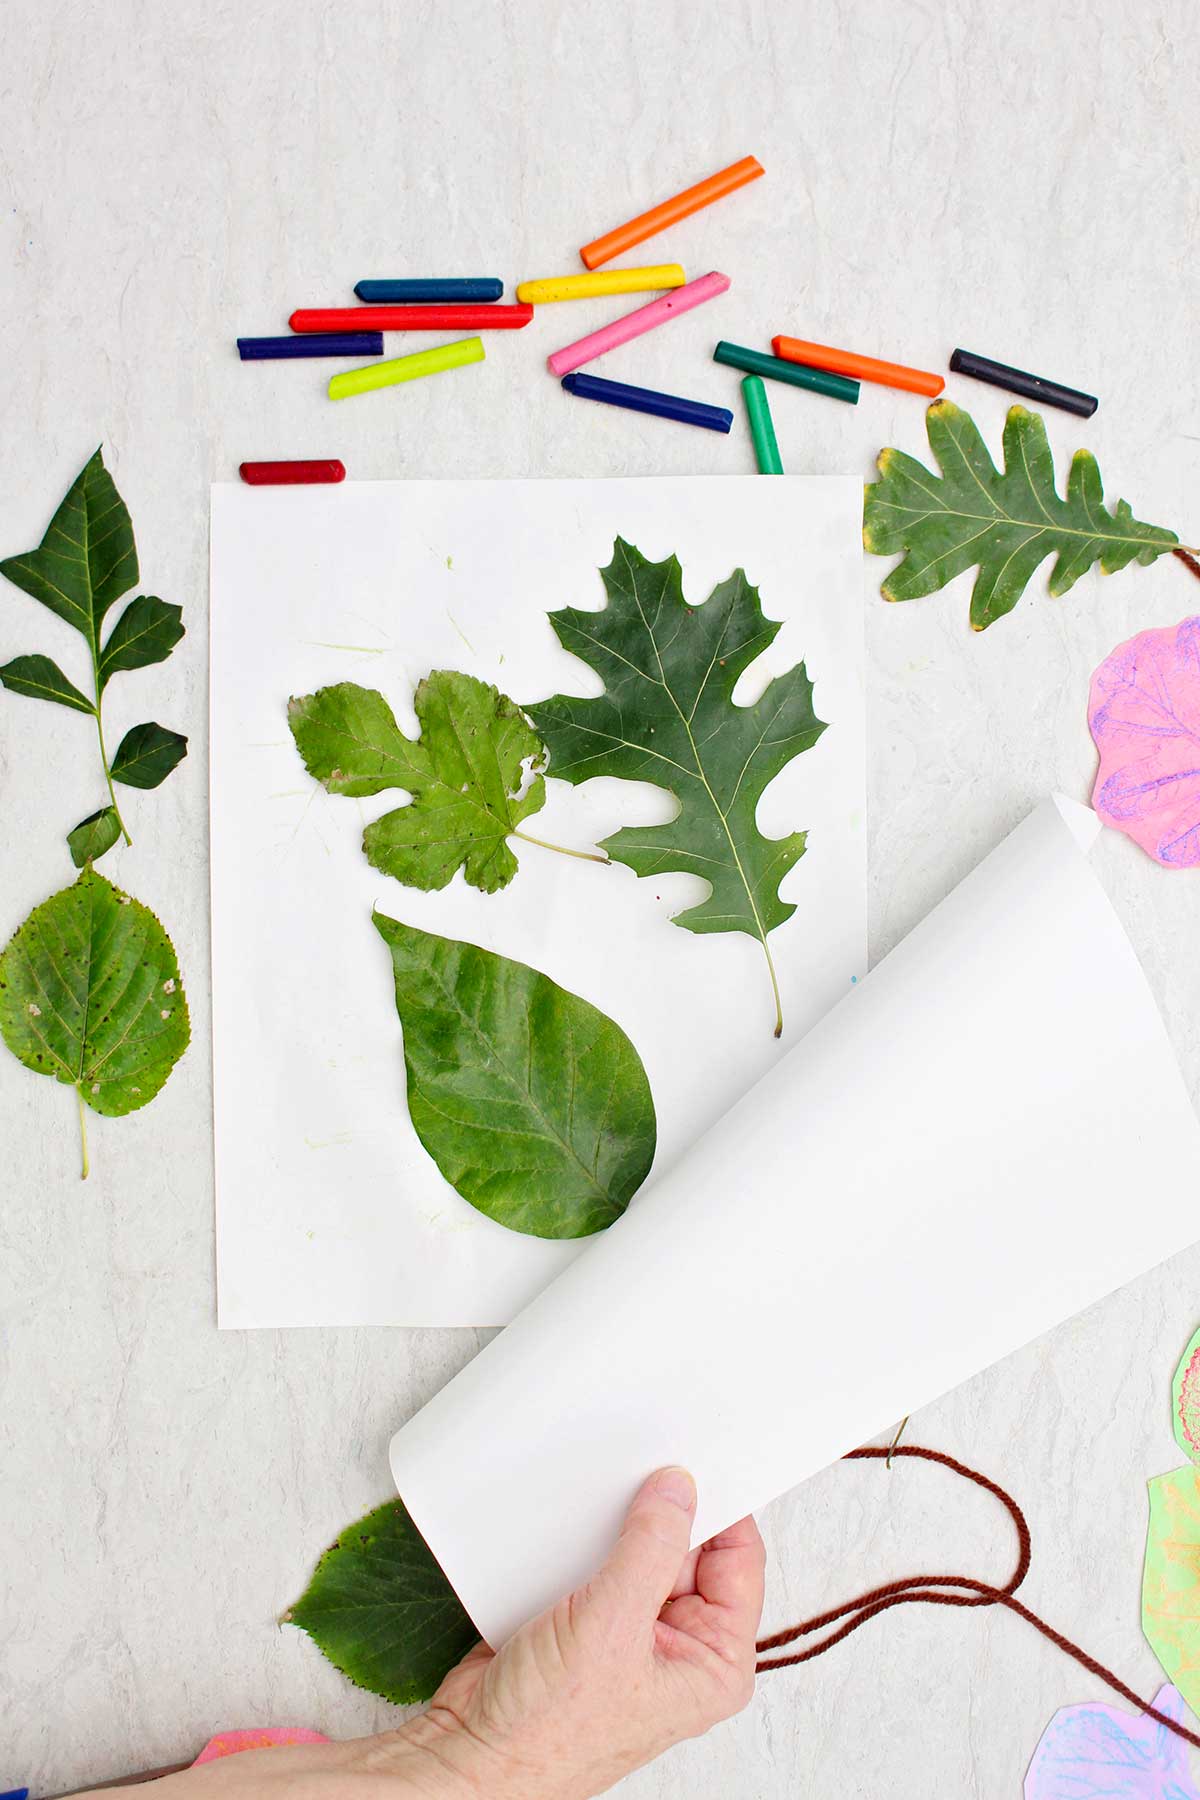
- Place a piece of copy paper on the work surface for protection. Then place 3-4 leaves (vein side up) on the paper depending on their size. You want a bit of space between each leaf.
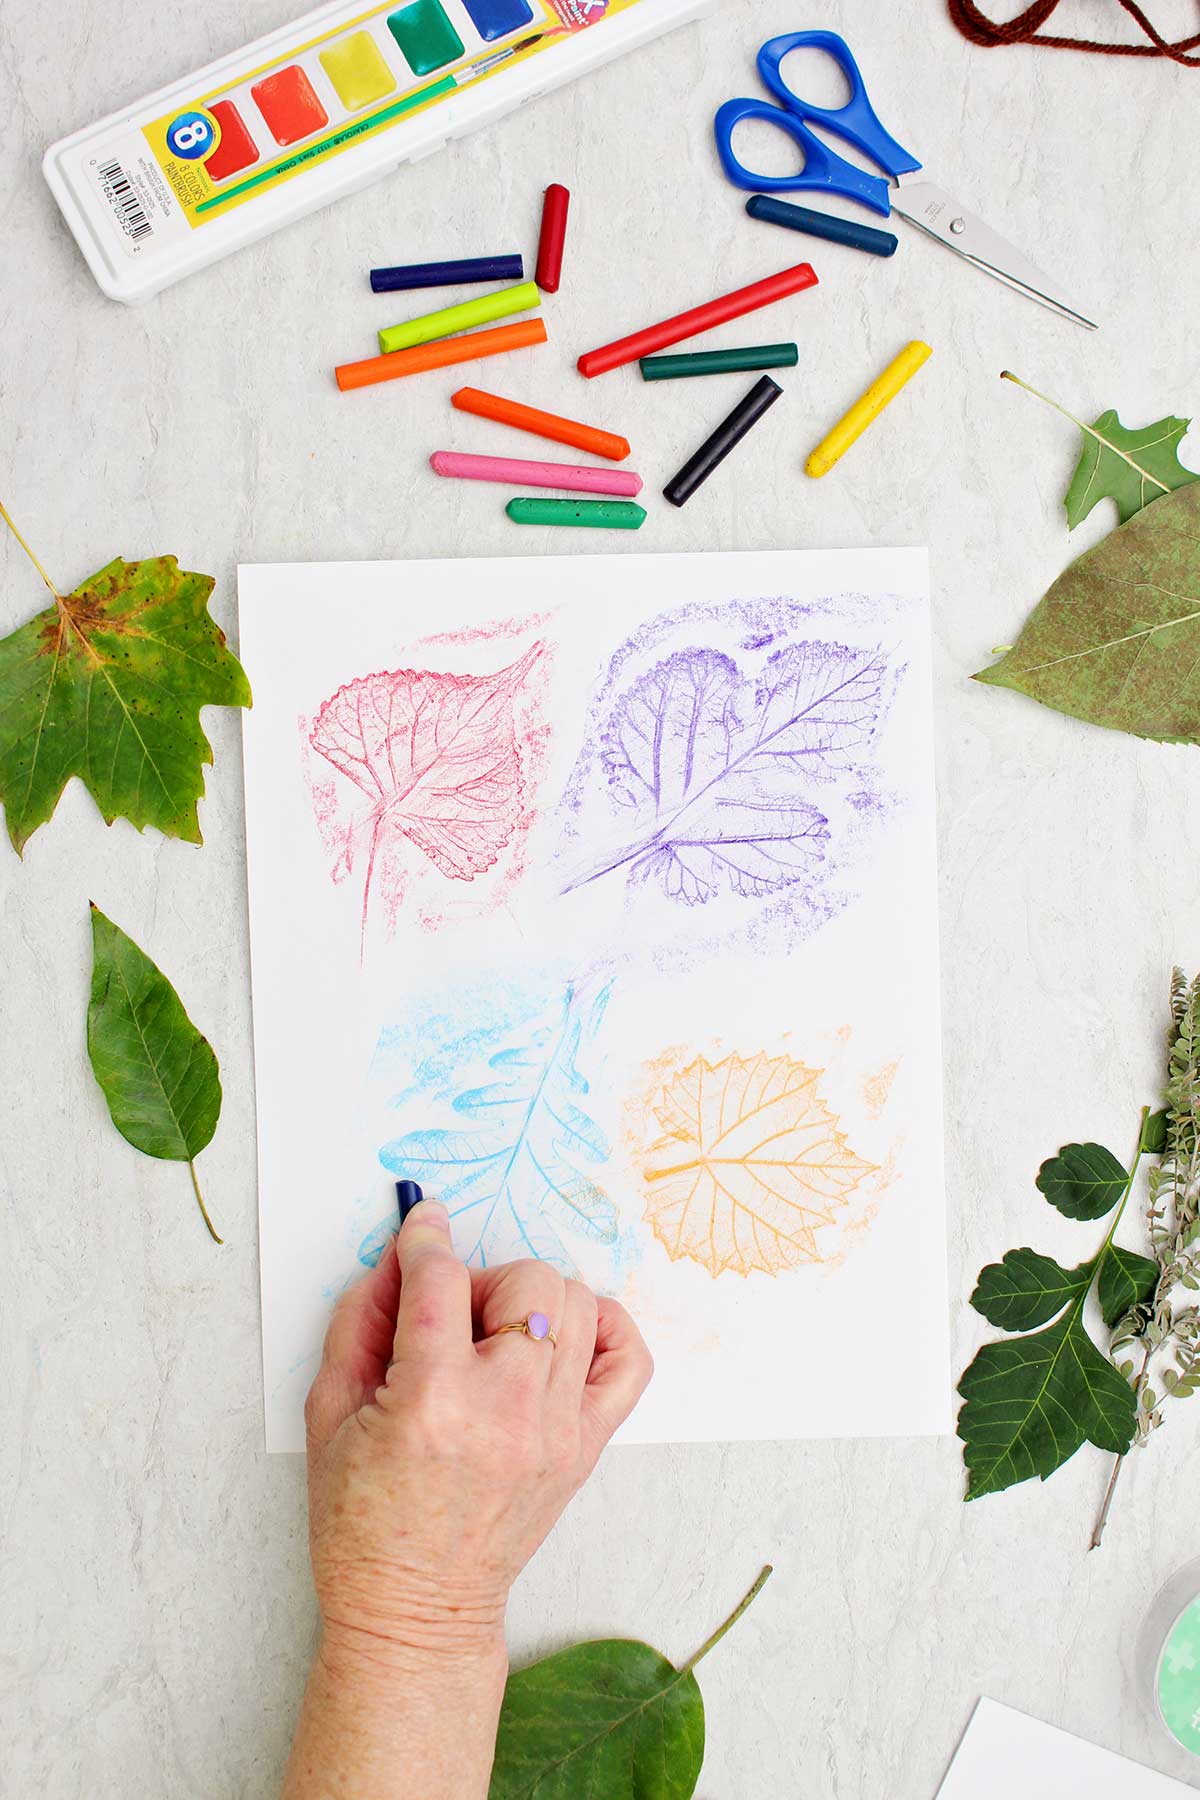
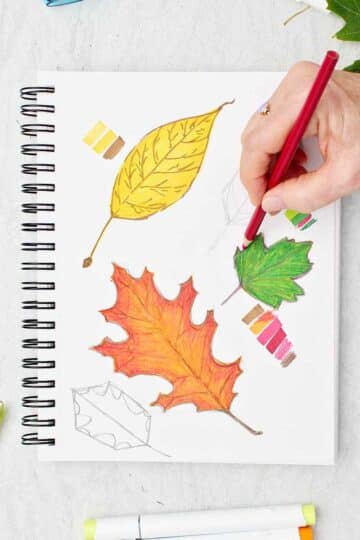
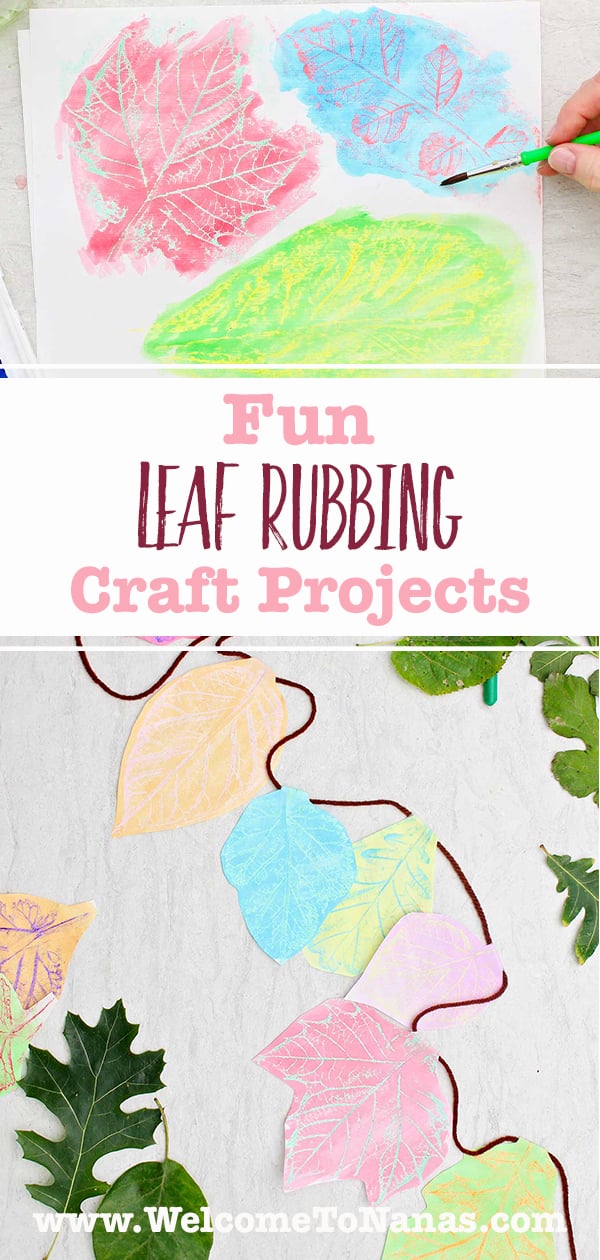
- Put a piece of white copy paper over the top of the leaves. Hold the paper in place with one hand and use the other hand to rub the side of a crayon (without paper) over one leaf. Turn the crayon in different directions to get between the larger veins of the leaf and rub the smaller veins. Repeat this process for each leaf using a different color of crayon.
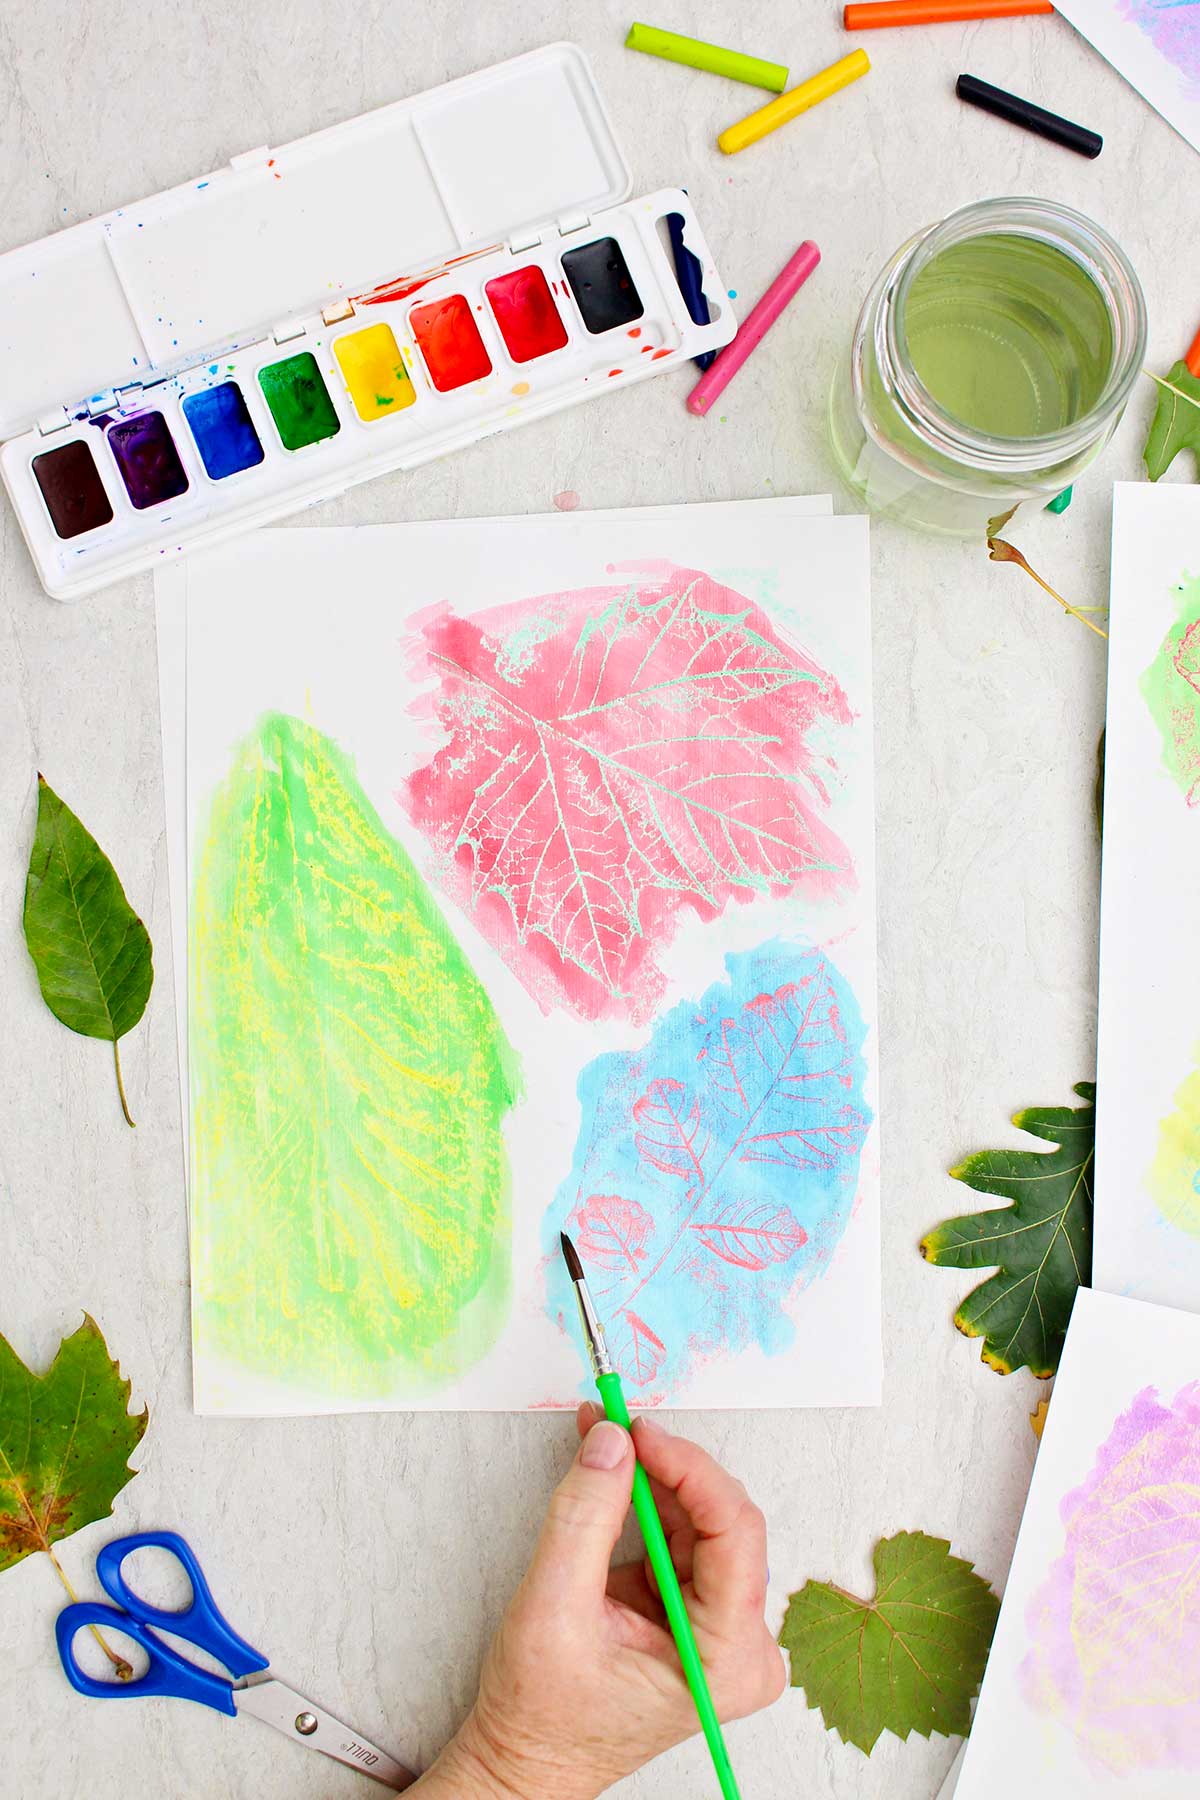
- Take out your watercolors, paint brush, and a jar of water. Watercolor over each leaf rubbing in a color that is different from the crayon color used to make the leaf rubbing. Let the papers dry.
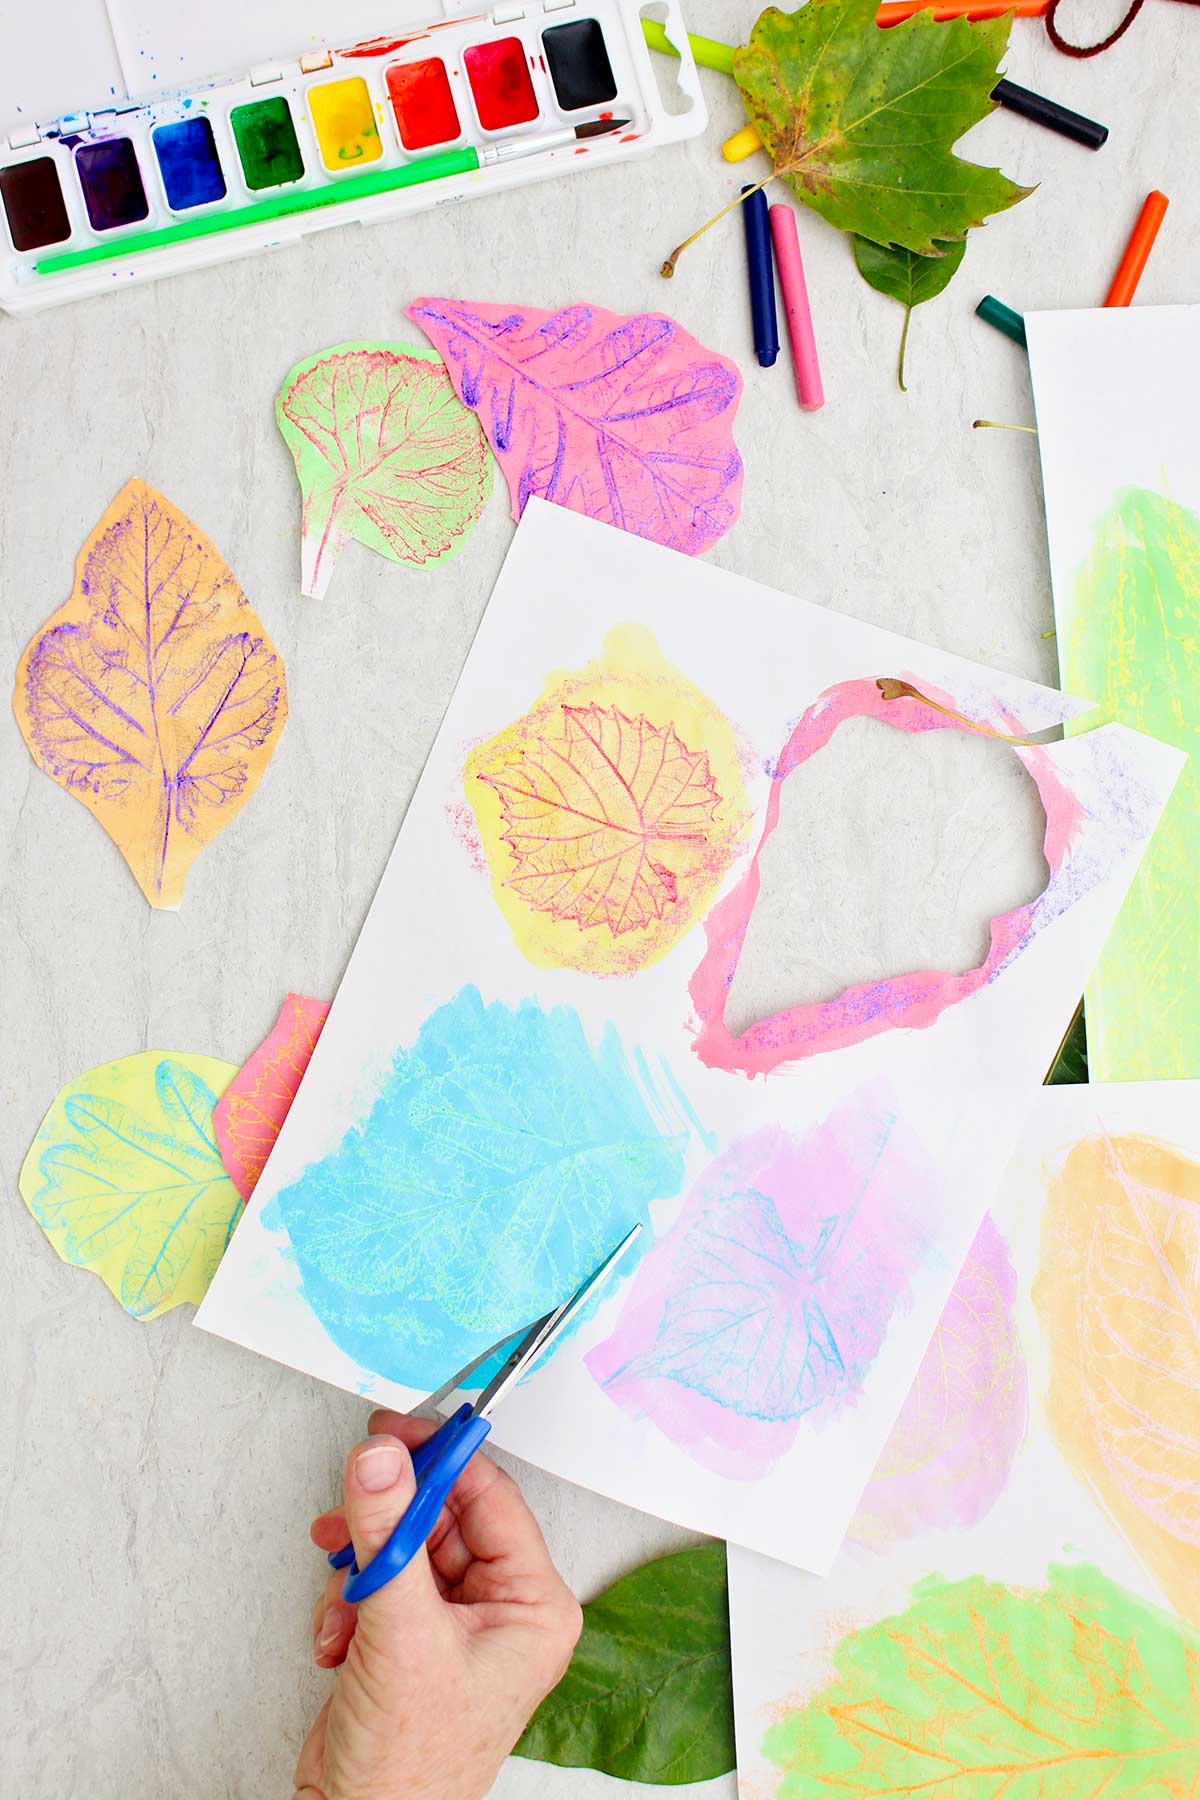
- Cut around each leaf shape. This doesn’t have to be exactly on the outline of the leaf.
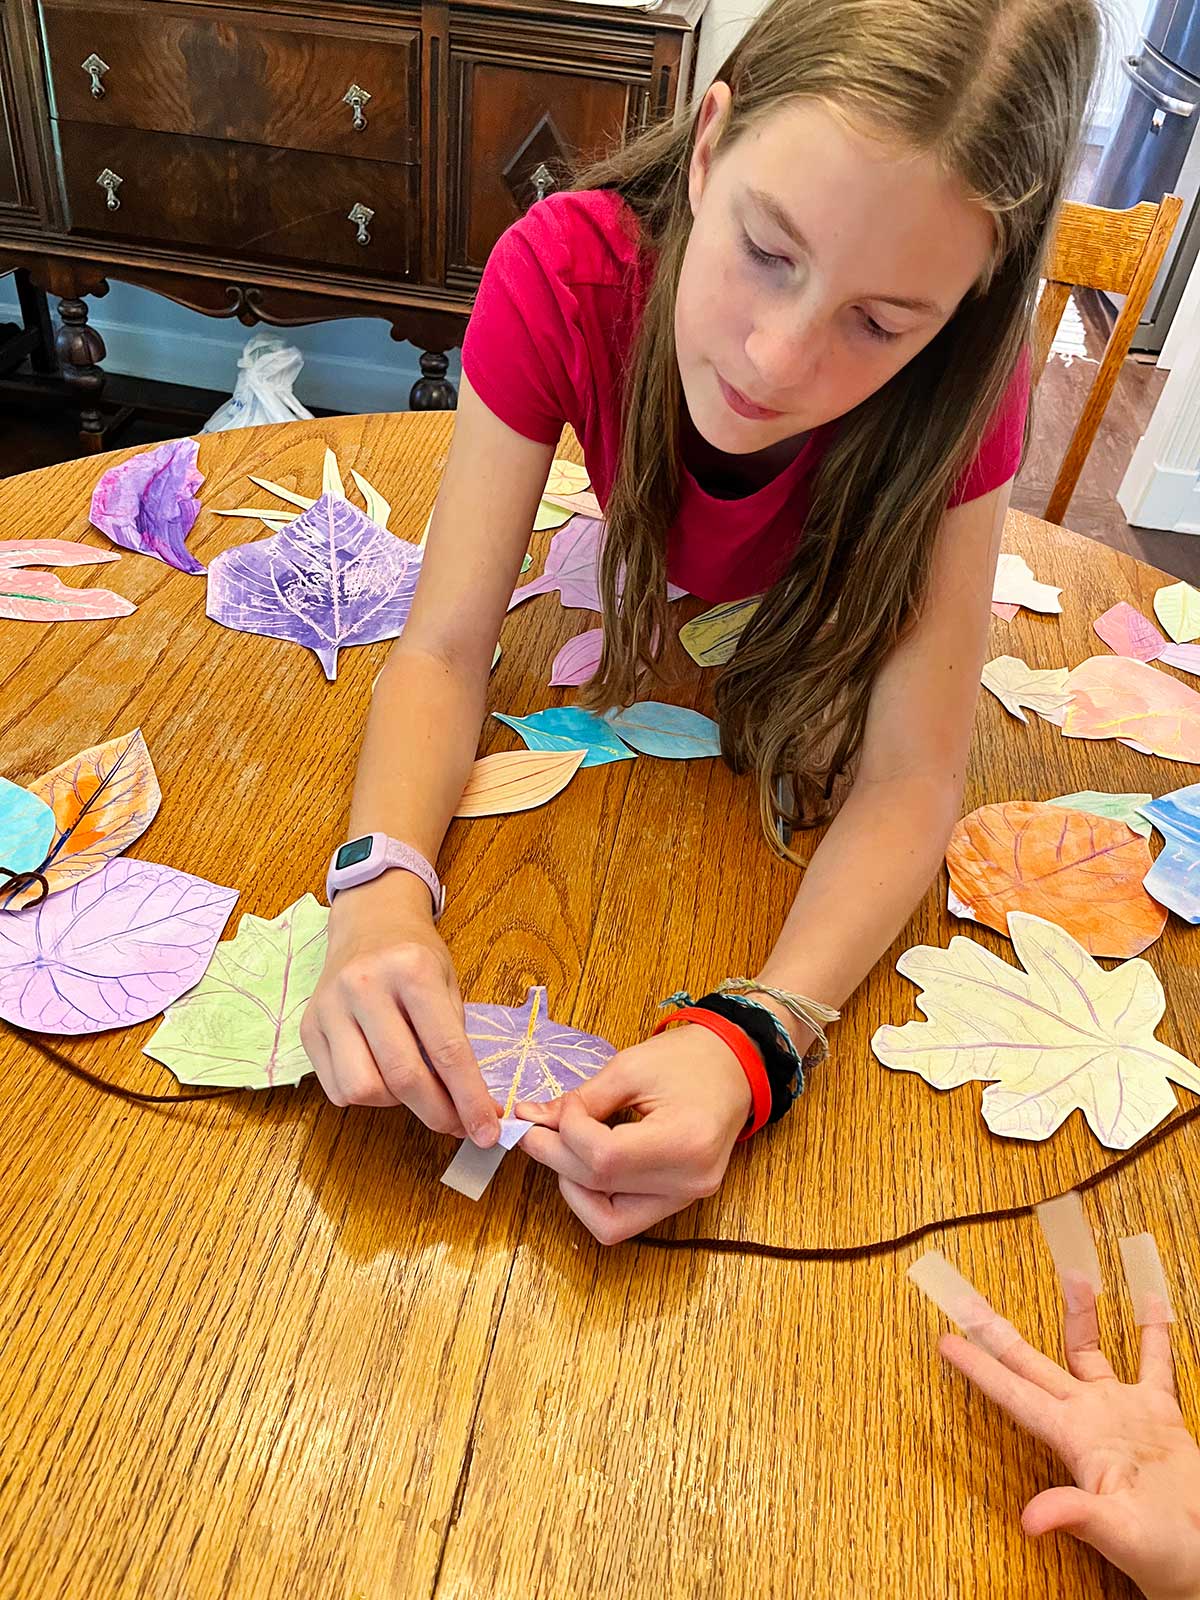
- Place the leaves in a pleasing order of shapes and colors.
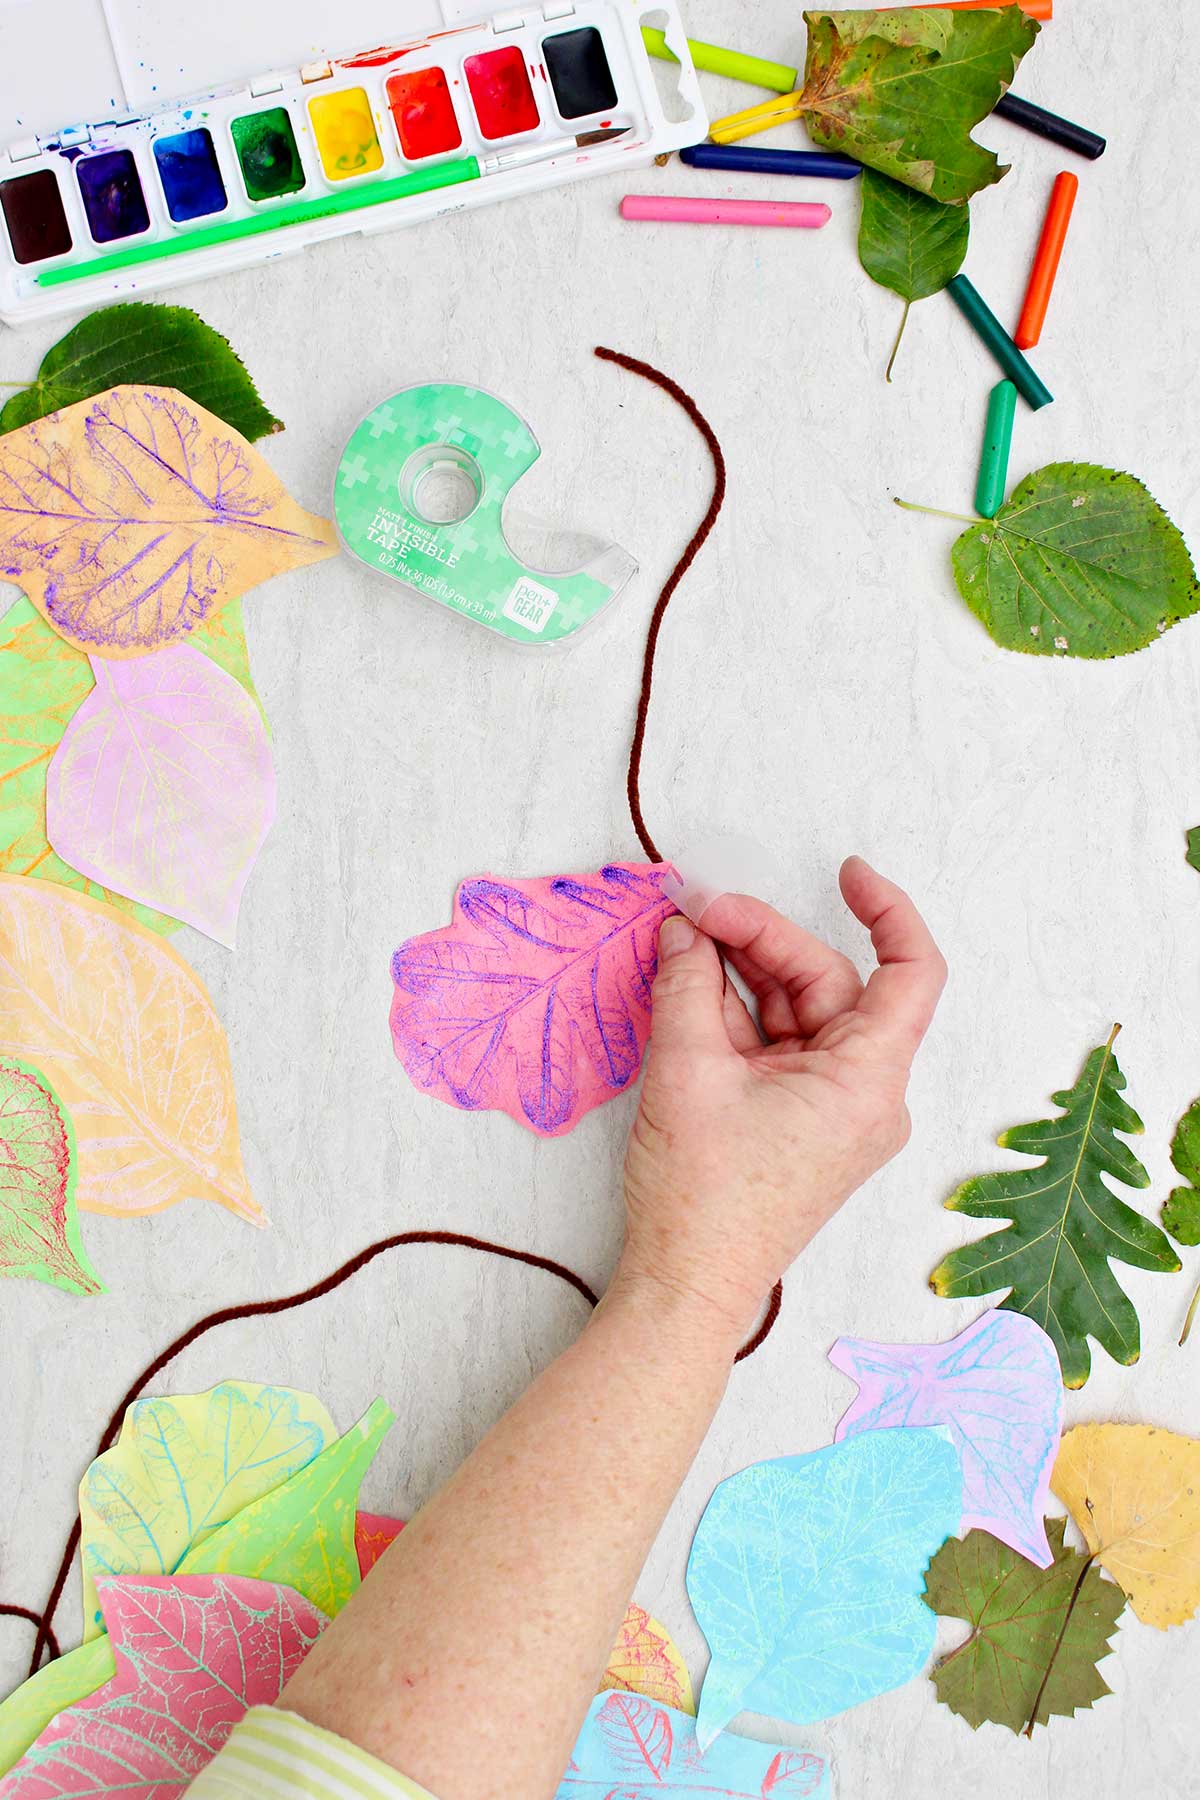
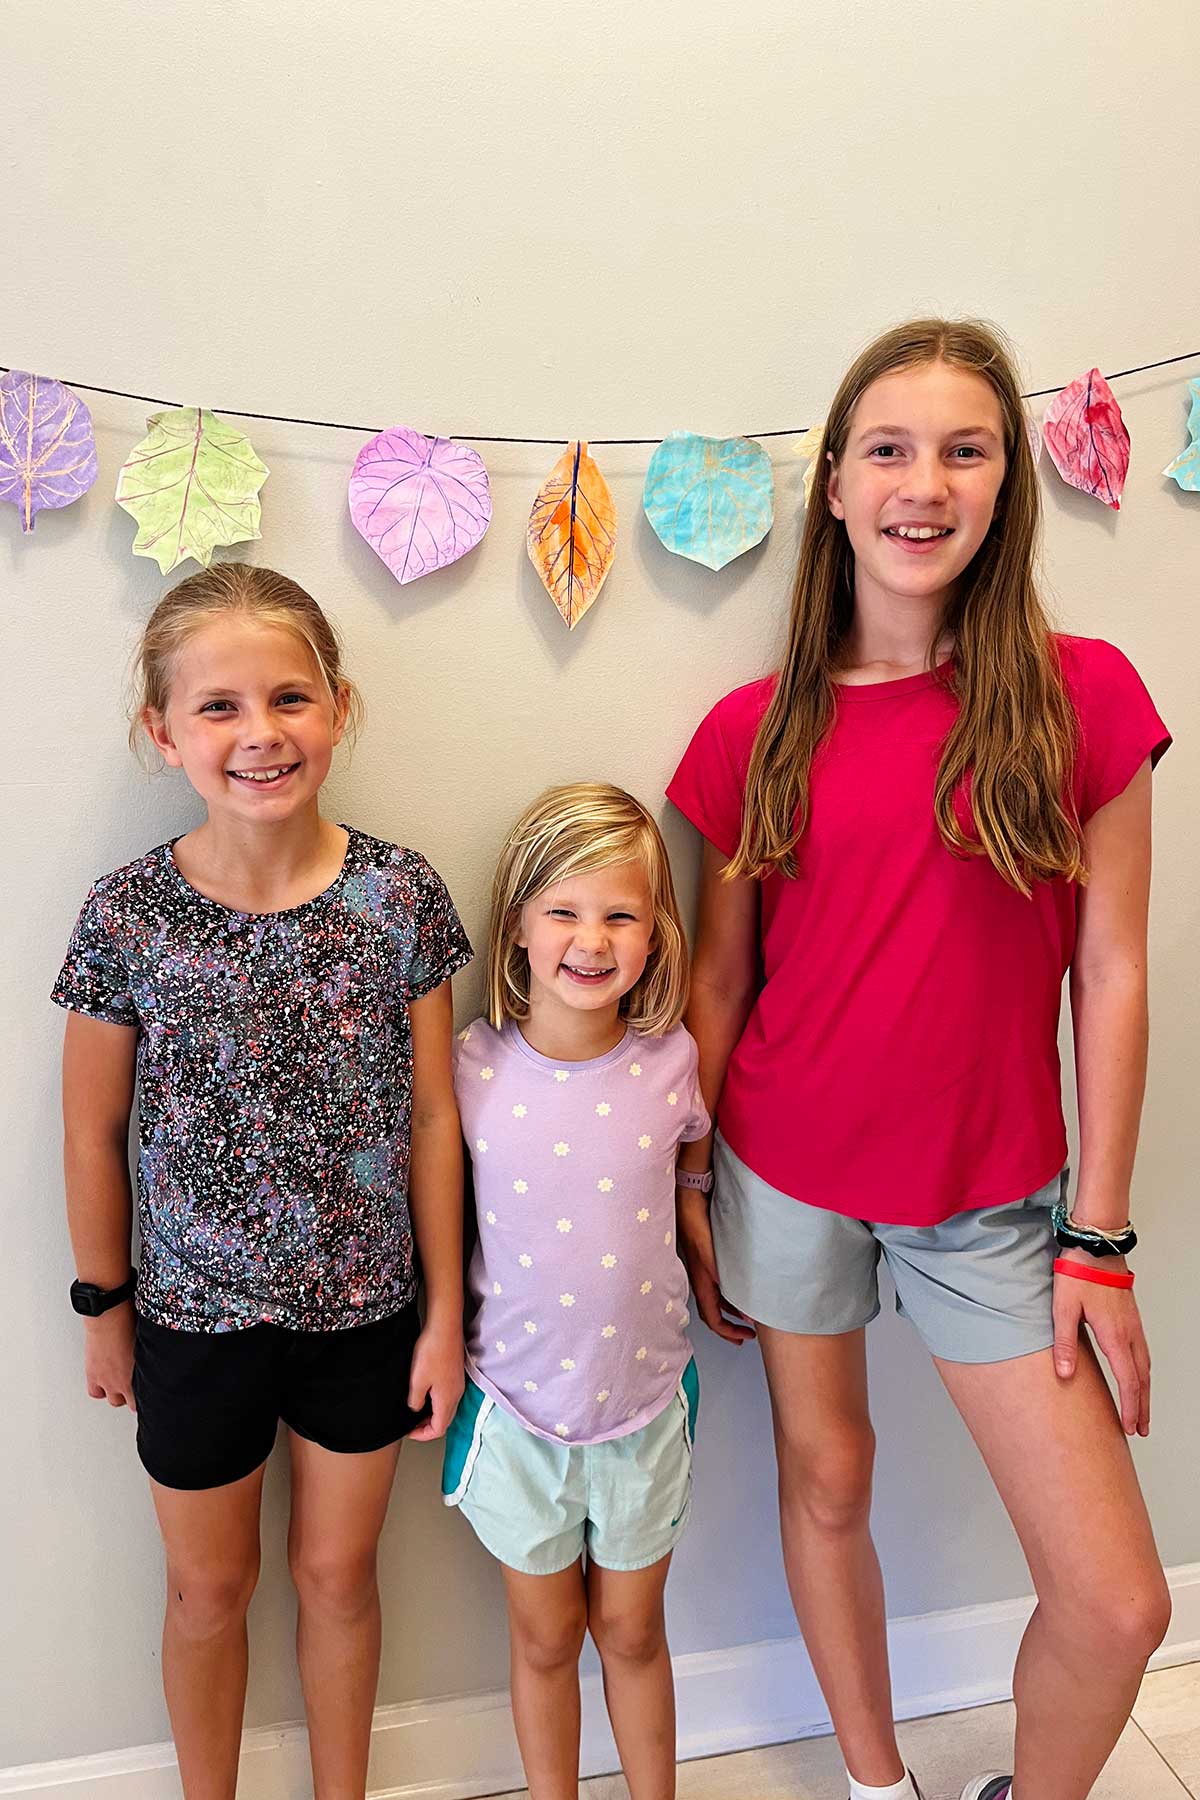
- Tape the leaves onto a long piece of yarn or ribbon. Fold the stem area of the leaf over to the back and tape it in place.
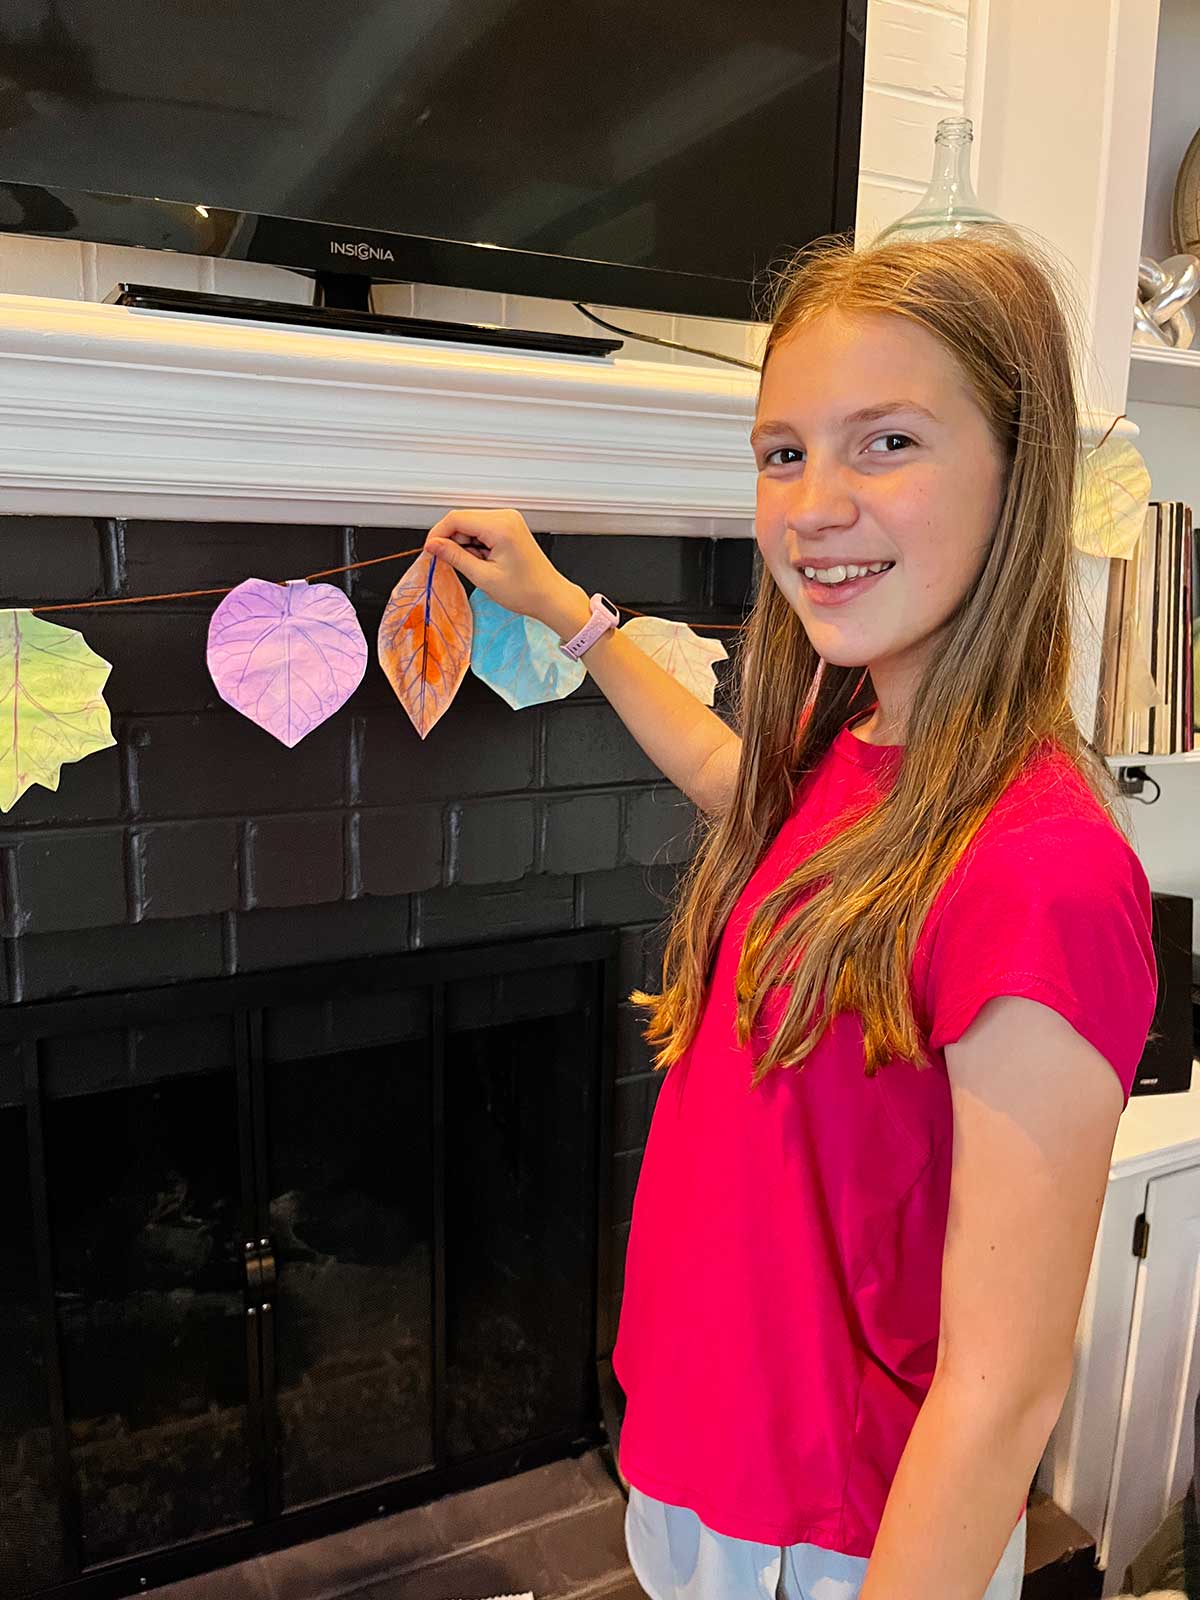
- Hang the garland up and enjoy!
Craft Tips for Leaf Rubbings
These tips can help making crayon rubbing leaves even easier!
- If you need to pick leaves early and don’t want them to dry up, place them between two damp towels in a plastic container. My leaves kept for several days this way!
- It takes about 4 leaf rubbings for each foot of garland you want to make. This will help you estimate how many leaf rubbings to make.
- Put a paper underneath the leaves before doing the crayon rubbing or juices stain the work surface.
- Place the veins of the leaves up so they will show more in the crayon leaf rubbing.
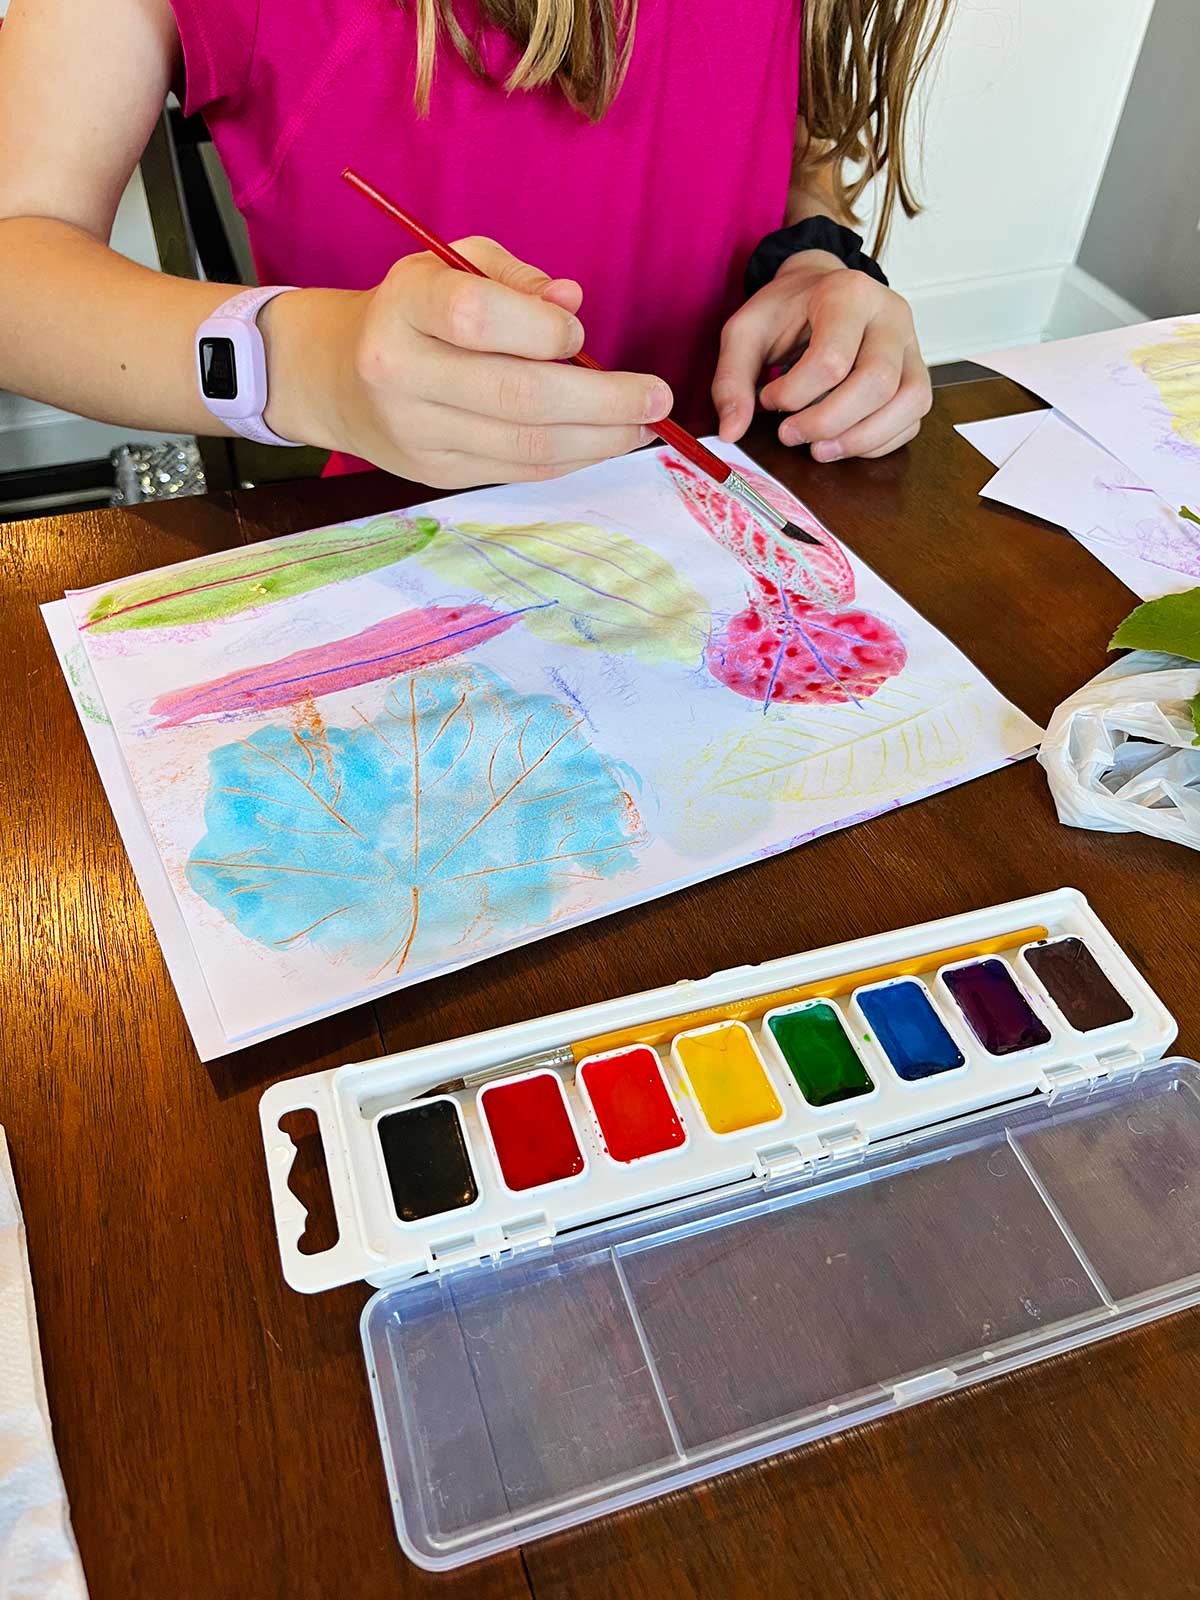
- Have an adult hold the paper in place for younger children so it doesn’t shift as they do the leaf rubbing.
- Turn the crayons so they go between the thicker veins, to show the smaller veins between.
- Crayola watercolors are more vibrant in color, I recommend them for this project.
- In the watercolor wash, use a color of watercolors that is different from the color of the crayon used in the leaf rubbing. Then the pattern of the leaf veins just pop through the watercolor paint!

Craft Variations for a Leaf Rubbing Craft
Here are a few variations you’re welcome to try with this crayon leaf rubbing craft:
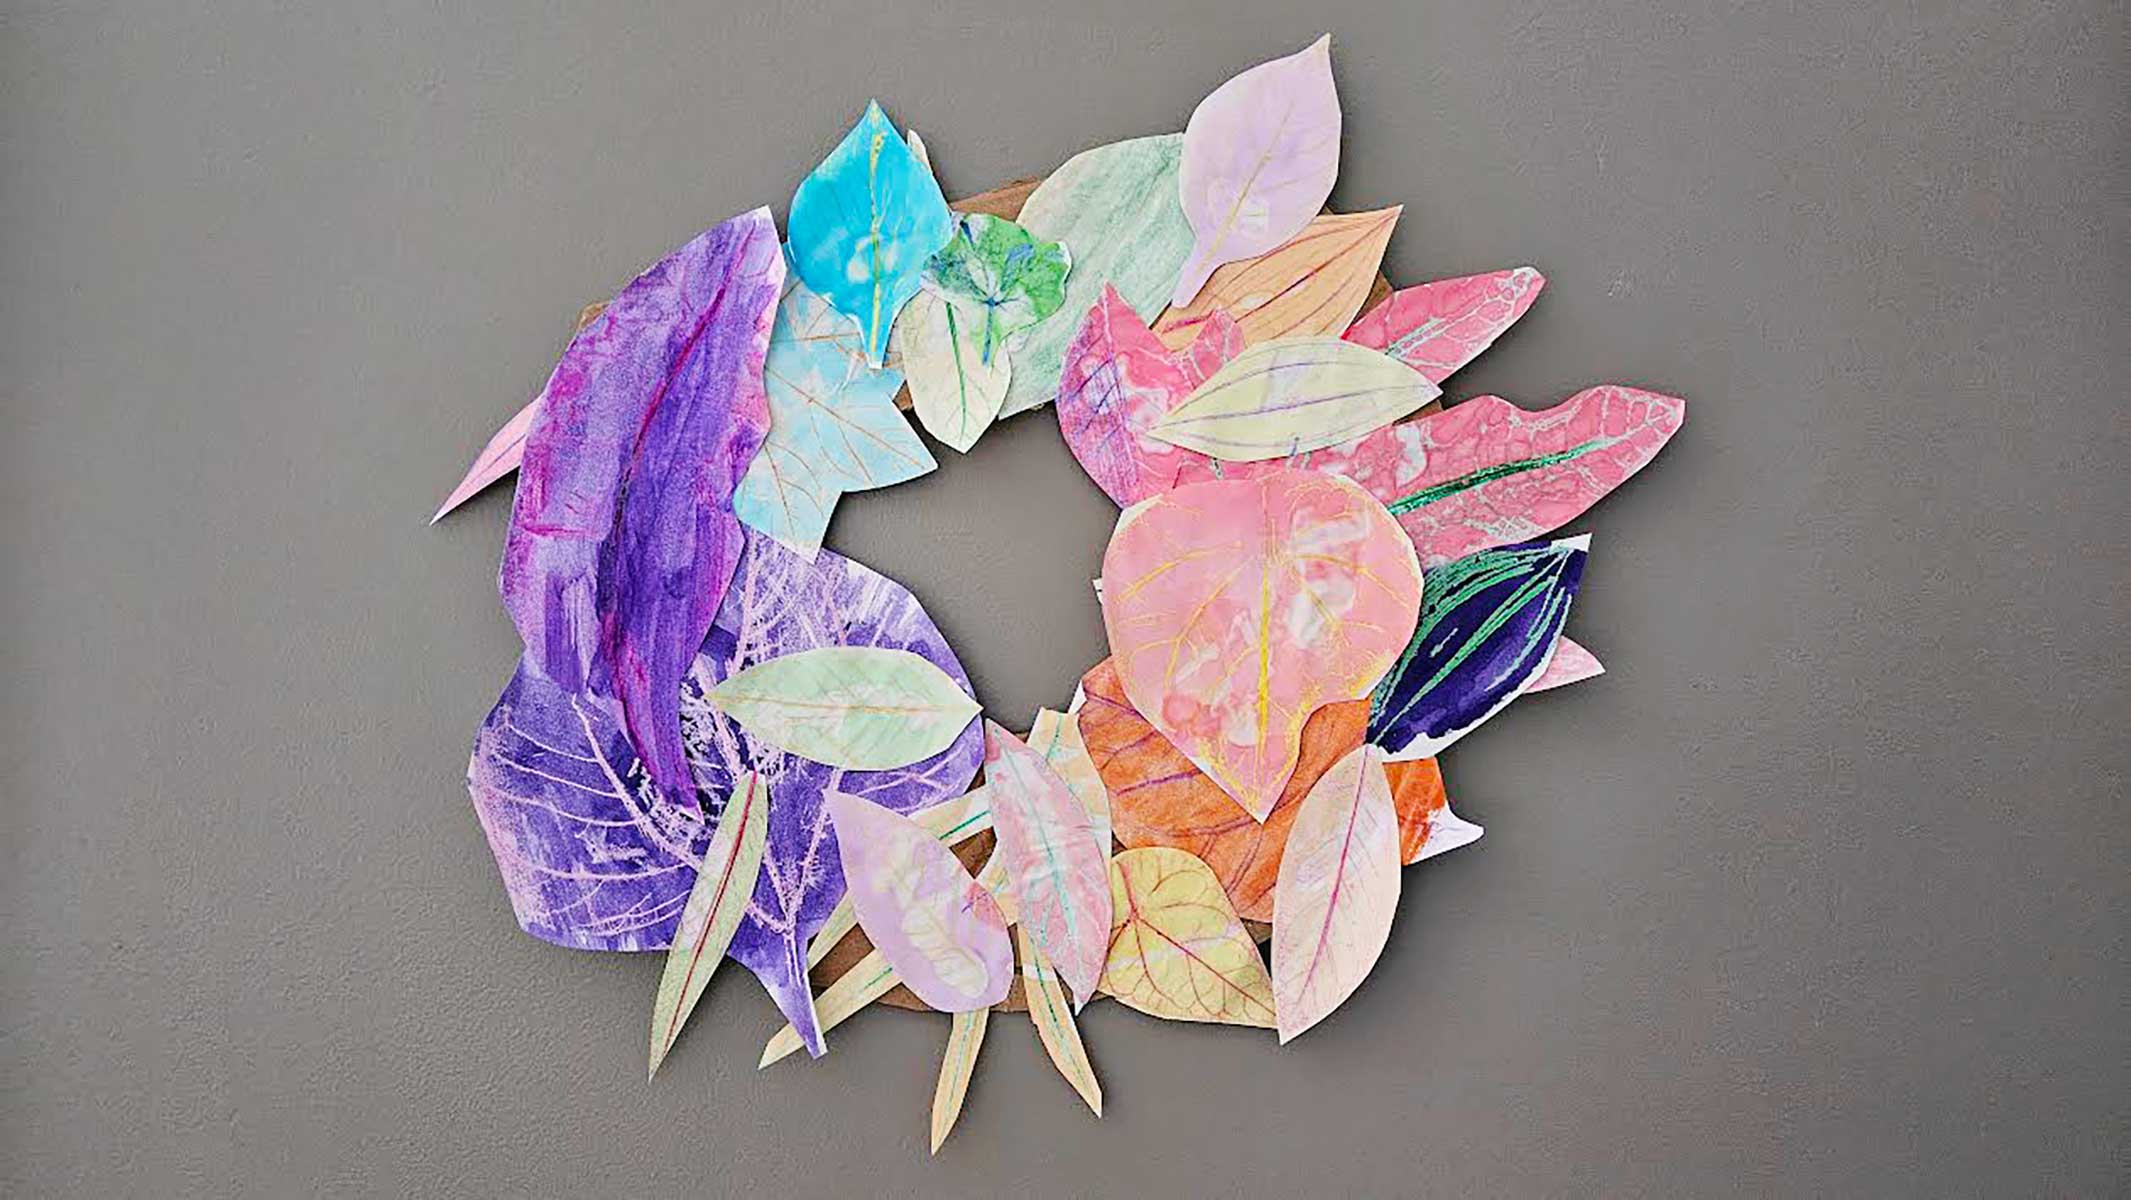
- Leaf Wreath: For a wreath, cut a piece of cardboard into a ring shape. Glue leaves over the cardboard to cover it completely.
- Leaf Mobile: Make a mobile from the leaf rubbings. Attach single leaves to pieces of yarn that are 6-12 inches long. Use a stick from a tree to hang them from. Make each string a different length so the leaves hang at different distances from the stick. Use another piece of yarn to tie to each end of the stick for hanging the mobile up.
- Leaf Group Project: This is a wonderful group project. All children can make a number of leaf rubbings as described above. They can hang their leaves from one long yarn and the garland can go around the room as a decoration.
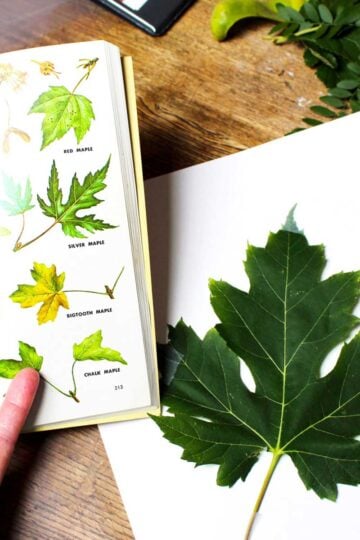
- Leaf and Tree Identification: This would be a great craft to go along with a tree and leaf identification assignment. Have the children look the leaves up in a Tree Identification Reference Book.
FAQ About Leaf Tracing
It's best to use a lightweight paper for leaf rubbing. A white copy paper or construction paper allows you to rub the crayon and then see the veins of the leaf through the paper.
Use tree leaves that have a defined leaf shape with defined veins. Leaves like oak, maple, elm, ginkgo, and mulberry. Teach kids what poison oak and ivy are (or other plants in your area that are not good to pick up).
Oh my, yes! Any age child can make a leaf rubbing and create a craft with it. They can also learn about tree varieties and recognizing them by their leaves!
Place a piece of white copy paper over a leaf. Rub over the paper with a crayon until the outline and vein pattern of the leaf are visible. Use different types of leaves and different colors.
Use different colors of crayons when rubbing over the leaf in a leaf rubbing. Or make a watercolor wash over the crayon leaf rubbing. The crayon wax rubbing shows through the watercolor paint.
More DIY Leaf Crafts for Kid
Looking for more great DIY leaf crafts for kids? Here are a few favorites for you to try:
Come join the fun at WTN!
Try this craft, leave a comment, rate it, and tag a photo with #WelcometoNanas wherever you post.
Love getting crafts straight to your inbox? Sign up to receive a weekly email and get a free gift!

Fun Leaf Rubbing Craft Projects
Equipment
- none needed
Items Required
- Leaves collected from your yard.
- white copy paper
- Crayons that have the papers removed
- Crayola watercolor paints
- watercolor paint brush
- Scissors
- Yarn or ribbon
- Tape
- Cardboard- A larger piece
Instructions
- Go outside in your yard and collect some leaves that are in good condition. Find a variety of types. If collecting elsewhere, be sure to ask permission.
- Place a piece of copy paper on the work surface for protection. Then place 3-4 leaves (vein side up) on the paper depending on their size. You want a bit of space between each leaf.Put a piece of white copy paper over the top of the leaves. Hold the paper in place with one hand and use the other hand to rub the side of a crayon (without paper) over one leaf. Turn the crayon in different directions to get between the larger veins of the leaf and rub the smaller veins. Repeat this process for each leaf using a different color of crayon.
- Take out your watercolors, paint brush, and a jar of water. Watercolor over each leaf rubbing in a color that is different from the crayon color used to make the leaf rubbing. Let the papers dry.
- Cut around each leaf shape. This doesn’t have to be exactly on the outline of the leaf.Place the leaves in a pleasing order of shapes and colors.
Leave a Reply