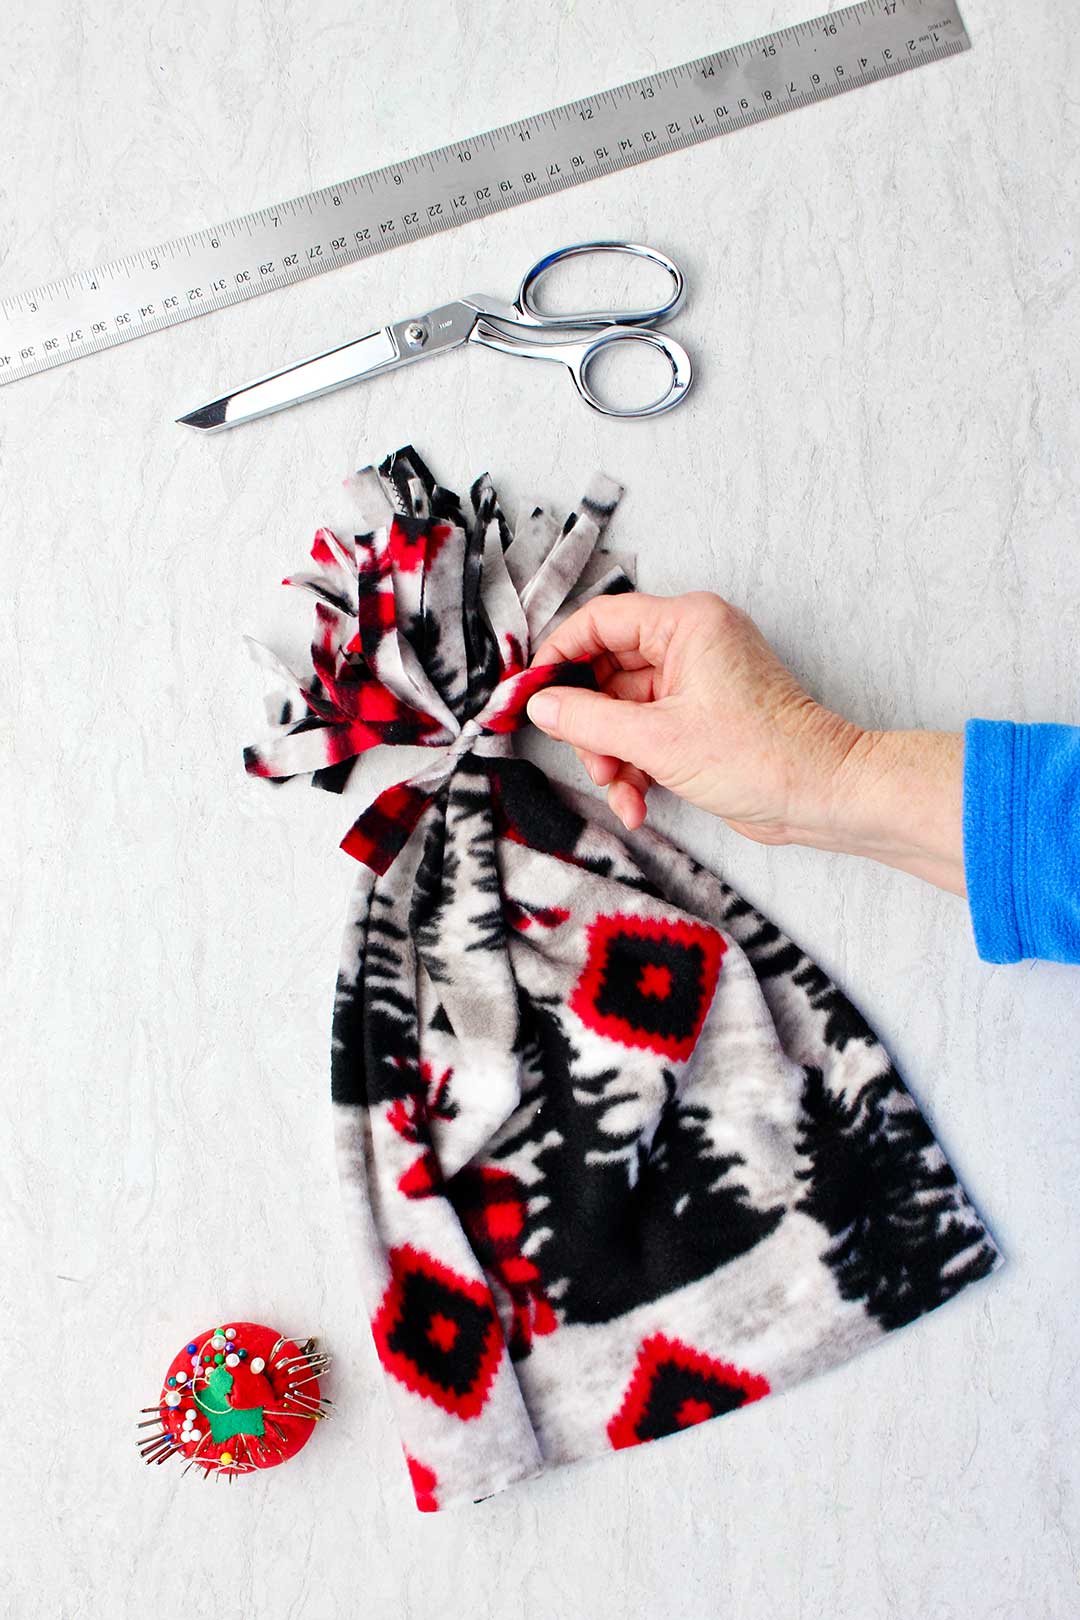
Winter hat sewing pattern
This Easy Sew DIY Fleece Hat turned out so cute and truly is easy to make. It would be a perfect learn to sew project for you or for the kids in your life.
You can hand sew or machine sew the one seam this DIY fleece hat requires.
Free printable fleece hat pattern for adults or kids
Here is a link to a free printable fleece hat pattern for adults or kids. It is a template for you to use when taking your measurements so your hat fits. It also gives some average hat sizes if you want to make hats for gifts.
Here is the link to that free printable: DIY Fleece Hat Free Printable Pattern
Fleece hat sewing pattern free
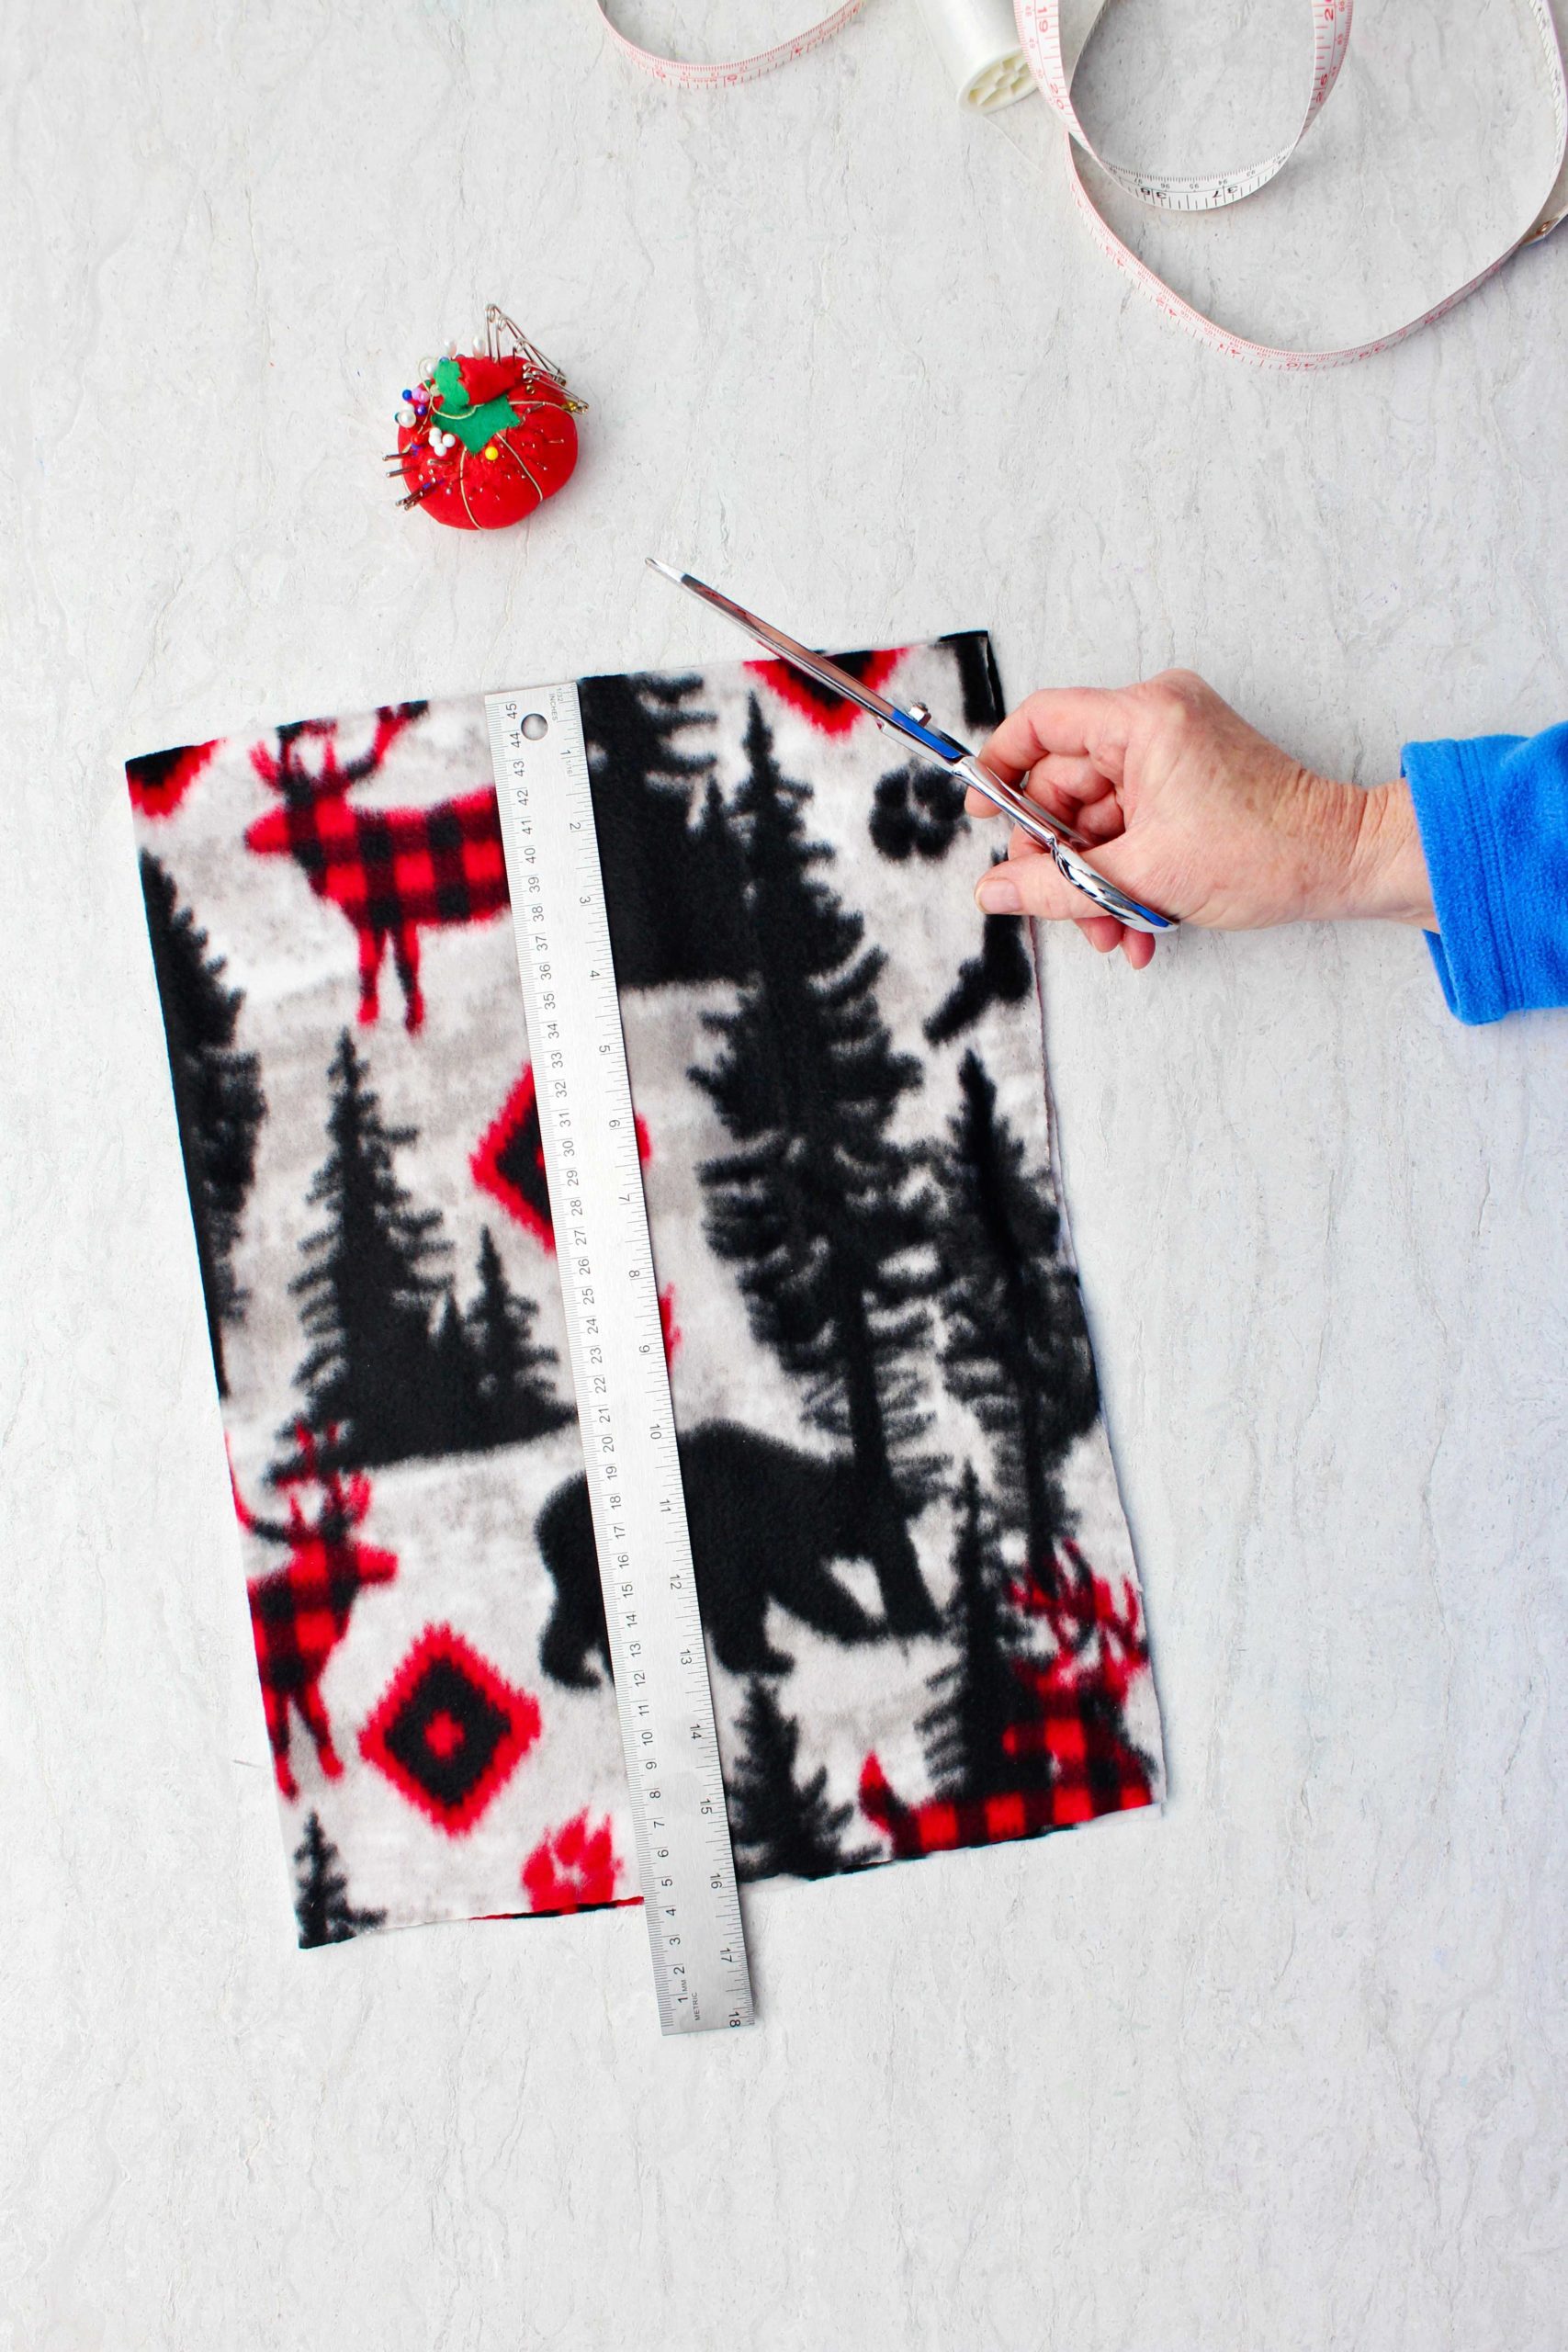
Measure the diameter of your head. Add 1 inch to this measurement.
Cut a rectangle piece of fleece that is the length you measured your head wide and 16 inches tall.
That’s all there is to it.
Note- If your fleece does not stretch it will not work well for this project.
Tip- If your fleece has a one-way design (a design that must be a certain direction or it will be upside down) refer to the DIY Fleece Hat Free Printable Pattern to cut your fleece correctly. Otherwise your design may be sideways or upside down on your hat!!
Making a fleece hat
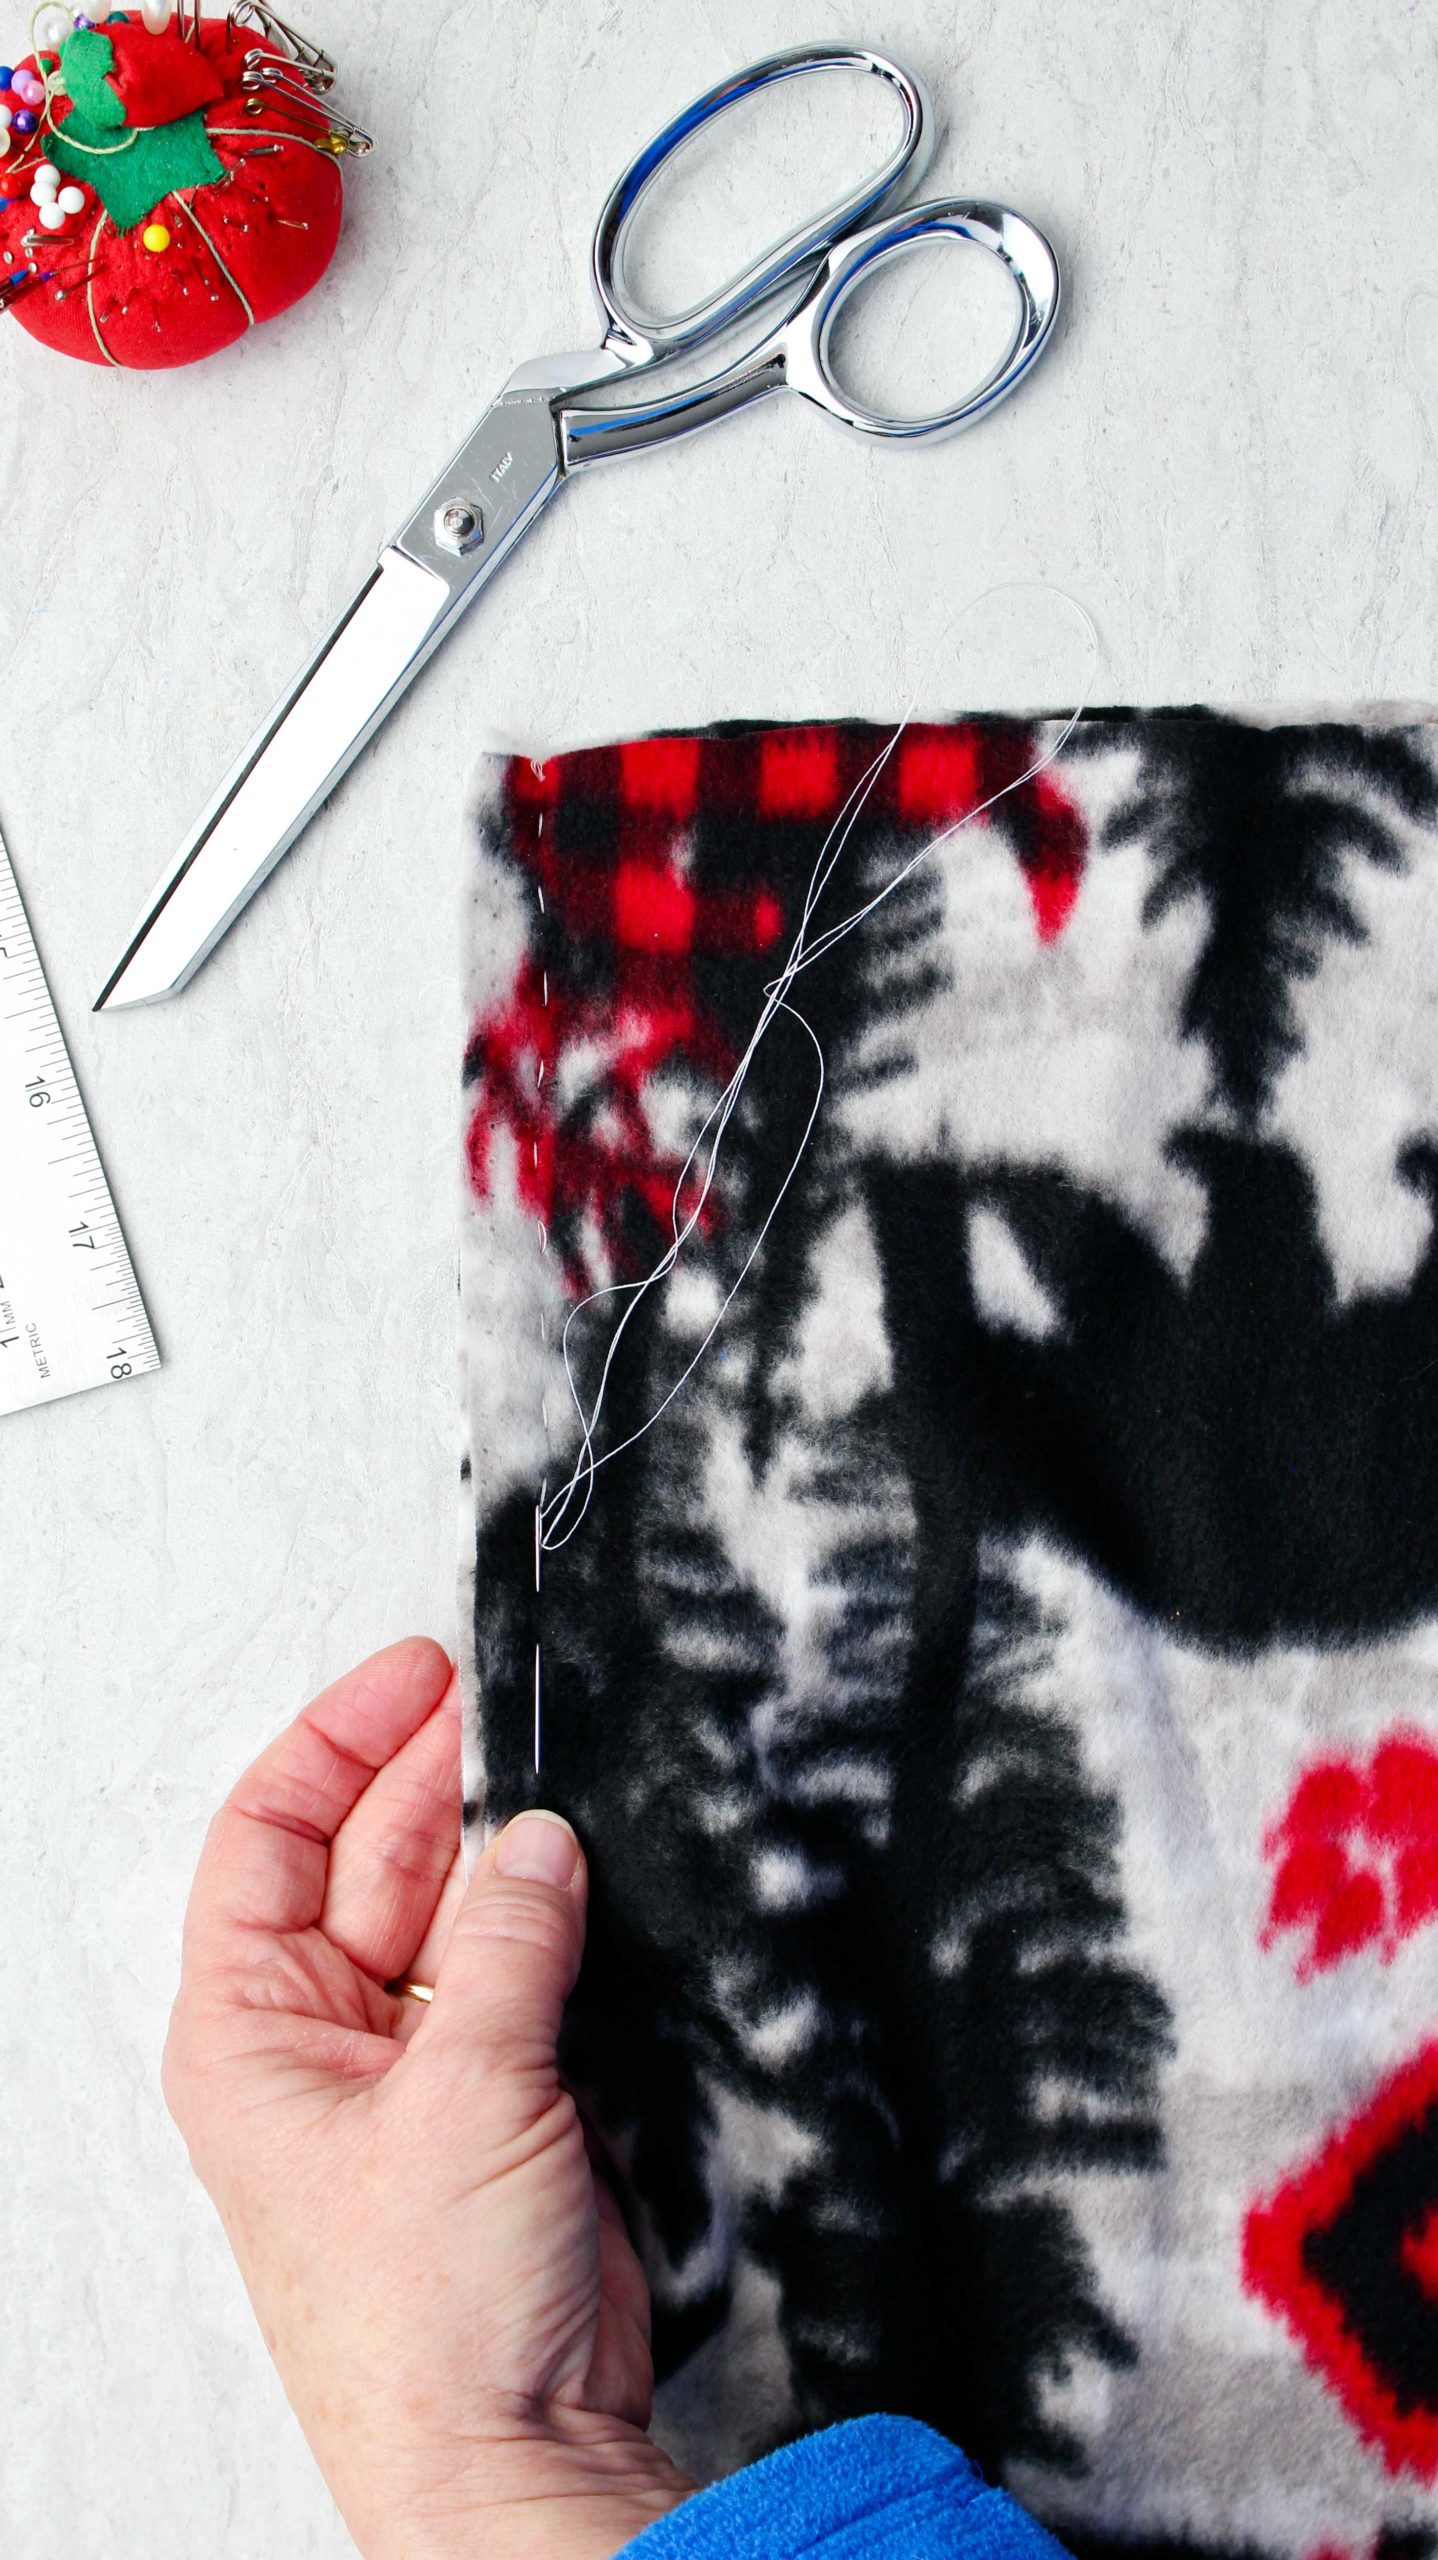
Cut fringe along one long edge that is about ½ inch wide (about the width of your finger) and is 2 ½ inches deep into the fabric. This doesn’t have to be perfect. It will be gathered into a pom-pom later.
You can see in the picture and video that I do not draw lines on the fleece to cut the fringe. If you have younger kids making this, they may need some help in keeping the cuts even.
Tip: For fleece that has a one-way design, be sure to lay the fabric in front of you with the design the right direction. Then cut the fringe at the long edge that is on the top.
Sew fleece hat- only one seam
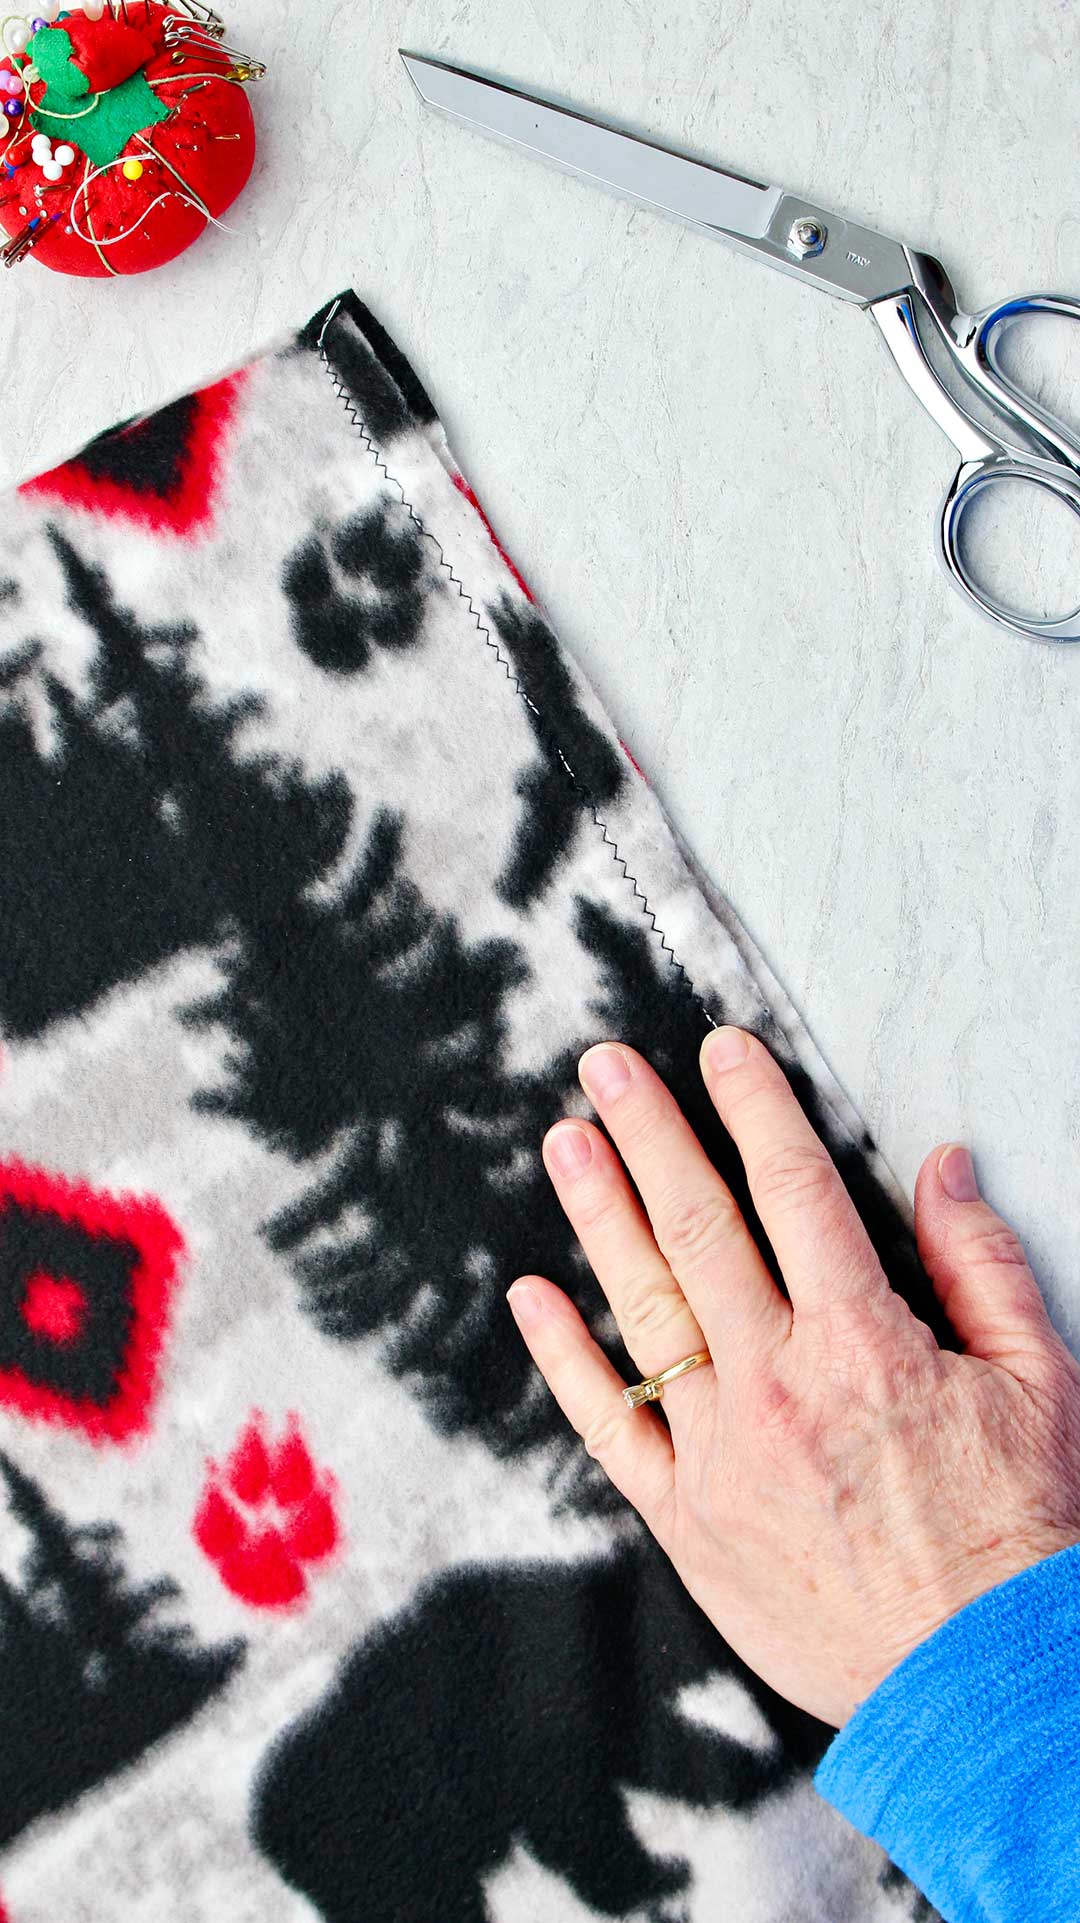
Fold the fleece in half with right sides together (on some fleece there is no right or wrong side). This is a “hamburger fold” that makes the fabric piece short (NOT a hot dog fold that makes it long).
Make a hand sewn running stitch with small stitches OR machine stitch with a zig-zag stitch ½ inch from the short edge (cut edges, NOT the folded edge).
Thread a needle with a double thread and tie a knot in the end.
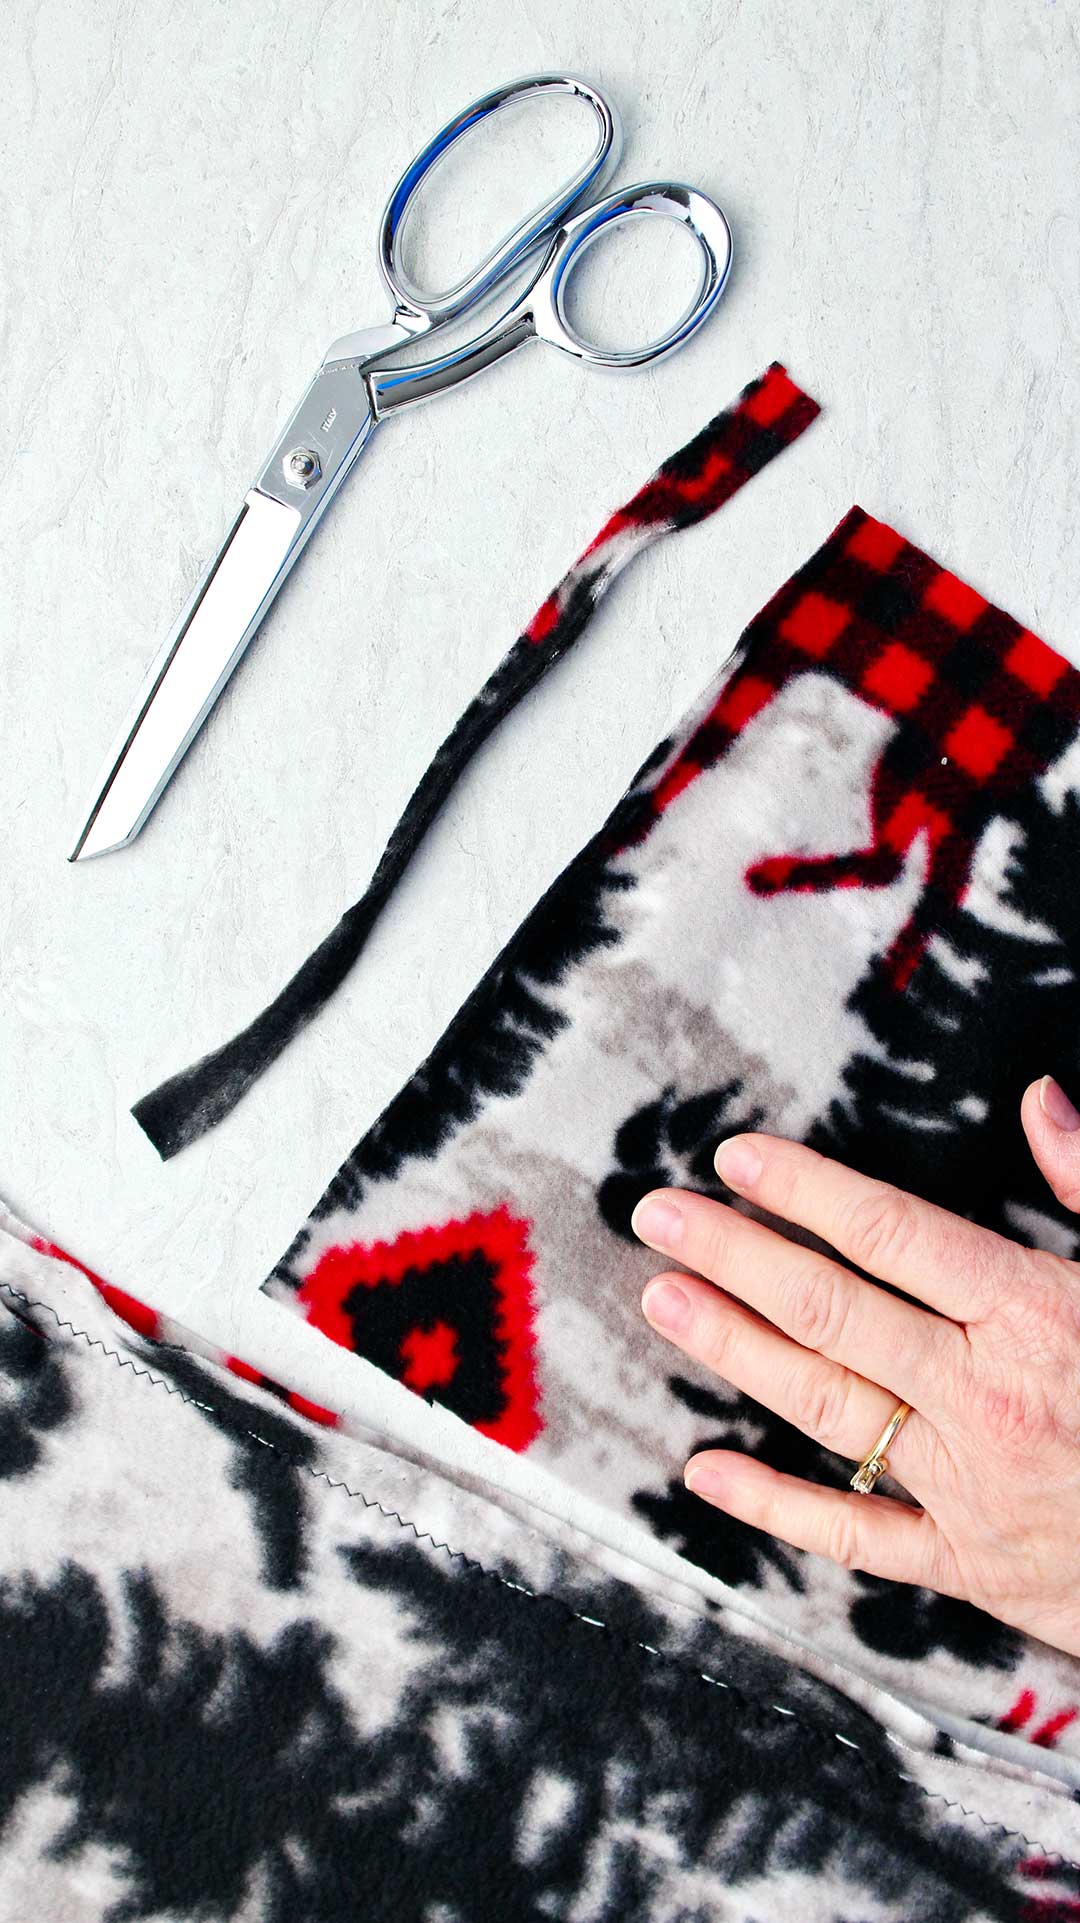
Here are videos about how to thread a needle and tie a knot in your thread.
- How to Thread a Needle Video
- How to Tie a Knot in Your Sewing Thread Video
Here is a video on making a running stitch
- How to Make a Running Stitch Video
If machine sewing be sure to back stitch at the beginning and the end of the seam. This will keep it from unraveling.
After the seam is done, turn the fleece right side out- so the seam is on the inside of the fleece tube.
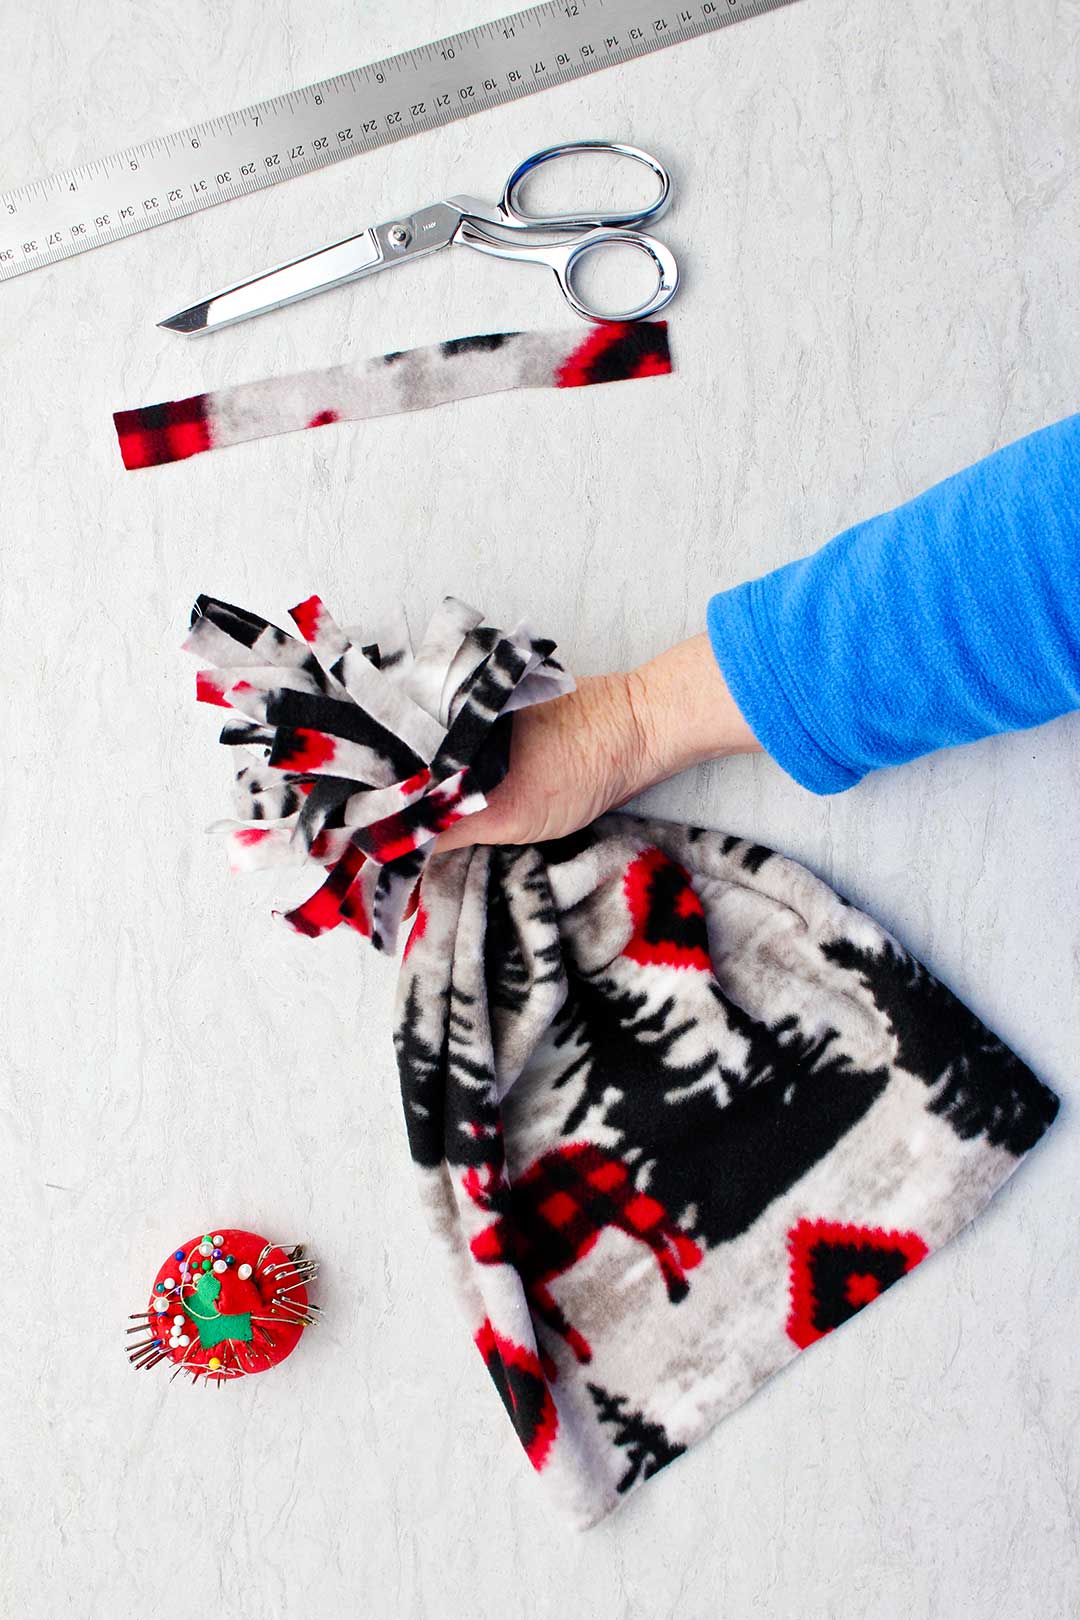
How do I make the pompom?
Cut a narrow piece of your fleece that is about ¾ inch wide and about 8 inches long.
Gather the fringed edge of the fleece in your hand.
Tie the narrow piece of fleece around the gathered fleece right below the fringe so that it allows the fringe to hang loose. Tie tightly with a good knot so it stays tied.
Making the fleece hat brim
Roll up the other edge of the fleece to make a brim and try it on. Keep rolling it until you like the way it looks and fits.
You did it!
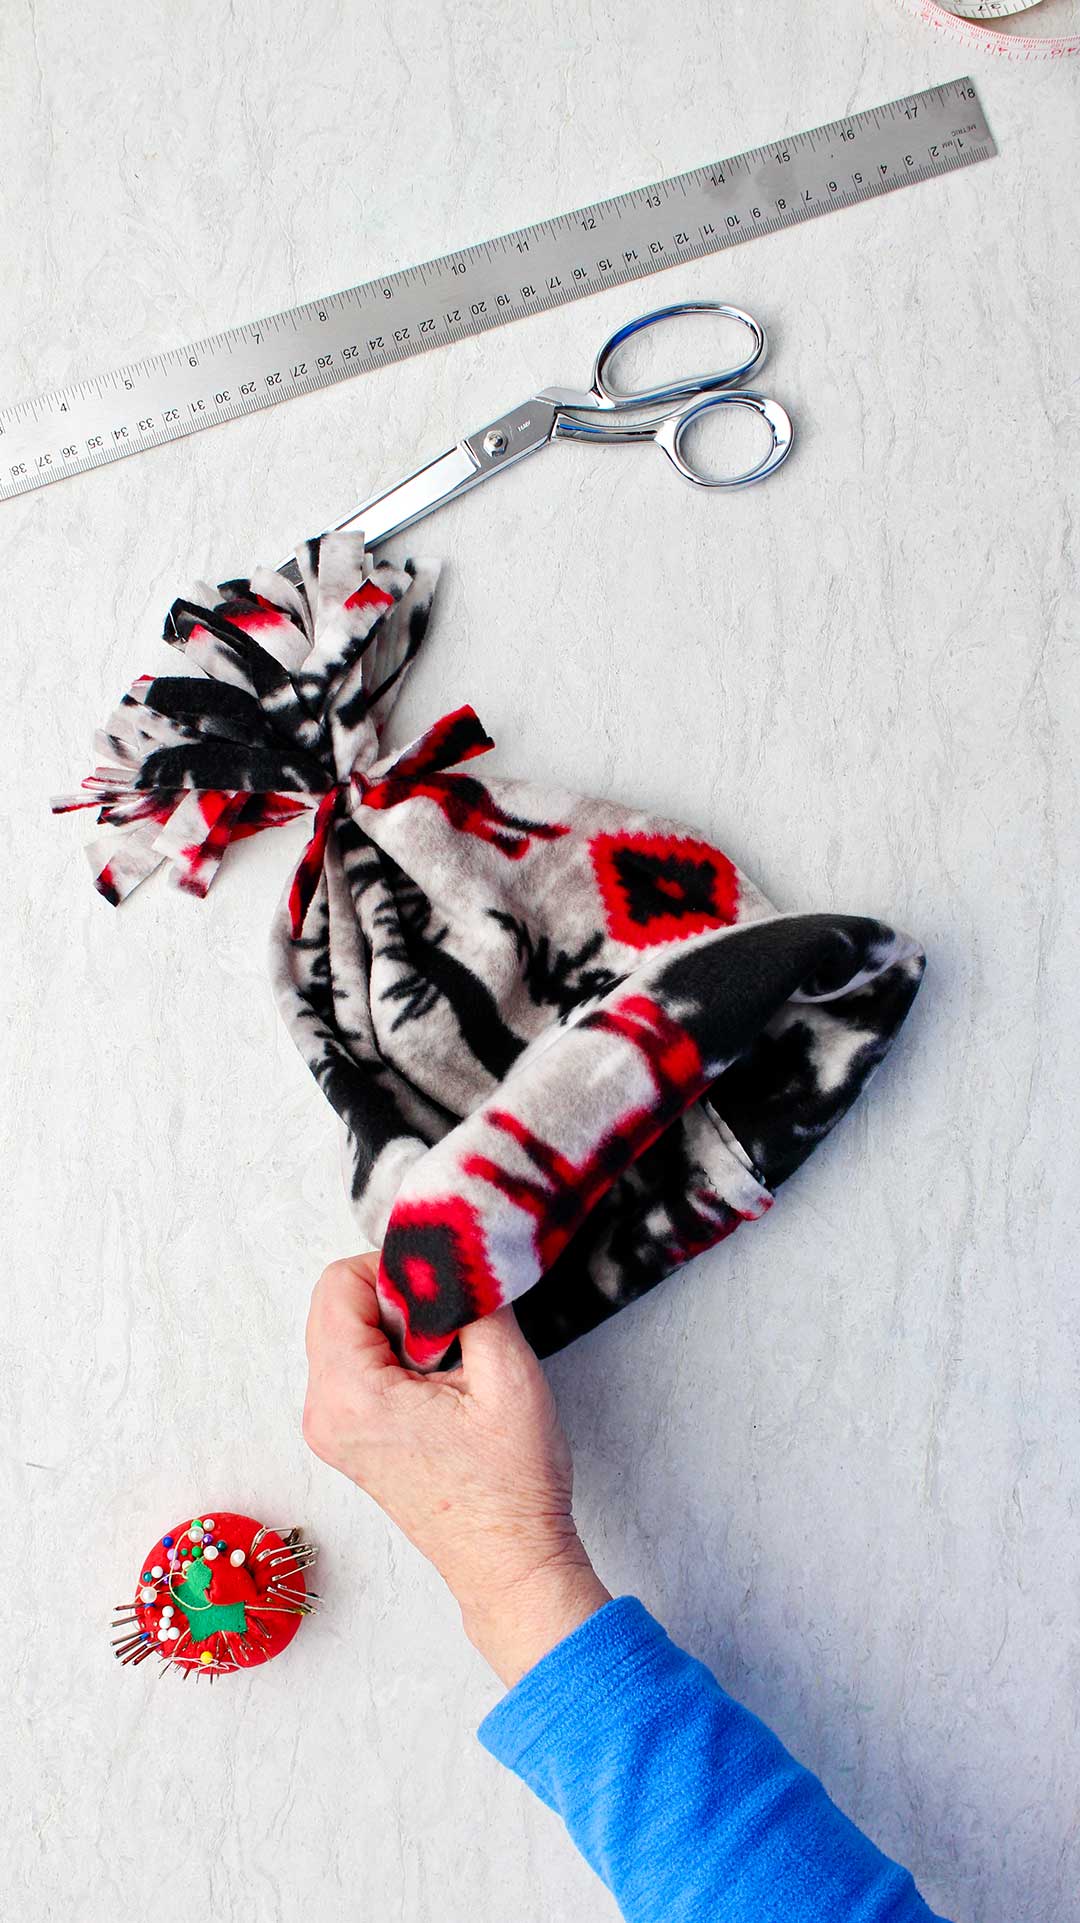
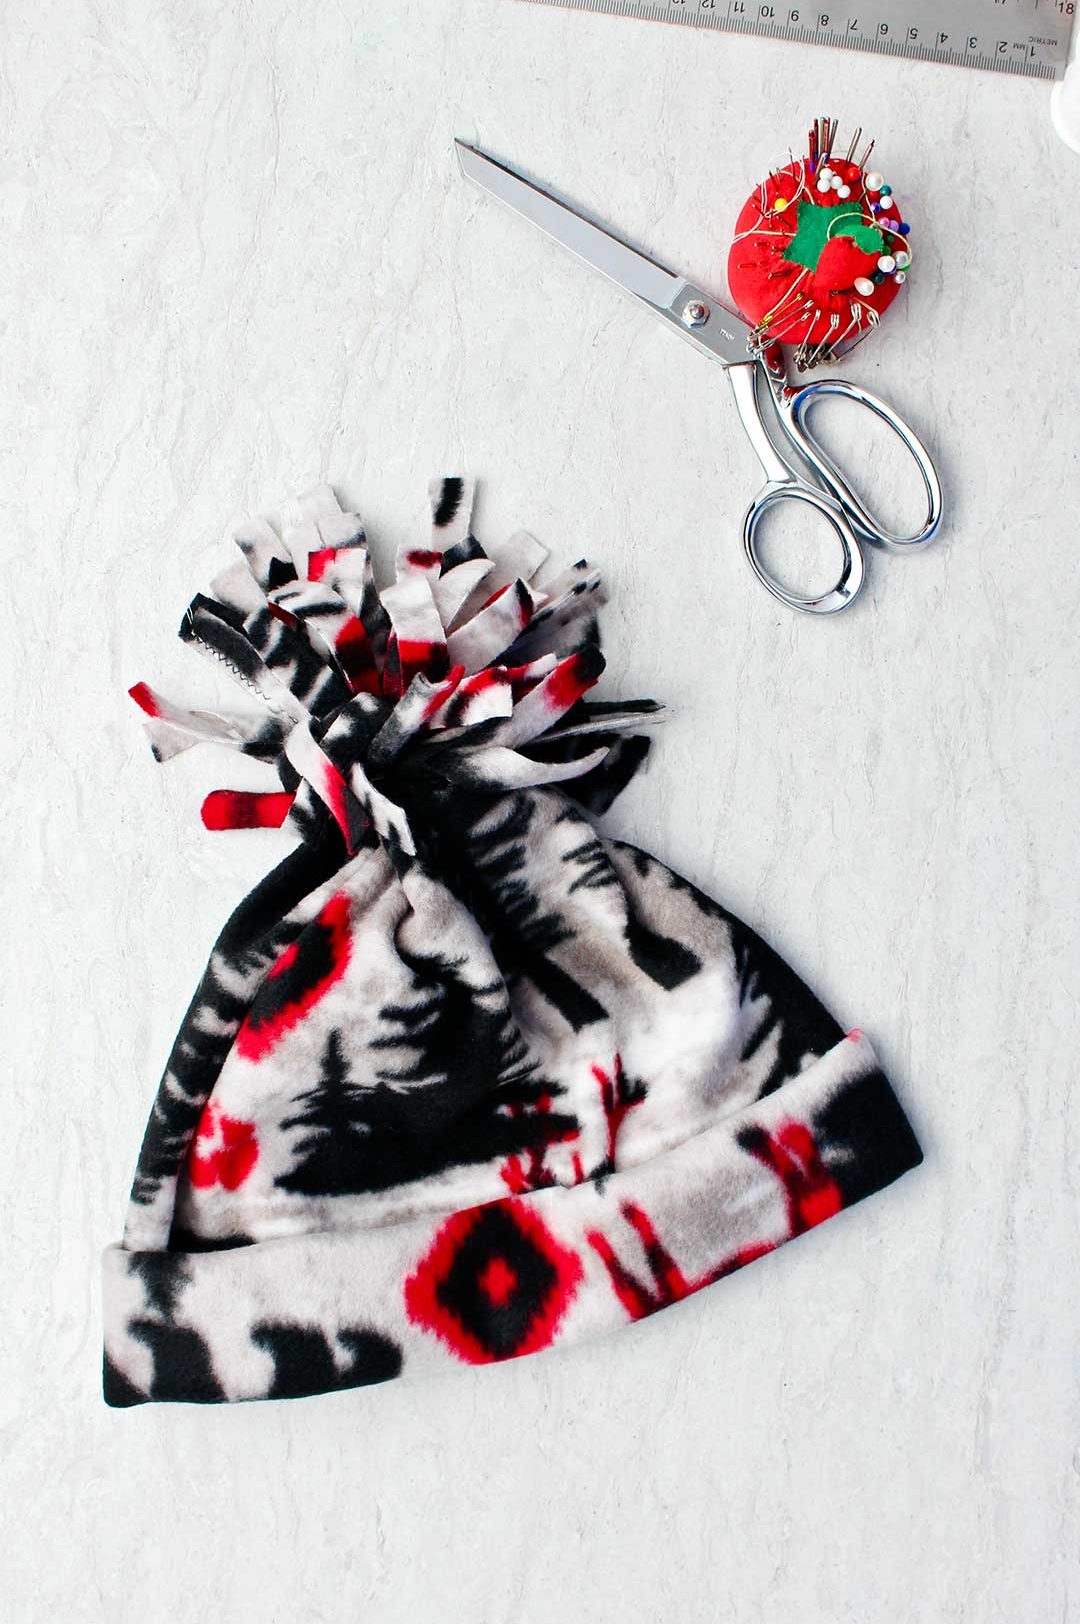
Isn’t your fleece hat cute?
I had planned to make these with all the grand kids at Christmas and have a fun photo to share. But we had Covid keep one family away and ice keep another family away.
So I'm tucking the fleece away until next winter when we want a craft. I’ll add a photo once we get the project done!
Be sure to let me see your fun DIY Fleece Hat creations!
YouTube Video
The video instructions can also be found on YouTube. You can watch the video and you can subscribe to the YouTube channel there as well if you want.
Here is the link: Easy Sew DIY Fleece Hat YouTube Video
Would you like other project ideas for learning to sew?
- DIY Easy-to-Sew Microwavable Rice Pack
- DIY Hand Embroidered Cards
- How to Make a Scrunchie
- Simple to Sew Apron DIY Gift
Enjoy!
If you try this craft, let me know! Go ahead and leave a comment, rate it, and tag a photo with #WelcometoNanas wherever you post.
Come join the fun at https://welcometonanas.com
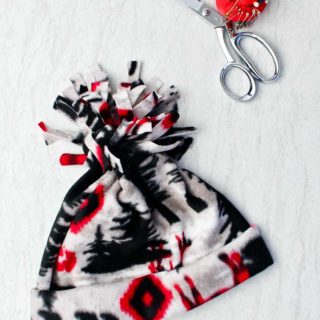
Easy Sew DIY Fleece Hat
Equipment
- Scissors
- Sewing machine, thread Optional- may hand sew
Items Required
- Fleece- about ½ yard (makes two hats)
- Free printable Easy Sew DIY Fleece Hat Pattern print off at this link
- Needle and thread
Instructions
- Measure the diameter of your head. Add 1 inch to this measurement.
- Cut fringe along one long edge that is about ½ inch wide (about the width of your finger) and is 2 ½ inches deep into the fabric. This doesn’t have to be perfect. It will be gathered into a pom-pom later.
- Fold the fleece in half with right sides together (on some fleece there is no right or wrong side). This is a “hamburger fold” that makes the fabric piece short (NOT a hot dog fold that makes it long).
- Make a hand sewn running stitch with small stitches OR machine stitch with a zig-zag stitch ½ inch from the short edge (cut edges, NOT the folded edge).
- After the seam is done, turn the fleece right side out- so the seam is on the inside of the fleece tube.
- Gather the fringed edge of the fleece in your hand.Tie the narrow piece of fleece around the gathered fleece right below the fringe so that it allows the fringe to hang loose. Tie tightly with a good knot so it stays tied
- Roll up the other edge of the fleece to make a brim and try it on. Keep rolling it until you like the way it looks and fits.
Video
Supplies for the Easy Sew DIY Fleece Hat
- Fleece- about ½ yard (makes two hats)
- Free printable Easy Sew DIY Fleece Hat Pattern
- Needle and thread
- OR Sewing machine, thread
- Scissors


Judy Stinson says
If your fleece print is nondirectional, which way should the stretch go?
left-right or up-down?
Shelly says
That's a great question. The stretch should go left-right, so it can stretch around your head!