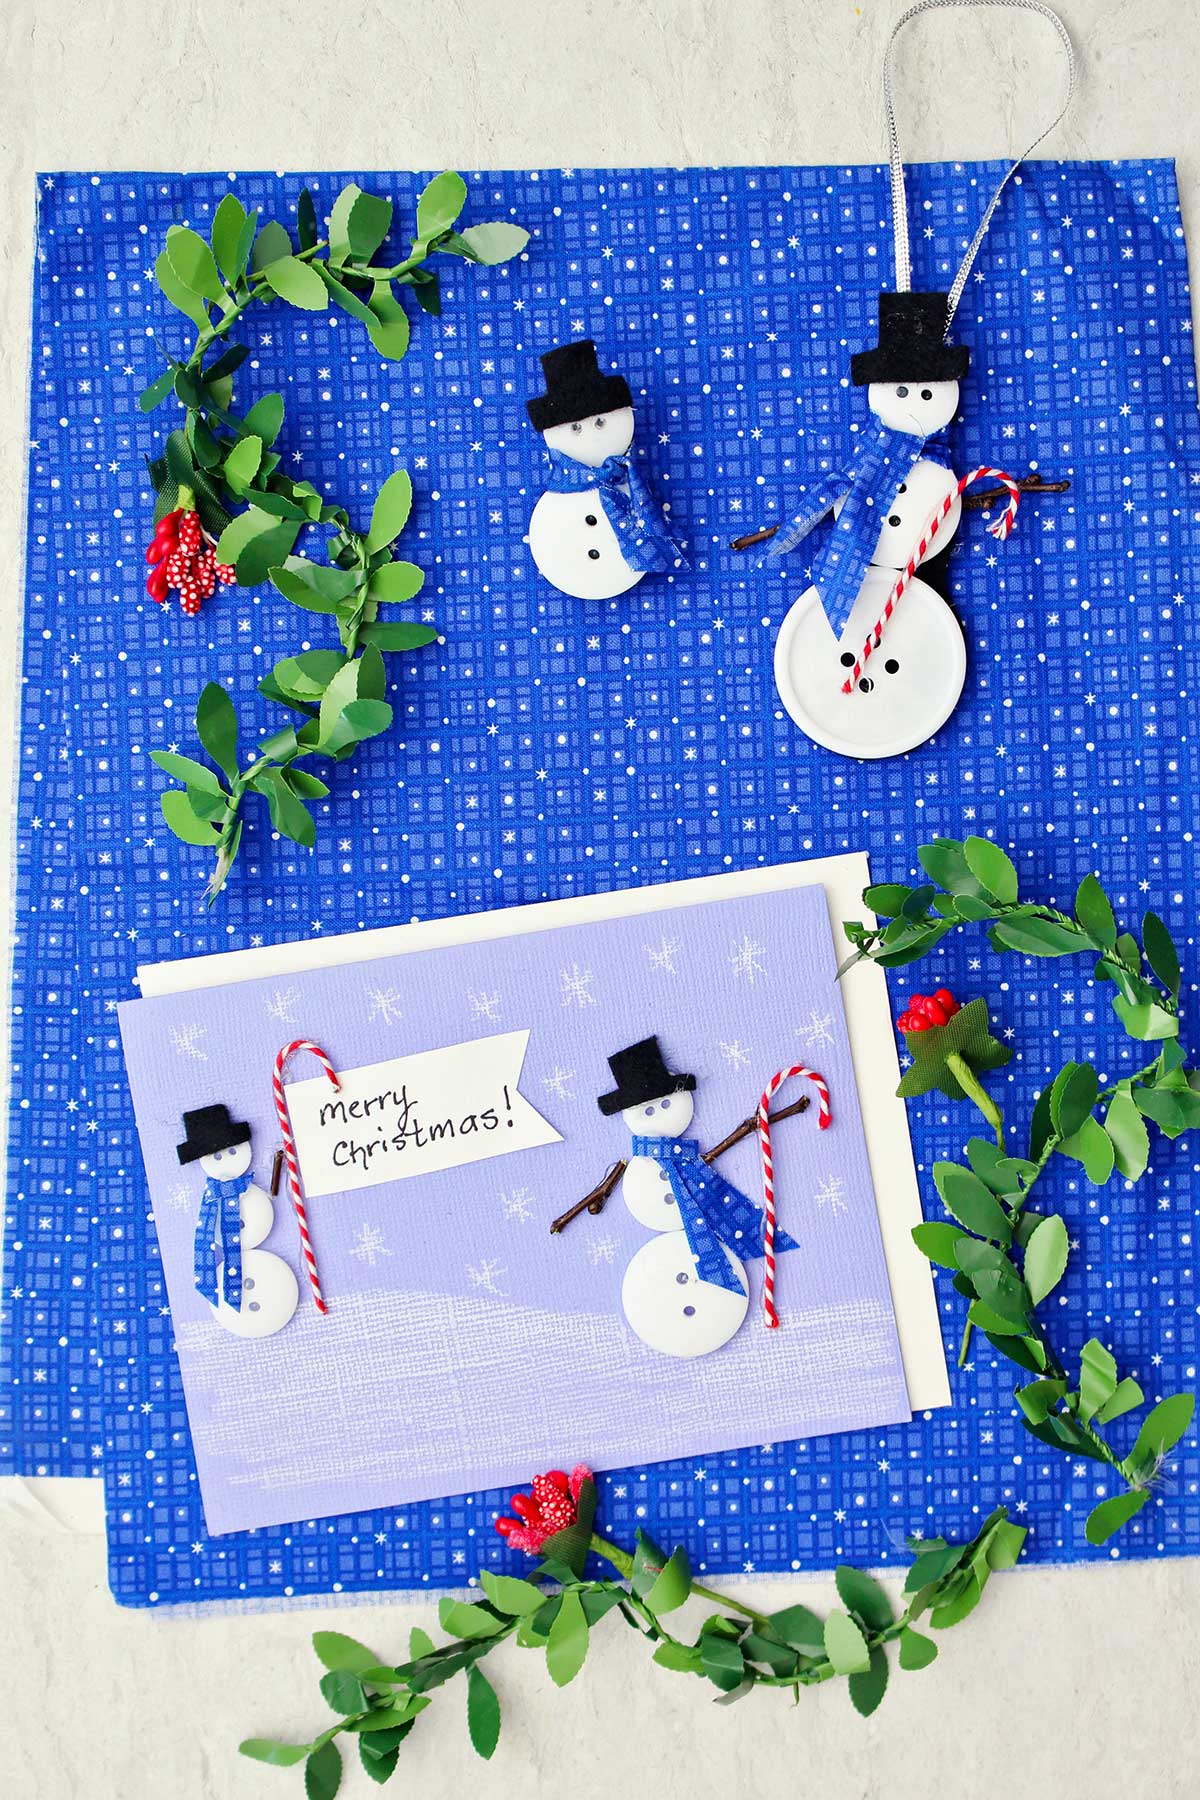
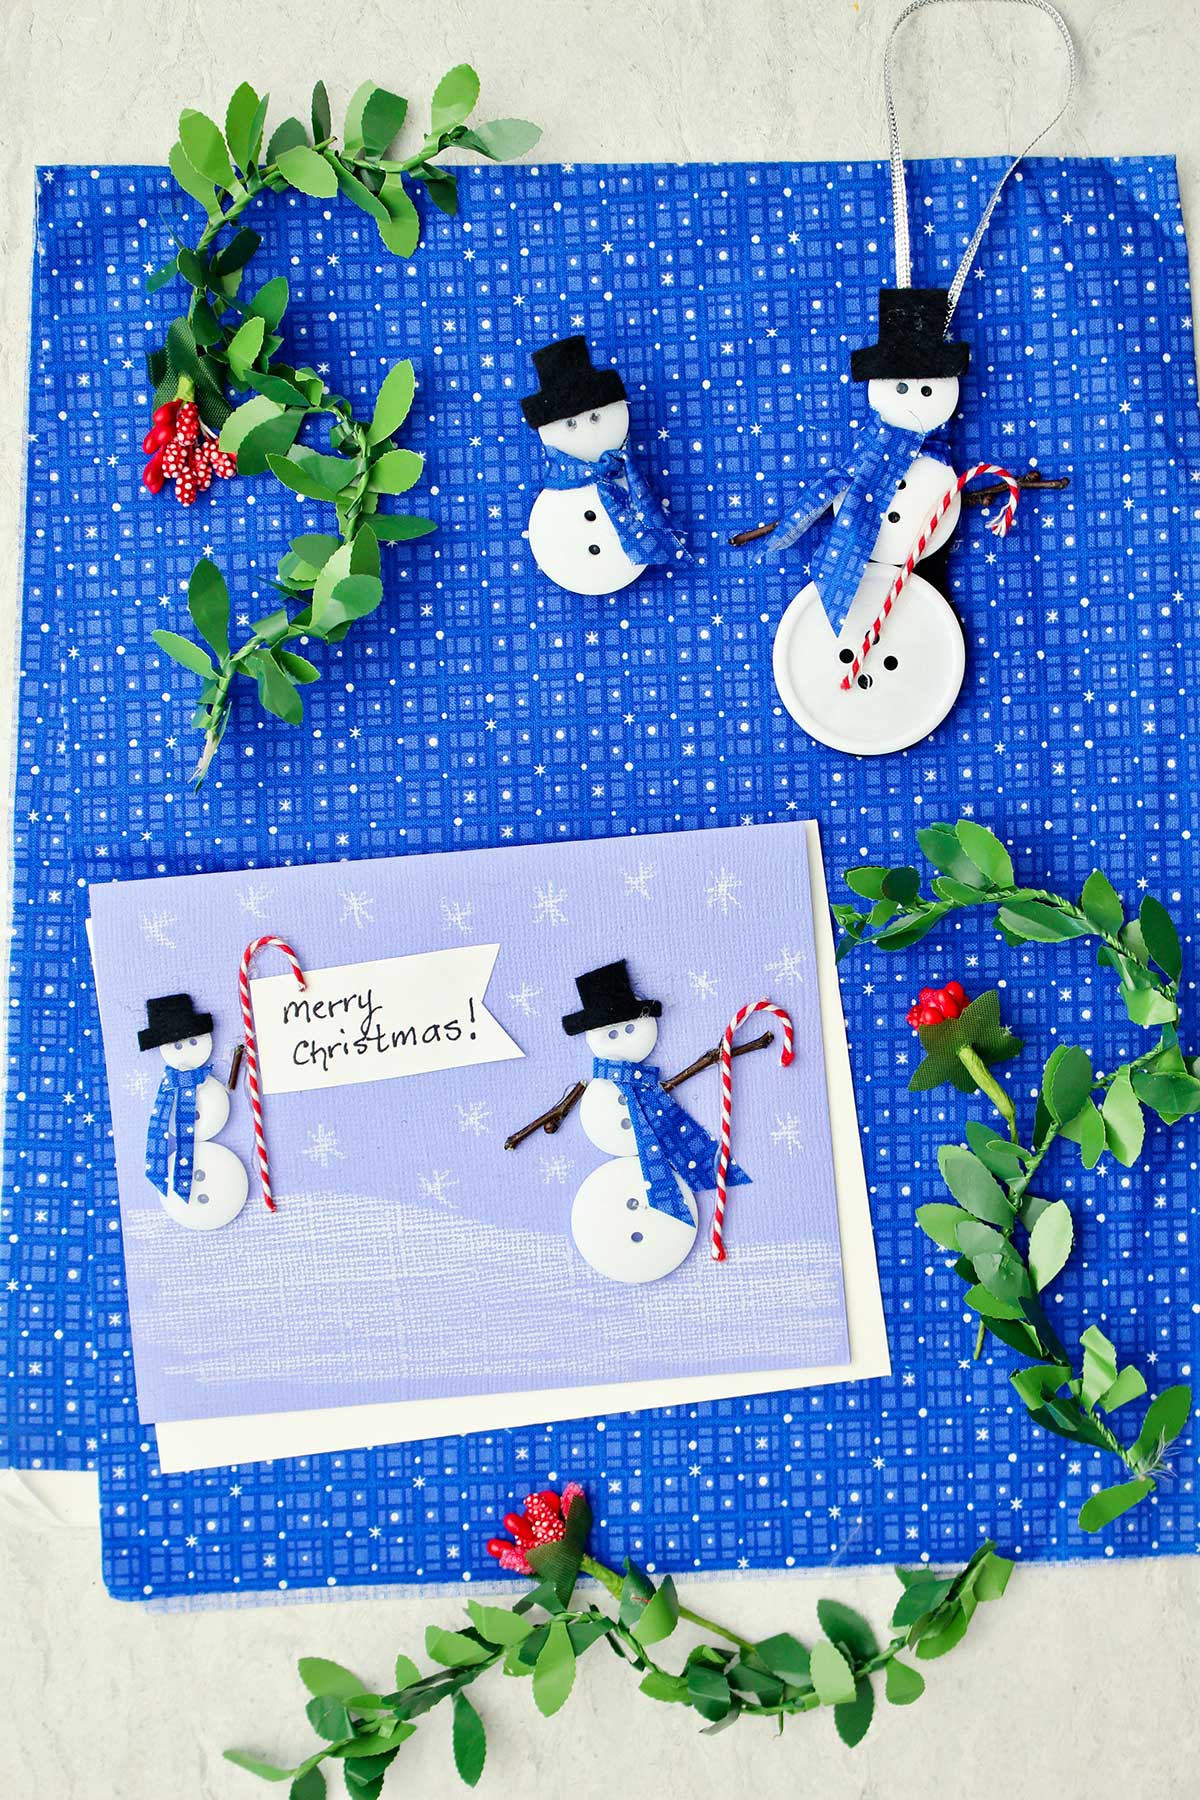
These Easy DIY Button Snowman Craft Ideas for Kids turn 3 buttons into a cute Christmas ornament, pin, or card. It's a simple craft that kids will love, plus it works perfectly for a classroom, party or other group!
Jump to:
Cute Craft Alert: Make a Snowman with Buttons!
A friend gave me a cute button snowman pin years ago. I wore it many times then kept it for a pattern to make more snowman button crafts!
I kept thinking of other purposes for the button snowman. Quickly the craft grew from 1 craft to 3, and I can't wait to share them!
You can choose to make a button snowman ornament, pin, or card craft (or all three). The kids will love making a button snowmen to hang on the tree and others to use for gifts!
Supplies for button snowman crafts
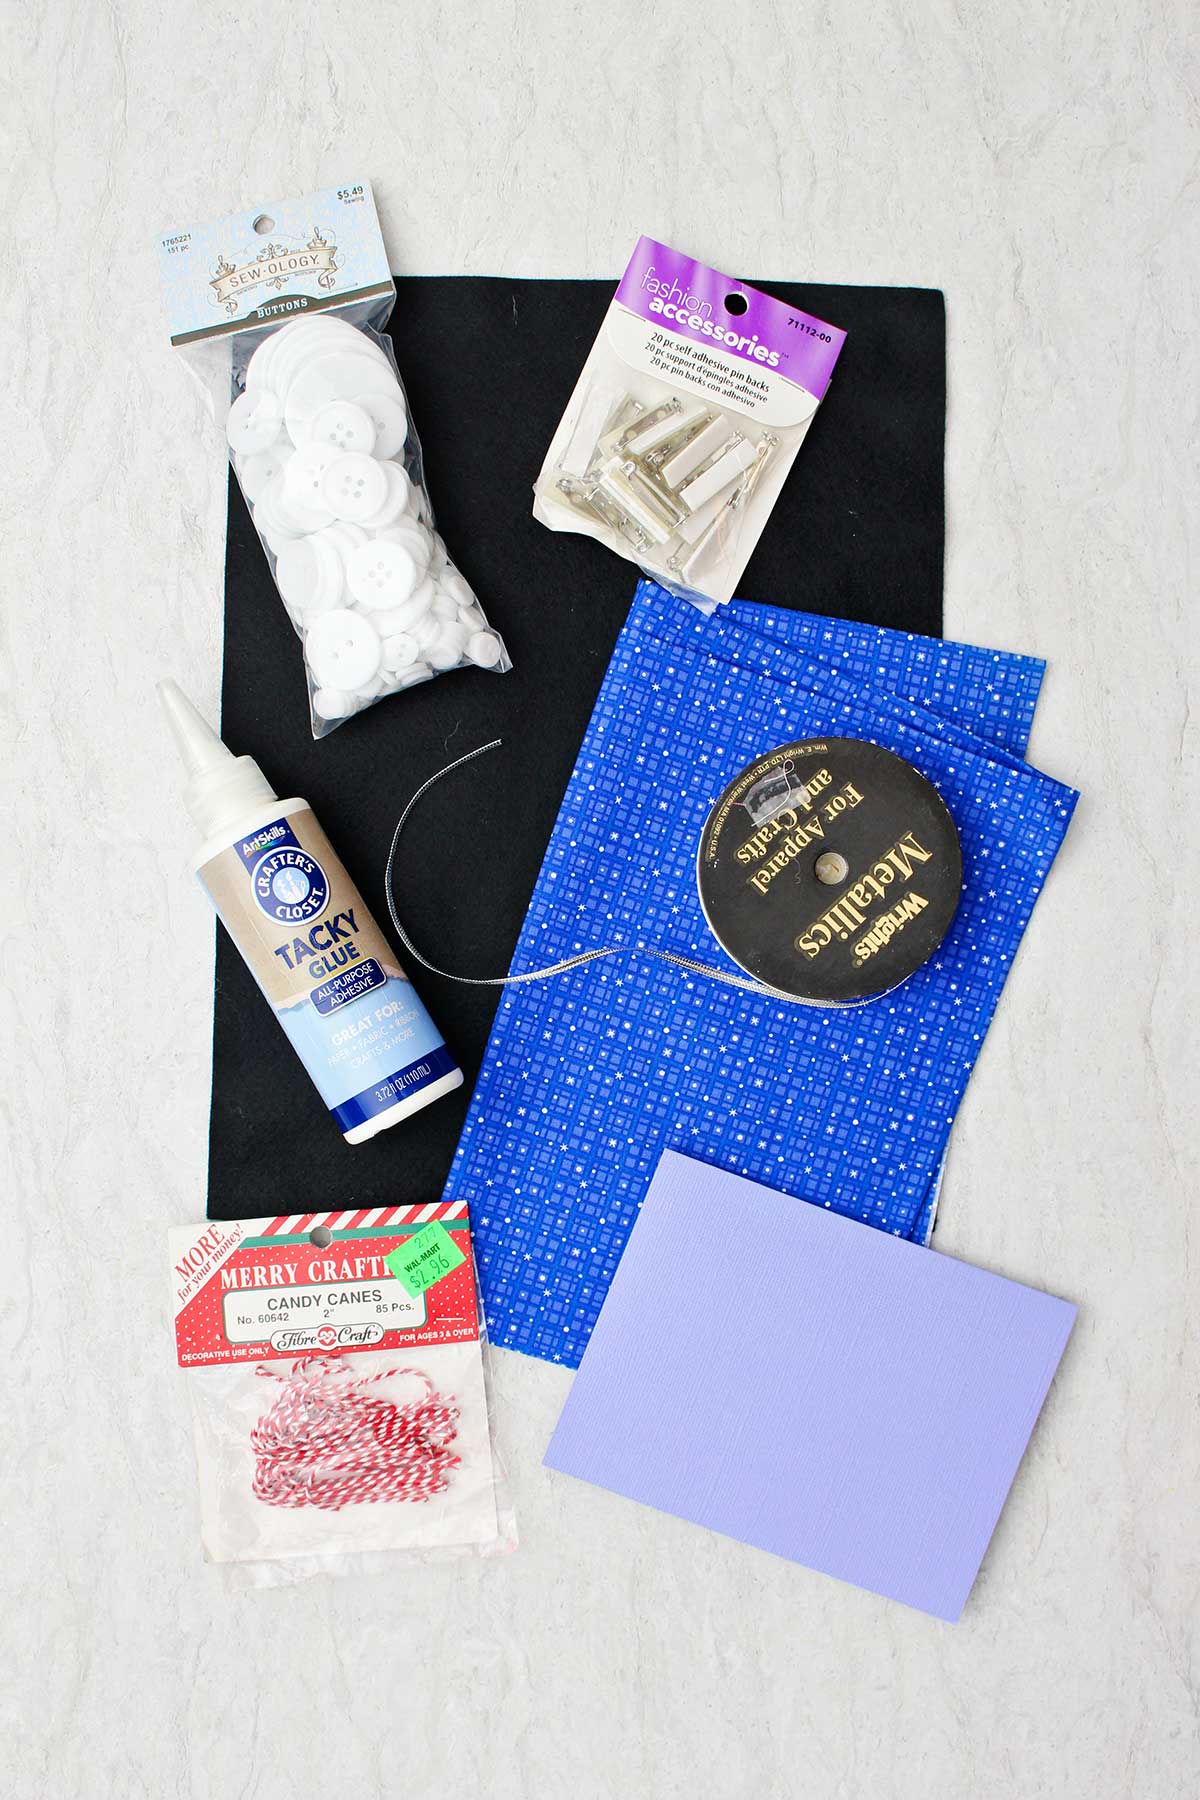
Here are a few details about the supplies for a cute snowman made with buttons!
- White buttons in 3 sizes- You’ll need 3 sizes of white buttons (small, medium, large).
- Black felt- Black felt makes the backing for the pin and ornament.
- Fabric- Use a narrow strip of fabric for the scarf.
- Ribbon- The ribbon is used to hang the ornament.
- Brooch pin- A brooch pin is used to make a button snowman pin to pin on clothing.
- Cardstock paper- Blue cardstock paper works well for the card.
- Glue- I used a hot glue gun and hot glue.
Steps to Make Snowman Button Art
Snowman Button Ornament
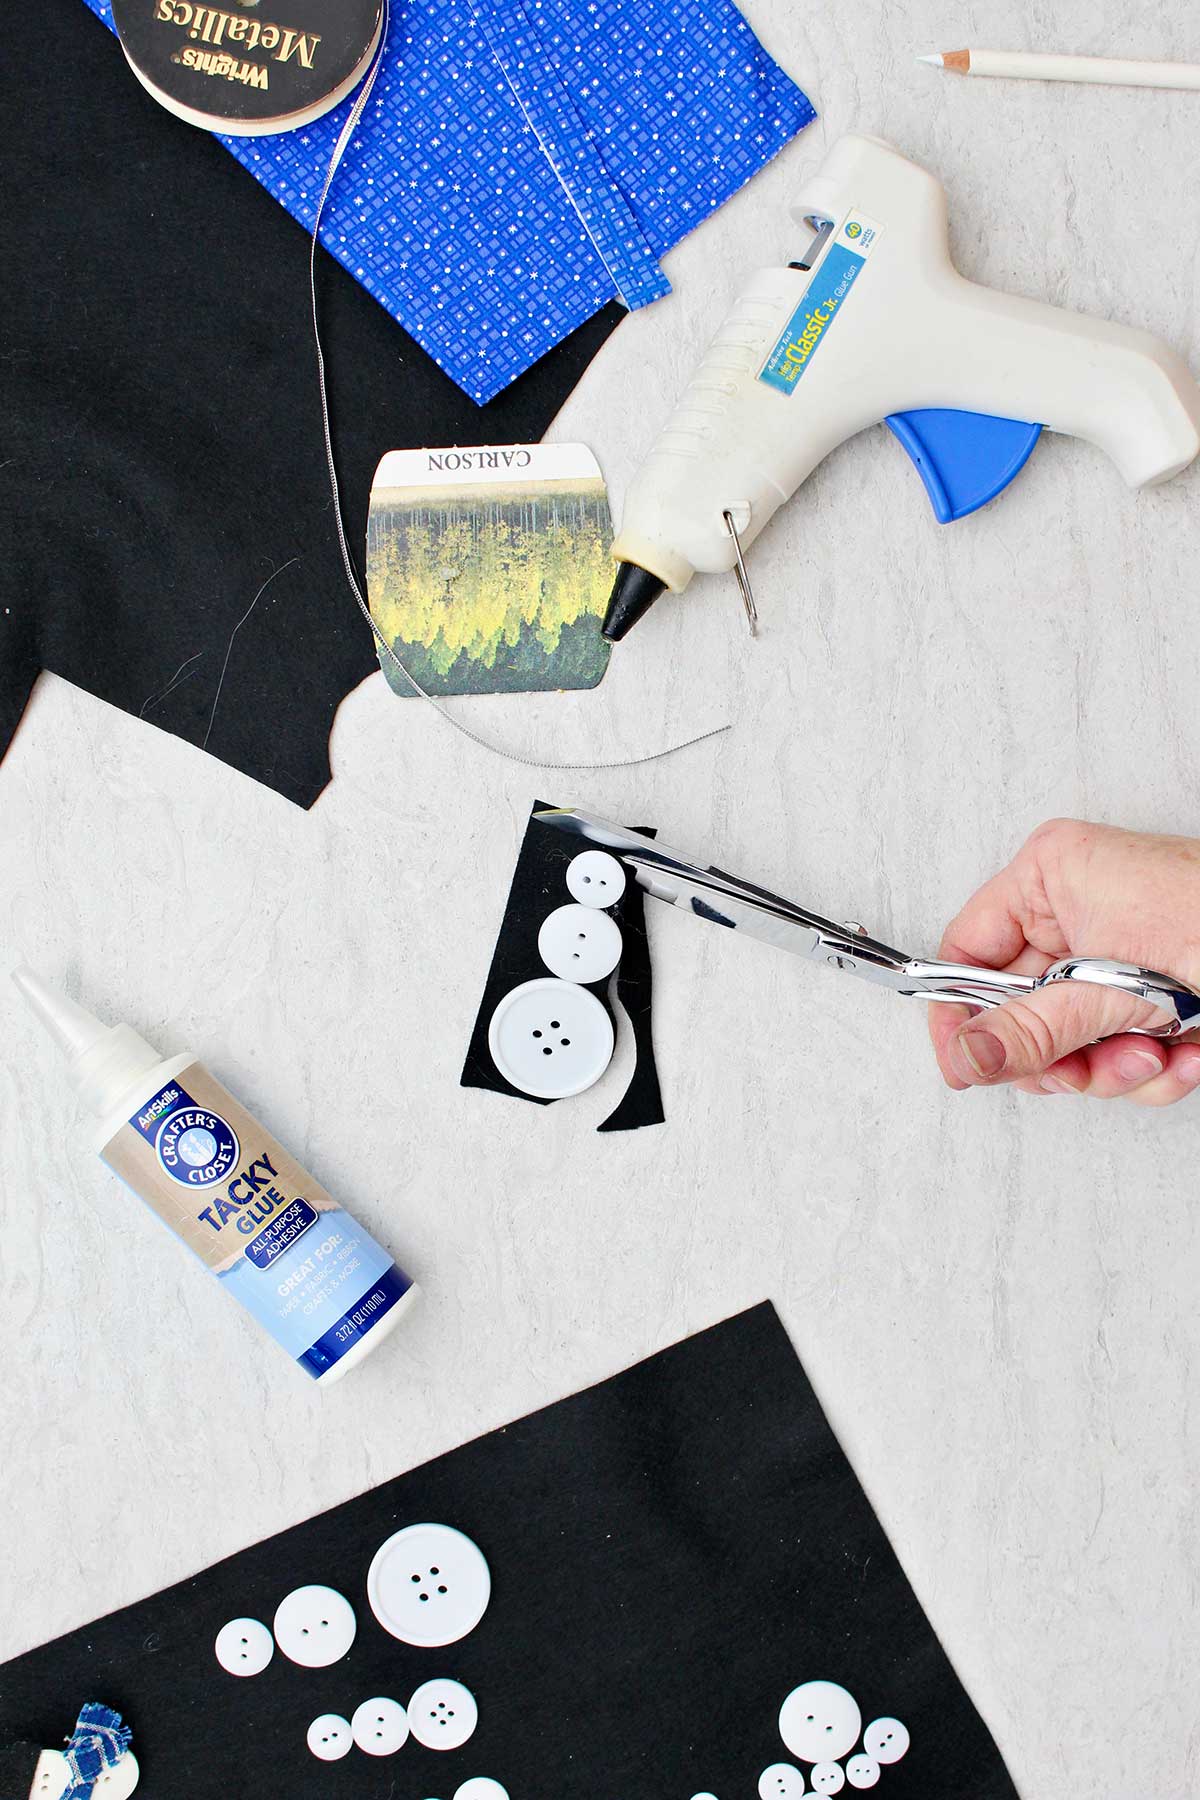
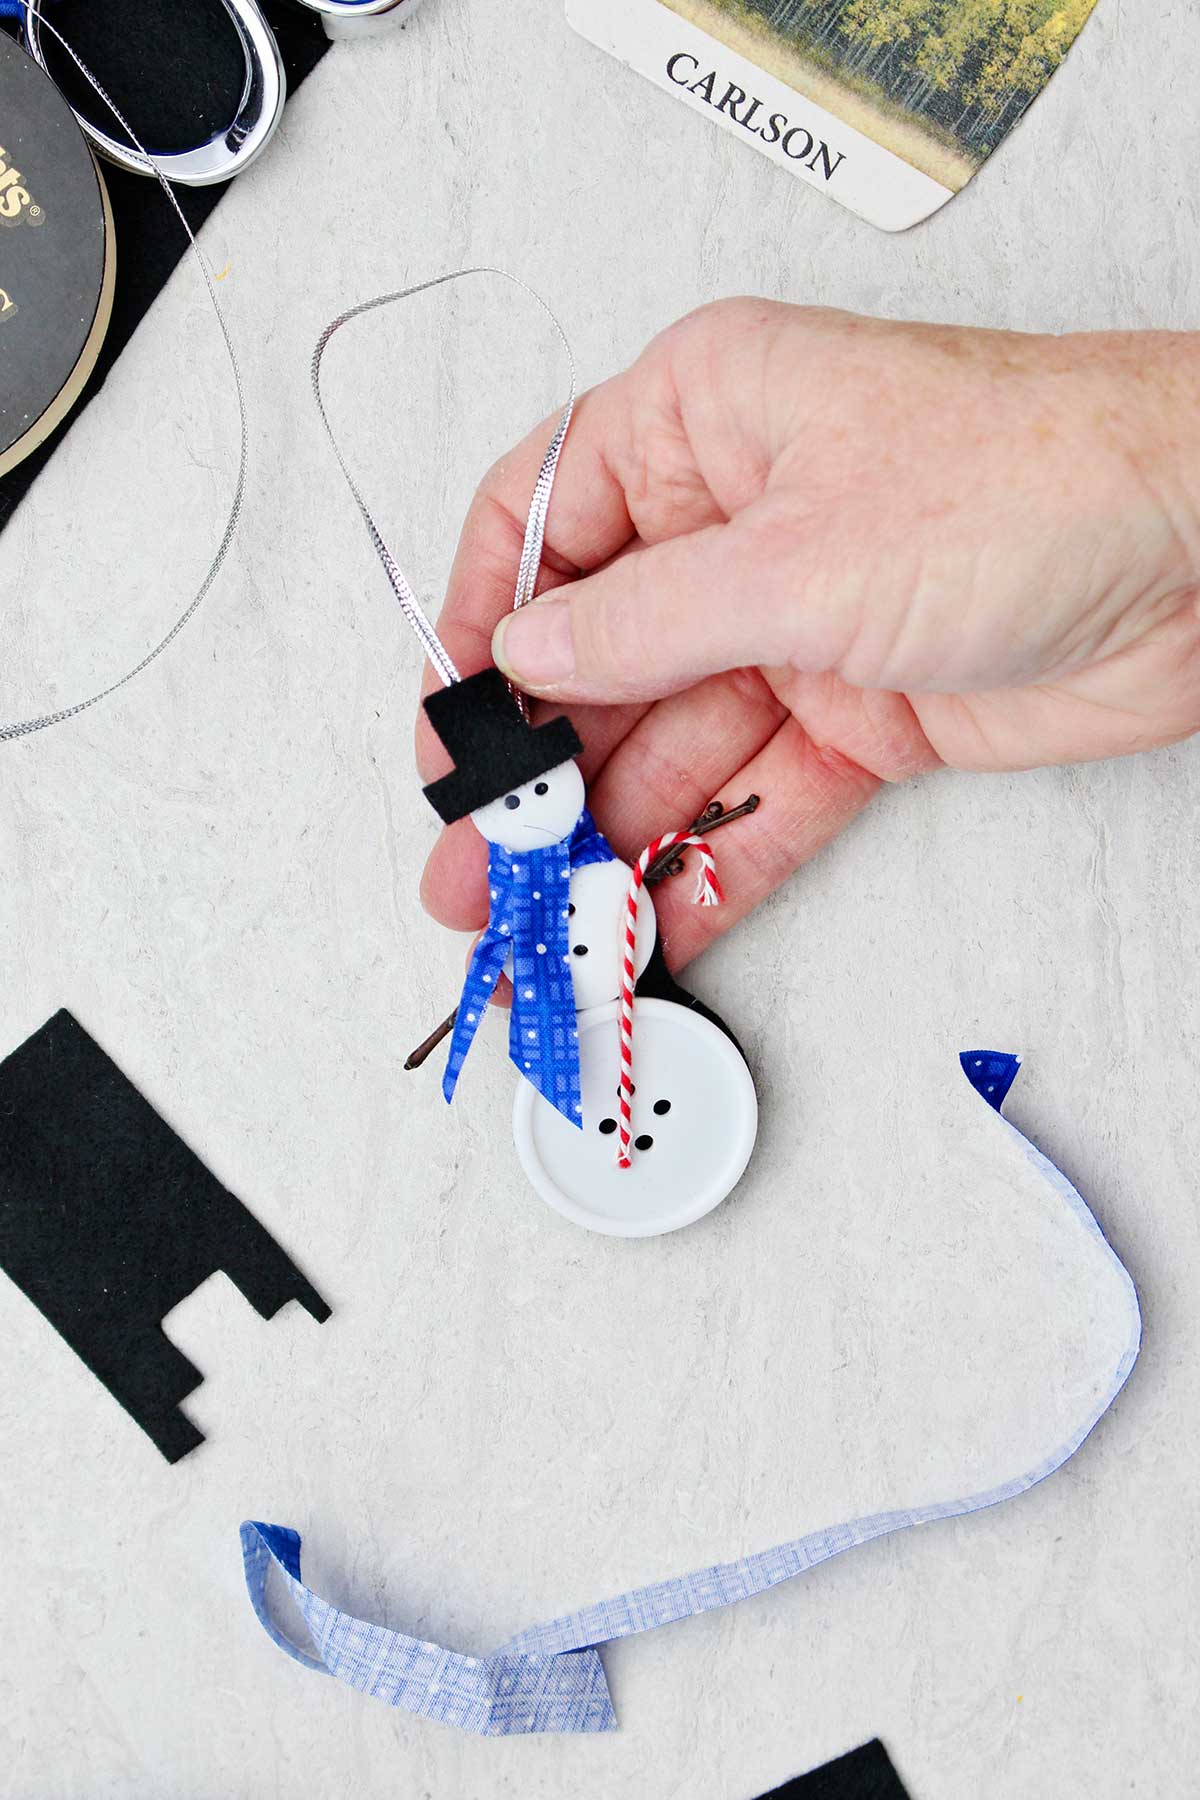
Use three sizes of white buttons for the button snowman ornament (small, medium, large). Glue them in a snowman arrangement onto the black felt using a hot glue gun and hot glue.
When the glue is cooled, cut the excess felt away from around the buttons.
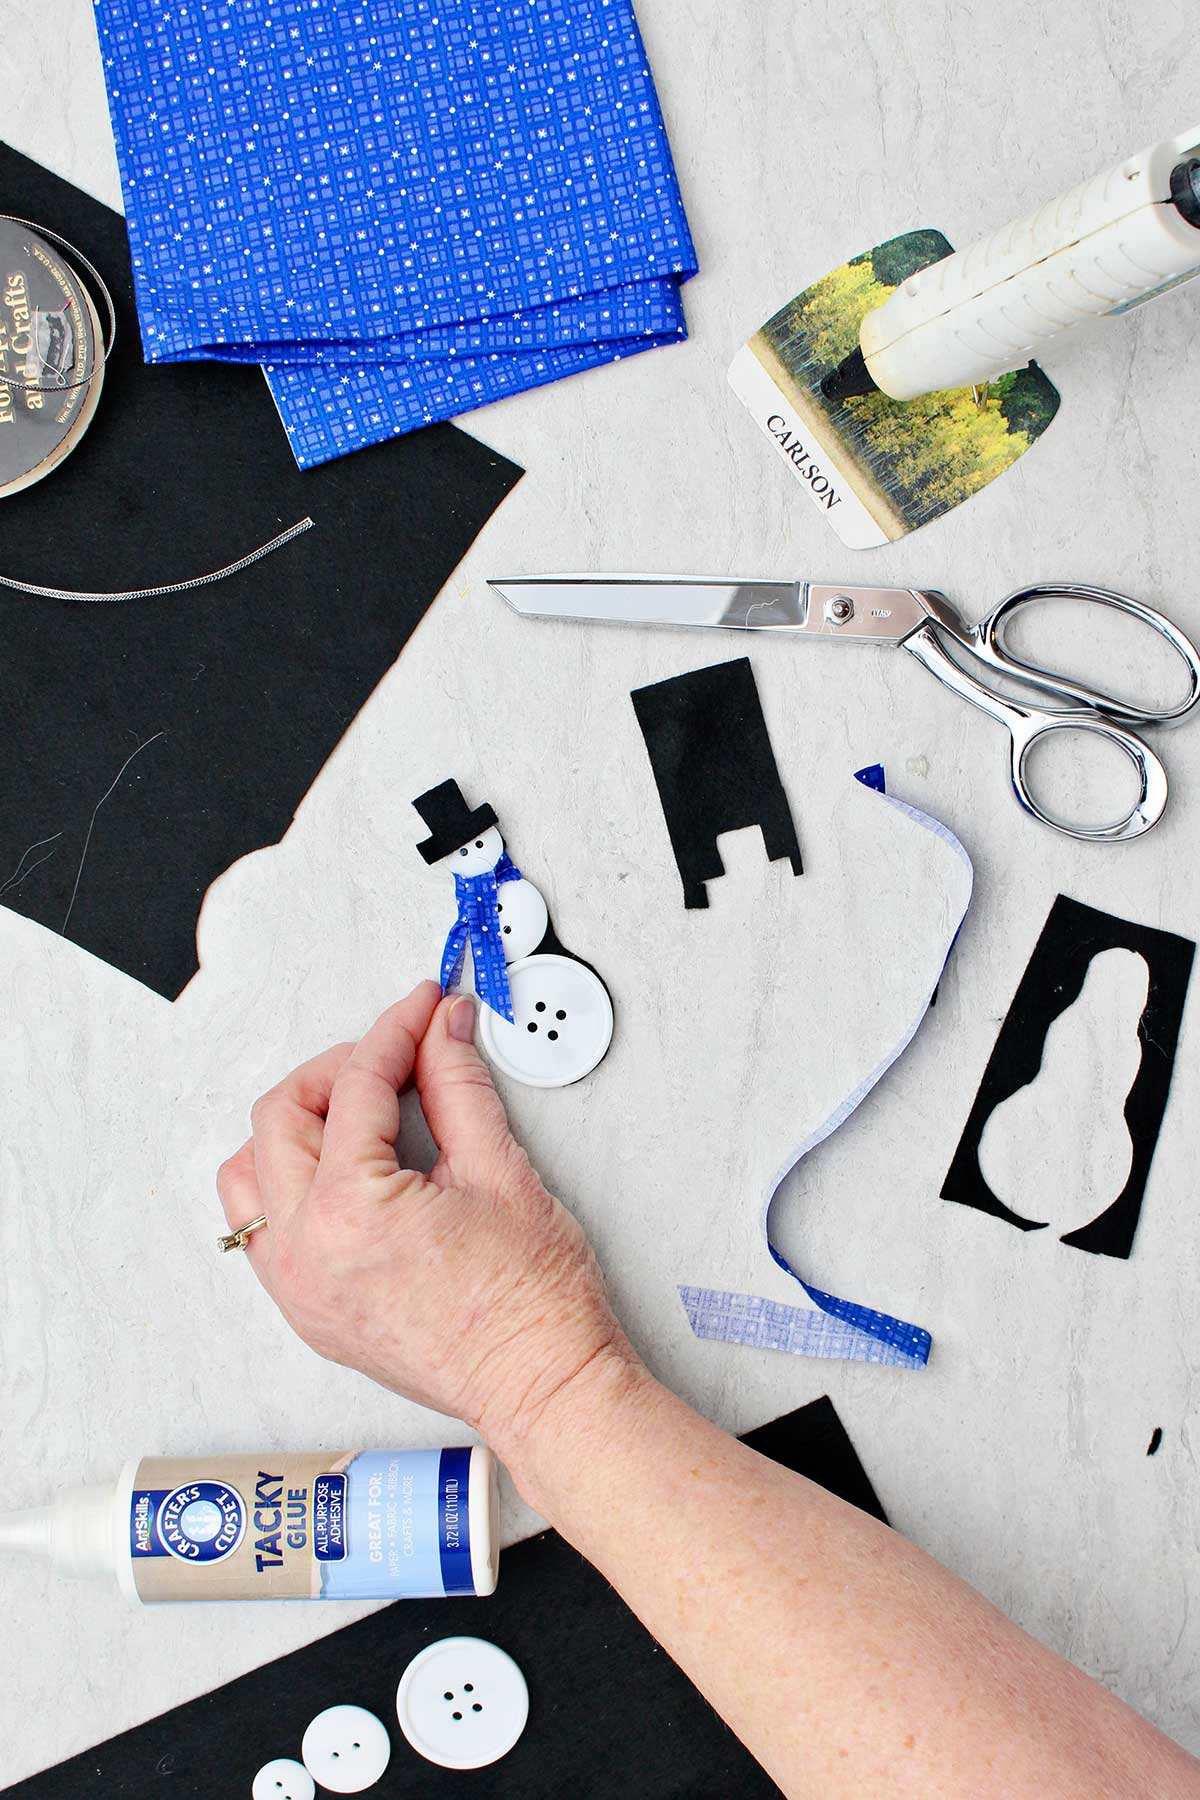
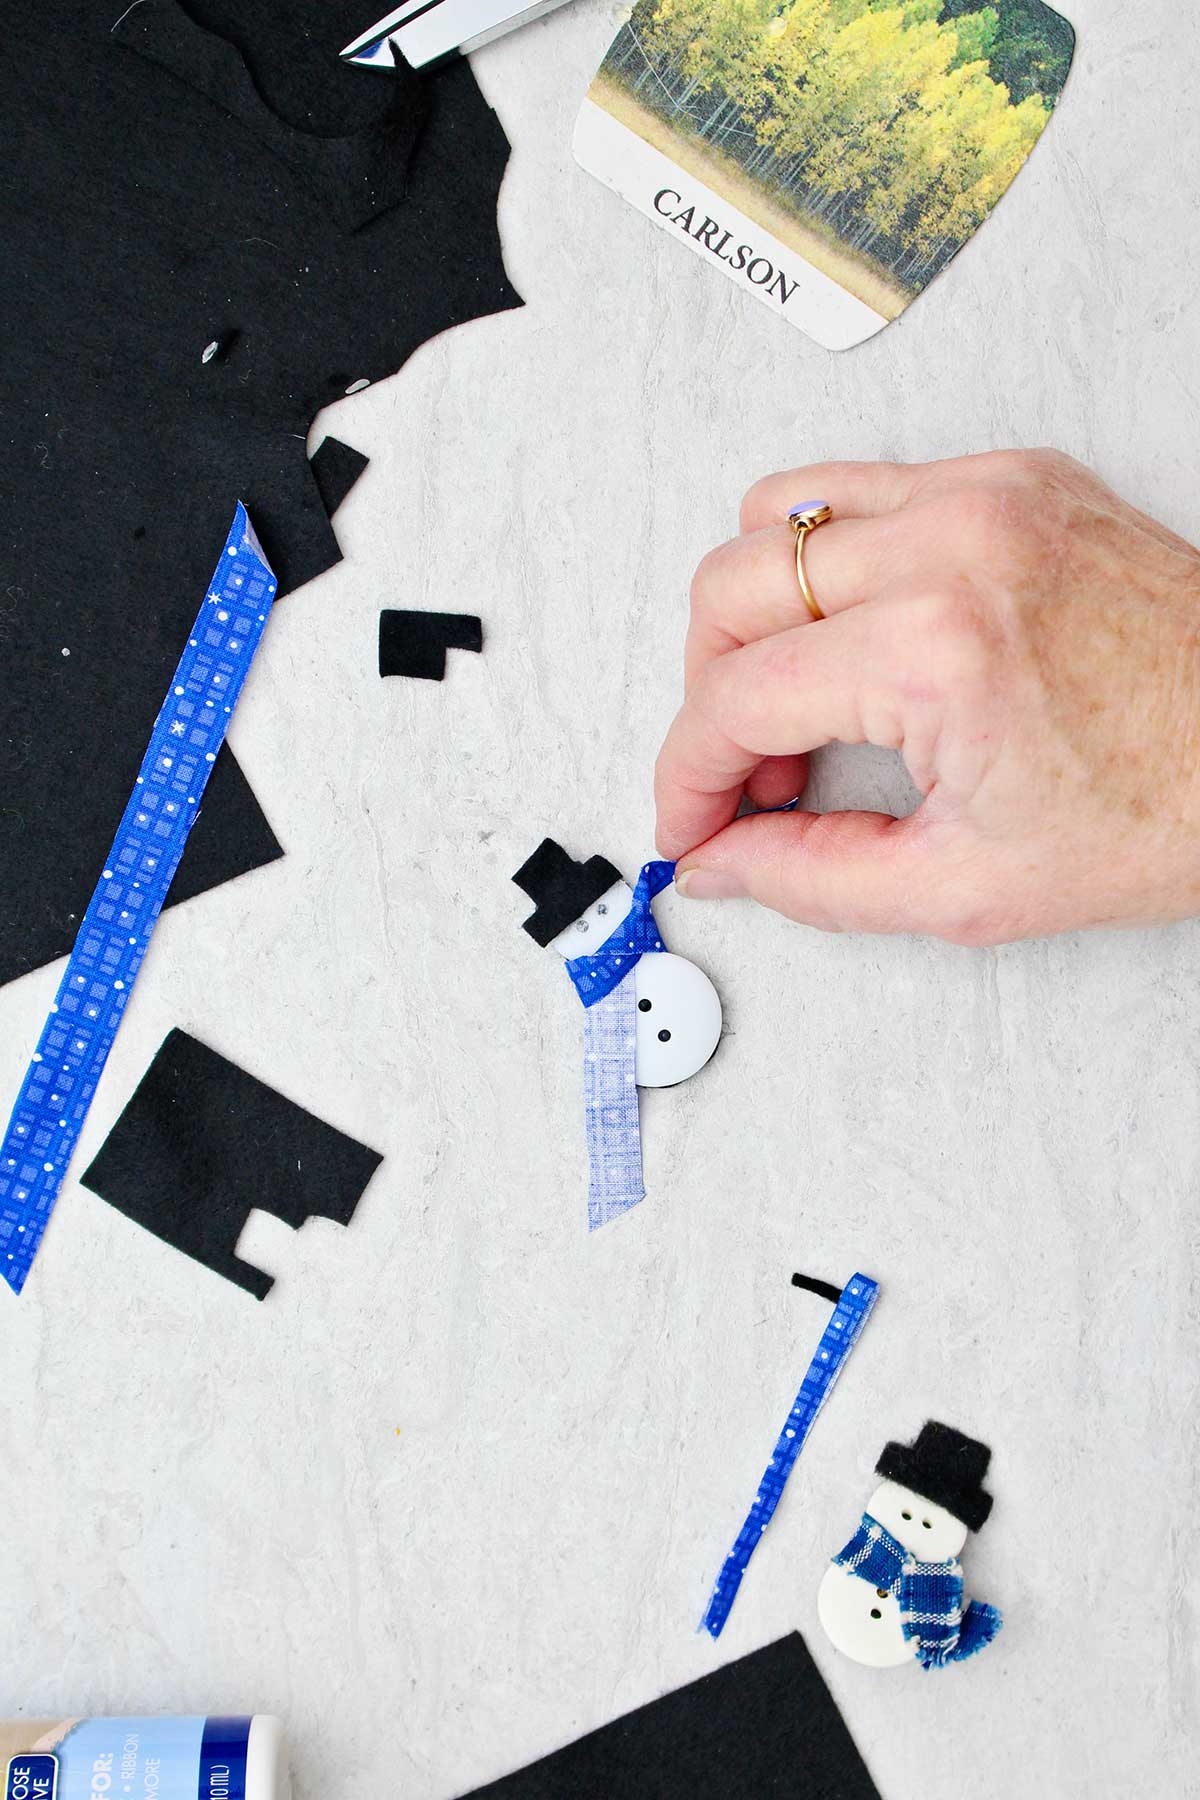
Cut a hat from the black felt in a “T” shape with a wide stem. Turn it upside down and it is a top hat! Glue to the top of the snowman head.
Cut a narrow strip of fabric and tie it around the neck of your button snowman. Glue the ends of the scarf in place so it looks nice and trim to a good length.
Add small stick twig arms by gluing them to the back of the snowman. This is an optional step.
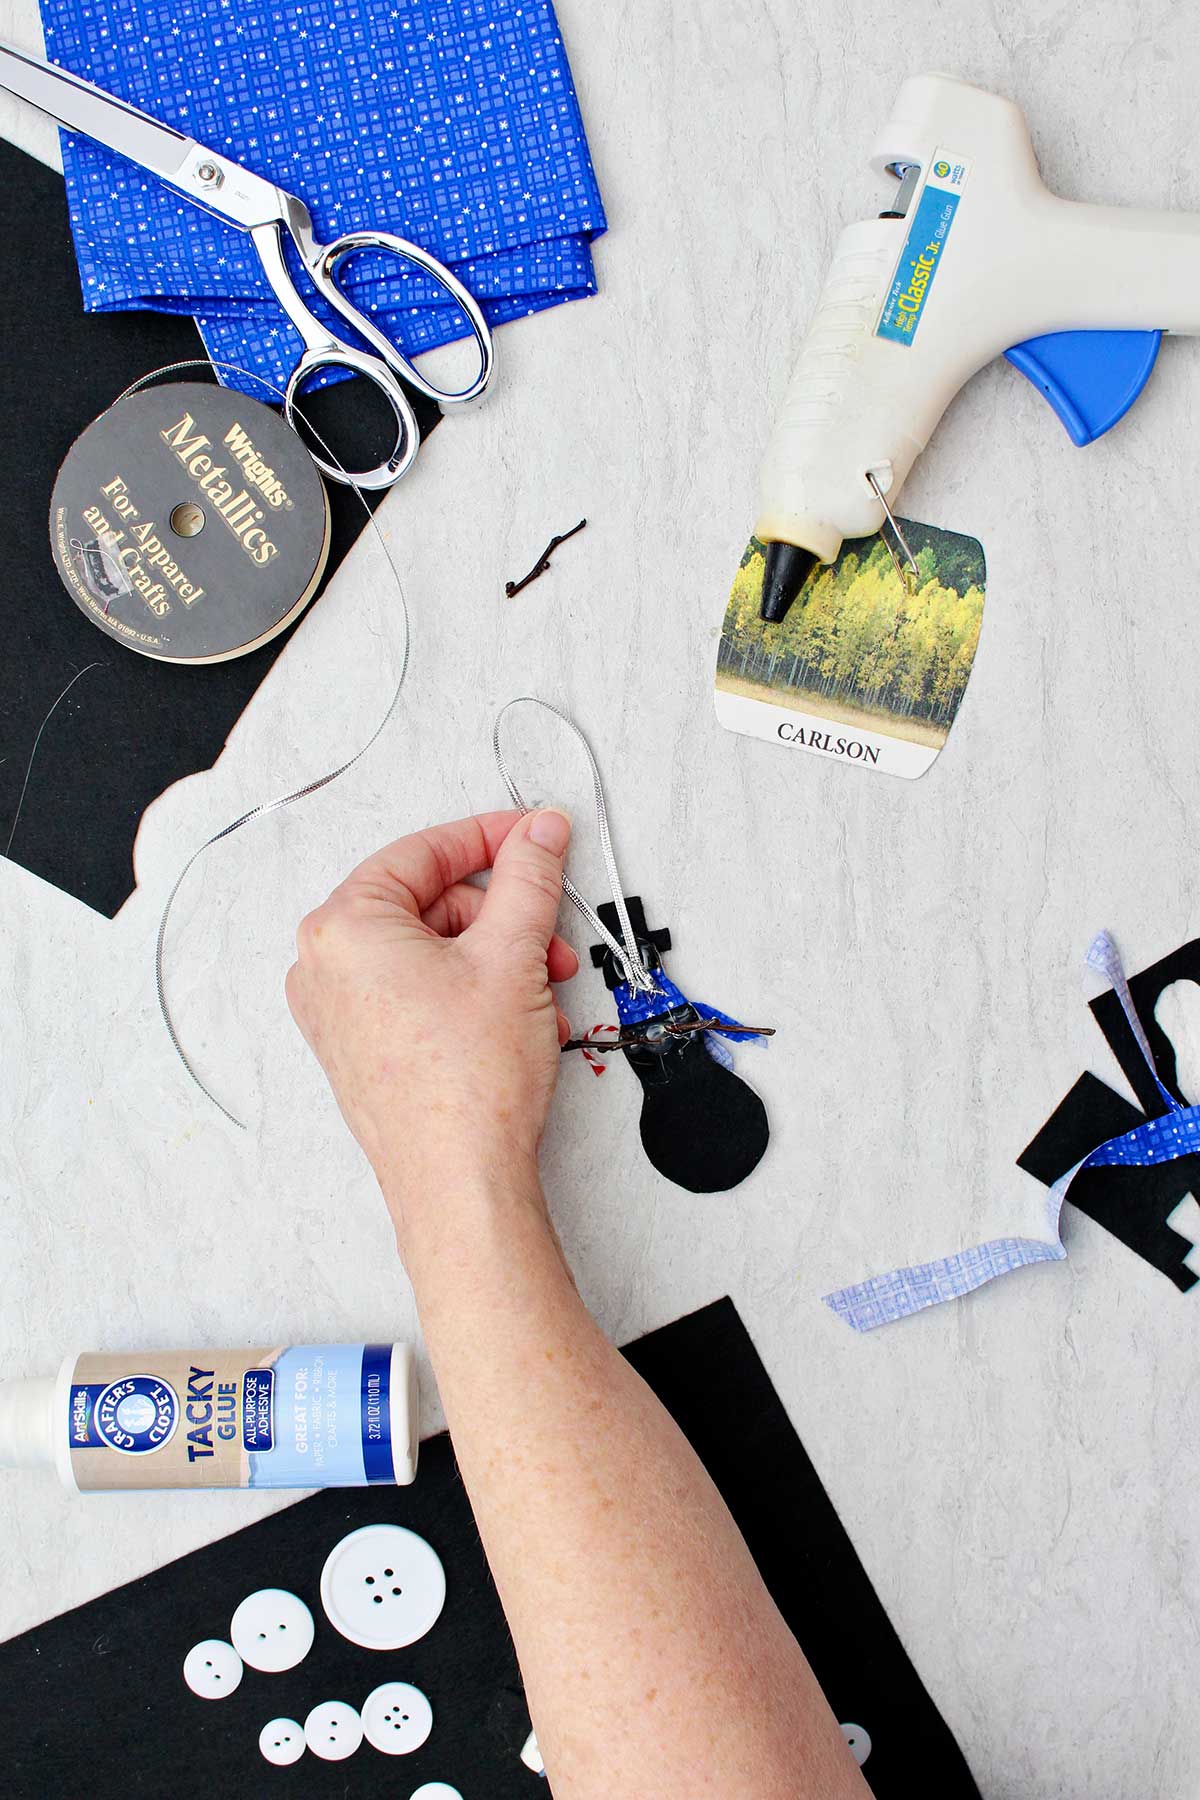
Cut a piece of ribbon about 9 inches long. Double it over and glue the two ends to the back of the snowman's head.
Add decorations to your snowman if you desire.
Snowman Button Pin
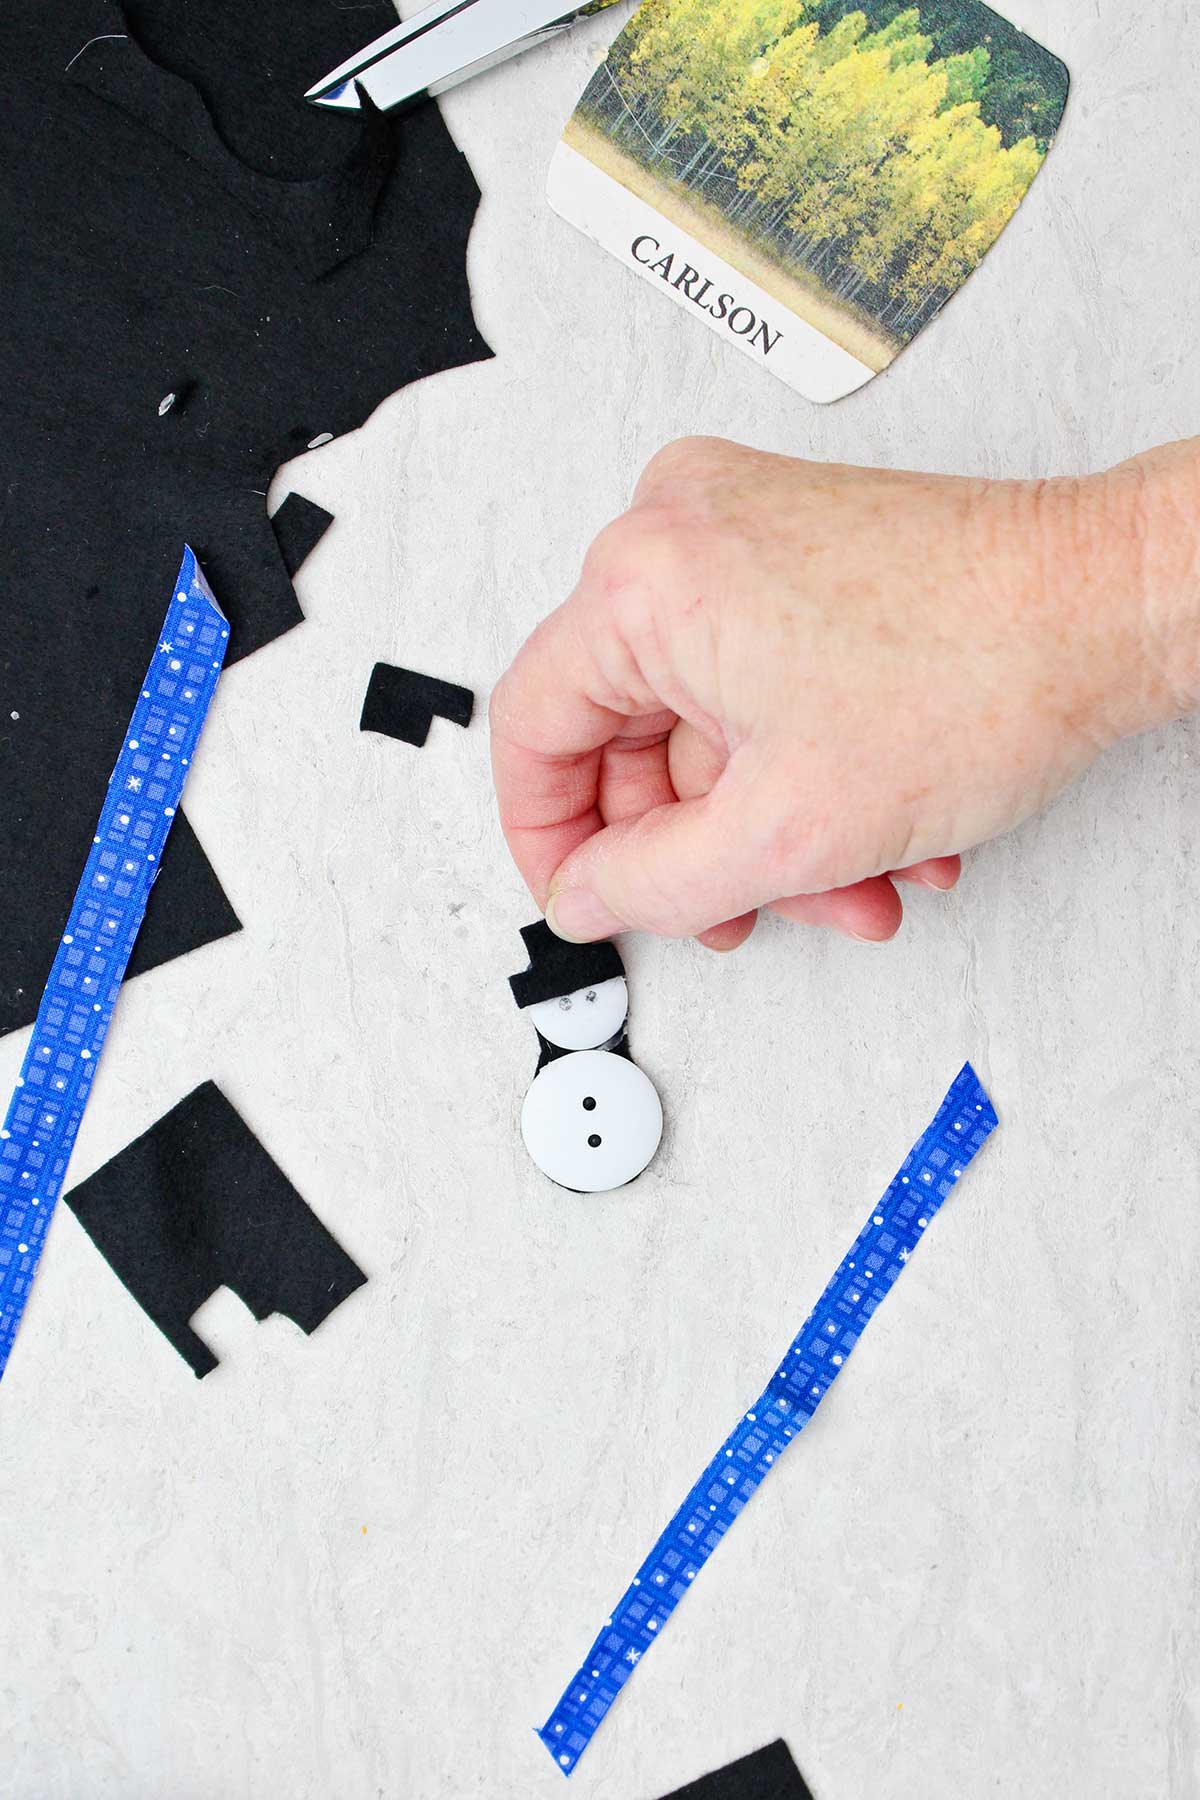
Use 2 sizes of white buttons for the snowman button pin (small and medium or medium and large). Glue them onto black felt and cut away the excess felt.
Make a black felt hat and glue it to the top of the head.
Tie a narrow fabric scarf around the snowman's neck and glue in place.
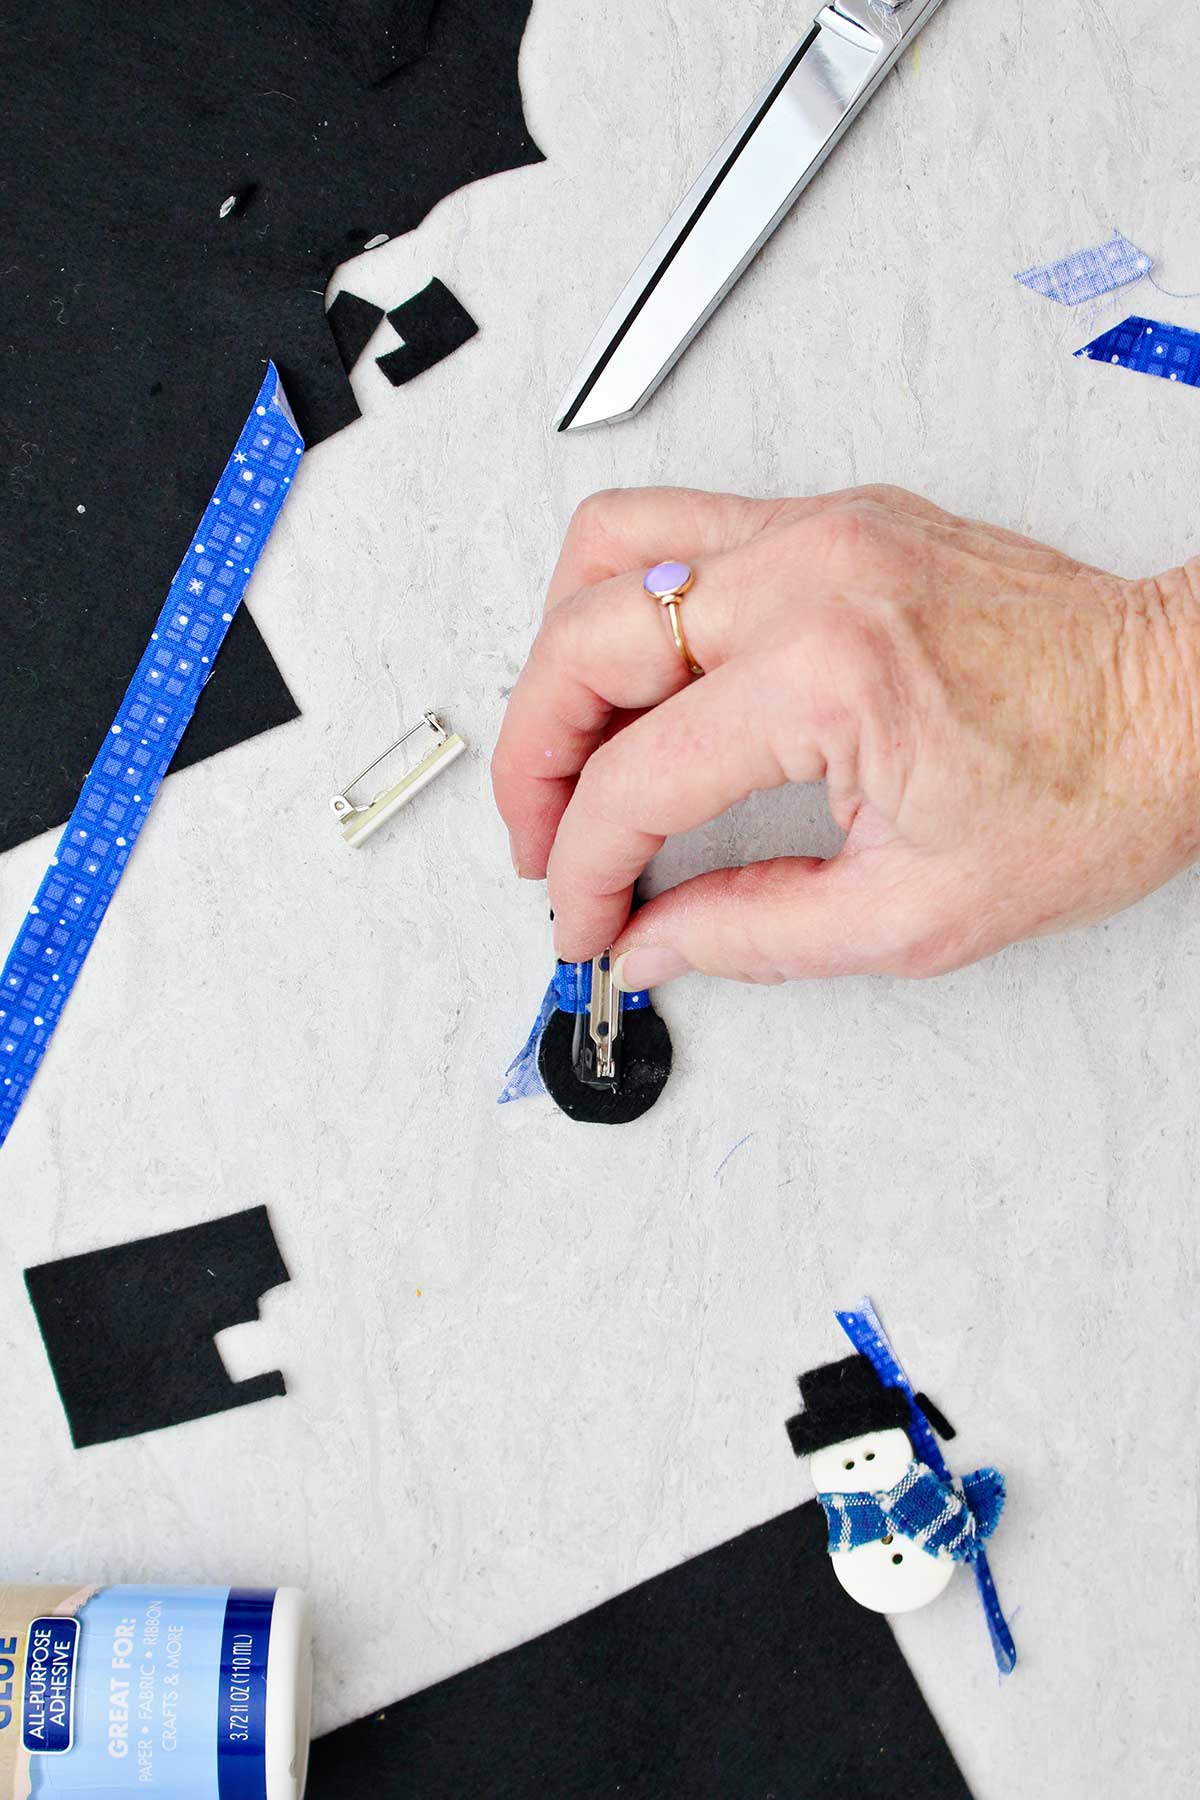
Glue a brooch pin to the back of the snowman.
Snowman Button Card
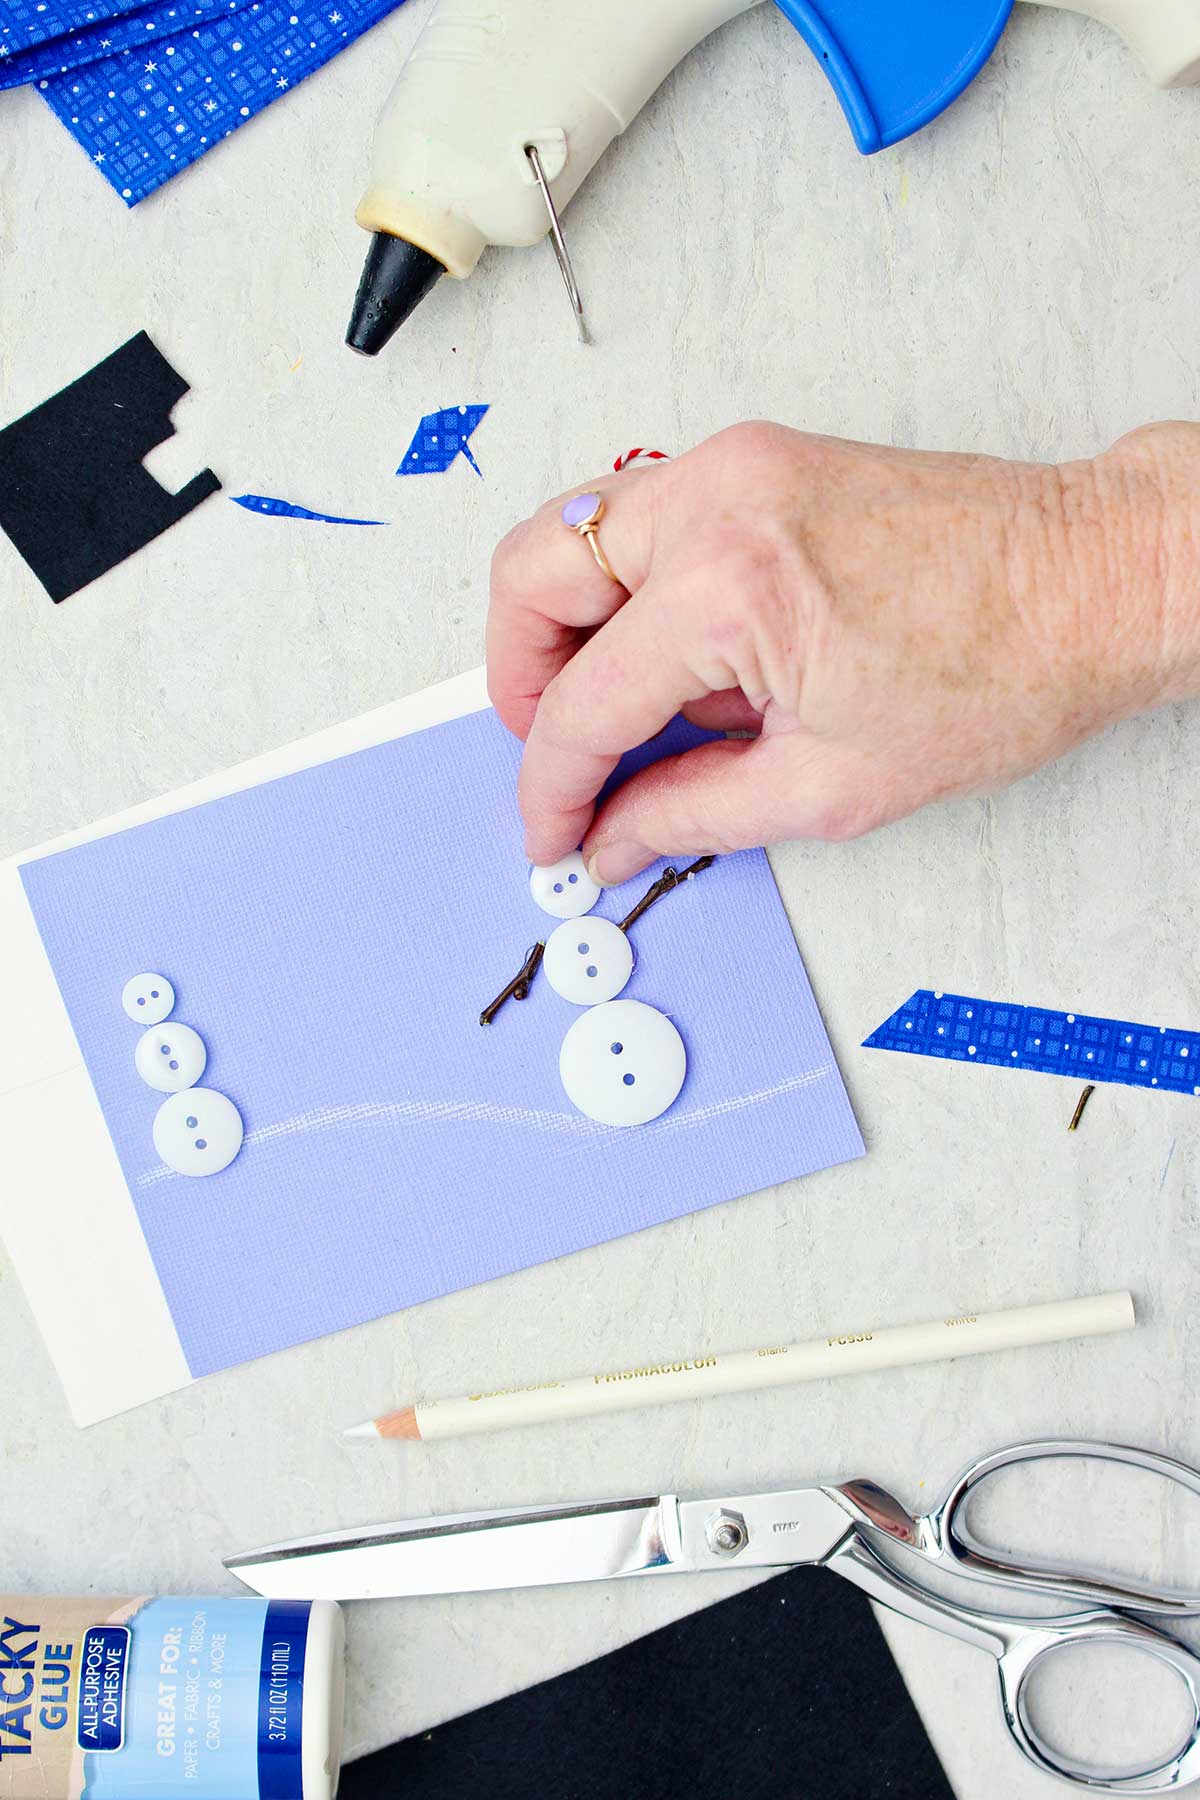
Make 2 sizes of snowmen from white buttons on your card- a larger snowman and a smaller one. The card is cut from blue cardstock paper in a size that fits into an envelope you have. Or you can make an envelope- here are instructions.
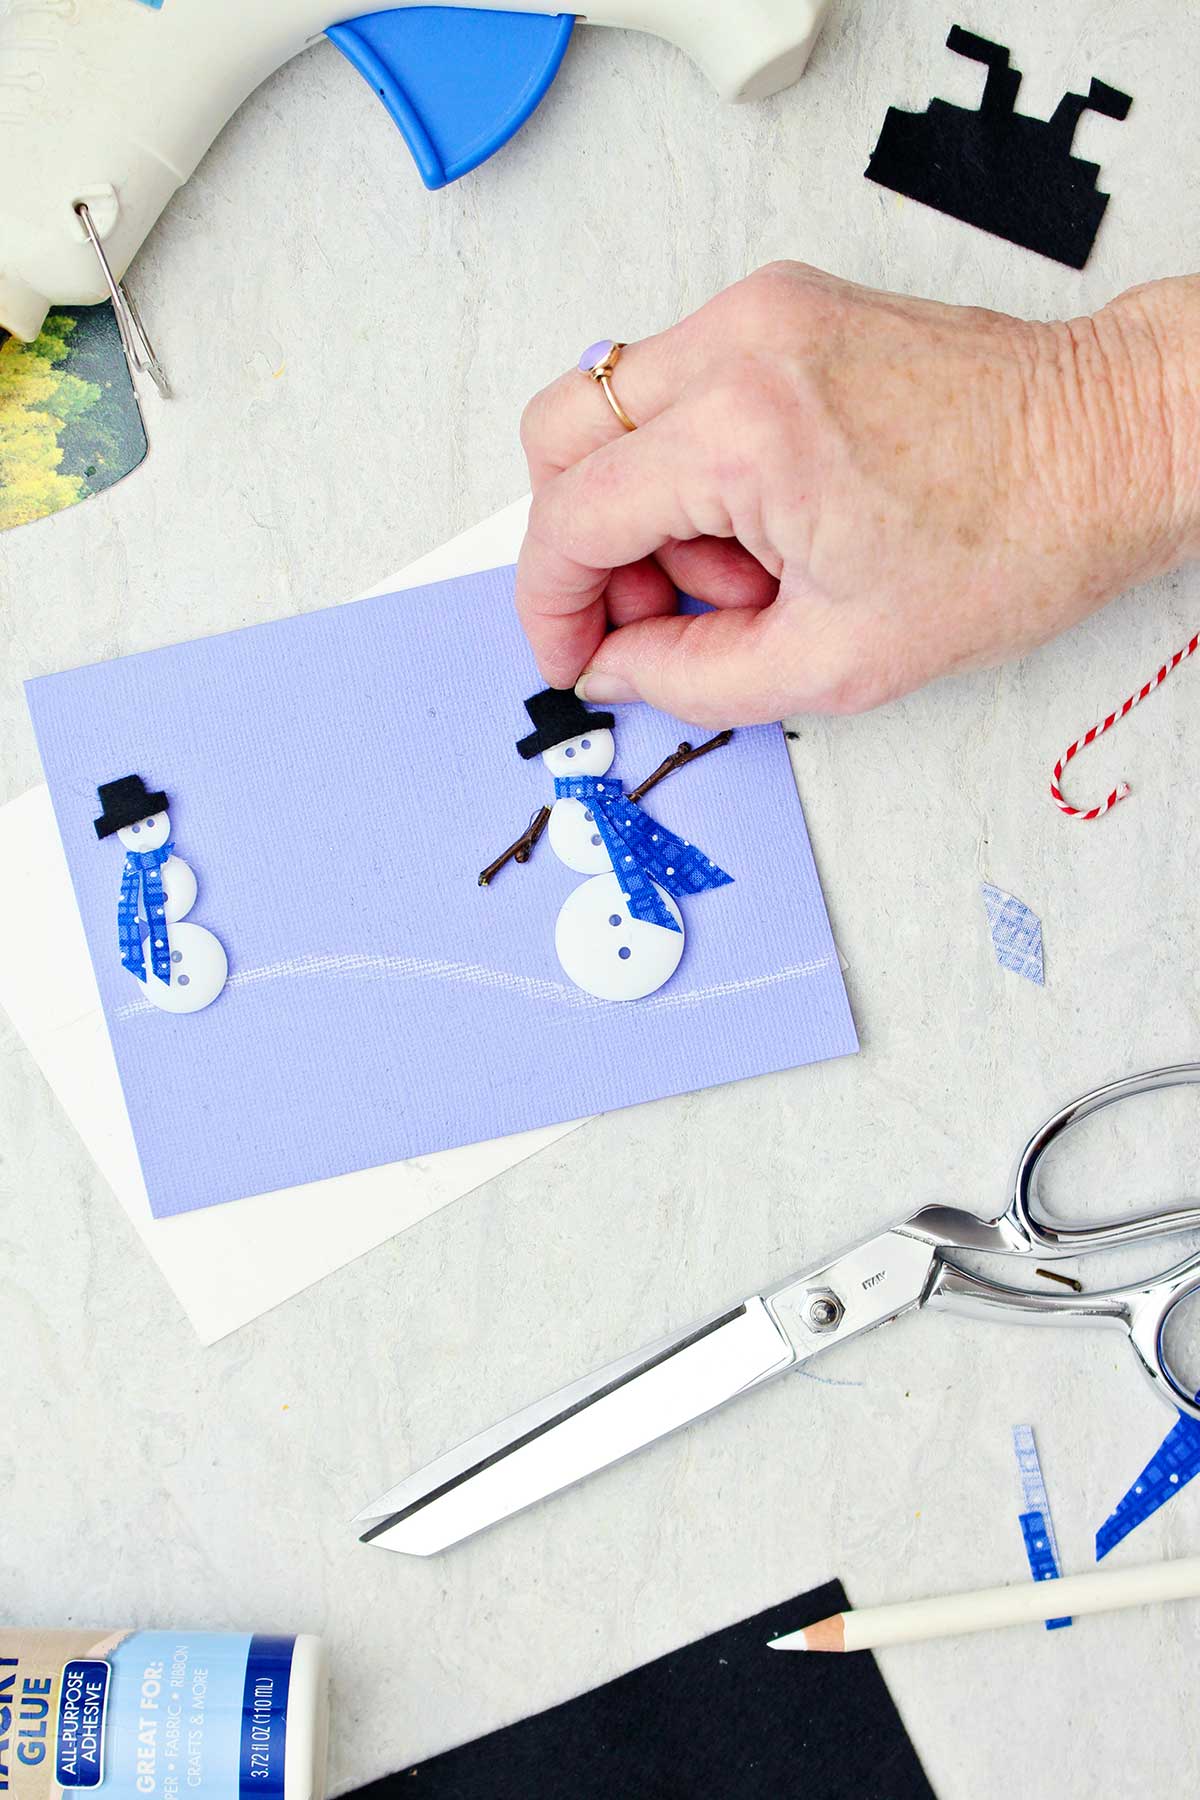
Glue on hats and glue on pieces of fabric for the scarves (but you will not tie it around the snow man's neck this time). Add arms from twigs if desired.
Use a white pencil to draw a snow scene with a drift of snow below the snowman, and draw little snowflakes coming down from the sky.
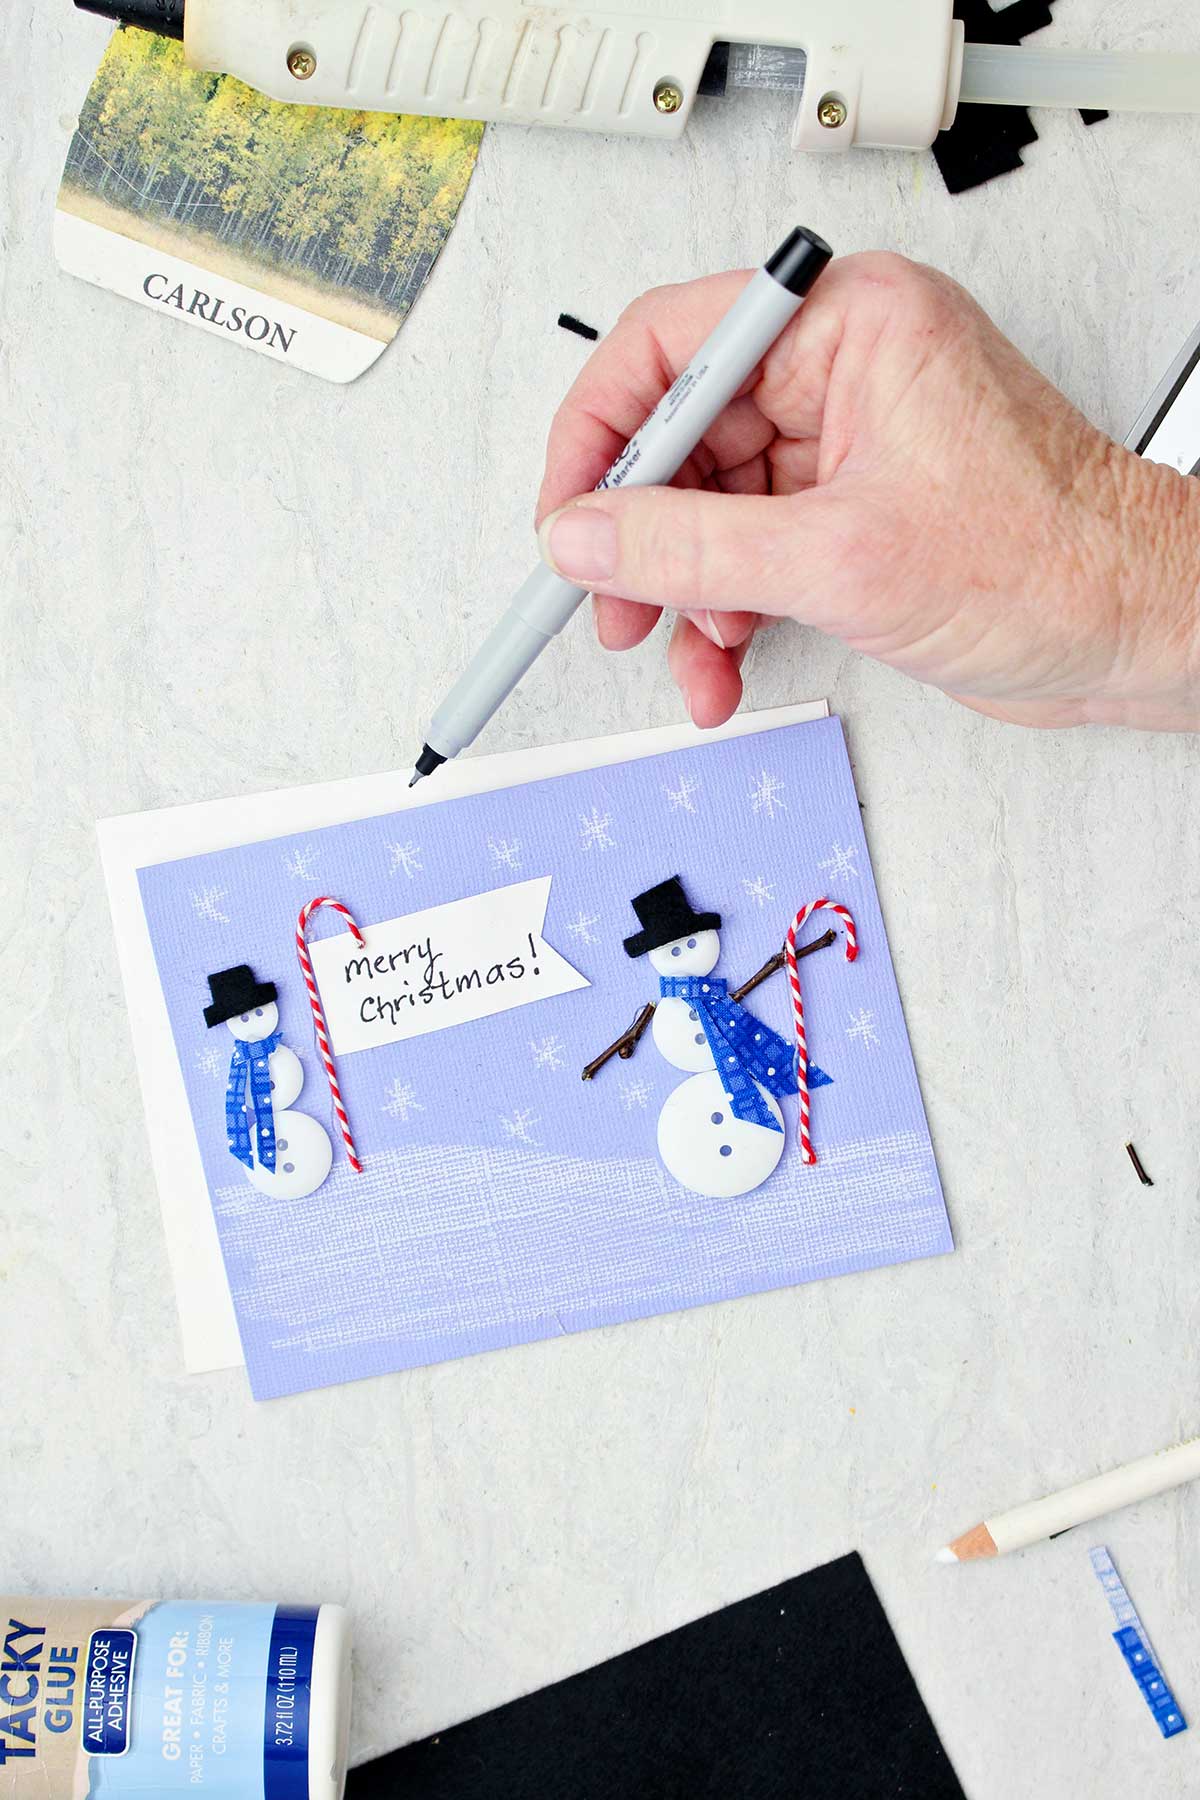
Write your message on the card. You can write "Merry Christmas!", "Let it snow!", etc.
I added small candy cane decorations and a small sign that looked like a flag. I wrote my message on the flag (this is optional).
Add decorations as desired from your craft stash.
Craft Tips for a snowman made from buttons
- Hot glue- The hot glue can come up through the holes in the buttons so please be careful.
- Cutting felt- When cutting the felt away from the shape of the buttons OK if you leave a little bit of felt that you can see. You want to make sure the felt holds the three buttons or two buttons together.
- Scarf- Tie the scarf of your snowman so that the most colorful side shows on the front. And glue it in place so it stays that way.
- Trimming the scarf- Cut the bottom of the scarf diagonally or fringe the ends.
- Clasp- glue the brooch pin so that it is vertical and the opening is at the top of the snowman when making the button snowman pin.
Craft Variations for the Button Snowmen
Here are a few variations you’re welcome to try with this snowman made out of buttons craft:
- Tacky glue- You can use tacky glue instead of hot glue, but the drying time is significantly longer.
- Ribbon scarf- A ribbon can be used for a scarf instead of fabric if you want.
FAQ
I found this wonderful set of plastic white buttons at Hobby Lobby. The white buttons came in 6 or 7 sizes all in one package! It will be the easiest and least expensive to buy the buttons in a package. Of course using buttons from your own stash is the best of all!
I used a hot glue gun and hot glue for this button snowman craft. But a Tacky Glue will work as well. The Tacky Glue will take much longer to dry between steps though.
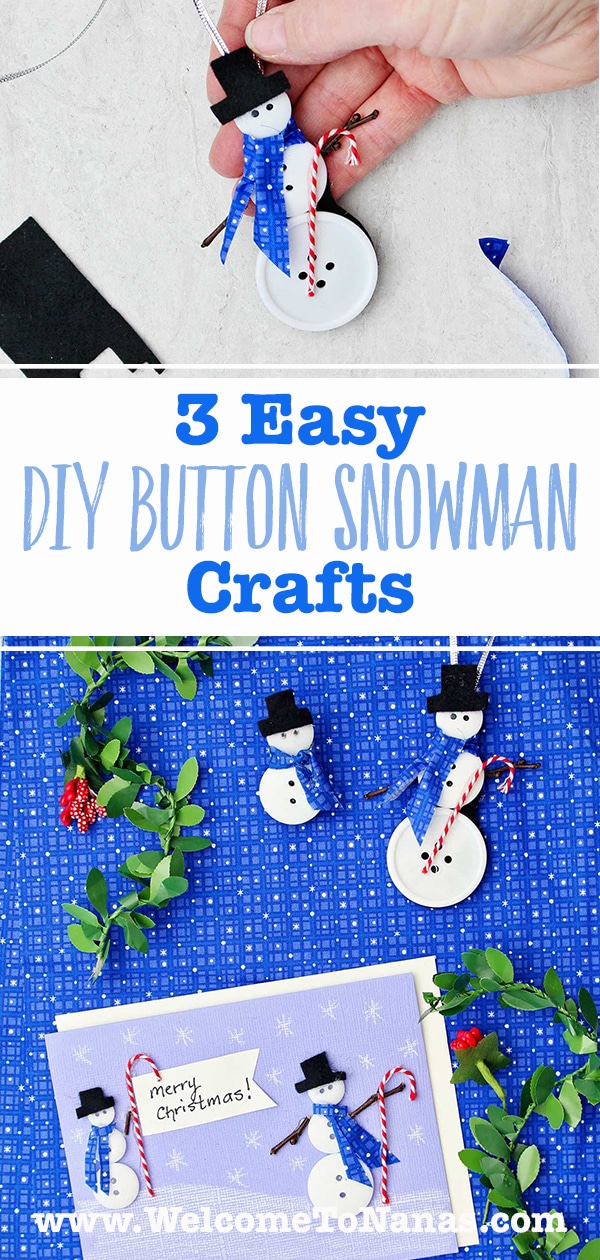
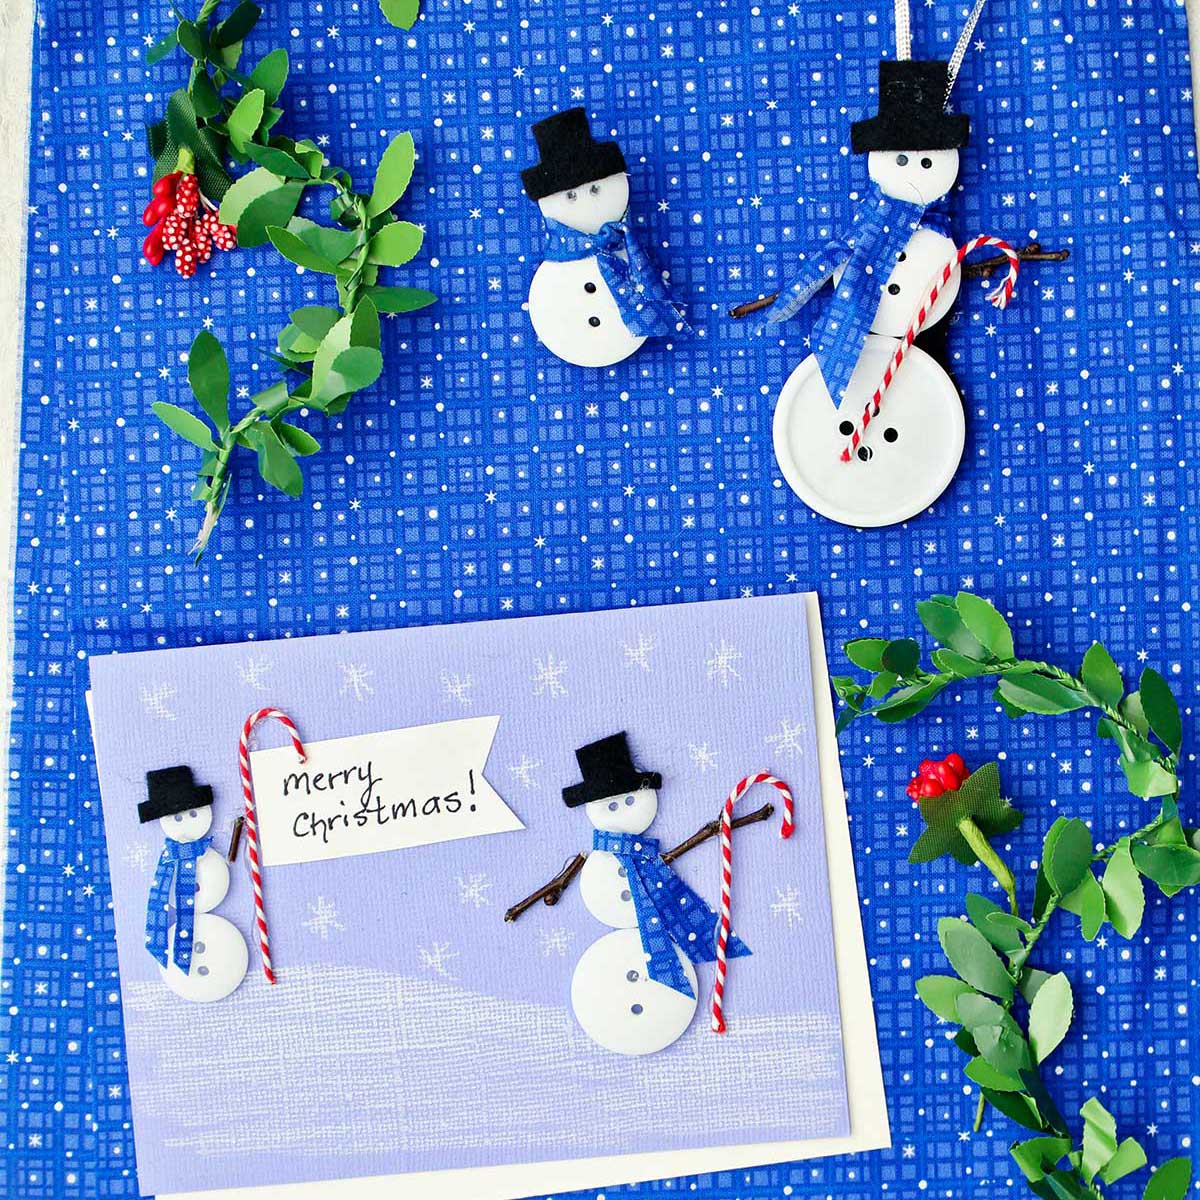
This post has 3 Easy DIY Button Snowman Crafts for you to try. There is a button snowman ornament, a button snowman pin, and a button snowman card.
At the end of the post are four more button art crafts for you to try. I’m sure you will find one that works for you and the kids to make for the holiday season!
More DIY Button Crafts for Kids
Looking for more easy button crafts to try? Here are a few of our favorites (and they would be great as gifts):
Come join the fun at WTN!
Try this craft, leave a comment, rate it, and tag a photo with #WelcometoNanas wherever you post.
More Crafts!
Love getting crafts straight to your inbox? Sign up to receive a weekly email and get a free gift!
3 Easy DIY Button Snowman Crafts
Equipment
- none needed
Items Required
- White buttons in 3 sizes
- Black felt
- Fabric- Use a narrow strip of fabric for the scarf.
- Ribbon- The ribbon is used to hang the ornament.
- Brooch pin- A brooch pin is used to make a button snowman pin
- Cardstock paper- Blue cardstock paper for the card
- Glue- I used a hot glue gun and hot glue.
Instructions
Snowman Button Ornament
- Use three sizes of white buttons for the button snowman ornament (small, medium, large). Glue them in a snowman arrangement onto the black felt using a hot glue gun and hot glue.When the glue is cooled, cut the excess felt away from around the buttons.
- Cut a hat from the black felt in a “T” shape with a wide stem. Turn it upside down and it is a top hat! Glue to the top of the snowman head.
- Cut a narrow strip of fabric and tie it around the neck of your button snowman. Glue the ends of the scarf in place so it looks nice and trim to a good length.
- Add small stick twig arms by gluing them to the back of the snowman. This is an optional step.
- Cut a piece of ribbon about 9 inches long. Double it over and glue the two ends to the back of the snowman's head. Add decorations to your snowman if you desire
Snowman Button Pin
- Use 2 sizes of white buttons for the snowman button pin (small and medium or medium and large). Glue them onto black felt and cut away the excess felt.
- Make a black felt hat and glue it to the top of the head.Tie a narrow fabric scarf around the snowman's neck and glue in place.
- Glue a brooch pin to the back of the snowman.
Snowman Button Card
- Make 2 sizes of snowmen from white buttons on your card- a larger snowman and a smaller one. The card is cut from blue cardstock paper in a size that fits into an envelope you have. Or you can make an envelope- here are instructions.
- Glue on hats and glue on pieces of fabric for the scarves (but you will not tie it around the snow man's neck this time). Add arms from twigs if desired.
- Use a white pencil to draw a snow scene with a drift of snow below the snowman, and draw little snowflakes coming down from the sky.
- Write your message on the card. You can write "Merry Christmas!", "Let it snow!", etc.I added small candy cane decorations and a small sign that looked like a flag. I wrote my message on the flag (this is optional).Add decorations as desired from your craft stash.



Leave a Reply