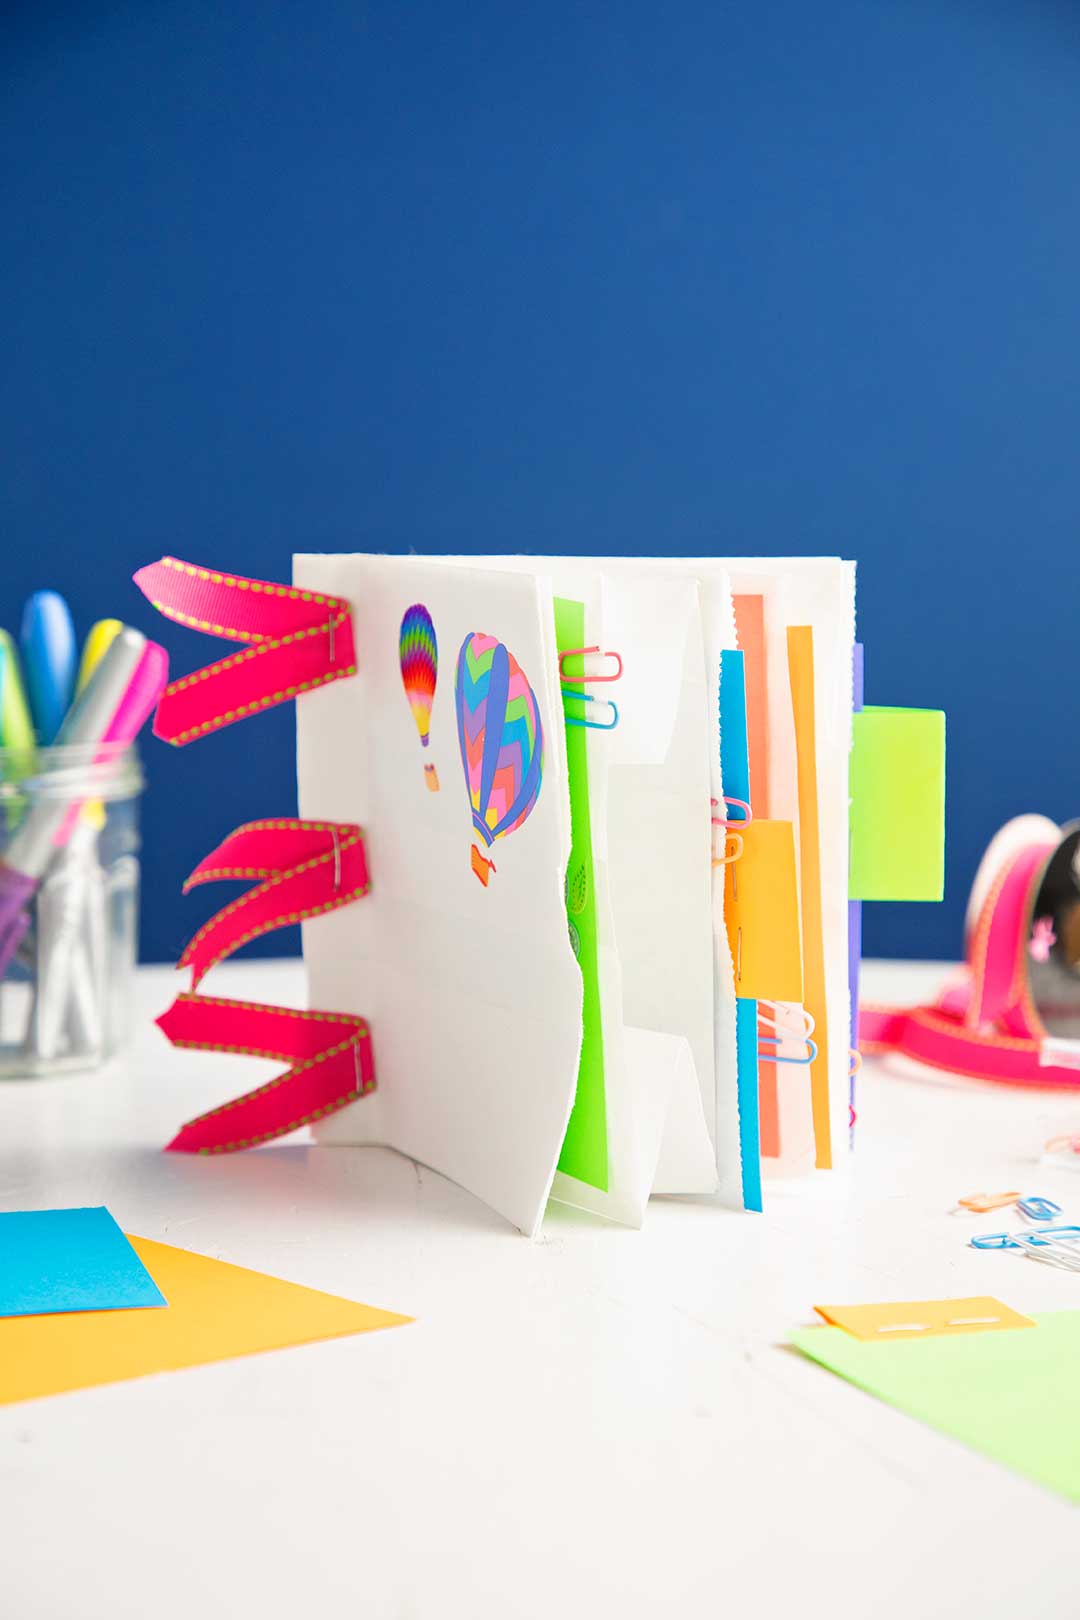
Paper lunch bag book
Make a cute & easy DIY Paper Bag Book with Pockets for a card, a place to tuck in gift cards or coupons, a writing activity or just for fun! This takes "brown bagging it" to a whole new level!
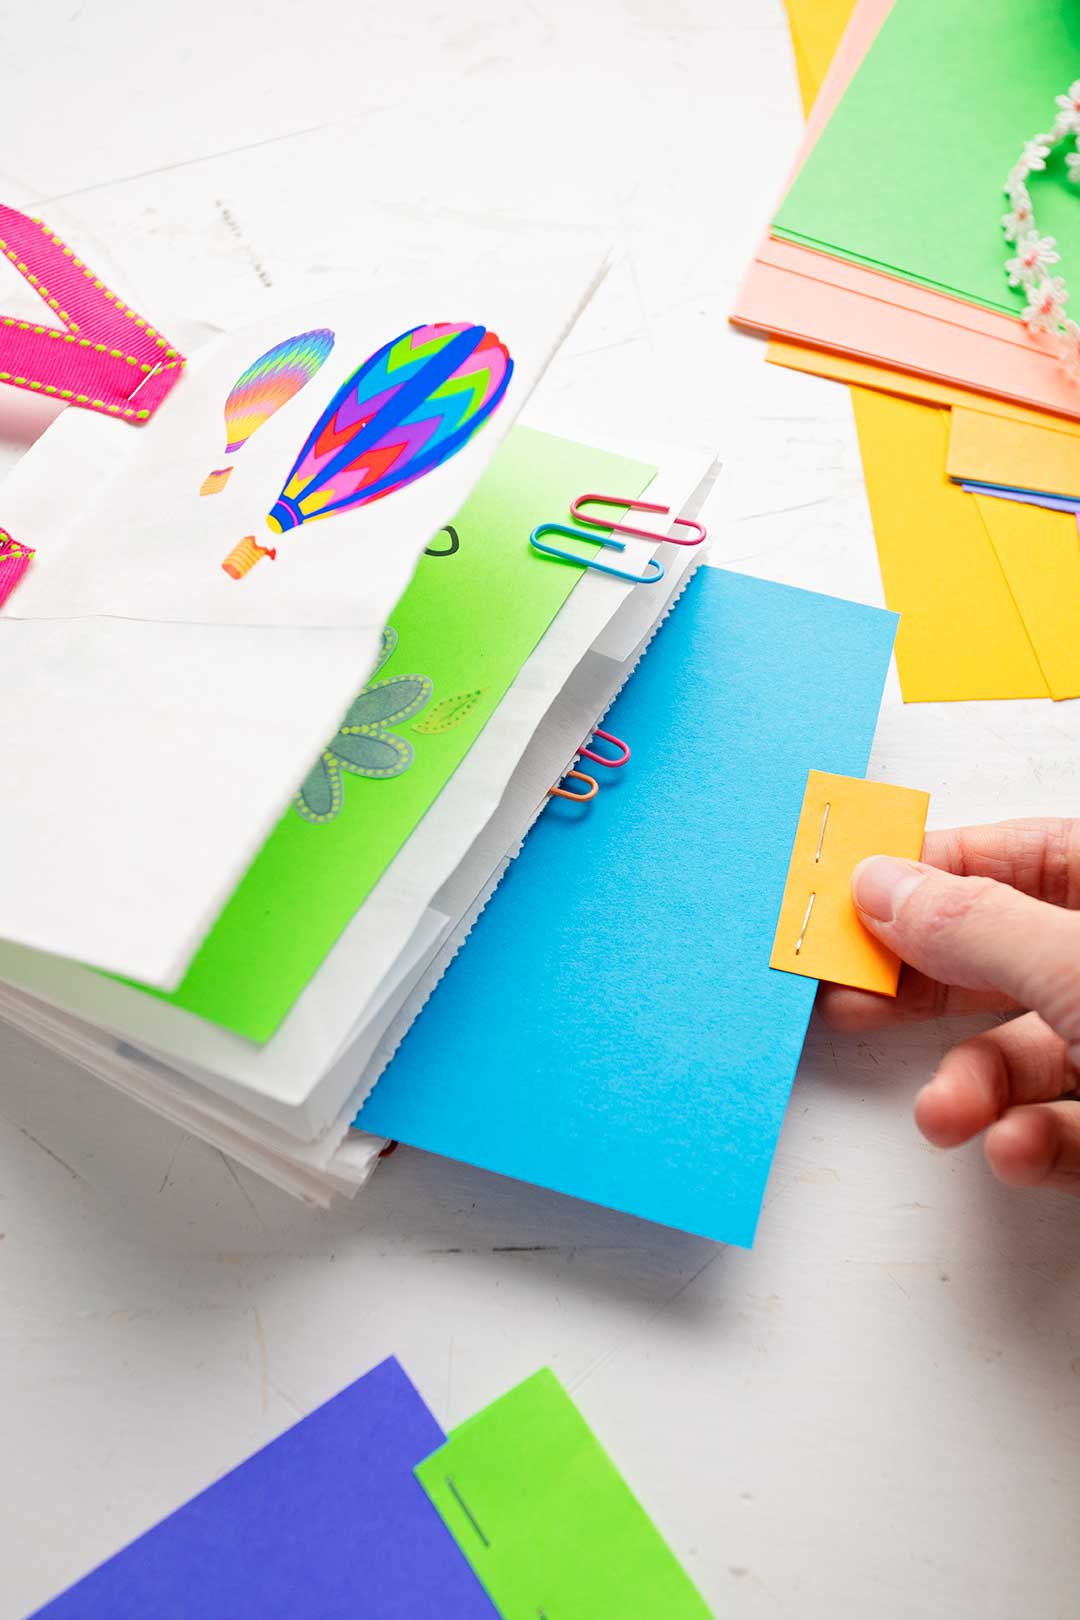
Brown bag book of encouragement
Something like this was given to me by a friend before I set out on a long speaking trip. It had small travel treats tucked in the pockets and words of encouragement on the pages and notes. It was so much fun to turn the pages and slip notes and small treats out of the pockets.
I’ve kept it for several years to use as an idea- and now to finally be made into a post to share! How exciting. Thank you, Stephanie!
Note: Although this stashed item got used, I don’t recommend stashing away too many things for too many years. Ha!! No comments about hoarding. Art, crafts, and supplies do NOT count towards hoarding!
Would you like to watch the paper bag book craft on a video?
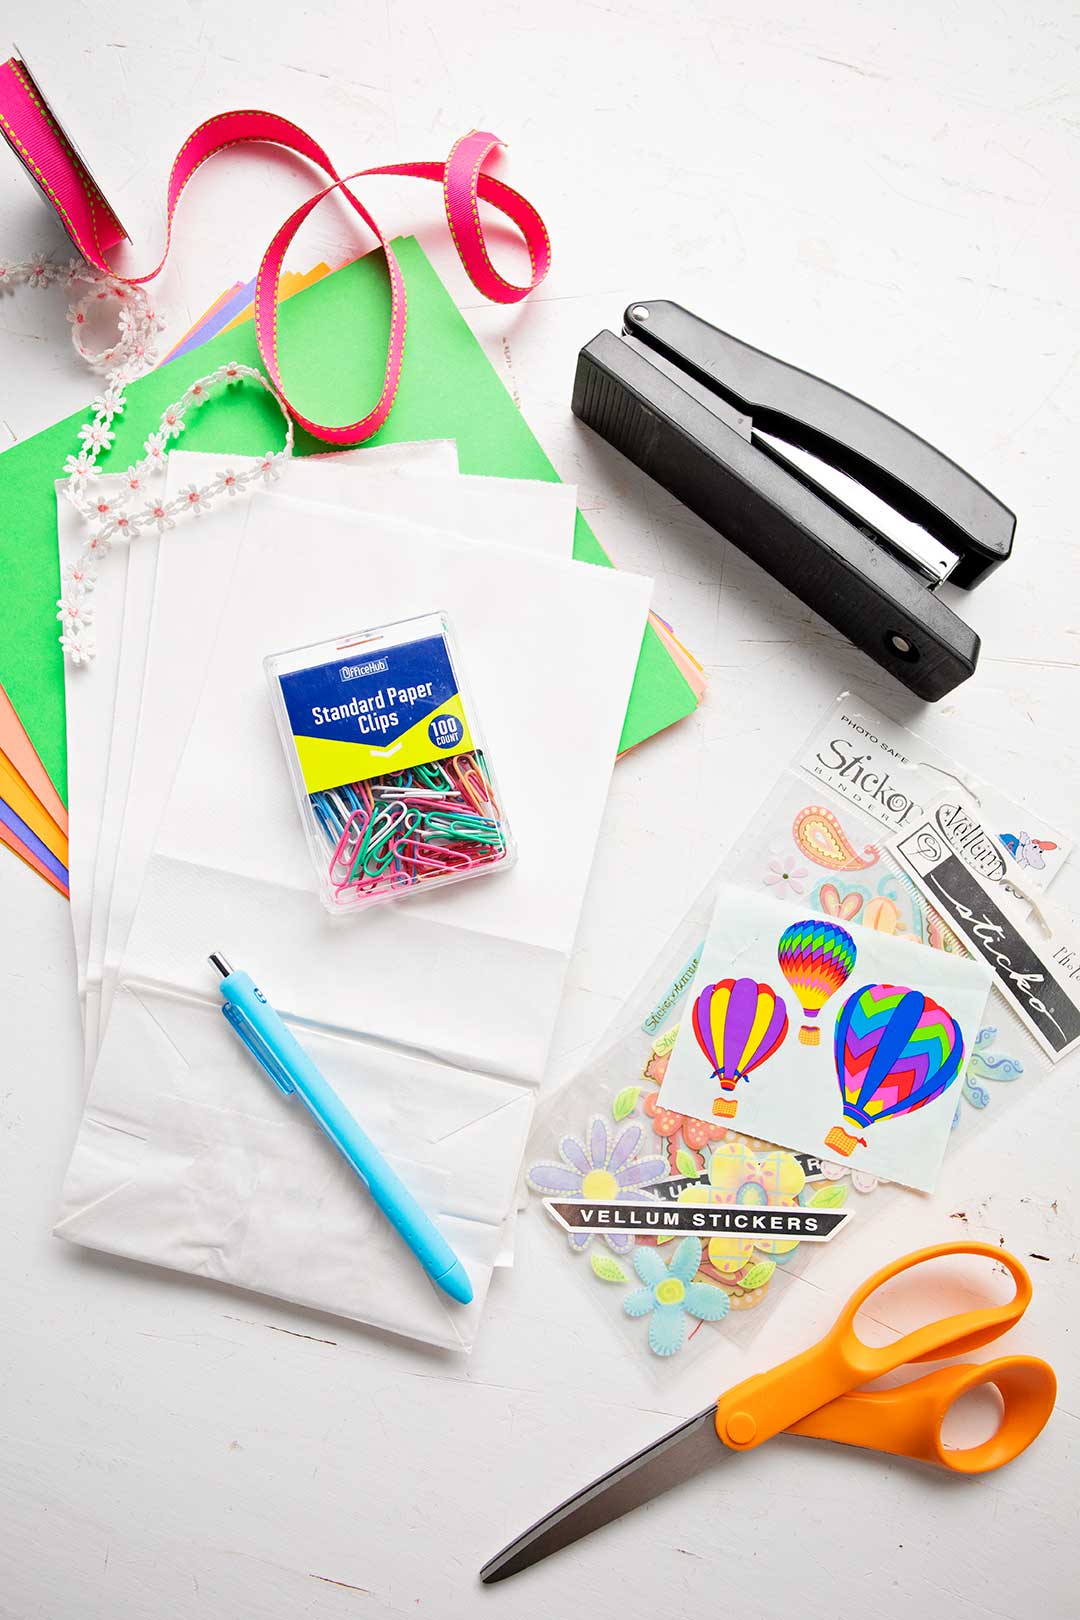
Brown paper bag book prep- gather supplies
This DIY Paper Bag Book with Pockets is oh so simple to make and there are infinite ways to decorate the one you make yourself. Go gather up your paper bags (lunch bag size- white, brown or any color), decorative papers, stamps, paper clips and other doo-dads and let’s get started!
You could even make your own paper clip hearts to decorate the pages of your book!
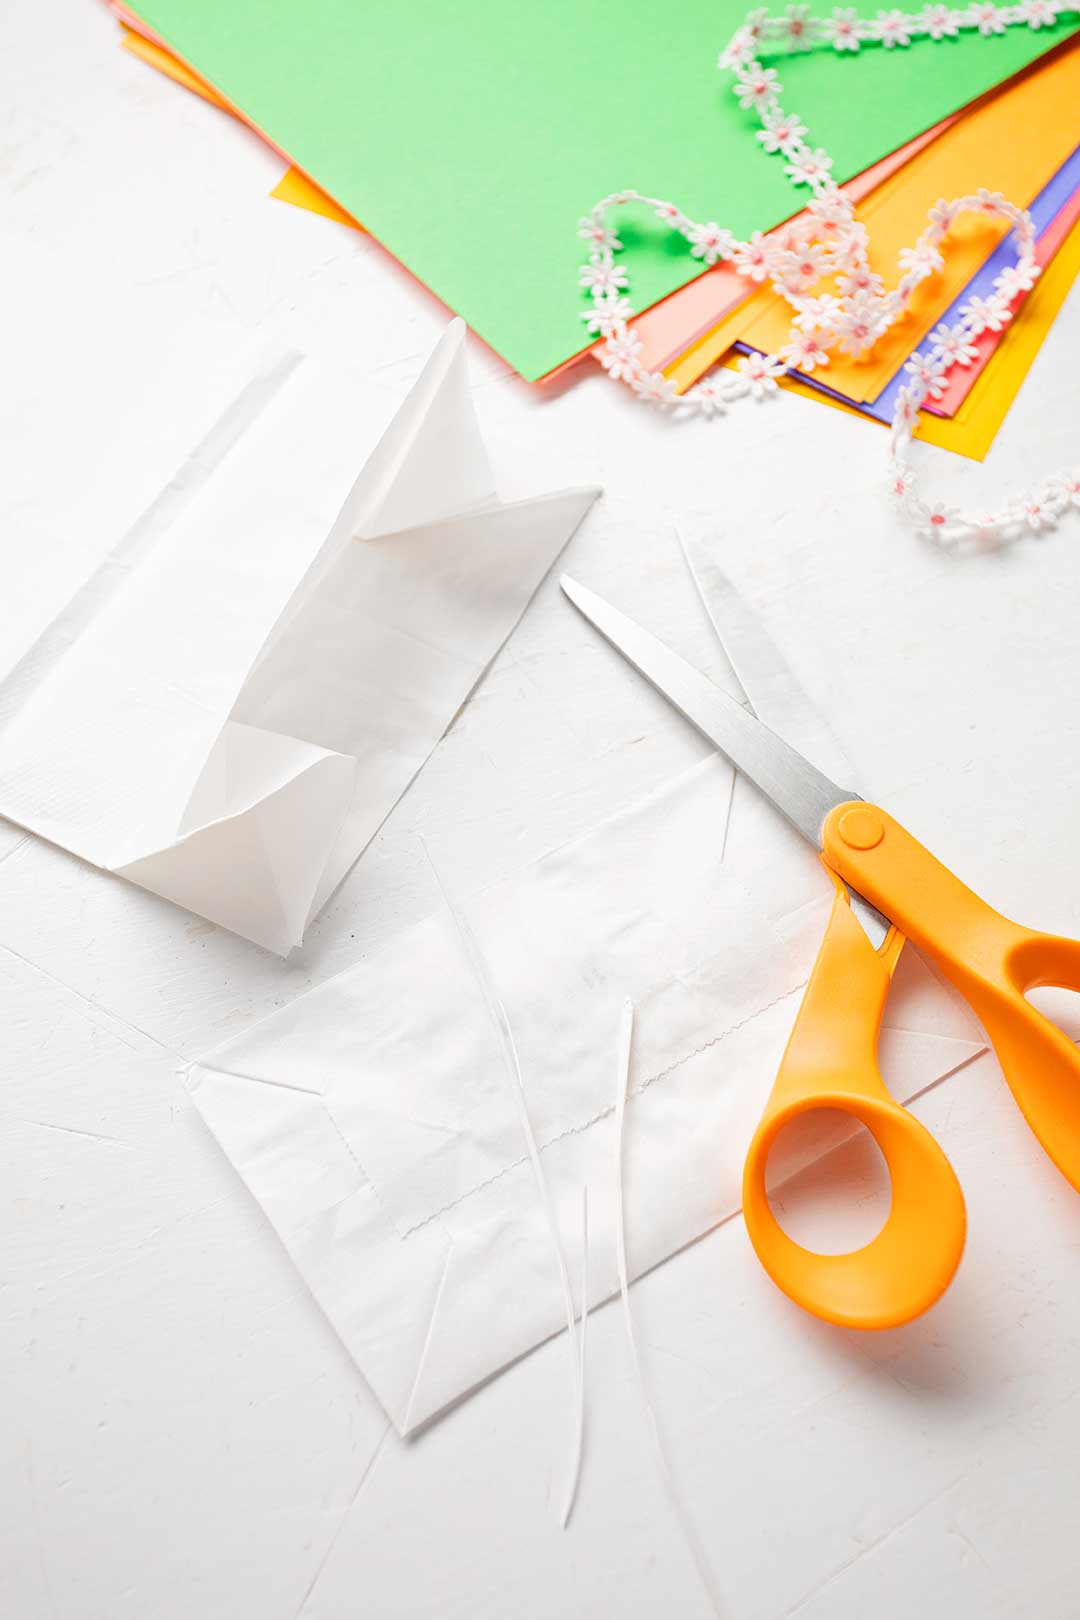
Paper Bag Used for a book...with pockets!
While the paper lunch sack is flat, carefully trim just the folded edges off the rectangle bottom of the sack. Gently pull out the folded down part of the sack and refold so that it is flat again and makes the sack open the same way on both ends.
Note: you can skip this step and leave the sack like it is (with the bottom of the sack in tact) and tuck your note in the top of the sack instead. Your choice! I just wanted more pockets.
Place three paper sacks on top of each other (you can stack two bags high if desired or if you don't have a strong enough stapler to go through three layers of paper).
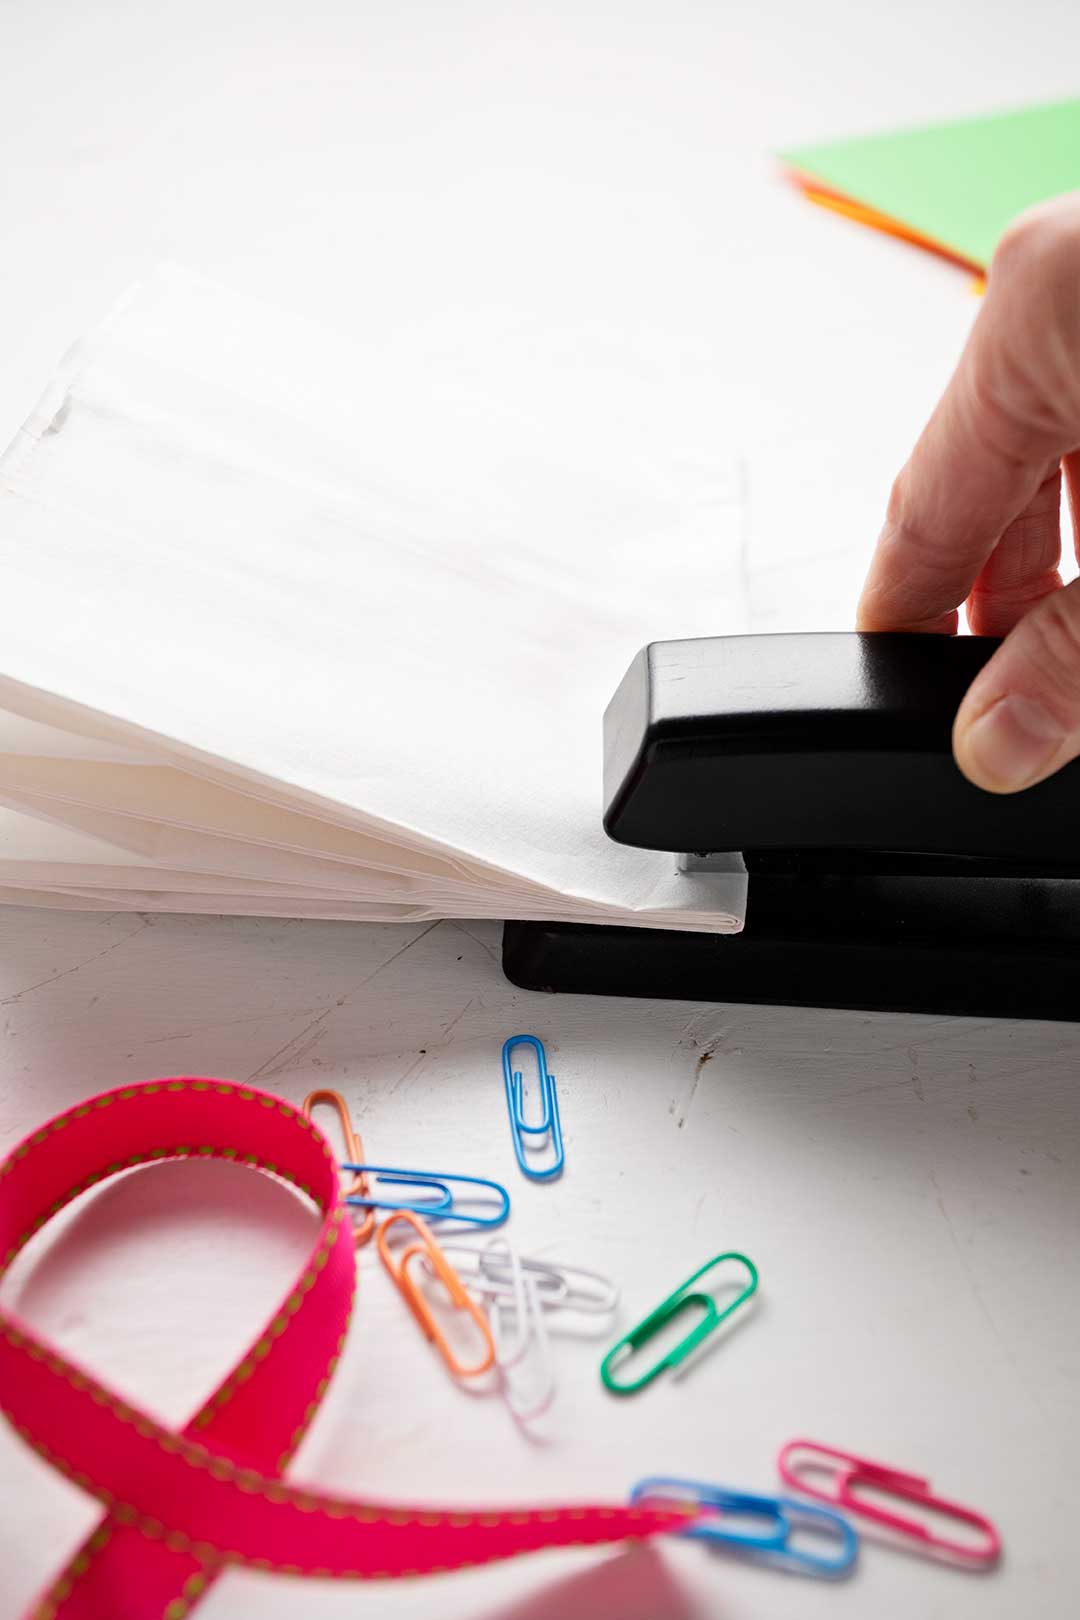
Fold the paper sacks in half so they look like a book. Staple the folded edge.
Note: This can also be done with a hole punch using ribbons tied in the holes to hold the book together, but my example is stapled.
Decorate the bags...here are some ideas:
- May cut decorated or colored paper squares and glue over a couple of the bag pages.
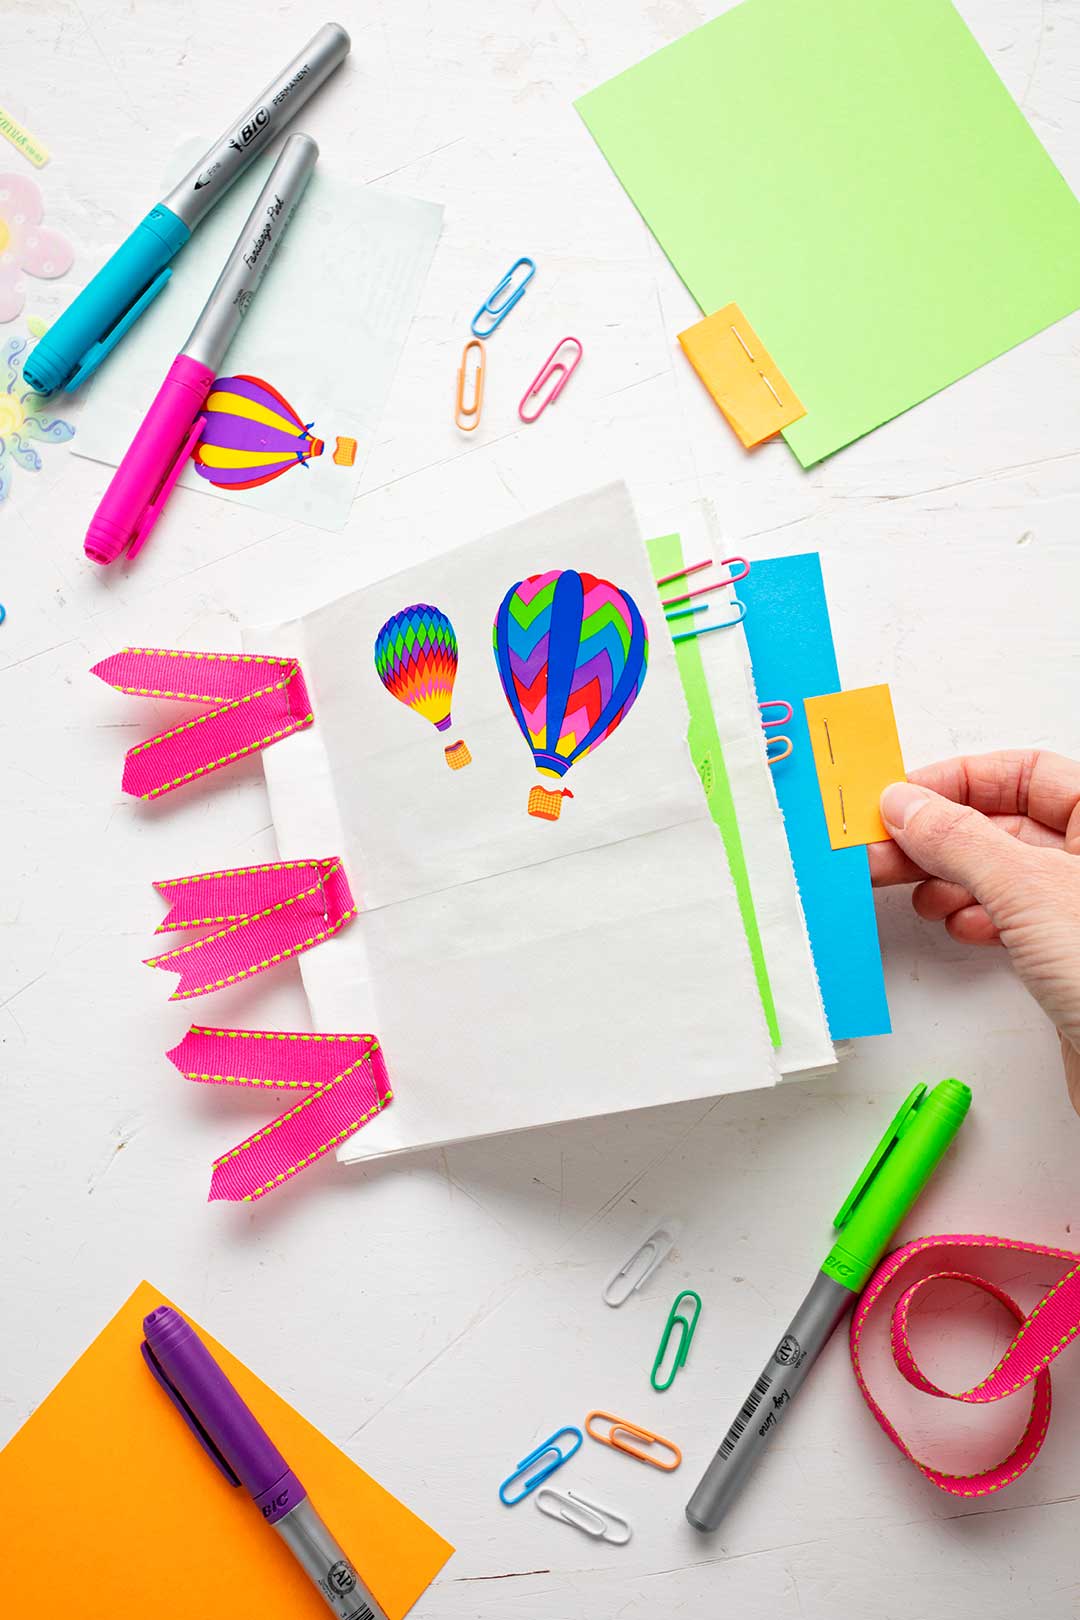
- Decorate with pages and cover with trims and ribbon, DIY stickers, washi tape, torn pictures and words from magazines, and other decorations of choice.
- Draw designs or write messages on the papers.
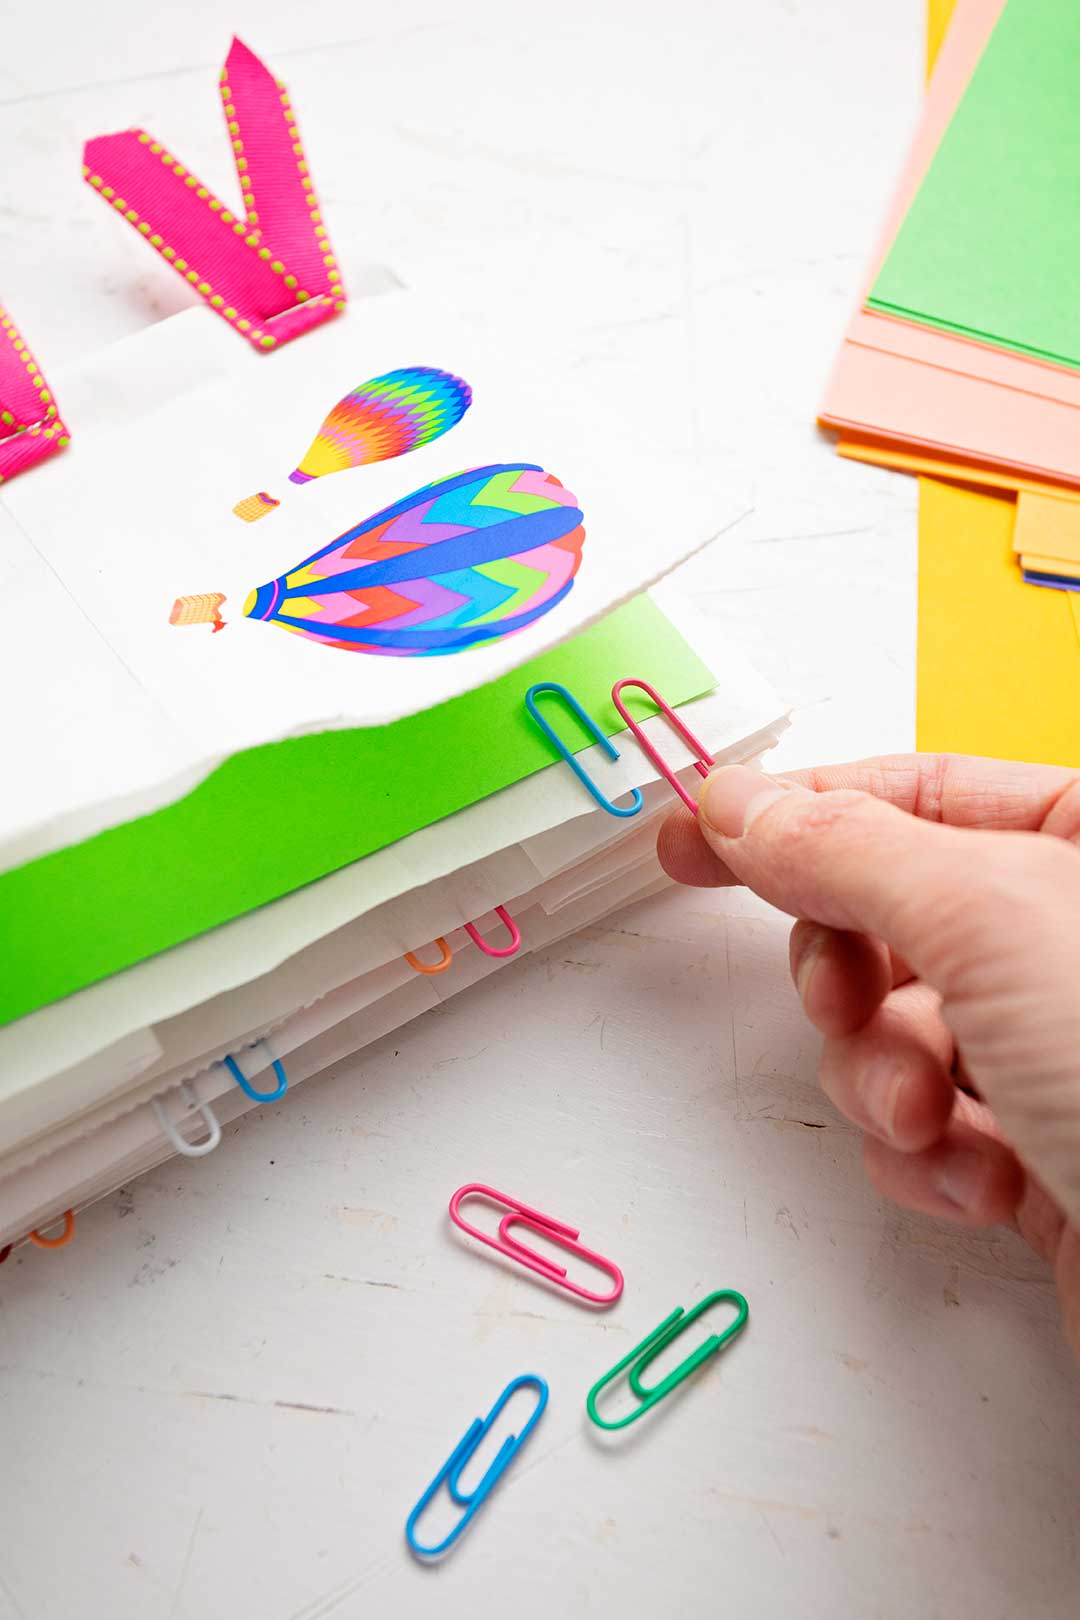
- Attach clips or paper clips to the pages.
- Glue on buttons, flat charms and found objects.
- Cut colored papers to slip in the page pockets. You can glue on pictures, quotes, write messages or leave blank for the person to write on themselves.
DIY Paper Bag Book- tuck personal items inside
Think of the person you are giving the DIY Paper Bag Book with Pockets to, and the occasion that is prompting the gift. What special items that are small and flat could be slipped into the pockets or clipped to the pages?
How about a tea bag, packet of flower seeds, pieces of gum or candy, a bookmark, a gift card, a coupon, money, small devotional or booklet, quote, card, stationary and stamps, packet of bath salts, nail file, or a picture? The list could go on and on.
Hey, leave a comment with other things that you think of to add to your Paper Bag Book!
How can you use your paper bag book?
What a great birthday card or teacher gift. It could be left as a thank you for a special meal or stay at someone’s home. So many uses for this DIY Paper Bag Book with Pockets!
I'm pondering making one for each of the grandkid's birthdays, to use as a card this year.
I’m excited to hear how you use yours!
Want other paper bag craft ideas? Click these links for more fun!
- Paper Bag Puppet Pals
- Glowing Paper Bag Luminaries
- Stamped Valentines Day Treat Bags
- Fun Apple Stamping Pumpkin Craft
Enjoy!
If you try this craft, let me know! Go ahead and leave a comment, rate it, and tag a photo with #WelcometoNanas wherever you post.
Come join the fun at https://welcometonanas.com
DIY Paper Bag Book with Pockets
Equipment
- Stapler and staples
Items Required
- Paper lunch bags in white, OR brown lunch bags, OR colored lunch bags
- Decorative paper- in solid colors, in designs
- Colored markers
- Decorative items- various (washi tape, ribbon, paper clips, buttons)
- Items to tuck inside the pockets-
Instructions
- While the paper lunch sack is flat, carefully trim just the folded edges off the rectangle bottom of the sack. Gently pull out the folded down part of the sack and refold so that it is flat again and makes the sack open the same way on both ends.
- Place three paper sacks on top of each other (you can stack two bags high if desired or if you don't have a strong enough stapler to go through three layers of paper).
- Fold the paper sacks in half so they look like a book. Staple the folded edge.
- Decorate the bags. Add ribbon, buttons, square paper over a page, add charms, write notes and draw pictures. Use your creativity!!
- Think of the person you are giving the DIY Paper Bag Book with Pockets to, and the occasion that is prompting the gift. Slip small items into the pockets (pictures, bookmark, tea bag, gum, gift card, etc).
- Isn't this a great gift or card idea?
Video
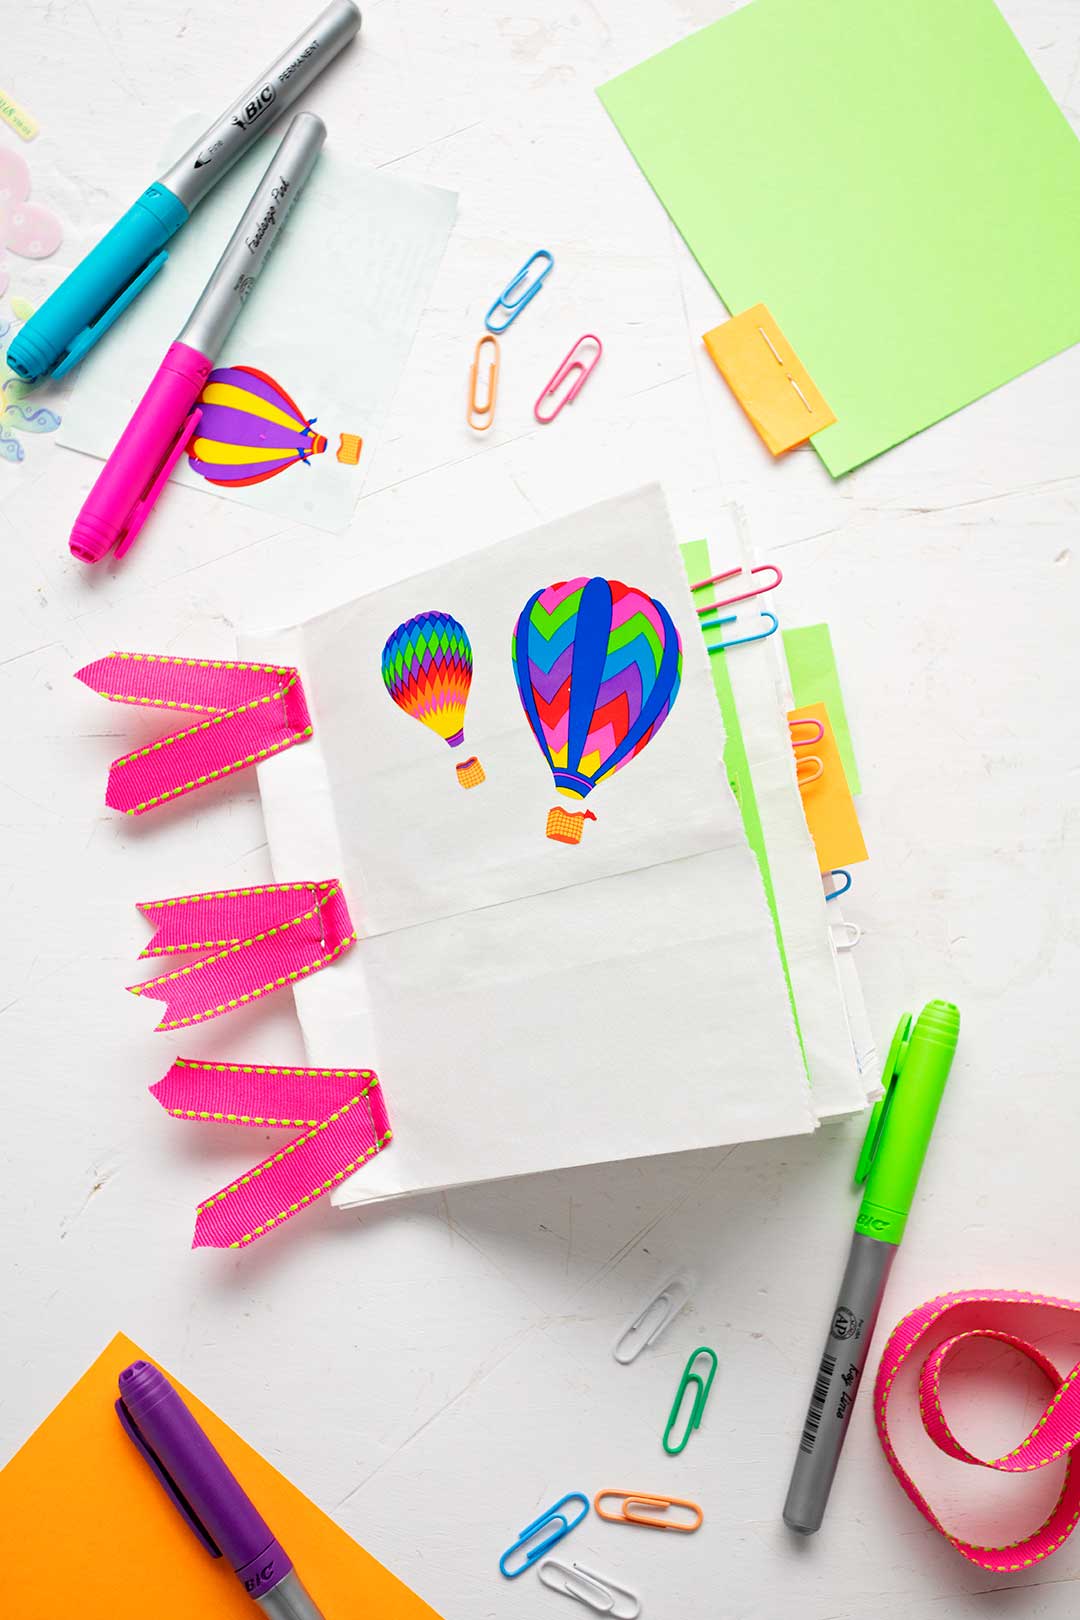
Supplies for a DIY Paper Bag Book with Pockets
- Paper lunch bags in white
- OR brown lunch bags
- OR colored lunch bags
- Decorative paper- in solid colors, in designs
- Stapler and staples
- Colored markers
- Decorative items- various (washi tape, ribbon, paper clips, buttons, charms)
- Items to tuck inside the pockets-


Leave a Reply