
DIY Leather Tassel Keychain
A few scraps of leather found in an old set of leather working tools spurred on making this very easy DIY Leather Tassel Keychain.
You can make a leather tassel in minutes and attach it to keys, a backpack, purse, or the zipper pull on a coat. So cool!
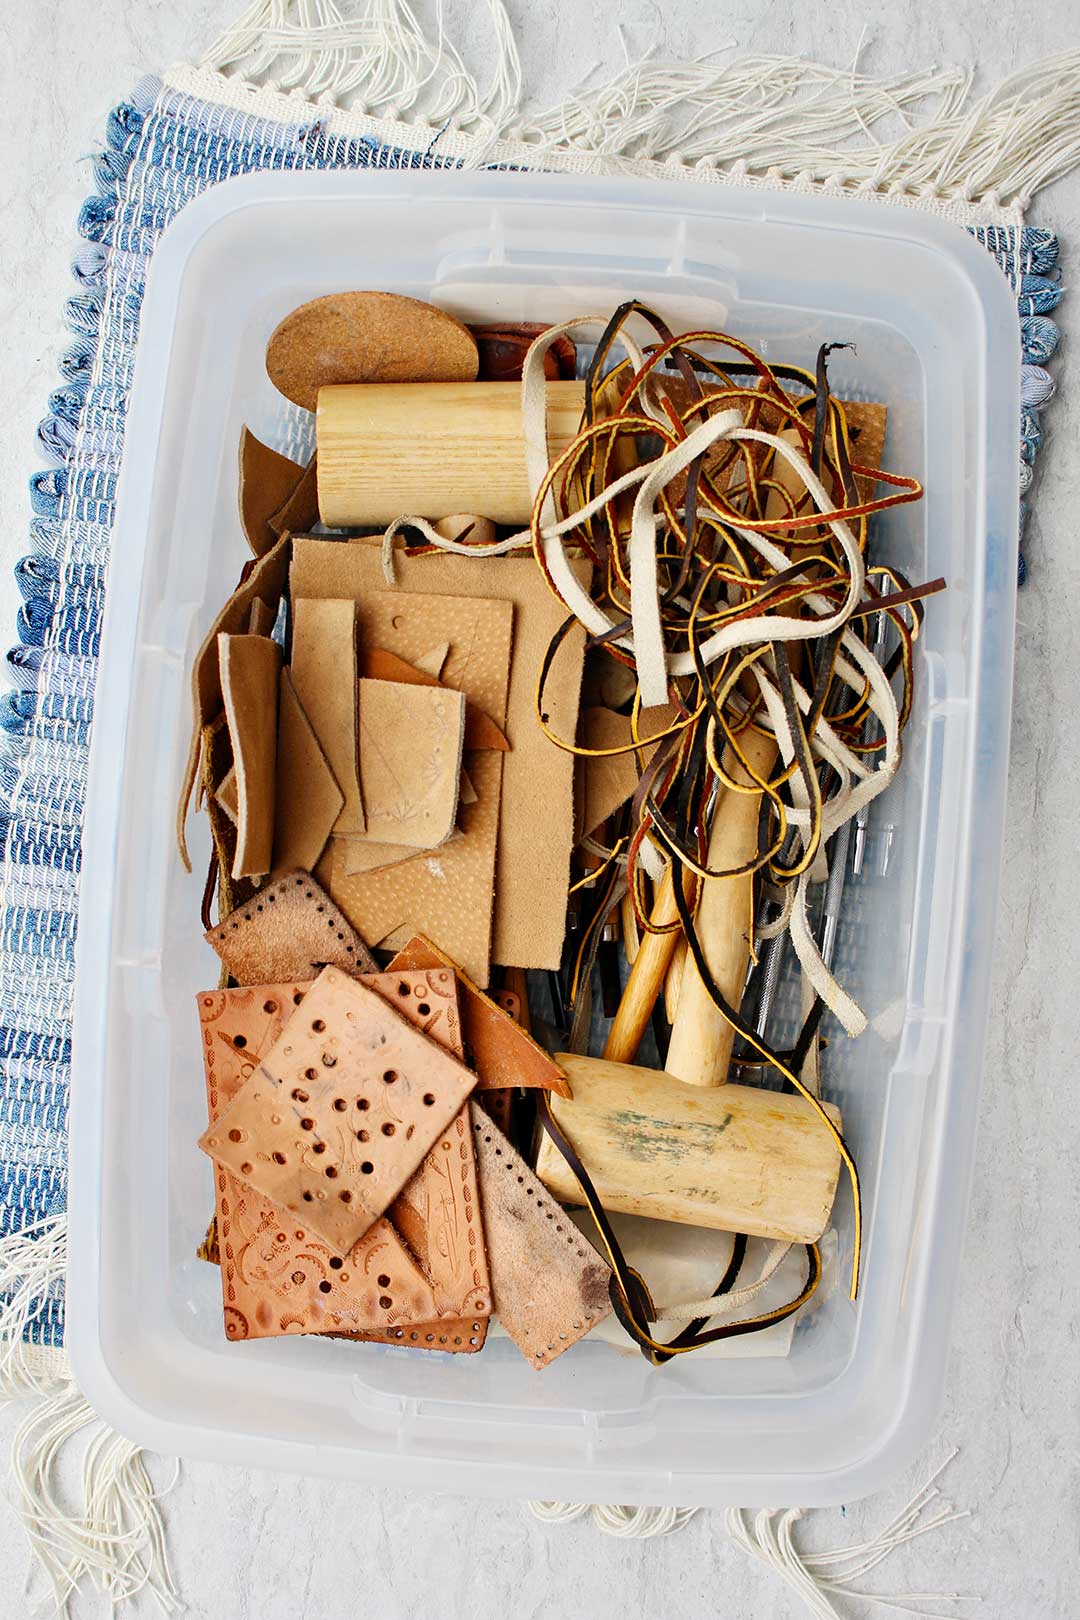
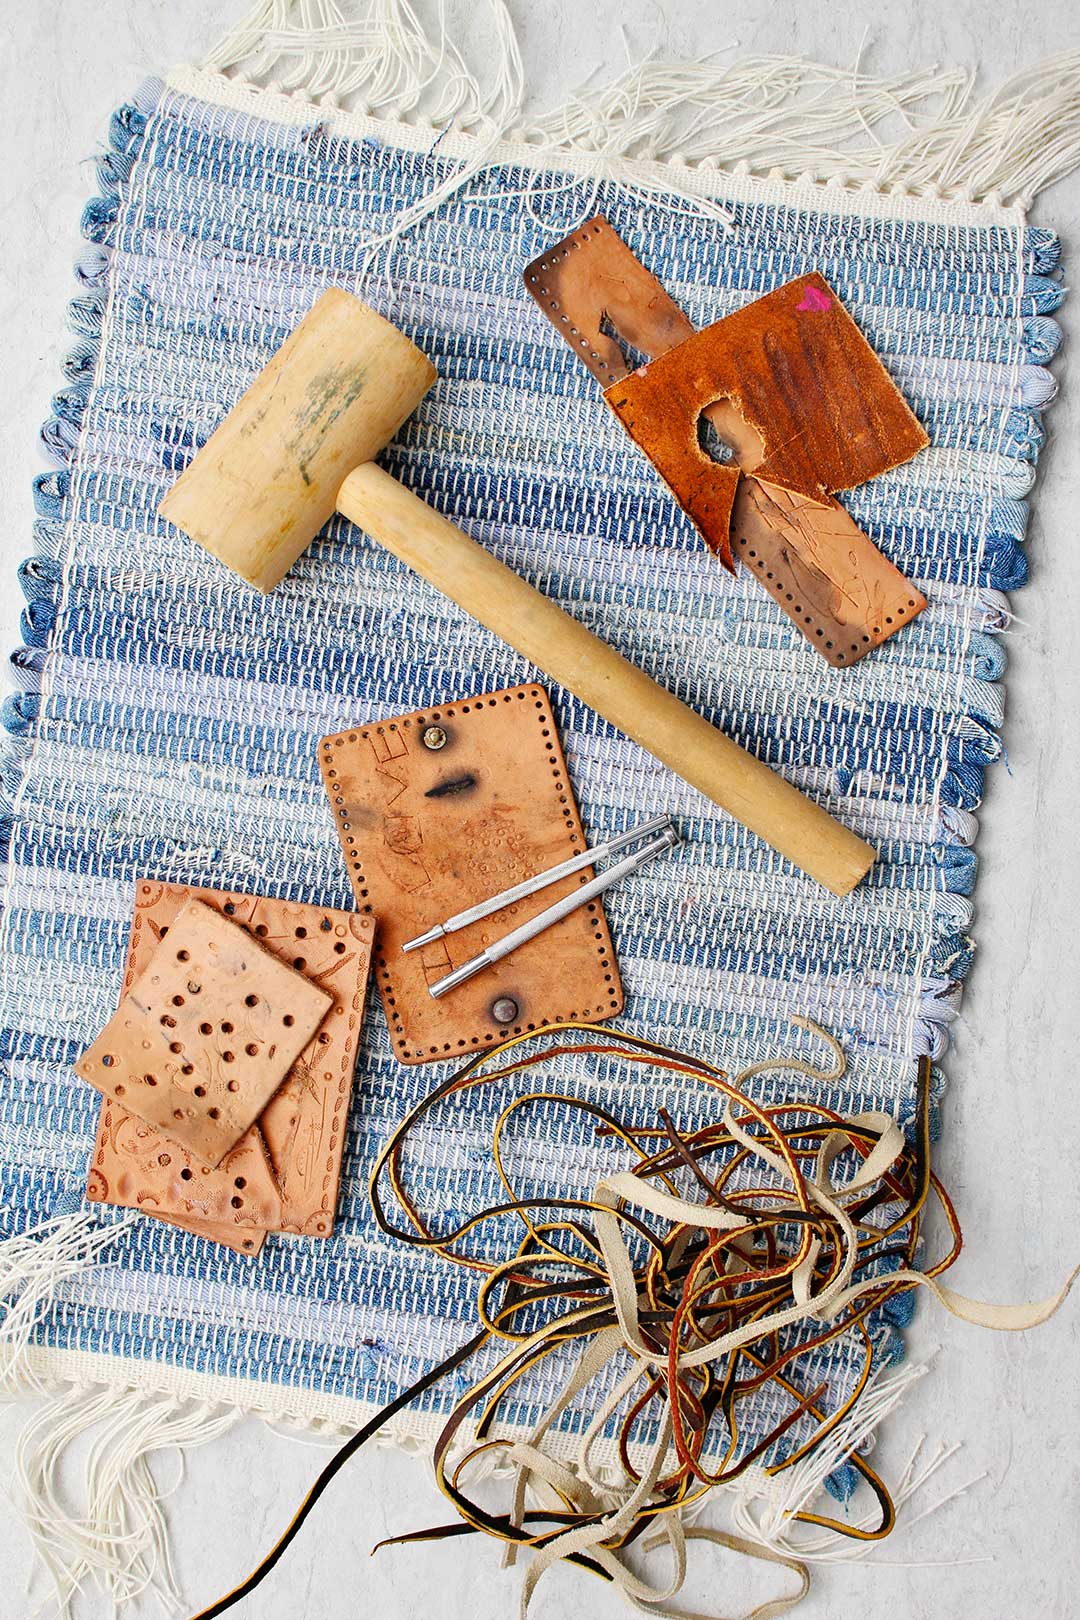
Leather working tools and materials to pass along
Getting out my son’s old box of leather working tools brought back so many memories.
My son had called and asked the classic question, “Mom, do you still have my old leather working tools. I want to use them with the kids.”
Of course I still have them. They are packed away in a plastic box, waiting for the next project where leather is needed. I can’t wait to pass them off and see what crafts will be made with dad and kids using his old tools.
What is the deeper purpose of doing projects?
I can’t tell you how happy it makes me to think of kids getting to try new things and work with their hands.
Kids (and adults) gain confidence and skills and learn how things work and are made as they work on projects of all sorts. They will build on and use these skills in so many ways.
Love that curiosity!
Most importantly, their brains develop connections and curiosity grows. Oooo- I love seeing curiosity in people.
Enough of that- let’s make a DIY Leather Tassel Keychain!
Leather for the leather key clip- consider up cycling
A tassel can be made from any material that is soft and doesn’t ravel. Soft leather and faux leather work well.
The leather I have is cut from an old coat that was worn out. You can upcycle or you can purchase new materials or upcycle materials from a garment.
Leather tassel key ring step by step
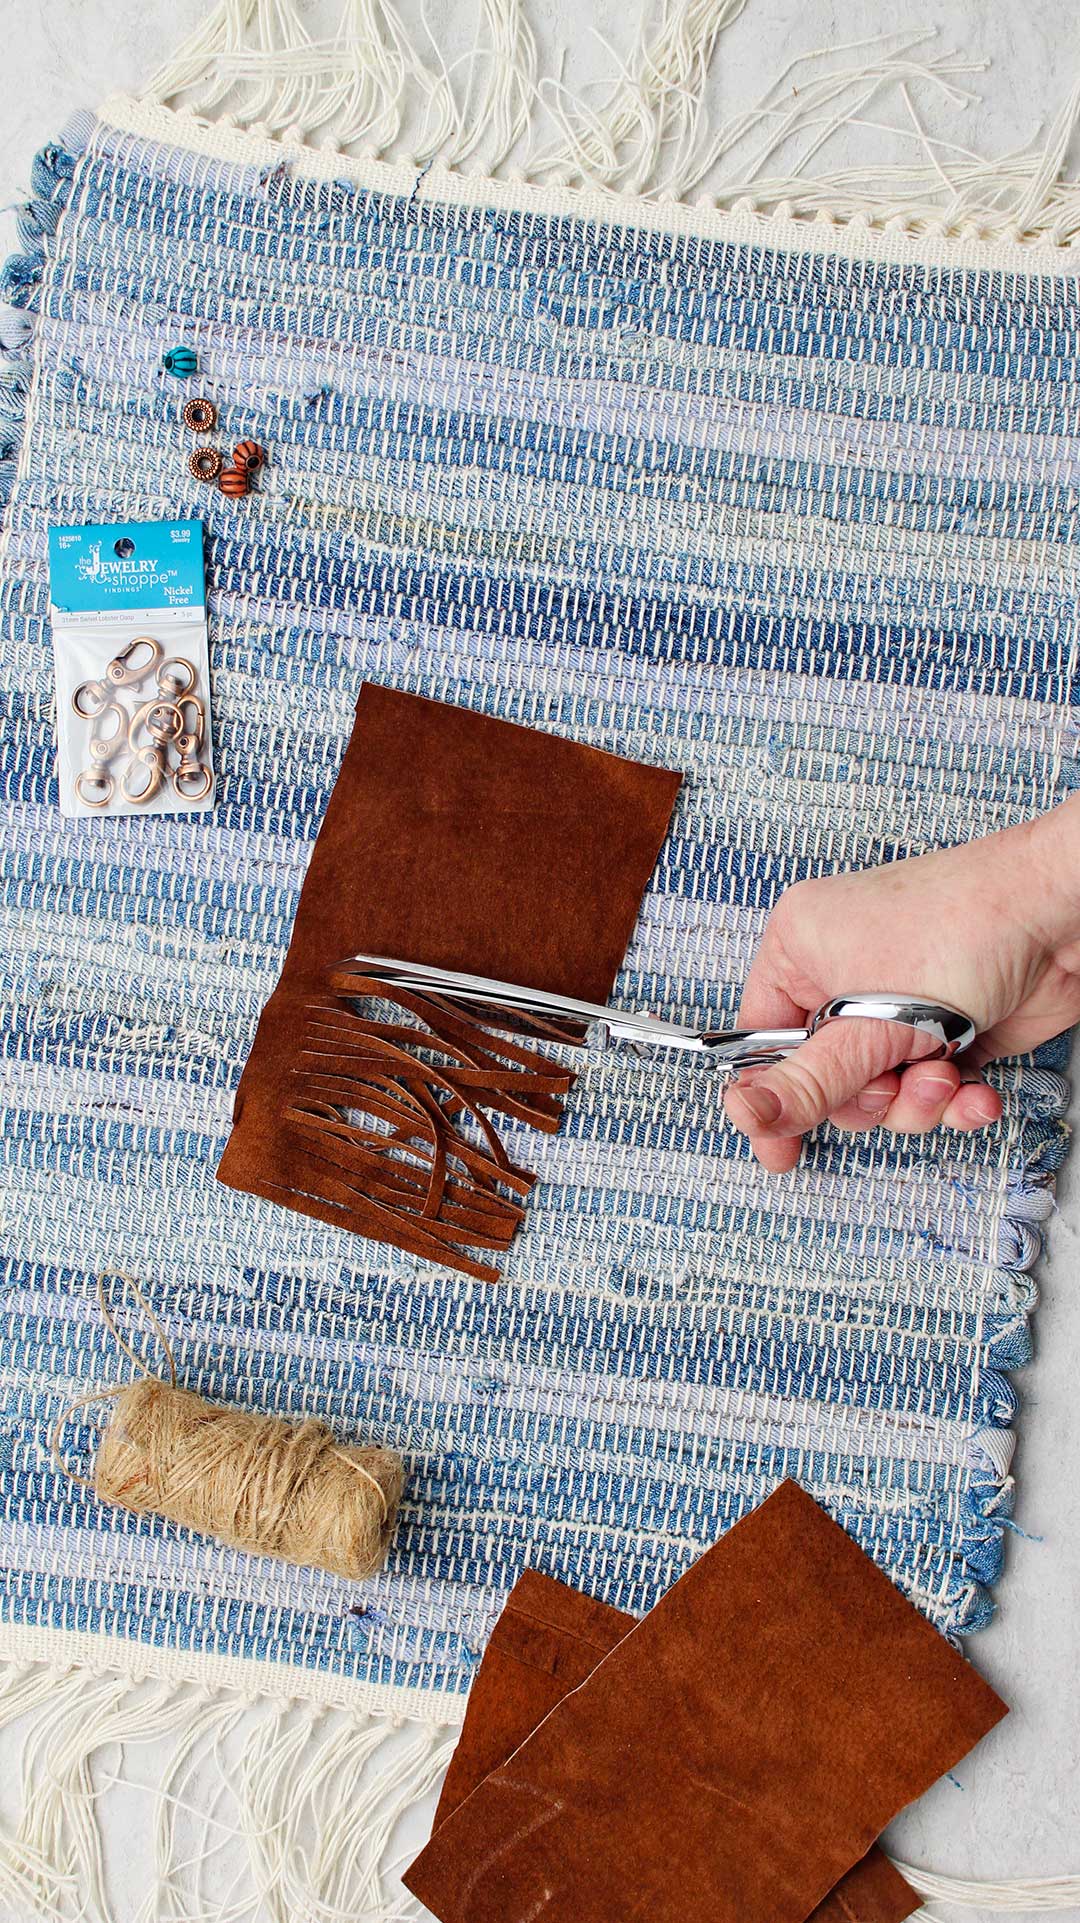
Cut the leather
Cut the leather in an approximately 4 by 7-inch rectangle. Also cut a small strip of the same material that is a 4 by ½-inch rectangle and set it aside to use a bit later.
On the 4x7-inch rectangle, draw a line that is ¾-inch from the edge of one long edge.
Create the fringe
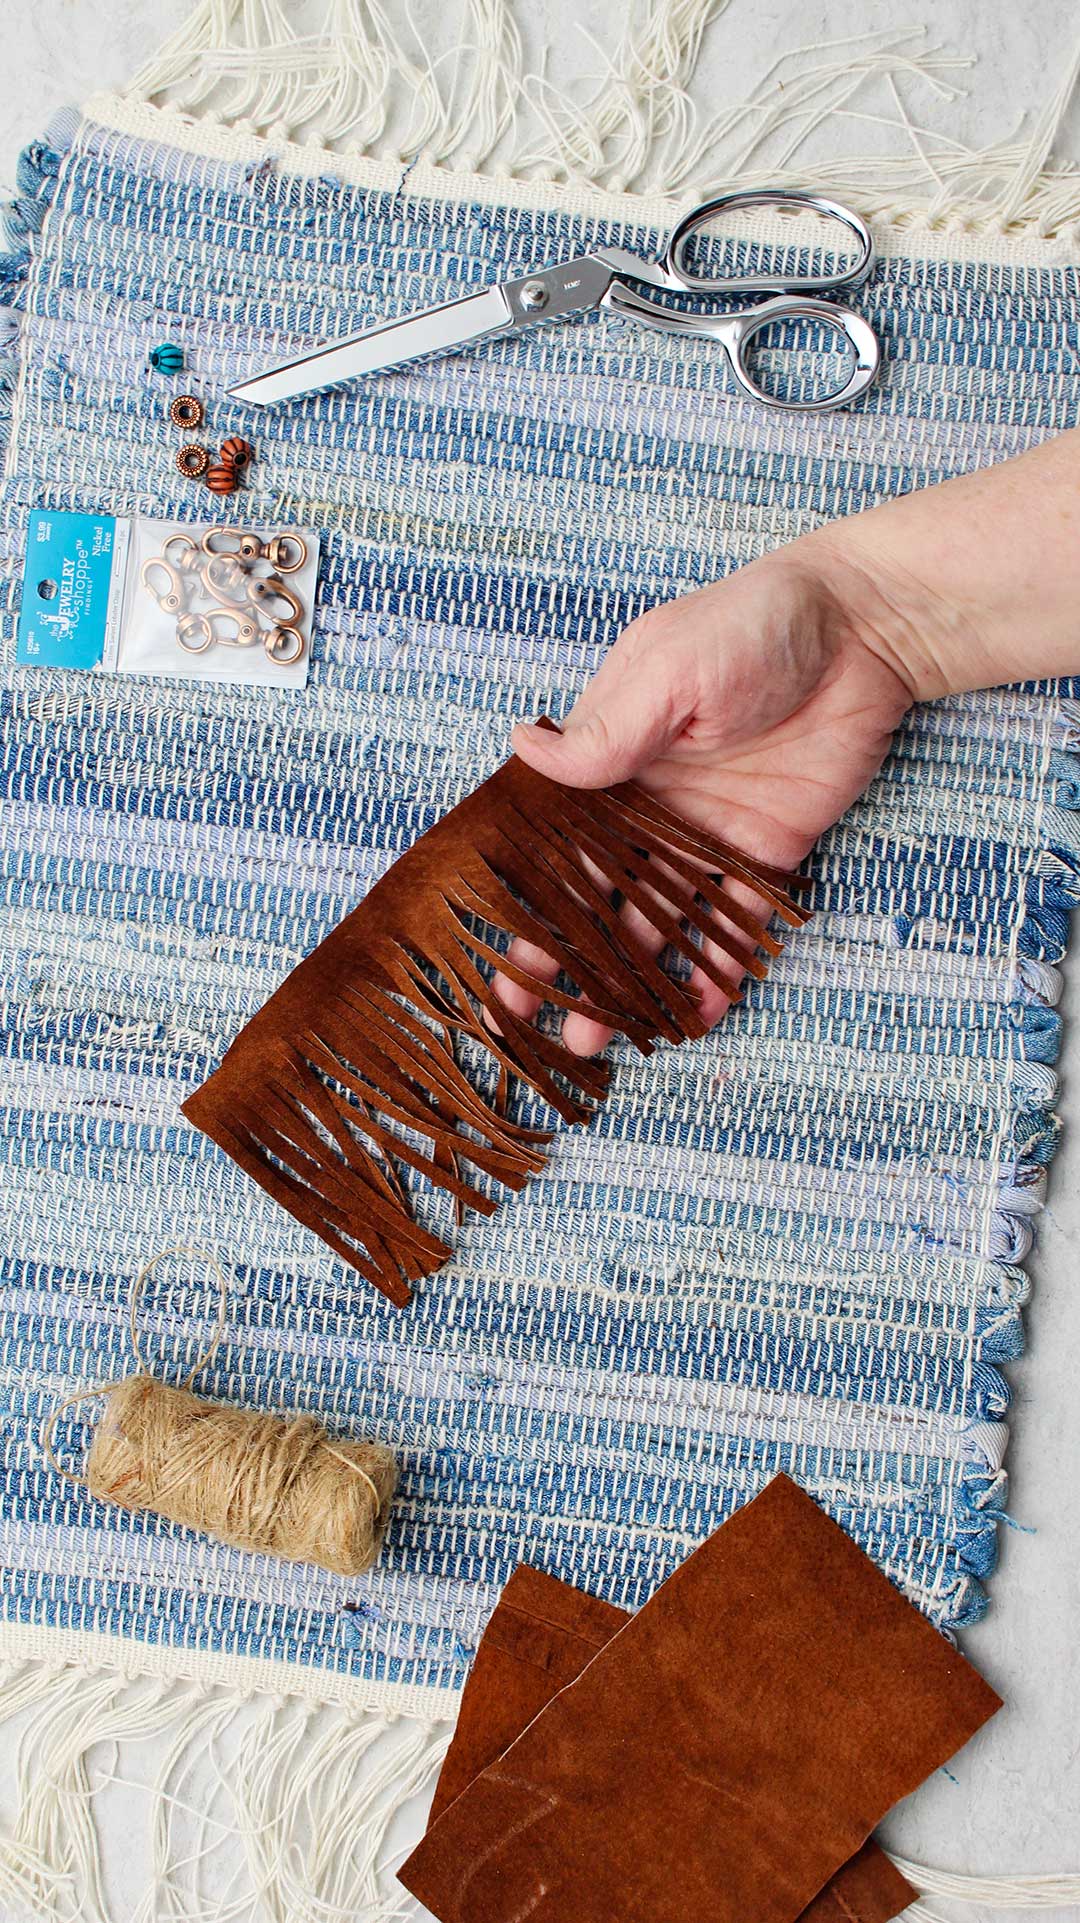
Begin cutting vary narrow strips from the other long edge to the drawn line (parallel to the 4-inch sides). This is creating the fringe. My fringe strips are about ⅛-inch wide.
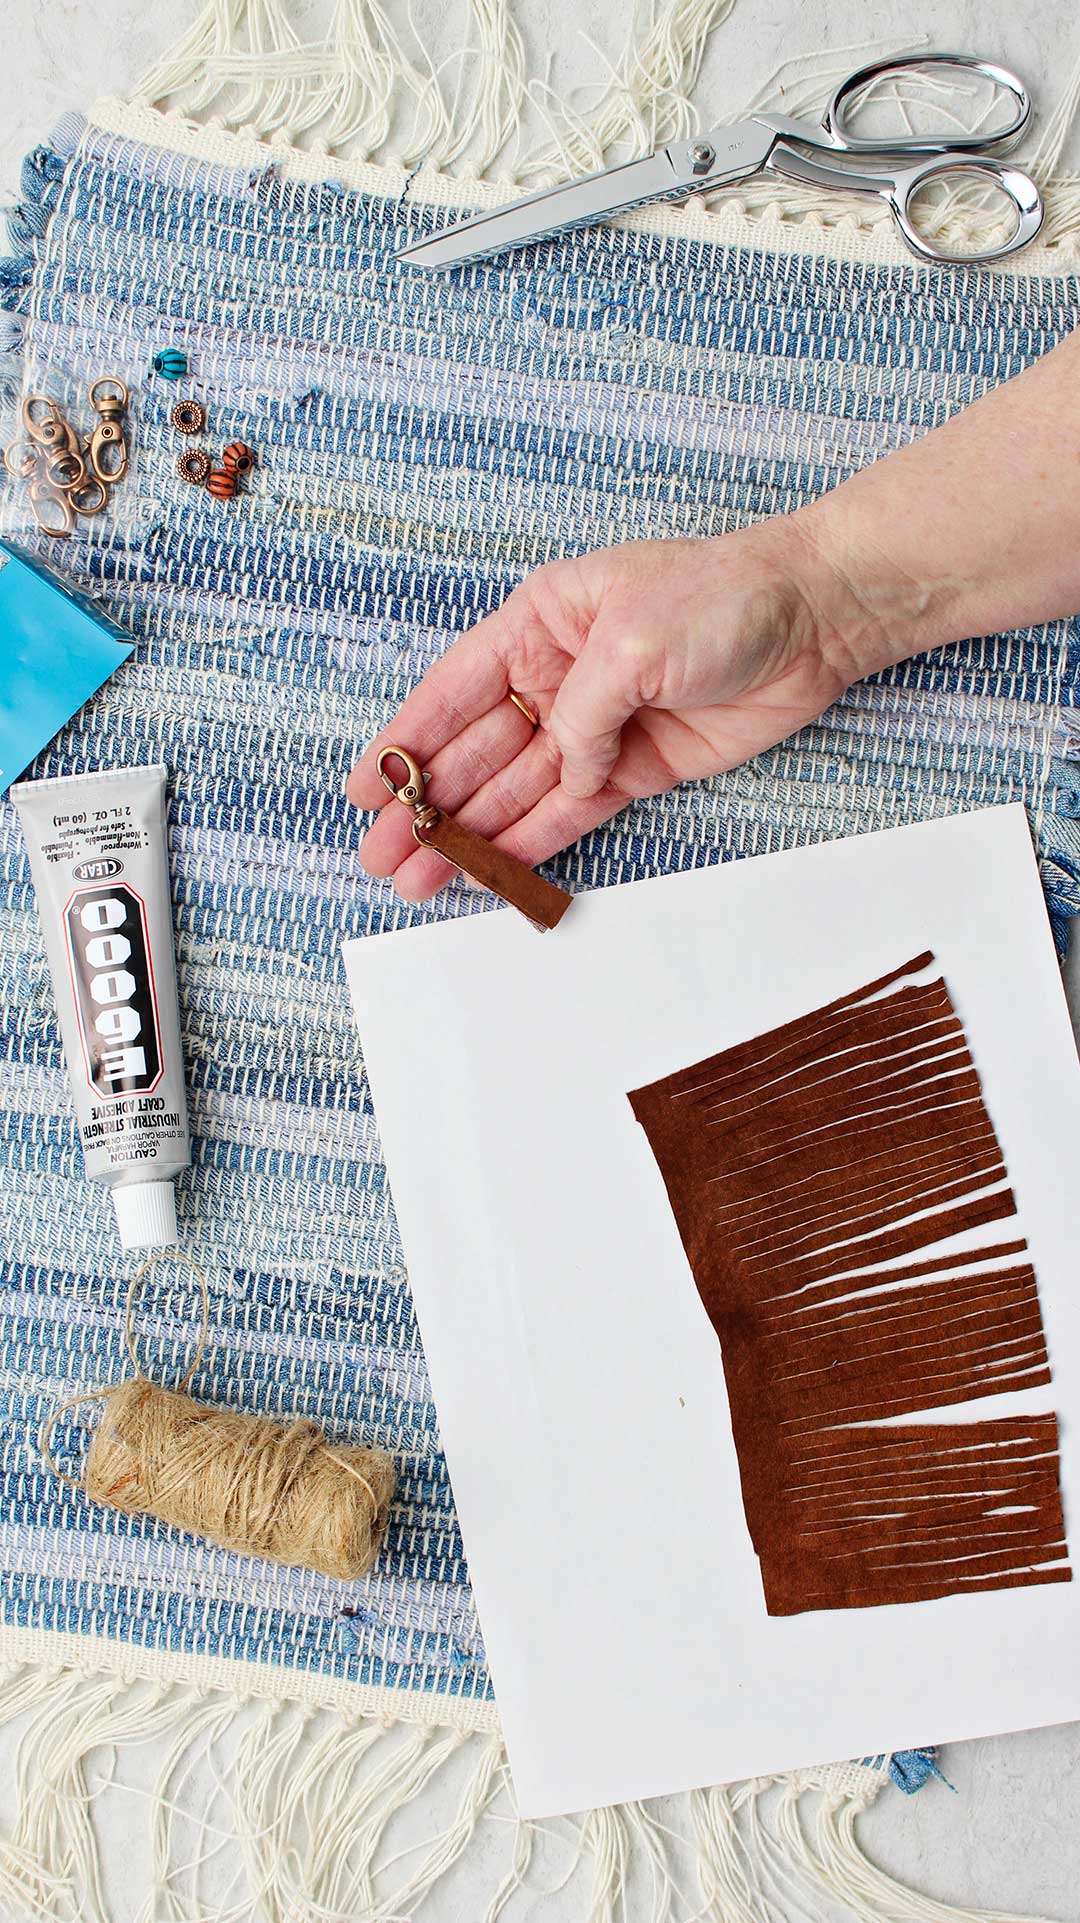
Leather key clip- lobster claw clasp
Now take the small rectangle leather piece and pull it through the swivel lobster clasp ring. Double it over and glue those two pieces together with E6000 glue.
Tip: The larger the lobster clasp ring the more keys it will hold. With the size I used it only held two keys.
Lay this small piece on one end of the uncut fringe rectangle with the ring above the uncut edge and the small leather piece on top of the leather, right along the 4-inch edge. Glue this in place with the E6000 glue.
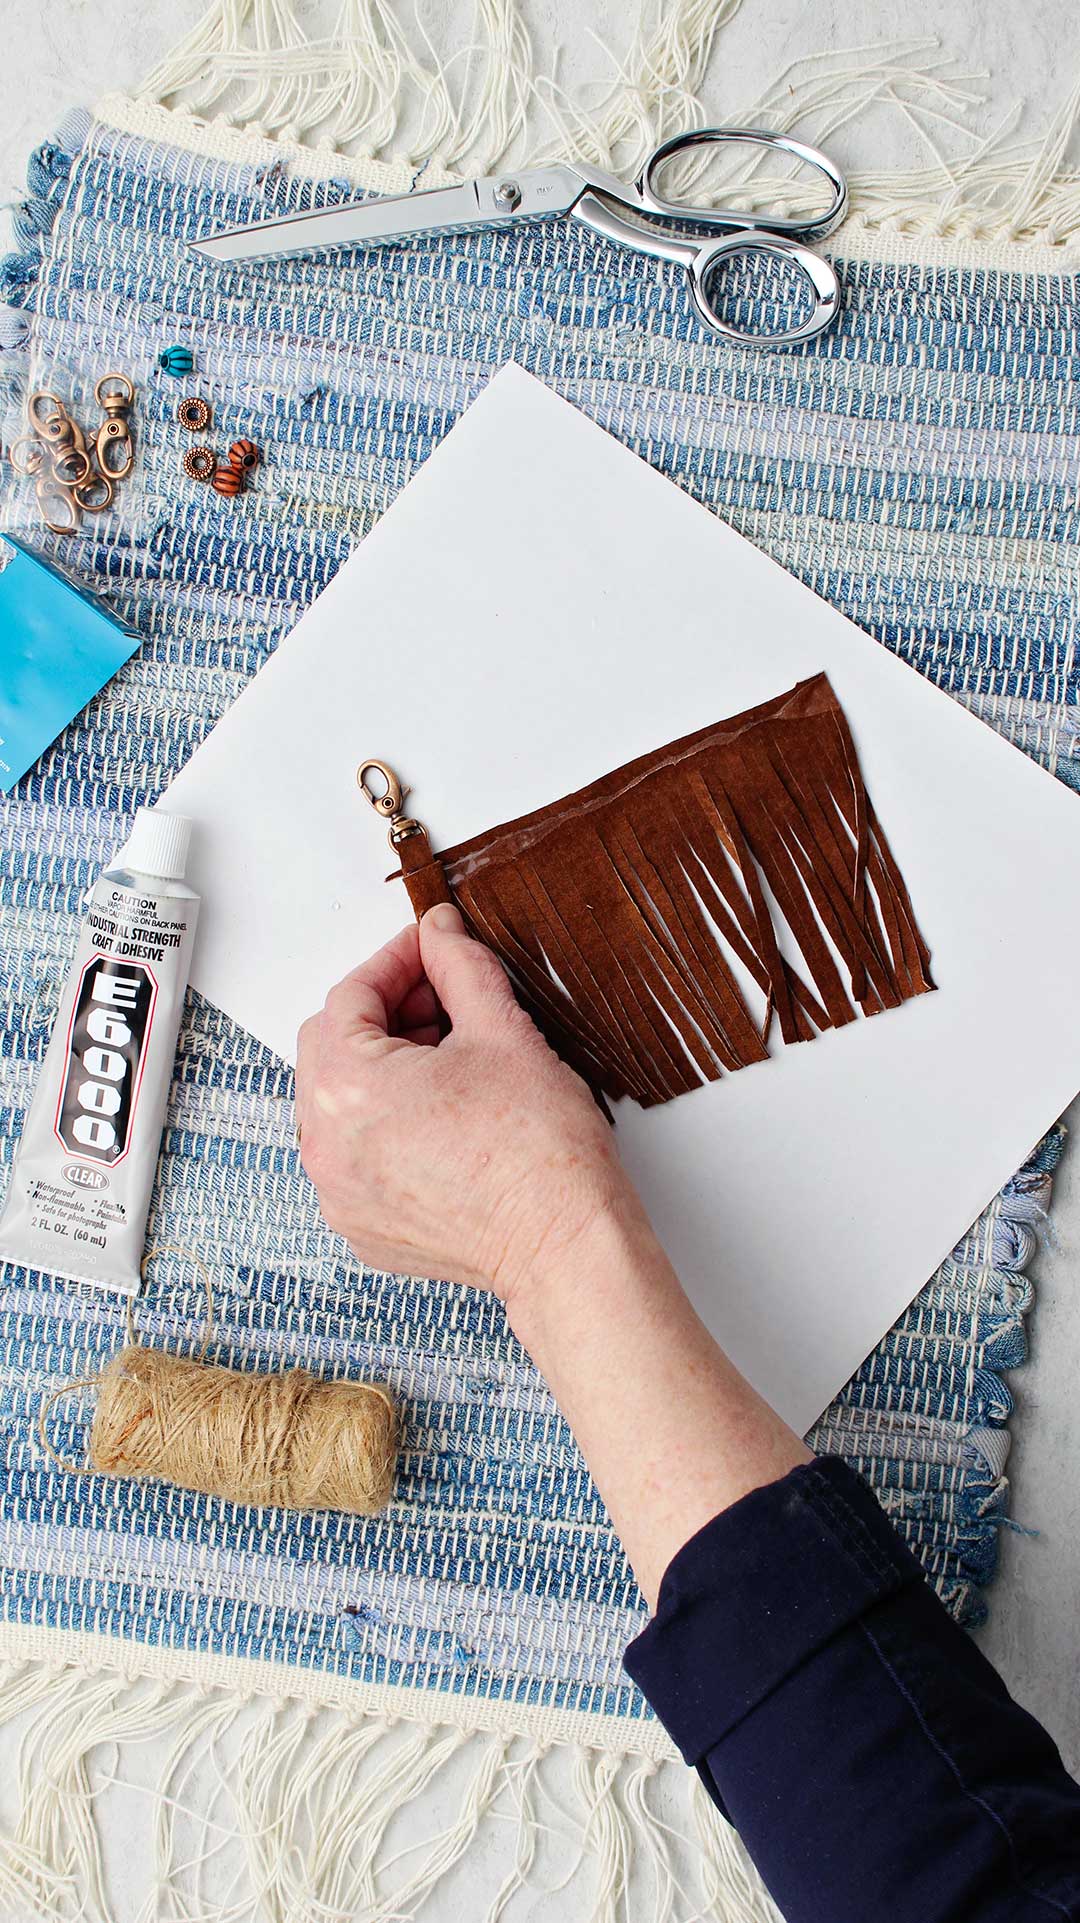
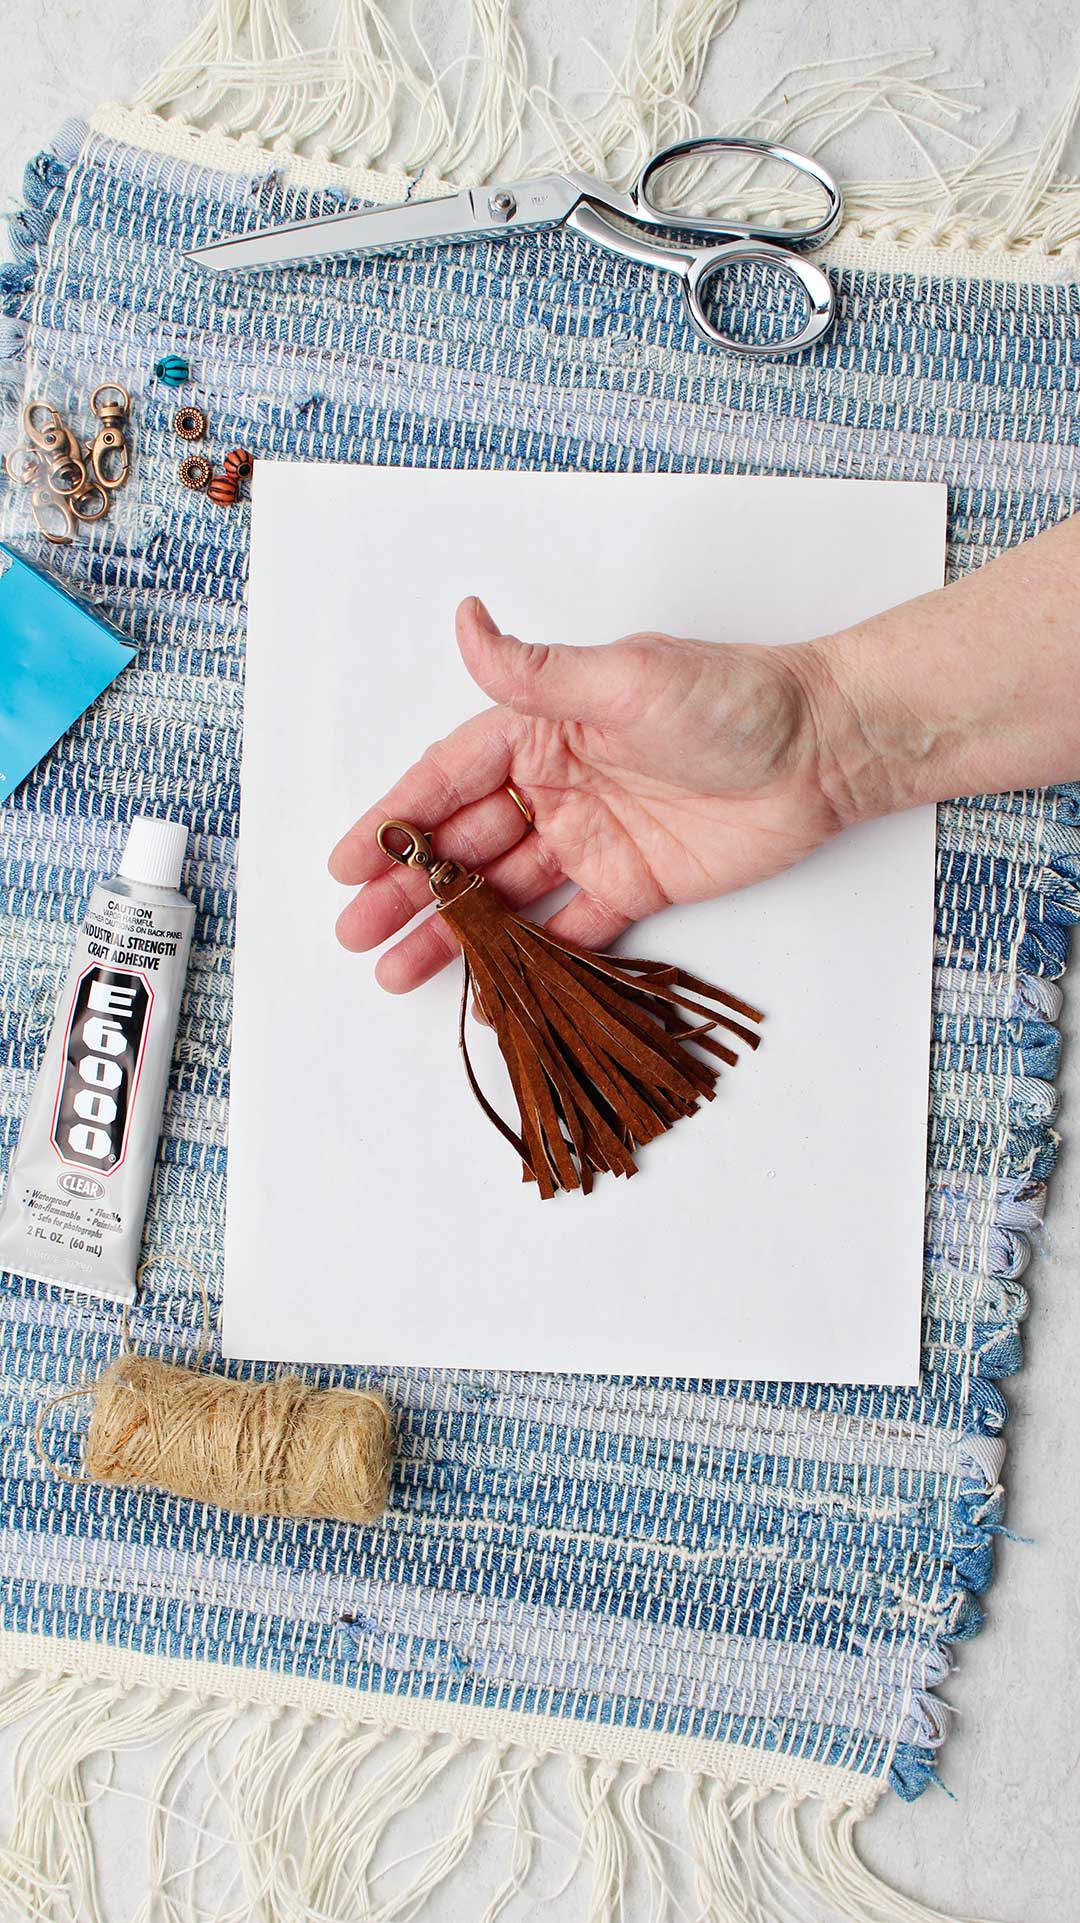
Roll up the fringe into a tassel!
Run a line of glue down the entire 7-inch uncut edge of the fringed piece of leather.
Begin to roll the fringed piece from the end with the ring. Roll it as tightly as possible.
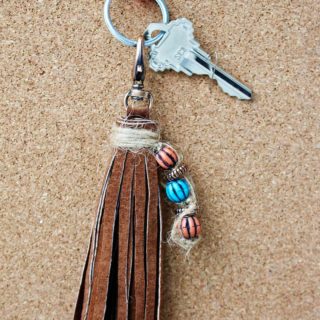
The DIY Leather Fringe Keychain already looks cool, doesn’t it? Well just wait!
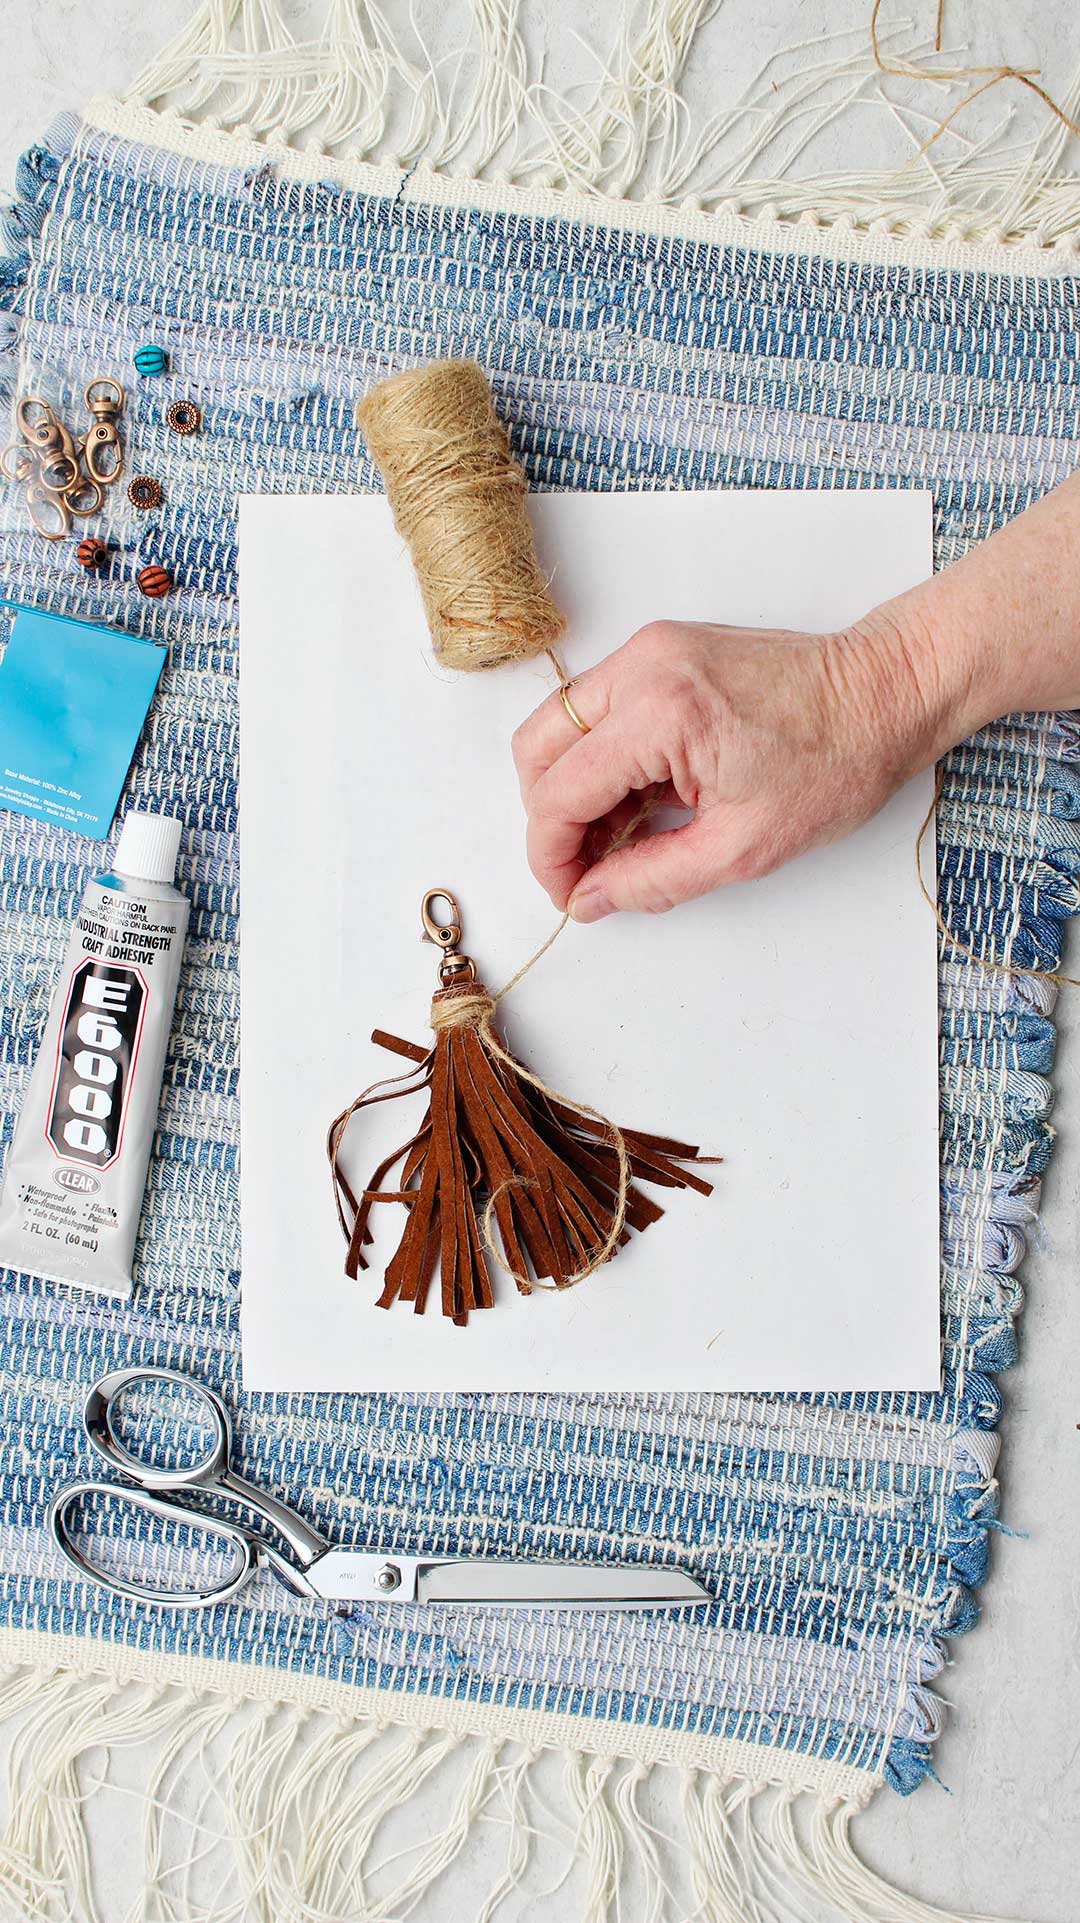
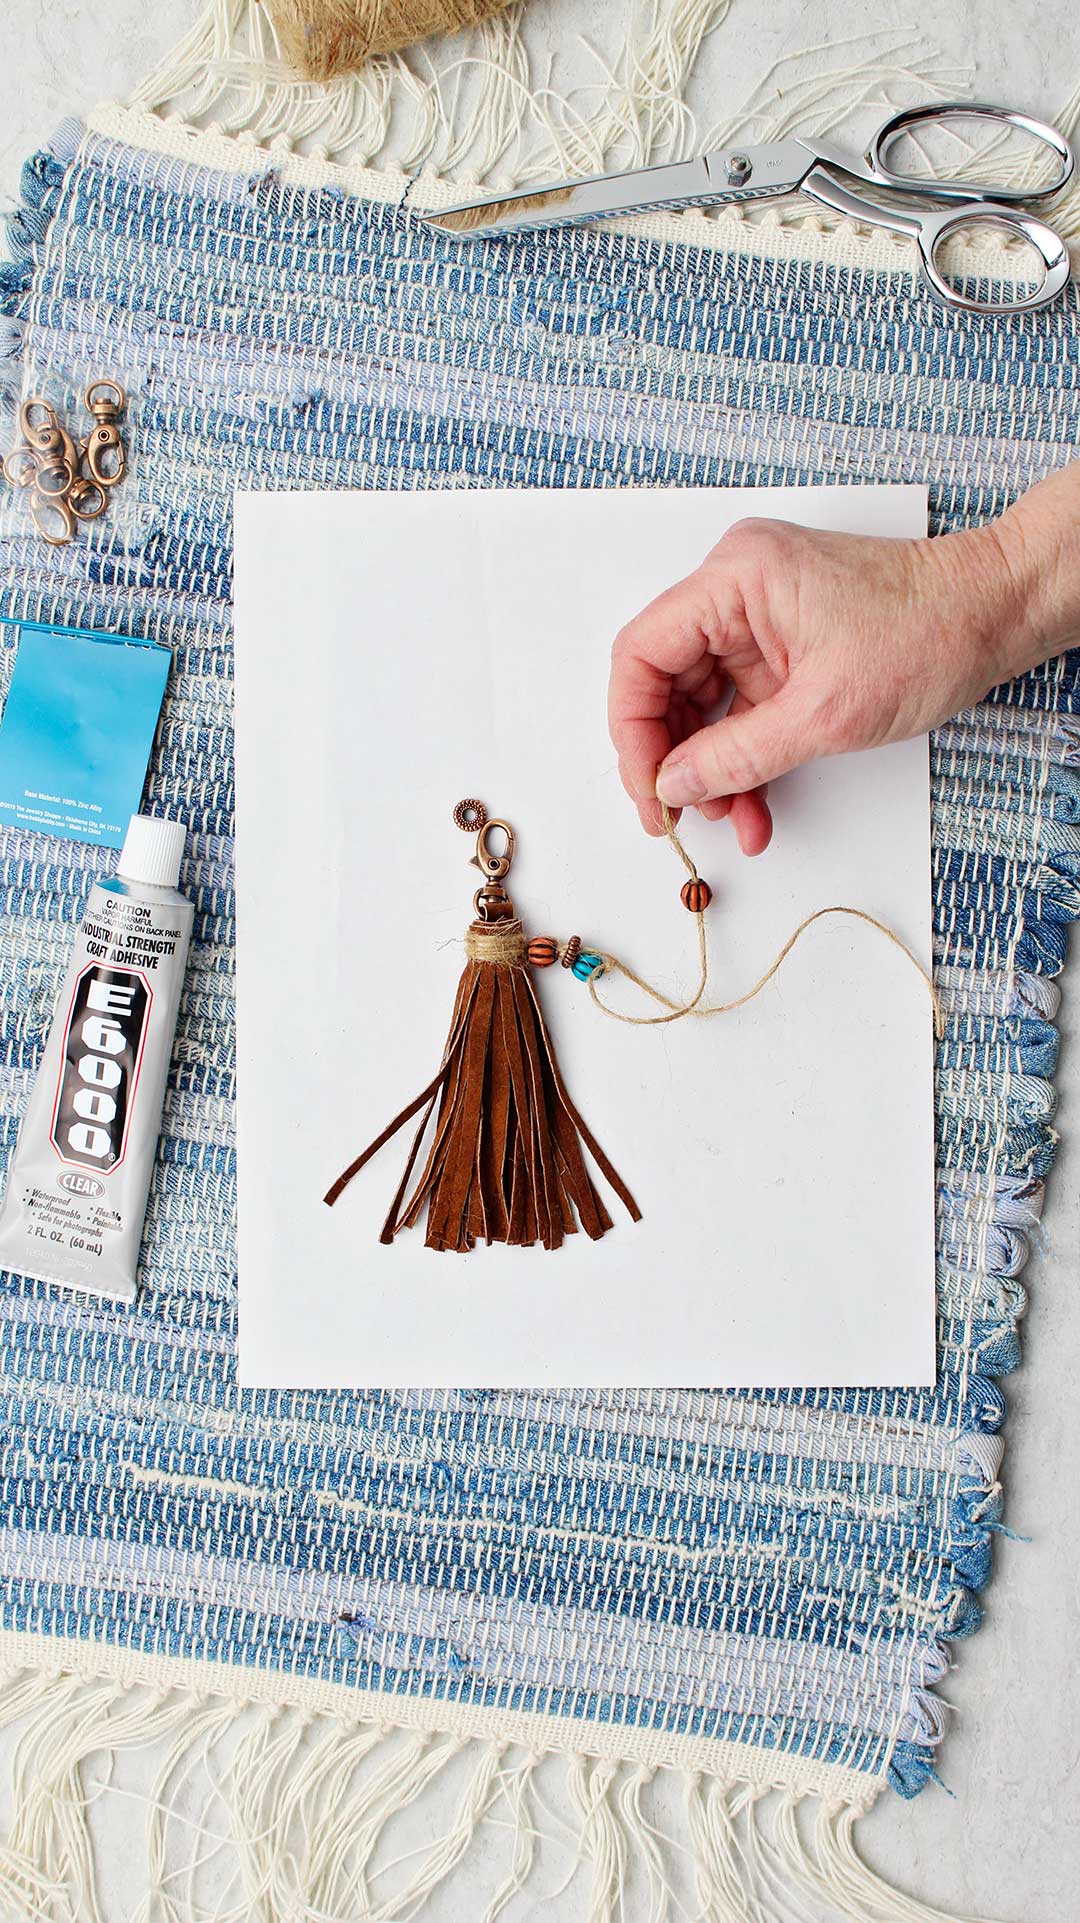
Add twine to the tie the leather tassel
Wrap the small twine around the top part of the tassel several times and then tie. Cut the twine leaving about 8-inch ends.
Note: you could use colored embroidery floss or another small piece of leather if you prefer.
String beads to decorate your leather key holder
I added 5 beads onto the ends of the twine for decoration. This is optional.
String one bead onto one string and then tie a double knot under the bead with both strings to hold it in place.
Continue this process until all the beads are strung and secure on the twine.
Then clip the ends of the twine about ½-inch from the last bead.
How will use your DIY Leather Tassel Keychain?
Add your keys-
After the glue is dry you can open the lobster clasp and add your key.
Use as a decoration-
These also look nice as decoration on a purse or bookbag. Where you could you use yours?
Give as a gift-
This would make a great gift for a parent or a friend. Of course you need one too!!
Goodby leather supplies...
Well, I will give up the leather supplies to my son soon. I’m glad for the project idea the leather brought to mind. Can’t wait to see the ways they will use them.
Want to watch on YouTube?
If you would like to watch the video on YouTube and/or subscribe to the Welcome To Nana’s YouTube channel here is the link: DIY Leather Tassel Keychain Video

Would you like some other fun craft ideas? Check these out.
- Beginning Wood Burning (another of our son’s craft favorites)
- Painting Rocks Found in their Pockets (our son’s pockets!)
- How to Make a Hobo Stove from a Tin Can (yes, another great learning project)
Enjoy!
If you try this craft, let me know! Go ahead and leave a comment, rate it, and tag a photo with #WelcometoNanas wherever you post.
Come join the fun at https://welcometonanas.com
DIY Leather Tassel Keychain
Equipment
- Scissors
Items Required
- Small piece of soft leather or faux leather (4x8-inches in size or slightly larger)
- OR soft old leather coat from thrift shop
- E6000 glue (or other glue that works on leather)
- 31 mm or larger swivel lobster clasp (or other keychain clip or ring)
- Small twine or a small leather piece
- Several decorative beads these need a large hole to string with twine
Instructions
- Cut the leather in an approximately 4 by 7-inch rectangle. Also cut a small strip of the same material that is a 4 by ½-inch rectangle and set it aside to use a bit later.
- On the 4x7-inch rectangle, draw a line that is ¾-inch from the edge of one long edge.
- Begin cutting vary narrow strips from the other long edge to the drawn line (parallel to the 4-inch sides). This is creating the fringe. My fringe strips are about ⅛-inch wide.
- Now take the small rectangle leather piece and pull it through the swivel lobster clasp ring. Double it over and glue those two pieces together with E6000 glue.
- Lay this small piece on one end of the uncut fringe rectangle with the ring above the uncut edge and the small leather piece on top of the leather, right along the 4-inch edge. Glue this in place with the E6000 glue.
- Run a line of glue down the entire 7-inch uncut edge of the fringed piece of leather. Begin to roll the fringed piece from the end with the ring. Roll it as tightly as possible.
- rap the small twine around the top part of the tassel several times and then tie. Cut the twine leaving about 8-inch ends.
- Then clip the ends of the twine about ½-inch from the last bead.
- After the glue is dry you can open the lobster clasp and add your key.
Video
Notes
Supplies for the DIY Leather Tassel Keychain
- Small piece of soft leather or faux leather (4x8-inches in size or slightly larger)
- OR soft old leather coat from thrift shop
- E6000 glue (or other glue that works on leather)
- 31 mm or larger swivel lobster clasp (or other keychain clip or ring)
- Small twine or a small leather piece
- Several decorative beads these need a large hole to string with twine
- Scissors


Leave a Reply