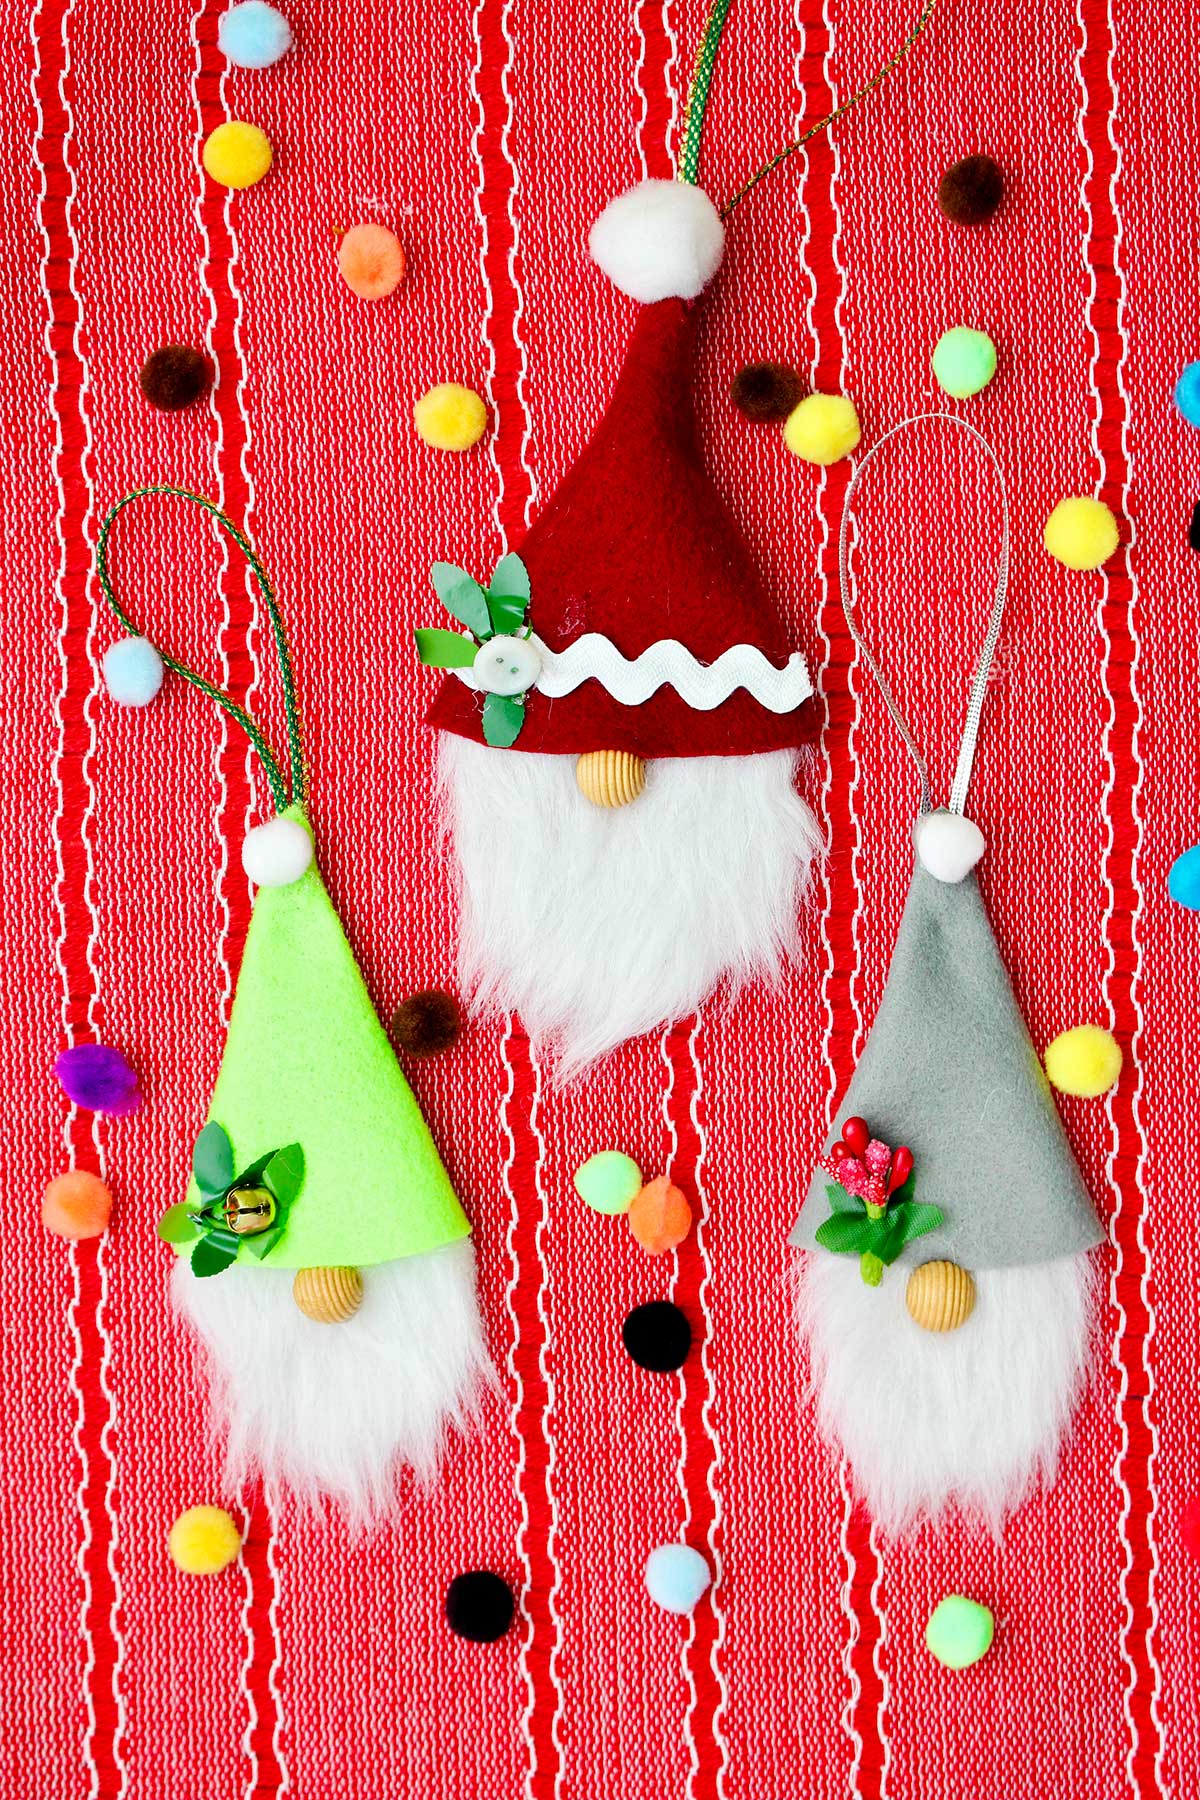
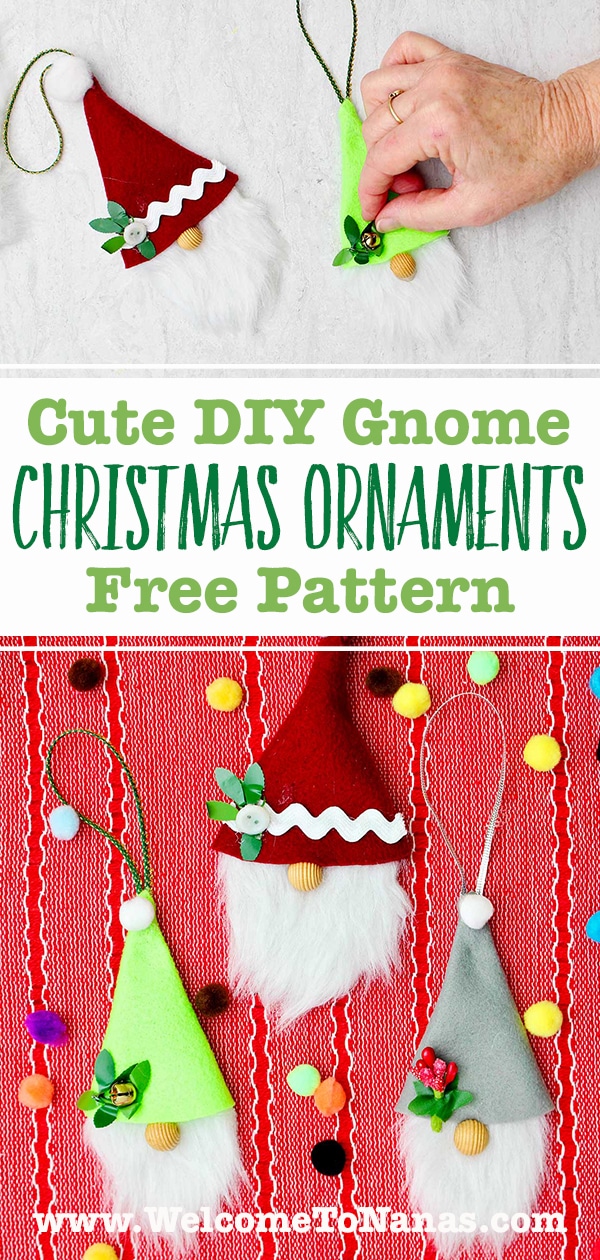
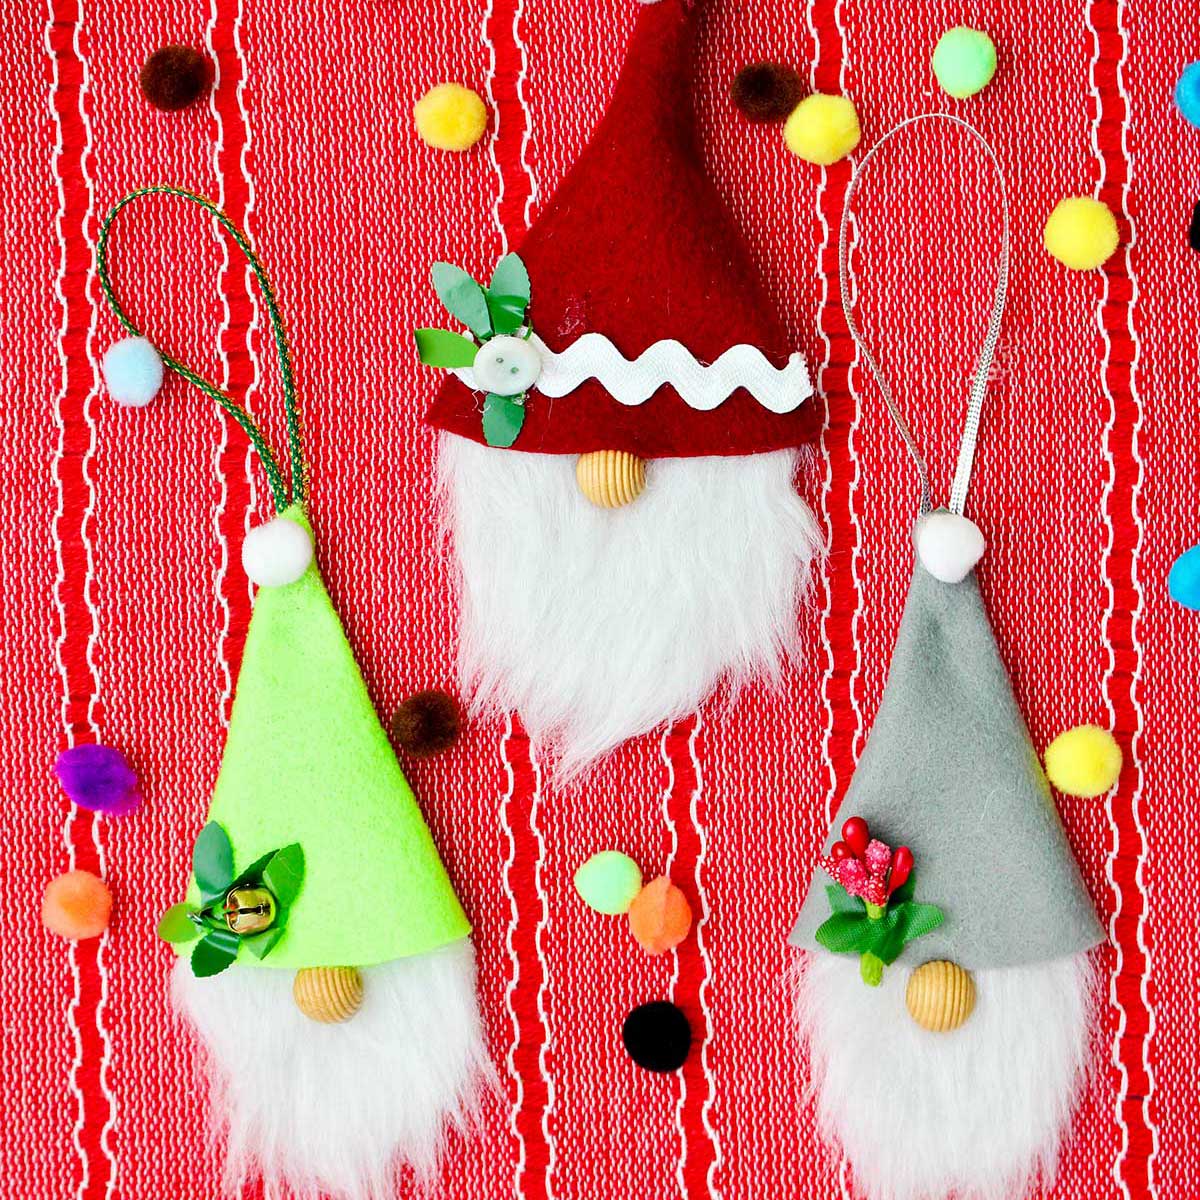
These Cute DIY Gnome Christmas Ornaments are a fun Christmas craft for kids that will make them laugh out loud! With a free pattern, felt, fur beard, and a bead nose, you'll have a mischievous friend to hang on the tree in just a few minutes.
Jump to:
- Easy Christmas Craft: DIY Gnome Ornaments
- Supplies for Christmas Gnome Ornaments
- Steps to Make a Cute DIY Gnome Christmas Ornament
- Craft Tips for Adorable DIY Gnomes
- Craft Variations
- FAQ
- More DIY Christmas Ornaments for Kids
- Come join the fun at WTN!
- Get More Crafts!
- Cute DIY Gnome Christmas Ornaments (free pattern)
Easy Christmas Craft: DIY Gnome Ornaments
I received a small wooden gnome from my aunt in the early 70’s. She brought it to me as a gift from Sweden.
In Swedish people call a gnome a "tomte" and they are so ugly they're cute! The legend says that every farm has a tomte to look after it.
My little wooden tomte is sitting on a shelf nearby and I still love it.
I always look for ways to make gnomes and see them all over the place these days. I think Cute DIY Gnome Christmas Ornaments are perfect for a new tree decoration this year. The grandkids are going to love making them too!
Supplies for Christmas Gnome Ornaments
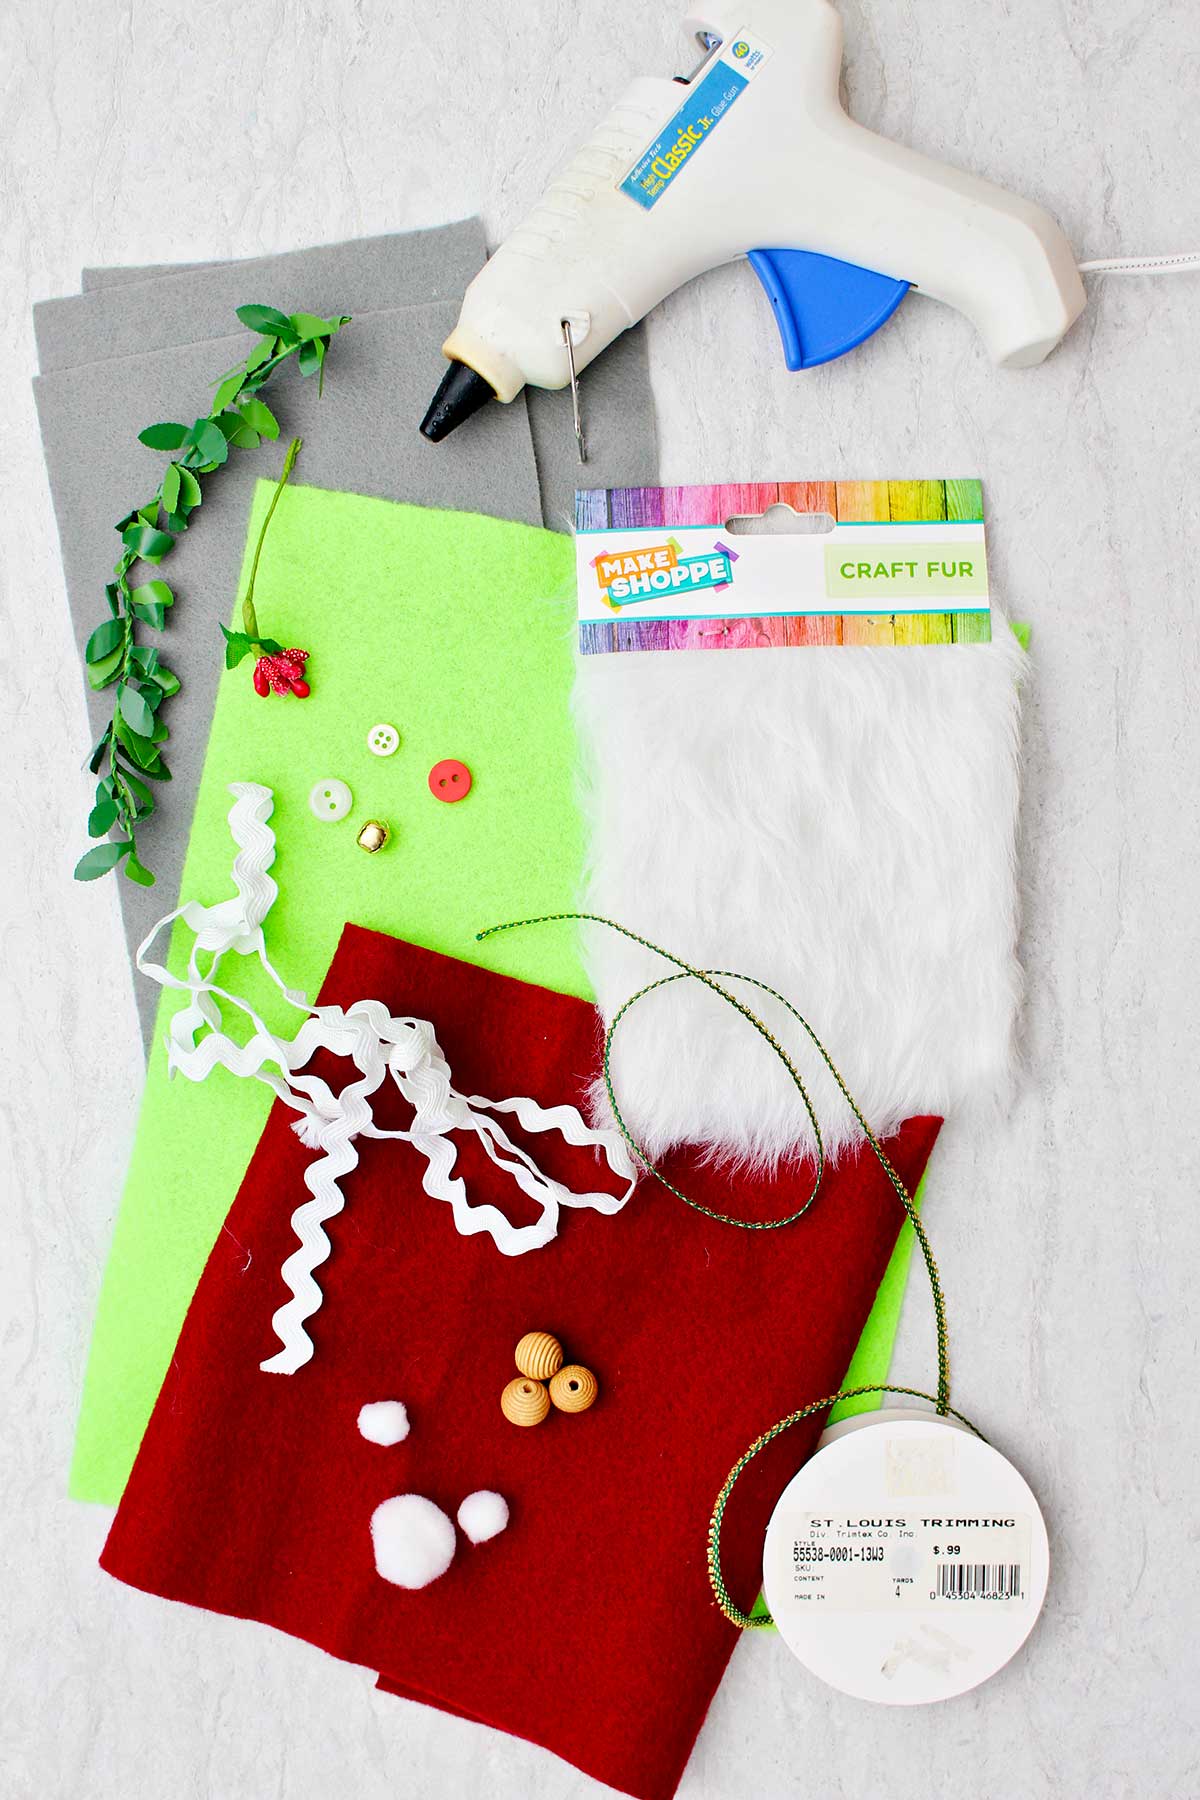
Here are a few quick notes about the supplies you will need to make this gnome ornament DIY craft!
- Free Gnome Ornament Pattern- Make a copy of the Free Gnome Christmas Ornaments Pattern to speed your process along.
- Felt- Felt in any color you choose for the gnome hat.
- Craft faux fur- Fabric backed craft fur comes in several colors. You can purchase craft fur in small pieces or by the yard in a craft store.
- Wooden beads- A wood bead or wood ball about ½ inch in diameter works well for a nose.
- Hat decorations- Rick-rack, decorative trim, sprigs of artificial greenery or berries, bells, buttons, etc.
- White pom-pom- A pom-pom for the top of the hat
- Ribbon- Narrow ribbon or trim to hang the gnome on the tree.
- Hot glue gun and glue- A hot glue gun and glue works best to glue the ornament together.
Steps to Make a Cute DIY Gnome Christmas Ornament
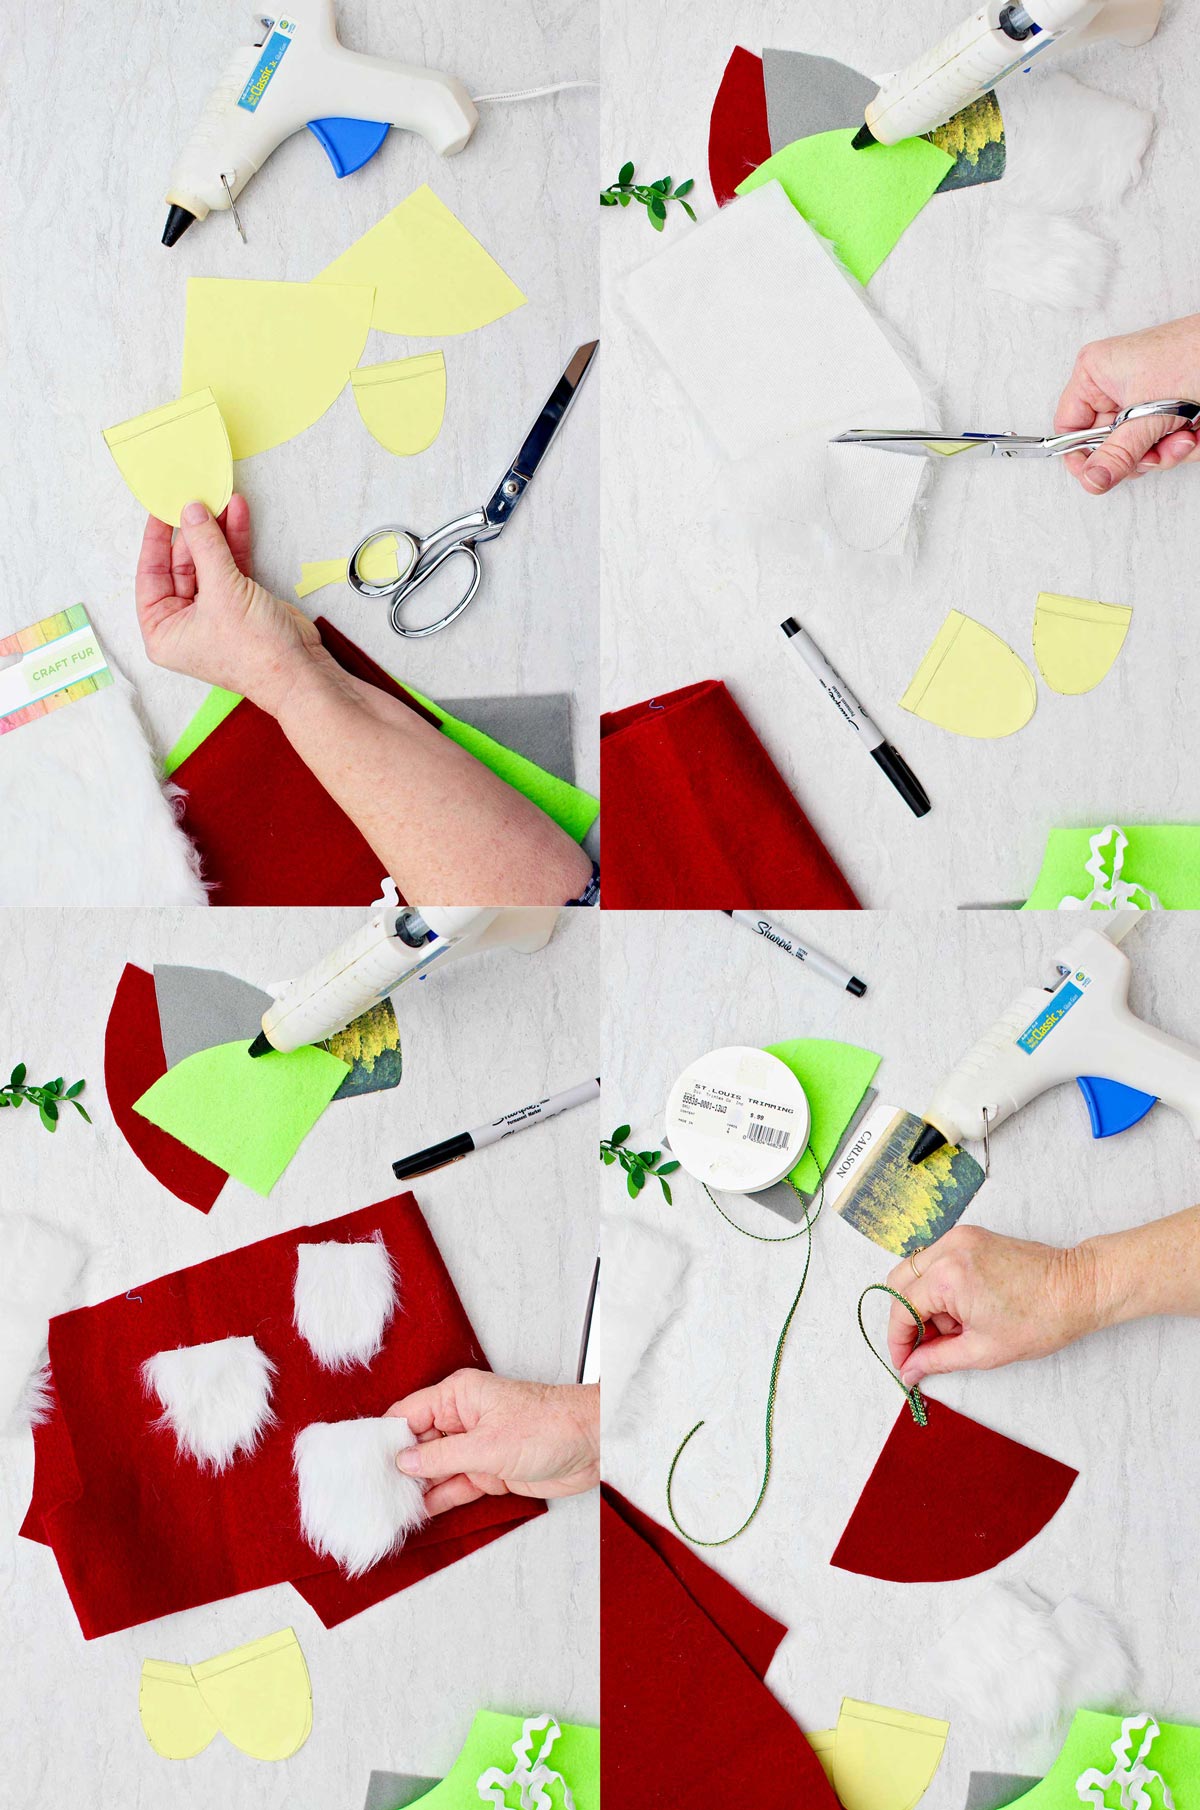
Copy the Free Gnome Christmas Ornament Pattern. Then cut out the pieces.
Cut out pieces
Choose the smaller size or the larger size. The smaller gnome is about 5 inches long and the larger gnome is about 6 inches long.
Draw the pattern of the hat onto a piece of felt. Draw the pattern for the beard on the fabric side of the fabric-backed faux fur. You want the fur to brush down towards the curved end of the pattern.
Cut both the felt and the fur piece out.
Assemble the hat
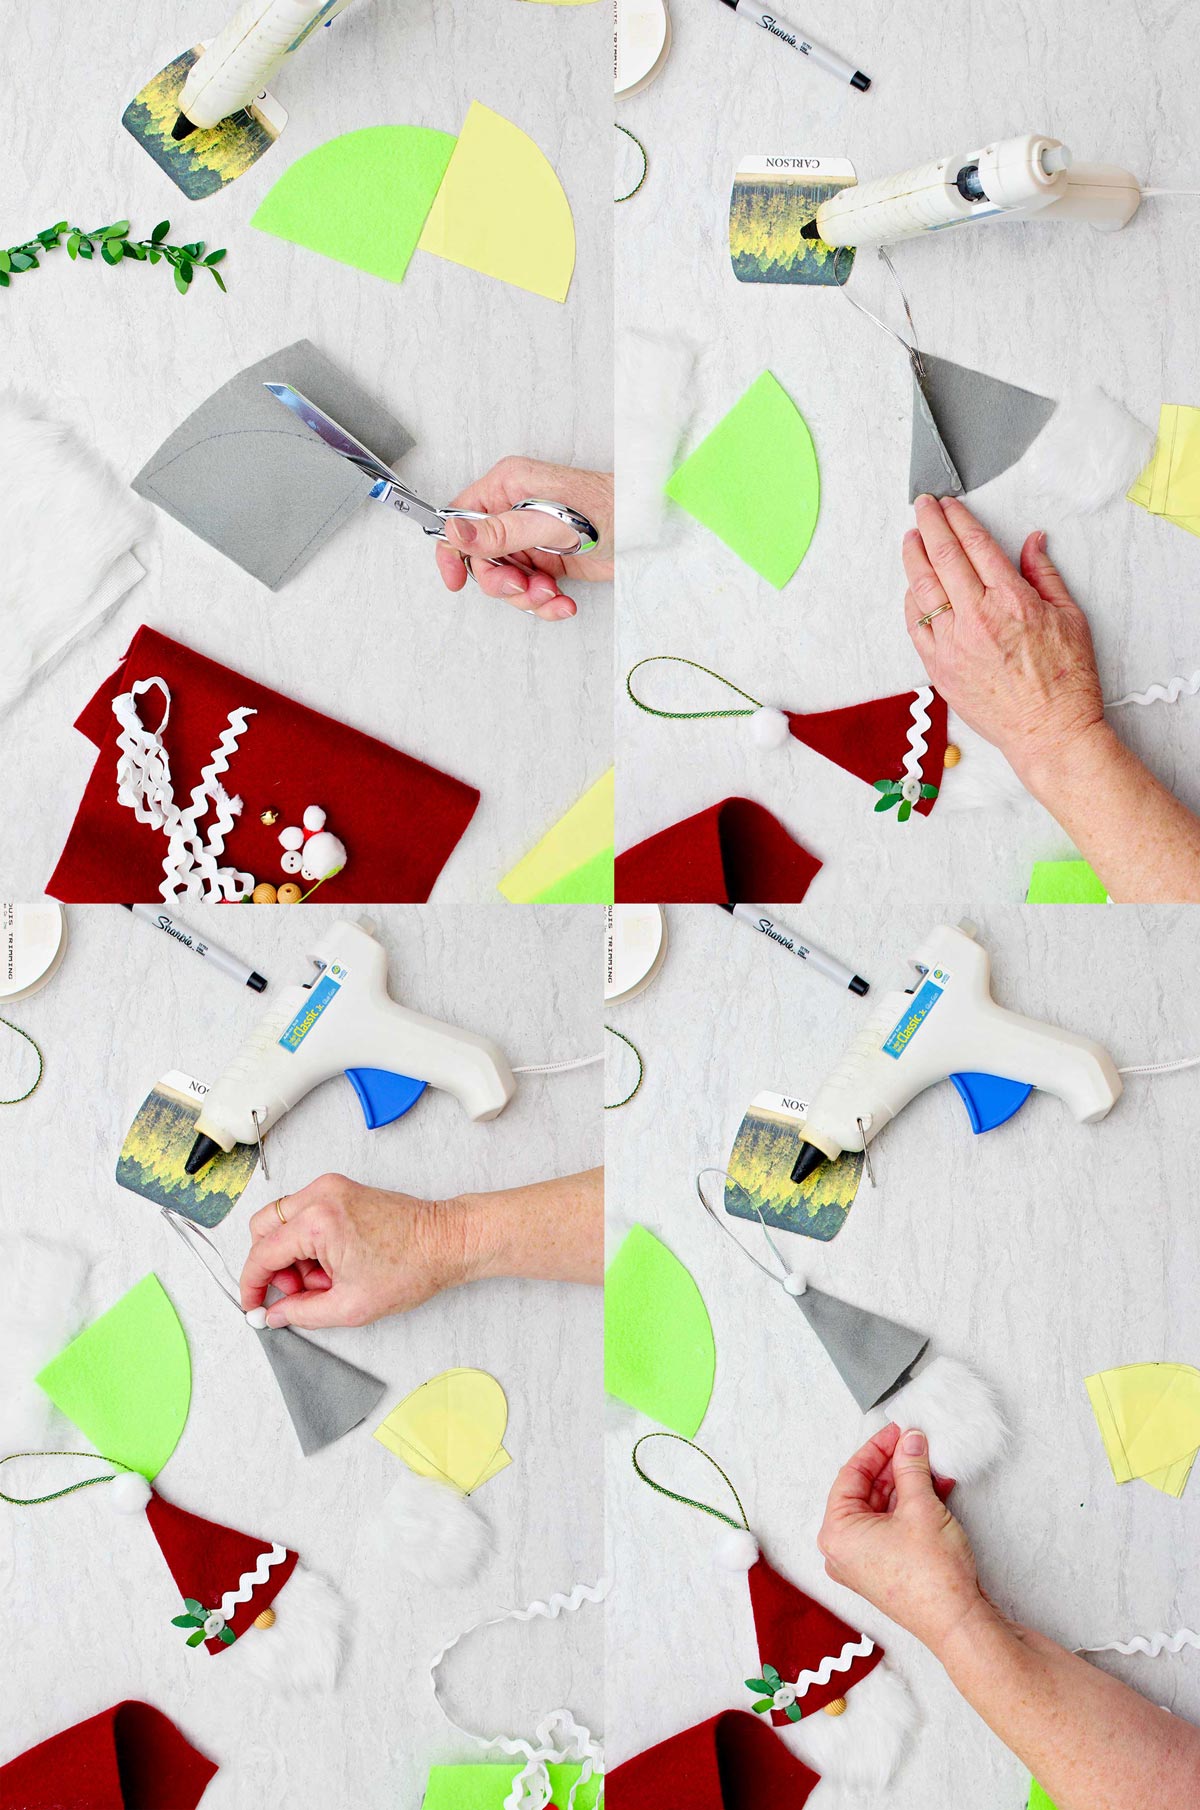
Cut a piece of ribbon that is about 7 or 8 inches long. The ribbon is hot glued in a loop to the tip of the felt hat piece.
Put a line of hot glue on one of the straight edges of the hat. Bring the other straight edge over the top of the glue. The ends of the ribbon loops will be inside the tip of this cone shaped piece of felt that will be the hat.
Beard & nose
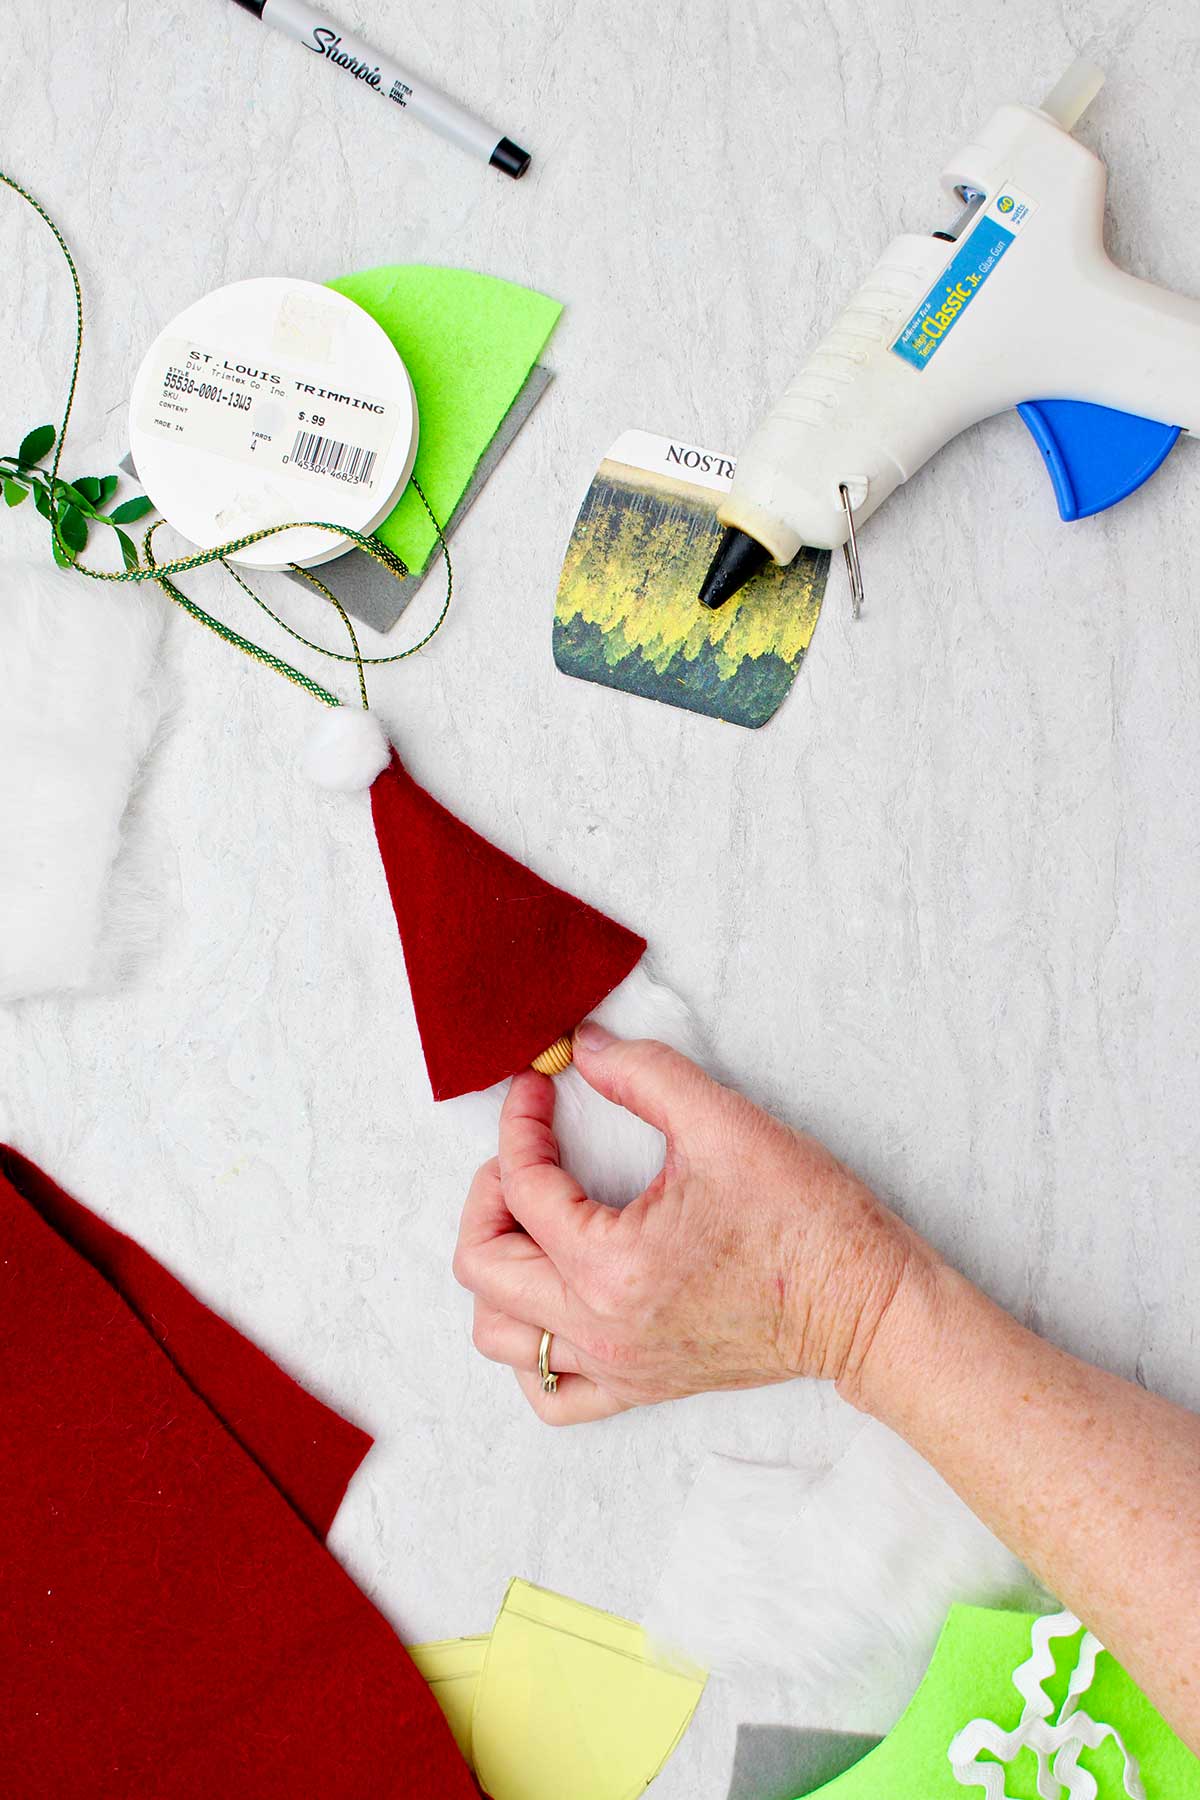
Put a line of hot glue on the inside back edge of the hat. Slip the straight edge of the beard fur into the hat so that it rests on top of this line of glue, hold them in place.
Glue a wooden bead on to the fur so that it his right below the the front of the hat line. Glue a pom pom to the tip of the hat.
Hat decorations
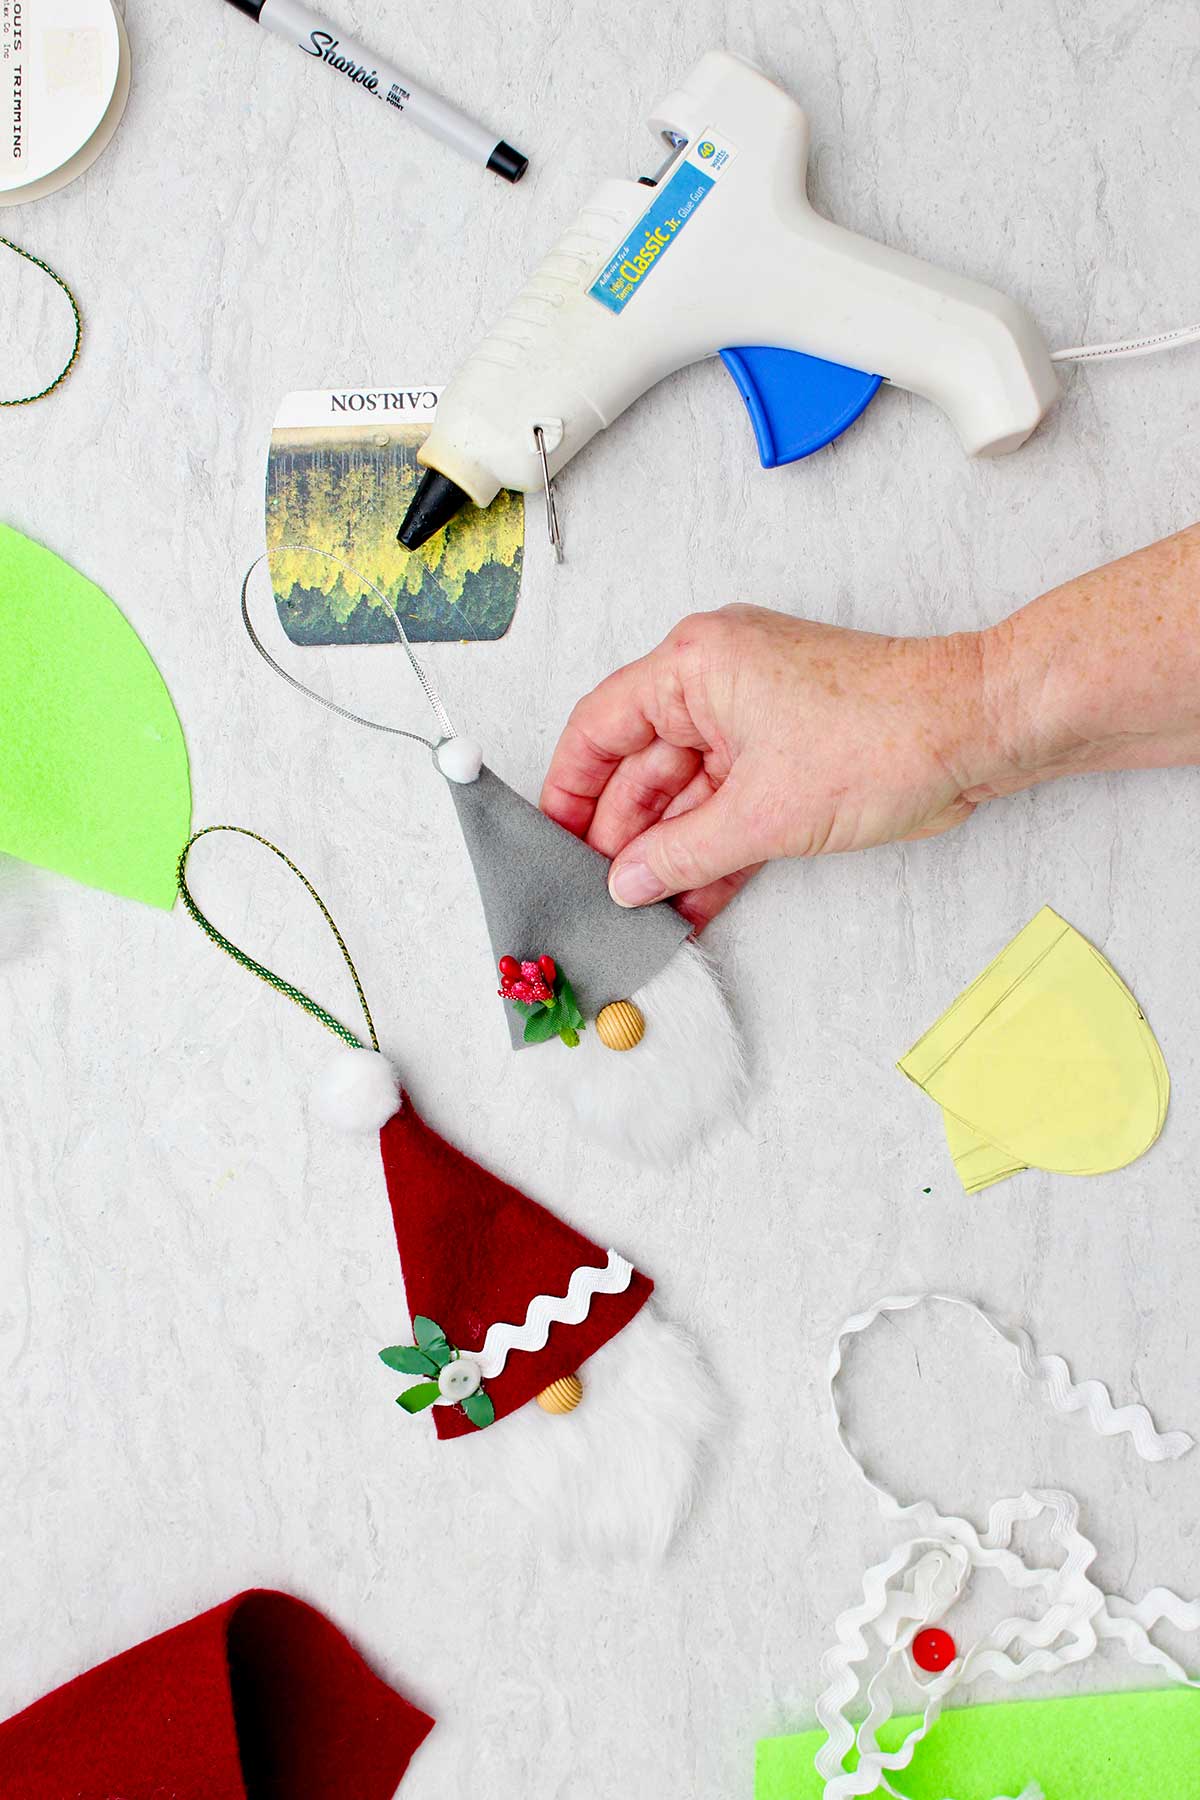
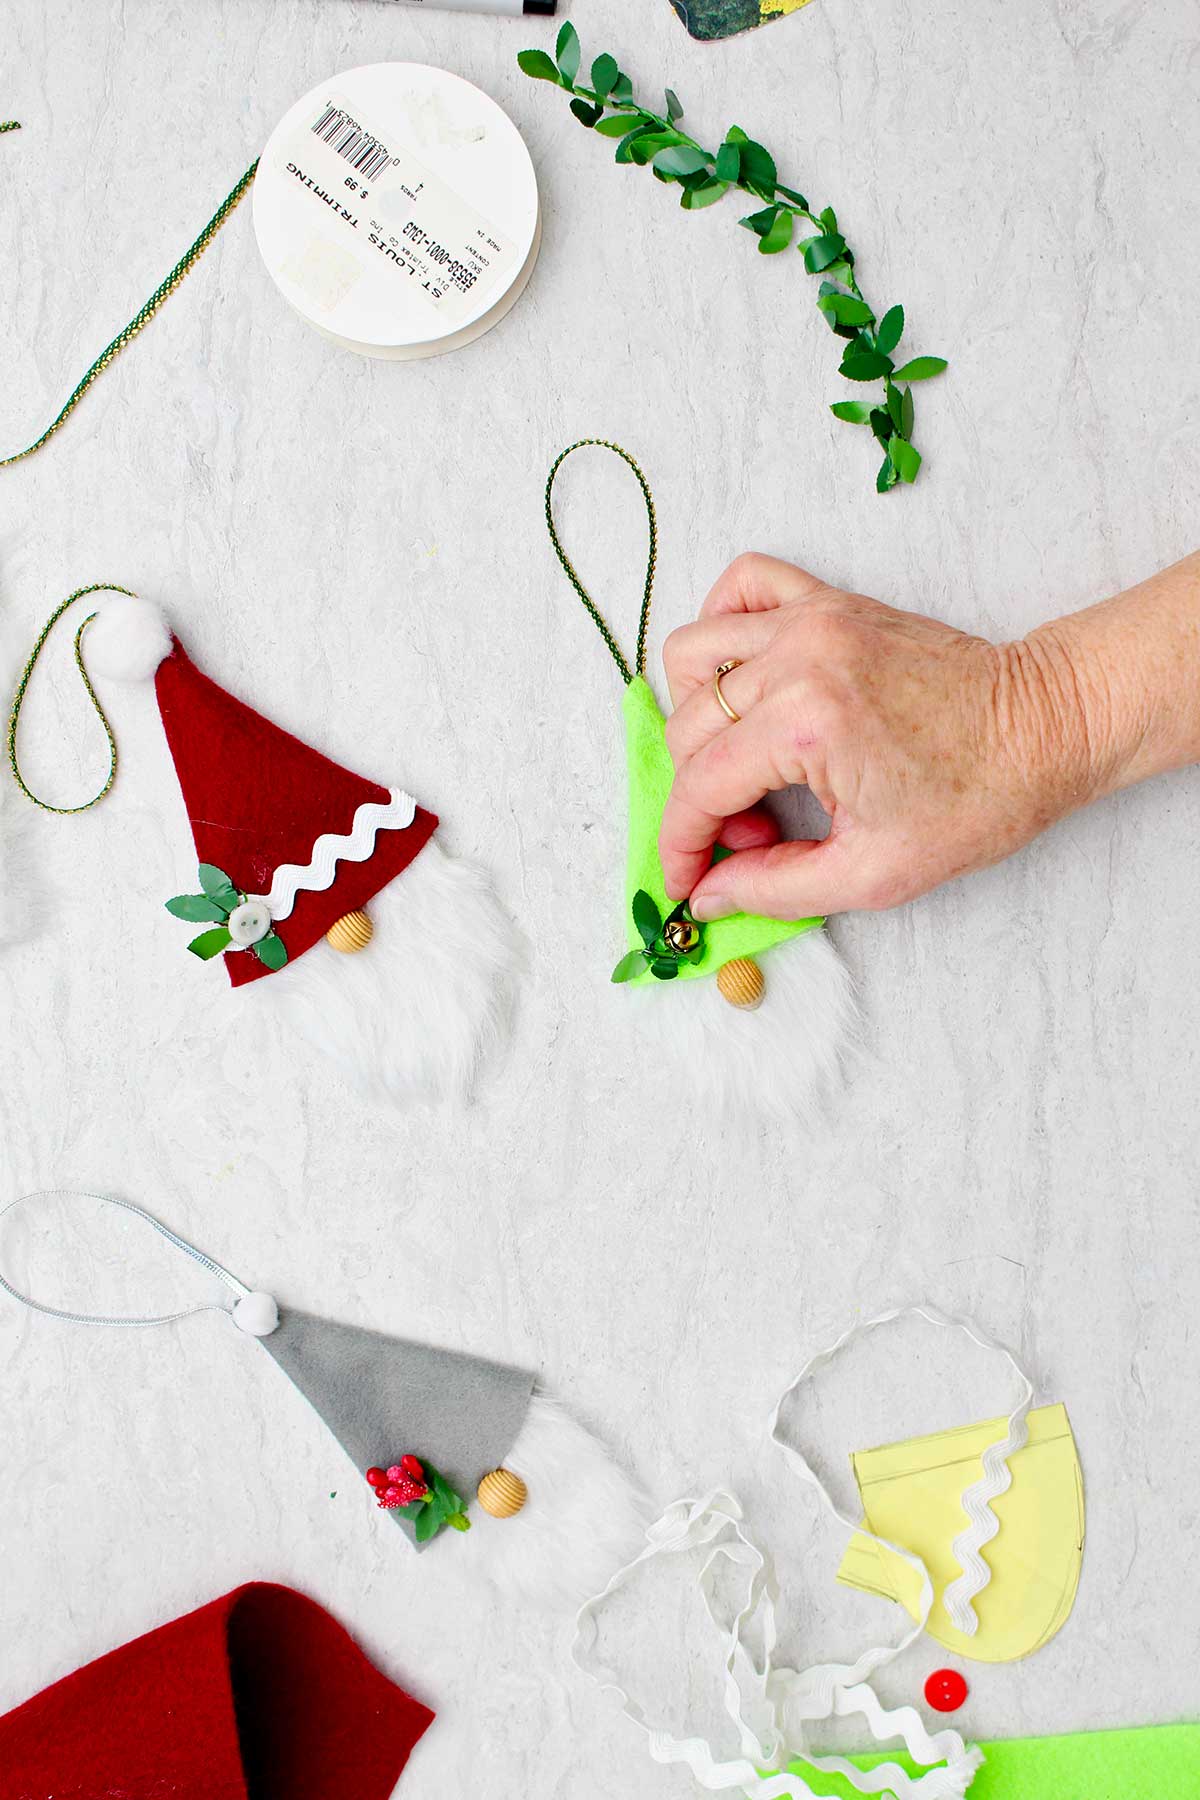
Add decorations to the rim of the gnome hat. This can be the contrasting piece of felt, rick rack, decorative trim, a little piece of greenery, and a bell or a button. Who's your imagination
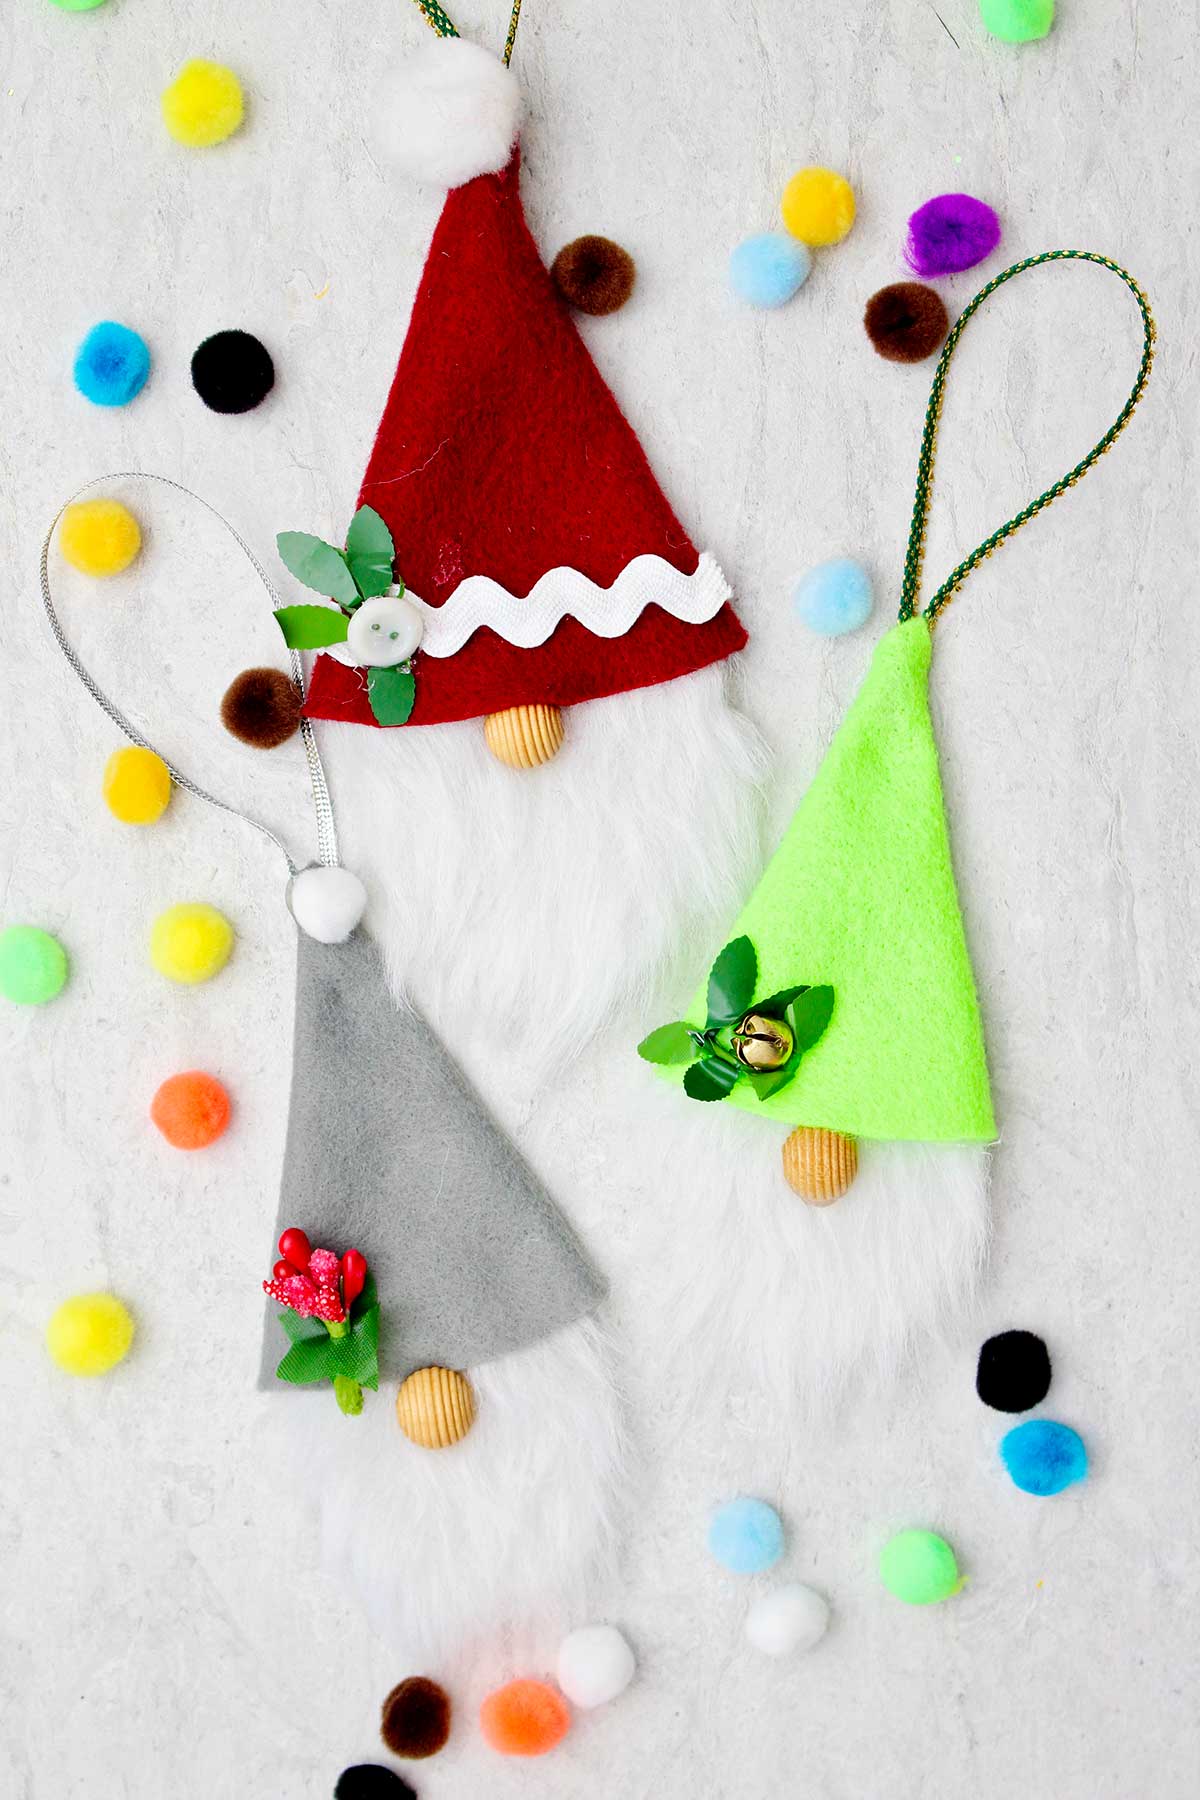
Your adorable gnome is finished! Make as many as you would like. These are wonderful gifts and look so cute on your Christmas tree. These cute gnome Christmas ornaments will make the kids laugh.
There is a full length YouTube video tutorial found at this link: DIY Gnome Christmas Ornament full lenth video
Craft Tips for Adorable DIY Gnomes
- Larger ornament gnome- Making the larger gnome is easier for kids to make. Take care in using the hot glue to avoid a heat burn.
- Pencil- Push down the felt with the pencil as you overlap the edges and glue them together. Avoid hot glue burns.
Craft Variations
Here are a few variations you’re welcome to try with this ornament gnome craft:
- Felt contrast- Use a contrasting color of felt to decorate the edge of the hat.
- Hat bend- Bend the tip of the hat down and glue to the base of the hat. Glue the ribbon to the top of the ornament instead of the tip of the hat.
FAQ
This simple craft goes together in 10 minutes or less. Use the free pattern to create a felt hat.
Then add a beard, bead nose, and hat decorations. They will make you laugh! Free pattern and complete gnome tutorial is on this post.
Fabric-backed fur works the best. But you could use a sheep wool-looking fabric or even glue cotton balls to a piece of felt.

More DIY Christmas Ornaments for Kids
Looking for more easy Christmas ornament crafts to try? Here are a few of our favorites:
Come join the fun at WTN!
Try this craft, leave a comment, rate it, and tag a photo with #WelcometoNanas wherever you post.
Get More Crafts!
Love getting crafts straight to your inbox? Sign up to receive a weekly email and get a free gift as well!
Cute DIY Gnome Christmas Ornaments (free pattern)
Equipment
- A hot glue gun and glue
Items Required
- Free Gnome Christmas Ornaments Pattern 1 copy
- Felt in any color for the hat
- Fabric backed faux craft fur white (or grey) for the beard
- A wood bead or wood ball for nose, about ½"
- Hat decorations Rick-rack, decorative trim, sprigs of artificial greenery or berries, bells, buttons, etc.
- White pom-pom
- Narrow ribbon or trim
- A hot glue gun and glue
Instructions
- Copy the Free Gnome Christmas Ornament Pattern. Then cut out the pieces. Choose the smaller size or the larger size. The smaller gnome is about 5 inches long and the larger gnome is about 6 inches long.
- Draw the pattern of the hat onto a piece of felt. Draw the pattern for the beard on the fabric side of the fabric-backed faux fur. You want the fur to brush down towards the curved end of the pattern.Cut both the felt and the fur piece out.
- Cut a piece of ribbon that is about 7 or 8 inches long. The ribbon is hot glued in a loop to the tip of the felt hat piece.Put a line of hot glue on one of the straight edges of the hat. Bring the other straight edge over the top of the glue. The ends of the ribbon loops will be inside the tip of this cone shaped piece of felt that will be the hat.
- Put a line of hot glue on the inside of the hat across the back of the hat. Slip the straight edge of the beard fur into the hat so that it rests on top of this line of glue, hold them in place.
- Glue a wooden bead on to the fur so that it his right below the the front of the hat line. Glue a pom pom to the tip of the hat.Add decorations to the rim of the gnome hat. This can be the contrasting piece of felt, rick rack, decorative trim, a little piece of greenery, and a bell or a button.






Rebecca Rittenhouse says
Do you have instructions for assembling the gnome Christmas ornament? Is it sewed or glued?
Shelly says
Hey Rebecca! Yes you can find the full instructions in the card at the very end of the post. You can even print them off if you'd like!