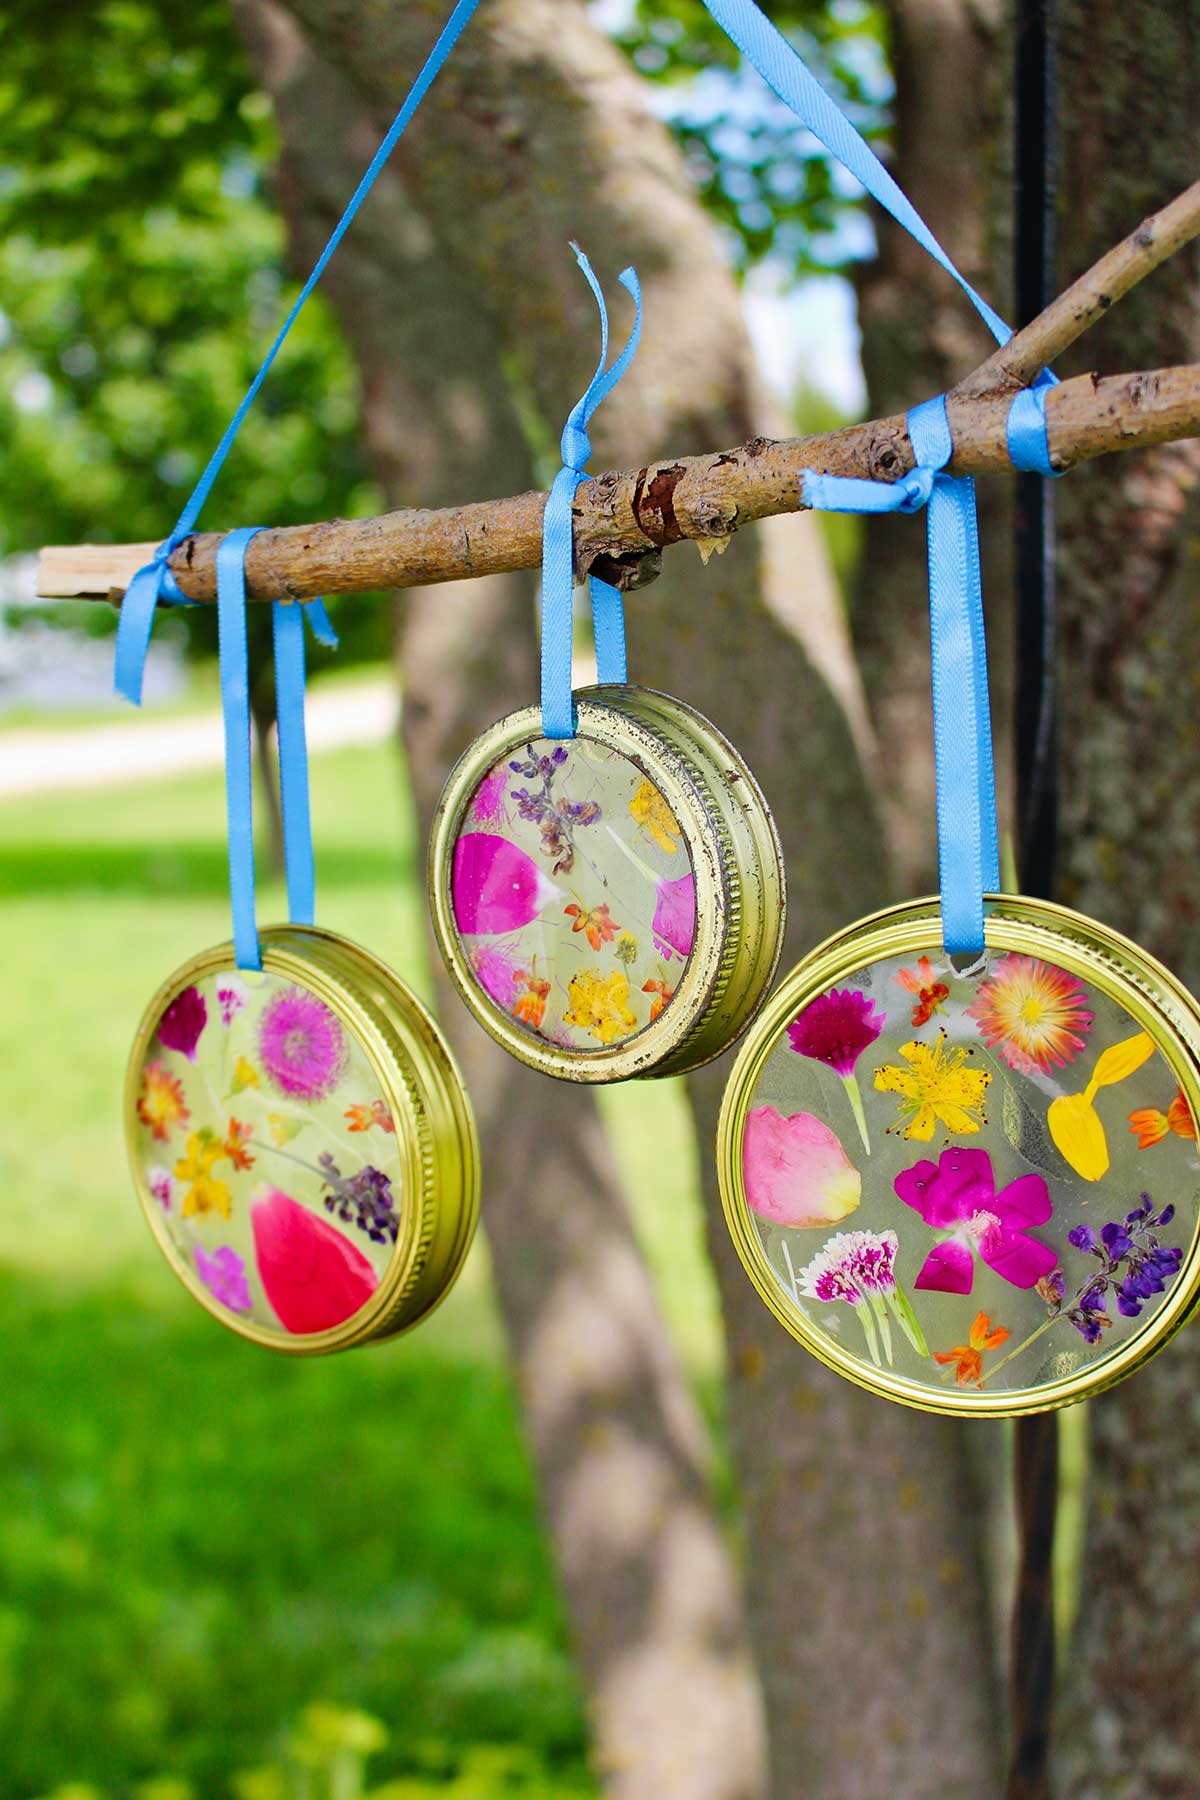
Use flower blooms to make a DIY Garden Suncatcher Wind Chime. An easy summer kids craft on contact paper framed in Mason jar lid rings!
Jump to:
- DIY Garden Suncatcher Wind Chime a Summer Kids Craft
- The flowers are blooming in the yard!
- Gather flowers on a nature walk
- Mason jar lids
- Clear contact paper
- Draw a circle shape
- How do I make a garden suncatcher?
- Have fun doing two more sun catchers!
- Find a stick to make a wind chime
- Arrange and hang the sun catchers!
- Hang your DIY Garden Suncatcher Wind Chime!
- It's a Nana's favorite craft
- A nature craft that's perfect for kids of all ages
- Want more nature craft ideas for kids?
- Enjoy!
- Supplies for the DIY Garden Suncatcher Wind Chime
- DIY Garden Suncatcher Wind Chime a Summer Kids Craft
DIY Garden Suncatcher Wind Chime a Summer Kids Craft
I’m so excited to share this DIY Garden Suncatcher Wind Chime with you! This was such a fun craft, I hope you and the kids enjoy it as much as I did.
First, take a nature walk and collect up some beautiful flower petals. They will be perfect to use in this craft.
The flowers are blooming in the yard!
I was out working in my front flower bed the other day and wanted to do something with the pretty little blooms that were there. I planted several new flowering plants this year. It was exciting to have some different small blooms available to me for a craft!
Then, when I was walking around the yard on the outer edges where the Prairie grass is. There were a number of new wildflowers there as well with pretty blooms and petals!
I almost couldn’t get back to the house fast enough to get something to start collecting flower petals.
Gather flowers on a nature walk
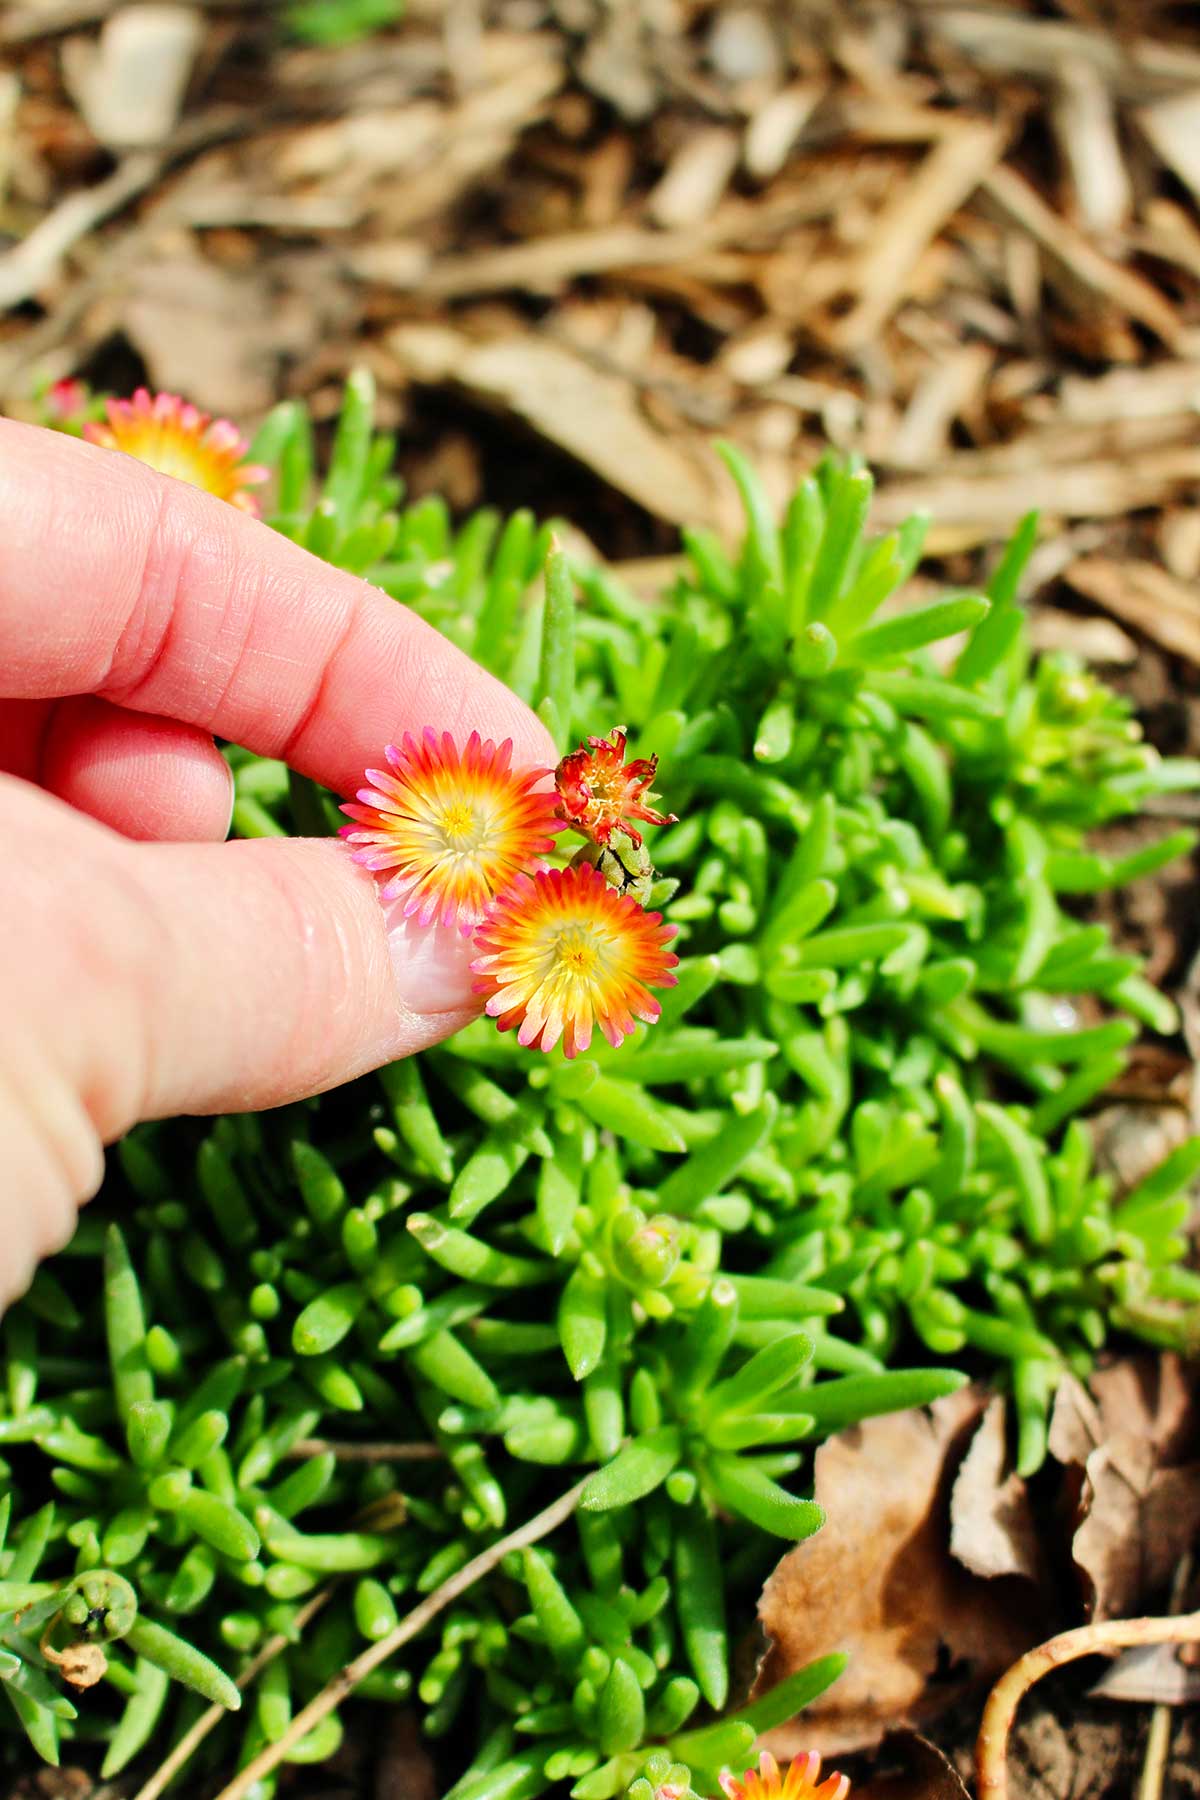
With a little bowl in hand, I took another walk around and plucked a few of the small blooms and petals off of the flowers that I had spotted.
And I have to tell you it was so uplifting! I took pictures of a couple of the wildflowers that were blooming to use in this post. I can't wait to do it with the grandkids!
Take the grandkids, other kids in your life, or your friends and take a nature walk to collect items for these crafts. Enjoy your time together outside. Life is good.
Wildflower wonders
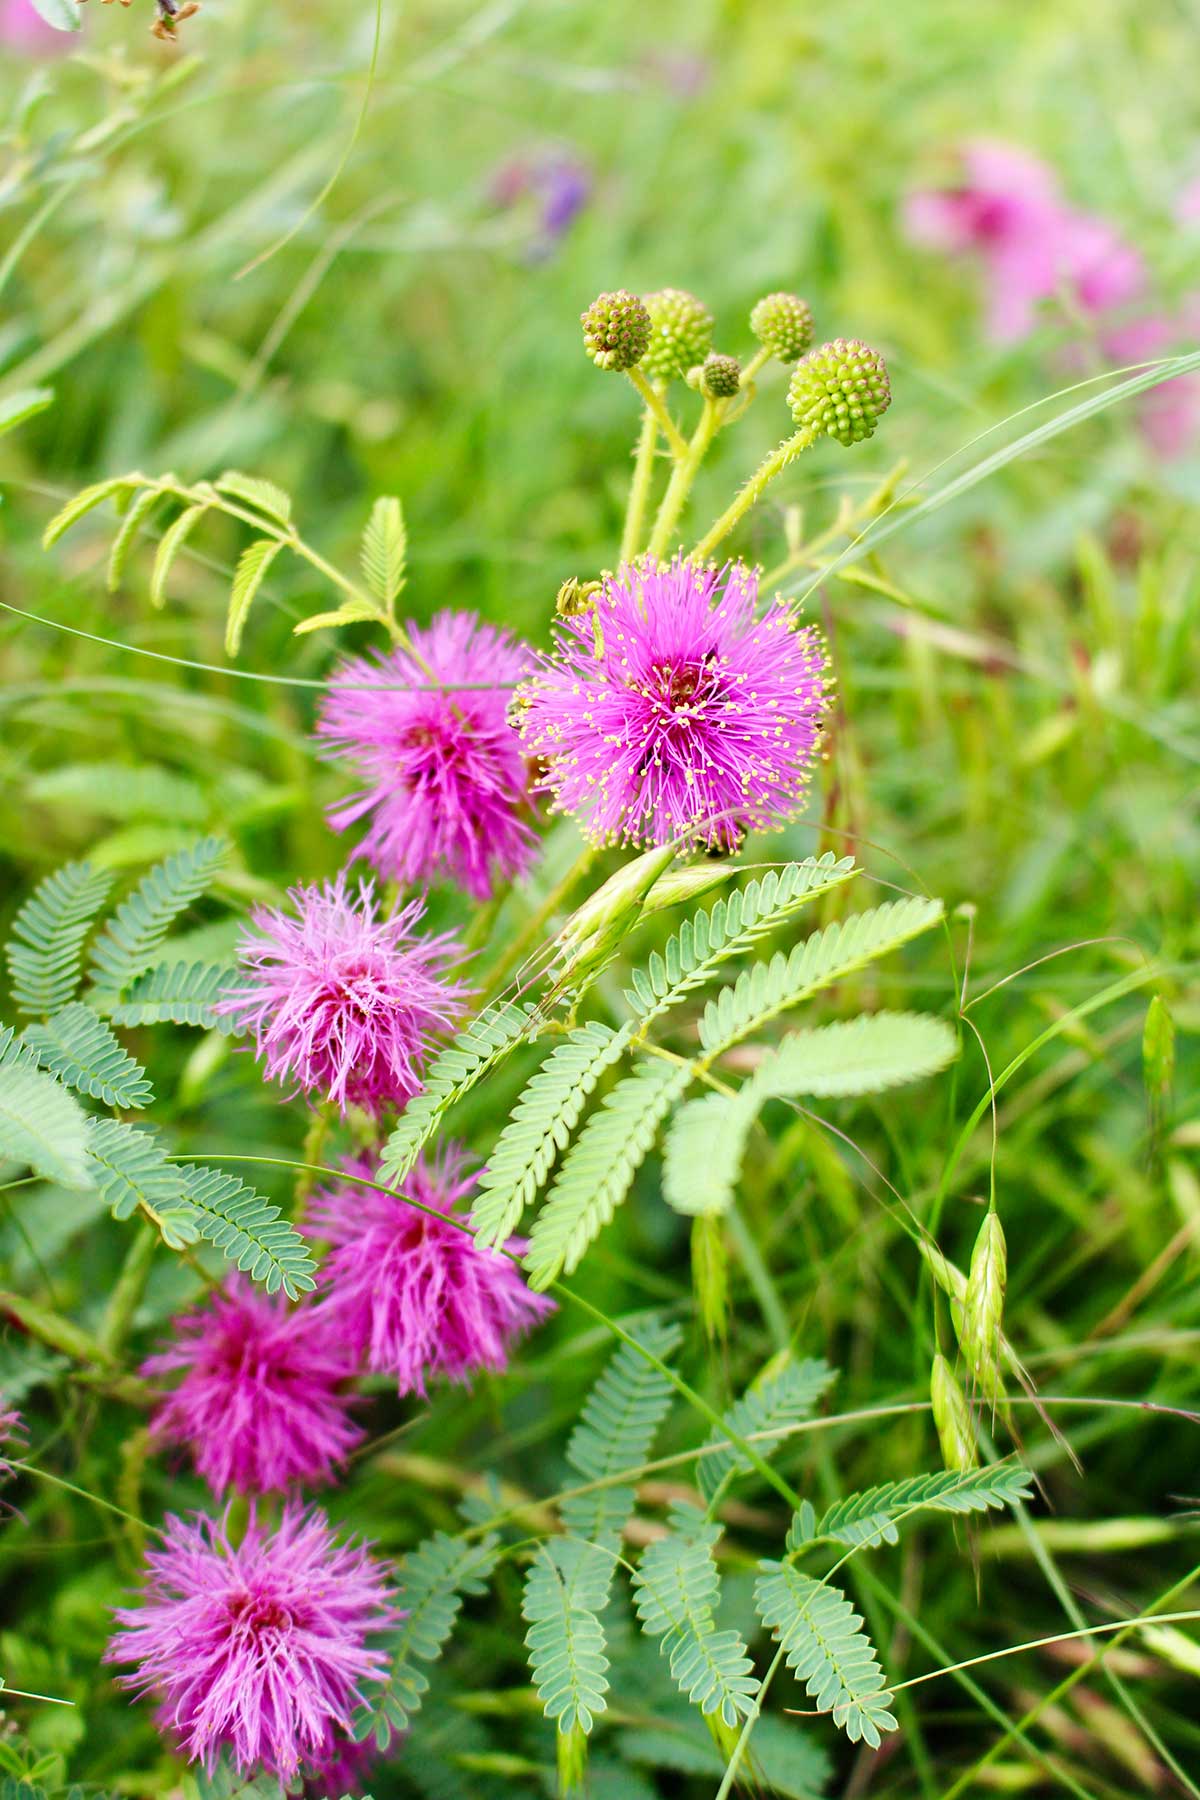
The little purple fuzzball is a cats claw sensitive briar. It was one of my favorite wildflowers as a child. Doesn't it look like it came from a Dr. Seuss book!
It has little fuzzy, red-violet petals. Each of them have a little tiny yellow ball on the end of them. It just makes such a whimsical little puffball.
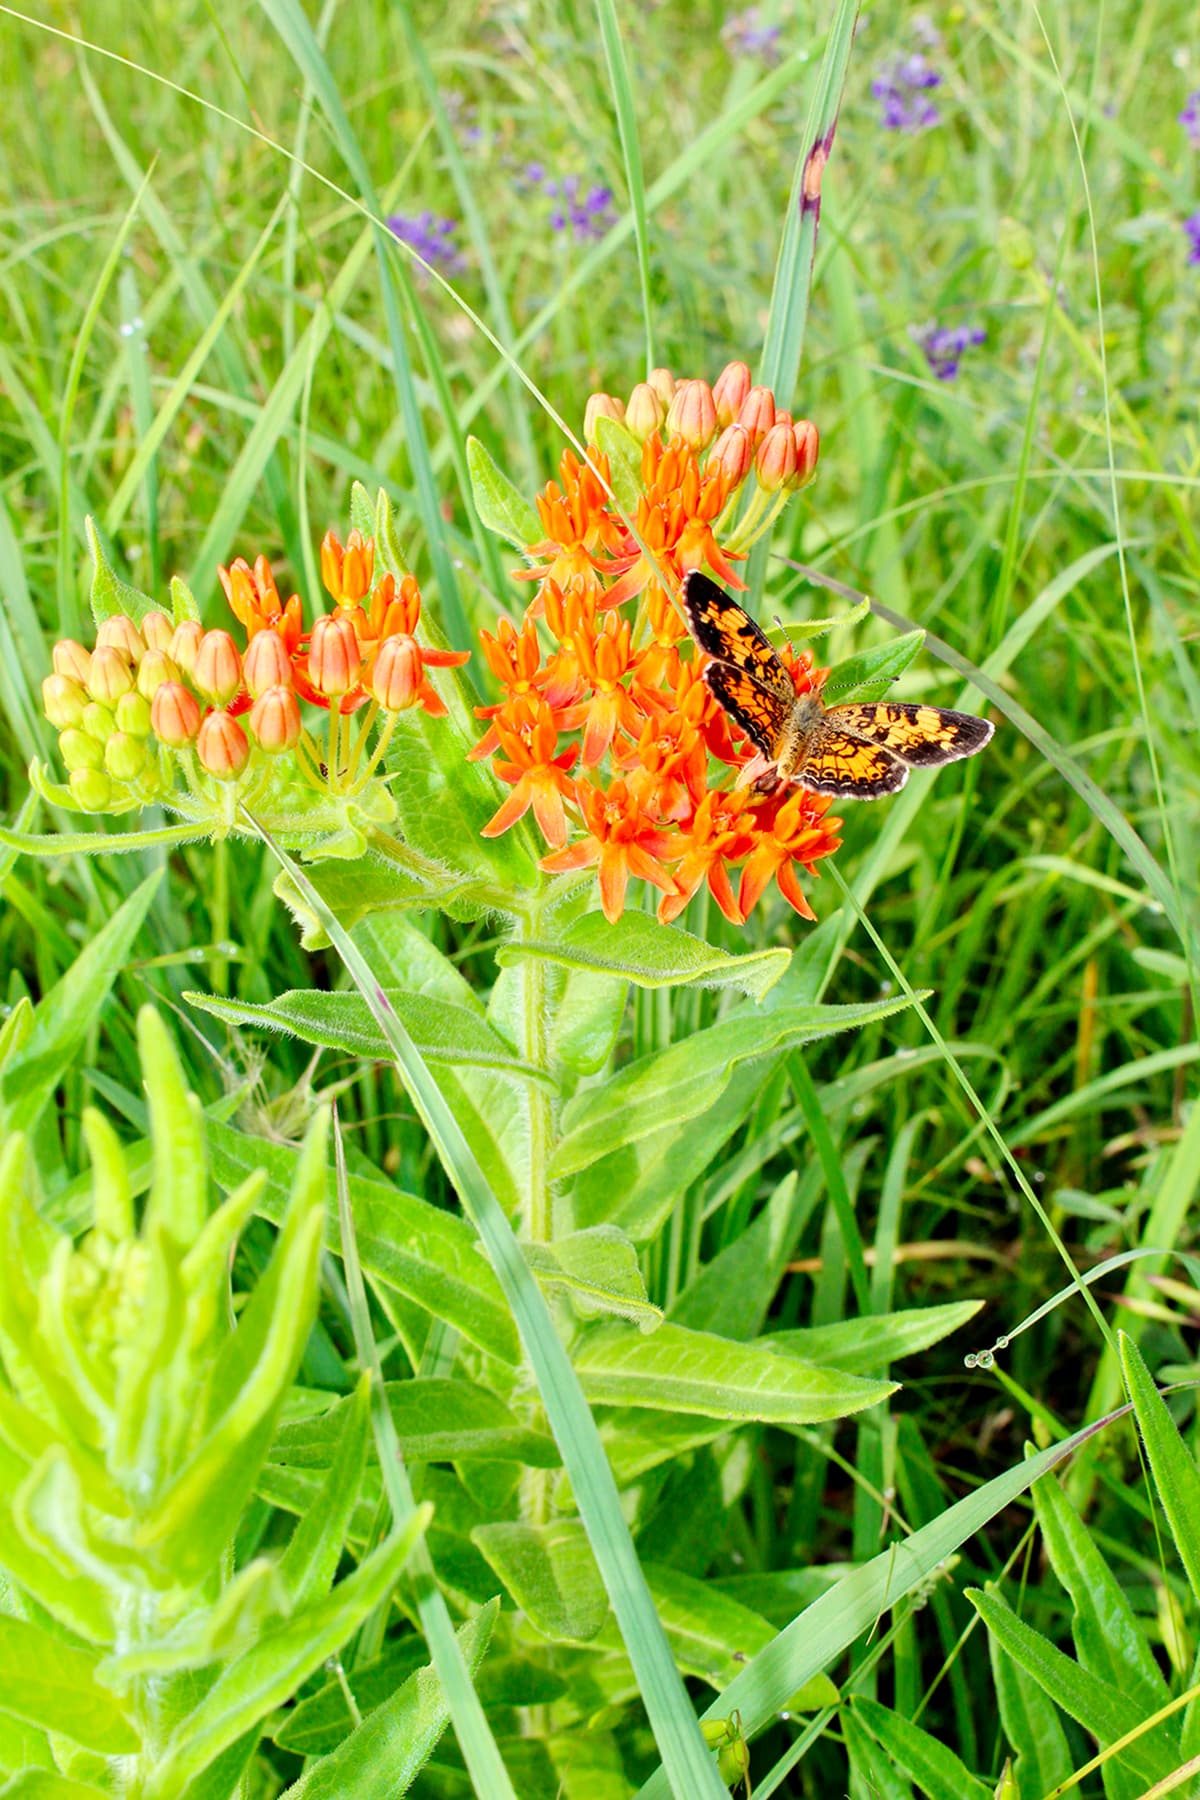
The orange flower is a butterfly milkweed. It was a new plant in a new location that I had never seen before. I have a couple that I transplanted into a wildflower bed many years ago, but this one is now growing wild in our Prairie grass area. I was pretty excited to discover it. It was full of butterflies, true to its name!
I digress yet again!
Note: This craft works best with flower buds and petals that are not very thick. Keep that in mind as you gather your plant items.
Mason jar lids
So with a number of flower petals in my bowl, I came inside and found my box of canning jar rings. That's what we'll use as a frame for this nature craft project.
I’m no longer doing any canning so it’s good to have some projects that use up some of these supplies. I’m going to make two suncatchers using wide mouth jar rings and one suncatcher with the narrow mouth jar lids.
They will all go together as a wind chime when the craft is finished.
Want to watch a full length tutorial video and follow along? Here is the link: DIY Garden Suncatcher Wind Chime Full Length Tutorial
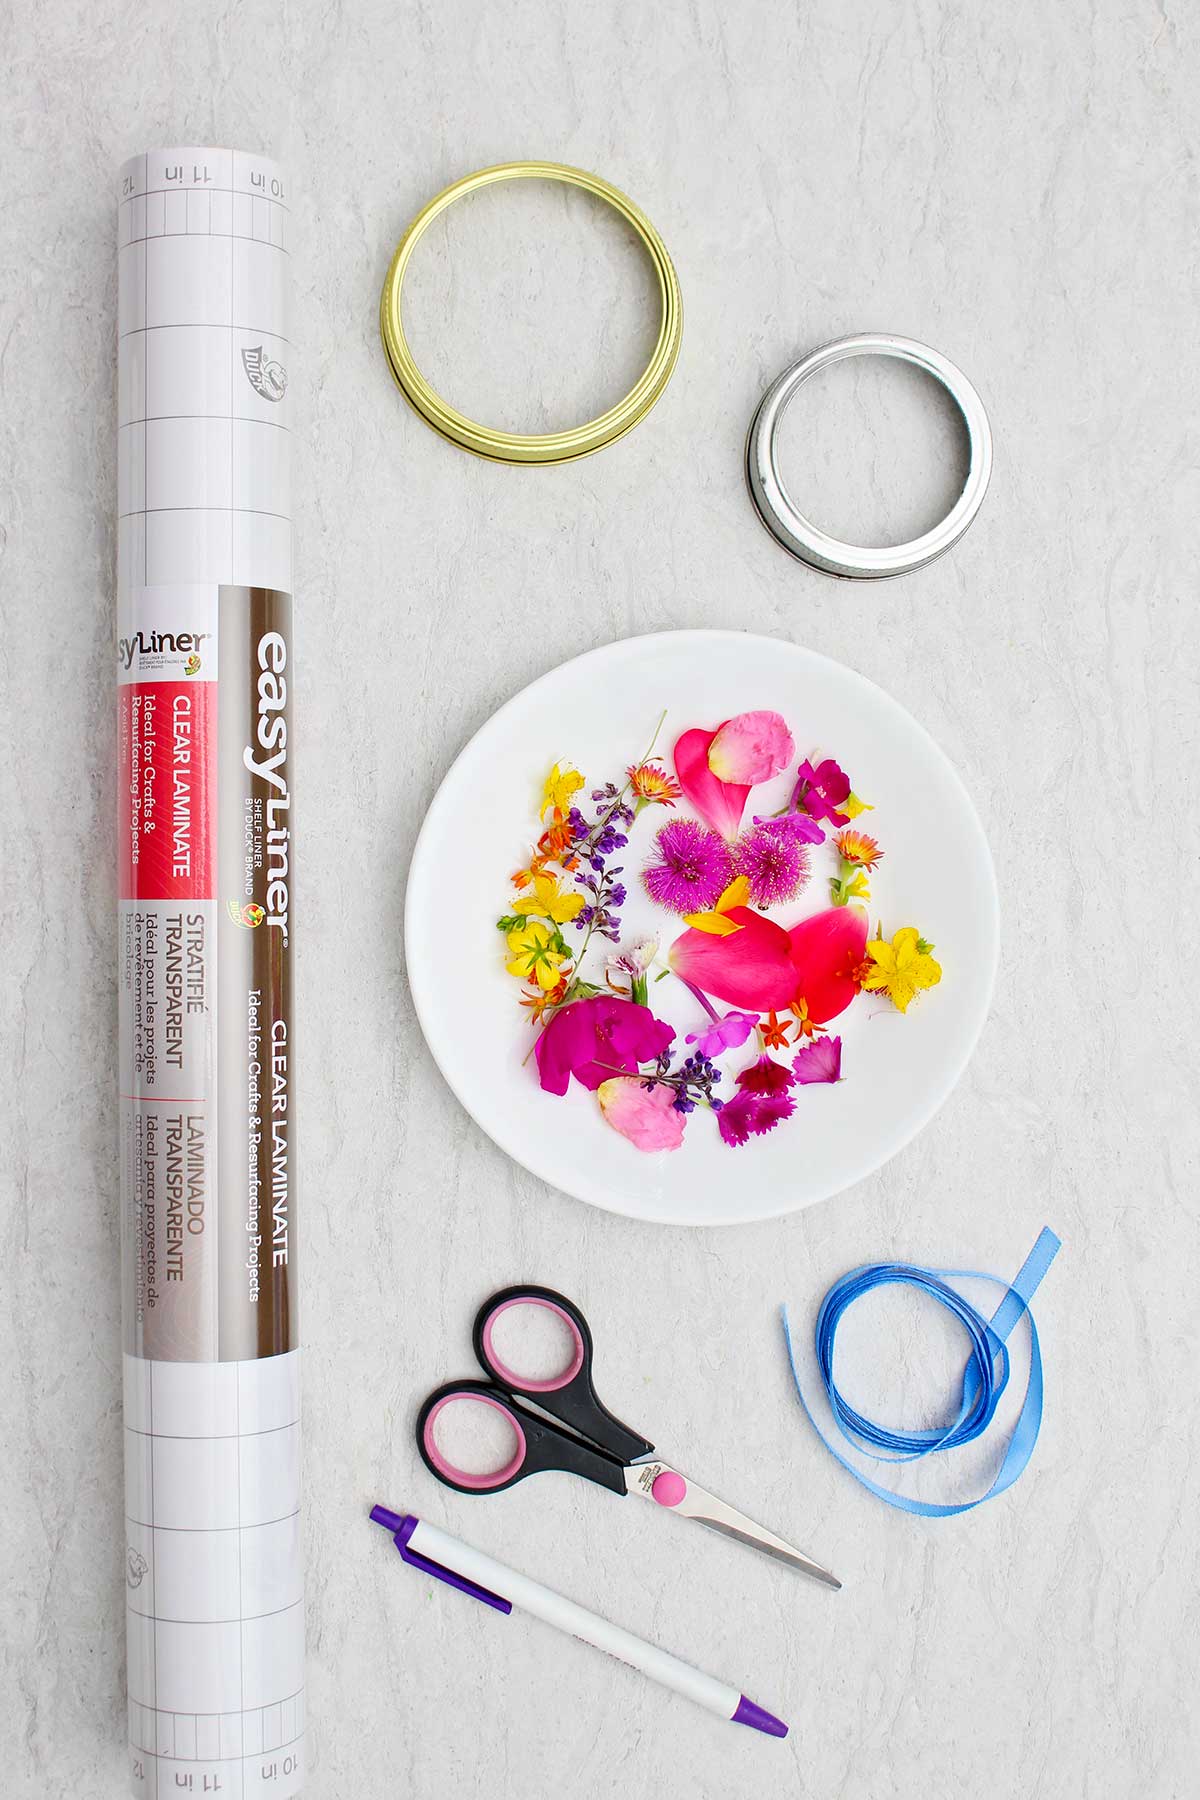
Clear contact paper
I had purchased some clear contact paper earlier in anticipation of this craft idea, so I was thankful I had that on hand when the inspiration struck. I usually try to keep contact clear contact paper on my craft shelf. It's useful in crafts and projects quite often.
So let’s start with a larger mason jar ring sized suncatcher first, OK?
Cut a couple squares of clear contact paper that are slightly larger than the diameter of the mason jar ring.
Set one aside for the moment.

Draw a circle shape
Place the canning jar ring on the center of the contact paper square. With a permanent marker draw around the outside edge of the ring. Then you'll know where to place your flower petals, it will be your boundary line.
Go ahead and take the contact paper off of its paper backing and put it sticky side up on your work surface.
Tip: I bent each of the little corners back and stuck them onto the countertop. Then the paper will not shift around. This will make it easier for children, especially.
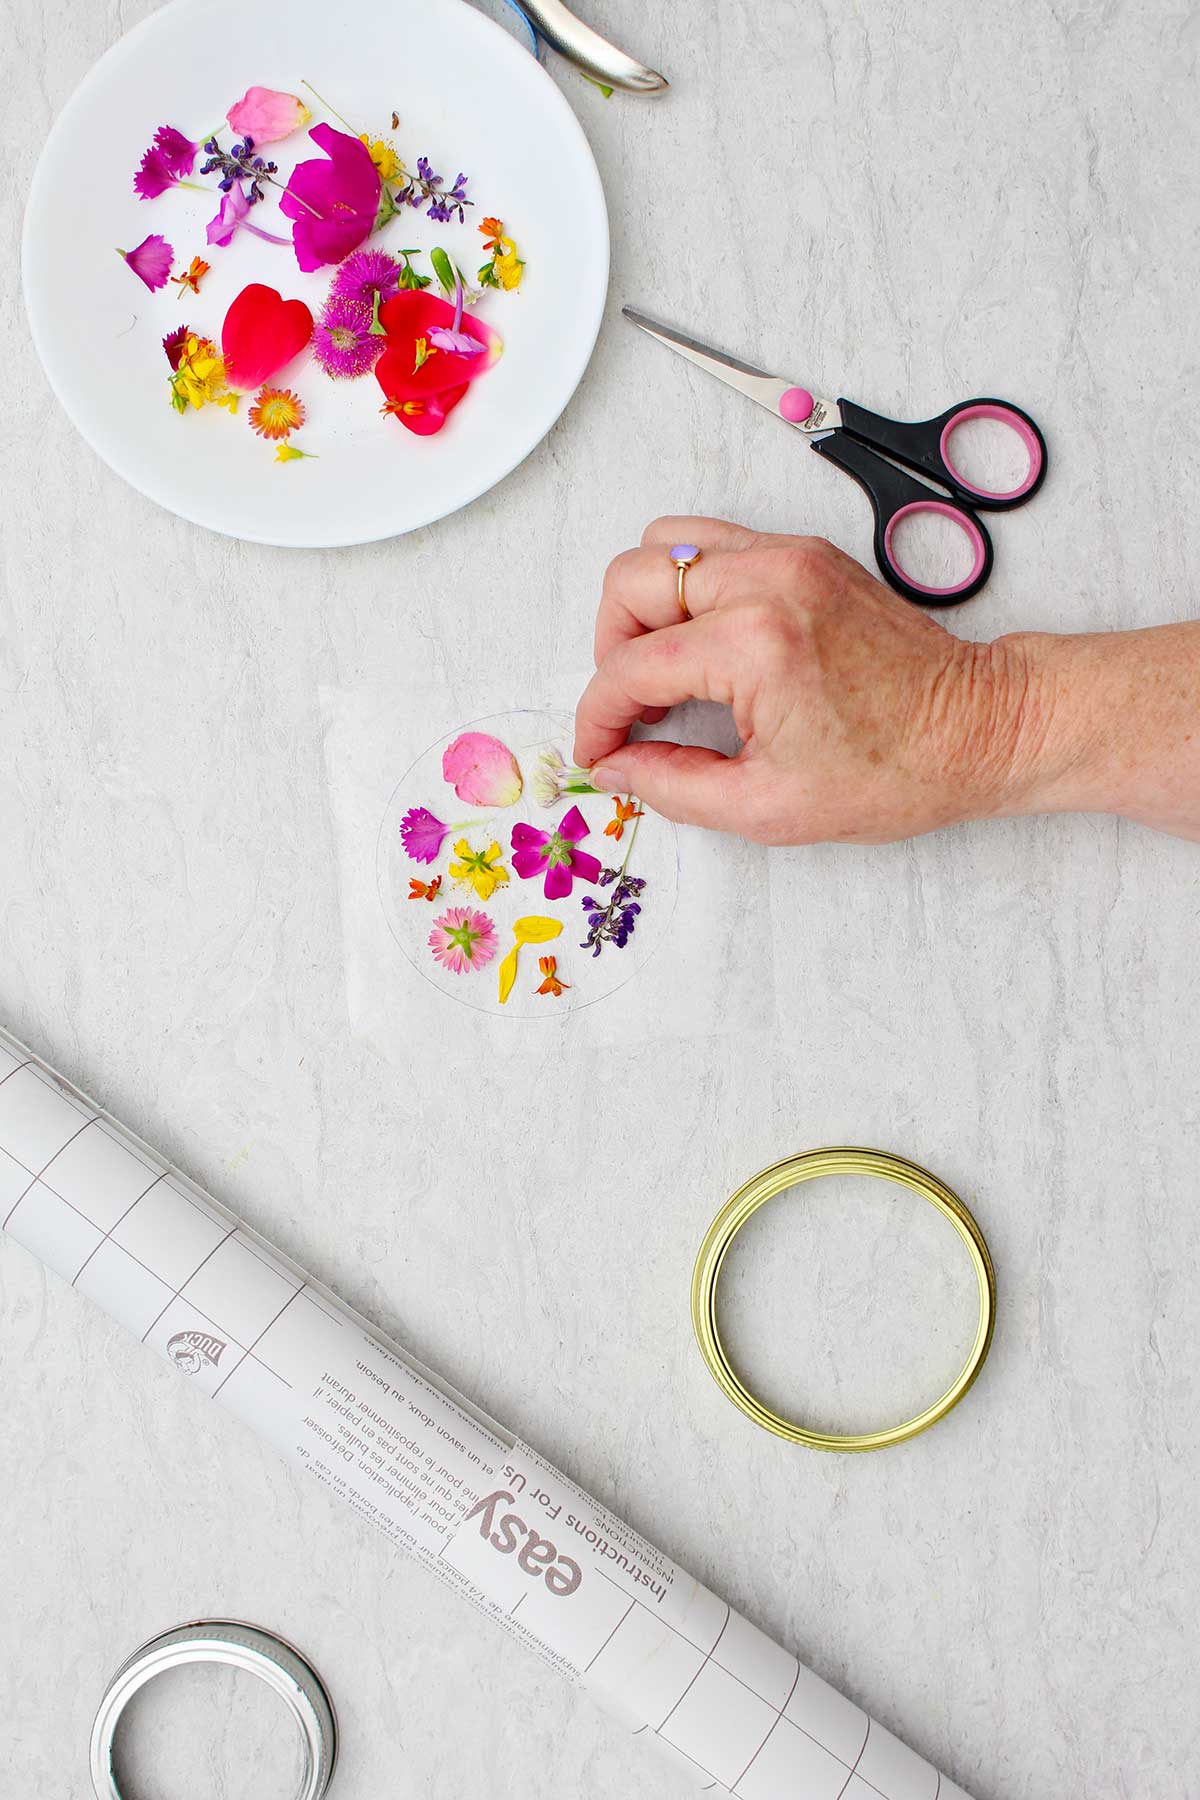
How do I make a garden suncatcher?
Placing the flowers!
OK, are you ready for the most fun part? Search through your flowers and petals and choose the ones that you would like to put inside of your marked circle on the contact paper.
Firstly, it’s good to cut off any extra portions of the flower that make them thicker. You can pull petals off the flowers and just use the petals, too.
Place the blooms face down on the sticky contact paper. Arrange the petals around them in whatever pattern or design you desire.
Note: You can lay the blooms and petals out on the counter to get a design in mind if you want to. Just transfer your design onto the contact paper when you are happy with it. But it’s OK to be totally spontaneous and random as well.
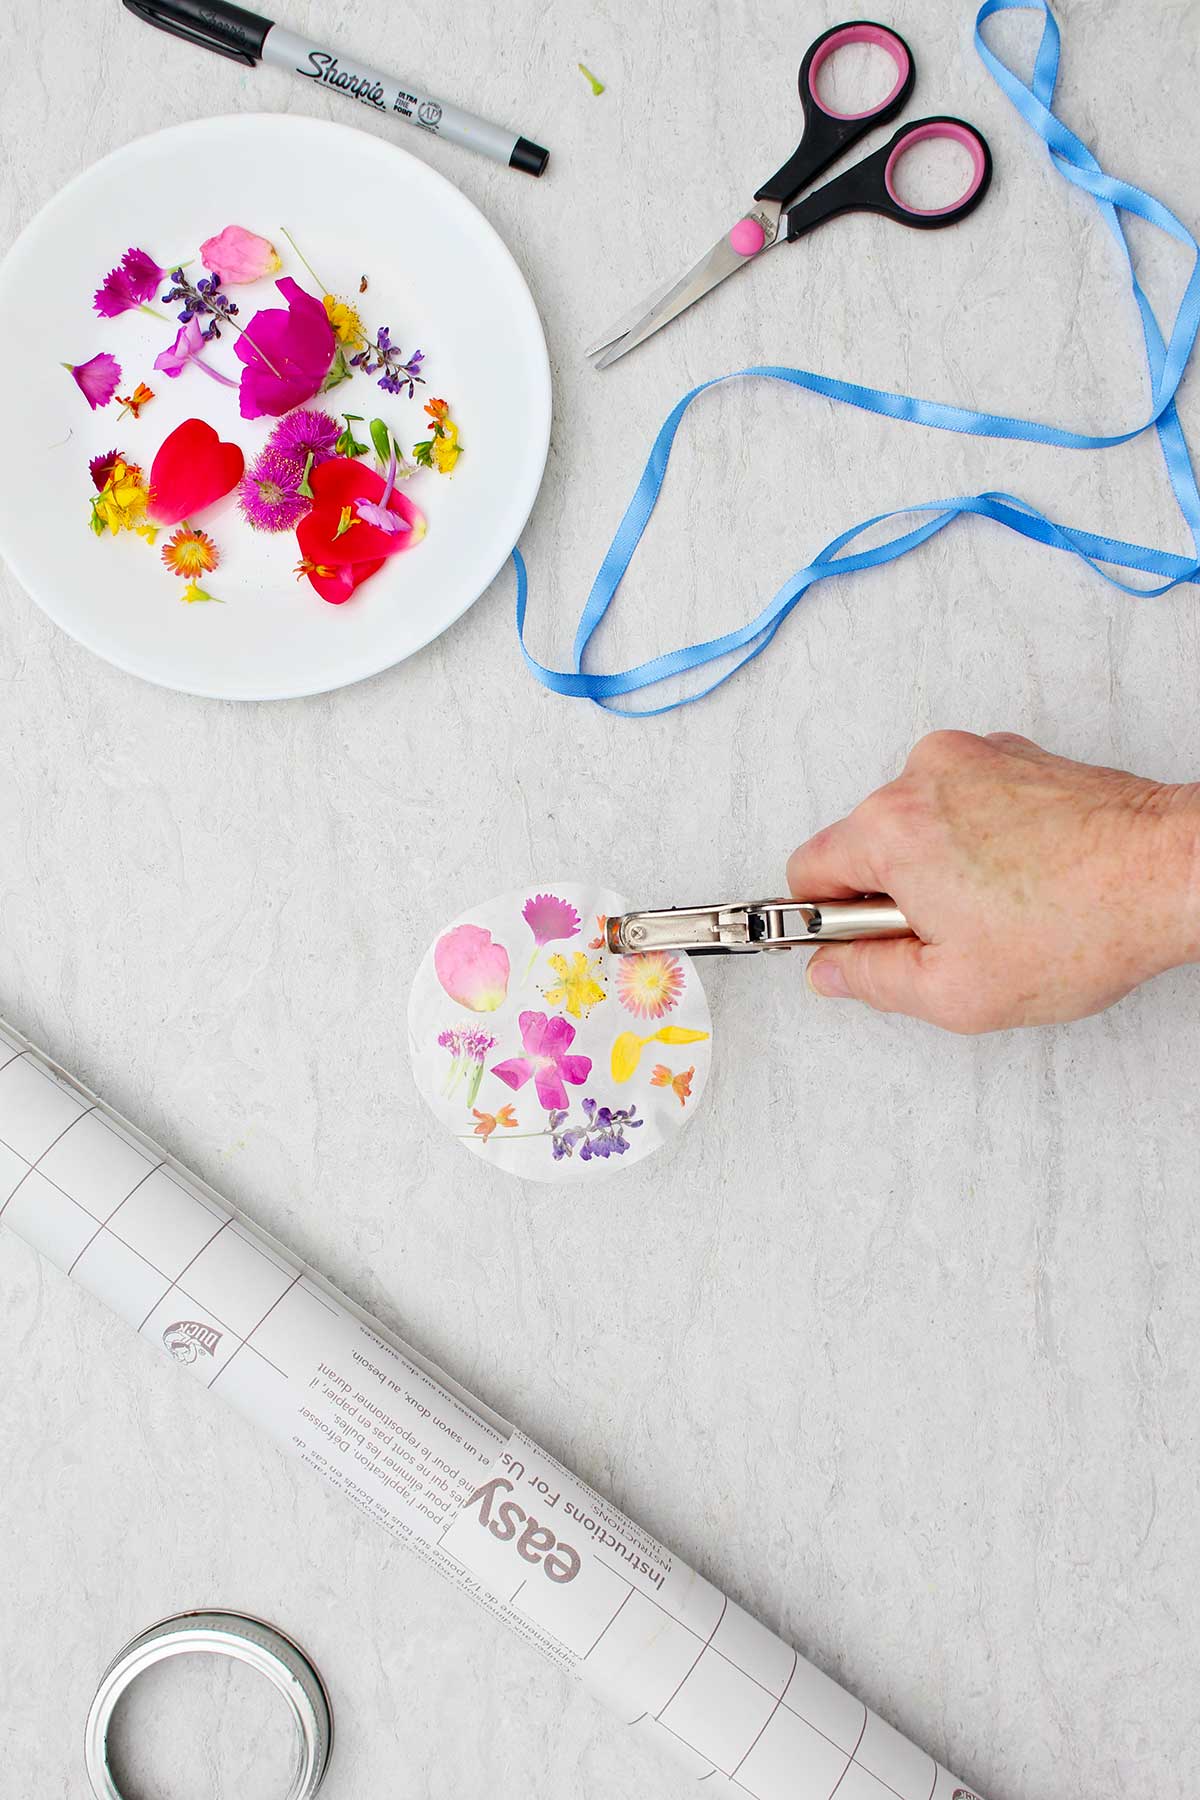
Cover with contact paper
After you have all your petals and blooms in place on the contact paper, find the second square piece you cut. Remove it from the paper backing.
Place this piece over the blooms so all the petals are sandwiched in between the two pieces of clear contact paper. This will keep them bright and colorful for a long time.
Press and work on the paper to get out the bubbles and seal it as well as possible.
This is why it’s best to work with blooms and flower petals that aren’t too thick.
Cut out on the circle marking
When you’re satisfied with that, take your scissors, and cut out the circle that you drew on the contact paper earlier. You will need to then trim off about a 16th of an inch all the way around inside of the line in order to have the contact paper circle fit inside the mason jar ring.
Punch a hole in the top
Use a hole punch to punch a hole about a half inch from the edge of the circle. This will be used later to place a ribbon through to hang it up.
Note: The hole punch couldn’t punch a hole through two layers of contact paper but provided a circle area I could then clip out with a scissors.
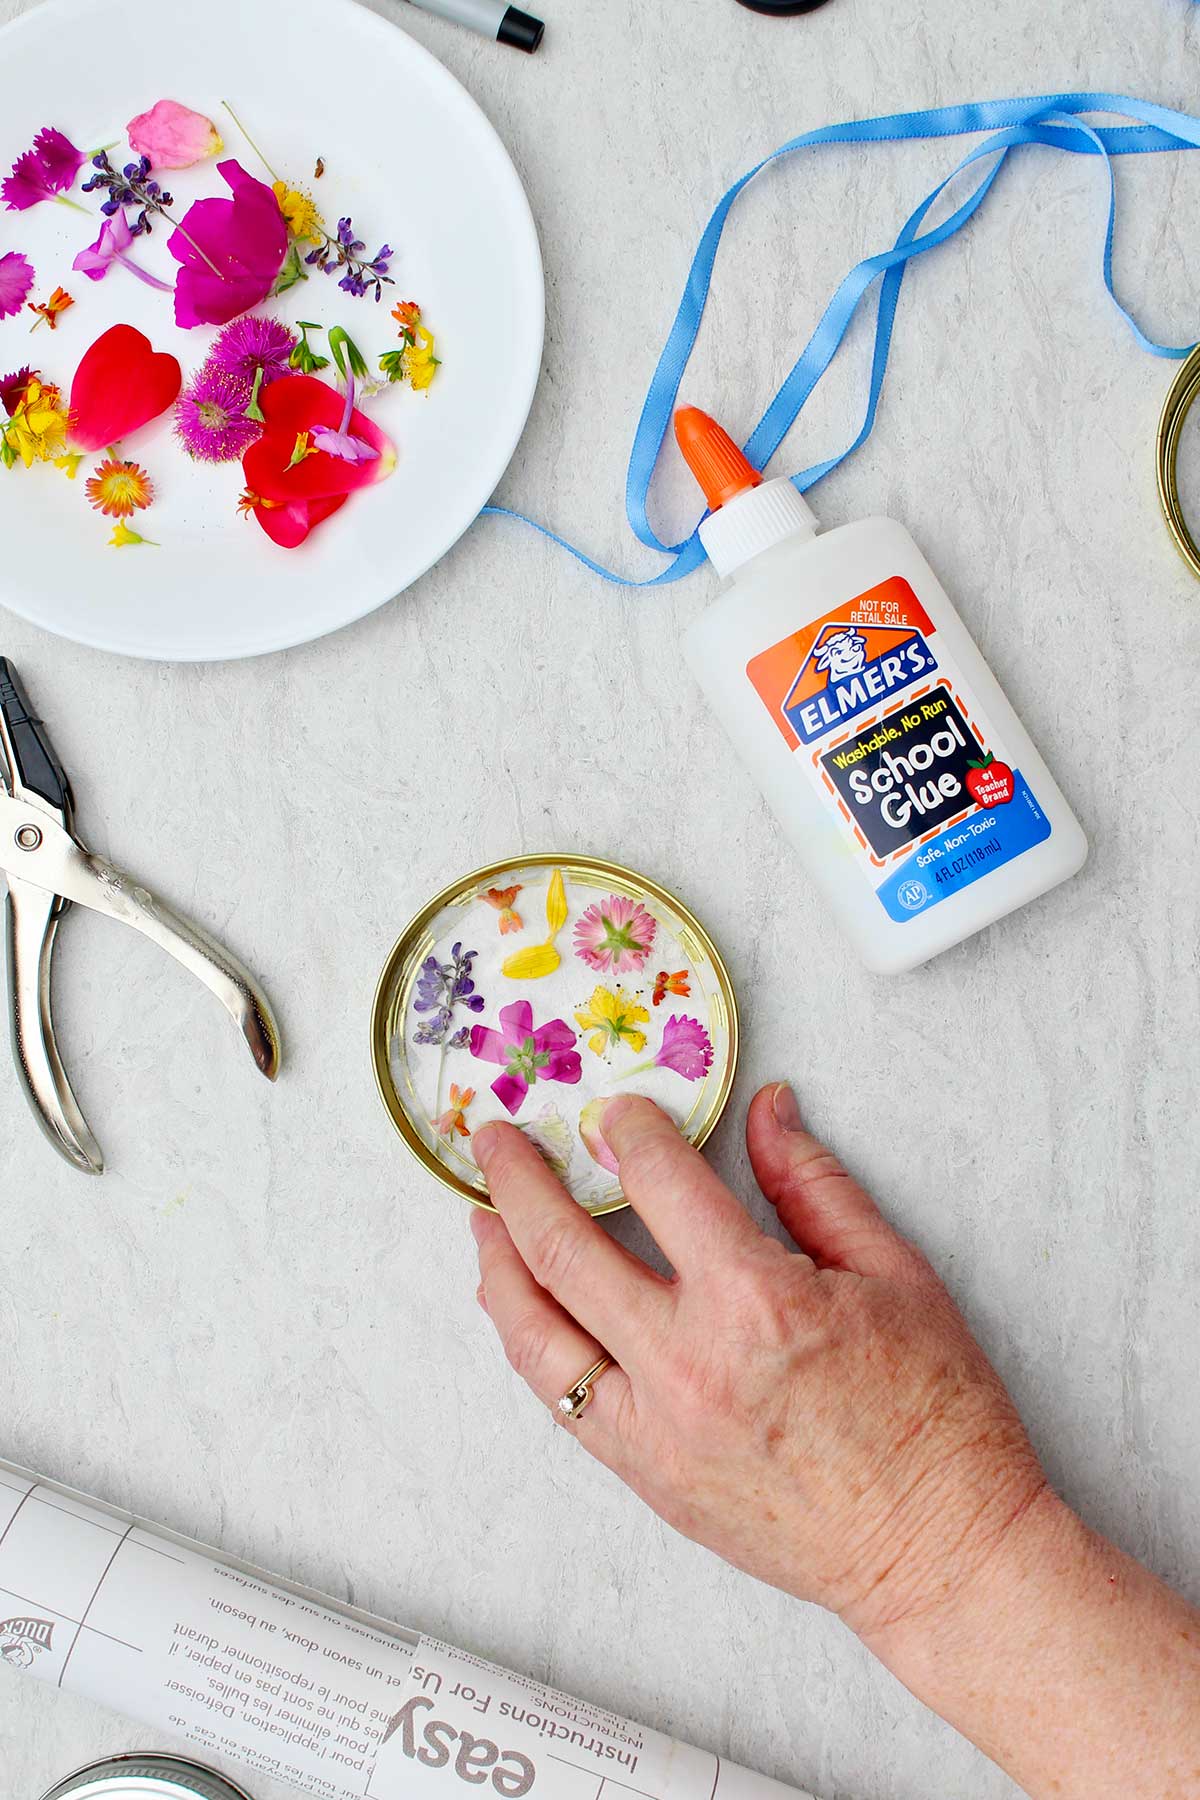
Glue or press the circle into the ring
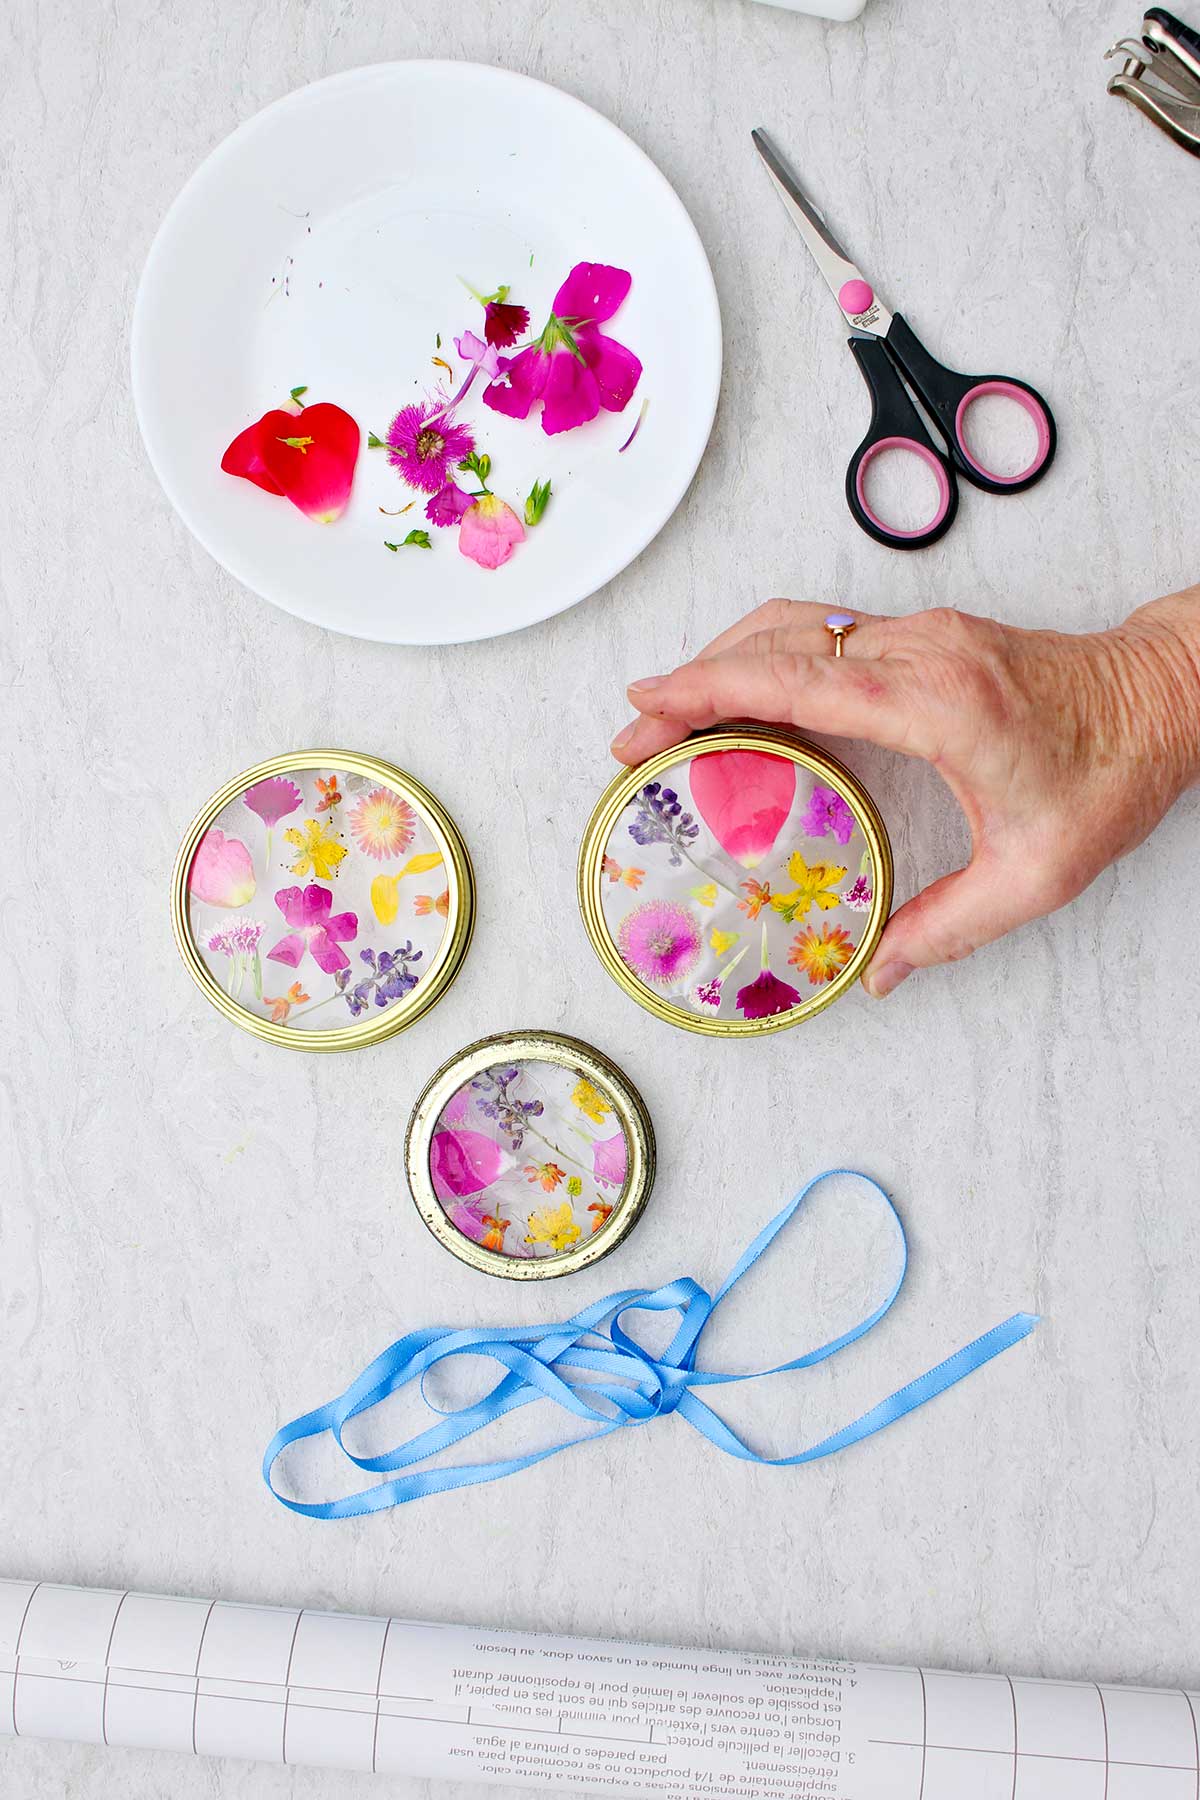
Before gluing or pressing in the paper, be sure that you have the best side of your project facing downward as you press it into that mason jar ring. That will be what is seen when you turn it over and hang it up as a wind chime! For me this was the side that featured the small flower blooms.
Fit the circle inside the ring. If it’s still too large, trim off a very small amount around the circle until it fits inside the ring.
Mine fit tightly into the canning jar ring. But I did go ahead and run a bead of glue around the inside rim of the mason jar lid. This is so that the contact paper was secured a little better inside that ring.
Have fun doing two more sun catchers!
Repeat this process and make two more garden suncatchers with the other two Mason jar rings.
Note: You are welcome to make as many garden suncatchers as you would like. I made three for this project as you see in the photos and video.
If you use glue on your rings, let them sit for a while until they are dry.
Find a stick to make a wind chime
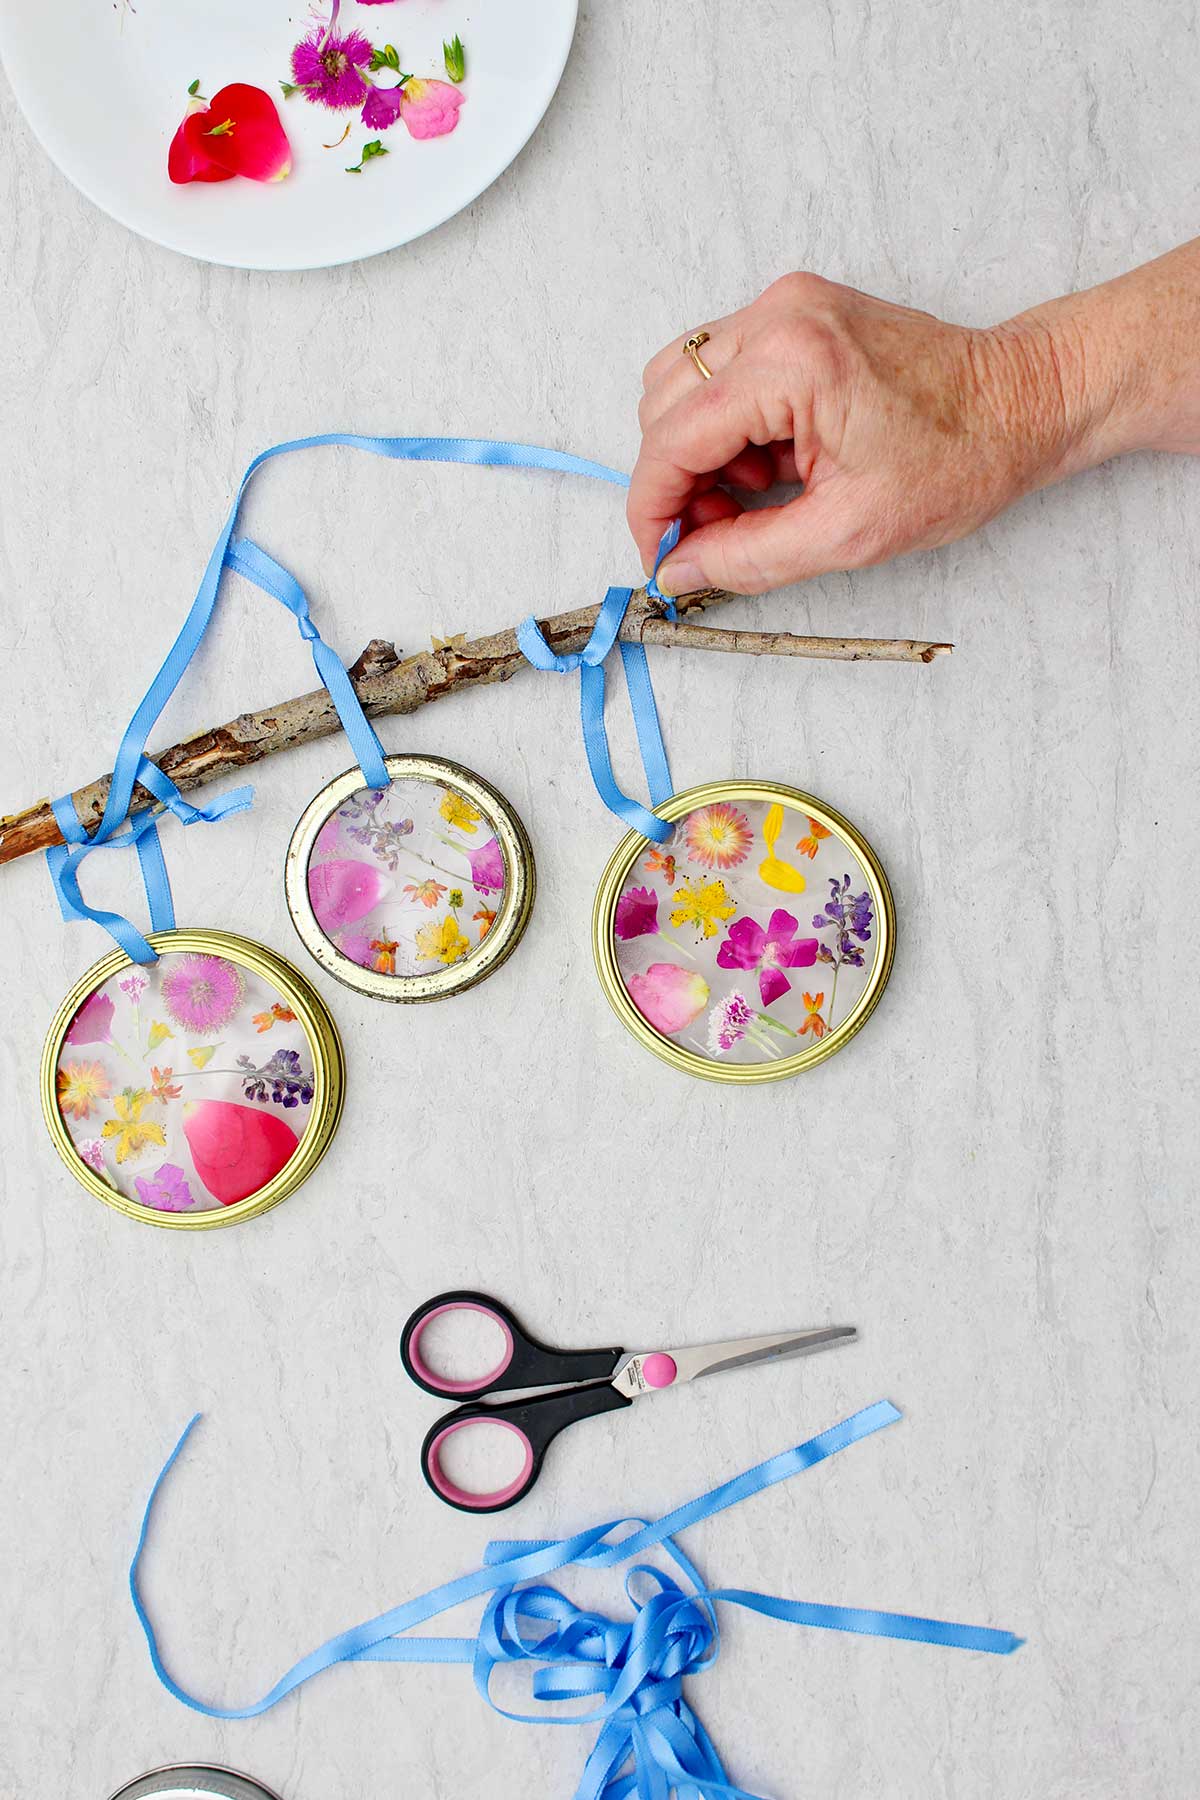
While you’re waiting for the glue to dry head outside again and find a stick that is about a foot-long and fairly straight but still interesting looking.
We’ve had several large windstorms in the last month so it was easy to find a branch close by the house.
Arrange and hang the sun catchers!
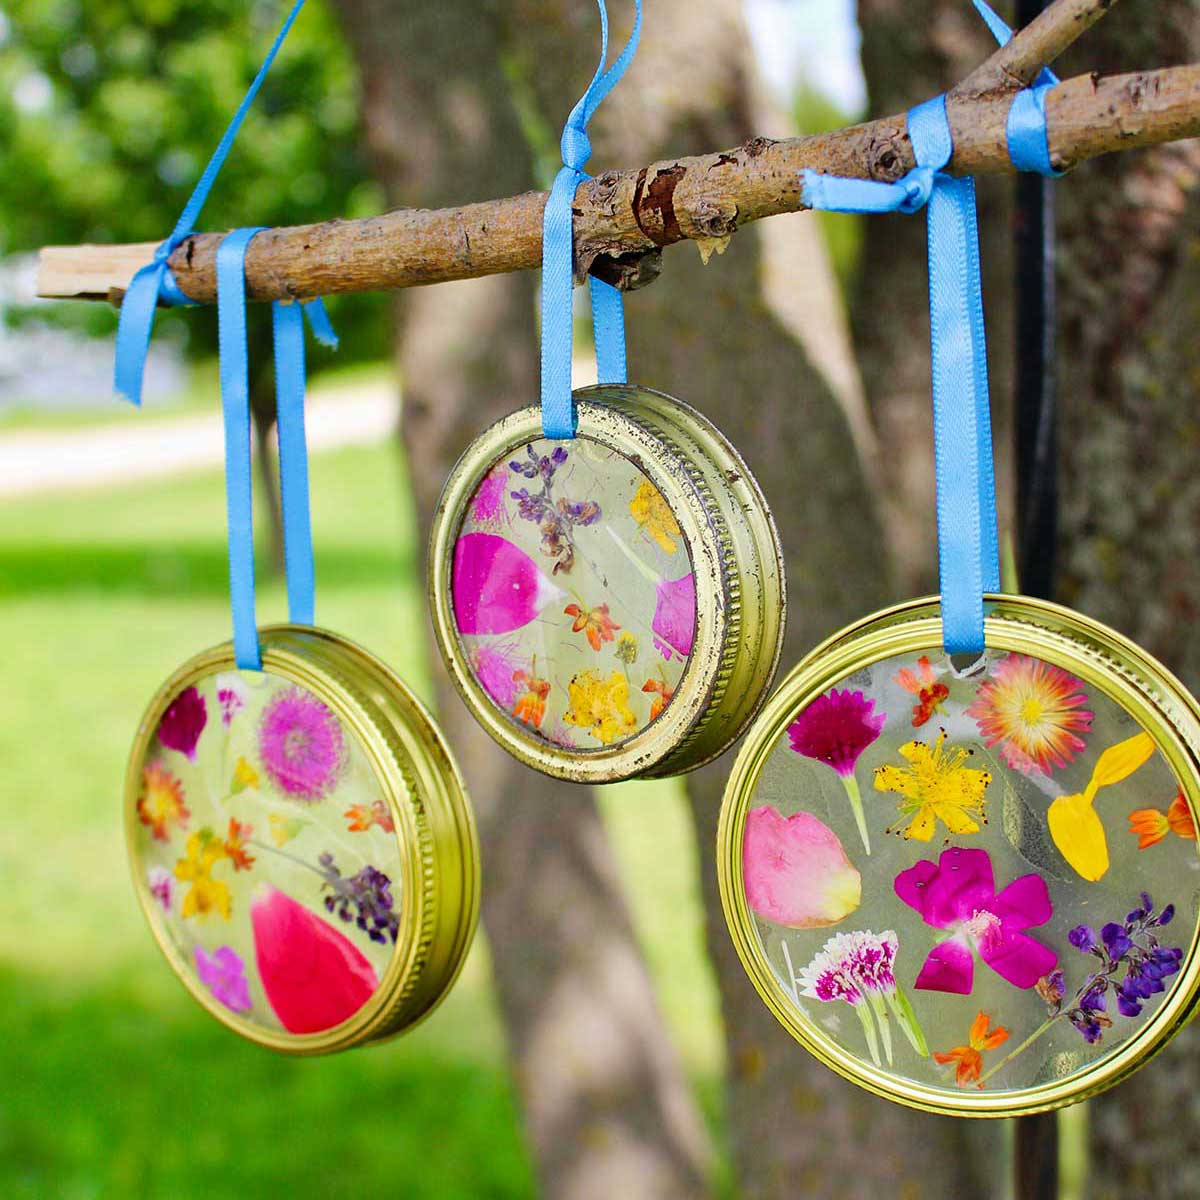
Have some fun arranging the three (or more) canning jar rings in an arrangement that you like under the stick. I put my two larger rings on the outside and my smaller ring on the inside slightly higher than the two large rings.
I liked the way that arrangement looked.
Now, take a ribbon and thread it through the hole that you made at the top of your contact paper circle on one of the suncatchers.
Tie the ribbon together over the top of the branch so your flower garden suncatcher is facing forward.
Tie the ribbon appropriately so it hangs the way that you want it to in order to make the arrangement you designed earlier.
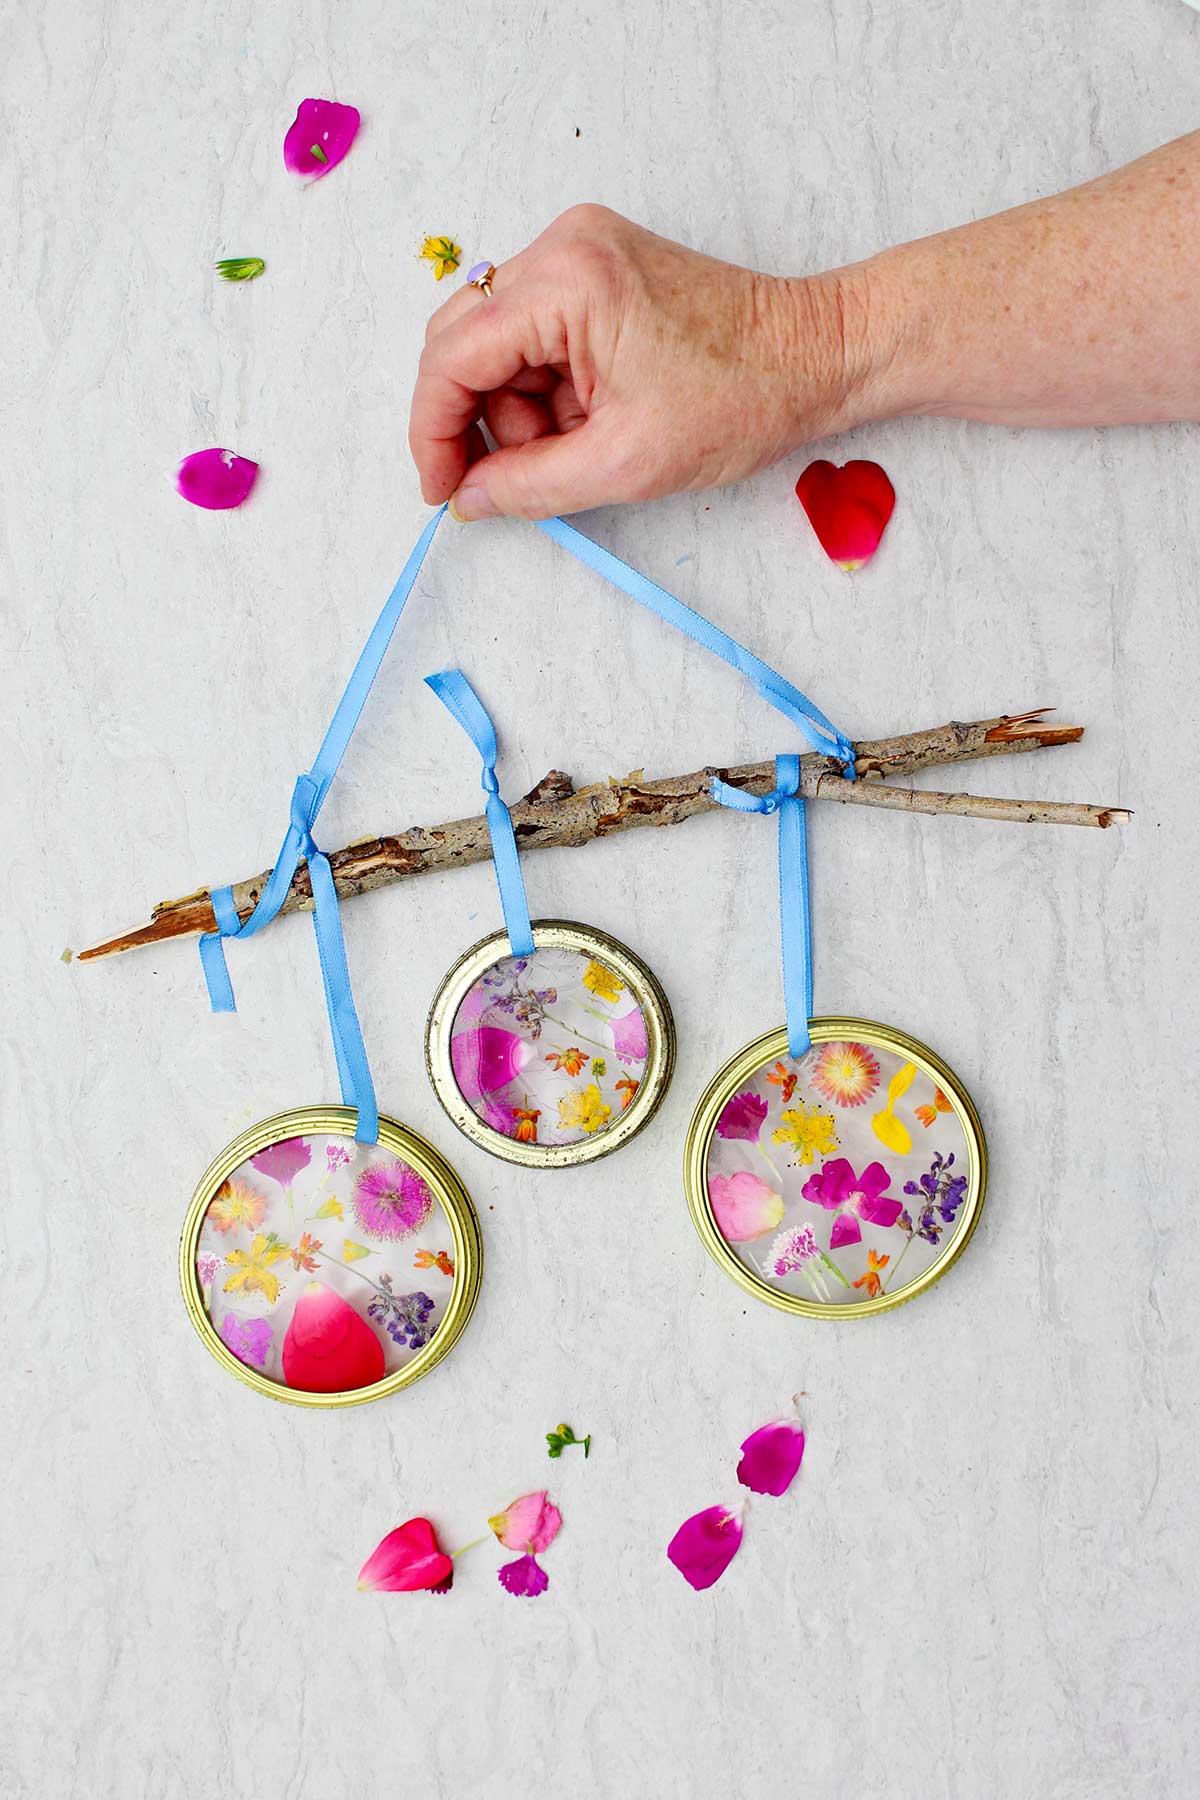
Repeat this with the other two circles and then hang them onto your stick as well.
Use the same ribbon to make a hanger for your project. Tie the ribbon on one end of the stick and then loop it to the other end of the stick.
Check the length of the ribbon to make sure you like the way that it looks and the way that the wind chime will hang. Then tie the other end of the ribbon to the other end of the stick.
Hang your DIY Garden Suncatcher Wind Chime!
I did not have a large suction cup hook available, or I would have hung my wind chime on the its hook on our picture glass window.
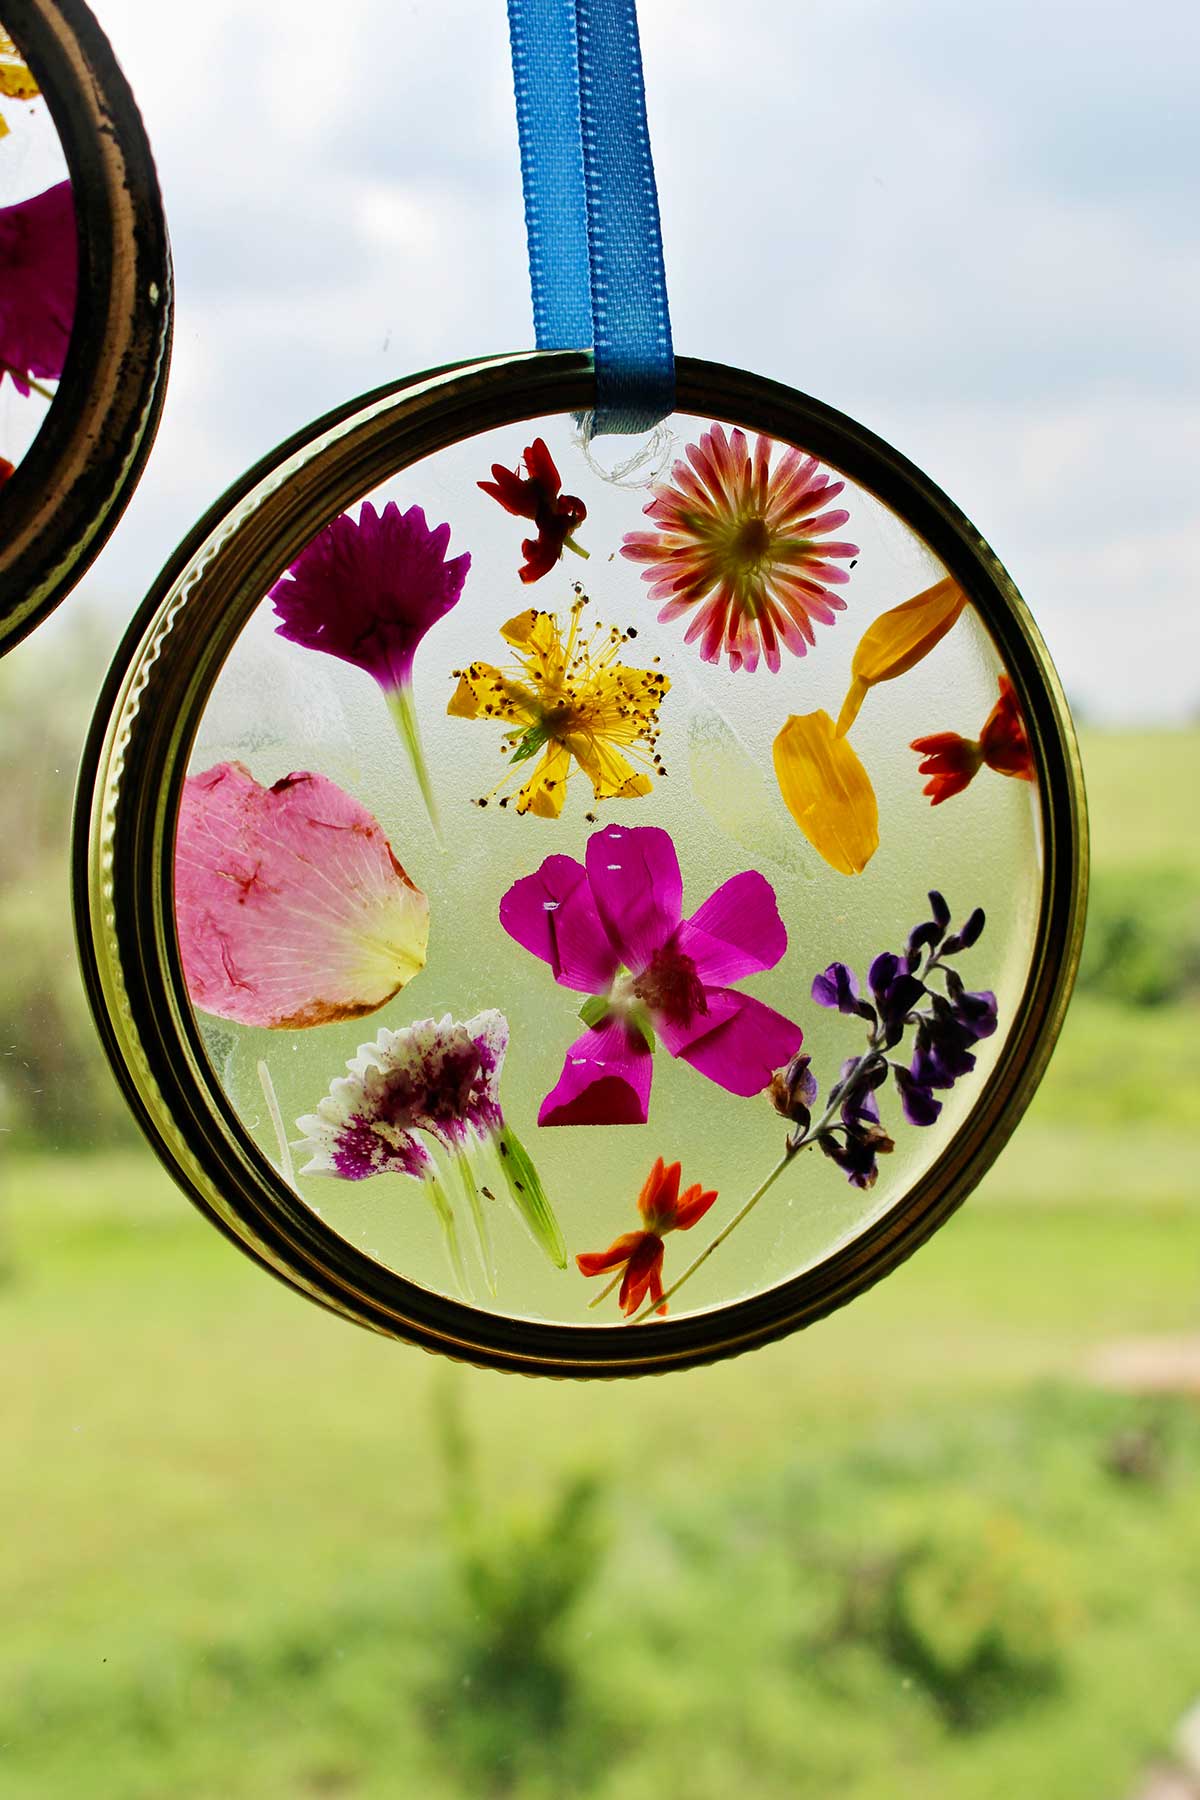
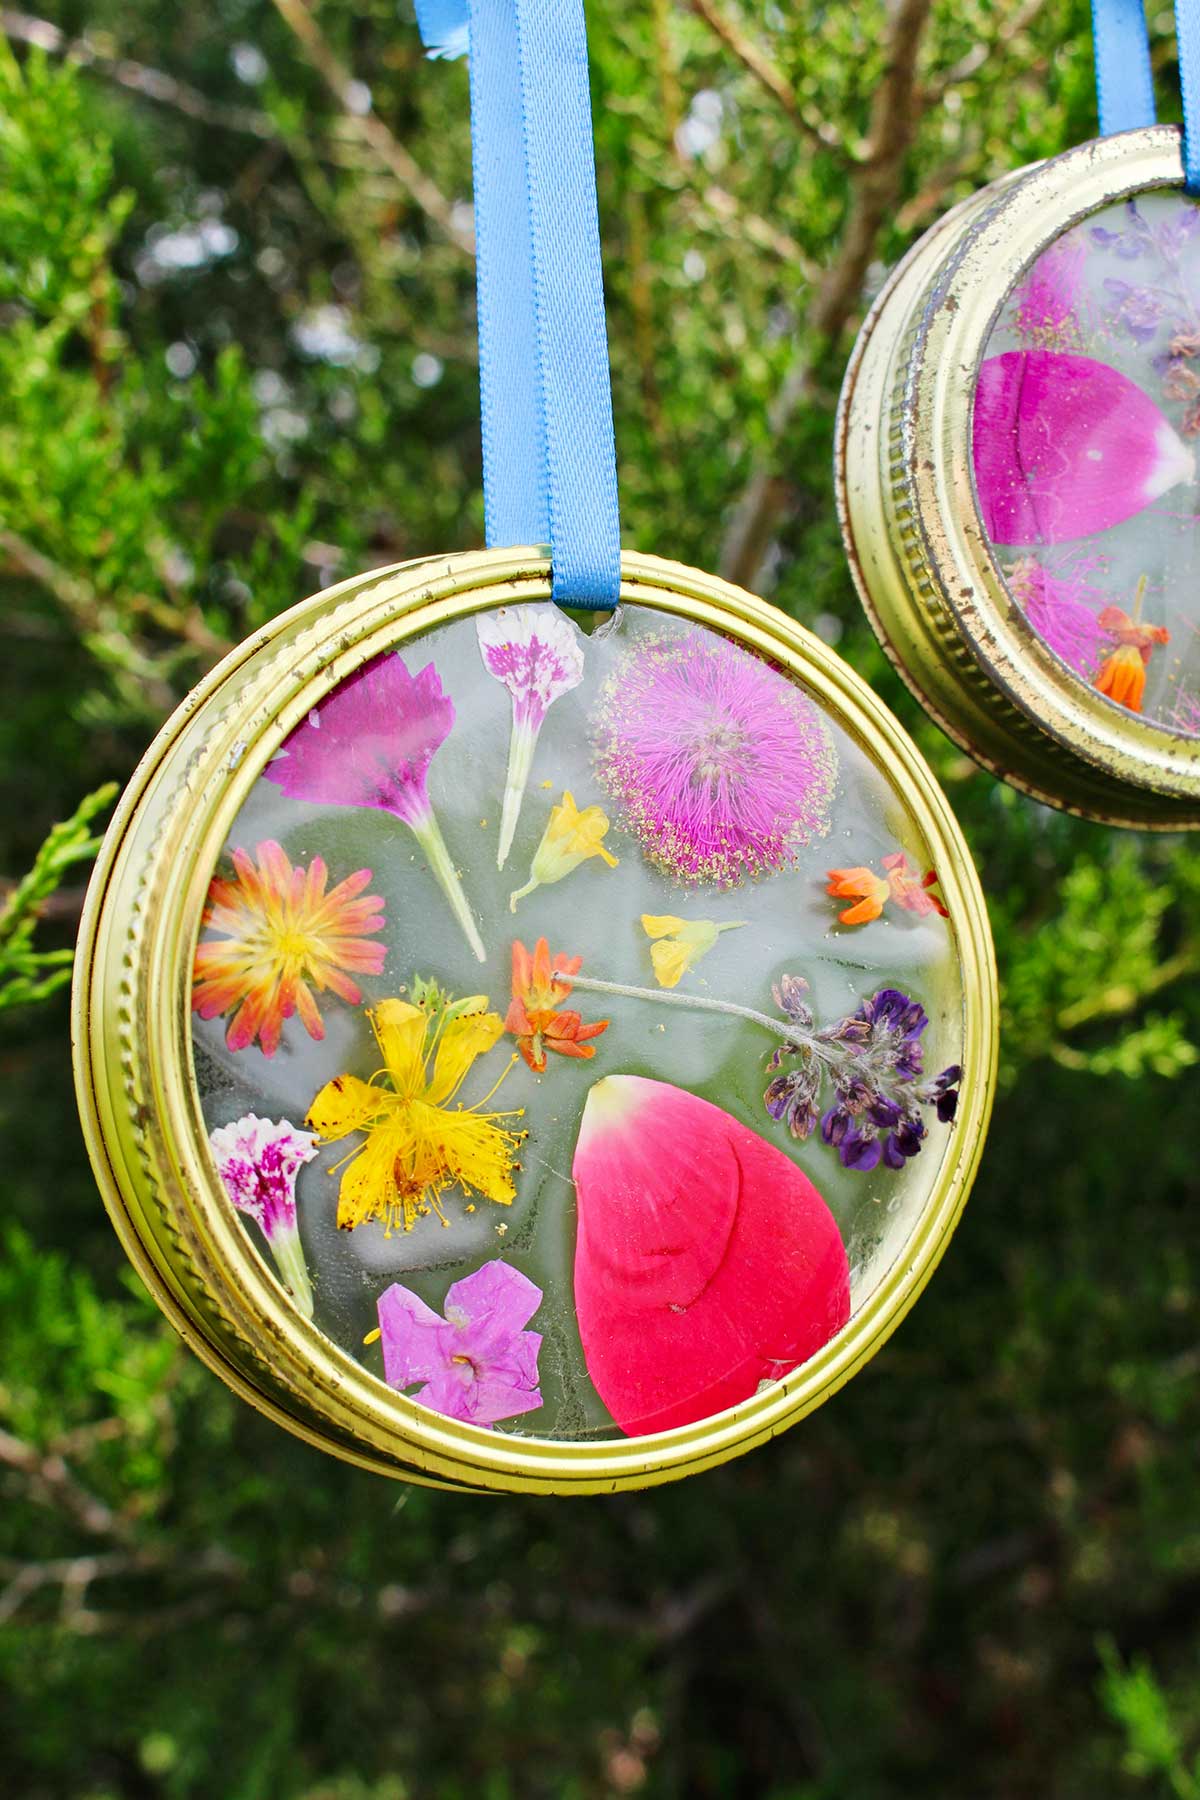
The sun looks so pretty coming through the suncatchers as window decoration. They certainly are cheerful hung in a sunny window.
They can also be hung outdoors. But I don’t know how long they will last in the weather if it rains and such. A Garden Suncatcher Wind Chime would be a pretty garden decoration from a shepherd's hook.
It's a Nana's favorite craft
I have to tell you this has been one of my favorite projects yet. And I know I keep saying that, but this one immediately moved up high on the list.
I think it was just the joy of observing the flowers, choosing a few for the project, and then arranging them on the contact paper. It made me excited and happy to be outside on a pretty day.
Each of the three different canning jar lid garden suncatchers came out differently and each was so beautiful. I just thought the colors were outstanding.
It made me wish I had some crystal prisms like hang from chandeliers to hang on the bottom of the suncatchers. They would also be cool rainbow makers as well.
Remember to ask
Always remember that you need to ask before you pick someone else’s flowers. Or ask a parent before you pick flowers on your own property. 🙂
I try to only pick a few on each plant and leave more to enjoy on the plant as well.
One small change I would make
Lastly, the only small change that I would make is to add in a couple green leaves between the petals in the arrangement made on the contact paper. I think the green would’ve been pretty with the colored petals.
I’m really excited to hear how your projects go. Please attach pictures, I would love to see them!
A nature craft that's perfect for kids of all ages
I really think kids of any age would like making a DIY Garden Suncatcher Wind Chime, including grown-up kids. This would be nice for a ladies group, a Sunday school class, a school science project, or just for fun with Nana.
I have grandkids coming this weekend and we’re going to make these together. I’m excited, especially about gathering the blooms!
We may make a mobile and have several suncatchers hanging down from a couple sticks. We’ll see what their ideas are. They always have such good ideas.
Again if you want to watch a full length tutorial video and follow along? Here is the link: DIY Garden Suncatcher Wind Chime Full Length Tutorial
This nature suncatcher is made with the beautiful blooms found from around a garden! Start by placing the flowers and flower petals between two pieces of contact paper. Then add a hole and use a mason jar lid as a frame to hang from a branch. Hang this up in the sun to catch the pretty flowers in the sunlight!
Suncatchers work great indoors and outdoors, wherever they can catch the sunlight! Be sure to check whether or not the materials of the suncatcher are weather proof before hanging out in the elements.

Want more nature craft ideas for kids?
If you would like more nature craft ideas, here are a few suggestions:
- How to Press Flowers (4 Ways!)
- 2 Ways of Nature Weaving for Kids
- How to Grow a Tree from a Pinecone
- How to Grow Crystals
- 18 Nature Craft Ideas for Kids!
Enjoy!
If you try this craft, let me know! Go ahead and leave a comment, rate it, and tag a photo with #WelcometoNanas wherever you post.
Come join the fun at https://welcometonanas.com
Supplies for the DIY Garden Suncatcher Wind Chime
- Plant material- small flower blooms, petals, a 12-18 inch stick
- Mason jar lids (wide mouth or narrow mouth)- I used three (two large, one narrow)
- Clear contact paper
- Black permanent magic marker
- Scissors
- Glue (optional)
- Ribbon
- Large suction cup hook (optional)
DIY Garden Suncatcher Wind Chime a Summer Kids Craft
Equipment
- Scissors
Items Required
- Plant material- small flower blooms, petals, a 12-18 inch stick
- Mason jar rings (wide mouth or narrow mouth) I used three canning jar rings (two large, one narrow)
- Clear contact paper
- Black permanent magic marker
- Glue (optional)
- Ribbon
- Large suction cup hook (optional)
- Scissors
Instructions
- Take the grandkids, other kids in your life, or your friends and take a nature walk to collect items for these crafts. Enjoy your time together outside. Life is good. This craft works best with flower buds and petals that are not very thick. Keep that in mind as you gather your plant items.
- Cut a couple squares of clear contact paper that are slightly larger than the diameter of the mason jar ring.Set one aside for the moment.Place the canning jar ring on the center of the contact paper square and with a permanent marker draw around the outside edge of the ring. This will tell you where to place your flower petals, it will be your boundary line.
- Go ahead and take the contact paper off of its paper backing and put it sticky side up on your work surface. Tip: I bent each of the little corners back so they would stick onto the countertop and the paper would not shift around. This will make it easier for children, especially.
- It’s good to cut off any extra portions of the flower that makes them thicker. You can pull petals off the flowers and just use the petals, too.Place the blooms face down on the sticky contact paper. Arrange the petals around them in whatever pattern or design you desire.
- After you have all your petals and blooms in place on the contact paper, take your second square piece, cut and remove it from the paper backing. Place this piece over the blooms so all the petals are sandwiched in between the two pieces of clear contact paper. This will keep them bright and colorful for a long time. Press and work on the paper to get out the bubbles and seal it as well as possible.
- When you’re satisfied with that, take your scissors, and cut out the circle that you drew on the contact paper earlier. You will need to then trim off about a 16th of an inch all the way around inside of the line in order to have the contact paper circle fit inside the mason jar ring.Use a hole punch to punch a hole about a half inch from the edge of the circle. This will be used later to place a ribbon through to hang it up. Note: The hole punch couldn’t punch a hole through two layers of contact paper but provided a circle area I could then clip out with a scissors.
- Before gluing or pressing in the paper, be sure that you have the best side of your project facing downward as you press it into that mason jar ring so that it will be what is seen when you turn it over and hang it up as a wind chime! For me this was the side that featured the small flower blooms.Fit the circle inside the ring and if it’s still too large trim off a very small amount around the circle until it fits inside the ring.Mine fit tightly into the canning jar ring, but I did go ahead and run a bead of glue around the inside rim of the mason jar lid. This is so that the contact paper was secured a little better inside that ring.
- Repeat this process and make two more garden suncatchers with the other two Mason jar rings.
- While you’re waiting for the glue to dry head outside again and find a stick that is about a foot-long and fairly straight but still interesting looking. Have some fun arranging the three (or more) canning jar rings in an arrangement that you like under the stick. I put my two larger rings on the outside and my smaller ring on the inside slightly higher than the two large rings.
- Now, take a ribbon and thread it through the hole that you made at the top of your contact paper circle on one of the suncatchers.Tie the ribbon together over the top of the branch so that the top of the mason jar ring and your flower garden suncatcher is facing forward.Tie the ribbon appropriately so it hangs the way that you want it to in order to make the arrangement you designed earlier.Repeat this with the other two circles and then hang them onto your stick as well.Use the same ribbon to make a hanger for your project. Tie the ribbon on one end of the stick and then loop it to the other end of the stick. Check the length of the ribbon to make sure you like the way that it looks and the way that the wind chime will hang. Then tie the other end of the ribbon to the other end of the stick.
- I did not have a large suction cup hook available, or I would have hung my wind chime on the its hook on our picture glass window. They can also be hung outdoors, but I don’t know how long they will last in the weather if it rains and such. A Garden Suncatcher Wind Chime would be a pretty garden decoration from a shepherd's hook.




Leave a Reply