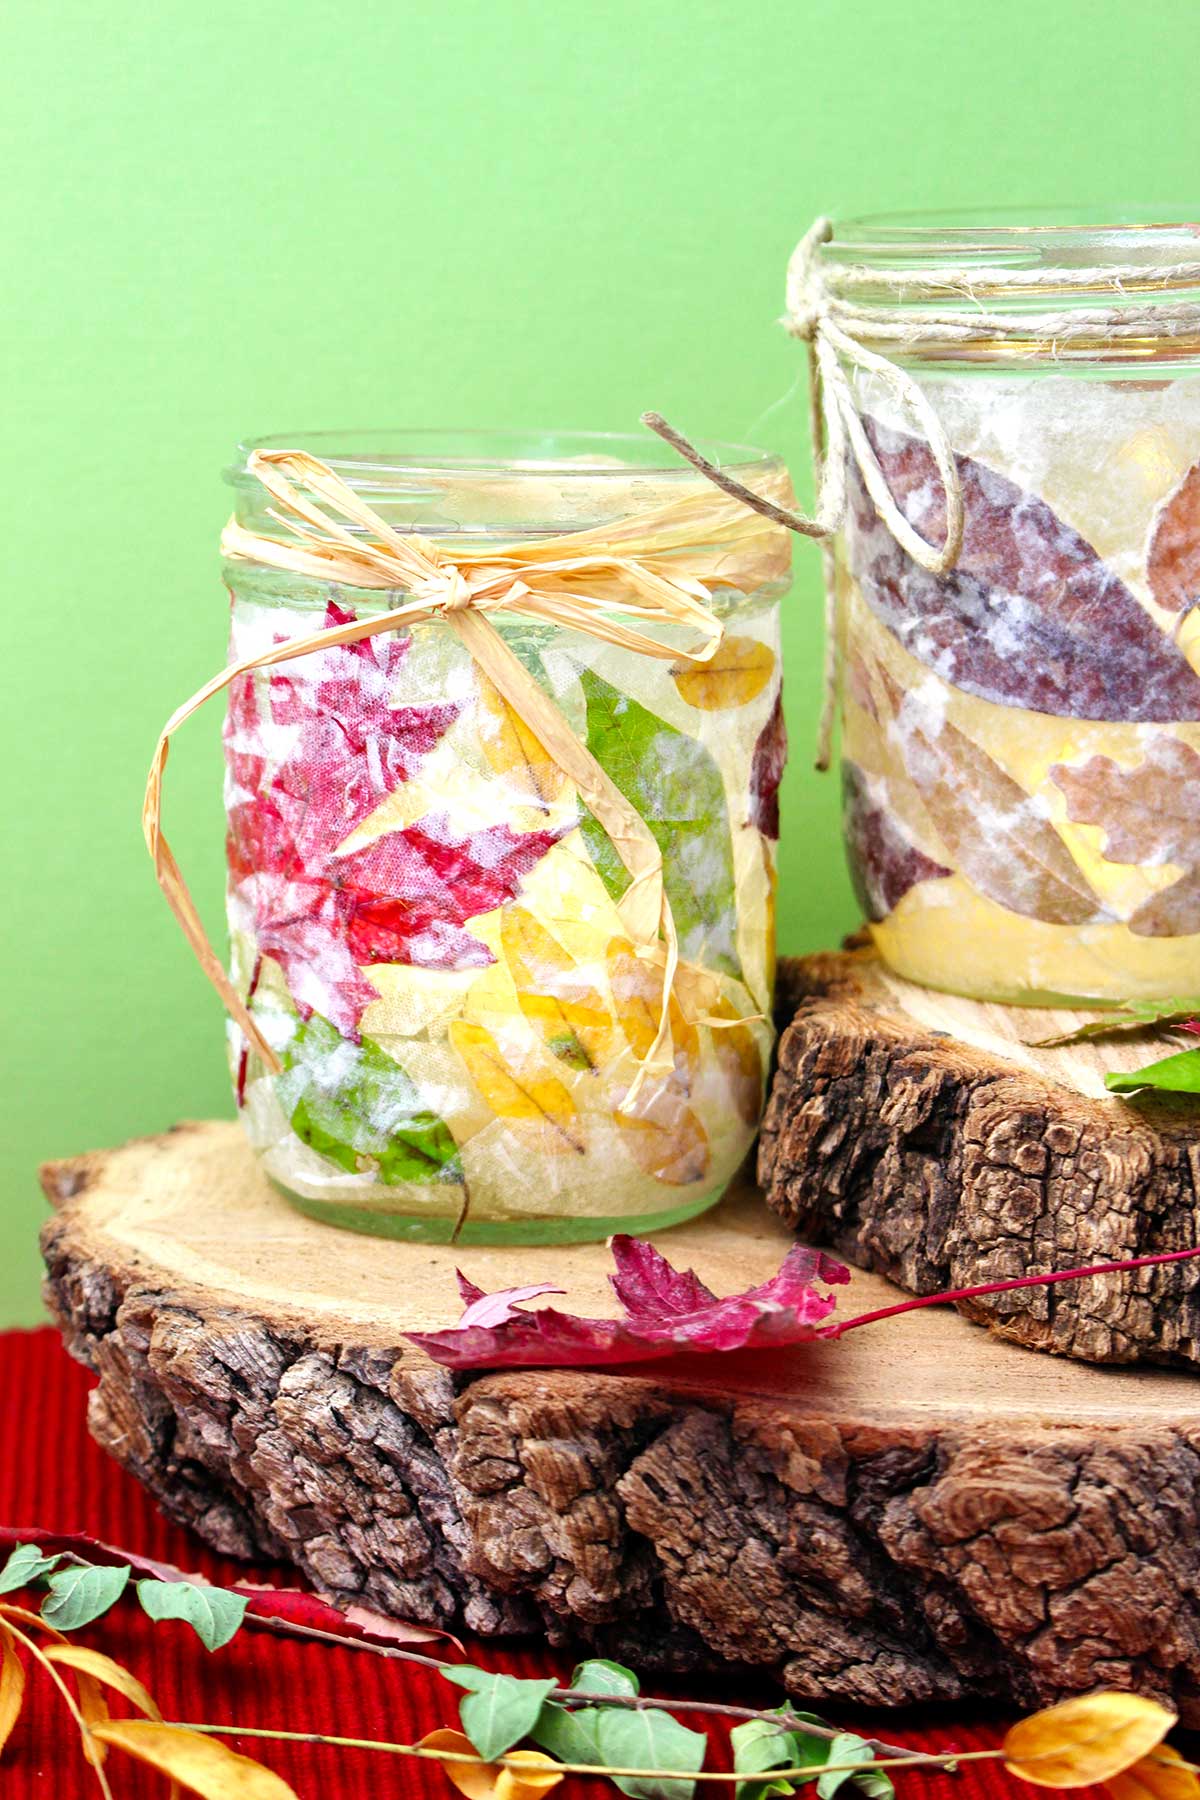
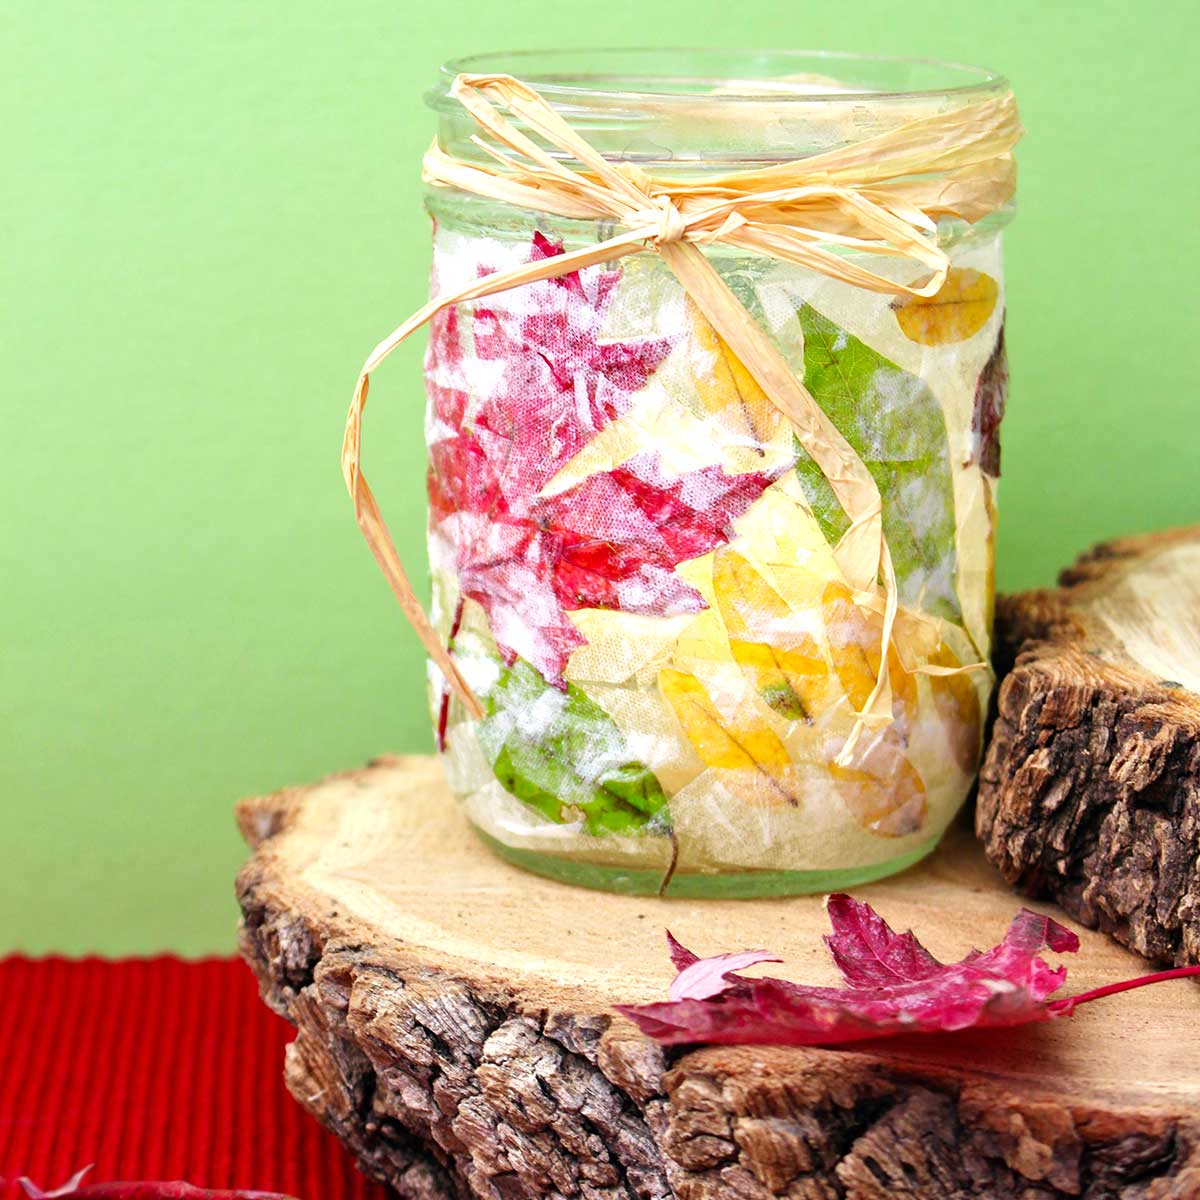
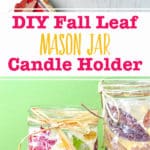
Decorating this DIY Fall Leaf Mason Jar Candle Holder is a fun nature craft for kids! Get crafting with just Mod Podge, tissue paper, an upcycled mason jar, and some leaves from a nature walk!
Jump to:
Cute Craft Alert: Mason Jar Leaf Candle Holder
This fun craft combines two awesome fall activities - a family nature walk and some hands-on crafting!
I like to go walking in the mornings, and it’s obvious that fall is here in the Midwest. The weather is just now getting cooler, but the trees are well-ready to shed. The windy days we’ve make the colorful leaves fall off like rain!
I made leaf Mason jar candle holders with my kids many years ago. In fact, I still have one and have used it for many years for Thanksgiving table decorations. I'm excited to share it with you!
Decorating mason jars for fall is a fun family nature craft. This nature activity works for any age, kids to adults! You’ll love making them, using them, or giving them as gifts.
Supplies for an Autumn Leaf Candle Holder
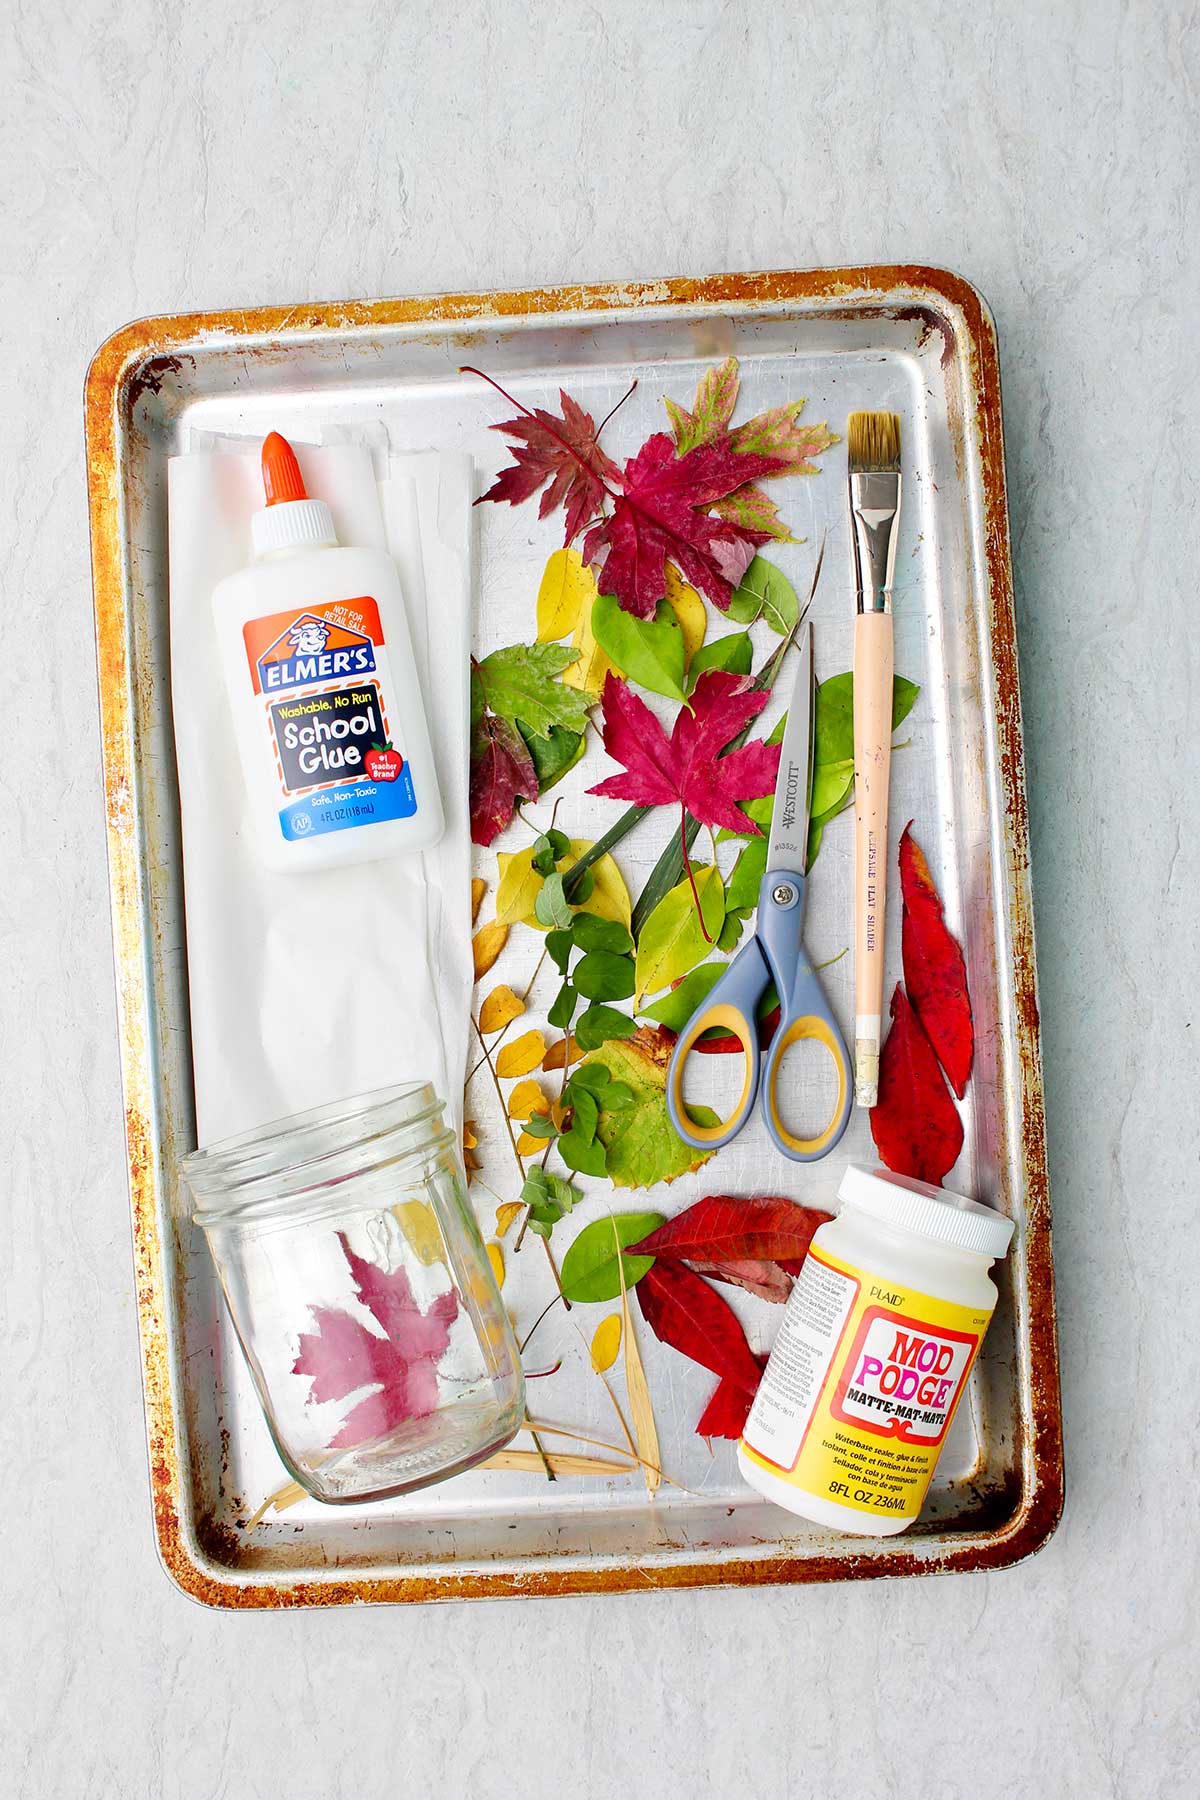
You don’t need much to bring these cute Mason jar leaf lanterns to life!
- Fall leaves- Gather fresh fall leaves that are smaller in size.
- Mason jar- I used pint sized, wide mouth, Mason jars, there is a quart size also.
- Mod Podge- Mod Podge holds the leaves and tissue paper on the jar.
- White tissue paper- Tissue paper is the final covering of the Mason jar
Steps to Make Mason Jar Candleholders
Take a Nature Walk
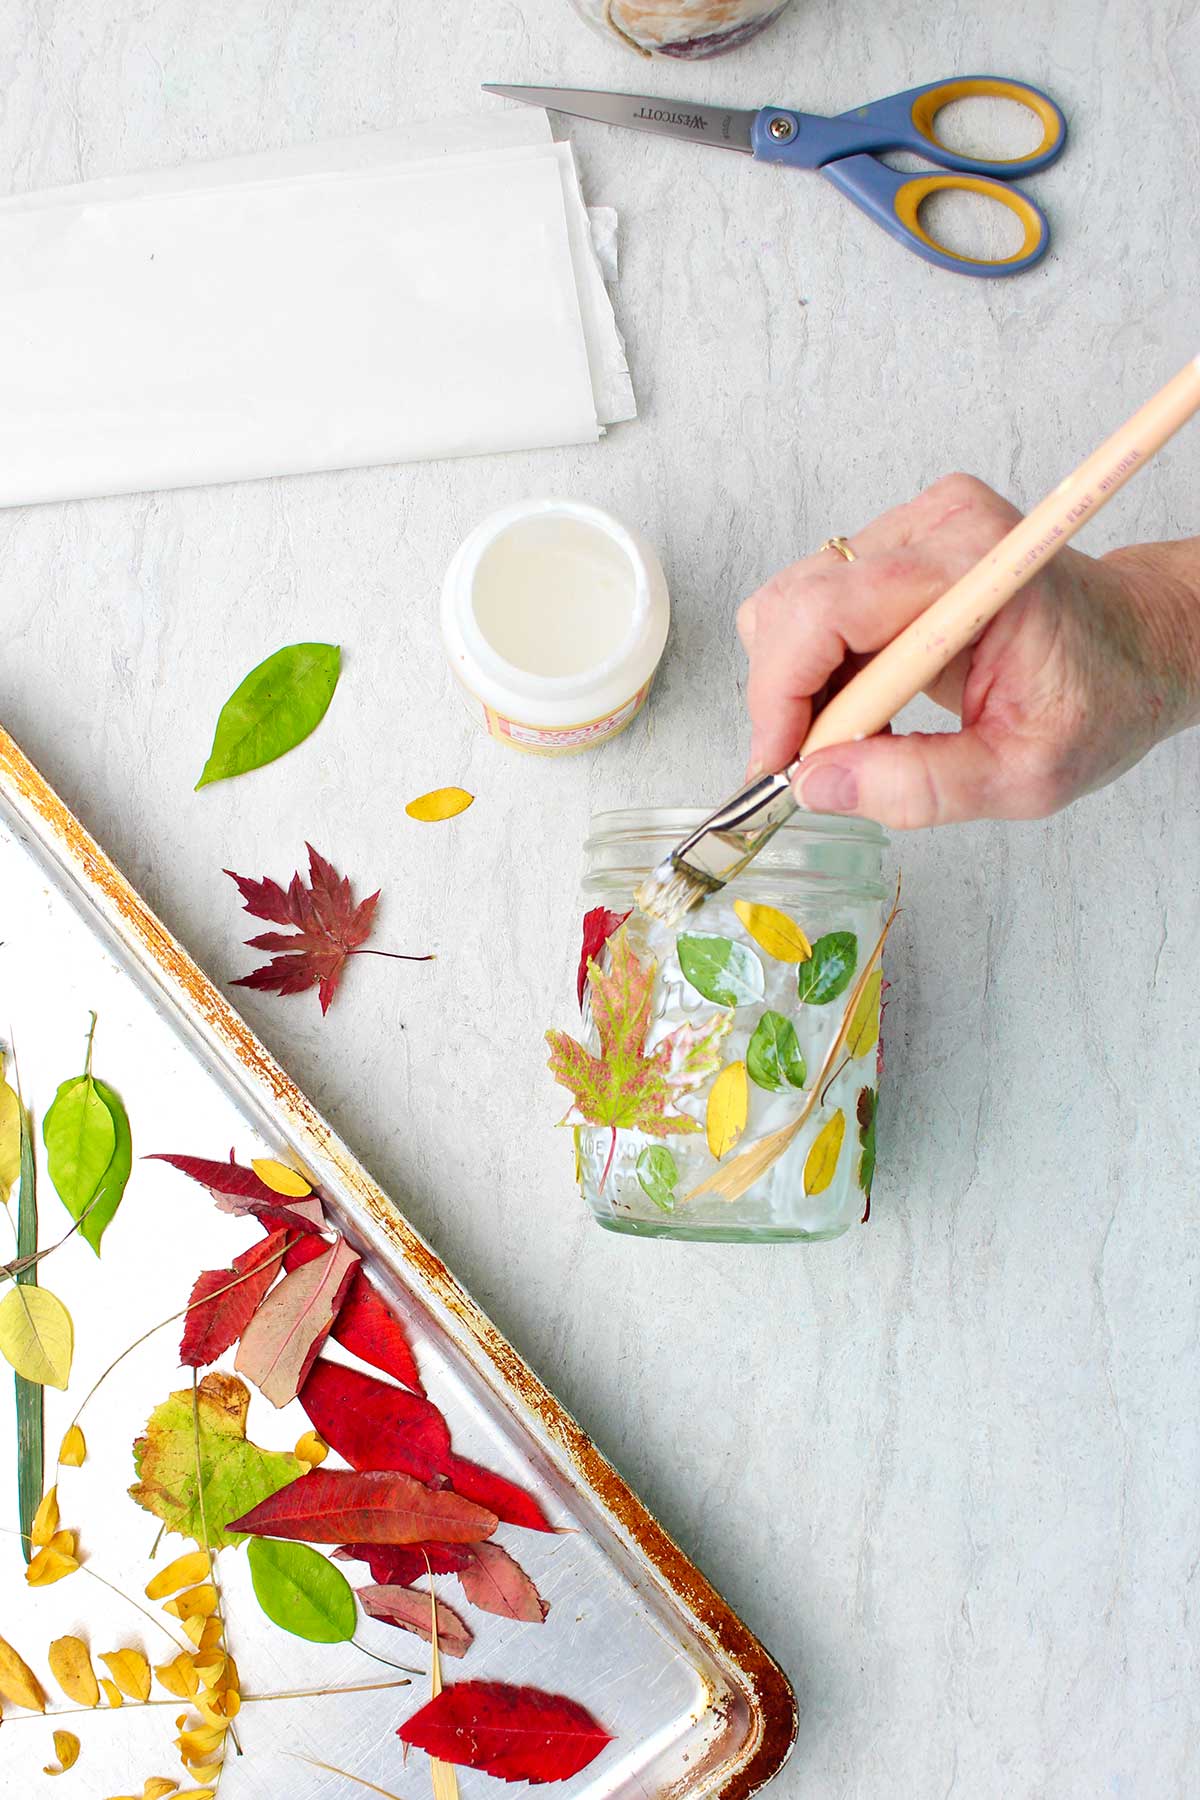
Take a nature walk and gather colored Autumn leaves, smaller in size. If you live in an area where the leaves don’t turn colors, use the type of leaves and plants that you have available to you.
Lay leaves out on the table and choose the pretty ones that you would like to put on your jar.
Attach Leaves to the Jar
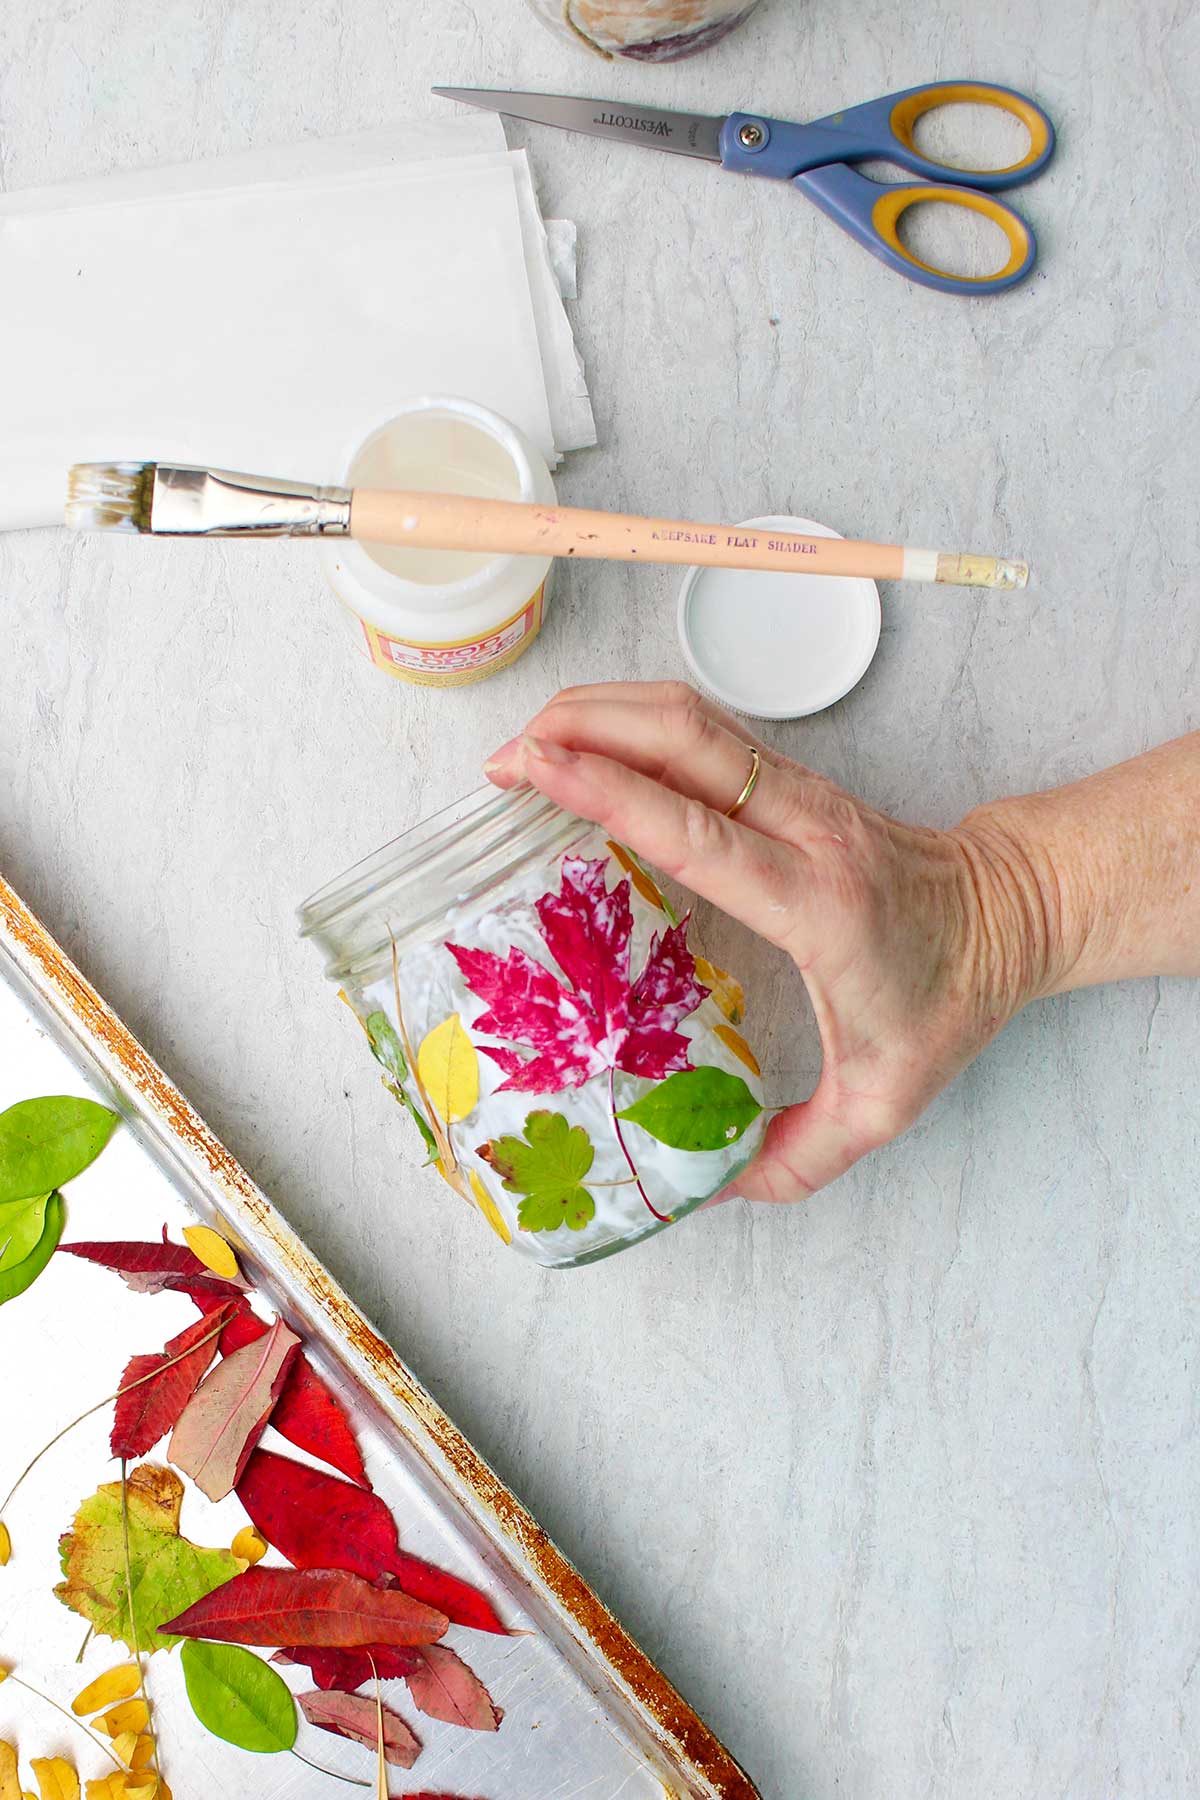
We'll attach leaves to the jar using decoupage! I use a paint brush to cover the jar with Mod Podge. But you could use a Q-tip or your finger. Take some glue and cover part of your jar with glue, and then stick your leaf on.
Continue to add leaves around your jar until you have it mostly covered.
Leave a little bit of space between the leaves so that light can come through. We will be putting a tea light or a small candle inside the jar. So we want space for some pretty light to twinkle through.
Cover with Tissue Paper
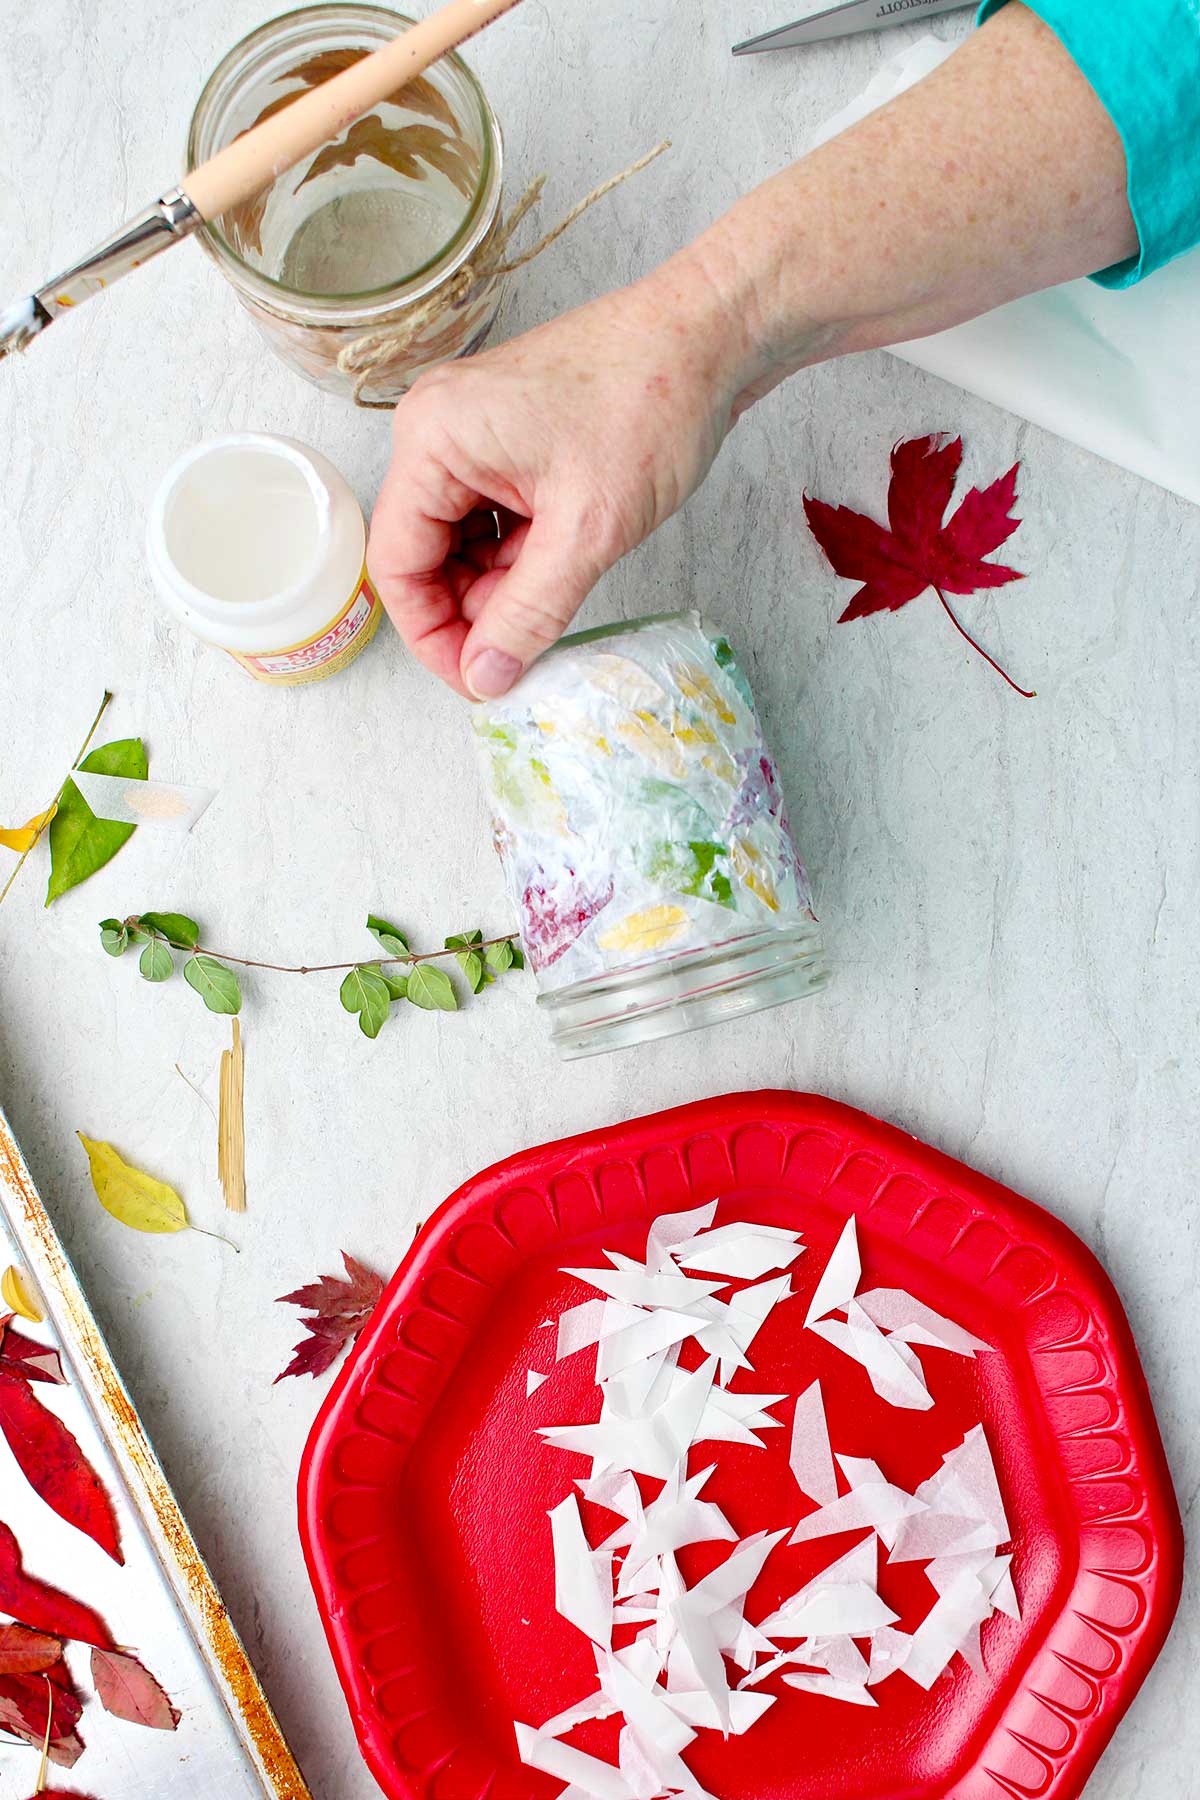
Take a little bit of time to cut up white tissue paper into various shapes that are about an inch by an inch. They do not need to be square or in any particular shape
When you have your leaves the way you like them, then we’re going to add the tissue paper over the top. You will paint the surface of your leaves as well as the jar with another layer of Mod Podge.
Take small pieces of tissue paper and lay them into the glue area. Make sure tissue paper covers the entire surface of the jar.
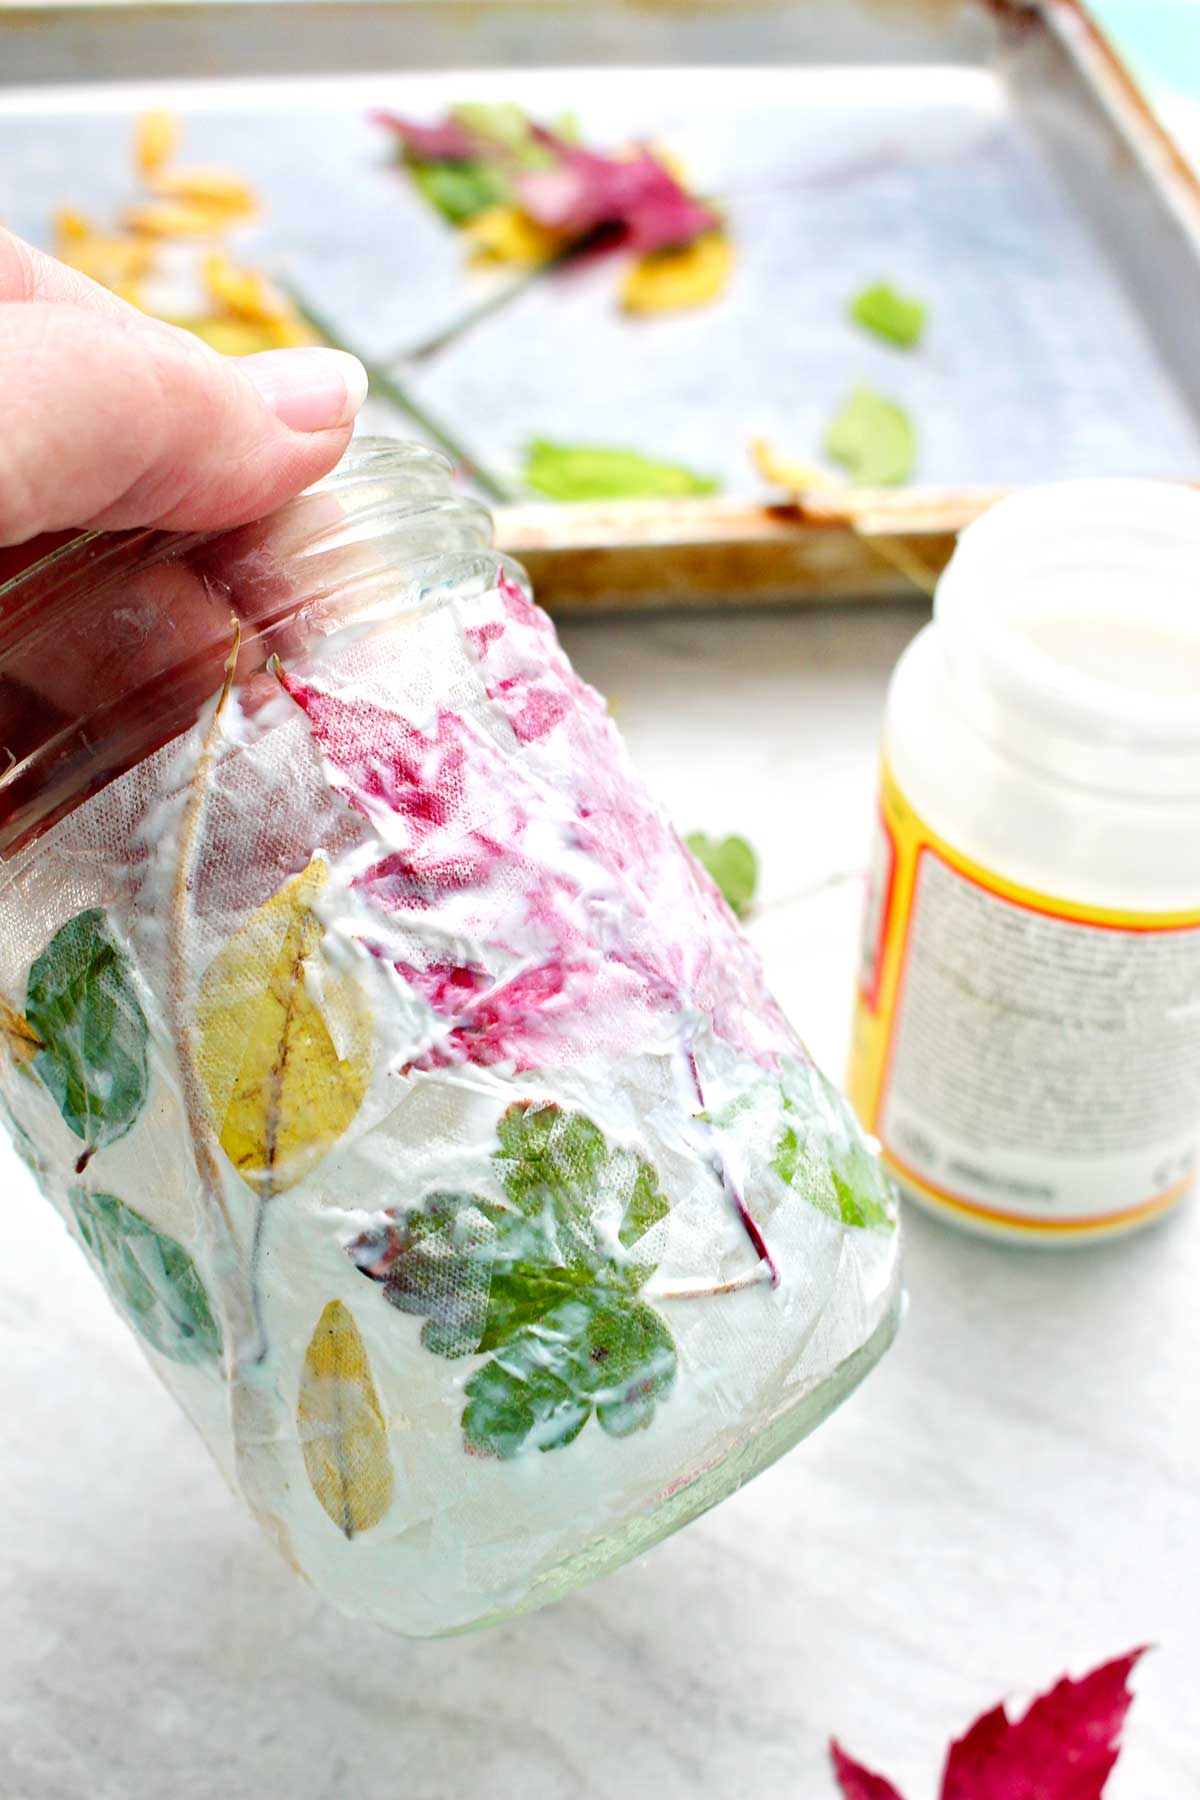
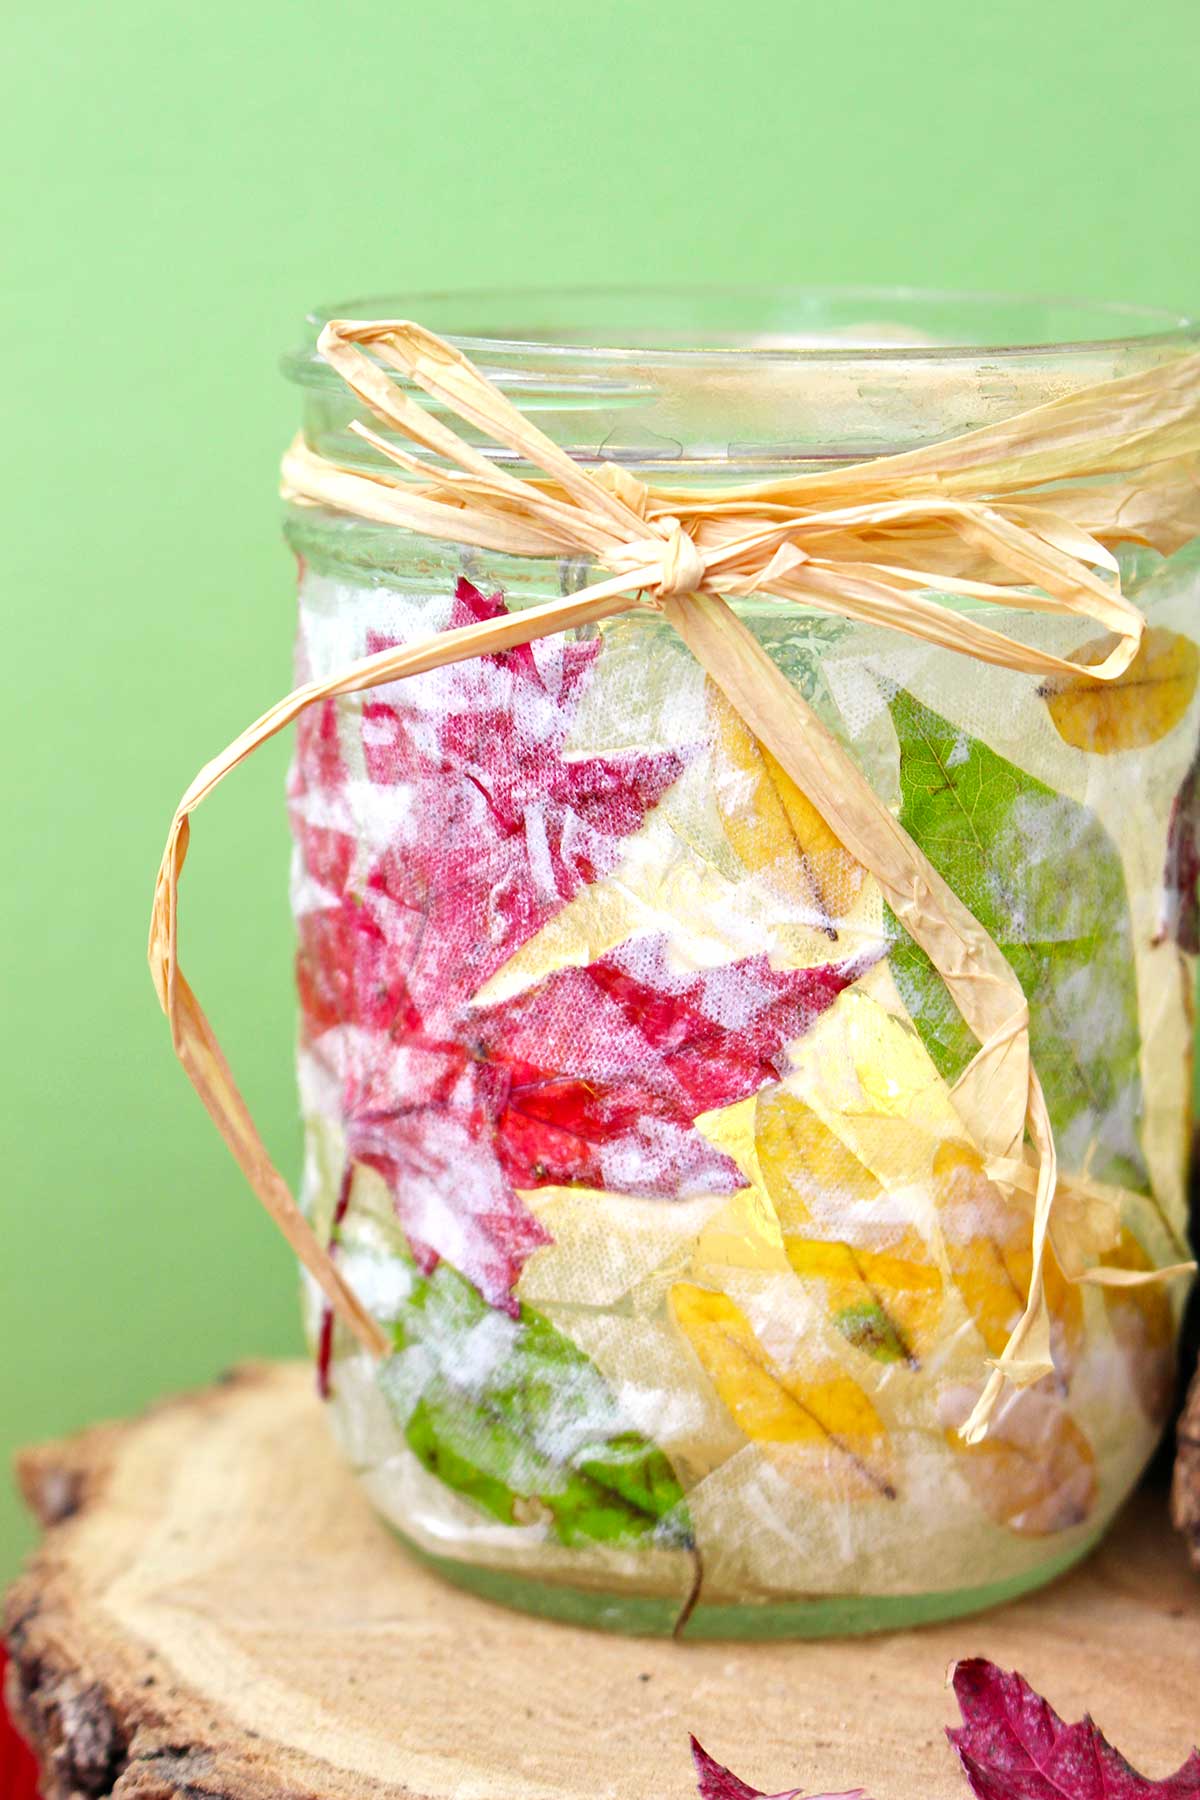
Brush a layer of Mod Podge over the top of the tissue paper to finish the project. You will find that the color of the leaves gently comes through the tissue paper.
Let this completely dry. Be patient, it takes a little while. :-).
Sometimes we don’t get the tissue paper and edges of the leaves firmly attached. Add more Mod Podge to fix those places. And then let it dry again, maybe even dry overnight.
Add a Tea Light
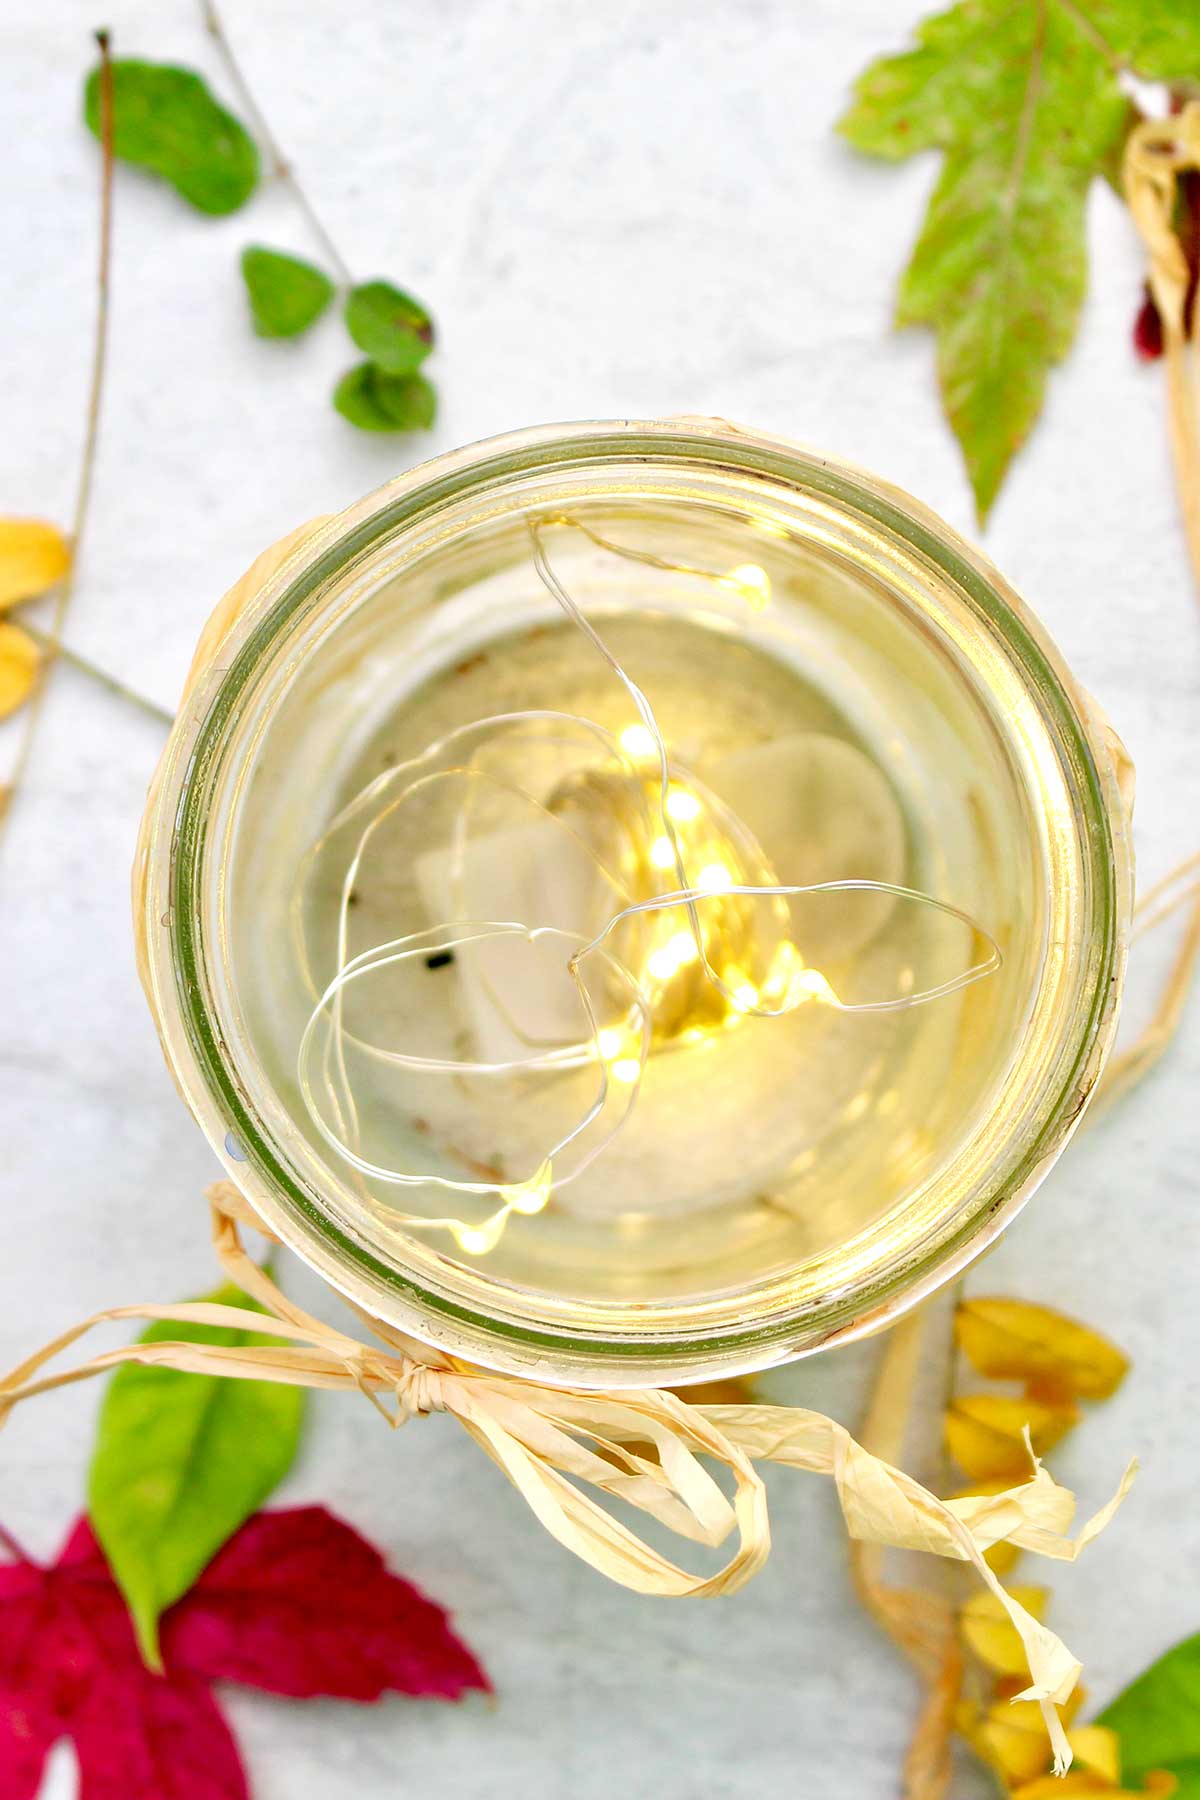
Oh, ready for the real fun to begin? 🙂 Place your tea light, or a real candle or fairy lights into the jar. Make sure to have adult supervision if you have a real candle.
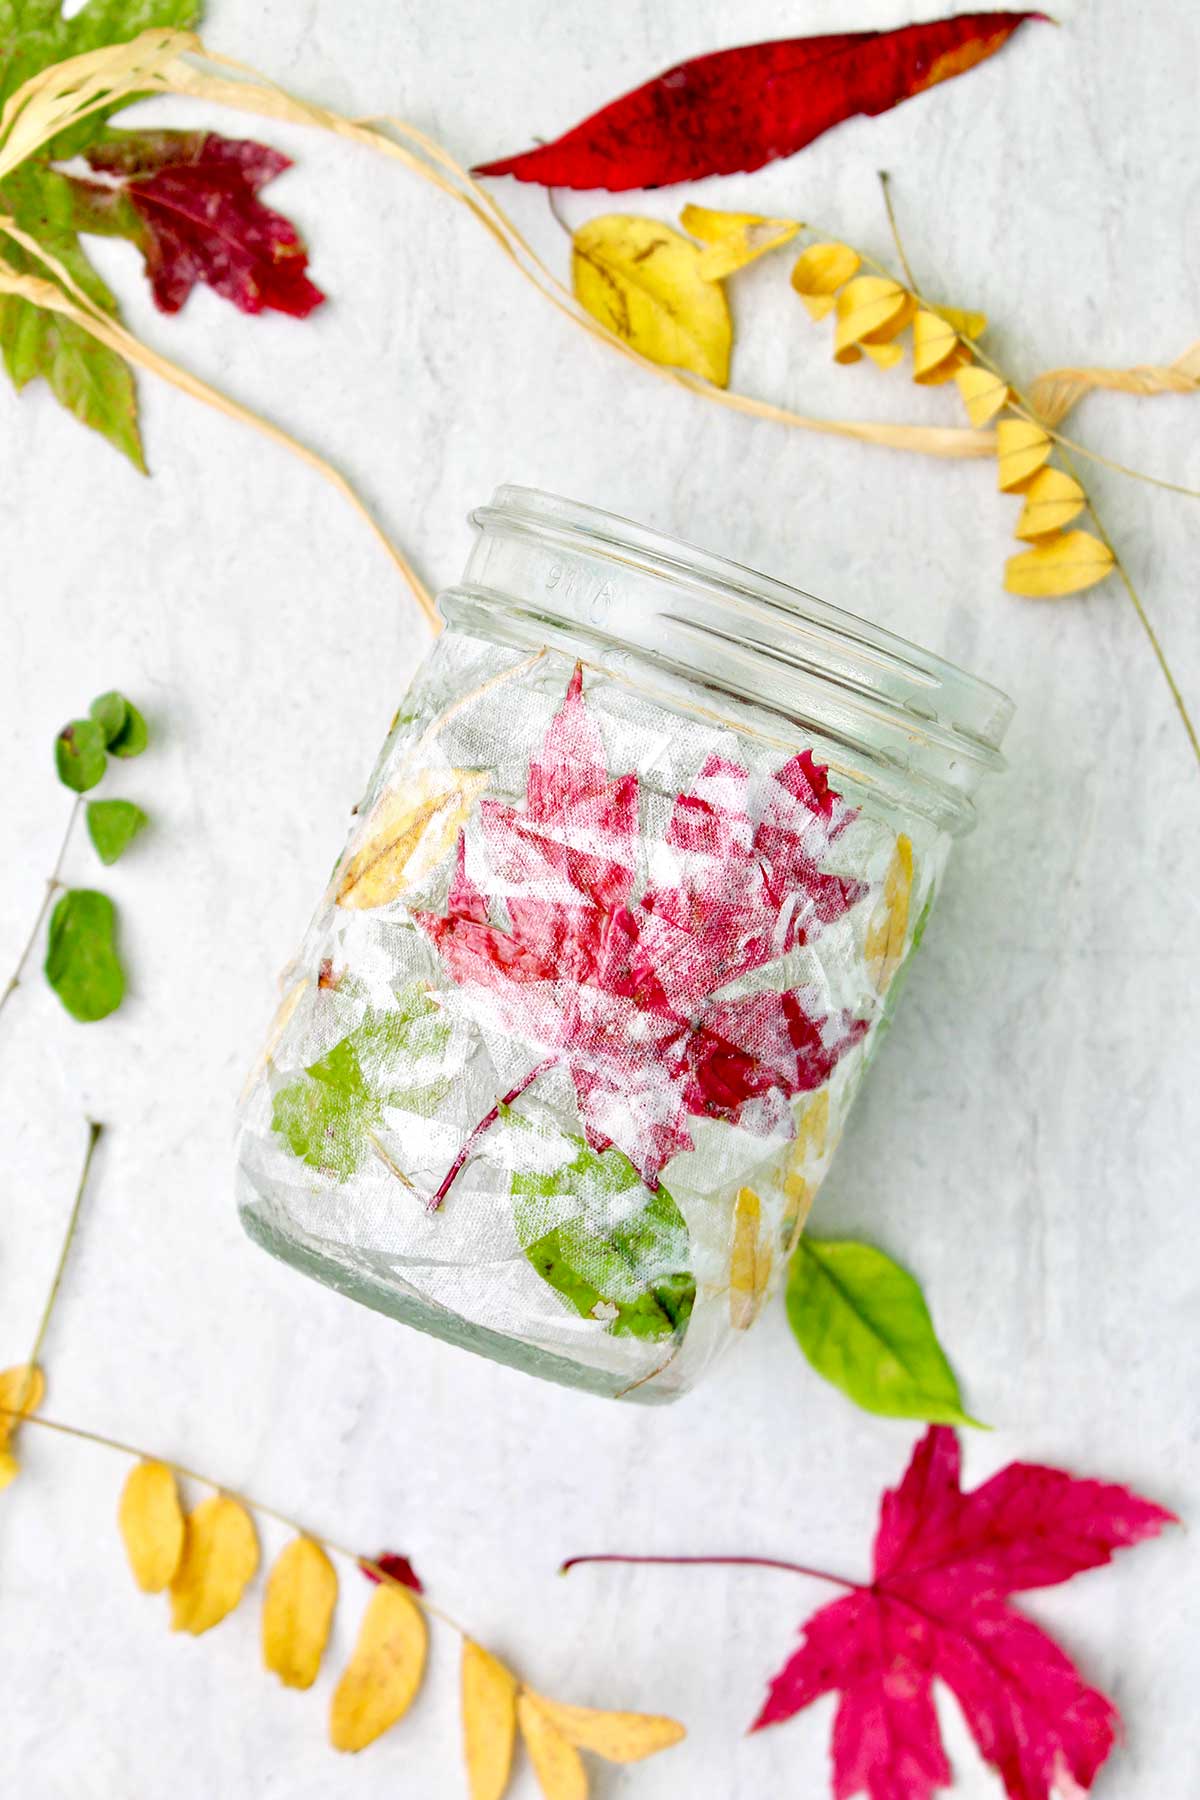
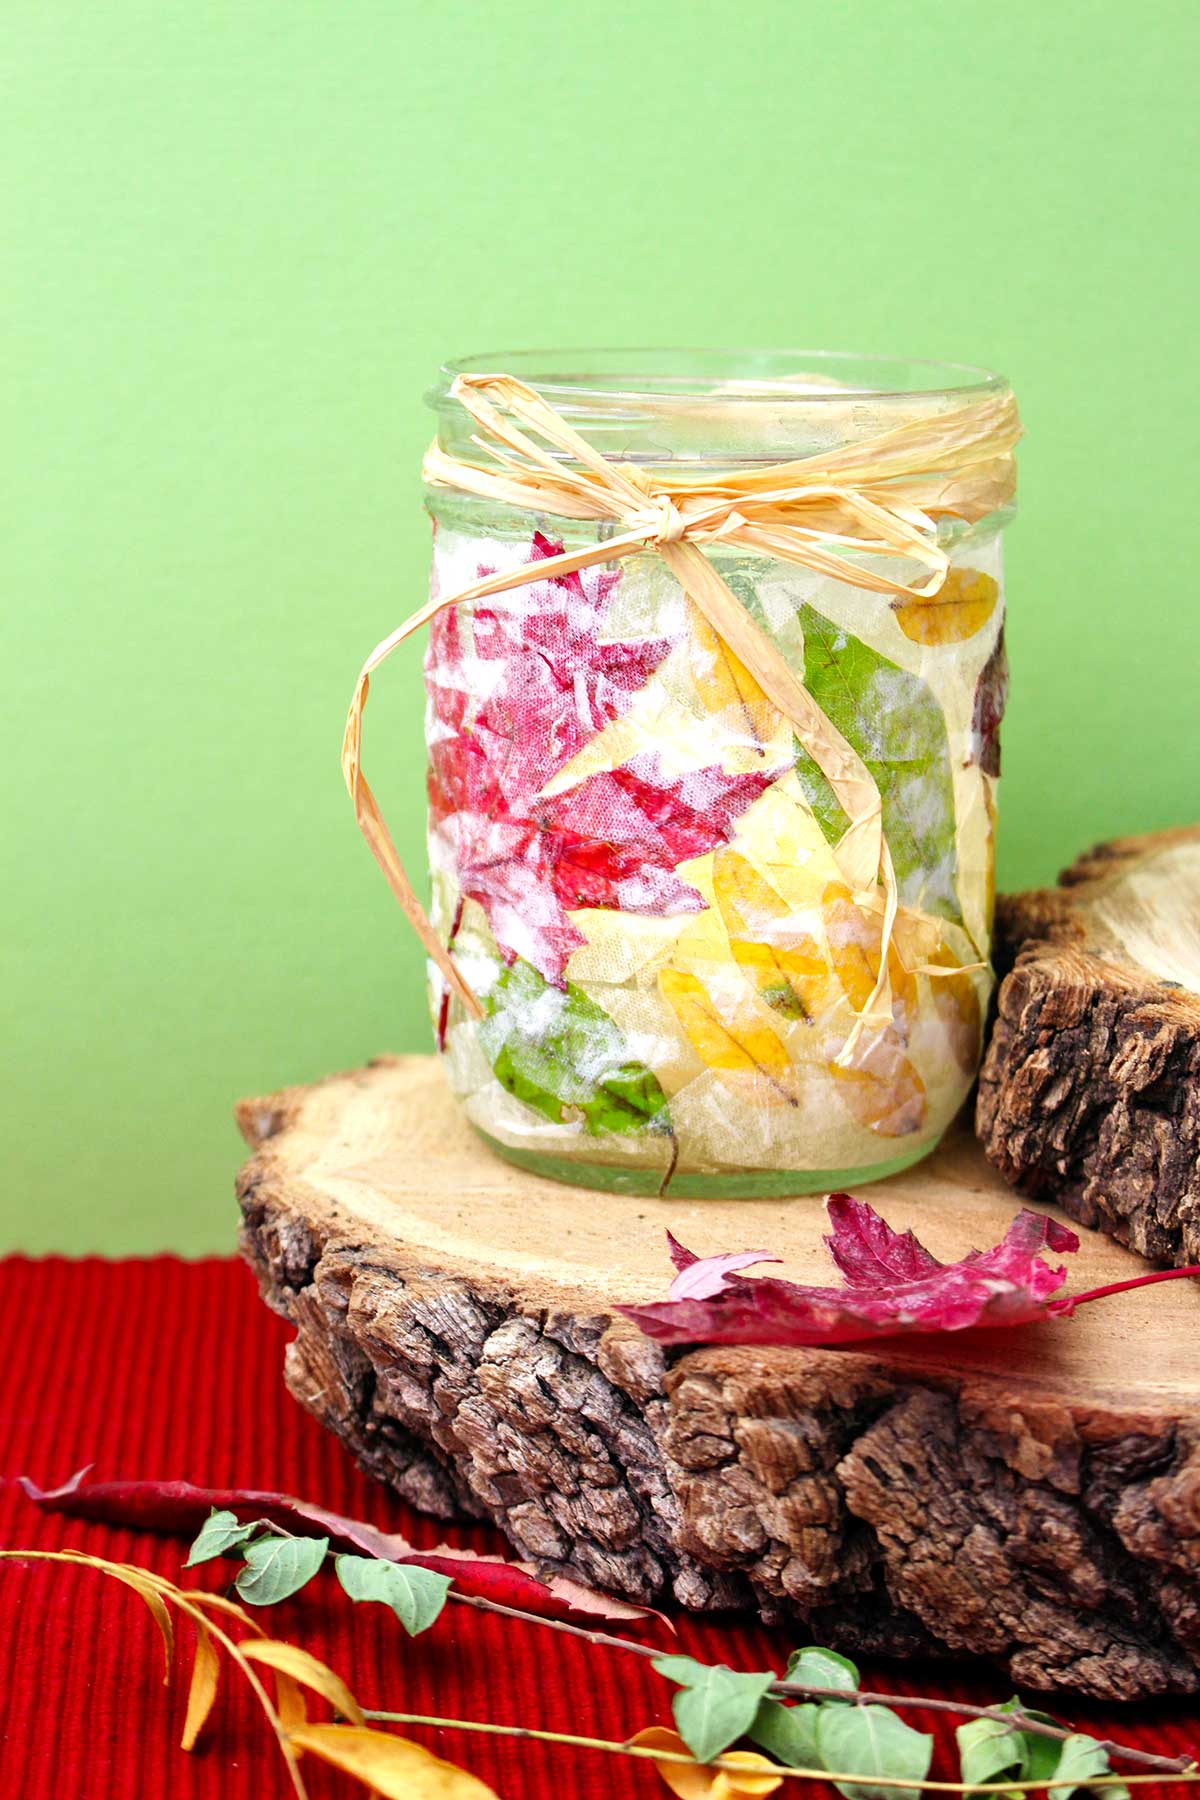
Turn on the tea light or light the candle and see how pretty your fall leaf candle holder looks as the light comes through! Its a beautiful fall decoration.
Extra Notes
Like I said, I’ve had mine for years and use it almost every fall. An easy leaf mason jar lantern nature craft is definitely a Nana’s favorite. I'm sure you can come up with other fall Mason jar ideas!
This is similar to the Simple Decoupaged Stained Glass Candle Holder that we’ve made before.
For the full length video on making this craft, click this link. DIY Fall Leaf Mason Jar Candle Holder Full Length Tutorial Video.
Craft Tips to Decorate Fall Mason Jars
- Smaller leaves- Choose leaves that are smaller because the jar doesn’t have a lot of surface area.
- Paint brush- A paint brush makes it easy to apply the Mod Podge. Wash the brush well when finished.
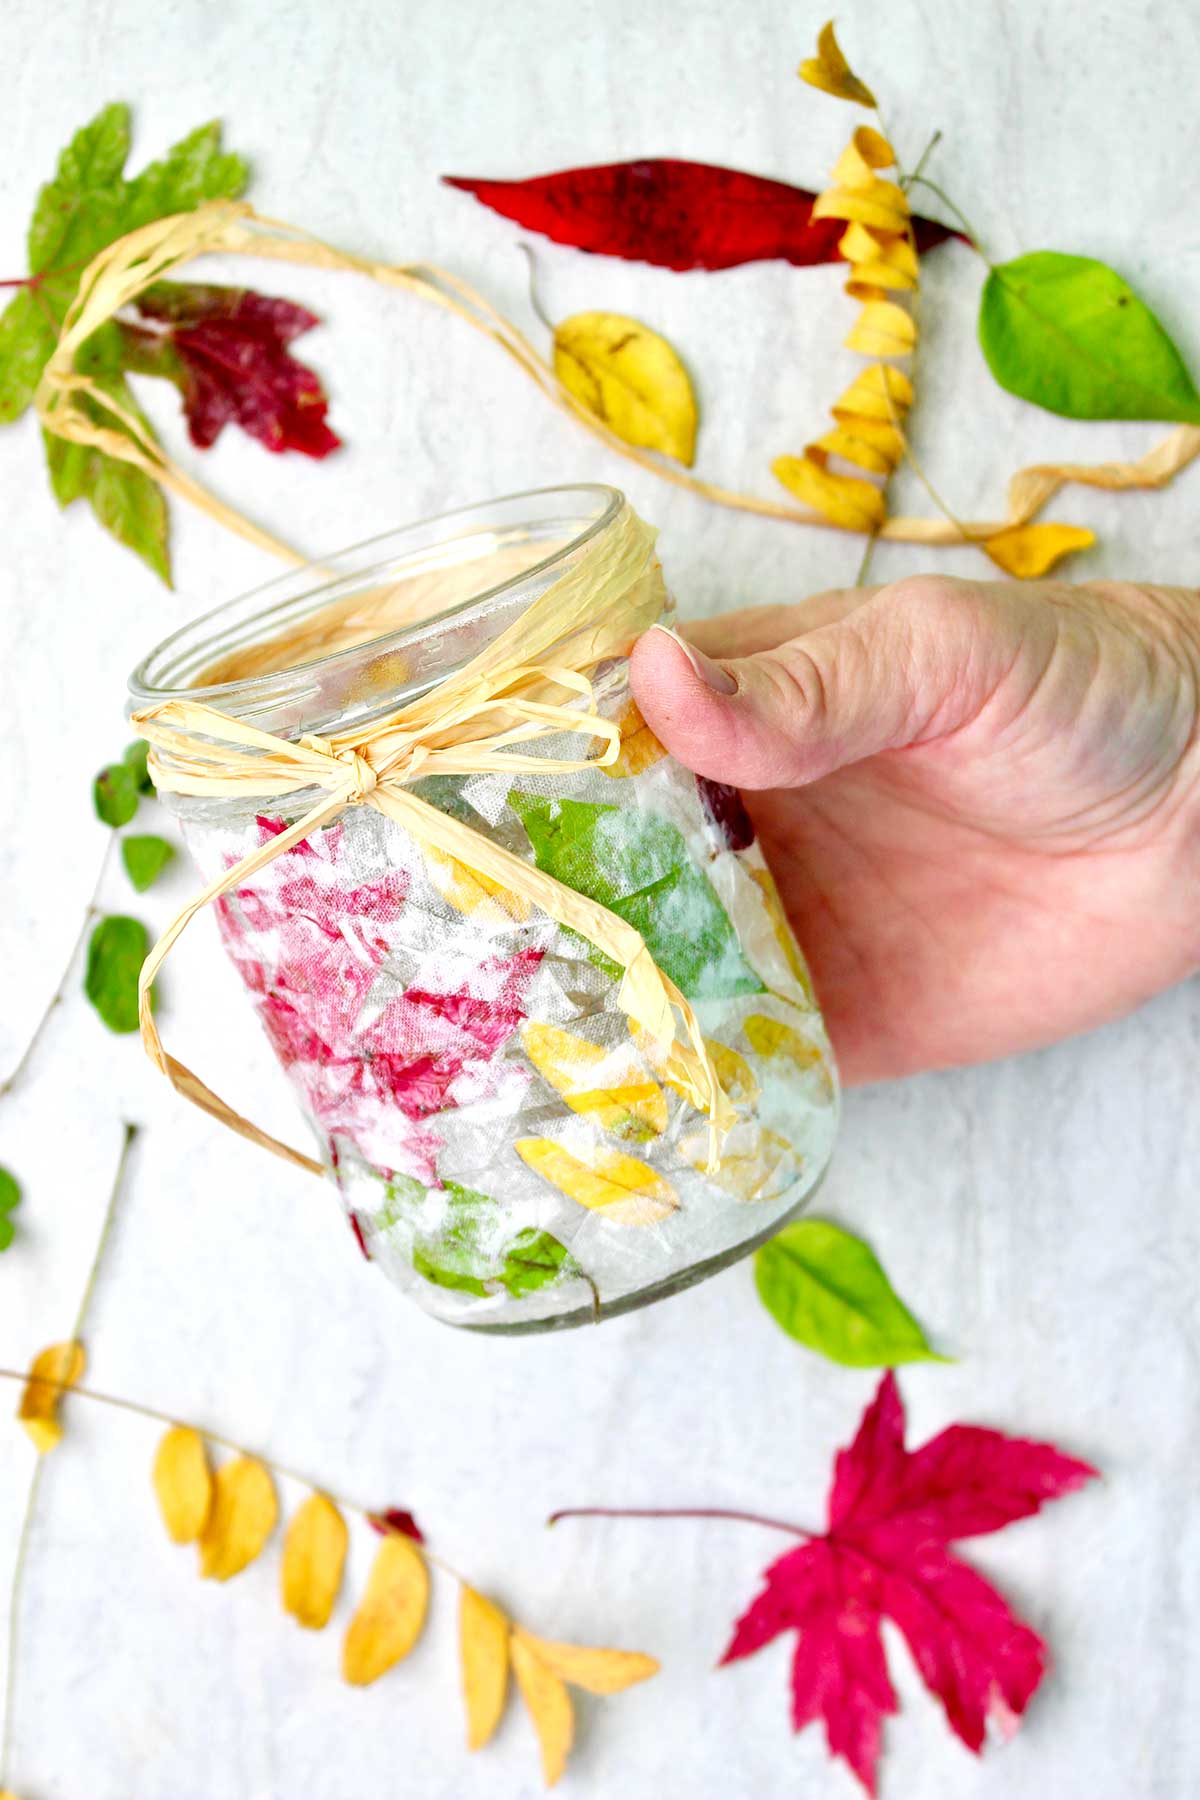
- Fall centerpieces with Mason jars- Make several leaf Mason jar lanterns in varous sizes and group them for a centerpiece.
Craft Variations
Here are a few variations you’re welcome to try with this candle holder craft:
- Grasses- Add a few flat grasses among the leaves.
- Various sizes of jars- Use a clear glass jar of any type or size for this craft. A grouping of various sizes looks nice.
- Elmer’s Glue- You can use Elmer's Glue instead of Mod Podge
- Gifts- These make wonderful gifts to give to someone at the holidays time. Use it as a birthday gift or a thank you gift when you go to someone’s house for Thanksgiving!
FAQ
Decoupaging leaves is super easy! Stick leaves to glass jars by using Mod Podge on the glass surface. Then add a layer over the leaves as well.
You can make a leaf jar with just a few items and some simple steps! One way is to decoupage the leaves to a glass jar using Mod Podge. Let it dry fully, then add a candle inside, or use as a pencil holder!
Yes! Real leaves look wonderful decoupaged on any surface, I love the look of them on a glass Mason jar. The leaves may brown over time, but the decoupage will help them preserve color for longer.
More DIY Fall Craft Ideas for Kids
Looking for more great DIY Fall Ideas for kids? Here are a few favorites for you to try:
Come join the fun at WTN!
Try this craft, leave a comment, rate it, and tag a photo with #WelcometoNanas wherever you post.
DIY Fall Leaf Mason Jar Candle Holder
Equipment
- none needed
Items Required
- Fall leaves Gather fresh fall leaves that are smaller in size
- pint sized, wide mouth, Mason jars there is a quart size also
- Mod Podge
- White Tissue paper
- Tea lights or fairy lights
- A paint brush
- Raffia or piece of twine (optional)
Instructions
- Take a nature walk and gather colored Autumn leaves, smaller in size. Lay leaves out on the table and choose the pretty ones that you would like to put on your jar.
- I use a paint brush to cover the jar with Mod Podge. But you could use a Q-tip or your finger. Take some glue and cover part of your jar with glue, and then stick your leaf on. Continue to add leaves around your jar until you have it mostly covered.Leave a little bit of space between the leaves so that light can come through.
- Cut up white tissue paper into various shapes that are about an inch by an inch. They do not need to be square or in any particular shapePaint the surface of your leaves and the jar with another layer of Mod Podge.Take the pieces of tissue paper and lay them into the glue area. Make sure tissue paper covers the entire surface of the jar. Brush a layer of Mod Podge over the top of the tissue paper to finish the project. Let this completely dry. Be patient, it takes a little while. :-). Sometimes we don’t get the tissue paper and edges of the leaves firmly attached. Add more Mod Podge to fix those places. And then let it dry again, maybe even dry overnight.
- Place your tea light, or a real candle or fairy lights into the jar. Make sure to have adult supervision if you have a real candle. Turn on the tea light or light the candle and see how pretty your fall leaf candle holder looks as the light comes through! Its a beautiful fall decoration.

Leave a Reply