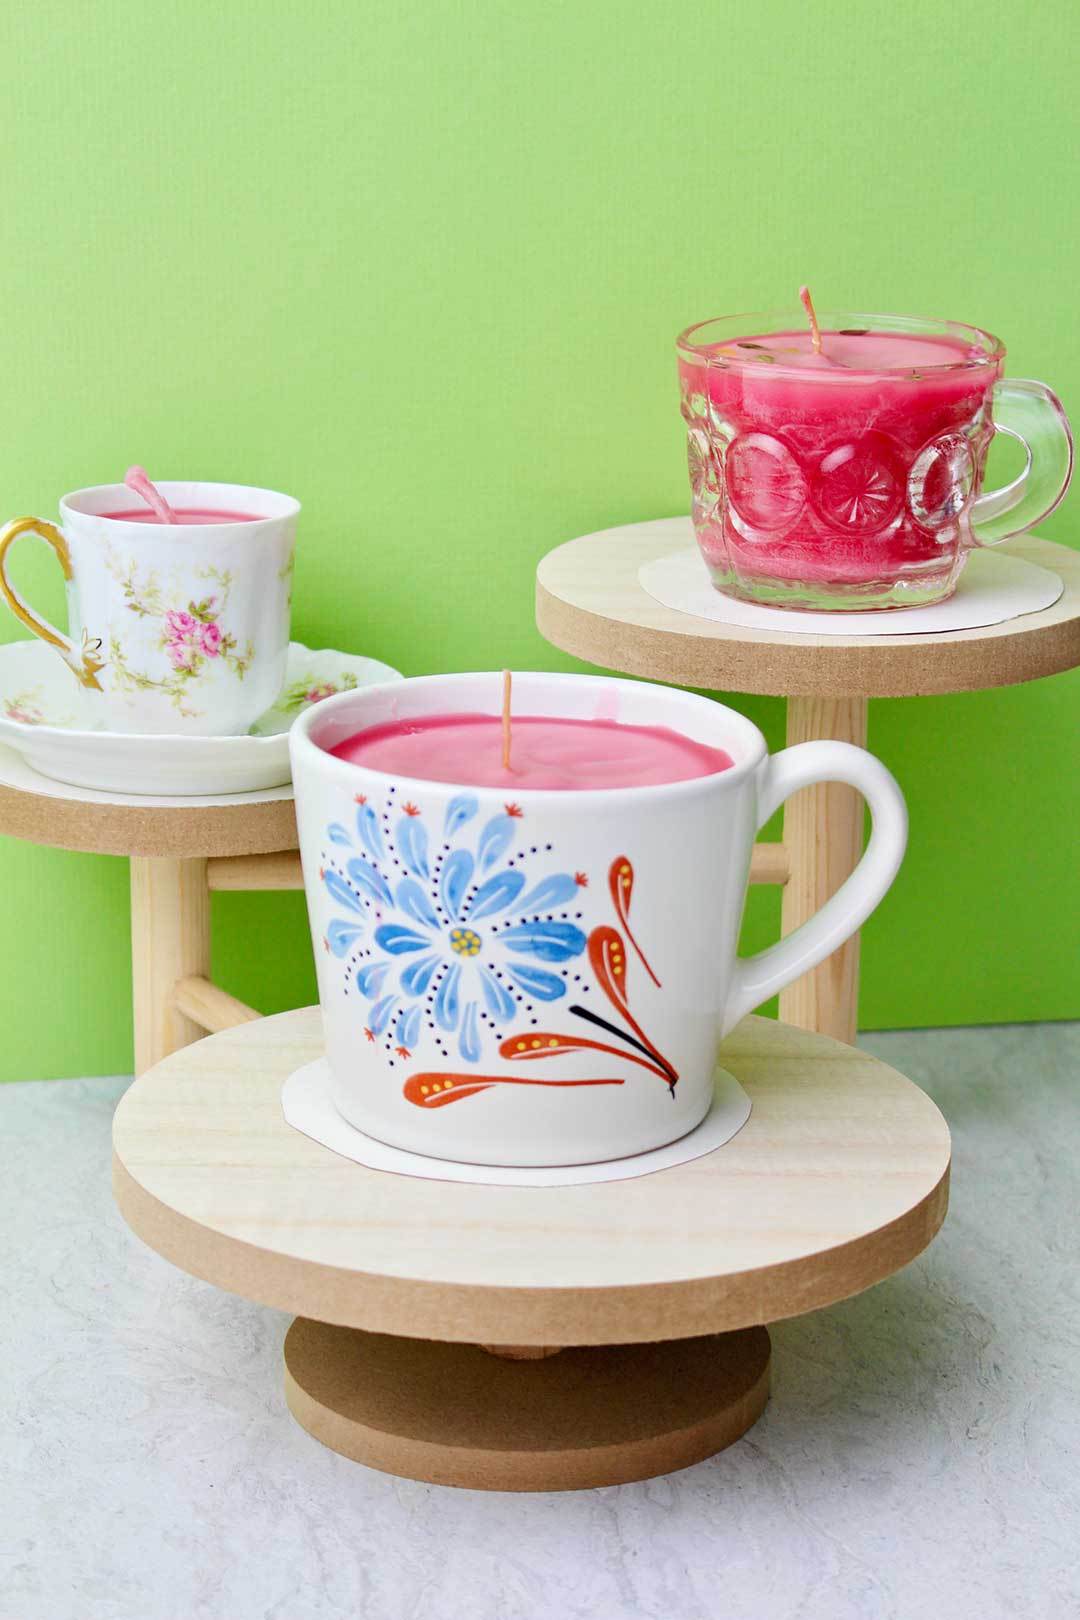
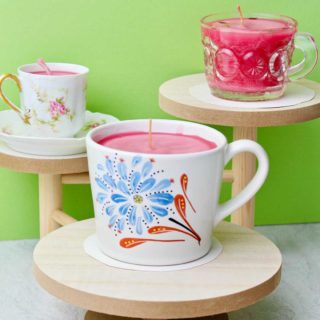
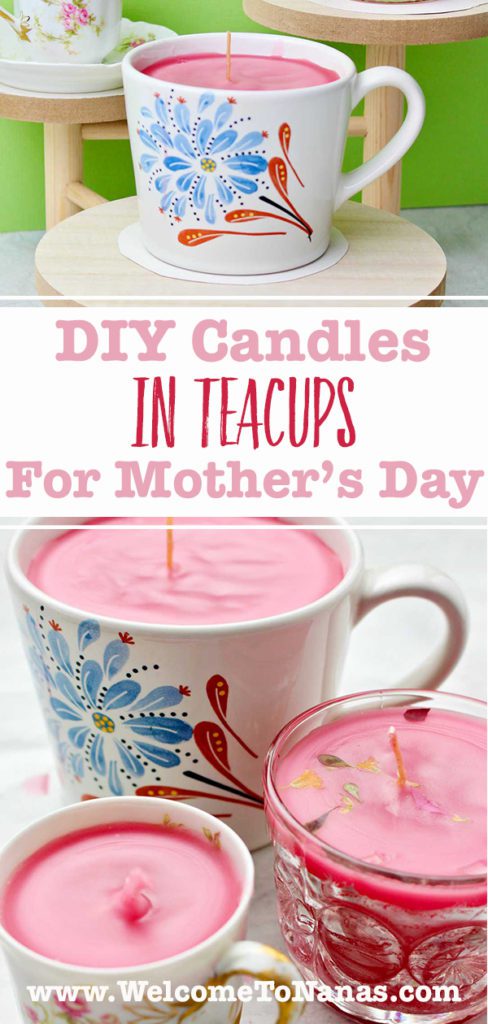
DIY Candles in Teacups
These DIY Candles in Teacups would make cute personal gifts you can craft for Mother’s Day or any occasion. Aren’t they cute?
Recycle old candles or use new wax and make a gift Mom (or Nana) will love!
Supplies for DIY Candles in Teacups
These are the supplies you need for DIY Candles in Teacups:
- A teacup(s), or glass punch cup, or mug(s)
- Wax block OR recycle candles (a pillar candle works great)
- Coloring and candle scents (optional- especially if using a recycled candle)
- Wick for a candle OR use the wick from the recycled candle
- Double boiler
- Spoon or ladle
- Waxed paper and aluminum foil
- Skewer or pencil
- Thread
What cups do I use to make candles?
It was fun to choose various types of cups to use to make into candles.
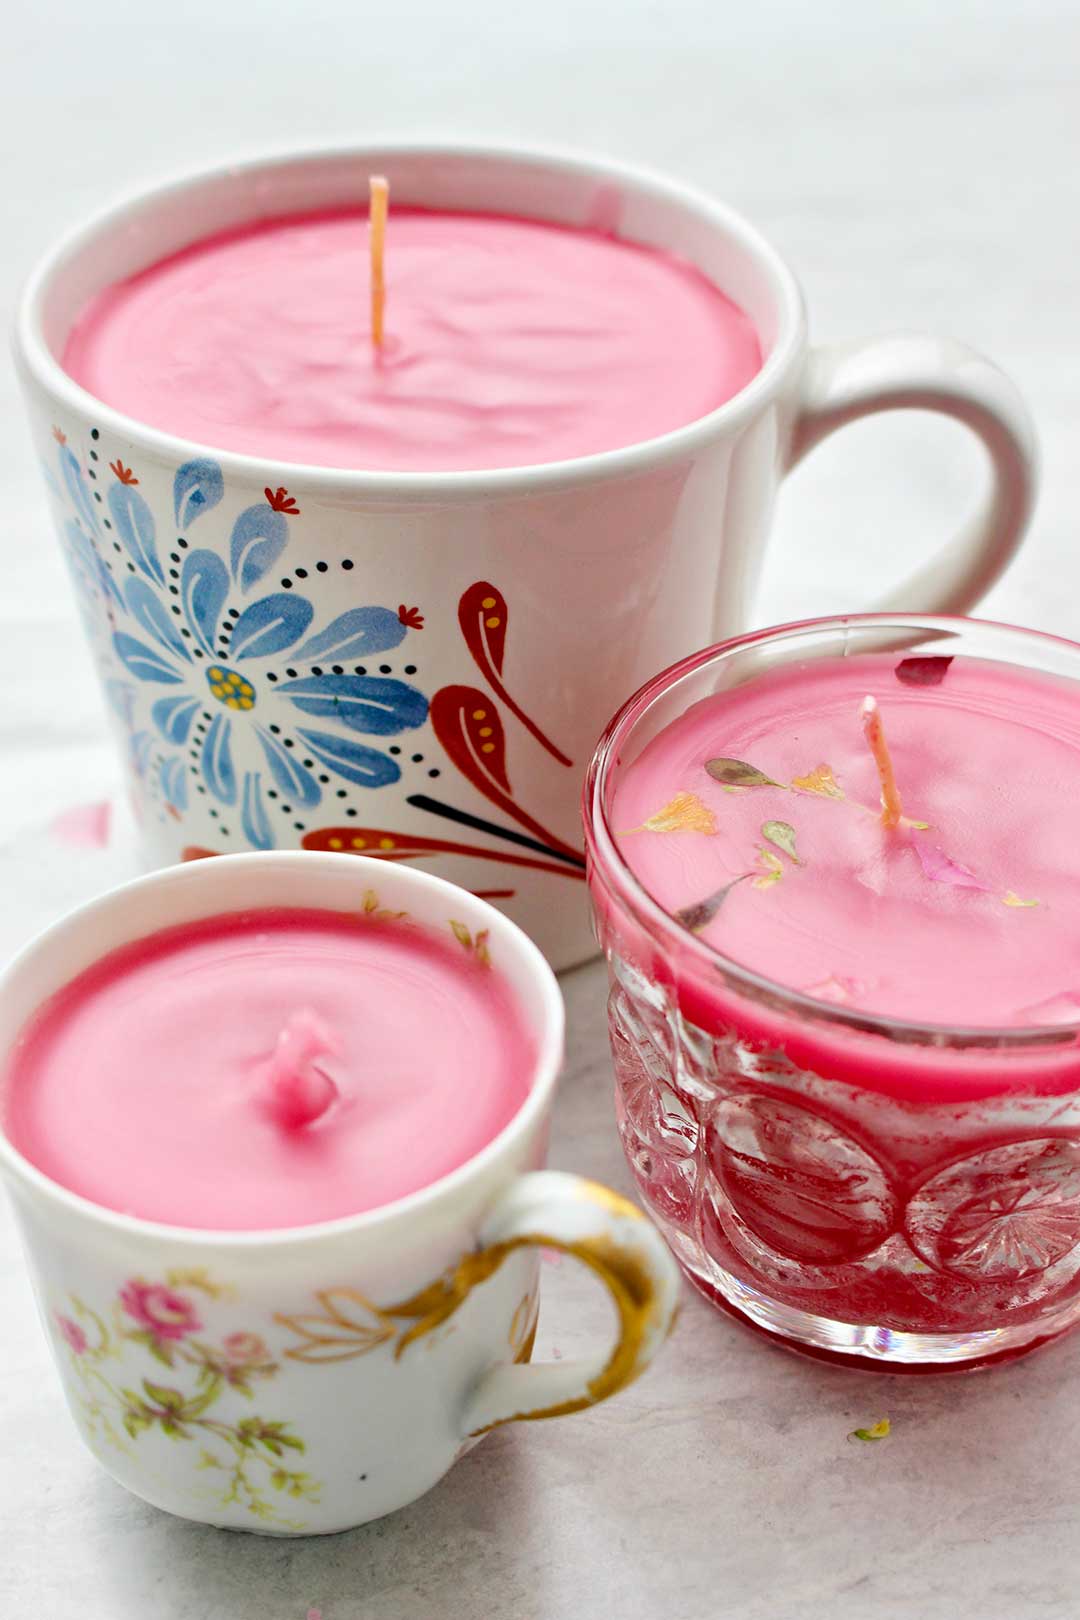
People like different styles of cups so I chose three different types to help you ponder which you’d like to make yourself.
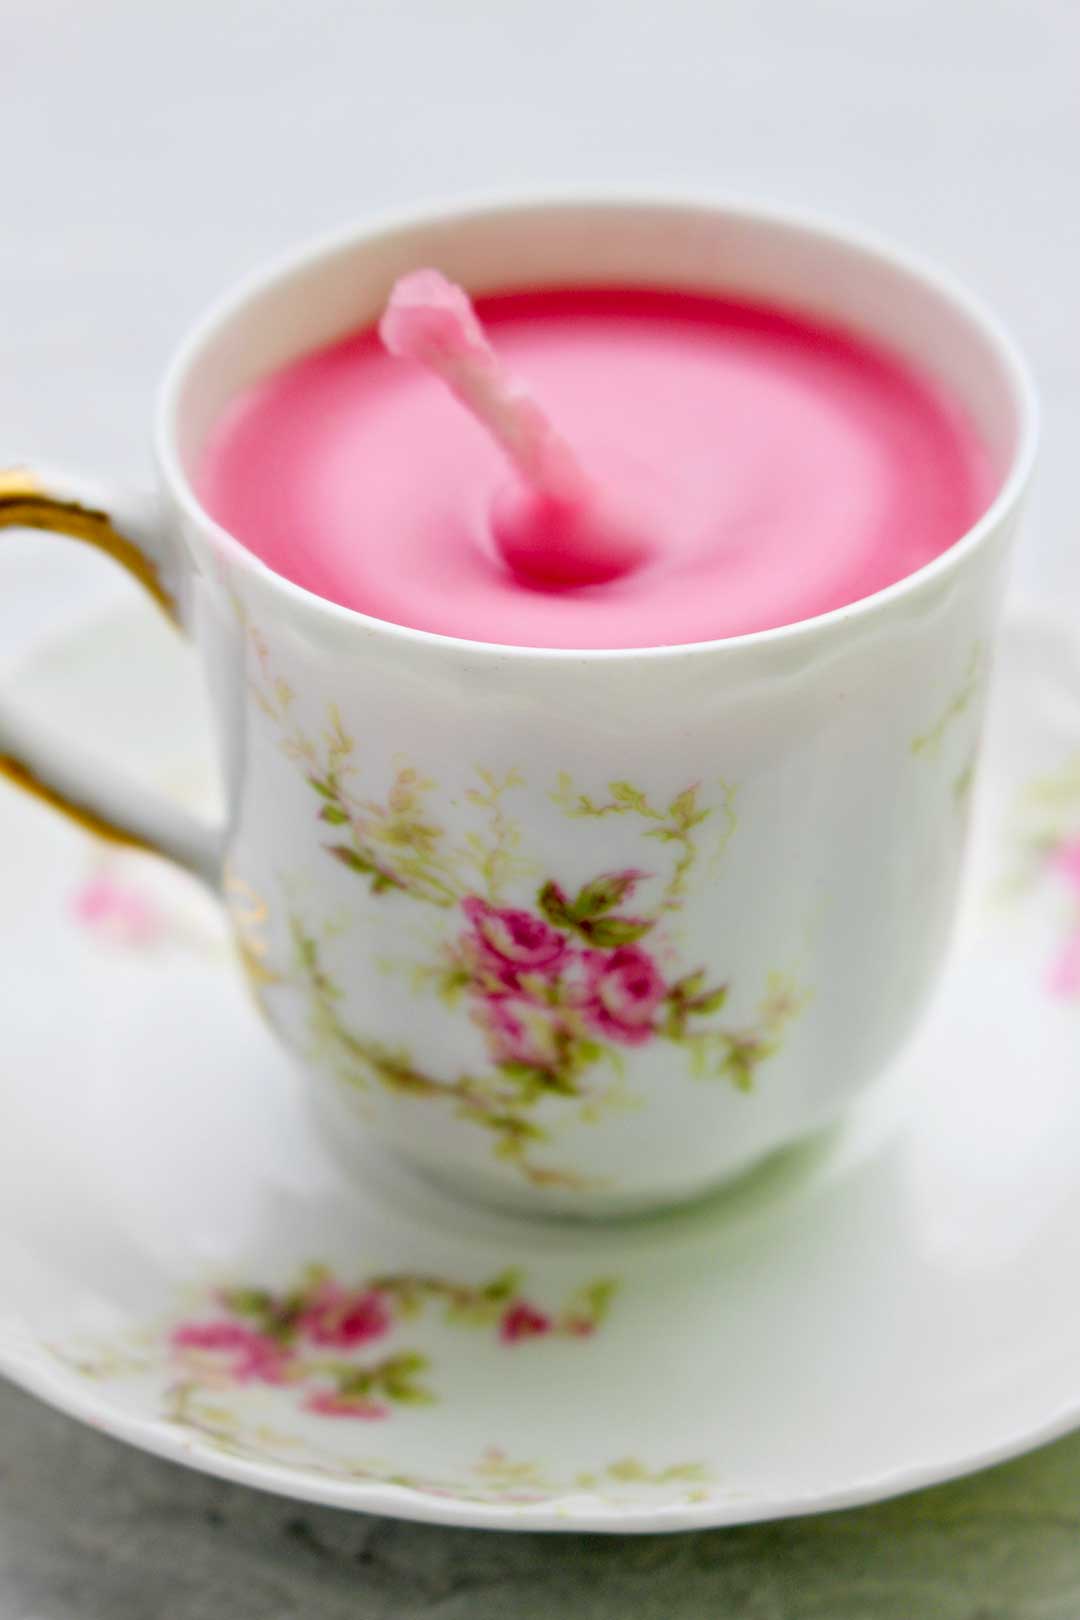
Candles in teacups
The first choice was a teacup from my small collection. It’s one that just doesn’t hold enough tea! But it sure would be cute for a candle. This would be perfect for the mom that is the teacup type.
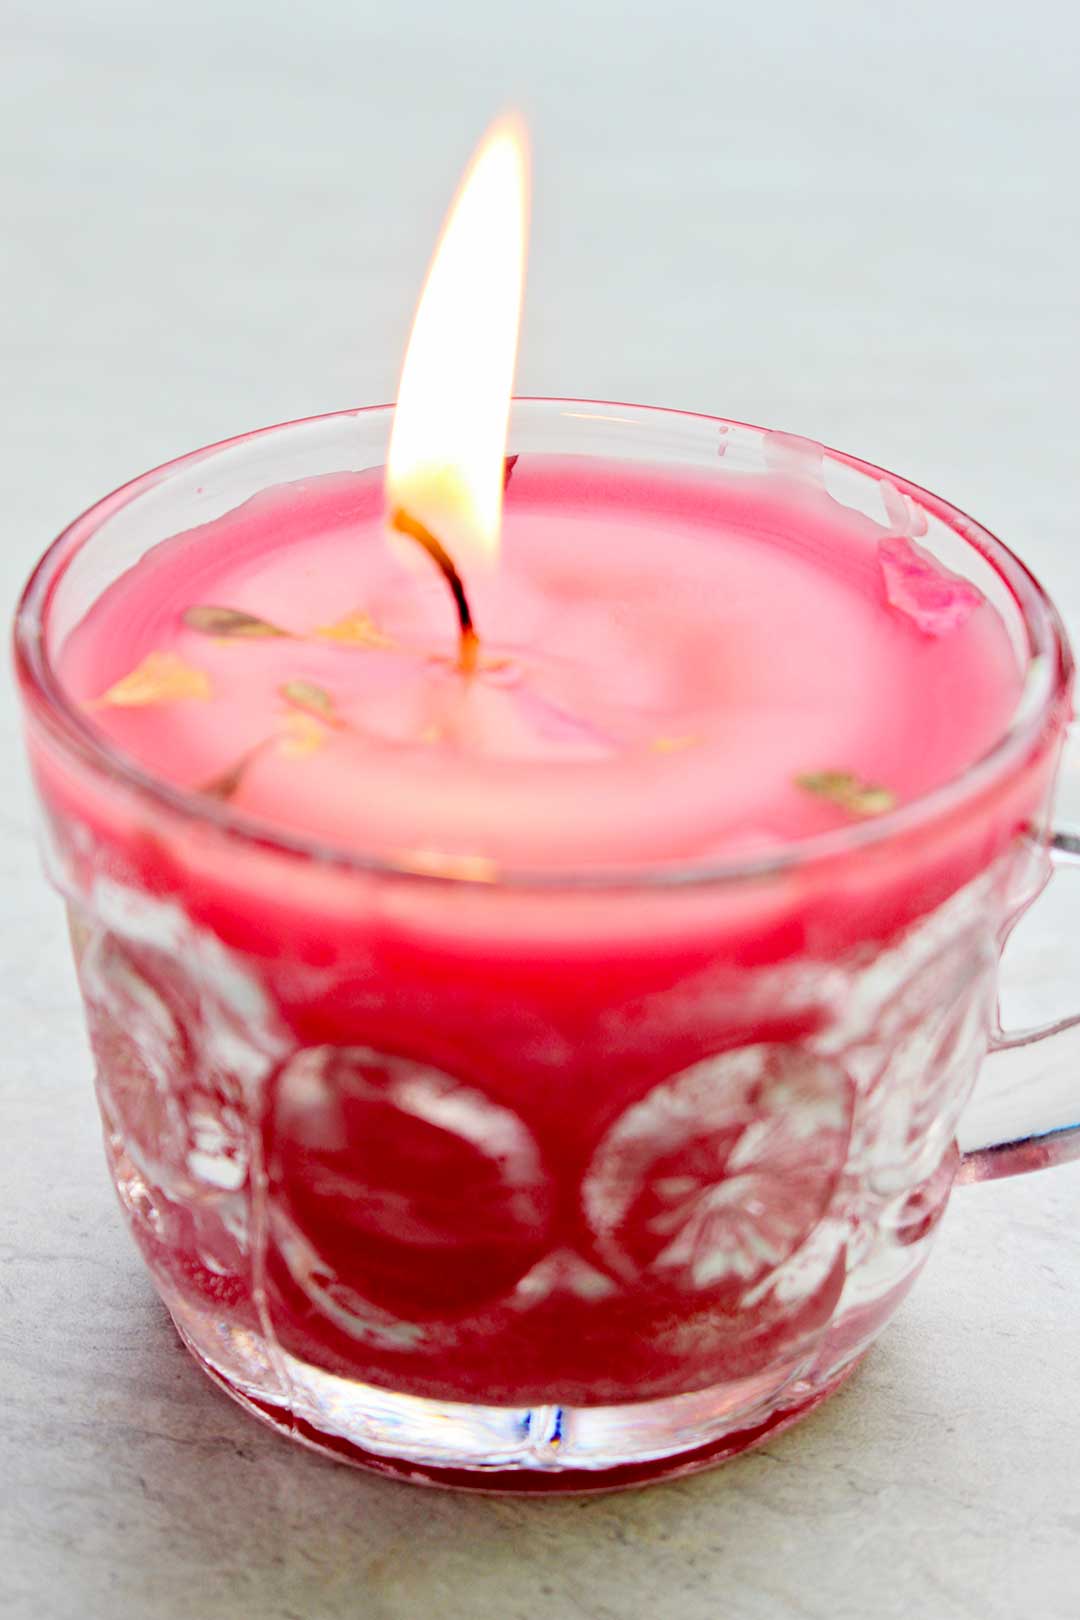
Candles in glass punch cups
Secondly, I’ve had these glass punch cups for a long time to use for this project. I’m embarrassed to tell you just how long. Just know that I had to wash the dust out of them before pouring in the wax. I made several to give as gifts this year.
Candles in mugs
Lastly, I chose a cute mug. There are just mug loving moms out there that don’t prefer the fancy teacups. This is perfect for them.
What will you choose to use for your cup? You can use something from your own cupboard, purchase new, or purchase at a local thrift store. I always love upcycling so mine came from our cupboards.
How to use left over candle wax
The wax to use in the cups can be either a purchased block of new wax or candles you have that can be upcycled. I had a large pillar candle to upcycle that was about 8 inches tall. It filled the three cups shown plus two more glass punch cups. How to use left over candle wax
The recycled wax already had color and scent. But you can add wax coloring and wax scents to the new wax if that is what you choose to do. Use the instructions included with those products.
Note: This project needs adult supervision.
Tip: Some people use old crayons to melt in with the wax to add color.
Tip #2: Place some waxed paper on the counter to protect from wax drips.
How do I make candles in teacups or mugs?
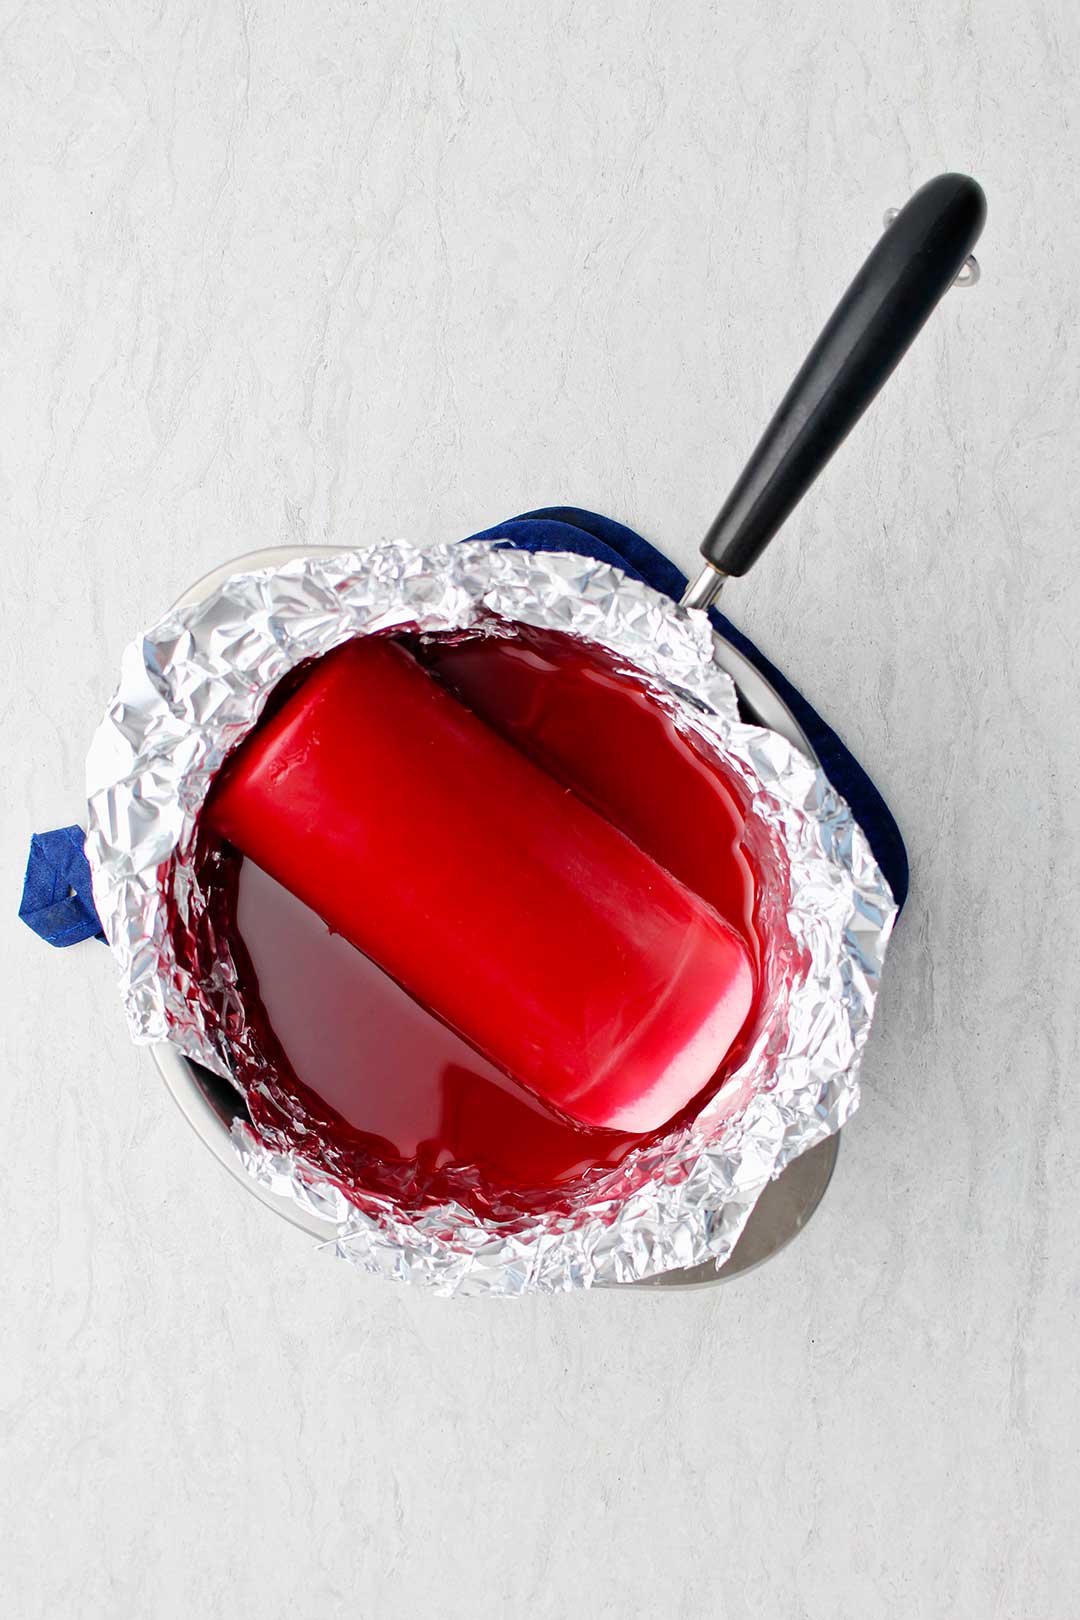
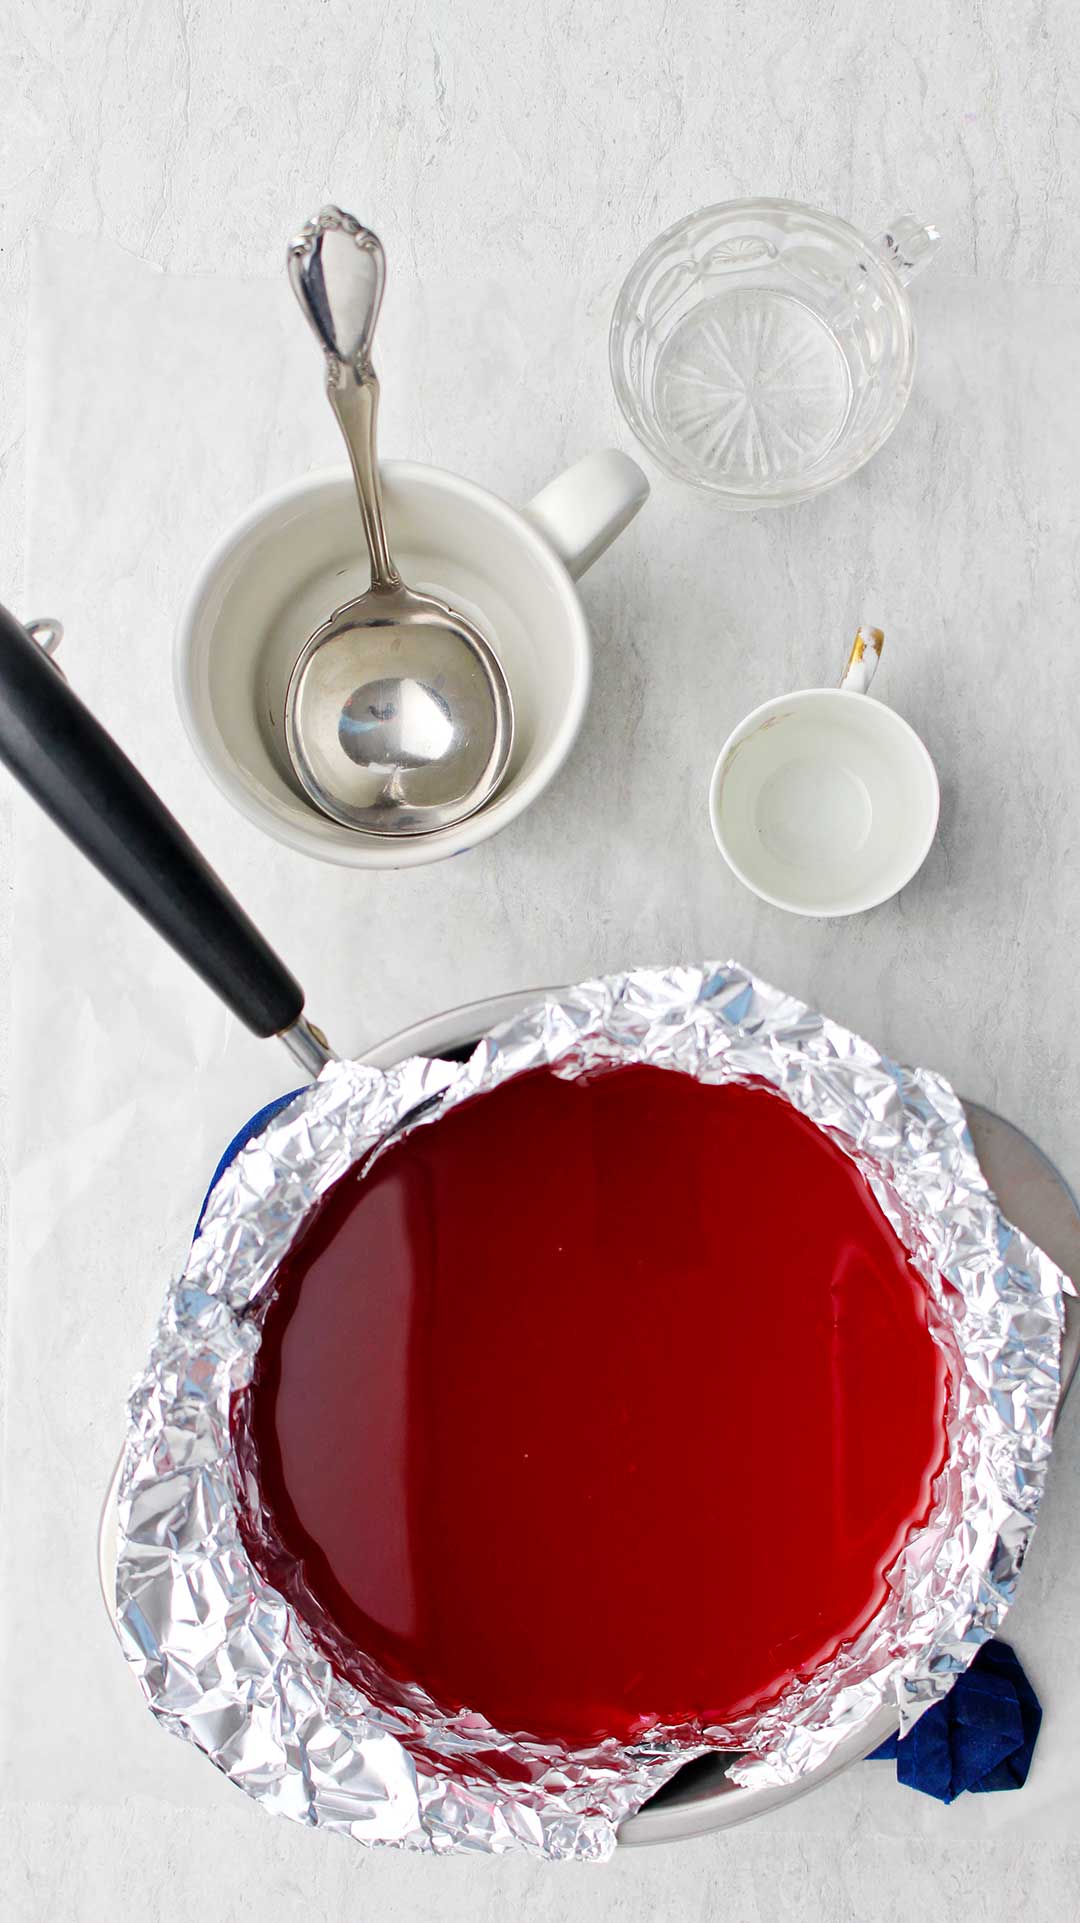
Use a double boiler to melt wax
A double boiler is a two piece pan and saucepan unit. You put some water in the bottom saucepan and then the second pan fits on top of the saucepan.
Tip: I used a large piece of heavy aluminum foil to line the pan. This made clean up easier.
Melt the wax
The wax goes into the top pan and as the water heats up in the lower saucepan on the burner it safely melts the wax. Always watch the wax as it melts, don’t leave it unattended.
Note: Don’t melt wax in a pan directly on a burner. It is a fire hazard.
Place the wick
If you melt an old candle, you can use the wick from that candle for your new candle. If using new wax, use new candle wicking.
Cut the wick the height of the cup plus about ½ inch. If the wick is new, dip it in the wax so it will get kind of stiff.
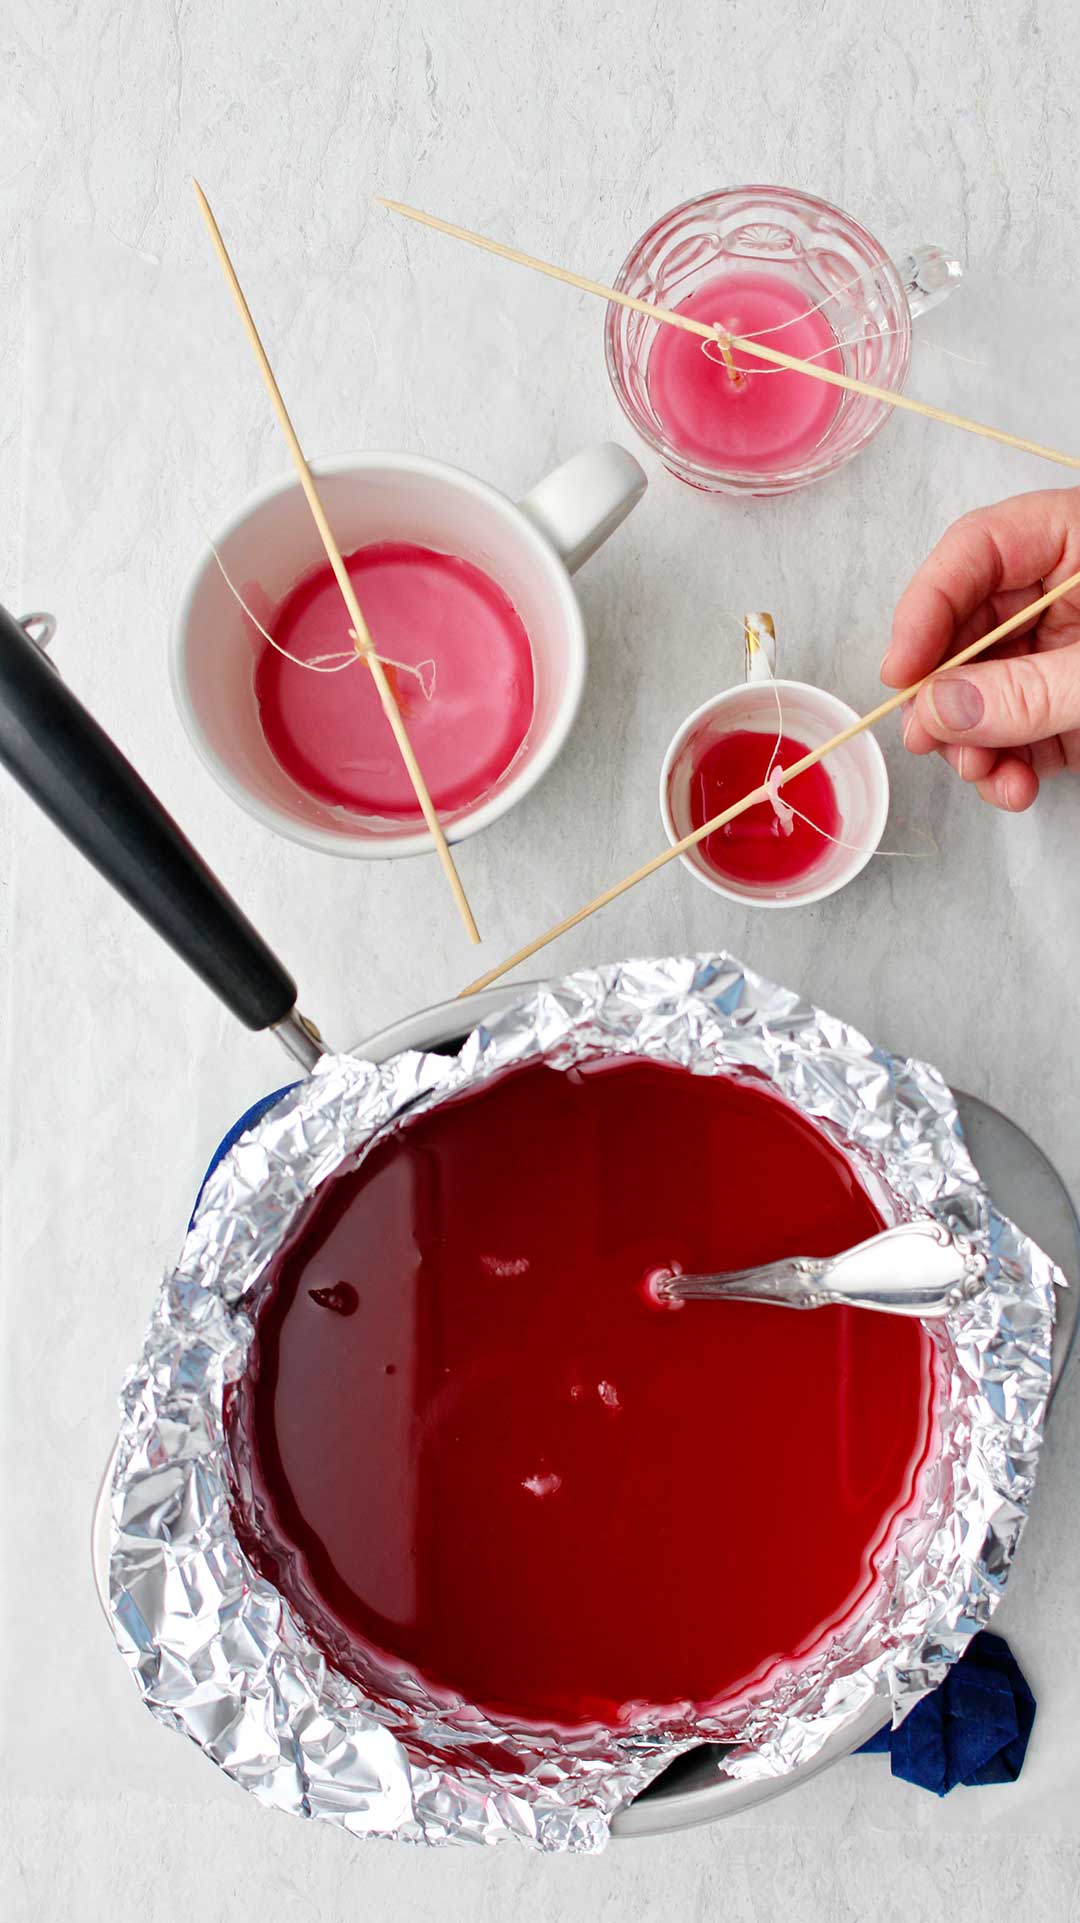
Tie a thread to the top of the wick and then tie the wick to a skewer or a pencil.
Place the skewer (or pencil) across the top of your cup so that the wick hangs down into the cup. Bend it on the bottom so it is centered in the cup and straight down from top to bottom.
Note: If your wicks have tabs on the end, put the tab on the bottom of the cup.
Pour a bit of wax into the bottom of the teacup to hold the wick in place. Let this wax harden which will only take a half minute or so.
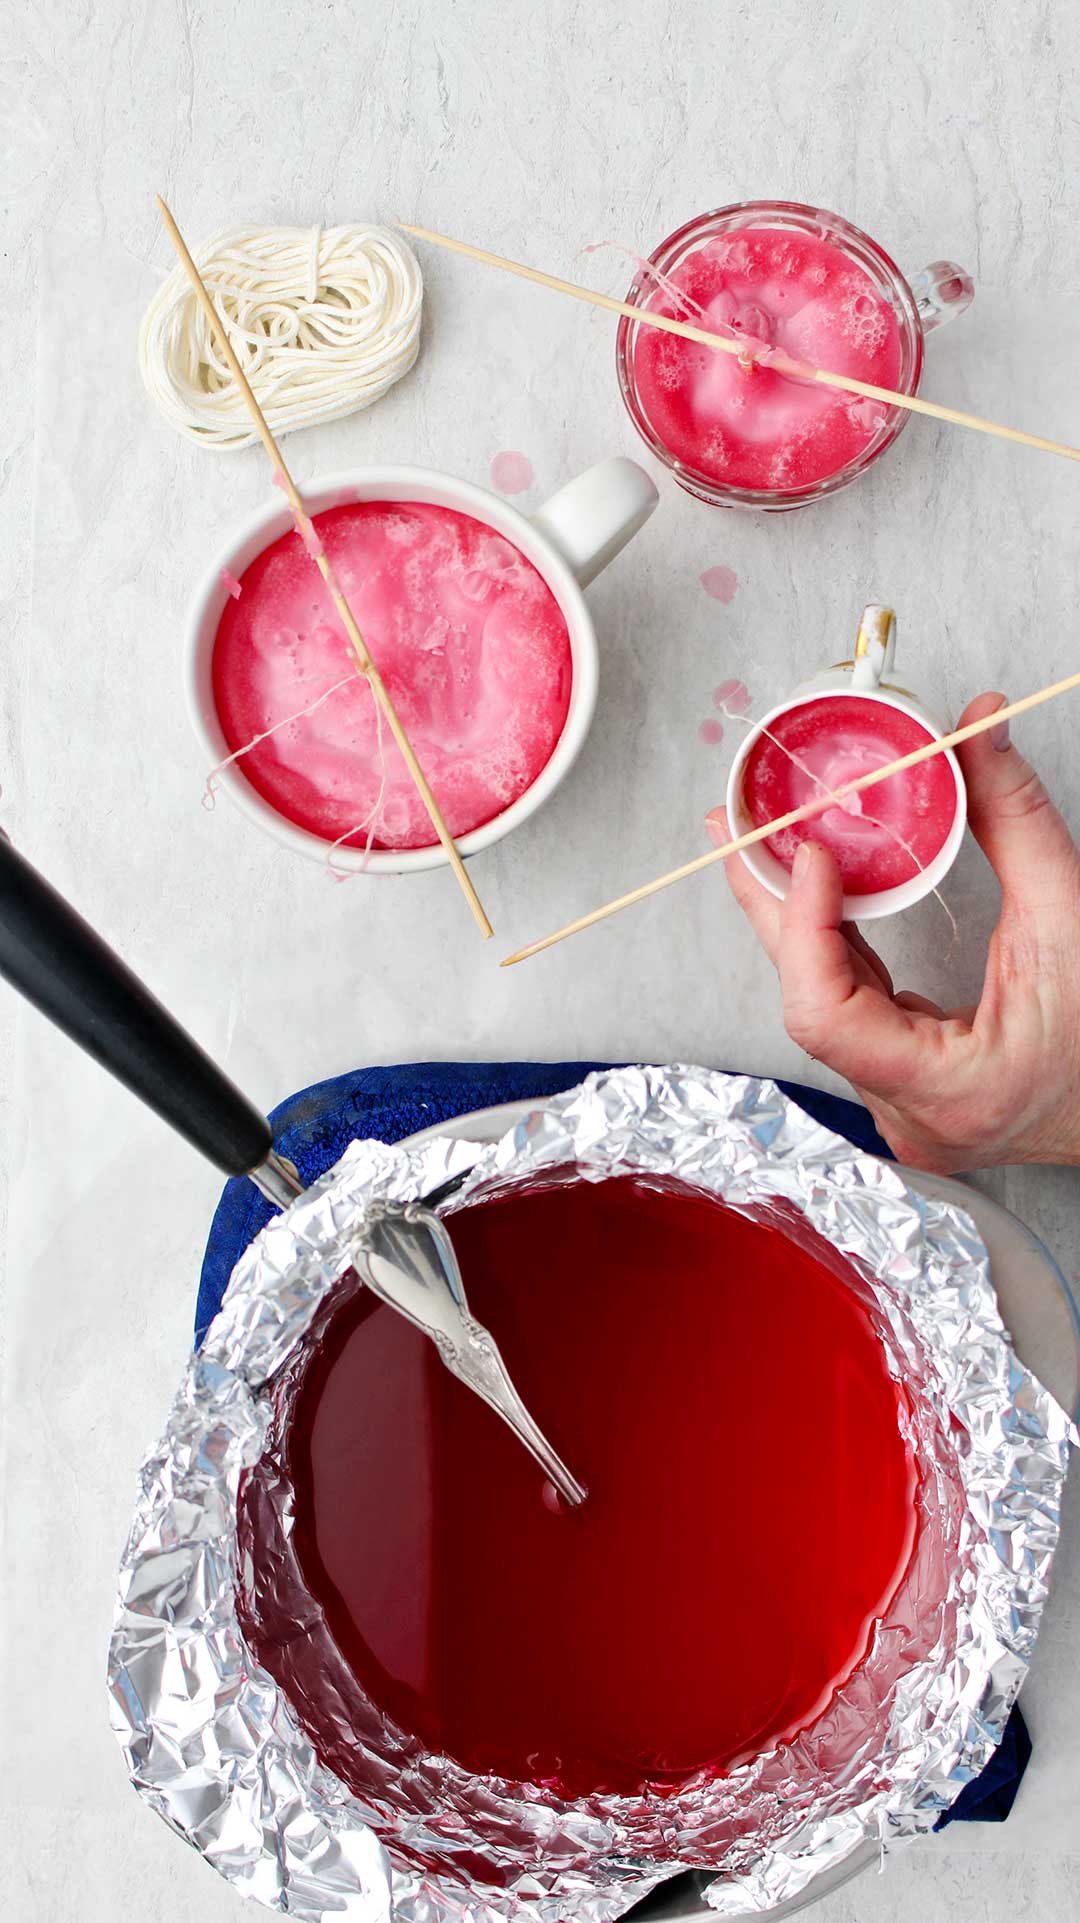
Slowly fill with wax
Then slowly add wax to the cup, a few ladle fulls at a time until the wax reaches about ½ inch from the top of the cup.
Let this harden. The wax will lower around the wick and make kind of a dip in the center of the candle. That is normal.
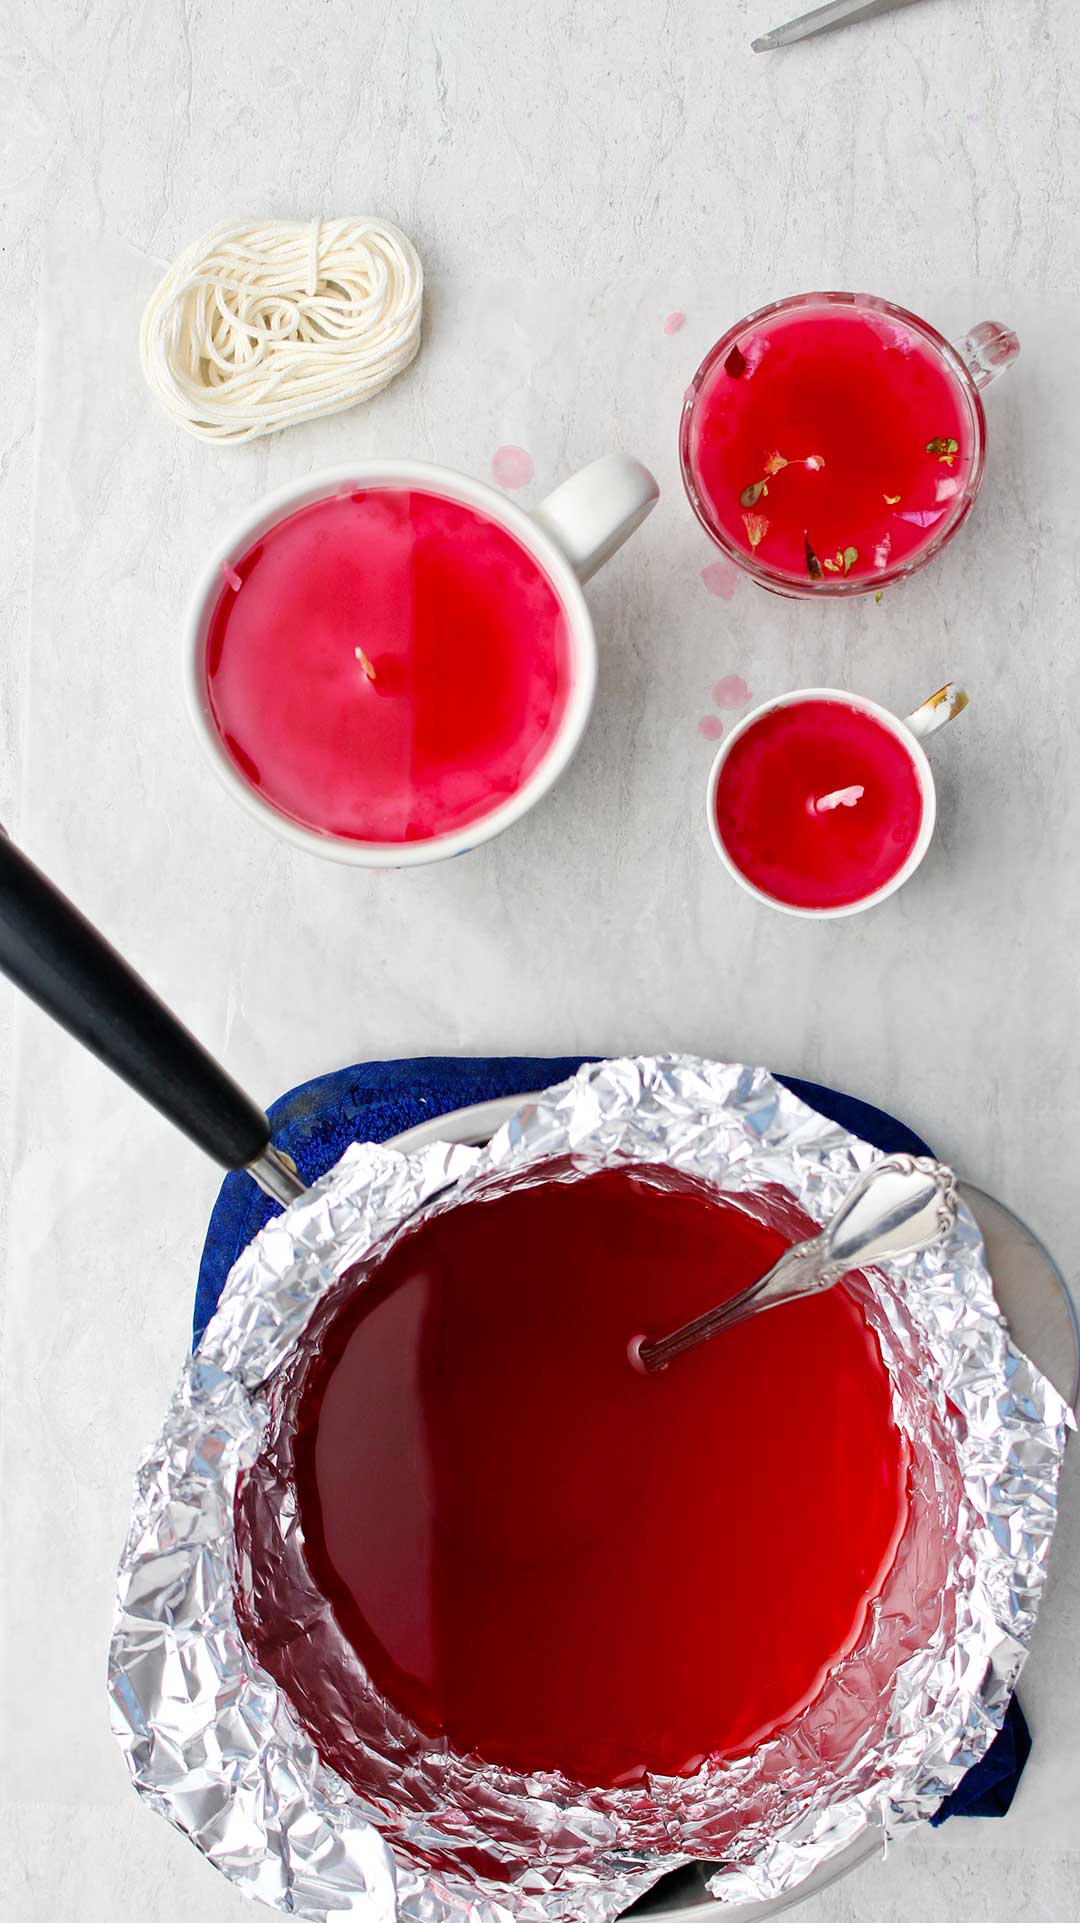
Remove skewer and top off with wax
This is a good time to cut the thread holding the wick and remove the skewer.
When the wax in the cup is hard, reheat the wax in the double boiler and add some to the candle to fill the dip and cover the top of the candle. It will look smooth and nice.
That’s all there is to it! Don’t you love DIY Candles in Teacups for Mothers Day Gifts? I plan to give some to friends for their birthday’s. I can’t wait.
If you prefer YouTube here is the link: Youtube DIY Candles in Teacups for Mothers Day Gifts
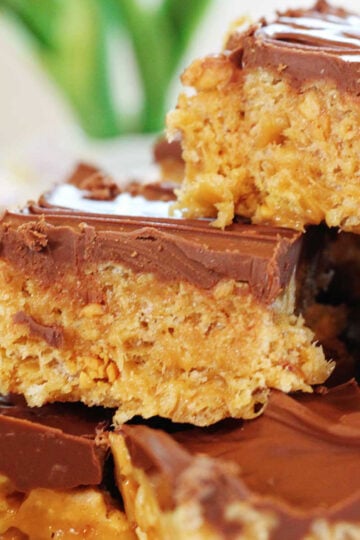
Mother’s Day craft ideas
There are other Mother’s Day gift ideas on the website. Here are a few:
Next week we will make a card!
Enjoy!
If you try this craft, let me know! Go ahead and leave a comment, rate it, and tag a photo with #WelcometoNanas wherever you post.
Come join the fun at https://welcometonanas.com
DIY Candles in Teacups For Mothers Day Gift
Equipment
- Double boiler
- Spoon or ladle
Items Required
- A teacup(s), or glass punch cup, or
- Wax block OR recycle candles (a pillar candle works great)
- Coloring and candle scents (optional- especially if using a recycled candle)
- Wick for a candle OR use the wick from the recycled candle
- Waxed paper and aluminum foil
- Skewer or pencil and thread
Instructions
- Choose a cup for your candle- teacup, glass punch cup, or mug. You can use something from your own cupboard, purchase new, or purchase at a local thrift store.
- A double boiler is a two piece pan and saucepan unit. You put some water in the bottom saucepan and then the second pan fits on top of the saucepan. Tip: I used a large piece of heavy aluminum foil to line the pan. This made clean up easier.The wax goes into the top pan and as the water heats up in the lower saucepan on the burner it safely melts the wax. Always watch the wax as it melts, don’t leave it unattended.Melt the wax
- If you melt an old candle, you can use the wick from that candle for your new candle. If using new wax, use new candle wicking.Cut the wick the height of the cup plus about ½ inch. If the wick is new, dip it in the wax so it will get kind of stiff.Tie a thread to the top of the wick and then tie the wick to a skewer or a pencil.Place the skewer (or pencil) across the top of your cup so that the wick hangs down into the cup. Bend it on the bottom so it is centered in the cup and straight down from top to bottom. Note: If your wicks have tabs on the end, put the tab on the bottom of the cup.Pour a bit of wax into the bottom of the teacup to hold the wick in place. Let this wax harden which will only take a half minute or so.
- Then slowly add wax to the cup, a few ladle fulls at a time until the wax reaches about ½ inch from the top of the cup.Let this harden. The wax will lower around the wick and make kind of a dip in the center of the candle. That is normal.
- the wax in the cup is hard, reheat the wax in the double boiler and add some to the candle to fill the dip and cover the top of the candle. It will look smooth and nice.That’s all there is to it!
Video


Leave a Reply