Follow this tutorial to enjoy some soft pastel drawing ideas for beginners! We'll be using an apple as your inspiration as you practice some simple techniques that you can apply to other drawing as well.
Jump to:
Soft Pastel Drawing Ideas for Beginners
When our kids were young, we would find books with soft pastel illustrations and use the illustrations to inspire ideas for our own art. I especially remember “The Secret Garden”, which had great illustrations of gardens, trees, and walls in soft pastel. That may be an idea for your you and your grands as well.
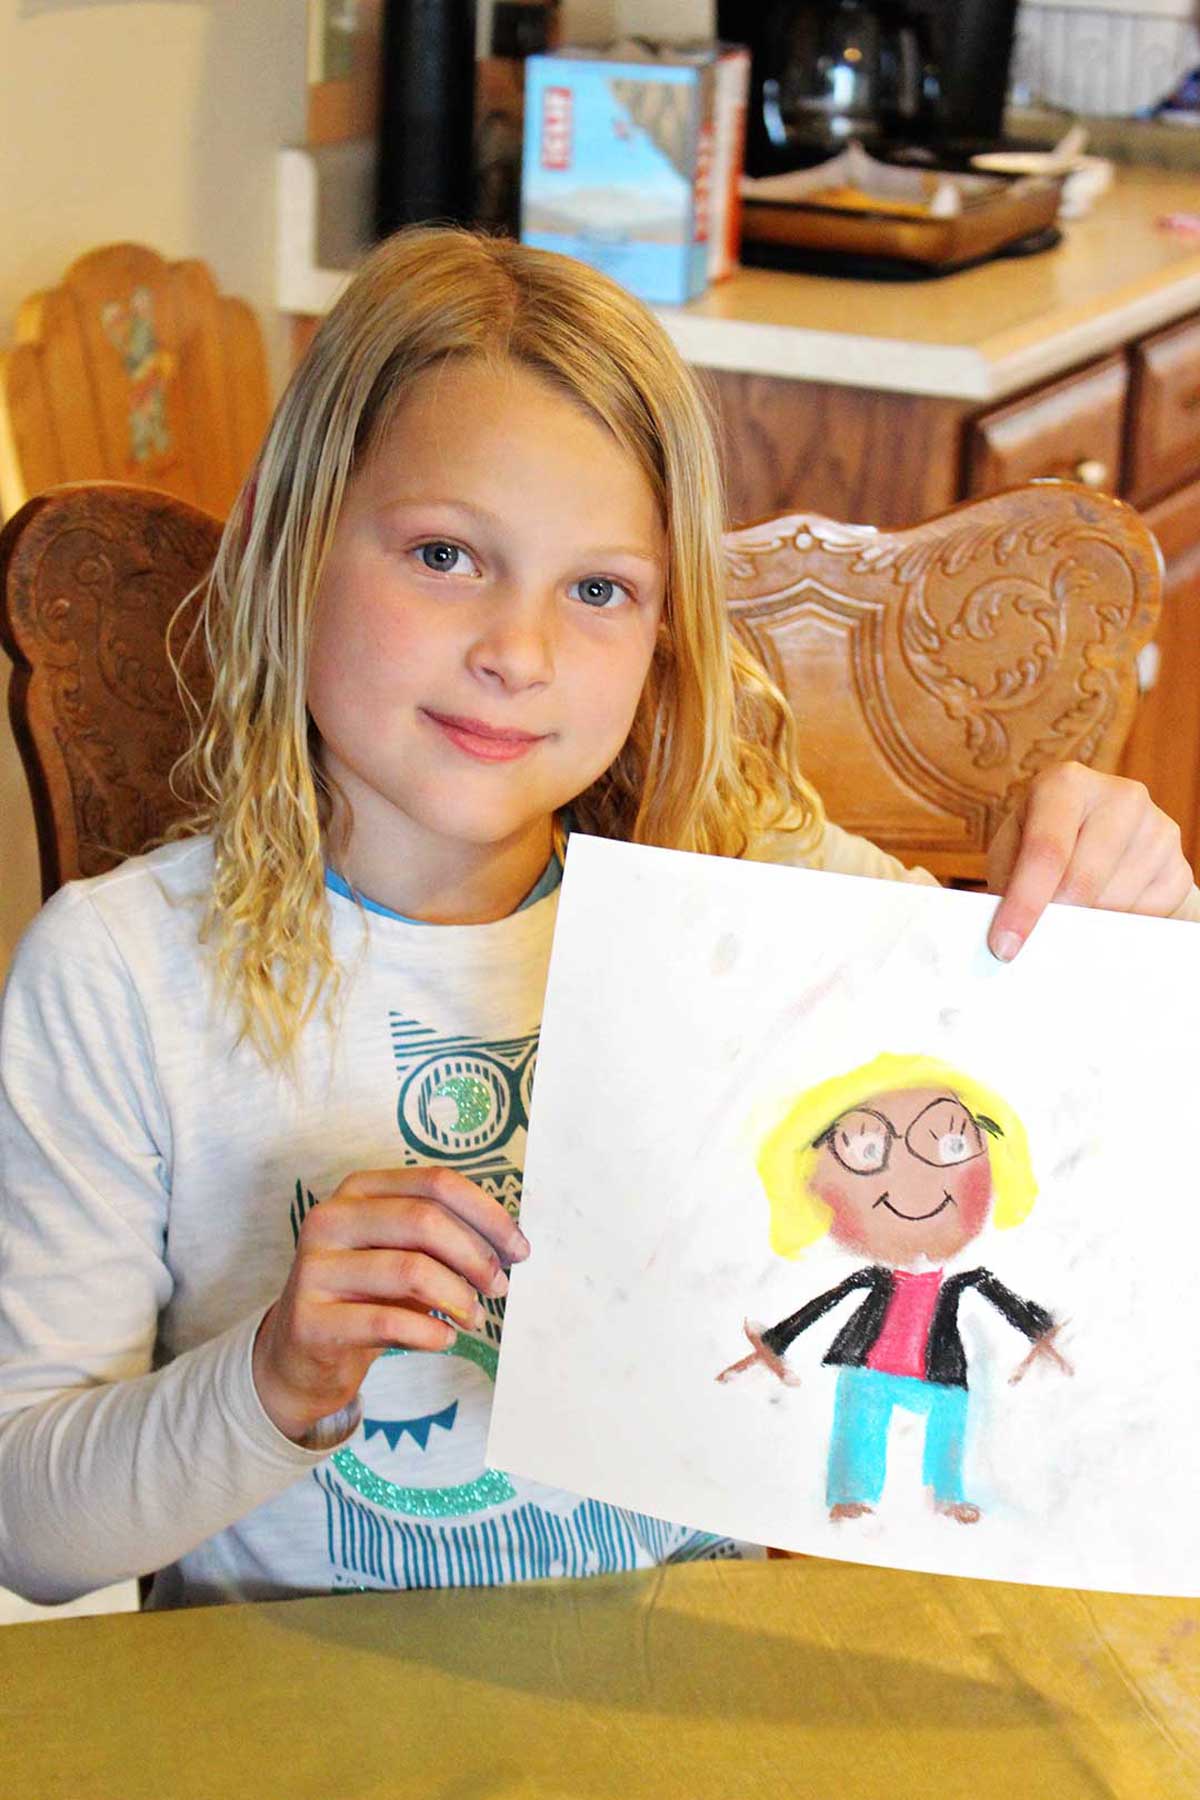
The grands are never short on their own ideas to draw. Pizzas, tractors, even Nana provide great subject matter! But maybe you are! If so, here is a step-by-step process of how to make your own easy soft pastel drawing of an apple for starters.
Soft Pastel Drawing Video
Want to watch a video with the step-by-step directions for your easy soft pastel drawing? Here it is, just for you!
What are soft pastels?
Pastels are a method for drawing that mix colorful pigment in with some binder and water, and there are several pastel types. Soft pastels contain more pigment, held together with the least amount of binder and are usually in round or square sticks.
They go on the paper smoothly with vivid colors and blend and smudge easily. This intense color covers even dark paper well.
Hard pastels have more binder and less pigment than a set of soft pastels. They are better for fine details, thin lines, and small areas.
You may also hear about oil pastels, which use oil instead of water with their pigment and binder. We won't be covering techniques for hard pastels or oil pastels in this tutorial, but of course I'd always encourage experimenting with them if you get the chance 🙂
For now, we will start by learning different techniques for drawing with soft pastels.
What paper and soft pastels to use
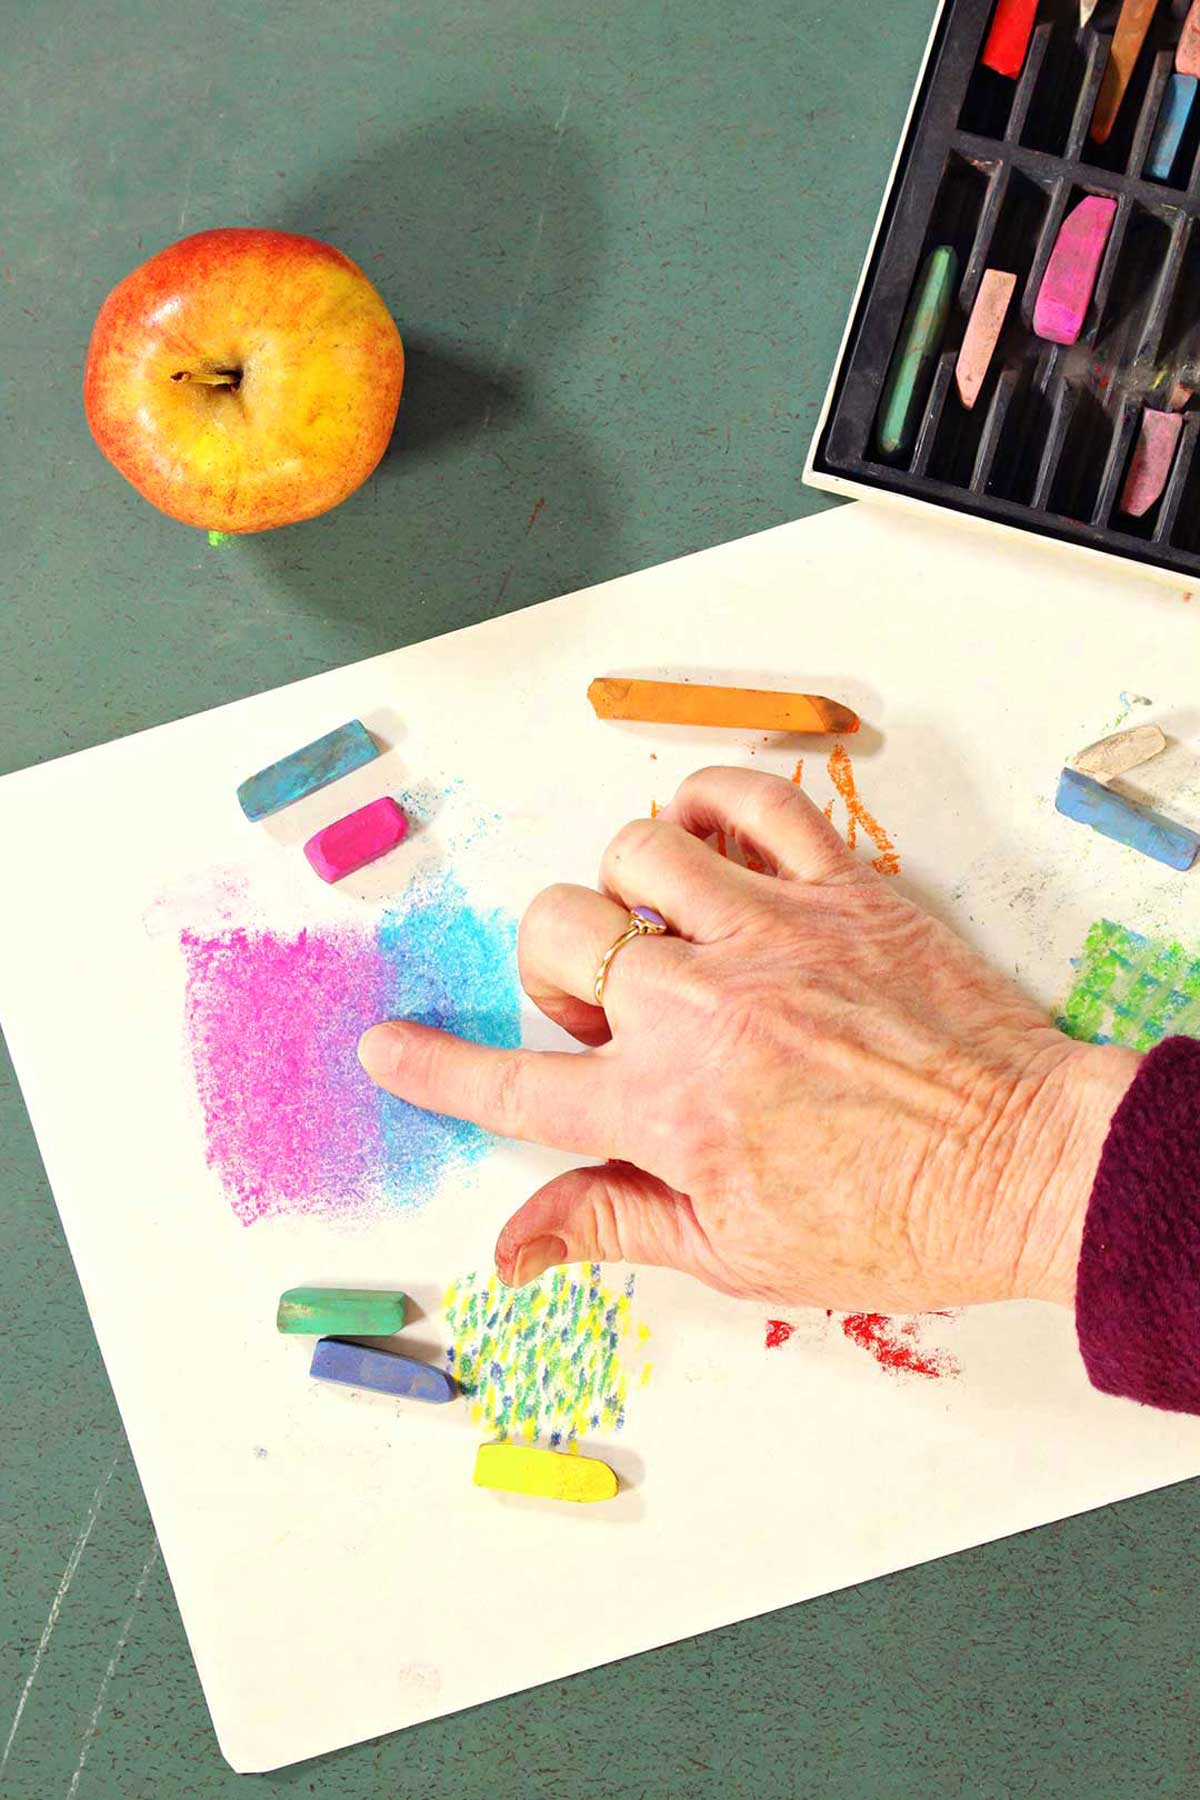
You can use a variety of surfaces for soft pastel drawings, but I like using pastel paper.
An alternative is to use watercolour paper. This paper can have a slight texture that will hold the soft pastel colors fairly effectively. Plus if you are interested in pastel painting (we'll talk a little about this later), this paper is perfect! Again, that's not a technique we will cover in this tutorial, but perhaps in the future.
Smooth papers don't work as well because soft pastels can be fairly "crumbly" or dusty. Without any texture to hold the pastels in place, much of your color will dust off the paper, so for best results, use a textured paper!
When it comes to choosing your soft pastel set, there are many options to choose from and I say the best soft pastels are the ones you have! But if you are looking to purchase, I like a set that has as many colors as possible to choose from. These soft pastels are a great option!
As I mentioned, soft pastels give off a dust that is messy on the hands and needs to be blown off the paper occasionally. I always sneeze when I use them.
Tip: Because of the dust it is a good idea to keep paper under the artwork. It’s also good to have a rag or Paper towels to wipe off your fingers and set the chalk on between usages.
Easy soft pastel apple drawing
We are going to start our soft pastel drawing ideas for beginners with a one item still life. An apple!
Drawing with pastel pencils can be a little intimidating at first, but once you get the hang of the drawing style and basic techniques, you are going to love it. You can use them to create such beautiful pictures with the rich colors and blending.
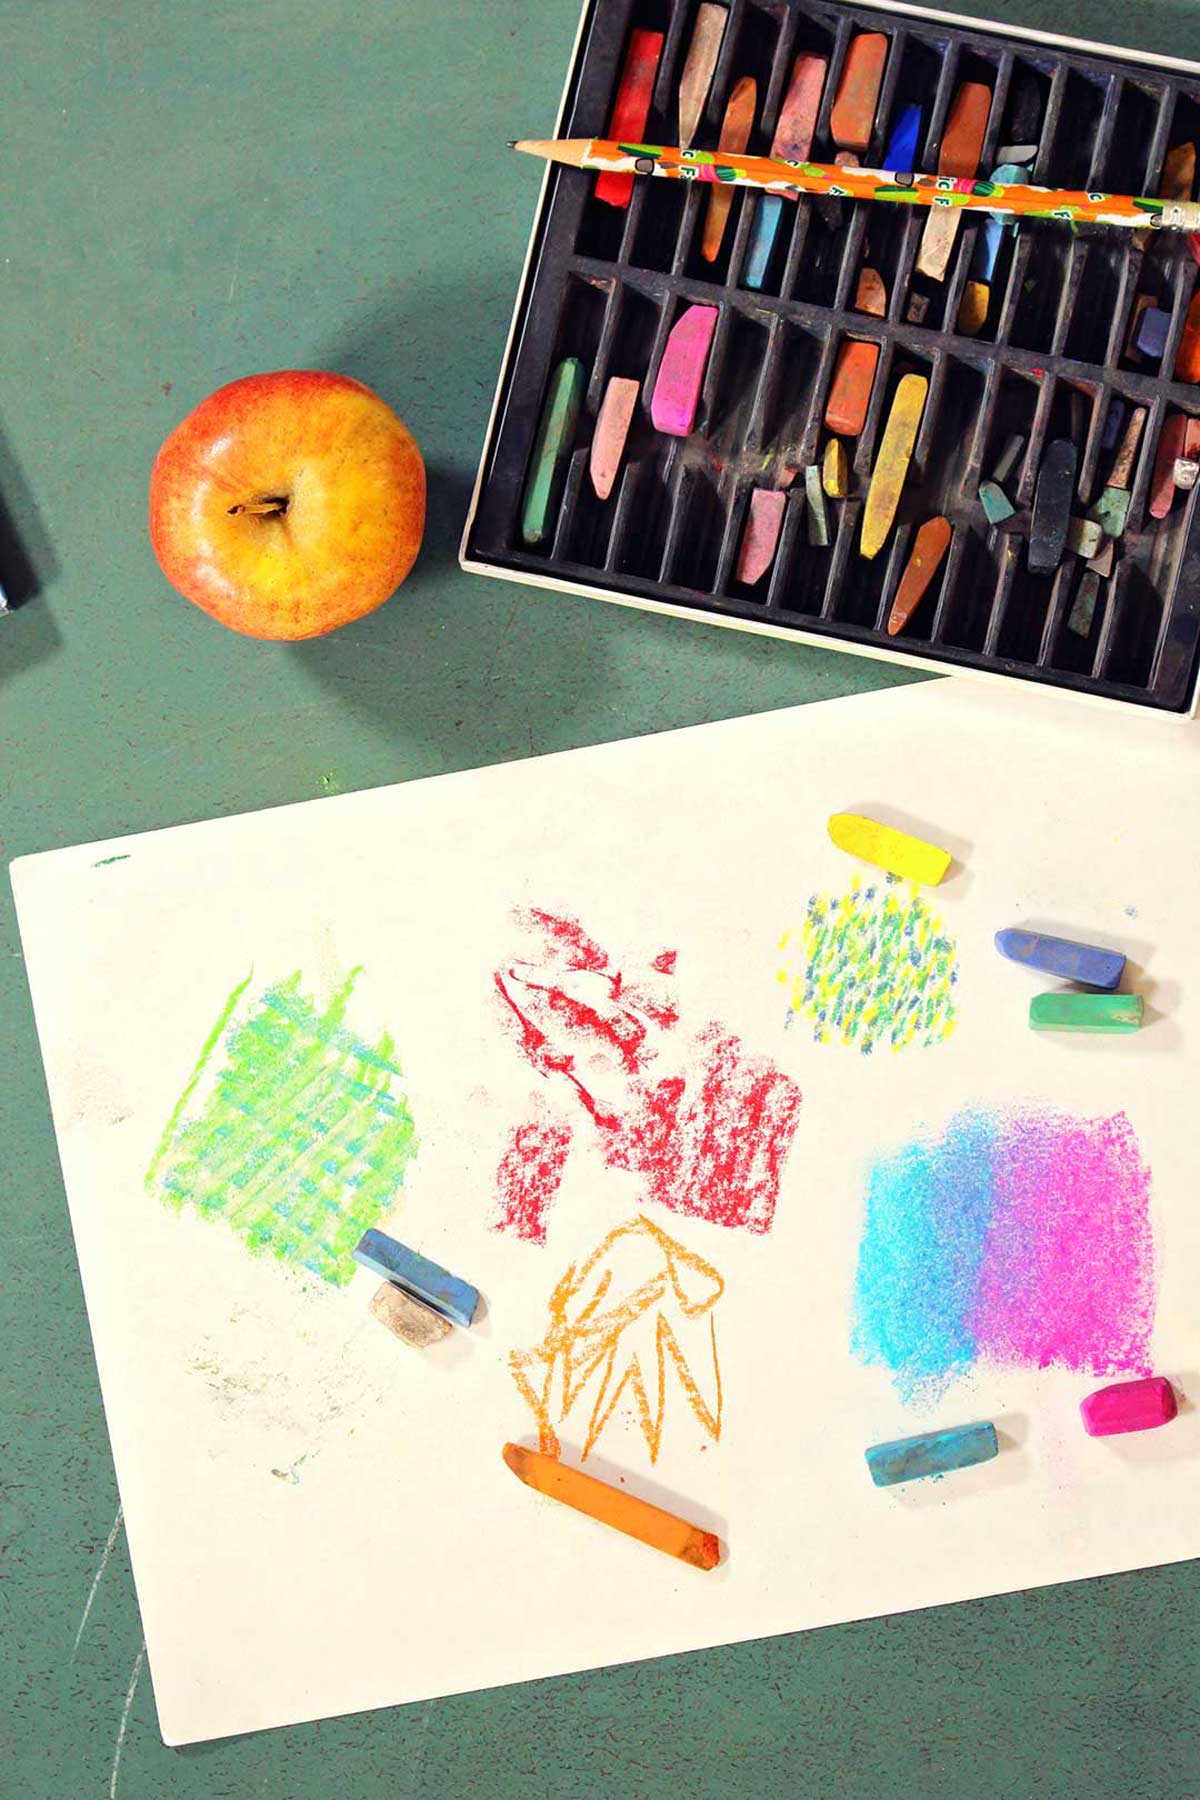
Throughout the drawing, I'll reference several techniques for achieving different effects with soft pastels. You can find step-by-step instructions for these techniques here in this post if you are not already familiar with them.
Okay, let's jump in!
Get your pastel paper out and place on top of newspaper to protect the flat surfaces where you are working.
Open up your box of soft pastels- look at those amazing colors!
Get out an apple and set it on the table.
Pencil drawing
With a pencil draw the outside silhouette (the outside shape) of the apple on the paper. Add a stem and a leaf if you want.
We will use this simple composition to guide the rest of the drawing, so take your time to get the shape how you like it.

Apply the base color
There are many different beautiful colors in our apple. What colors do you see?
We are going to bring those to life by adding a layer of soft pastel for each of those colors and blending them together.
Start with a base color with the side stroke. Yellow is the color that I can see underneath the red splotchy coloring of the apple. So, we will start with that.
Note: Remember you can find the post and video on soft pastel techniques here if you don’t know what a side stroke is and want to learn how to use your pastel stick.
Add additional color on top and shadow
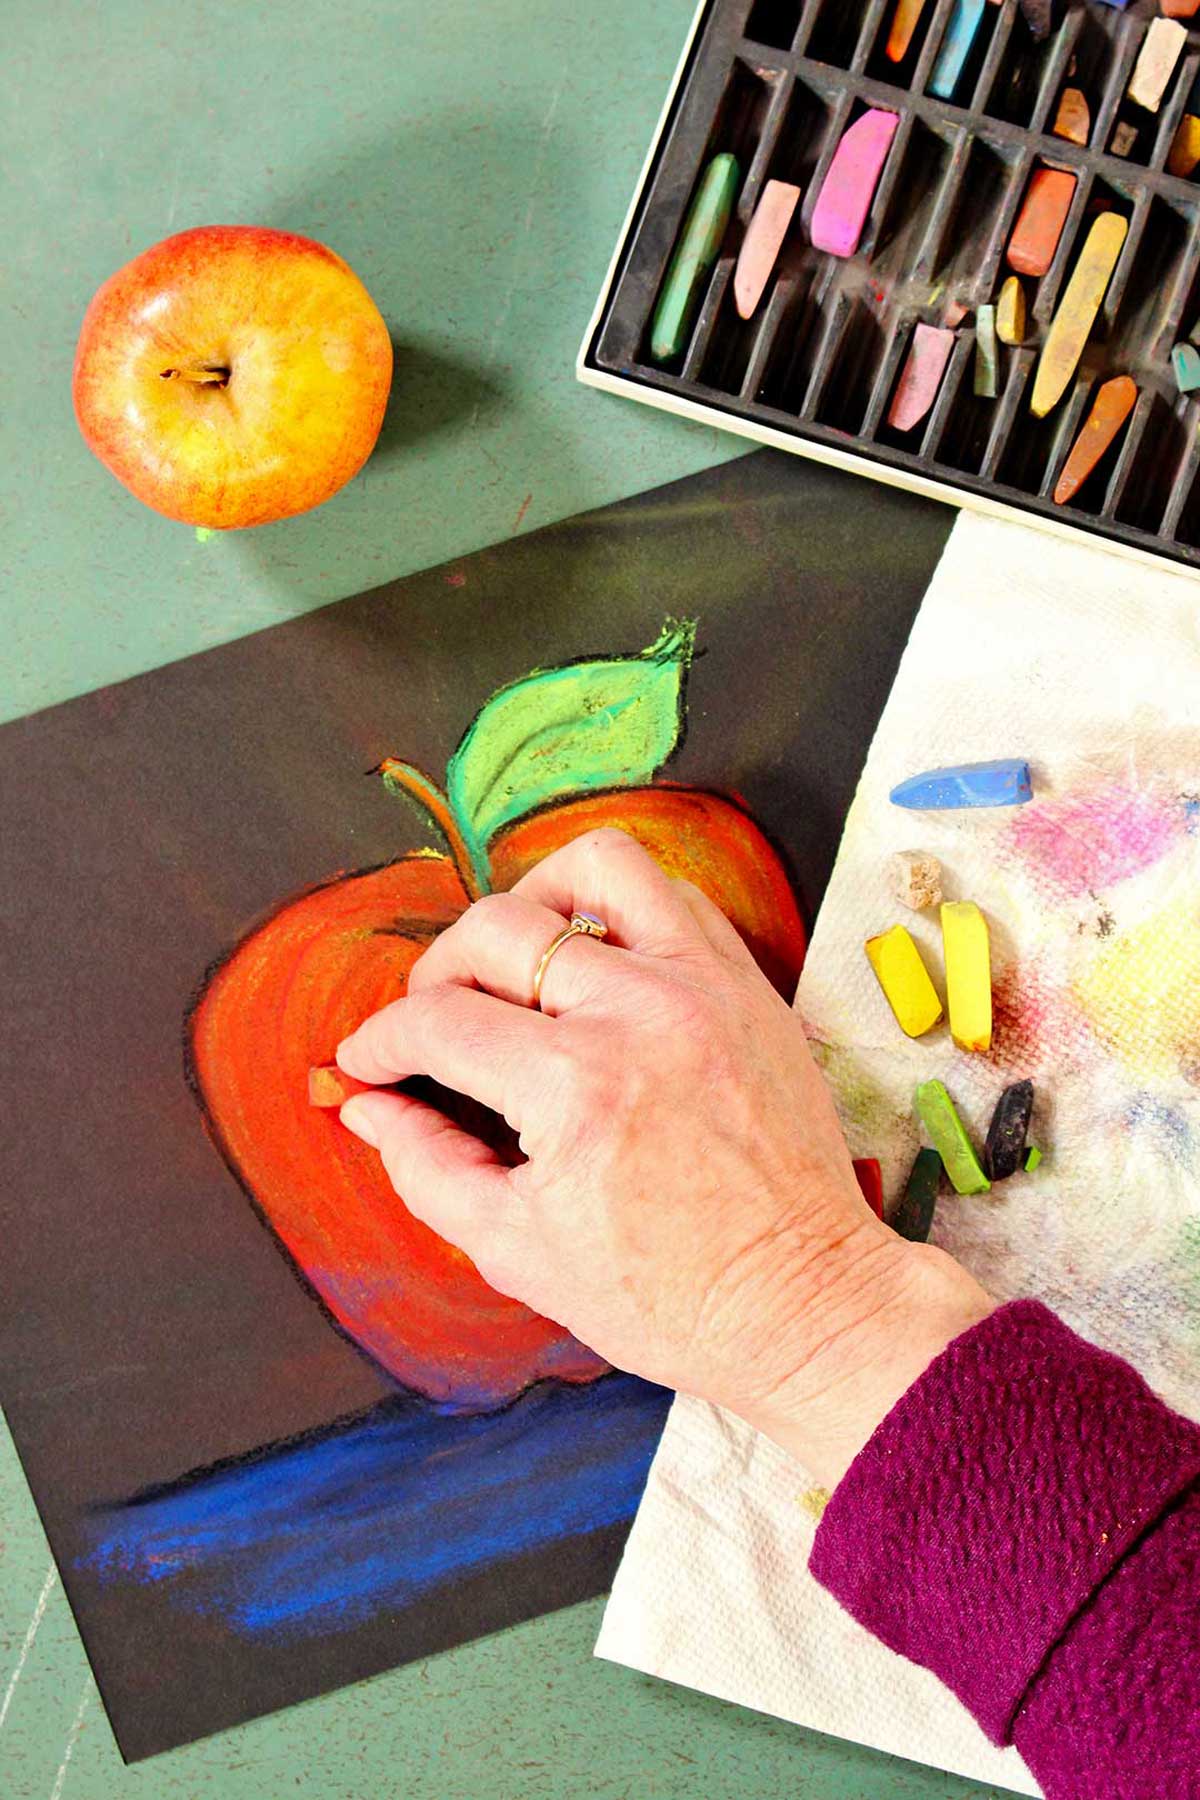
Add additional side stroke and drawing lines of the red color over the base color. Bring those colors together by blending with your finger or a blending stump.
I love creating different shades by blending colors together, don't you? Don't be too concerned about accidental smudging, remember that is part of drawing with soft pastels and sometimes those become happy accidents!
Then add some shadow color. I chose some blue for the shadow. Blend.
Stem and leaf
The stem and leaf are done similarly. Start with a yellow green color, then color with a darker green over it and blend.
We end up with some black pastel outline to make the edges look a bit crisper and blend that in slightly as well. Presto!
Tabletop in blue
With the side stroke make a table top in blue soft pastel. Edge with black and add a little shadow under the apple. Blend.
By the way, this can be done on white paper as well as black paper.
Sealing your soft pastels
And there you have it! If you'd like to seal your soft pastel drawings, you can use a fixative spray, or even an unscented hair spray.
You shouldn't have to use too much fixative, just a light misting should do it.
ENJOY the PROCESS
Go easy on yourself as you learn and enjoy the process of experimenting with soft pastels. It’s one of my favorite art mediums, I'm hoping you enjoy it as well! (One of my favorites, I have lots of favorites!)
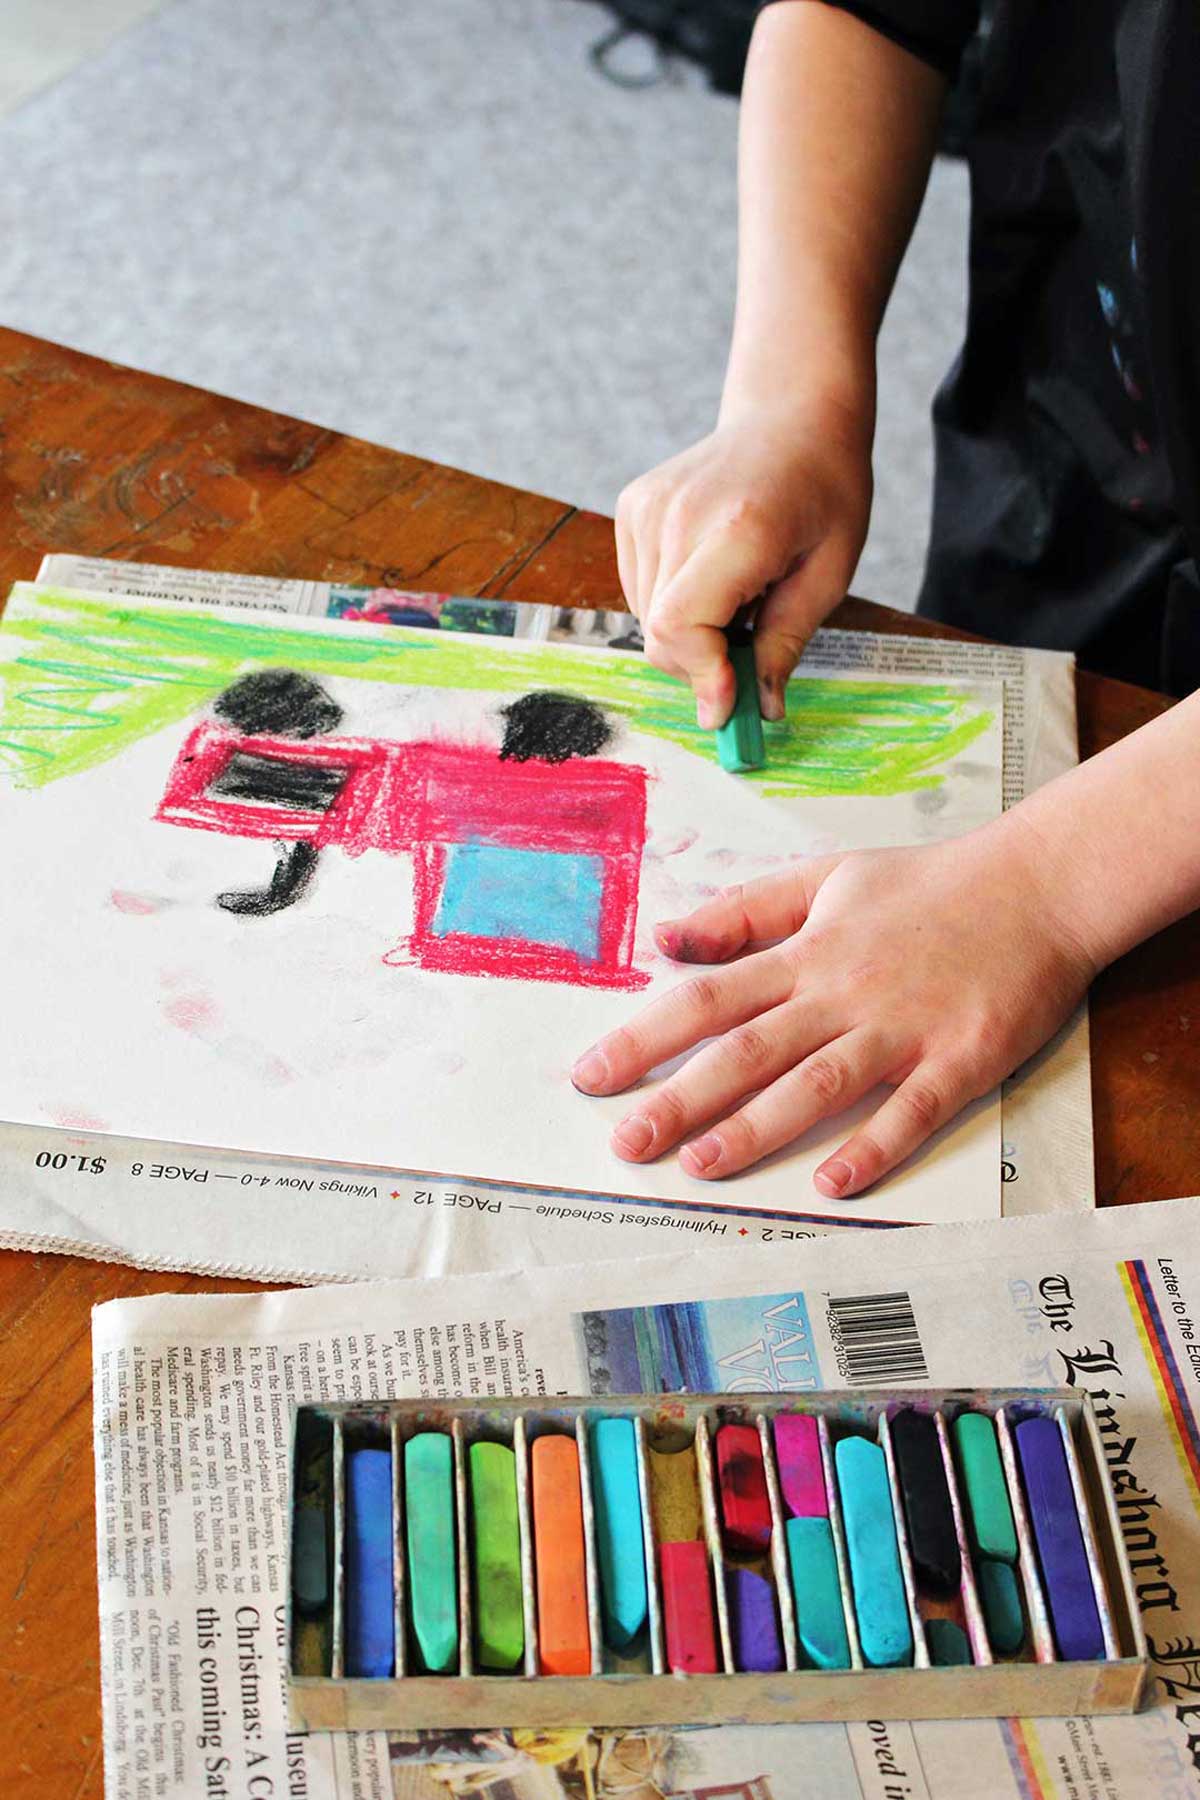
How do I use soft pastels?
As I mentioned earlier, there are several techniques for using soft pastels. If you would like to learn more about them, click here for the post Soft Pastel Techniques to Learn.
The techniques shown there are drawing, the side stroke and blending, dots (pointillism) or little strokes and cross hatching.
You'll be able to use these techniques to try other soft pastel drawings as well. In fact, let's talk more about what you can draw next!
More soft pastel ideas
This was such a fun drawing, and it's just the beginning! Why not try some of these other variety of forms of art with your new medium?
With such beautiful color tone options to choose from, soft pastels are great for landscape drawings. Maybe you could try a mountain with snow on top, or a forest of trees around a flower meadow, or maybe a beautiful sunset behind a winter landscape?
It may be a little difficult with the thick lines of soft pastels, but you could also try portrait drawing. Why not try drawing a picture of your dog, cat, or other pet?
We didn't talk about how to do this yet (it's an idea for another live lesson!), but you can also use soft pastels for a form of painting. This is done by just barely wetting the soft pastels after you've drawn with them. Once wet, use the water to help blend and smudge. This can be done with your finger or a paint brush.
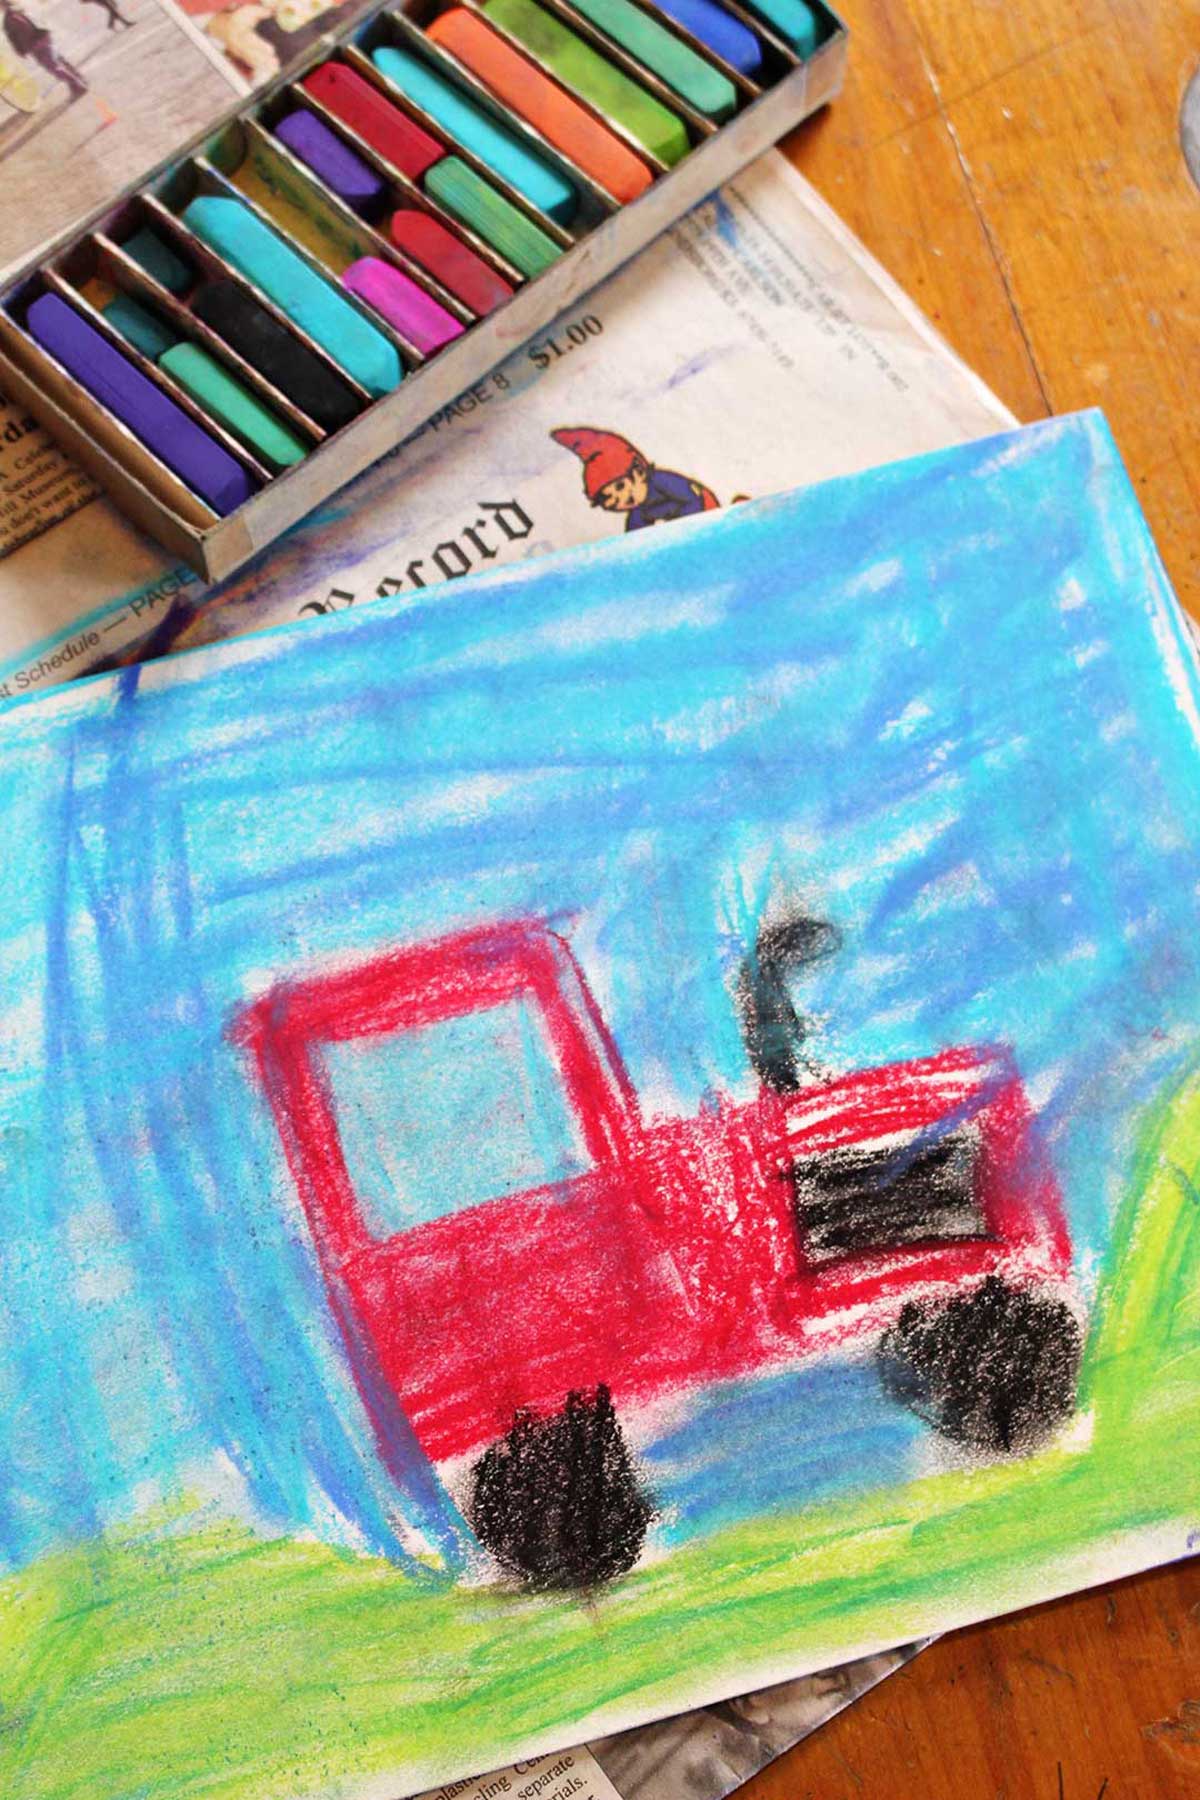
Pick me to see your drawings!
I’m eager to see your drawings of apples or of whatever you choose to create with your soft pastels. Be sure to add your photos!
You'll get better and better at utilizing soft pastel techniques the more you practice. But remember you can break the rules too, so have fun with experimenting along the way!
Maybe you will illustrate a book some day as professional artists! If so, let me know! 🙂
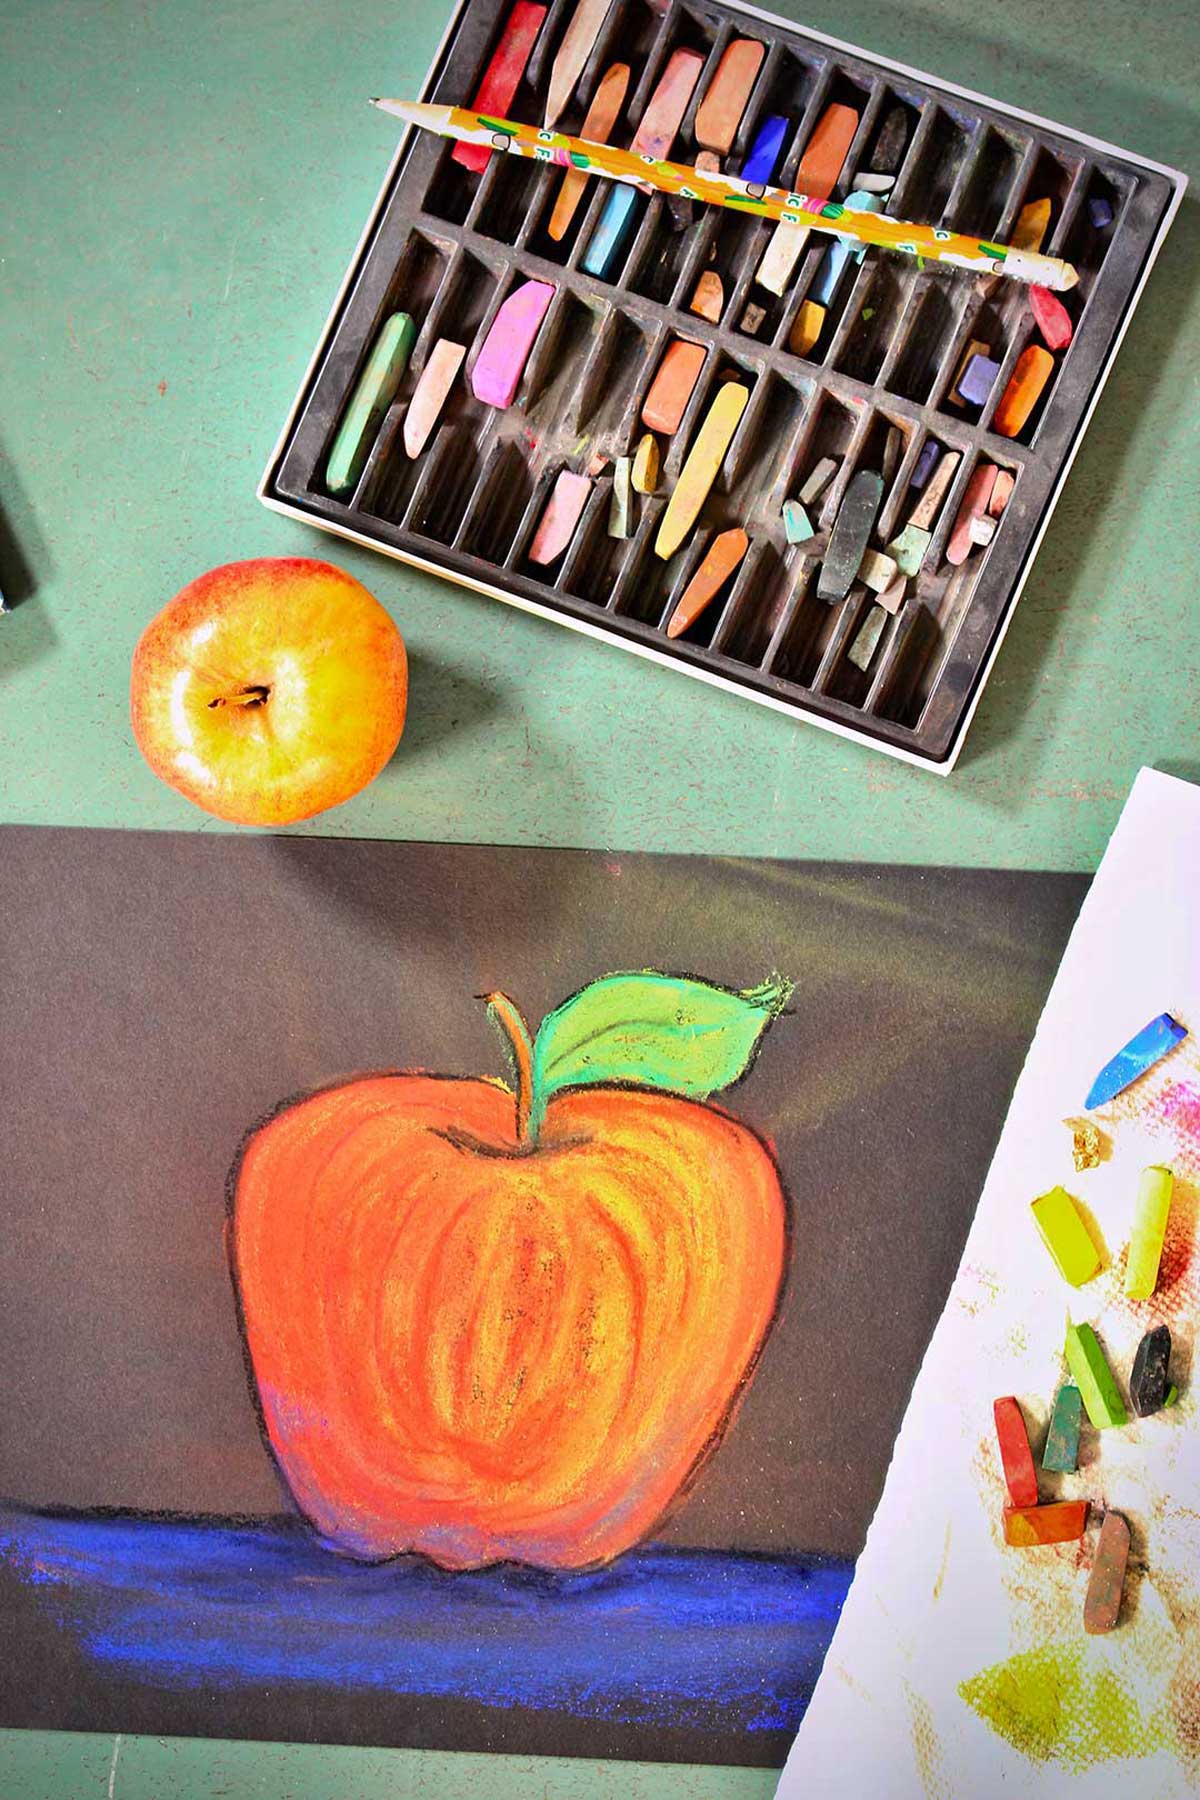
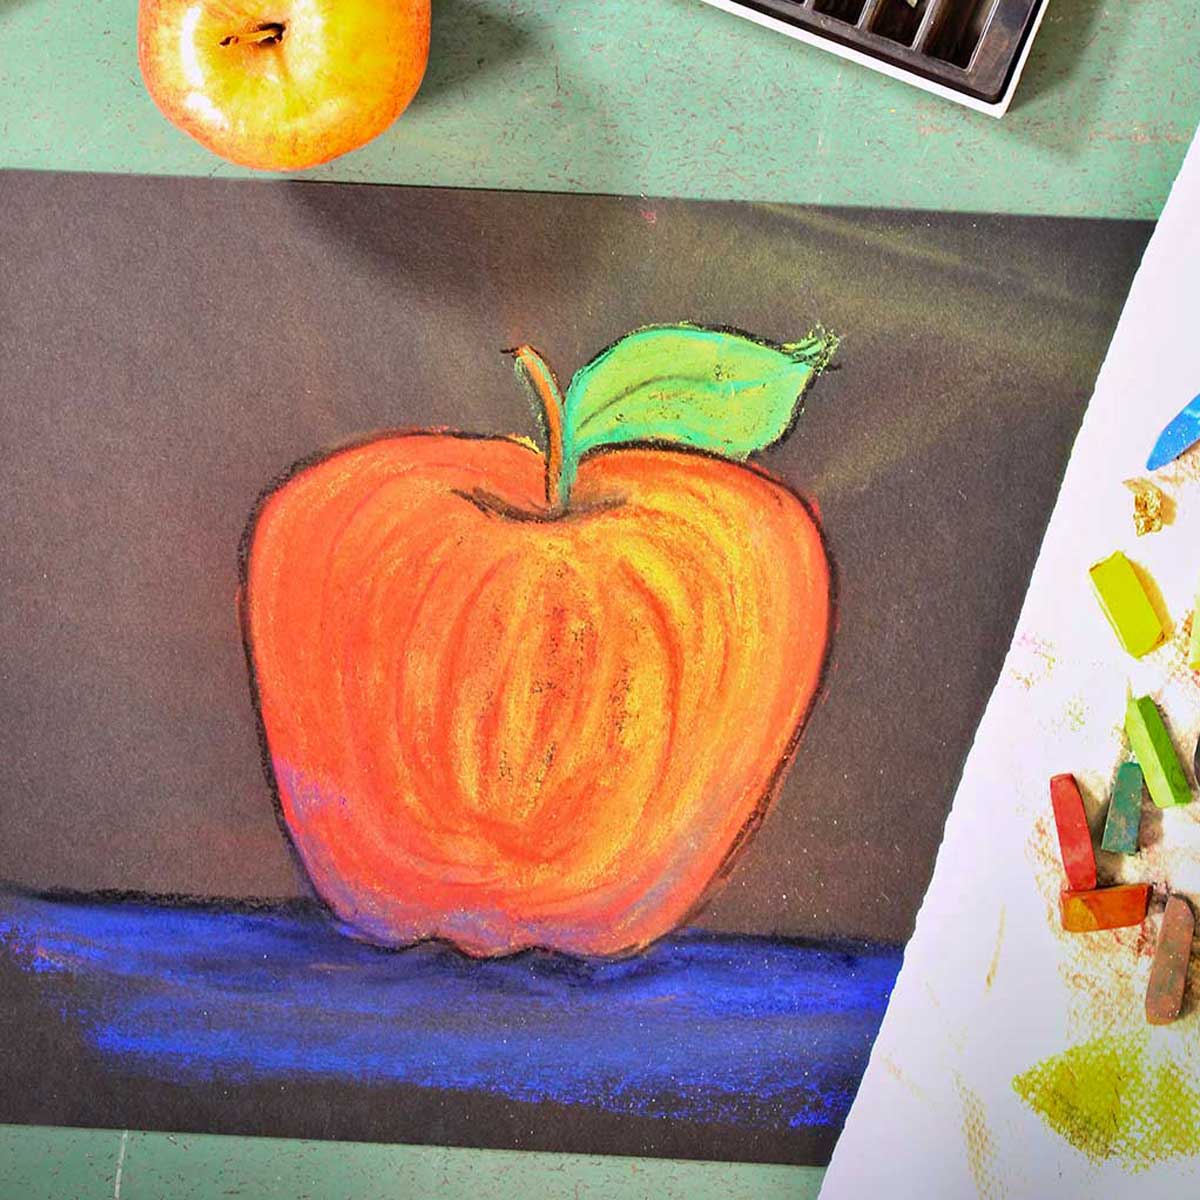
Start you soft pastel drawing by outlining the shape first in pencil. This will give you a few starting guidelines to go with. Next, decide on your base layer of color - this is the color you want to layer other colors over. With our apple picture, we layered yellow first and then added red on top.
Soft pastels are a vibrantly colored, versatile art medium. Plus they so much fun to use, especially once you learn a few simple techniques! You can easily layer and blend colors to create beautiful pictures. They work well even on dark colored backgrounds, such as black in this picture of an apple.
More art projects for kids
Want another fun art project to try next? You've come to the right place! Check out these ideas from around the blog:
- Fun and Easy Watercolor Ideas!
- Try Glue Line Painting: Glue Lines & Watercolor Wash
- How to Paint Aspen Trees in Watercolor
- Cool Sharpie and Alcohol Painting on Canvas
- More Easy Art Projects...
Enjoy!
If you try this craft, let me know! Go ahead and leave a comment, rate it, and tag a photo with #WelcometoNanas wherever you post.
Come join the fun at www.WelcomeToNanas.com
Supplies for Soft Pastel Drawing Ideas for Beginners
- Paper suitable for pastel drawing (will say on the front cover)
- Soft pastels- (Purchase a set with as many colors as possible)
- Apple- to draw (can be eaten later-ha)
- Paper towels
Soft Pastel Drawing Ideas for Beginners
Equipment
- none needed
Items Required
- 1 pad Paper suitable for pastel drawing (will say on the front cover)
- 1 set Soft pastels- (Purchase a set with as many colors as possible)
- 1 Apple- to draw (can be eaten later-ha)
- 1 Paper towels
Instructions
- Watch video with step-by-step directions. Stop and follow each step.
- Put pastel paper and soft pastels out on newspaper to protect your work surface. Place apple on table in front of you.
- With a pencil draw the outside silhouette (the outside shape) of the apple on the paper. Add a stem and a leaf if you want.
- Use the side stroke to add a yellow base color to the apple drawing.
- With the side stroke add some red over the base coat and blend.
- Add some shadowing with some blue soft pastel.
- Color in the stem with brown.
- Color in leaf with yellow green as the base color. Add some green over this and blend.
- Use a little black outline to edge the drawing and blend slightly.
- Make a blue table top with a side stroke application. Add a little black outline and blend
Video

This post was originally published in March 2022 and has been updated to add more relevant and detailed content.


Laura says
Love the colors. Thanks for sharing the tips!