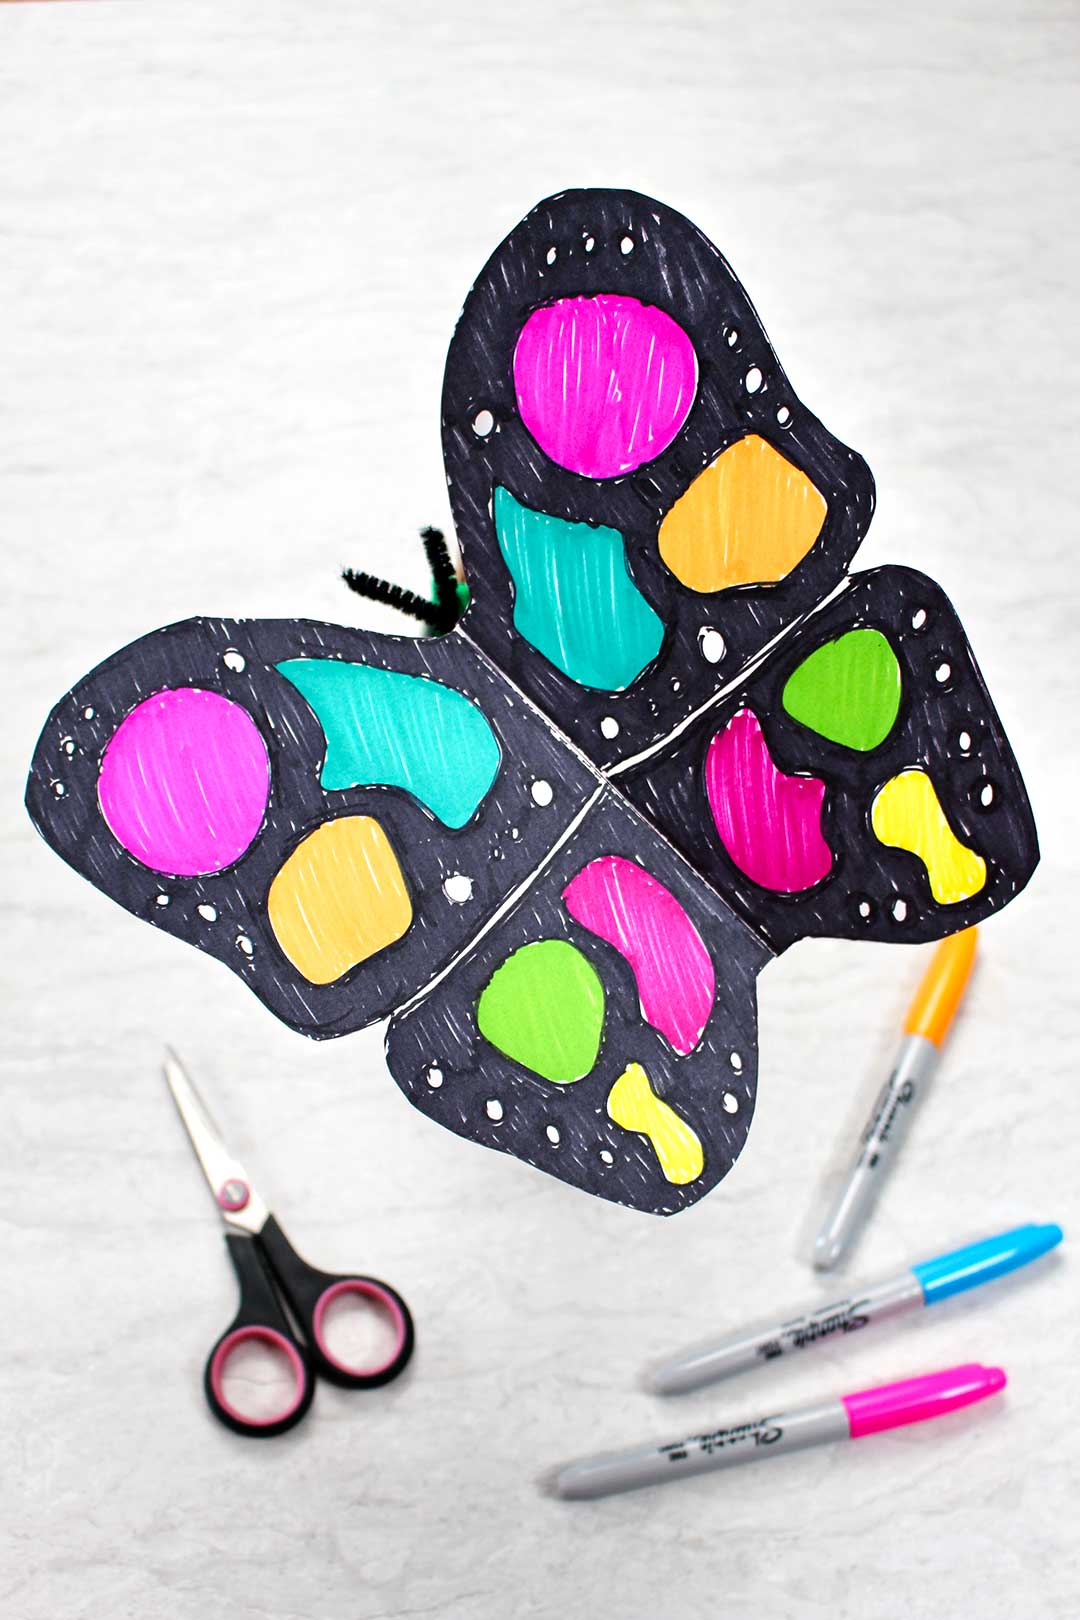
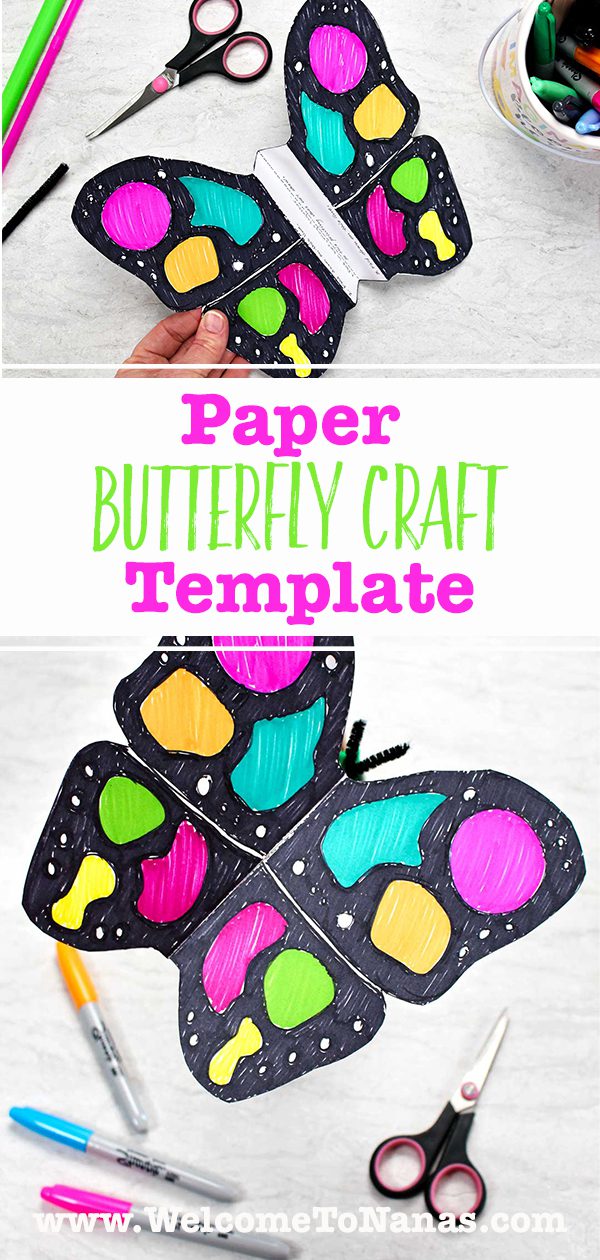
This moving Paper Butterfly Craft is a simple way for kids to blend creativity with some playful engineering! After nearly 3 decades of teaching, I love creating projects that help kids learn and explore while having fun and this craft does just that.
Follow my simple tutorial to turn just a few craft items you already have into a pretty butterfly that actually flaps its wings! Kids of all ages will love it, plus it’s made even easier with a free printable template. My grandkids and I had so much fun making this one and I hope you will too!
Butterfly Template Printable
This DIY Paper Butterfly Craft with a free template is so easy and yet so amazing. The mechanics of this craft are simple, a set of two straws with one sliding inside the other. But the results are cool- with the child able to flap the butterfly wings as they move it through the air.
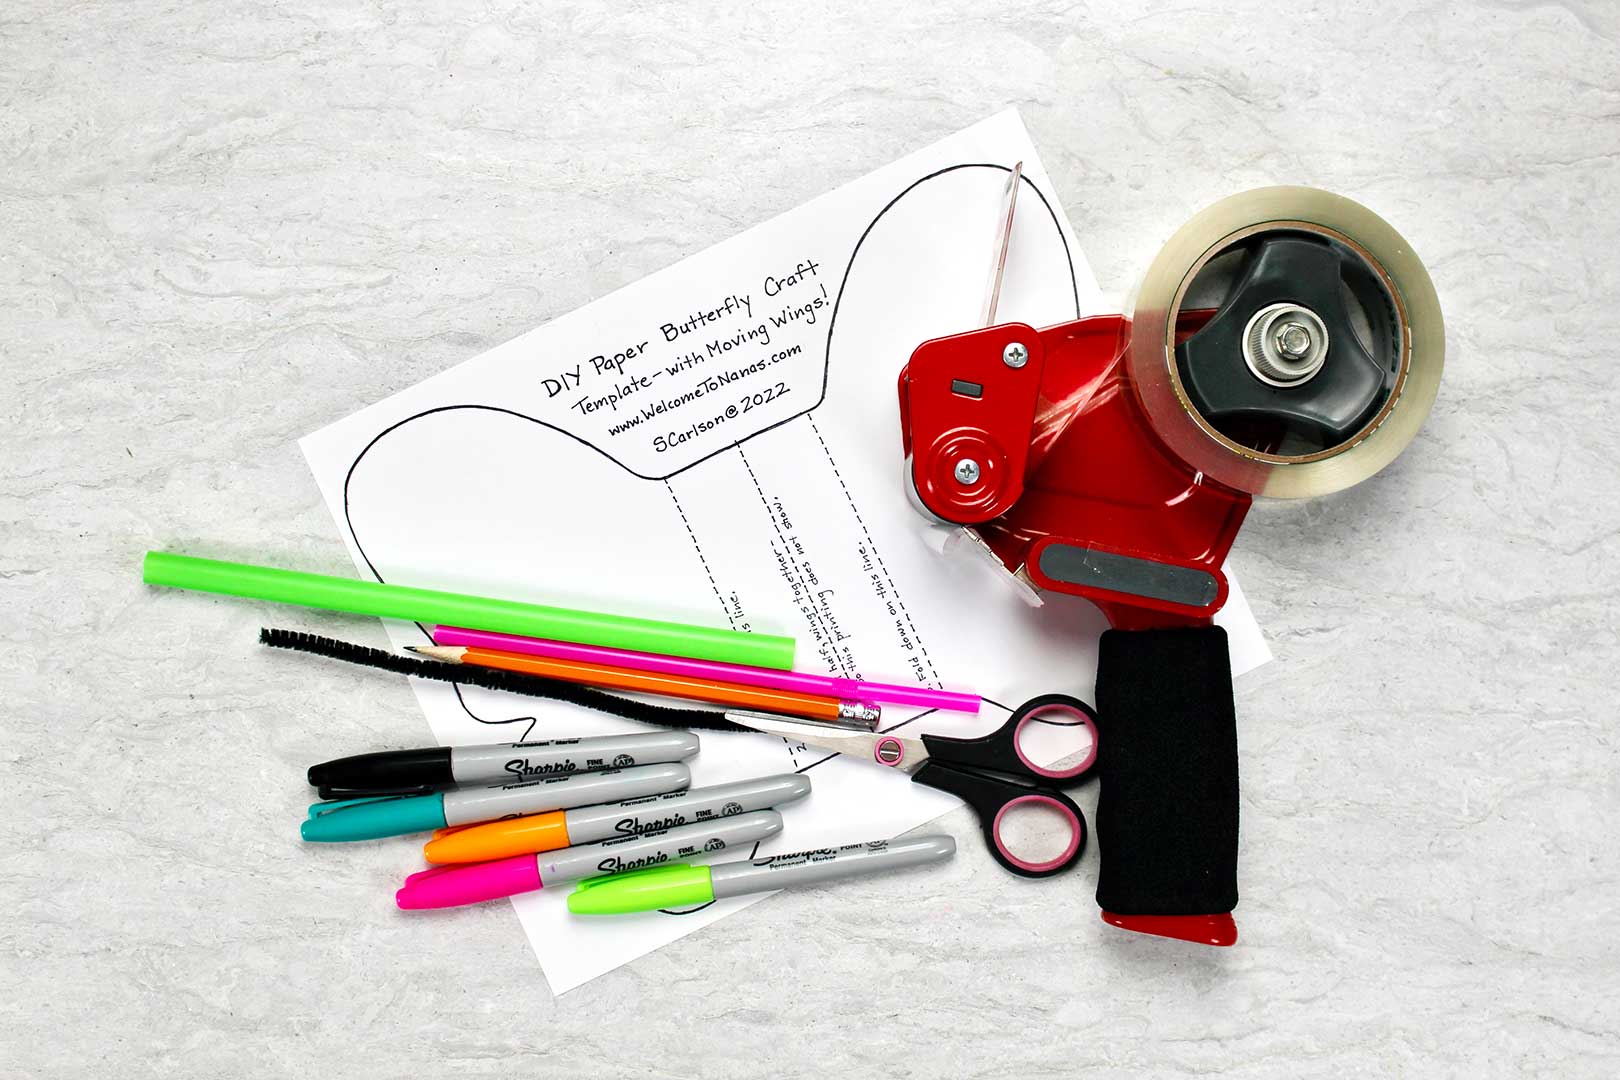
- Print the free DIY Paper Butterfly Craft Template out on cardstock or 90 lb. paper (I used white but colored paper would work OK too). You may have to slightly decrease the size of the original as you print because I drew it almost edge to edge on the paper. Sorry about that. Here is the link for the Free Butterfly Template
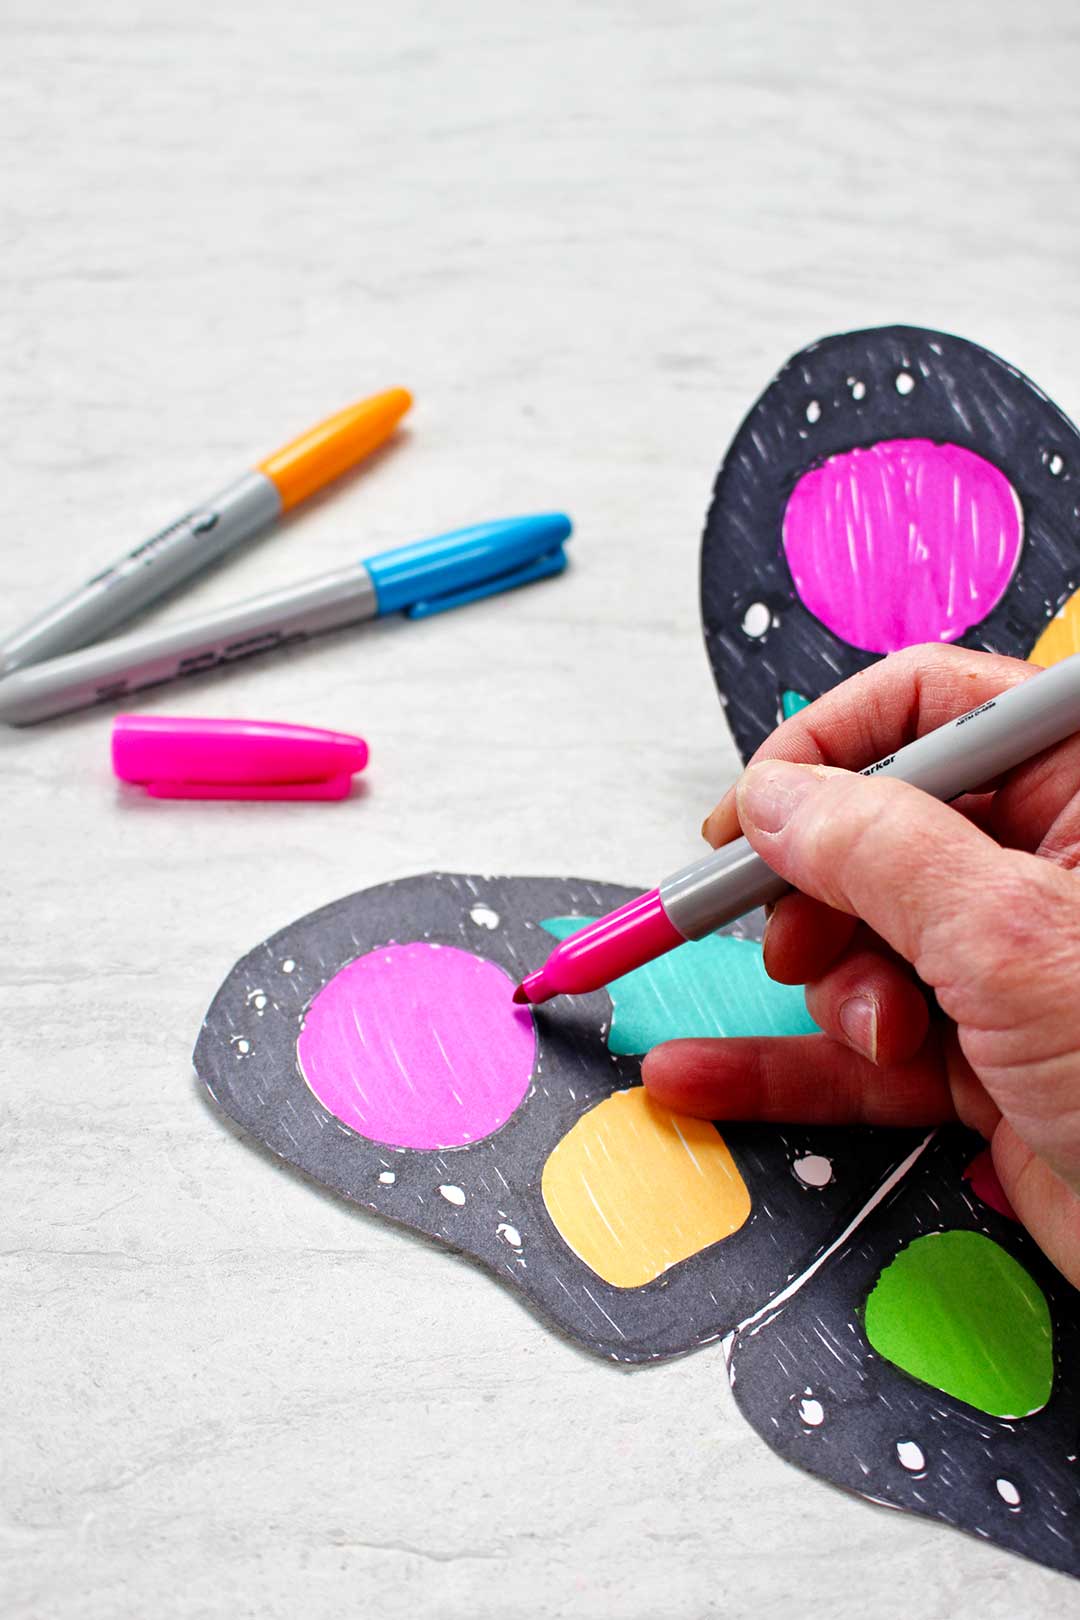
2. Decorate the butterfly wings with colored markers, colored pencils, or crayons. I only decorated the top of the butterfly wings, but you could decorate both sides of the paper if you want.
Butterfly wings are symmetrical, the same pattern on each wing, but let the kids color them however they want!!
I just thought about the possibility of adding BLING (like stick on gems) or glitter if you want (glitter is such a mess, but so pretty)!
How to Cut Your Butterfly Template
3. When the grands are done decorating, have them cut out the butterfly on the solid outside line. Do NOT cut on the dotted lines.
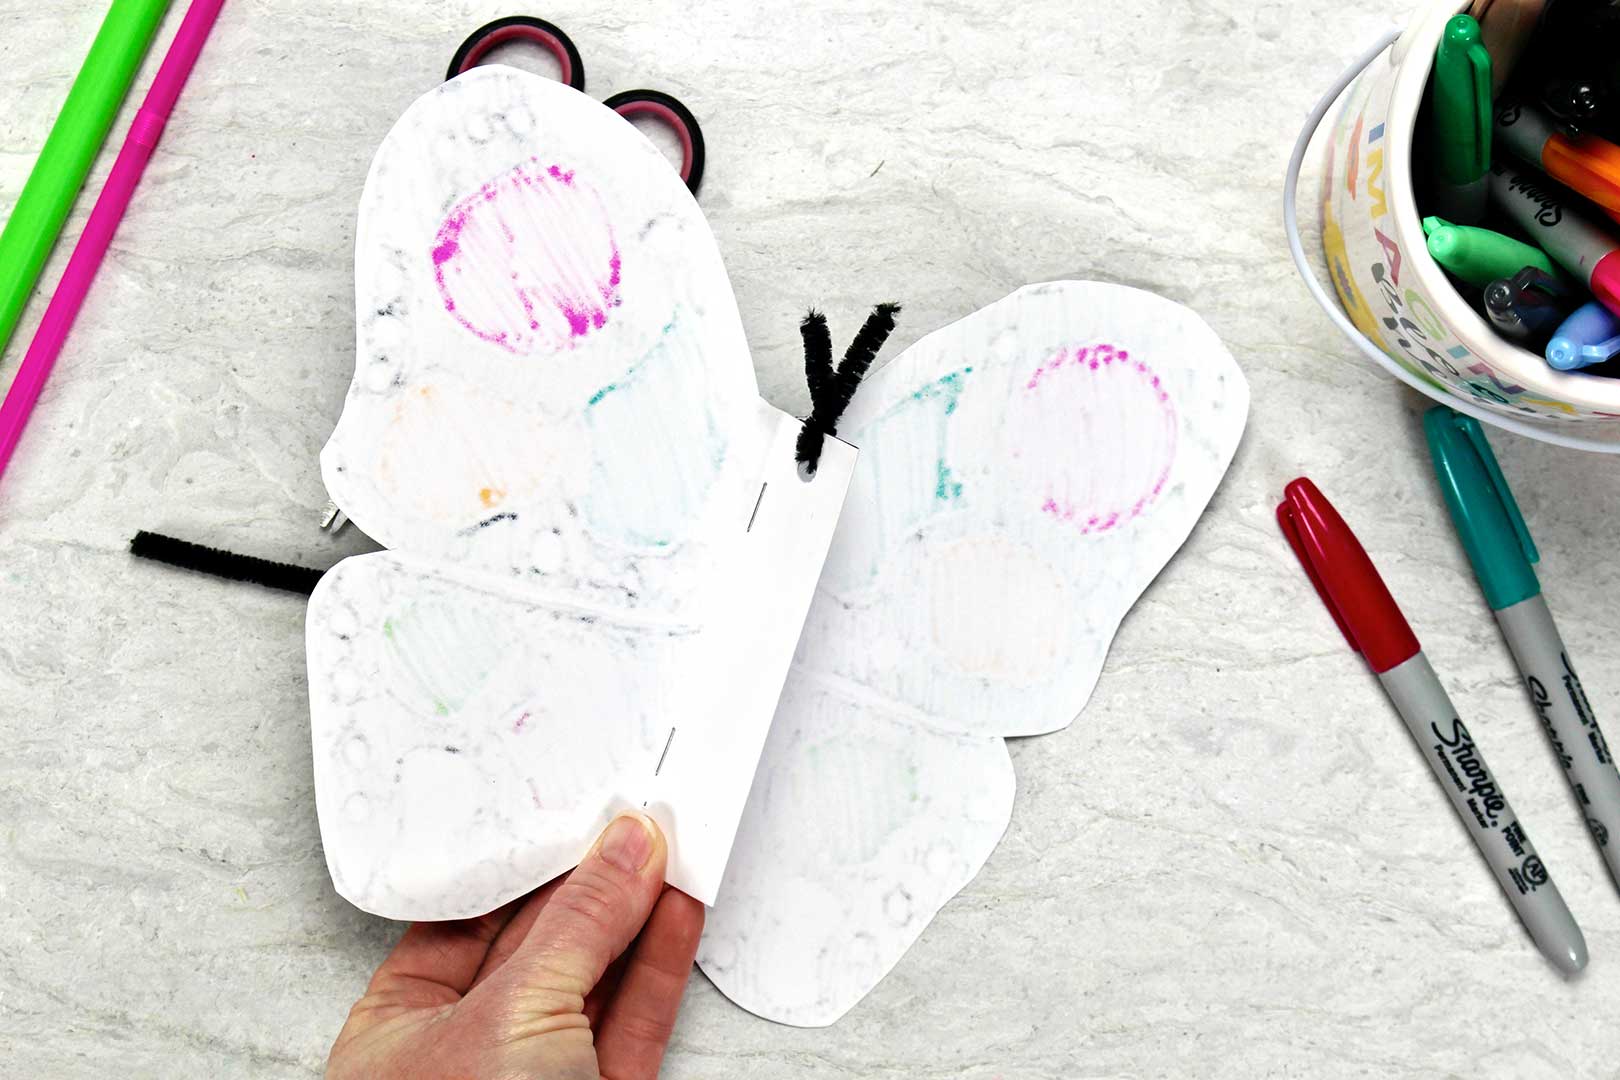
4. Fold the wings in half on the center dotted line, with the printed words in the middle.
Then fold the wings back on the outside dotted lines. This creates an accordion fold in the butterfly and a “body” underneath the wings.
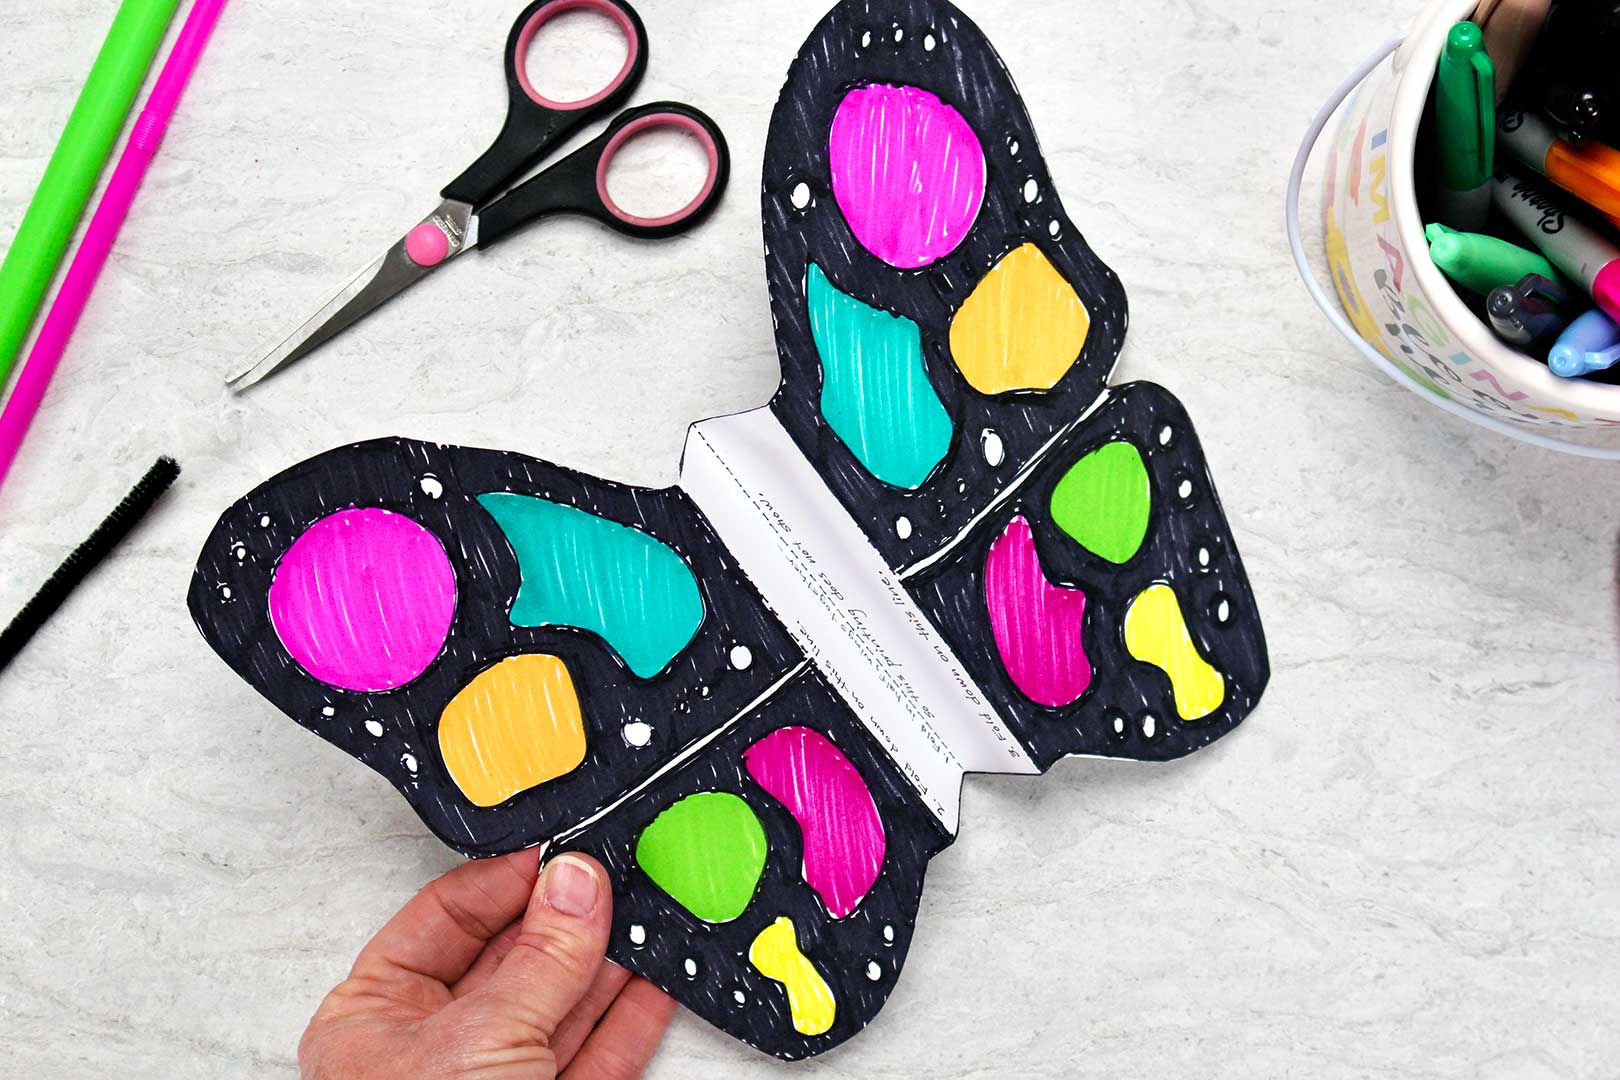
5. Staple the body together on the folds underneath the wings. This holds it together. You could glue it together if you prefer.
6. Using a hole punch, punch a hole in the butterfly towards the head.
7. Pull a pipe cleaner through the hole and twist the two ends together so it won’t come out. These pipe cleaner ends make the antennas. Clip them to the length you like.
To Move The Wings of Your Butterfly Template Printable
8. The mechanics of the butterfly are achieved with two drinking straws, one larger in diameter and one smaller in diameter. The smaller straw must fit inside the larger straw.
Using some scissors, cut, and split the larger drinking straw in half lengthwise for about 4 inches down from one end.
Cut the straw off about 2 ½ inches shorter than the small straw (on the end that is not split).
Then cut and split the smaller drinking straw lengthwise for about 1 to 1 ½ inches down from one end. If your smaller straw is a bendable one, then cut down from the other end of the straw.
9. Open the split in the small straw, slide it over the body of the butterfly on the underside of the butterfly. Tape this in place using packing tape, placing tape over the end of the straw on each side of the butterfly body.
Tip: I tried regular tape and it just wasn’t strong enough to hold.
Then slide the larger drinking straw over the smaller straw with the split ends towards the butterfly.
Tape one end of the split straw to the underside of one of the butterfly wings at least halfway across the wings (not right next to the body). Do the same thing on the other wing as well. Again, use packing tape.
Tip: Only tape about 1 inch of the end of the straw to the wing so it can flex better for the next step of flapping the wings!
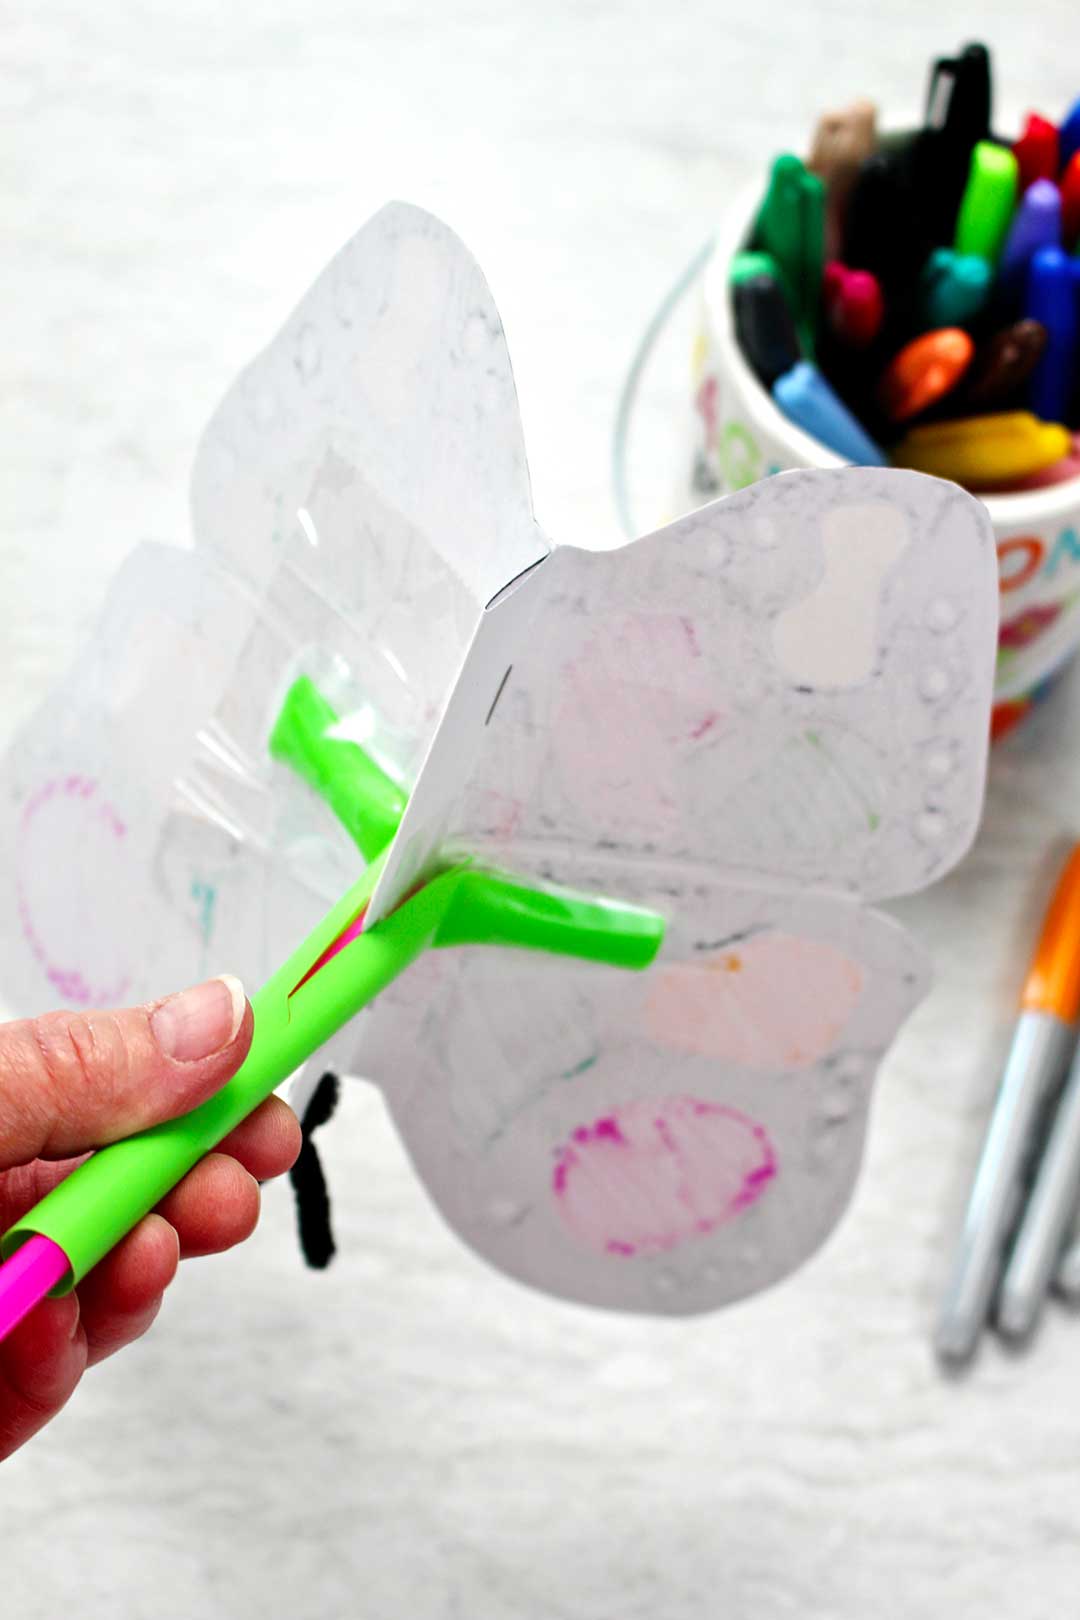
To make the butterfly wings “flap”, just hold the smaller straw in one hand and the larger in the other. Slide the larger straw up and down over the smaller one. The wings go up and down and “flap”, you have a butterfly with moving wings!
Tip: You may need to fold the larger straws a bit so they will bend and flap correctly.
More Ways to Use This Printable Butterfly Template
What other bugs could you make with a bit of imagination? Why not try a ladybug or a dragonfly for example? You will have to adapt the template, but that will challenge your grands to think through how that can be done! So cool.
For more butterfly craft ideas check out these posts on Welcome To Nanas! I think I see a lot of butterfly ideas on here!
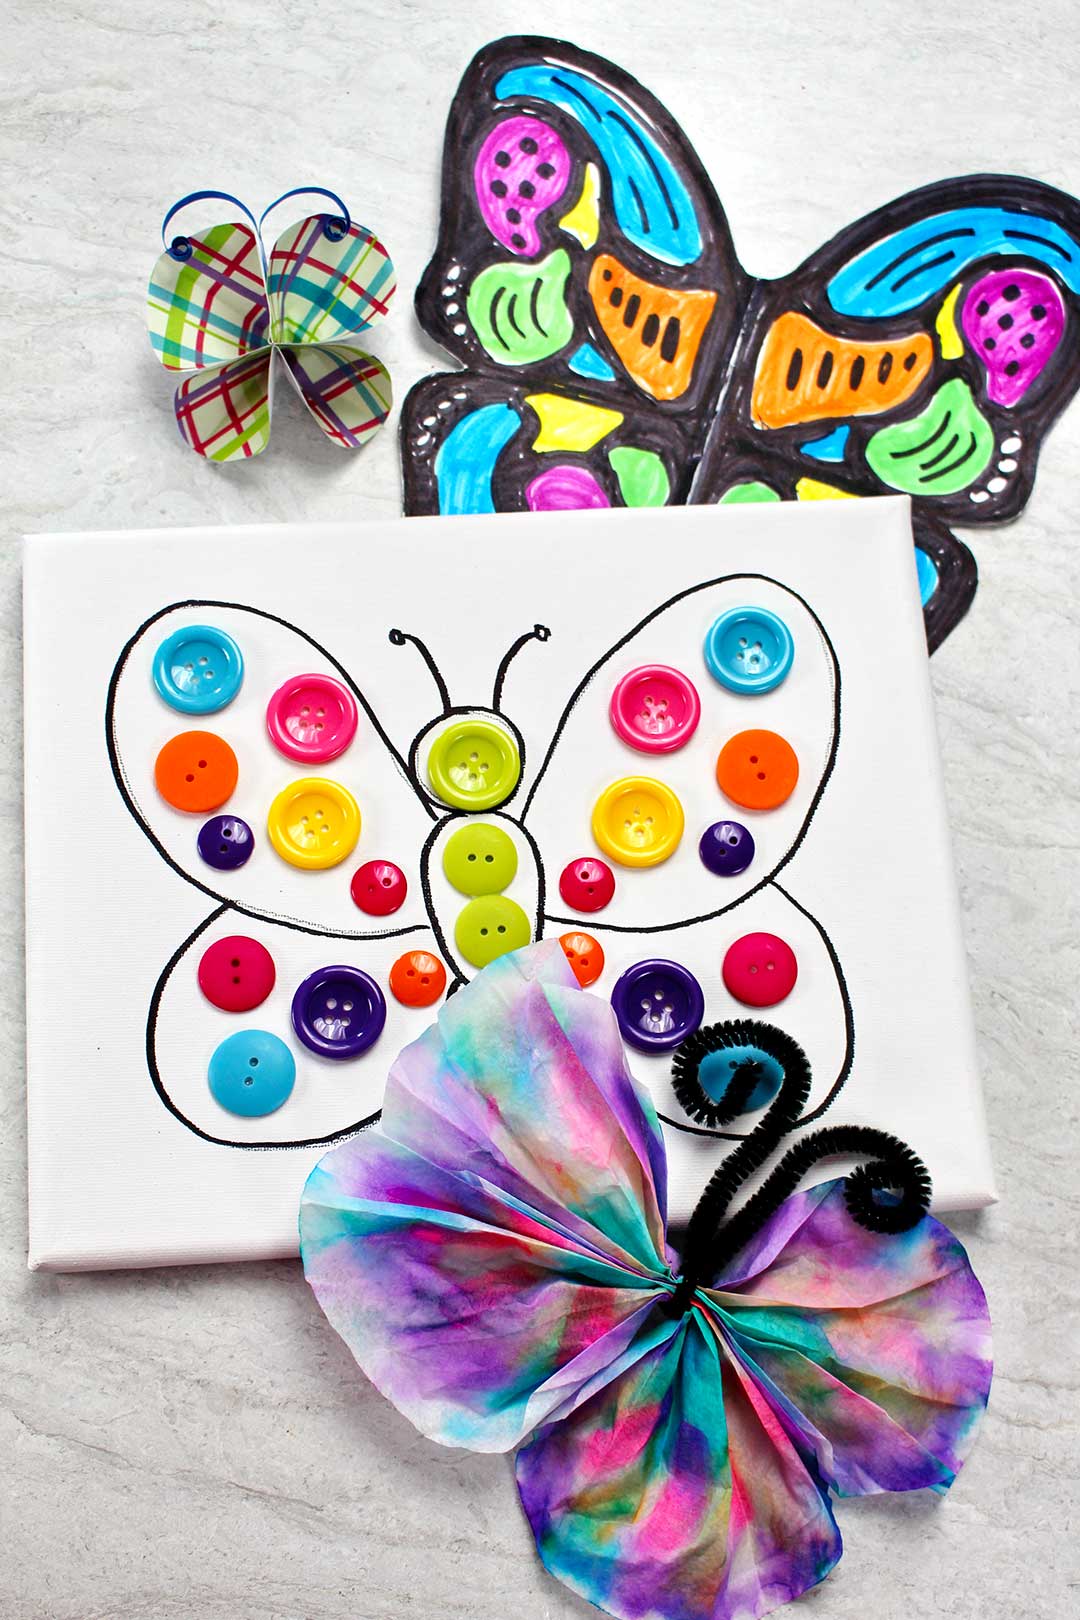
More Butterfly craft ideas
Hey, I just thought of another way to use this DIY Paper Butterfly Craft Template. You could make a number of these butterflies but instead of attaching straws, you could hang them from the ceiling (from the body section) for decorations. Or you could tie them together on a string tied in the same hole as the antenna go through and make a butterfly garland!
Here is the link to that Free Butterfly Template again! For more fun butterfly themed activities, check out the list below:
- Butterfly Birthday Party Theme Ideas
- Coffee Filter Butterfly Craft
- Paper Butterfly Cupcake Toppers
- DIY Butterfly Wings Photo Backdrop
- Decorated Butterfly Pretzel Cookies
Enjoy!
If you try this craft, let me know! Go ahead and leave a comment, rate it, and tag a photo with #WelcometoNanas wherever you post.
Come join the fun at www.WelcomeToNanas.com
Free Butterfly Craft Template
Equipment
- Scissors
- Stapler
- Hole punch
Items Required
Instructions
- Print the free DIY Paper Butterfly Craft Template out on cardstock or 90 lb. paper
- Decorate the butterfly wings with colored markers, colored pencils, or crayons. Add BLING (like stick on gems) or glitter if you want
- cut out the butterfly on the solid outside line.
- Fold the wings in half on the center dotted line, with the printed words in the middle. Then fold the wings back on the outside dotted lines.
- Staple the body together on the folds underneath the wings.
- Using a hole punch, punch a hole in the butterfly towards the head. Pull a pipe cleaner through the hole and twist the two ends together, clip to length desired for the antenna.
- Using some scissors, cut, and split the larger drinking straw in half lengthwise for about 4 inches down from one end. Cut the straw off about 2 ½ inches shorter than the small straw (on the end that is not split).
- Then cut and split the smaller drinking straw lengthwise for about 1 to 1 ½ inches down from one end.
- Open the split in the small straw, slide it over the body of the butterfly on the underside of the butterfly. Tape this in place using packing tape, placing tape over the end of the straw on each side of the butterfly body.
- Then slide the larger drinking straw over the smaller straw with the split ends towards the butterfly.Tape one end of the split straw to the underside of one of the butterfly wings at least halfway across the wings (not right next to the body). Do the same thing on the other wing as well. Again, use packing tape.
- To make the butterfly wings “flap”, just hold the smaller straw in one hand and the larger in the other. Slide the larger straw up and down over the smaller one. The wings go up and down and “flap”, you have a butterfly with moving wings!
Video

Supplies for the DIY Paper Butterfly Craft
- Cardstock paper or 90 lb paper (I used white)
- DIY Paper Butterfly Craft Template (link to copy)
- Colored markers, colored pencils or crayons
- Stick on gems or glitter (optional)
- Pipe cleaner
- Larger diameter drinking straw
- Regular diameter drinking straw
- Packing tape
- From your supplies- need:
- Scissors
- Stapler
- Hole punch


Shari Garretson says
Why is it so hard to find the template for this craft?! You keep promising one, but none is presented.
Also, it would be great to find a way to make the wings flap without using plastic straws, in deference to the environment. Any ideas?
Shelly says
The template is linked multiple times throughout the post (links are all underlined). Here is the link as well! https://welcometonanas.com/wp-content/uploads/2022/05/DIY-Paper-Butterfly-Craft-Template-with-Moving-Wings-pattern.pdf