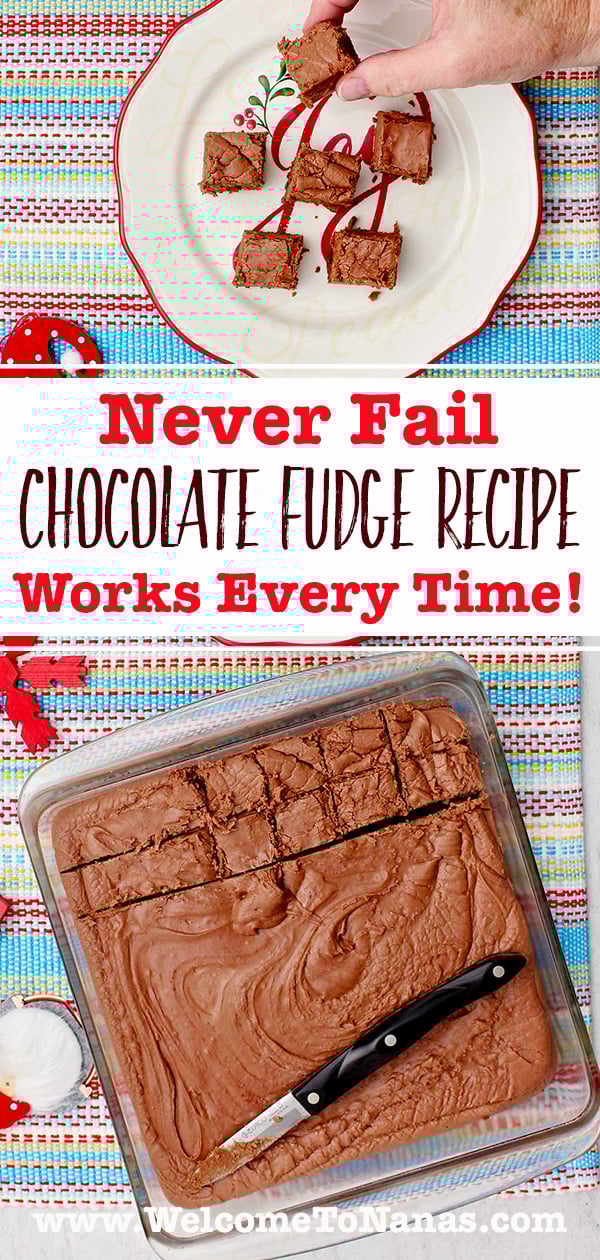
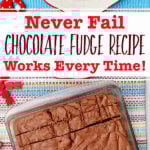
This Never Fail Chocolate Fudge Recipe delivers smooth, creamy, and chocolatey fudge- every- single- time. It’s the only fudge recipe you'll ever need. Leave grainy, runny fudge failures behind!
Jump to:
- Low Stress Easy Fudge Recipe!
- Fantastic Fantasy Fudge Recipe
- Chocolate Fudge Recipe Supplies and Equipment
- Recipe for Making Fudge Step-By-Step
- Conclusion- This is the Best Chocolate Fudge!
- Your Fancy Fudge Recipe Results & Ideas
- Recipe Tips for Easy Make Fudge
- Recipe Variations for Homemade Fudge
- FAQ On Never Fail Chocolate Fudge Recipe
- More Christmas Recipes for Kids
- Come join the fun at WTN!
- Fantastic Never Fail Chocolate Fudge
Low Stress Easy Fudge Recipe!
Let’s be honest, making fudge sounds hard. You follow a recipe perfectly, expecting a creamy, melt-in-your-mouth chocolate treat. But instead of fudge perfection, it's grainy, too hard, or it just never sets up…leaving you with a chocolate mess!
It can be stressful juggling a boiling sugar mixture, candy thermometers, and instructions that feel more like a chemistry experiment than a candy recipe.
Today that all changes. I'll take care of the science side of fudge (I’m a home economics major and took Food Science classes!). I’ll show you, step-by-step, how to make the legendary ‘Never Fail Chocolate Fudge’ I’ve made since childhood.
This recipe is famous for a reason: it's a foolproof recipe that delivers three pounds of fudge that’s smooth, creamy, and deeply chocolatey- every- single- time. Even if you're a total beginner, you won’t mess it up. This is about to become the only fudge recipe you'll ever need. The kids will love learning to make it!
Fantastic Fantasy Fudge Recipe
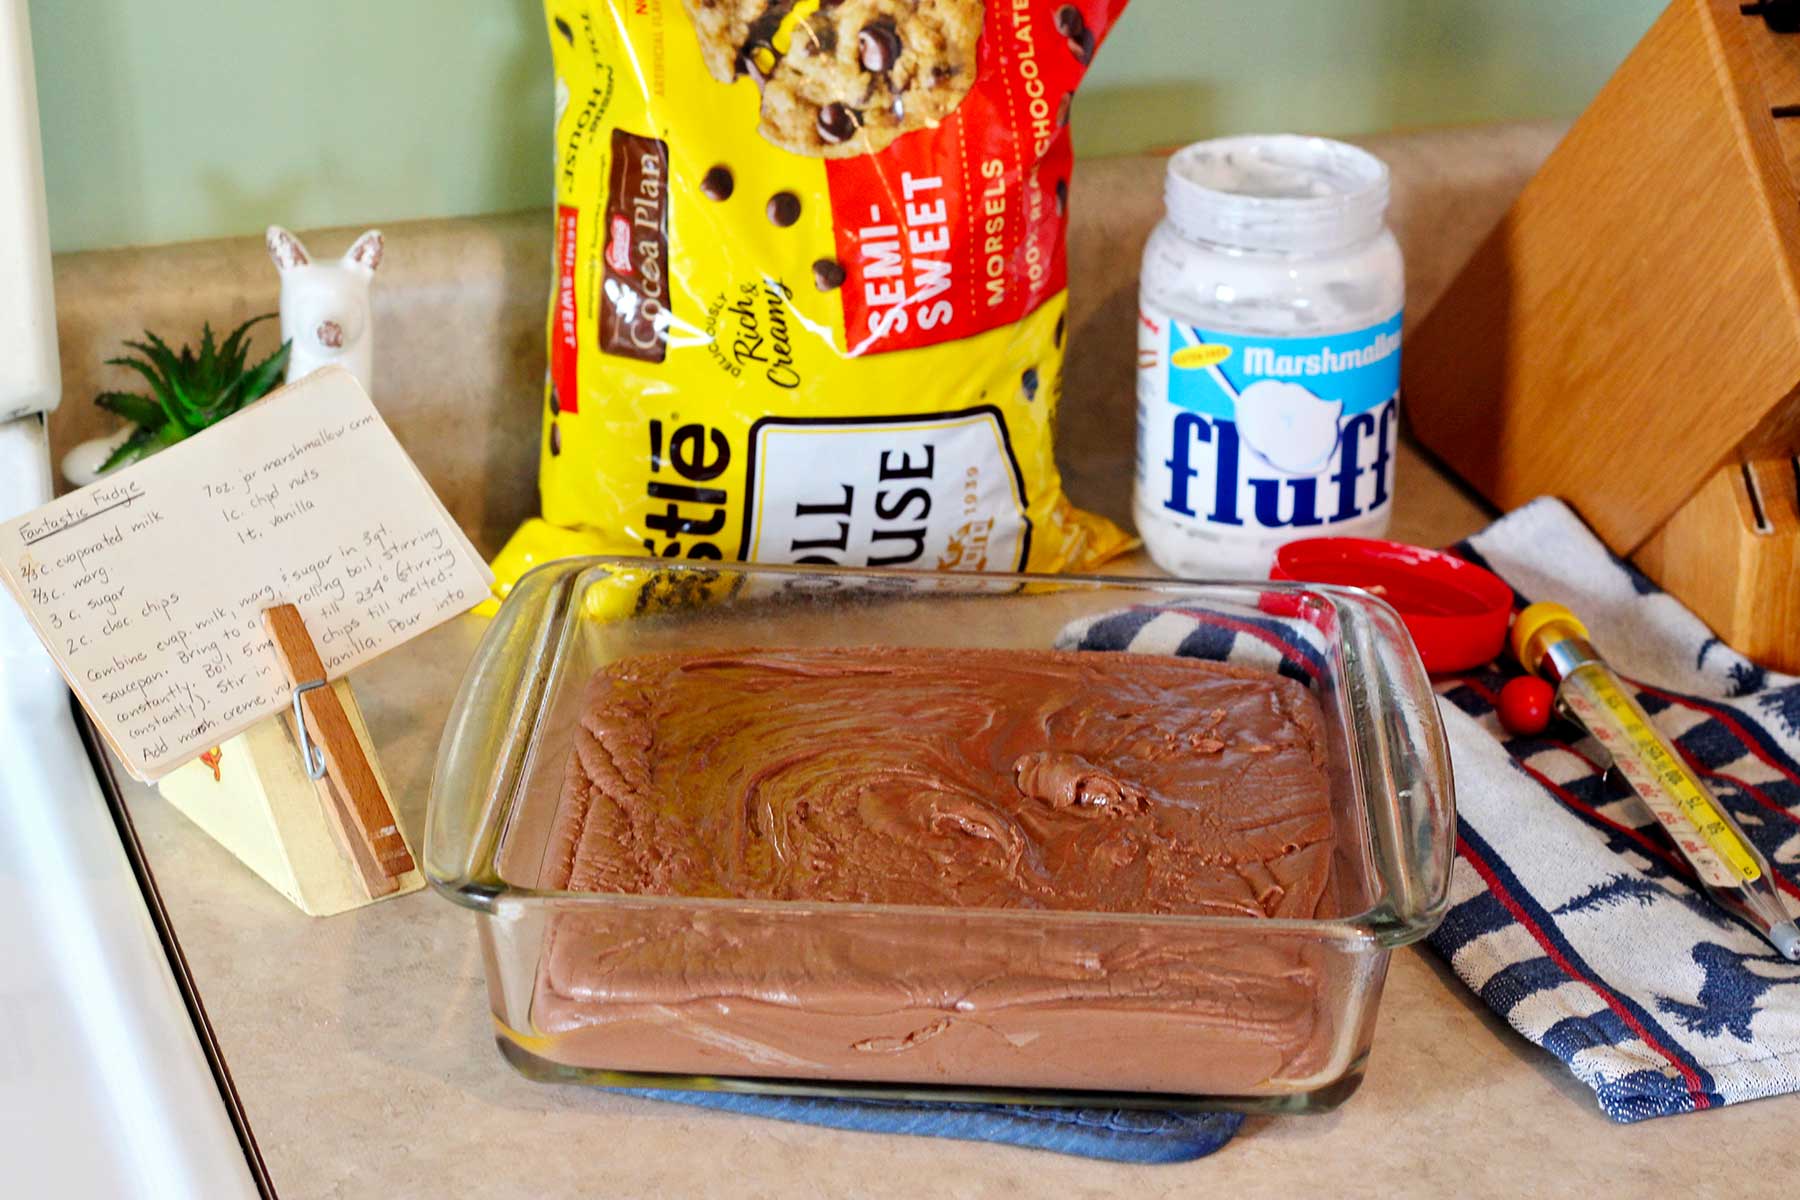
I can’t remember NOT making fudge with the Never Fail Chocolate Fudge Recipe. We made fudge and other candies with mom every Christmas. She called the recipe “Fantastic Fudge”.
You’ll see that title on my recipe card I typed in her manual typewriter when I was about 11 years old. I've also heard it called the "fantasy fudge recipe" because it uses marshmallow creme.
The candy making unit we did when I was teaching Food Science in high school was a favorite for the students. There is a lot of science behind making fudge that’s interesting to learn as well as the secret to good results! I’ll take care of that part so you can enjoy the process which is surprisingly easy.
Candy making was a favorite for my kids, and is for my grandkids as well. Yours will love it too. But be sure to give careful supervision and instruction as you make fudge with the older grandkids as it’s heated to a high temperature.
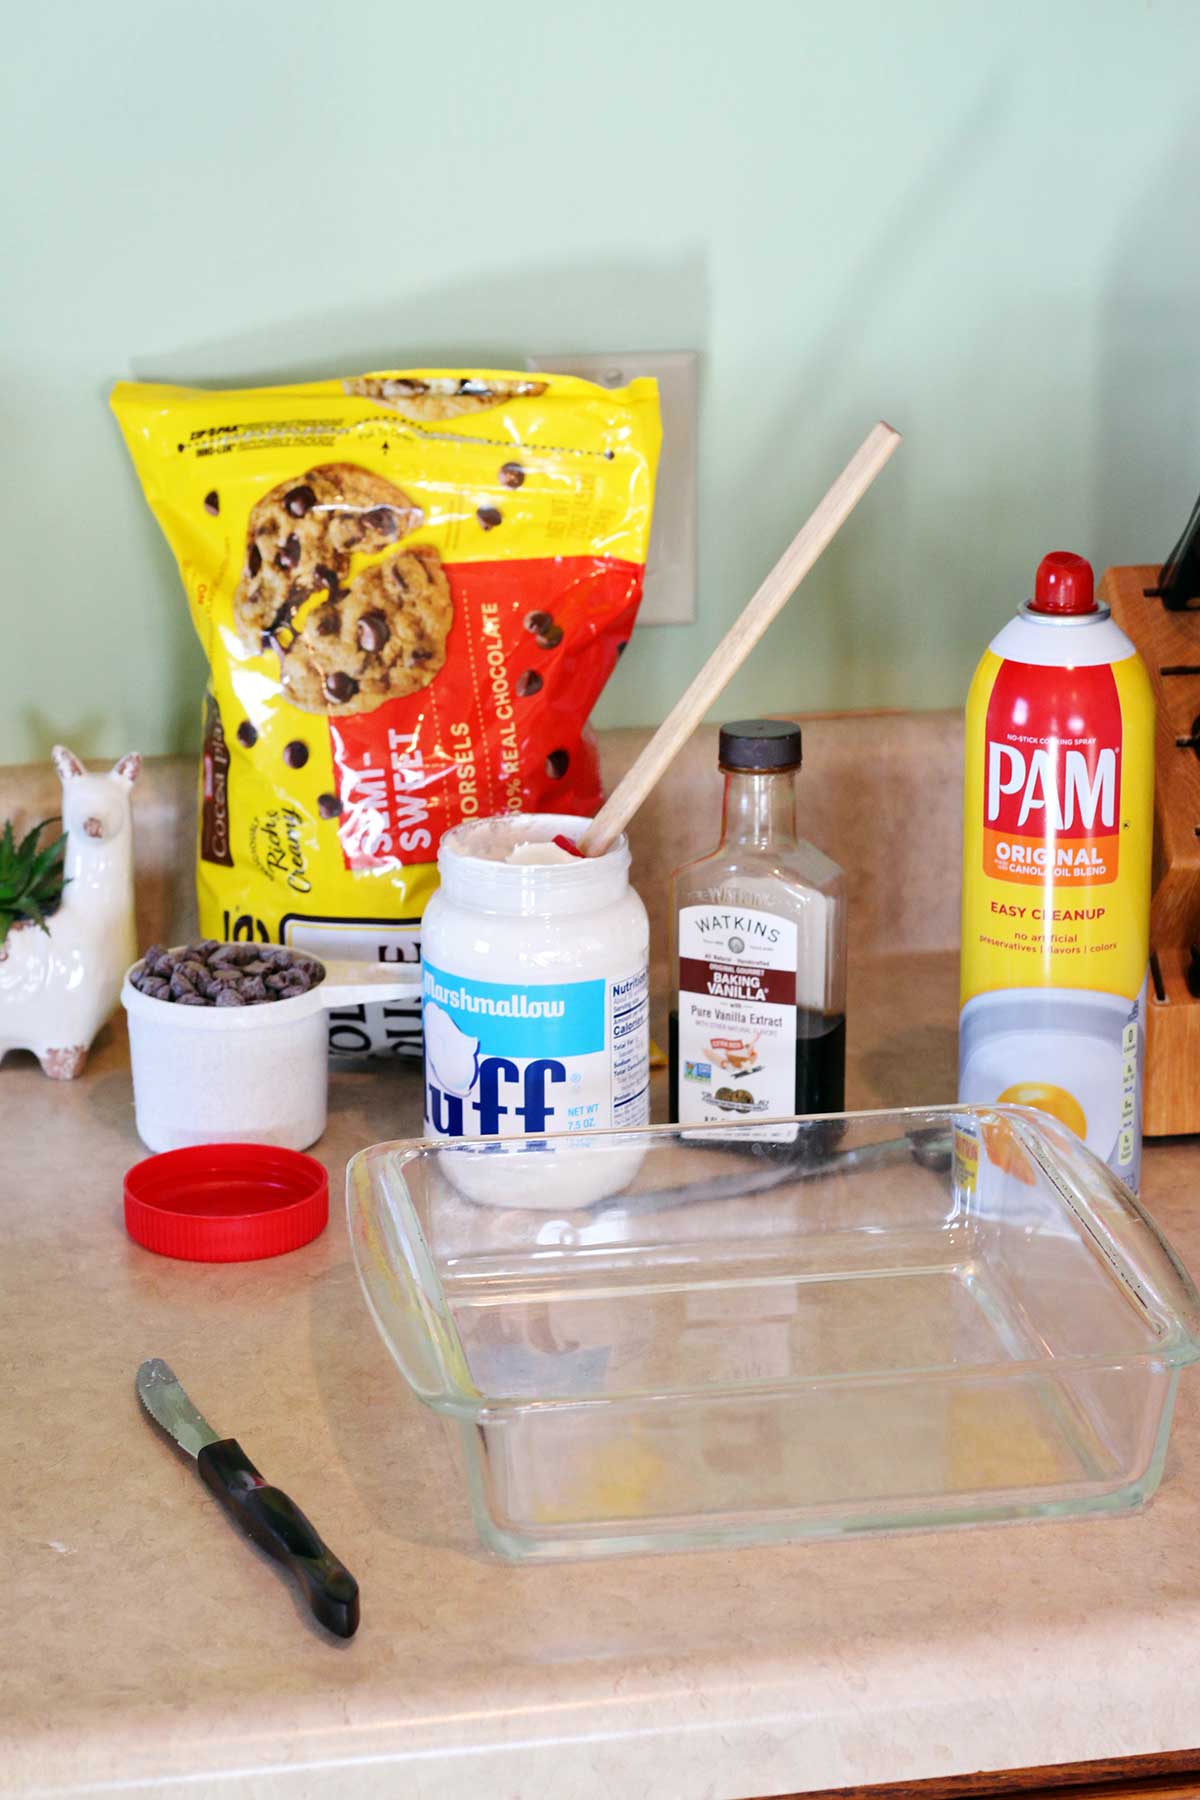
Chocolate Fudge Recipe Supplies and Equipment
Here are a few quick notes about the supplies you will need to make this simple choc fudge recipe!
- 3 quart saucepan- The pan size is usually marked on the bottom (a 3 qt pan) or you can measure 12 cups of water into it to check for sure.
- Whisk (optional)
- Plastic spatula (optional)- I use it for getting marshmallow creme out of the jar.
- Wooden spoon- Doesn’t heat up as you stir.
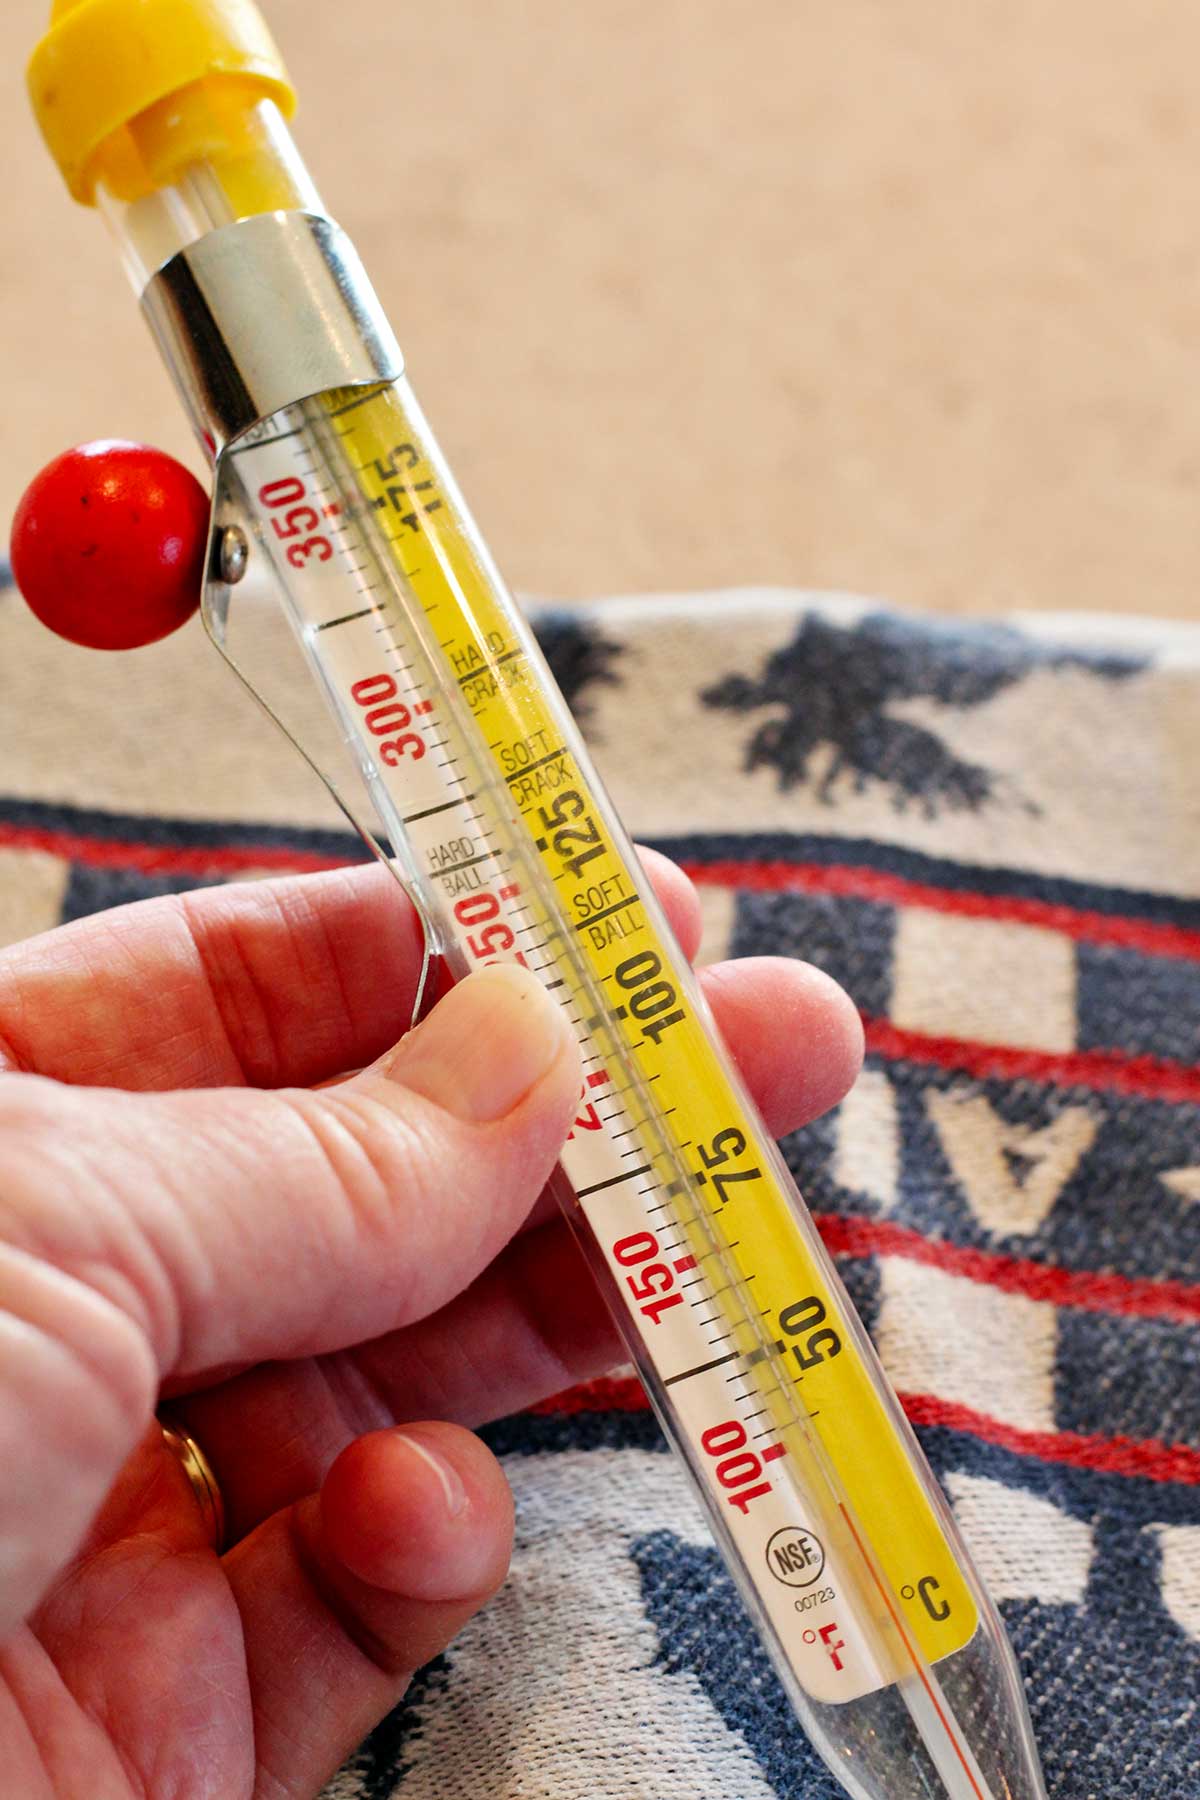
- Candy thermometer- Temperature is one key to good fudge so be sure to have a candy thermometer.
- Church key can opener or regular can opener- Here are links to a church key opener and regular can opener.
- 9x9 inch square baking pan (thicker fudge) or a 9x13 inch baking pan (less thick fudge)
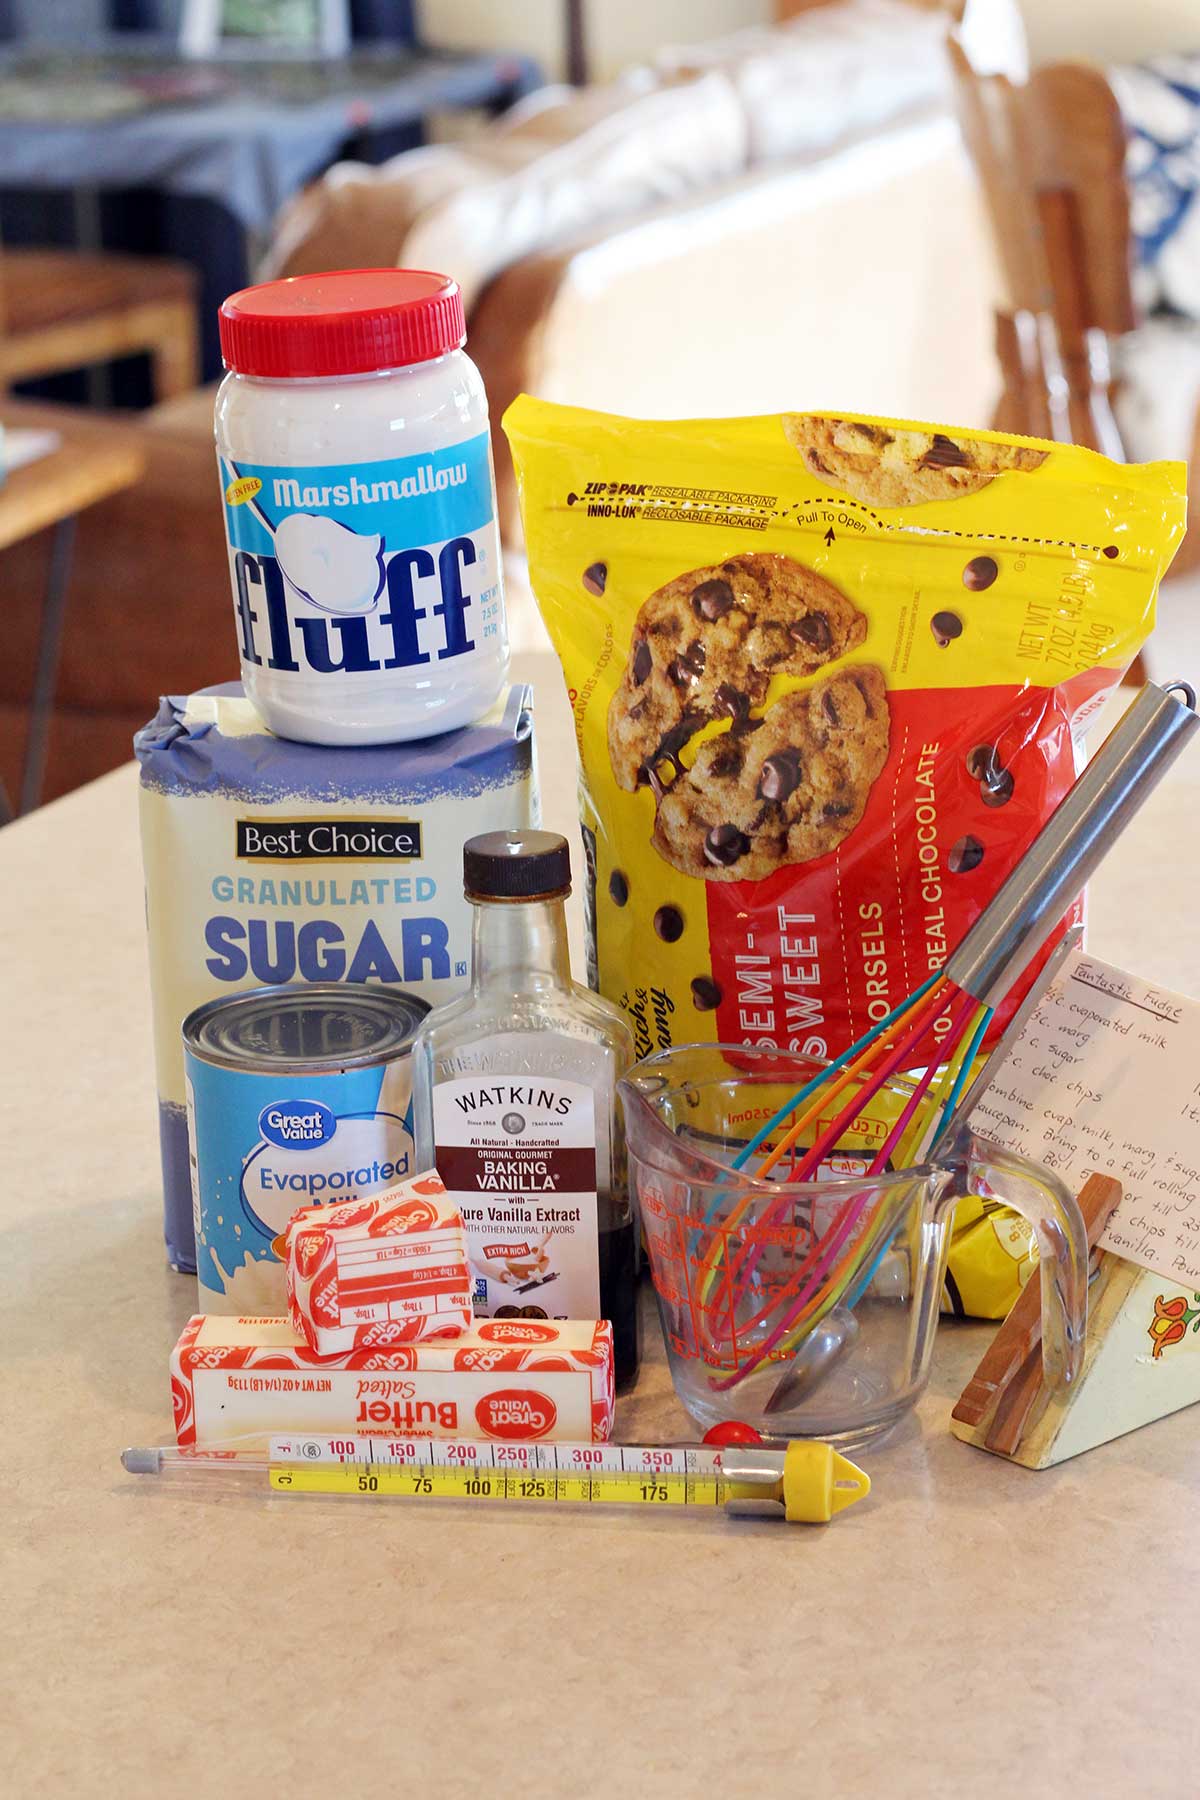
- Ingredient list- evaporated milk, butter, sugar, chocolate chips, jar of marshmallow cream, vanilla, and nuts (optional). The ingredient amounts for the Never Fail Chocolate Fudge Recipe are in the recipe card below.
- Cooking spray or parchment paper
Recipe for Making Fudge Step-By-Step
Gather all equipment and ingredients together. A key to successful fudge making!
Step 1: Tools for choc fudge recipe sugar mixture
For this first part of the recipe, you need a couple things.
- Heavy-bottomed 3-quart saucepan- The heavy pot distributes heat evenly which helps prevent the sugar from scorching (burning).
- Wooden spoon- Wood doesn’t get hot as you stir the boiling candy.
Step 2: Ingredients ready to heat sugar mixture on stove
For this recipe to “never fail” it’s key to get everything measured and ready before you start. Once things get going on the stove, they move fast and there’s no time to look for a measuring spoon or whatever. Read ALL the way through the instructions once before you start.
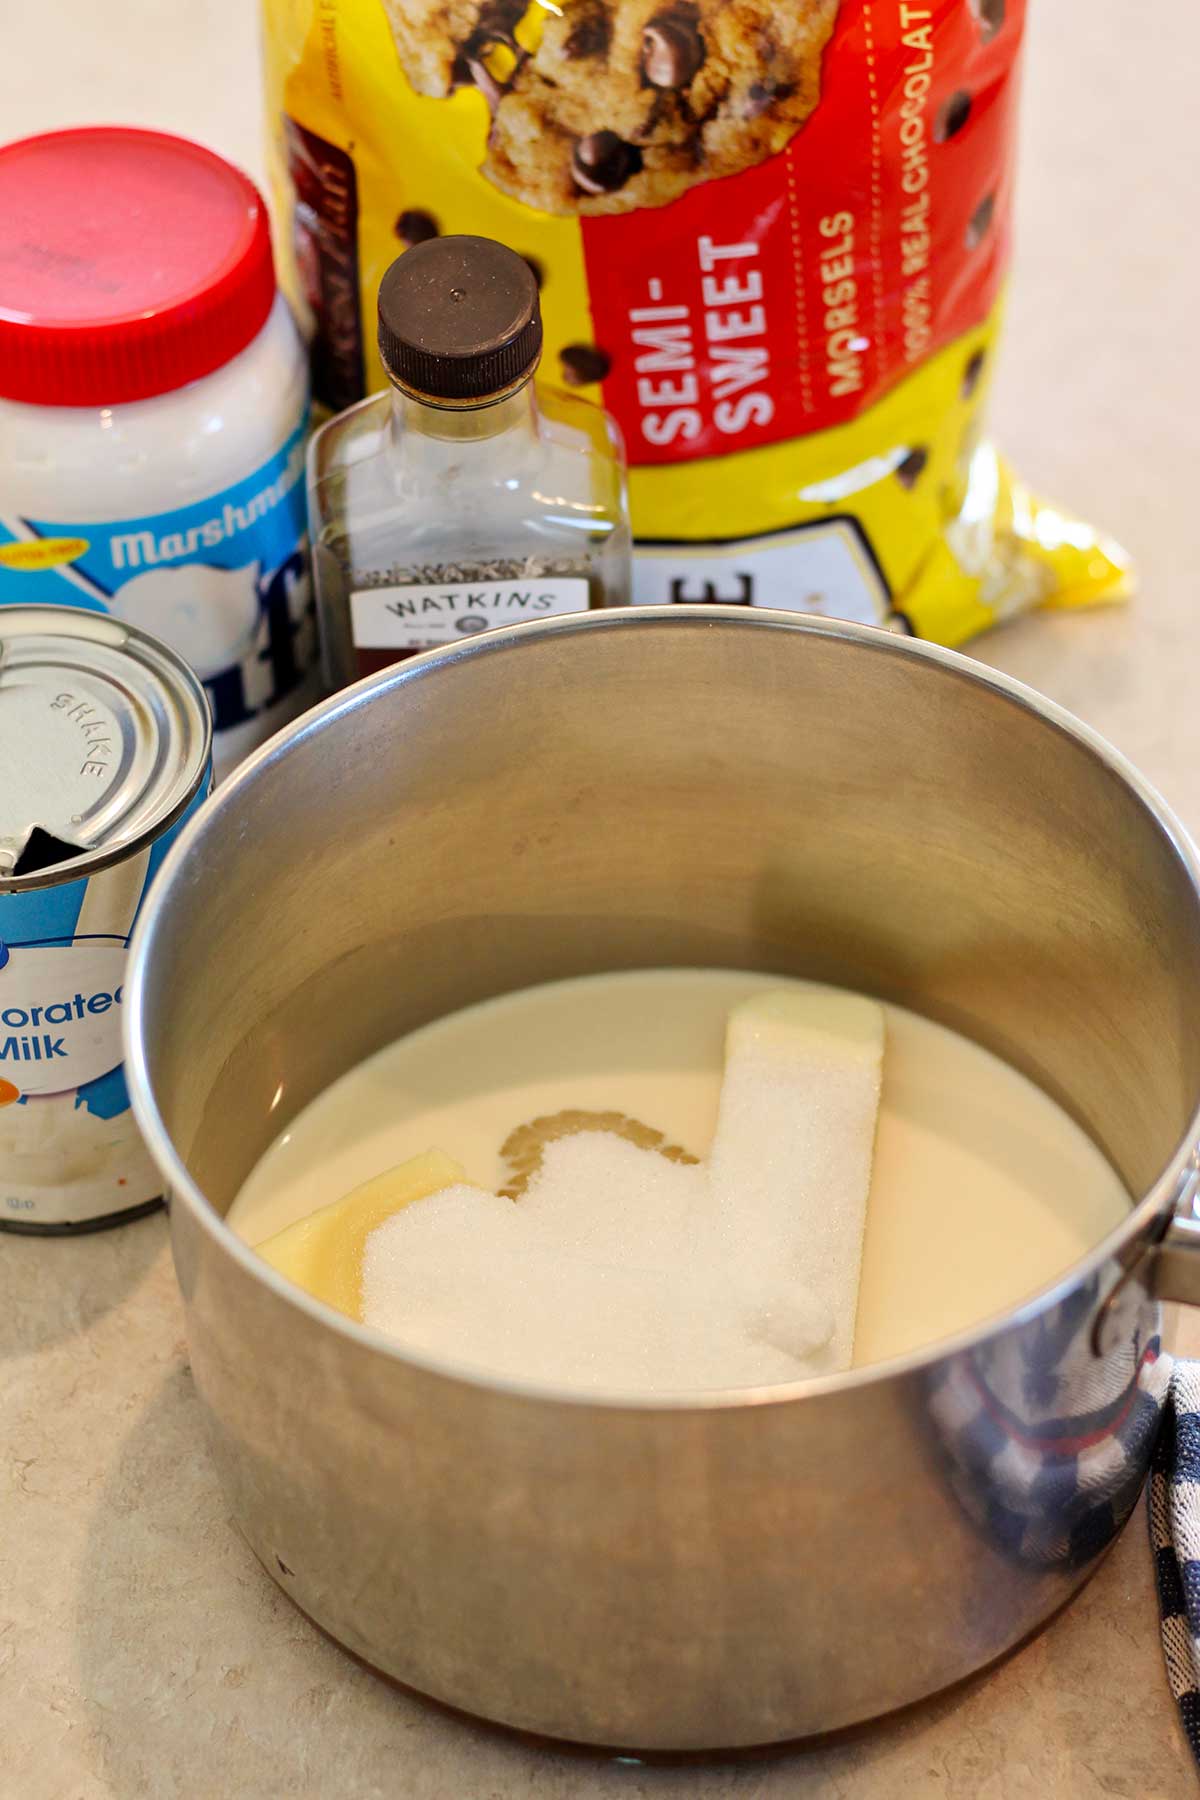
Place these first three ingredients in the heavy bottomed 3 quart saucepan.
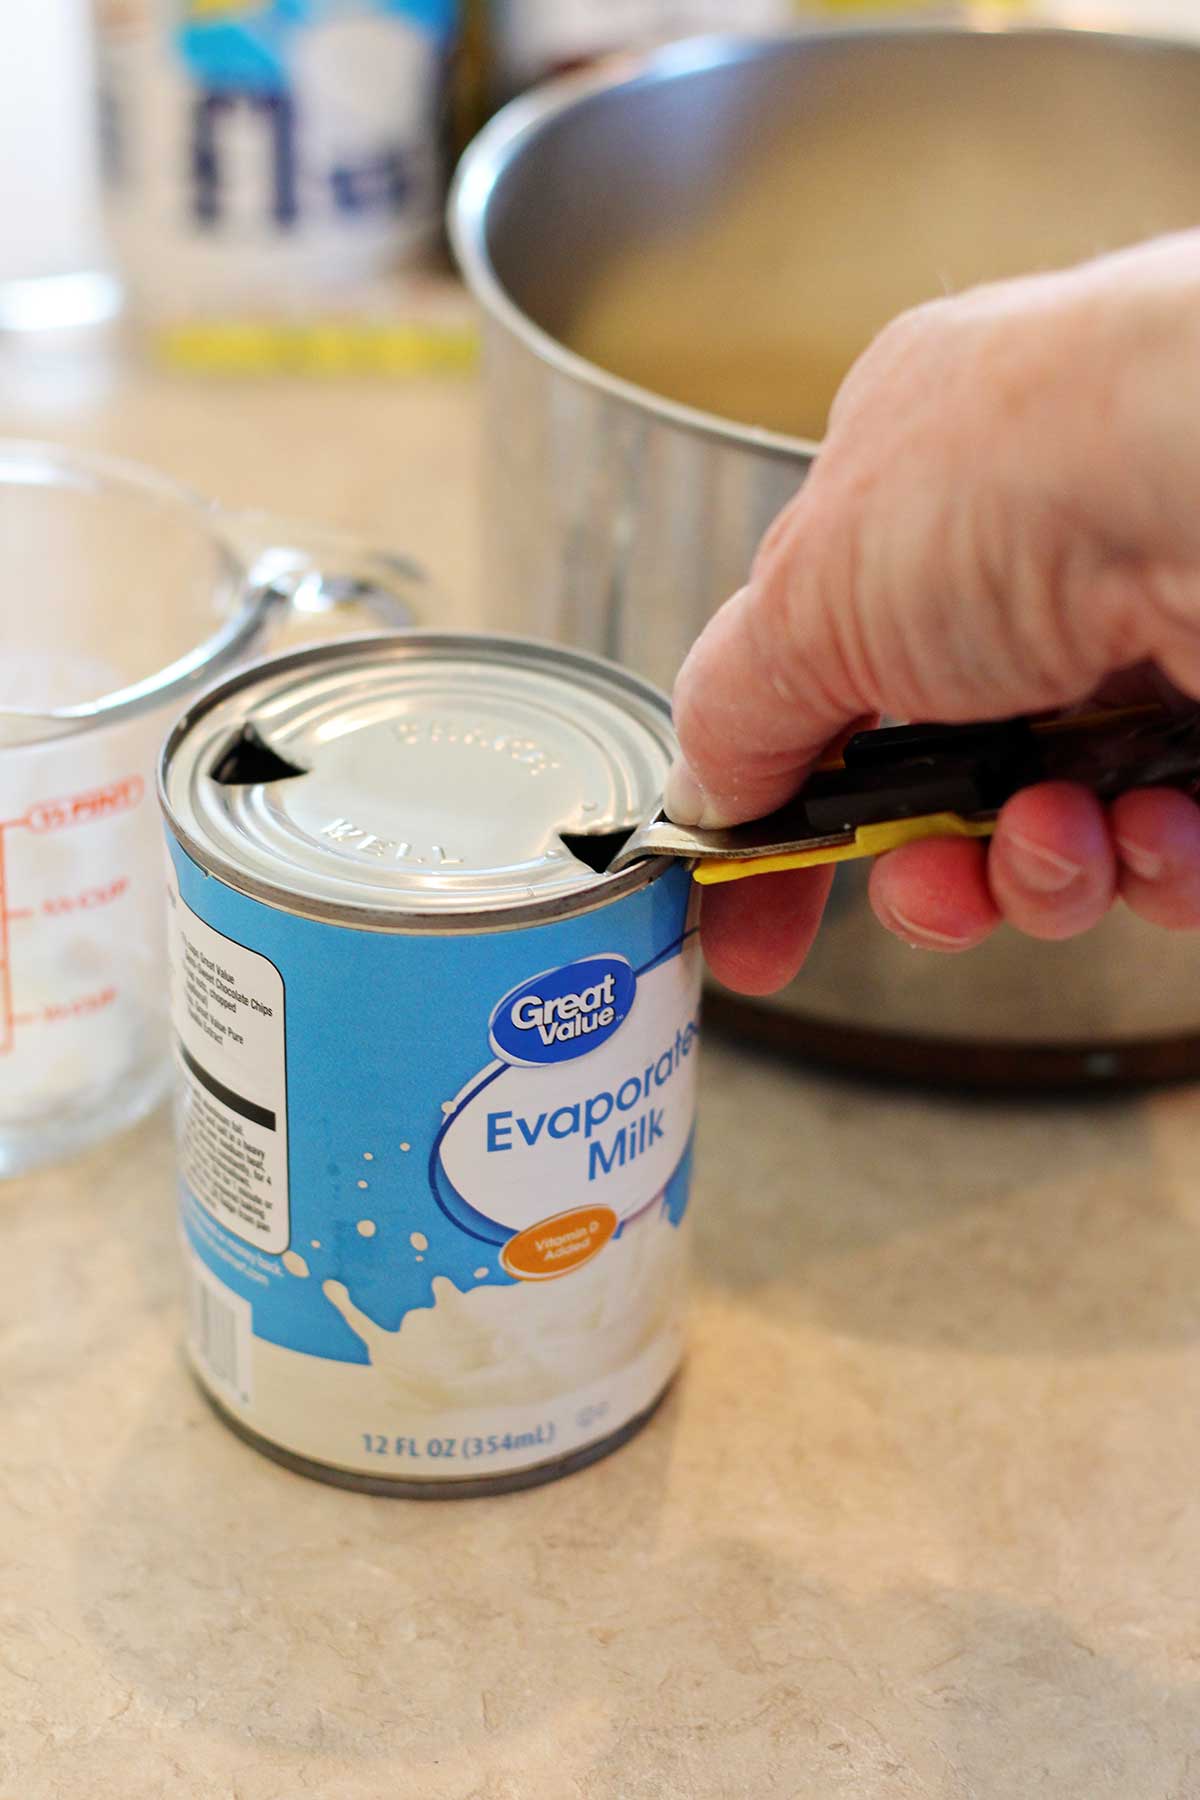
First, use a liquid measuring cup to measure two-thirds cup of evaporated milk. Shake the can to get it to mix well. I use a church key can opener to punch two holes in the can top but you can also use a regular can opener and take the top off (it’s easy to spill that way though).
Note: Do not use sweetened condensed milk! That is not the same thing as evaporated milk and they are not interchangeable. Sweetened condensed milk is much thicker and has added sugar. The recipe has three full cups of sugar, so using it would make the fudge too sweet and prevent it from setting up correctly.
Secondly, two thirds of a cup of butter, which is one full stick plus 2 ⅔ Tablespoons. For the best flavor, I recommend using real butter, not margarine.
Lastly, add three cups of granulated white sugar to the saucepan. Sugar is the foundation of fudge.
Set the saucepan aside for a minute as you do some more prep.
Step 3: Ingredient prep for adding after boiling the sugar mixture
Before we turn on the stove, let's set ourselves up for success and less stress. The final steps of fudge-making happen quickly. You won't have time to look for a thermometer or grease a pan while your fudge sets up in the saucepan. So, let’s be prepared.
Set the next three ingredients next to the stove after measuring them out.
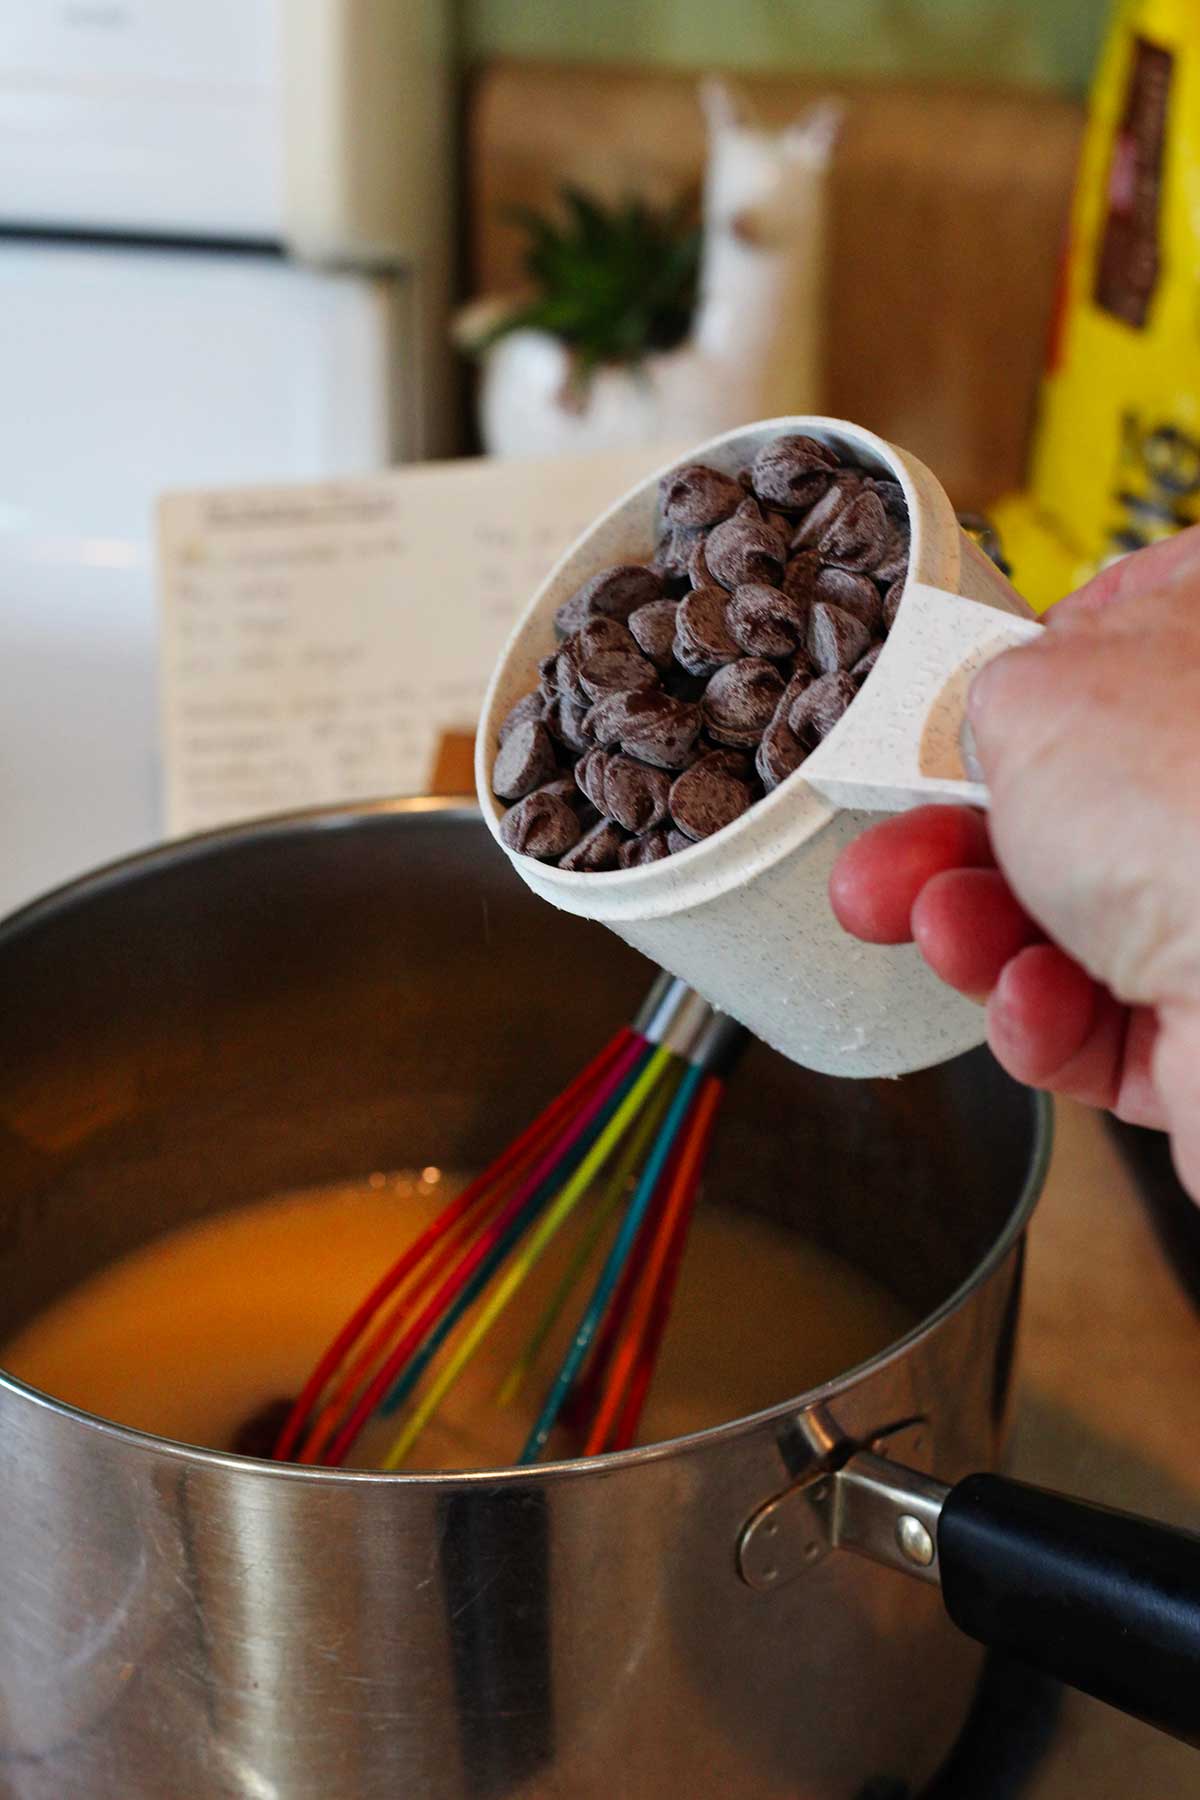
Here’s the star of the show: chocolate! You’ll need one twelve-ounce bag of semi-sweet chocolate chips. I buy them in bulk so this is about two cups.
Next we have our key to success ingredient: one seven-ounce jar of marshmallow creme. Open the jar of marshmallow cream and peel off the foil seal. I like having a plastic spatula ready to scoop it out but you can use the wooden spoon as well.
Have the one teaspoon of vanilla measured into a custard cup or have the vanilla and a one teaspoon measuring spoon next to the stove, too.
Finally, one cup of chopped nuts which are optional, but they are really good. I prefer pecans but my mom liked walnuts when she made fudge. That little bit of crunch is a perfect contrast to the creamy fudge. I don’t put them in my recipe any more as I have several in the family that don’t care for nuts.
Step 4: MORE Prep
Baking pan. I'm using a 9x9 inch pan, which makes thicker fudge. If you want less thick squares use a 9x13 inch pan.
Prepare your pan by lightly spraying it with cooking spray. Or put parchment paper in the pan (to lift the fudge out). Cut the paper to go across the bottom of the pan and up two sides. Press it into the corners and spray lightly with cooking spray. Set that pan next to your stove but out of the way.
Have the candy thermometer set close by. While this recipe is forgiving, hitting the right temperature is still the best way to guarantee success.
Lastly, place one hot pad next to the stove for placing the hot pan on when stirring in the last three ingredients. Place another hot pad under the prepared pan for protecting the counter from heat later on.
With our pan ready, equipment set out, and final ingredients lined up, it's finally time to turn on the stove.
Step 5: The Critical Boil
Dissolving the sugar
This is where the recipe’s food science principles really come together. But don't worry, we're going to walk through it step-by-step. While we do, I want you to remember two words: stir constantly. I use a whisk for this step but the wooden spoon works well too.
Place your heavy-bottomed 3 quart saucepan on the stove over medium heat. (In the pan are the sugar, butter, and the evaporated milk.)
Turn the burner heat on to medium heat. You want to dissolve the sugar into the evaporated milk and melting butter and make sure nothing scorches on the bottom of the pan, so keep stirring constantly, scraping the bottom and corners.
The mixture will go from looking thin and separated to a thick, uniform liquid. Pretty soon, you'll see bubbles forming around the edges. We’re looking for a "full, rolling boil", a boil you can't stir down.
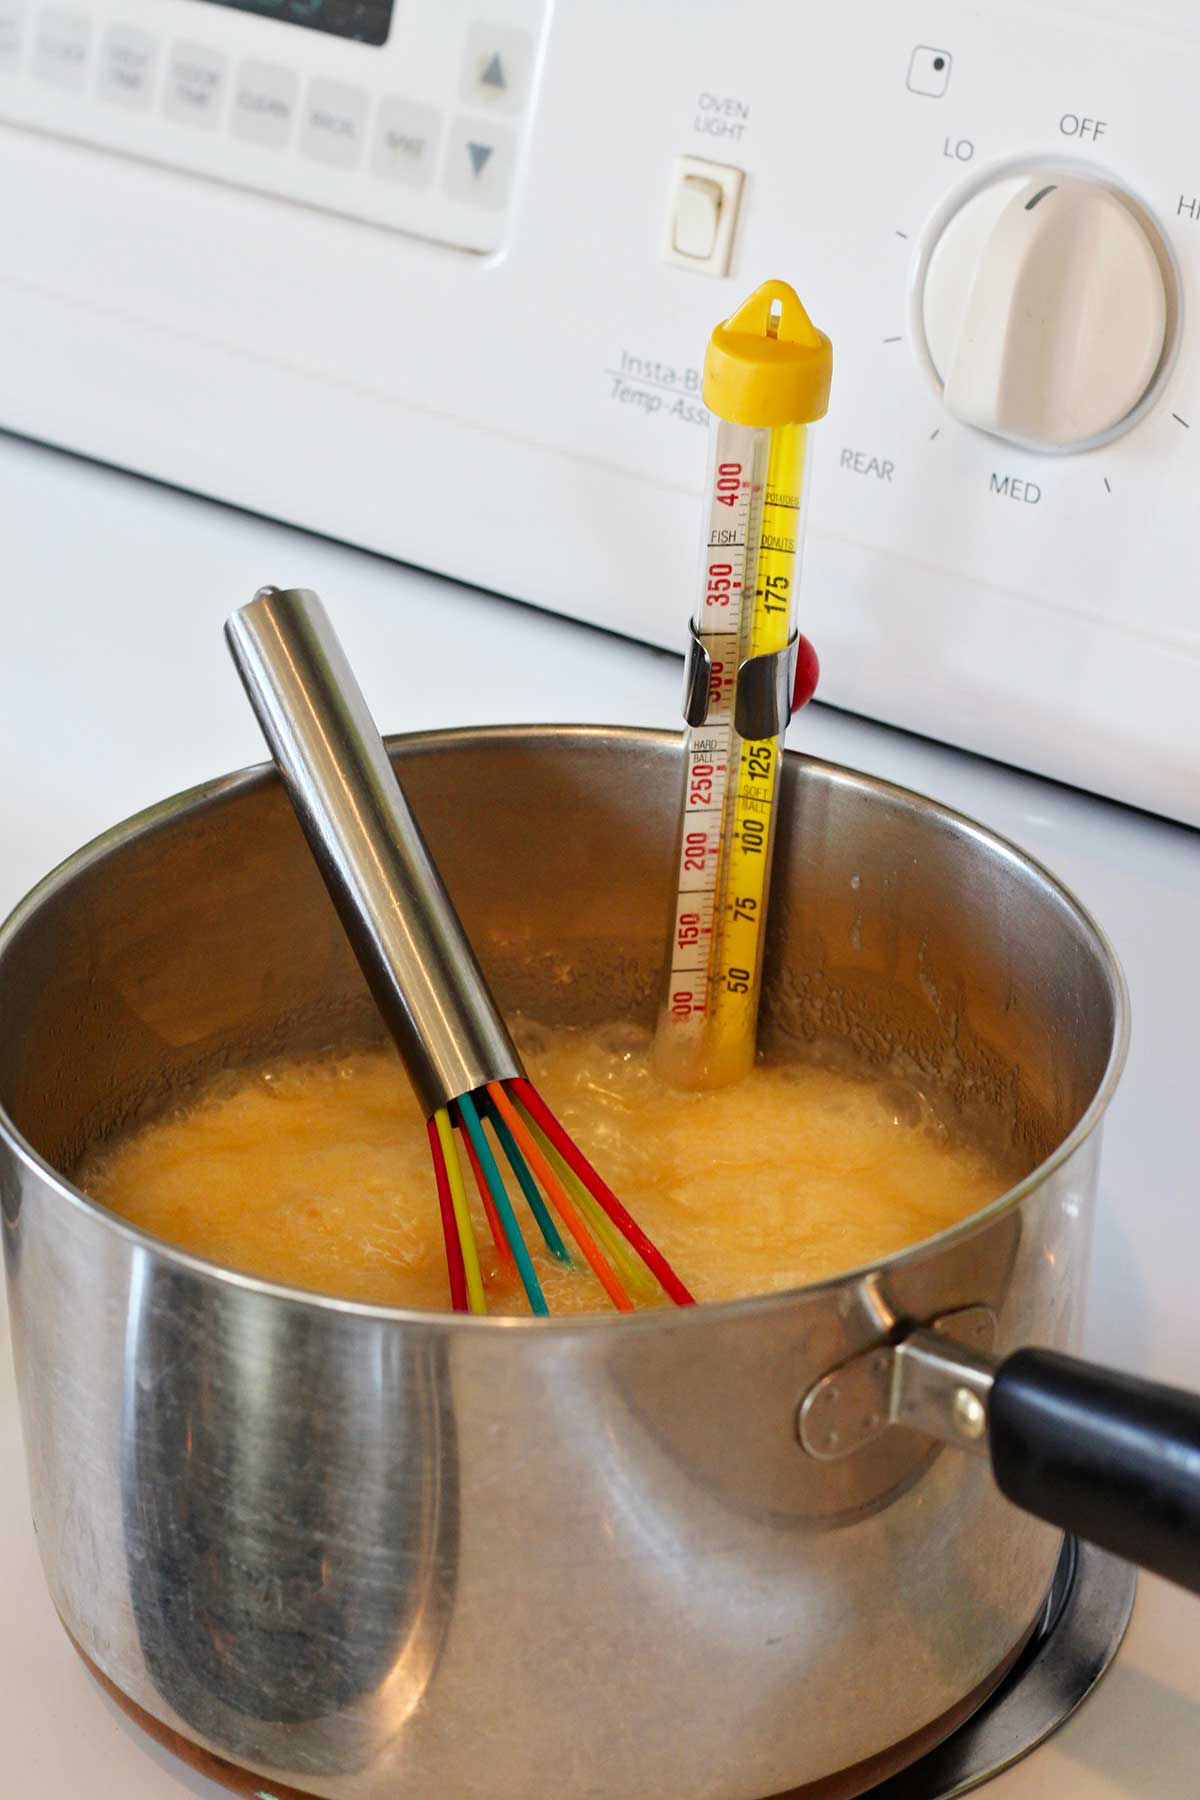
The rolling boil
Once you hit that rolling boil, clip the thermometer to the side of your saucepan, making sure the bulb like tip is deep in the mixture but not touching the bottom. If it touches the bottom, you’ll get a false high-temperature reading.
Note: Many old recipes say to boil for exactly five minutes, but we won’t use time as a guide, our food science guide is temperature. How long it takes changes depending on your stove, your pan, and even the humidity in your kitchen. A thermometer is the key to consistency.
Soft-ball stage temp of 234 degrees F is key
We are going to cook this mixture until it reaches 234 degrees Fahrenheit, which is about 112 degrees Celsius. This is called the "soft-ball stage."
Note: The cooking temperature is a key to good fudge. It means that there's just the right amount of water left in the sugar syrup to give our fudge a perfect firm but creamy texture. If you undercook it, your fudge might be too soft or never set. If you overcook it, it can turn out hard and crumbly.
So, keep stirring and watch the red line in the thermometer climb. It might seem to stall for a bit, but be patient. As the sugar mixture boils down, the temperature will start to rise more quickly.
The second it hits exactly 234°F, turn off the heat and move the pan off the burner immediately. Carefully put it on the pot holder or heat pad you got ready earlier.
Note: You may need to turn the burner heat up a bit higher from medium heat to get the mixture to a full rolling boil. But do this in very small increments and be patient, or the mixture will scorch. Remember, the key is to keep stirring.
Section 4: The Final Mix In of Ingredients
You did it! The hardest part is over. The sugar is perfectly cooked. Now, we have to move fast, because the fudge will start to set when it comes off the heat.
Pour the entire bag of semi-sweet chocolate chips (2 cups) in all at once. Start stirring right away. The heat from the sugar mixture is more than enough to melt them. Keep stirring and folding until every last chip is melted and the mixture is dark, glossy, and completely smooth.
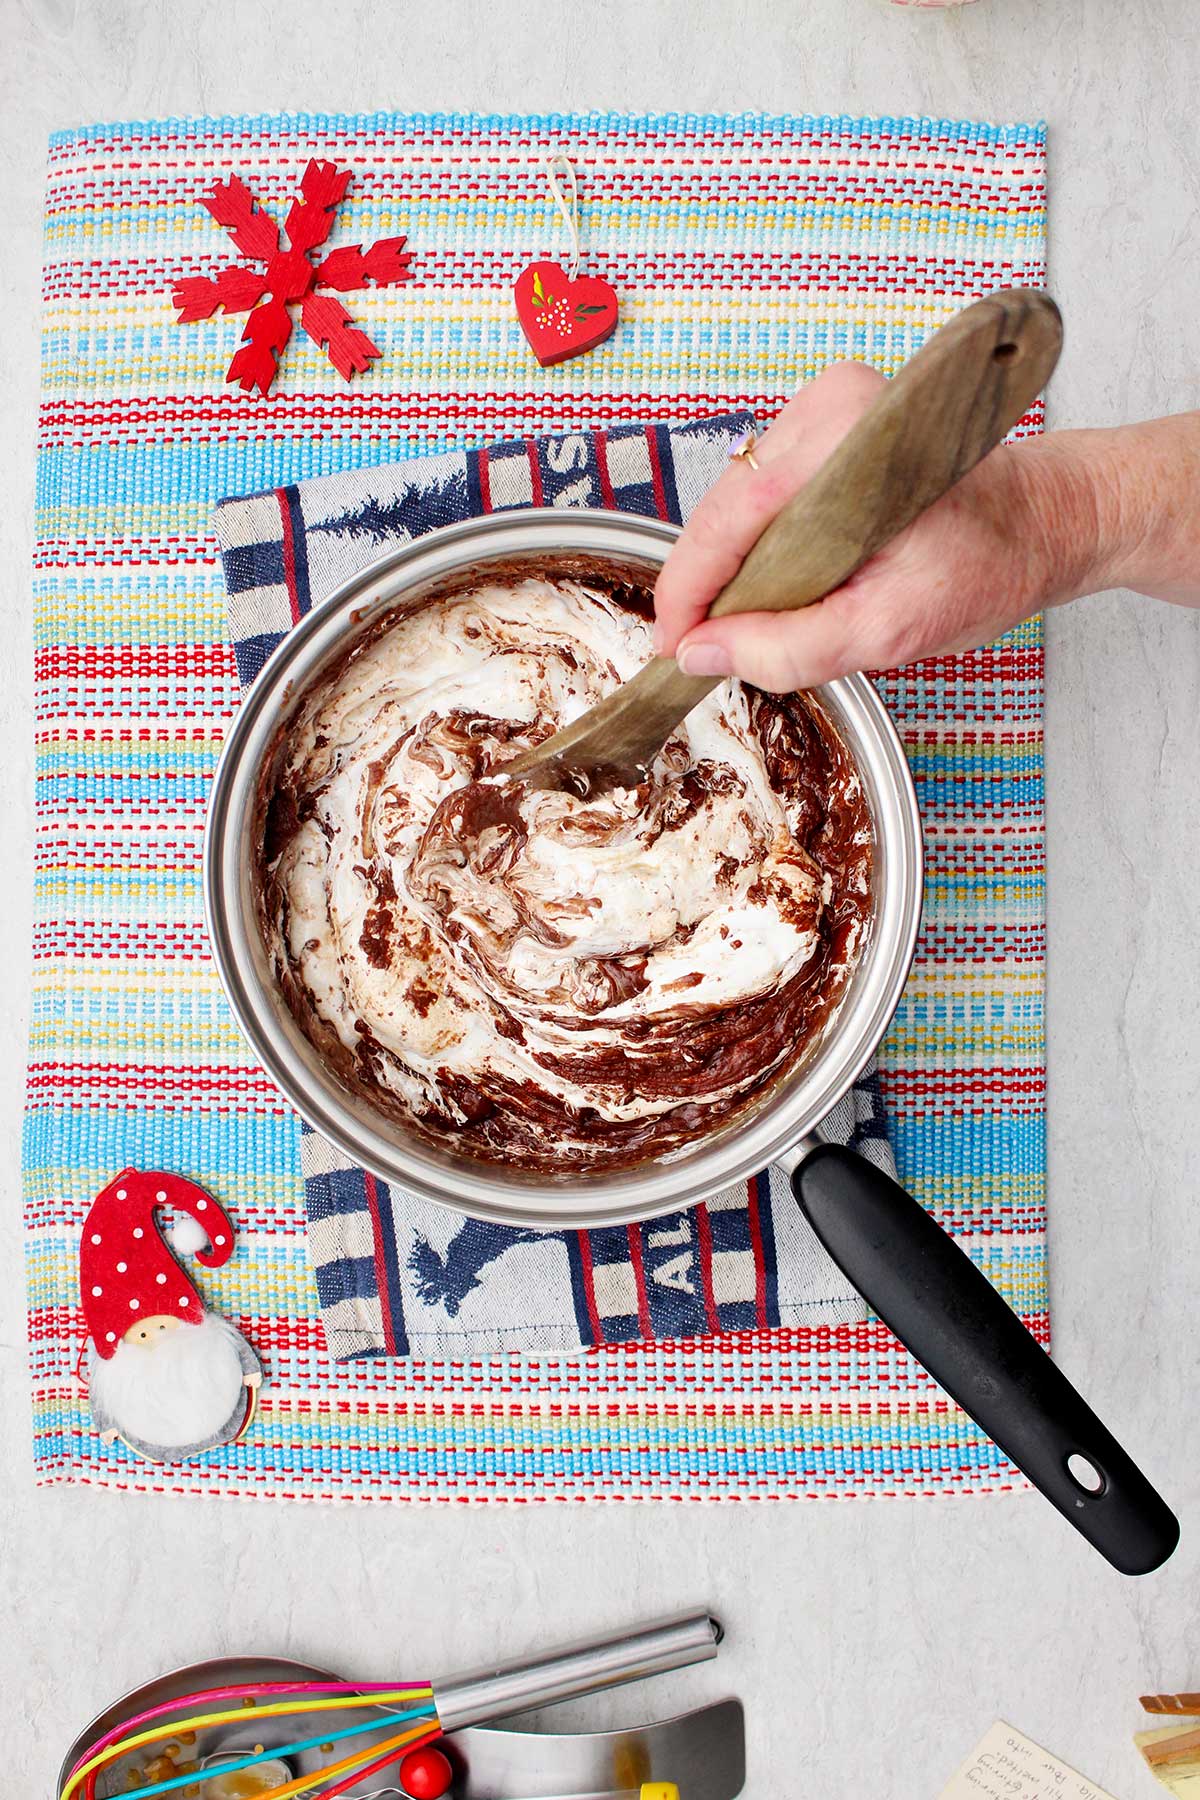
As soon as the chocolate is mixed in, add the entire jar of marshmallow creme (I use a rubber spatula) and the teaspoon of vanilla. This is where the texture completely transforms. As you stir you’ll see the fudge color lighten up and the texture get even thicker and creamier. Keep stirring until there are no white streaks of marshmallow left.
If you’re using nuts, now's the time to add them in. Give the fudge a few final stirs to distribute the nuts evenly.
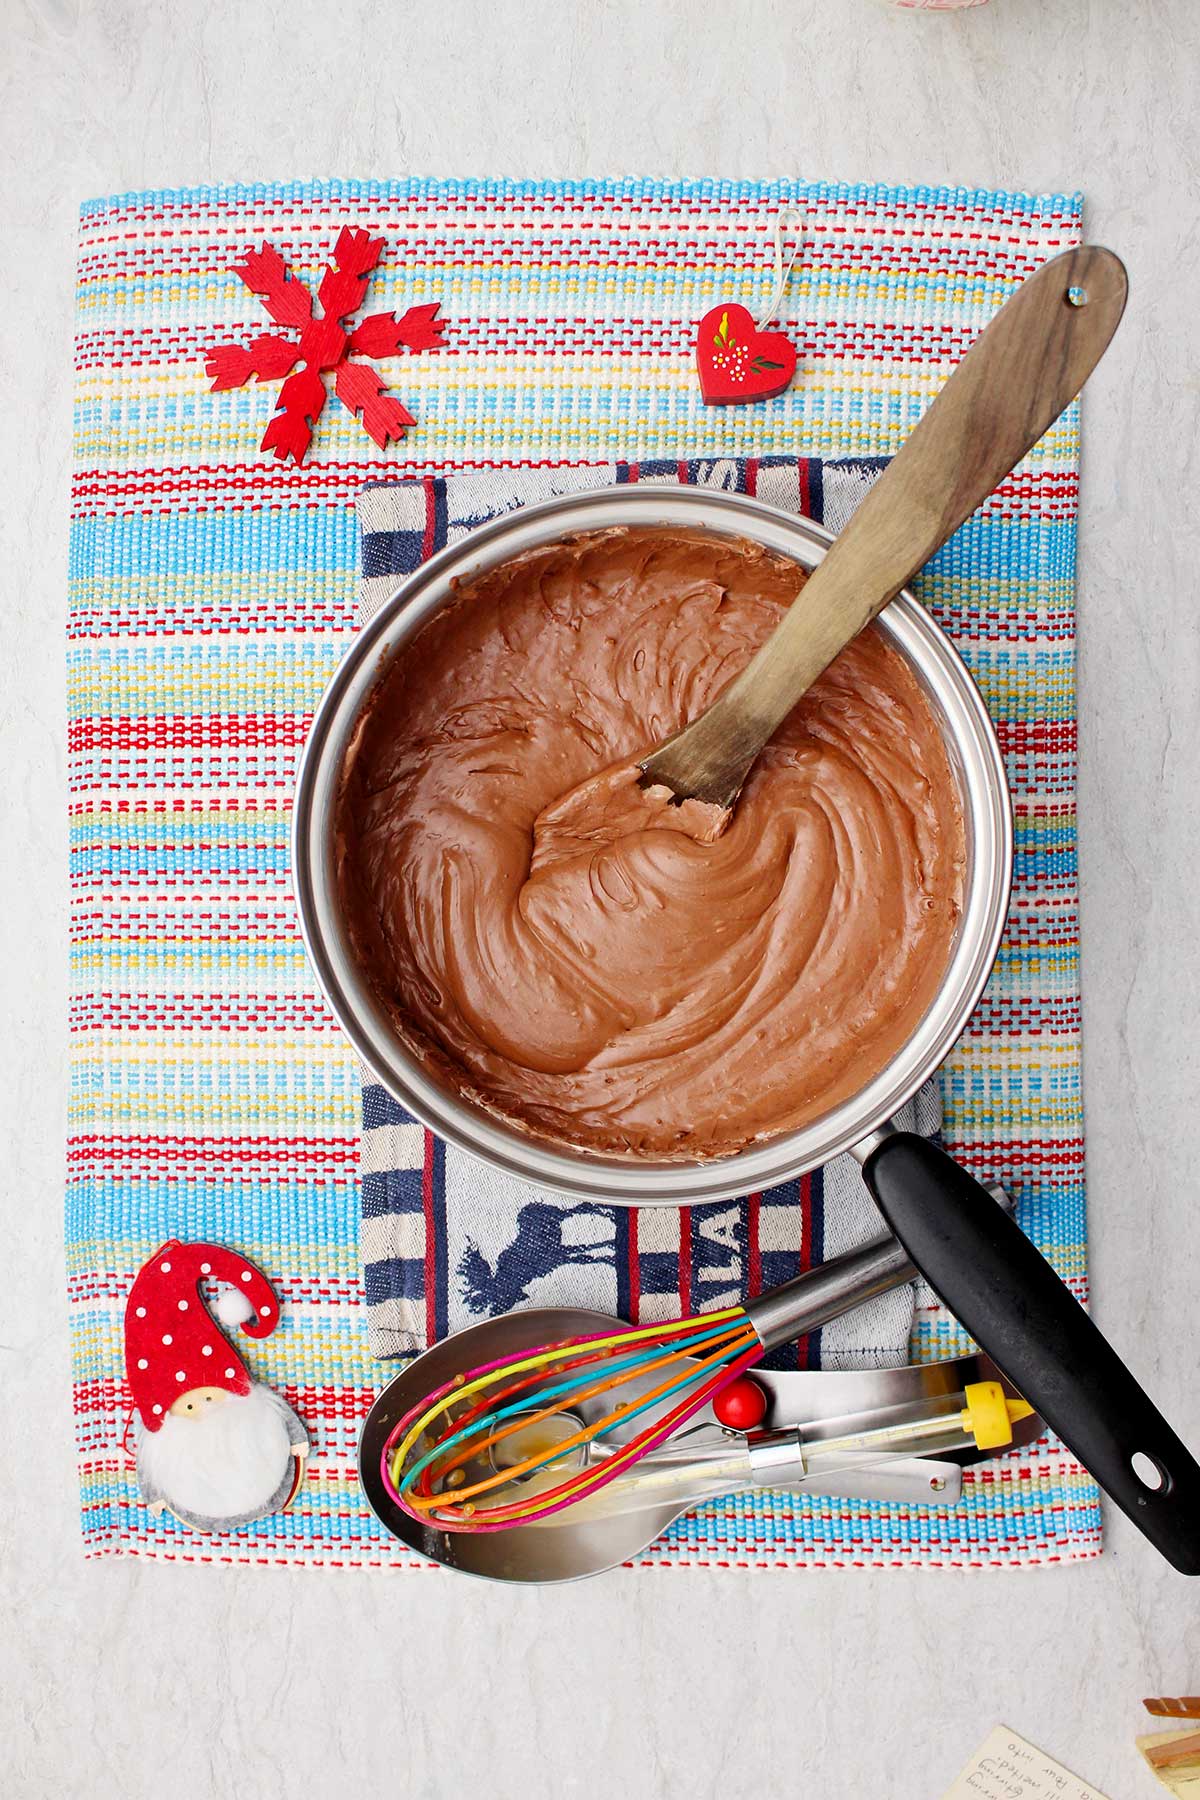
Perfect fudge creaminess and texture
As soon as it's all blended, stop stirring. If you over-beat the fudge as it starts to cool, you can make it stiff or grainy. We want to pour it into the pan while it's still glossy and pourable.
Food Science fun: What makes this recipe so much more reliable than the others? It comes down to our secret sauce: marshmallow creme.
Old traditional fudge recipes depend on a length of cooking time or only temperature to control sugar crystallization. Instead, not only are we heating to an exact temperature, we're using marshmallow creme as a stabilizer. It helps prevent large sugar crystals from forming, which is the number one reason fudge gets that grainy, gritty texture. This guarantees a smooth result in texture even if your technique isn't 100% perfect.
Section 5: The Pour and The Patient Wait
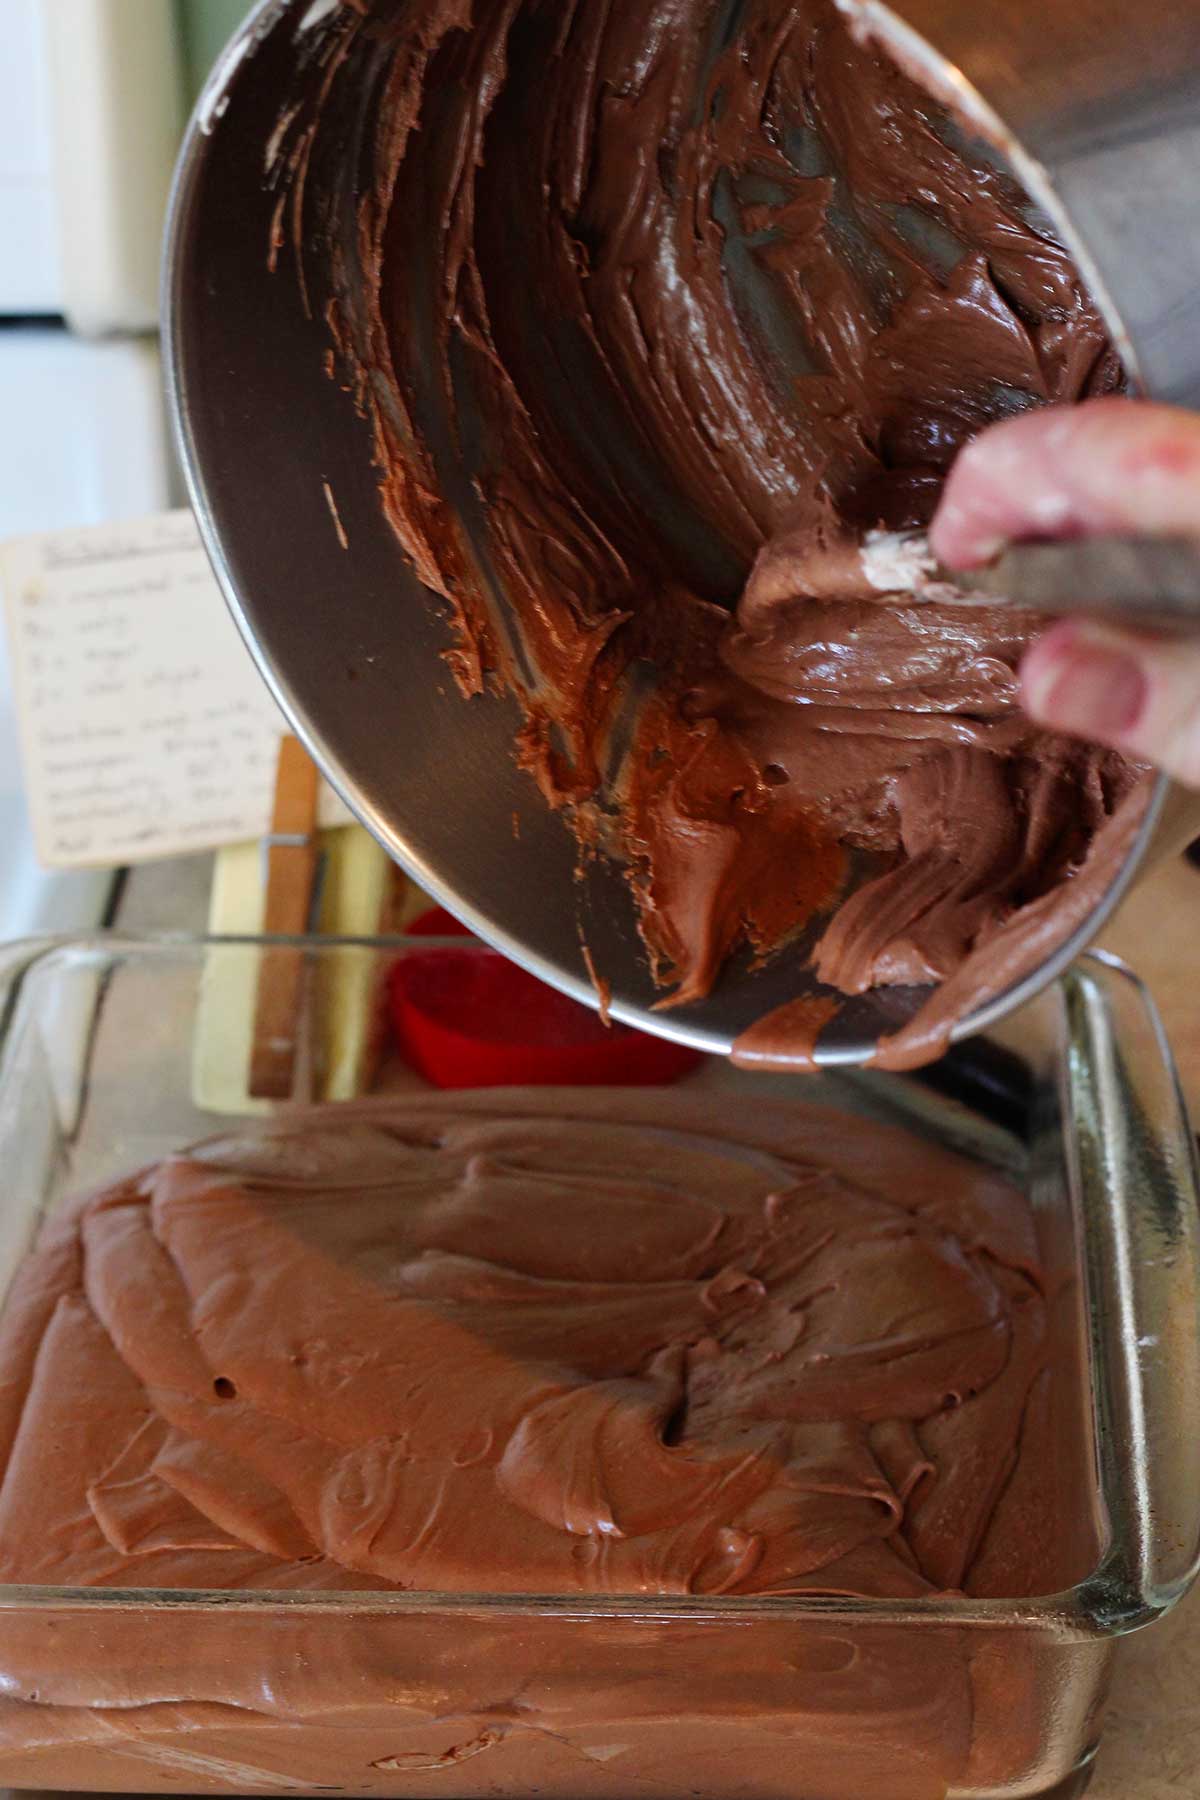
Carefully pour the thick, glossy fudge right into the center of the prepared baking pan. It's going to be thick, so use your spoon to scrape every last bit out of that saucepan.
Gently spread the fudge into an even layer, getting it into the corners of the baking pan. Don't stress about making the top perfectly smooth. Those little swirls give it that wonderful, homemade fudge look.
And now, for what is easily the hardest step of the entire recipe: you have to wait for it to cool. But do not put the pan in the fridge to speed it up! Cooling fudge too quickly can mess with the texture. For the creamiest possible fudge, let it cool slowly at room temperature.
Leave the pan on your counter, undisturbed, for at least four hours. Leaving it overnight is even better. This gives the flavors time to settle in and helps with developing smaller sugar crystals and creamy texture. You'll know it's ready when it's totally firm and cooled. This patient wait is the final key to perfect fudge.
Section 6: The Reveal and The Perfect Cut
This is the moment we've all been waiting for. Your fudge is completely cool and firm.
If you used parchment paper, lift the entire slab of fudge straight out of the pan and onto a cutting board. Peel the paper away from the sides.
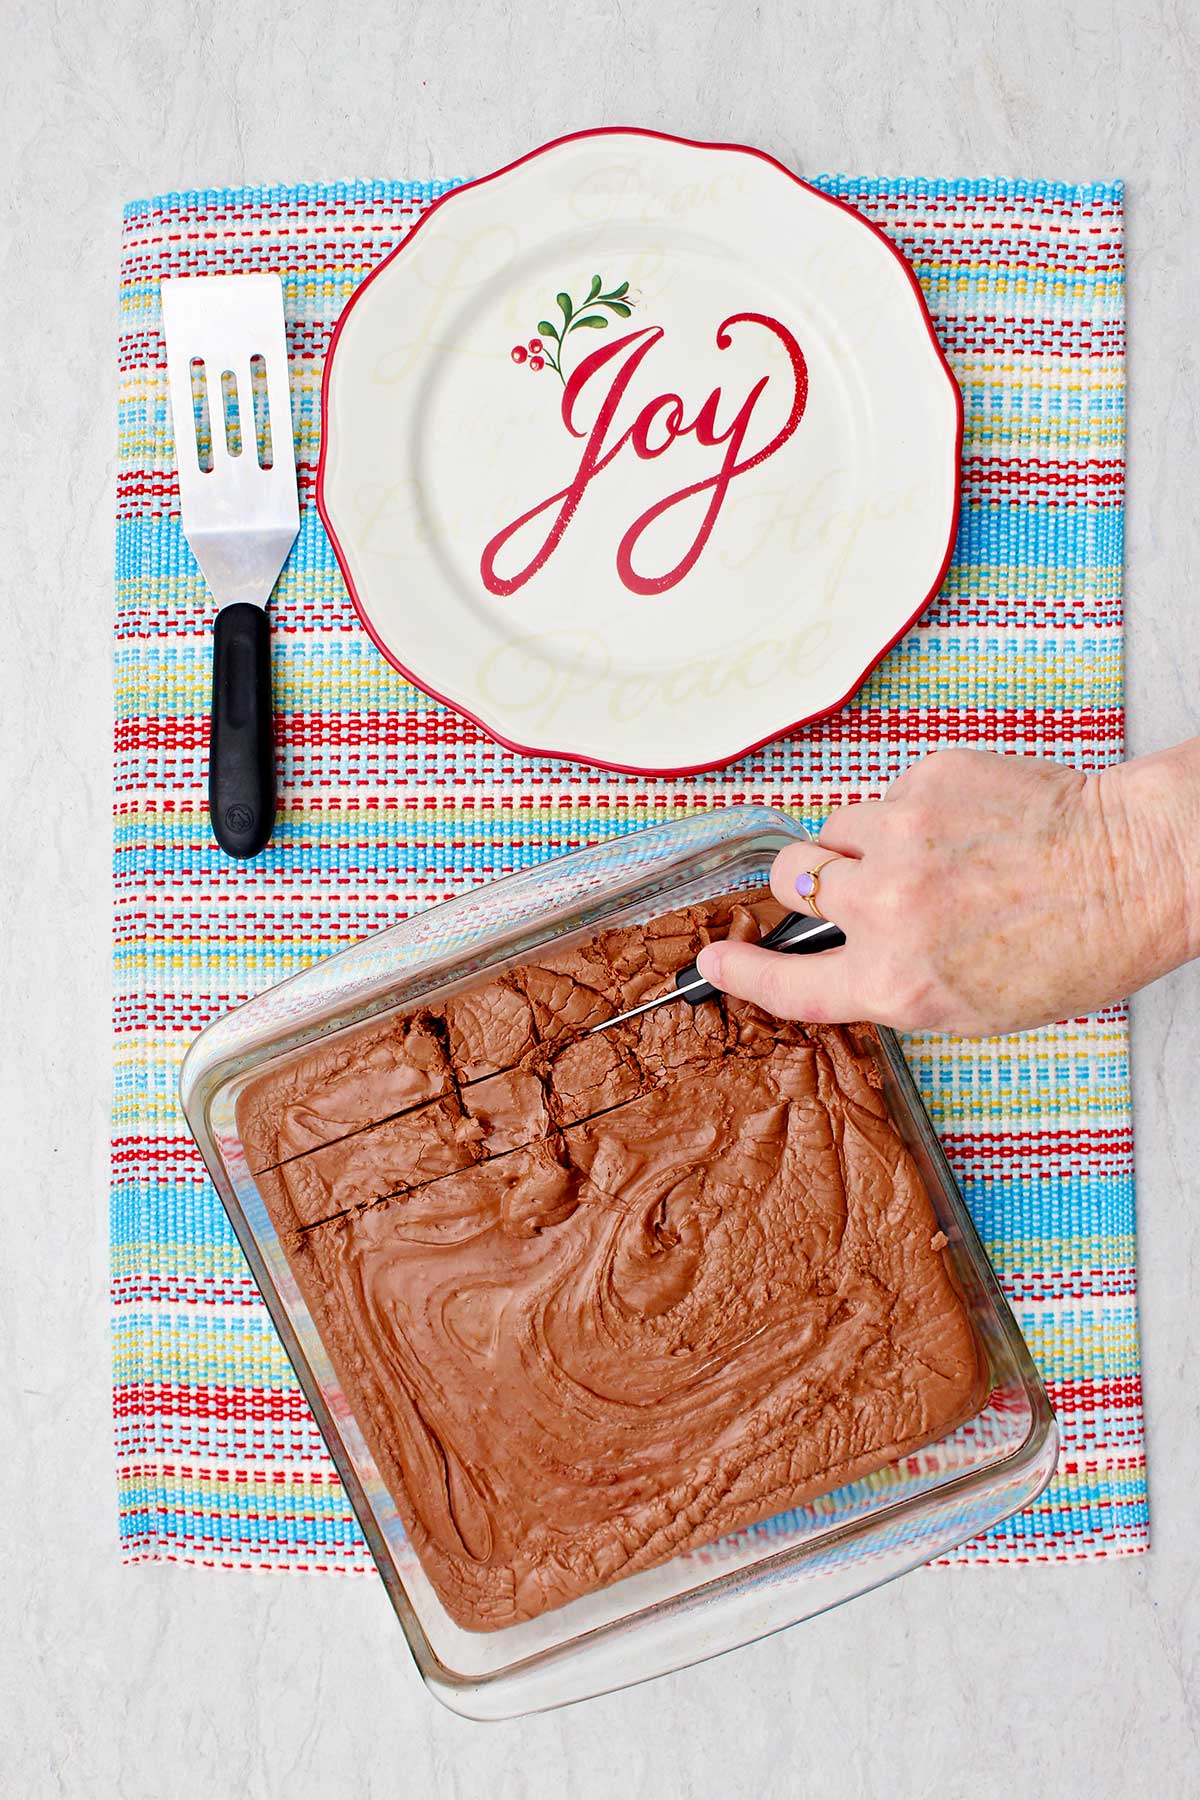
If you didn’t use parchment paper, you’ll cut the fudge right in the pan like I did. Now for cutting.
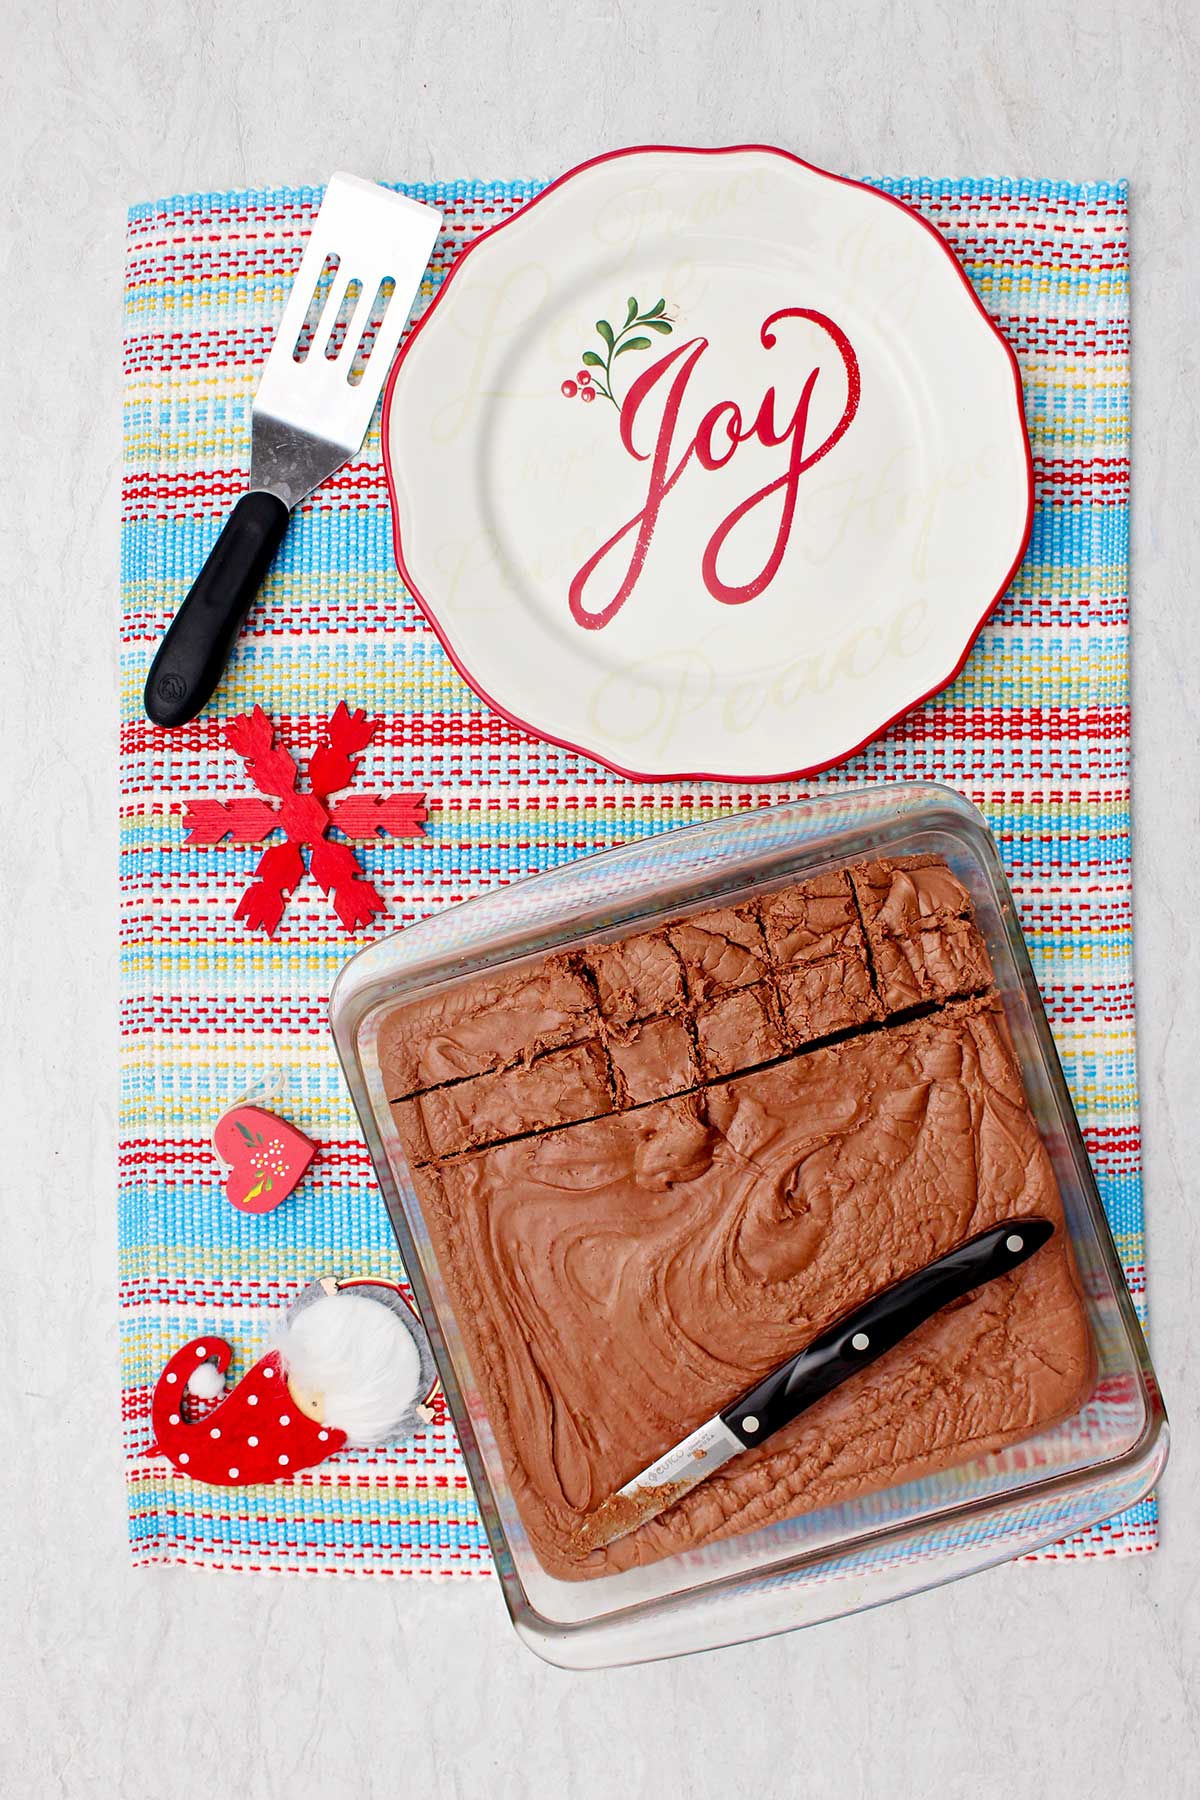
Slice the block of fudge into rows, then cut the rows in the other direction to make your squares. A one-inch square is a classic size (shown in the pictures) for a treat this rich, but that’s up to you.
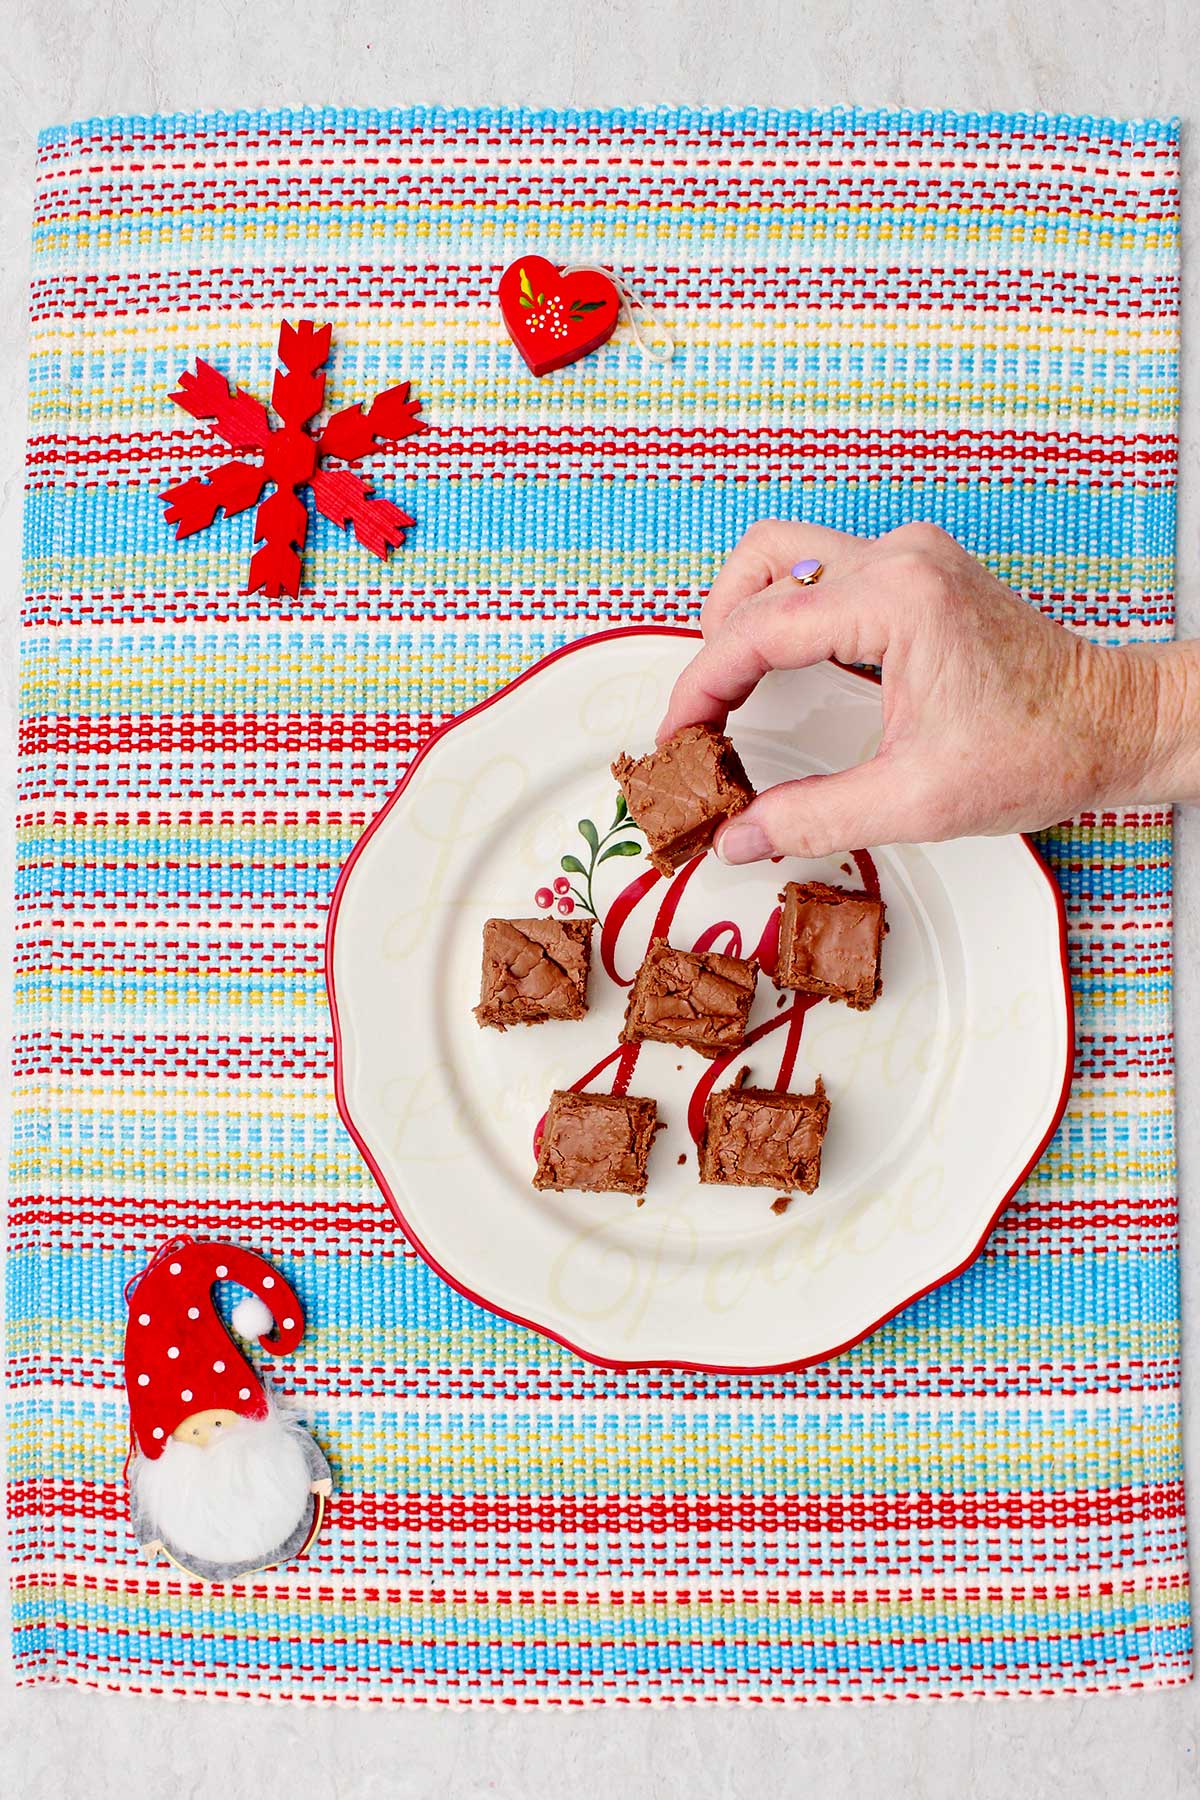
Conclusion- This is the Best Chocolate Fudge!
And there you have it. Look at that piece of fudge. The texture is smooth, it melts in your mouth, and the chocolate flavor is rich and deep. Not a hint of graininess, just pure, creamy fudge goodness.
This recipe proves you don't need to be a candy-making pro to make a fantastic chocolate fudge recipe at home. The recipe makes a big batch of about 3 pounds, which is perfect for holiday gifts, parties, or just for stashing in an airtight container for whenever you need a treat. It will last for a week or two at room temperature, but it’s not going to be around that long.
Oh, and I freeze my fudge and it still tastes delicious. Make sure that the container is airtight and put waxed paper between the layers so they don’t stick together.
Your Fancy Fudge Recipe Results & Ideas
Now I want to hear from you! This recipe is a great starting point for so many variations. If you make this, what would you add? Are you a classic walnut fan, or would you try pecans, or dried cherries? Let me know your creative ideas in the comments below.
Recipe Tips for Easy Make Fudge
These tips can help making easy make fudge even easier!
- This is a recipe for the older kids to make and there should be adult supervision at all times.
- Read through all of the instructions and gather all ingredients and equipment before starting. This is very important.
- Have the chocolate chips, marshmallow creme, and vanilla with measuring tools and hot pads next to the stove. Then you can stir in these ingredients as soon as the liquid mixture gets up to the correct temperature. That’s not the time to go looking for them or the measuring tools.
- Line the pan with parchment paper so the fudge lifts from the pan easily.
- Wooden spoon- wood doesn’t get hot as you stir while the ingredients heat up.
- Want those sharp, clean, professional-looking squares? Here’s the best trick: grab a long, sharp knife. Before each long cut, run the blade under very hot water for a few seconds, then quickly wipe it dry. The hot, dry blade will glide right through the fudge, preventing it from dragging or crumbling.
- Completely cool the fudge before cutting.
Recipe Variations for Homemade Fudge
Here are a few variations you’re welcome to try with this homemade fudge recipe:
- Use milk chocolate chips or dark chocolate chips for a change of taste and texture in the fudge.
- Mix in nuts or sprinkle nuts or sprinkles on top of the fudge for fun.
- Use a 9x13 inch pan for a fudge that isn’t as thick.
- Cut the fudge into diamond squares by making diagonal cuts instead of straight cuts.
- Cookie cutters- Use cookie cutters to cut out shapes in the fudge (in the 9x13 inch pan) and eat the extra parts!
FAQ On Never Fail Chocolate Fudge Recipe
This recipe uses evaporated milk, butter, sugar, semi-sweet chocolate chips, marshmallow creme, and vanilla. Nuts are optional but very good. The amounts are listed in the recipe.
Be sure to gather all ingredients and equipment before starting. Read all the directions first so there are no surprises. This is a straight forward recipe with simple step-by-step directions. You can do it!
There are several tricks. Use a thermometer and heat the mixture to the temperature given so it is the right consistency. Another trick is using the marshmallow creme which keeps the sugar crystals smaller so the texture is smooth. Don't over stir at the end or the fudge can get gritty. Have all equipment and ingredients gathered so there is no delay in the recipe steps- this prevents it from setting up while you're gone.
Wrong temperature when heating sugar mixture, no ingredients that interrupt the crystal formation so it gets gritty, overtiring at the end, having to stop to go get ingredients. These things can all be avoided by following the step-by-step instructions in this recipe post.
Wrong temperature when heating sugar mixture, no ingredients that interrupt the crystal formation so it gets gritty, overtiring at the end, having to stop to go get ingredients. These things can all be avoided by following the step-by-step instructions in this recipe post.
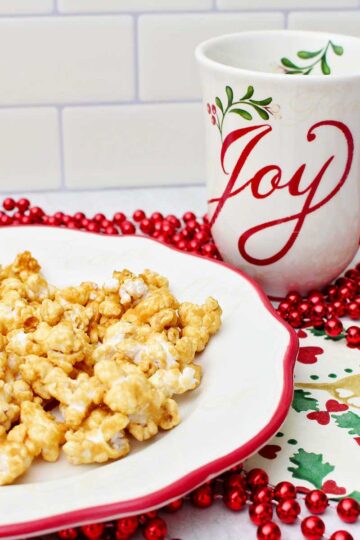
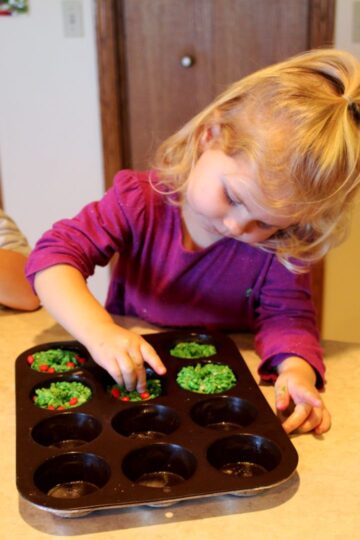
More Christmas Recipes for Kids
Looking for more easy Christmas recipes to try? Here are a few of our favorites:


Come join the fun at WTN!
If you enjoyed this foolproof recipe, be sure to subscribe. I've got plenty more simple, Christmas recipes and crafts coming your way in a weekly email (plus you get a free gift).
Thanks so much for joining me. Now go make yourself a batch of this truly fantastic fudge. You can do it!
Try this craft, leave a comment, rate it, and tag a photo with #WelcometoNanas wherever you post.

Fantastic Never Fail Chocolate Fudge
Equipment
- 3 quart saucepan
- Whisk
- Plastic spatula
- Wooden spoon
- Candy thermometer
- Church key can opener or regular can opener
- 9x9 inch square baking pan (thicker fudge) or a 9x13 inch baking pan (less thick fudge)
Ingredients
- ⅔ cup evaporated milk
- ⅔ cup butter
- 3 cups sugar
- 1 12 oz package semi-sweet chocolate chips or 2 cups
- 7 oz marshmallow creme
- 1 teaspoon vanilla extract
- 1 cup nuts (optional)
- Cooking spray or parchment paper
Instructions
- Spray a 9x9 inch square dish with cooking spray and set aside.
- Combine the evaporated milk, butter, and sugar in a 3 quart saucepan.
- Bring the mixture to a full rolling boil, stirring constantly.
- Add a candy thermometer to the side of the pan with the bulb down into the mixture.
- Boil until the temperature reaches 234 degrees, stirring constantly.
- Take the mixture off the stove and place the pan on a hot pad.
- Pour in the chocolate chips and stir until melted.
- Add the marshmallow creme and vanilla extract and stir until blended
- Add the nuts (optional) and stir in.
- Pour the mixture into the 9x9 inch or 9x13 inch dish.
- Cool, cut into squares and place in an airtight container.
- This makes about 3 pounds of fudge.

Kayla says
When I poured the chocolate chips in, they did not turn to a smooth consistency. What did I do wrong?