Let’s Go Fly A Kite!
The breezes of March are perfect for flying a kite. How about making your own kite with the grands and floating it up on one of those March breezes?
Our kids liked making kites when they were young and we found that they weren’t difficult to make. Let’s start with the grands by making one in the traditional diamond shape.
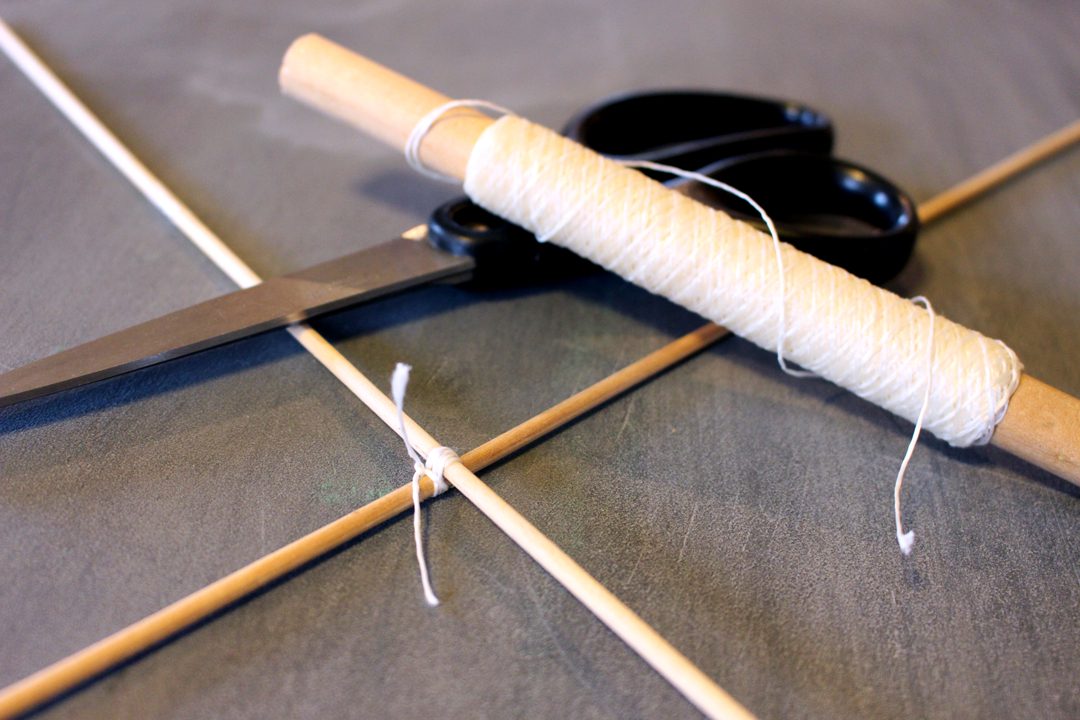
The Kite Cross Frame
First cut the two dowel rods to make the cross frame. The vertical, longer dowel is cut half again longer then the horizontal cross dowel. For instance, if the cross dowel is 16 inches wide (2x8) the vertical dowel is 24 inches long (3x8). Use string to lash the two dowels together at a 45o angle. This size fit onto the kitchen sized trash bag used in this example.
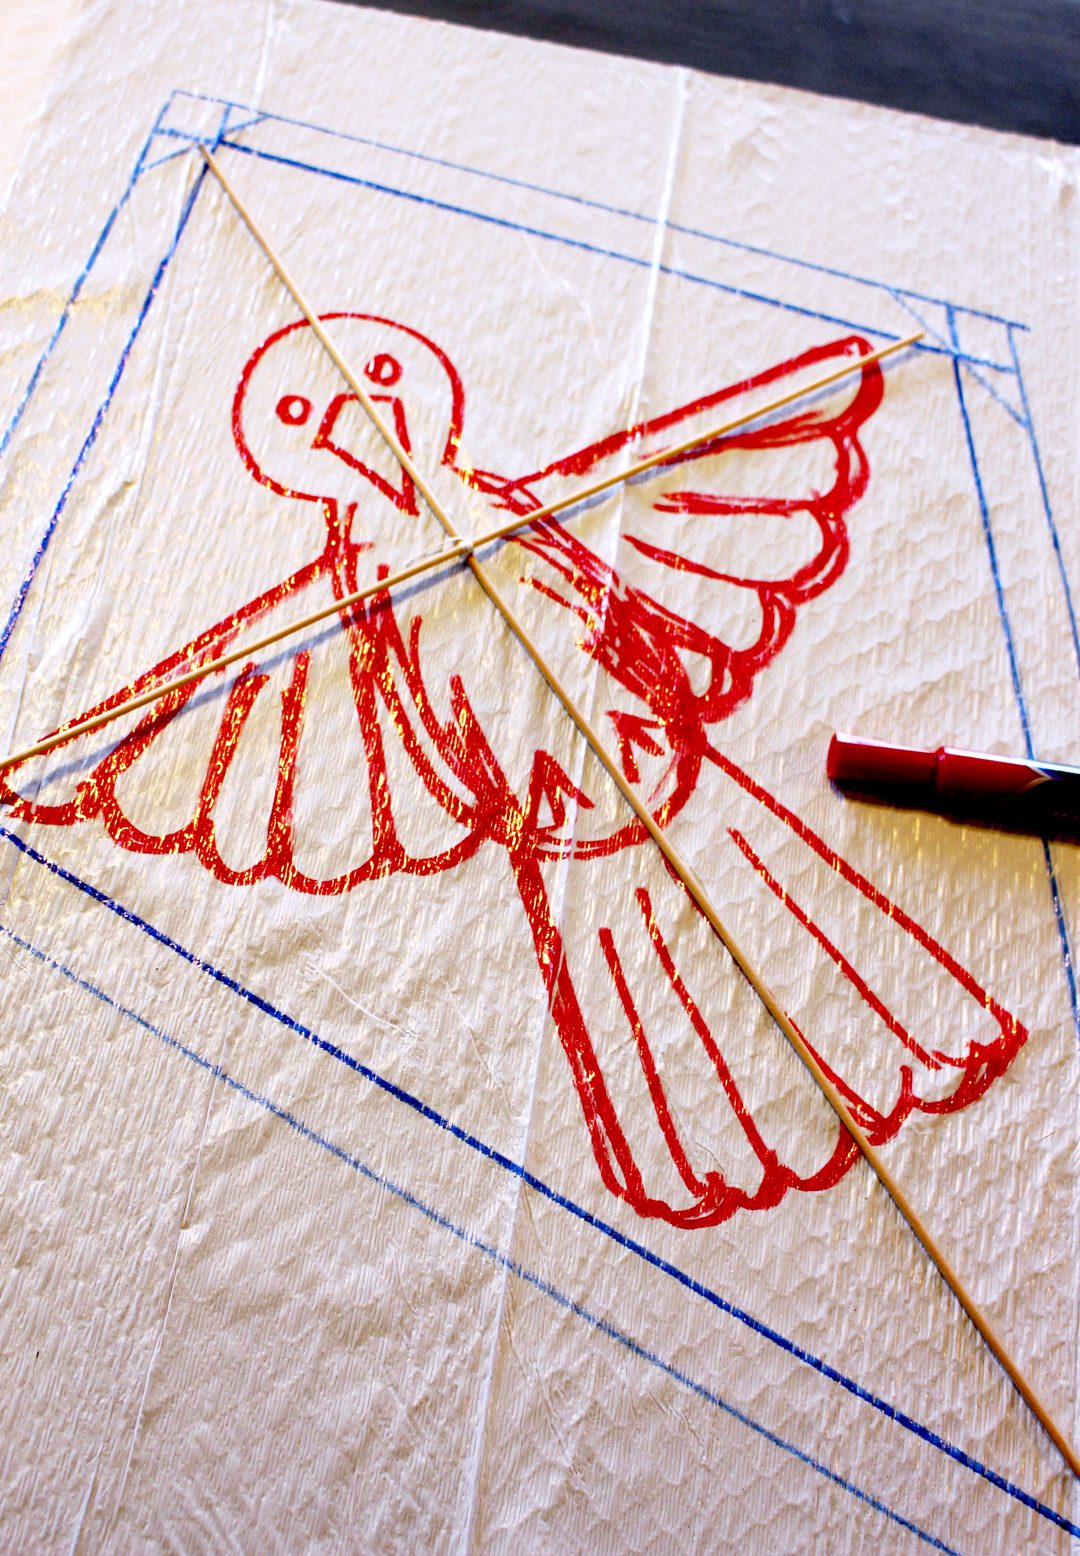
The Kite Sail (fancy word, huh?)
Lay the trash bag or plastic out on a flat surface. I used both layers of the kitchen trash bag to make the kite sail a bit stronger. Place the lashed dowel cross on top. Draw dots on the plastic at the tips of the four dowel points. Draw lines connecting those dots making the diamond shape. Draw a second set of lines about one inch outside the original diamond. Cut the kite sail out on this second set of lines.
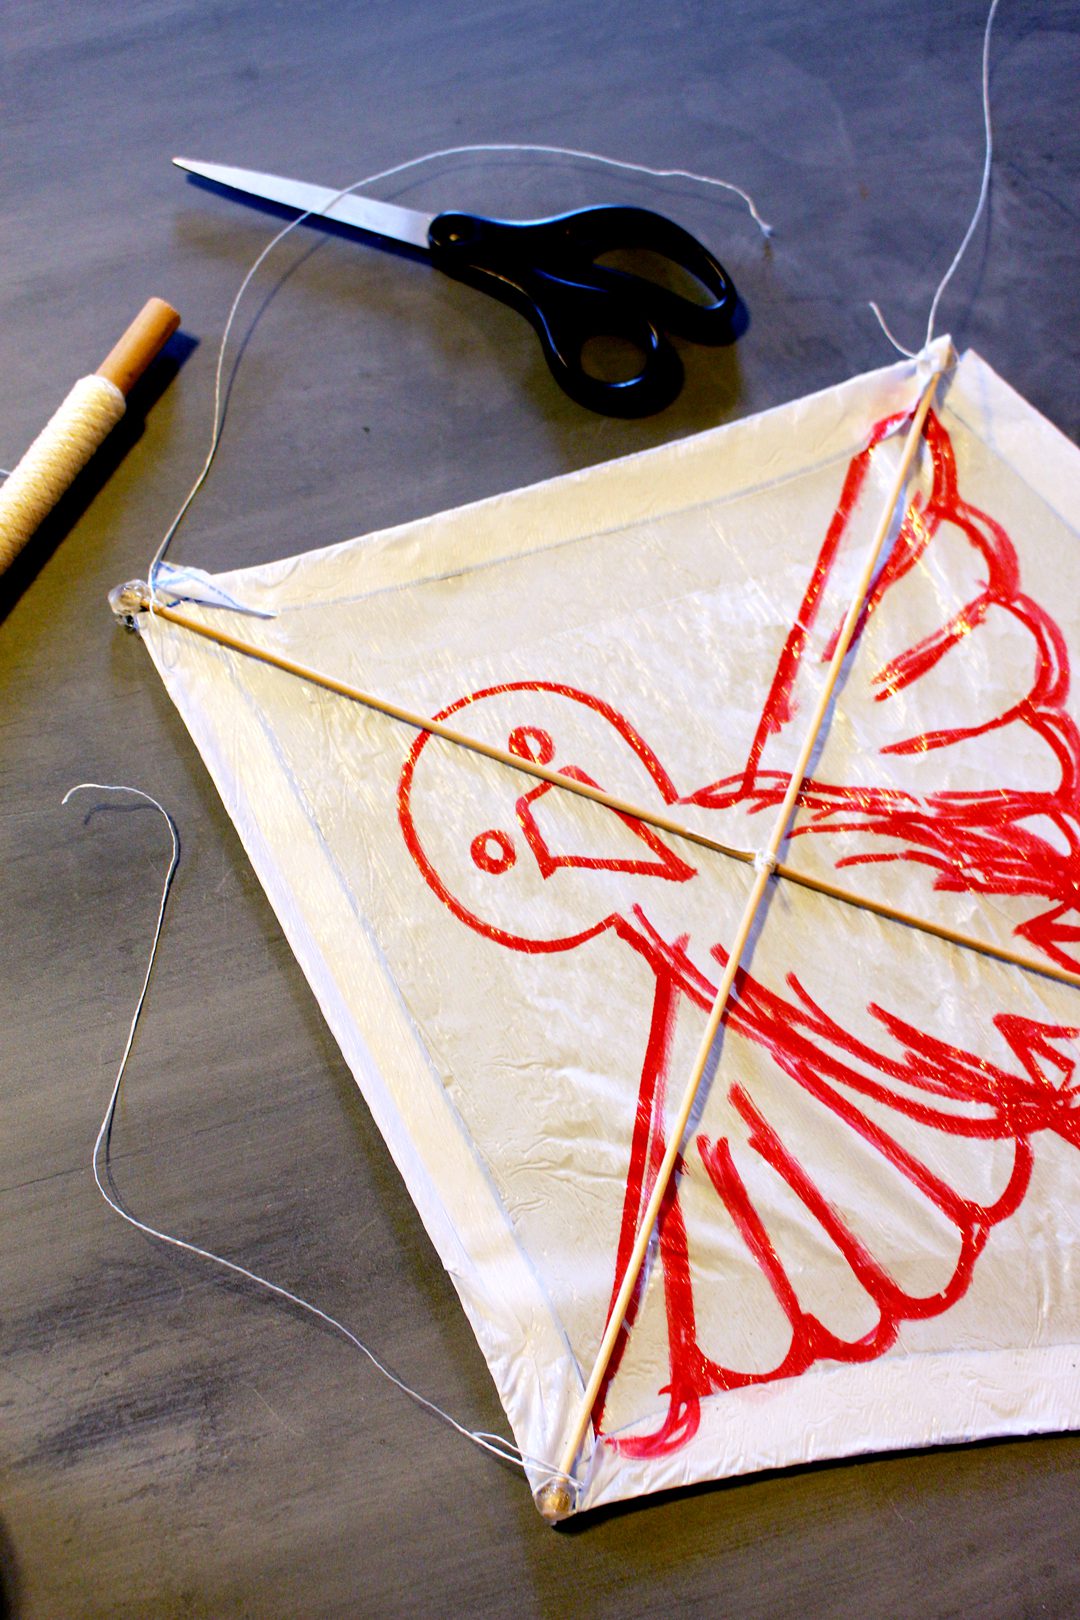
Now is the time to let the grands decorate the if they would like. Use permanent markers to draw a design on the plastic.
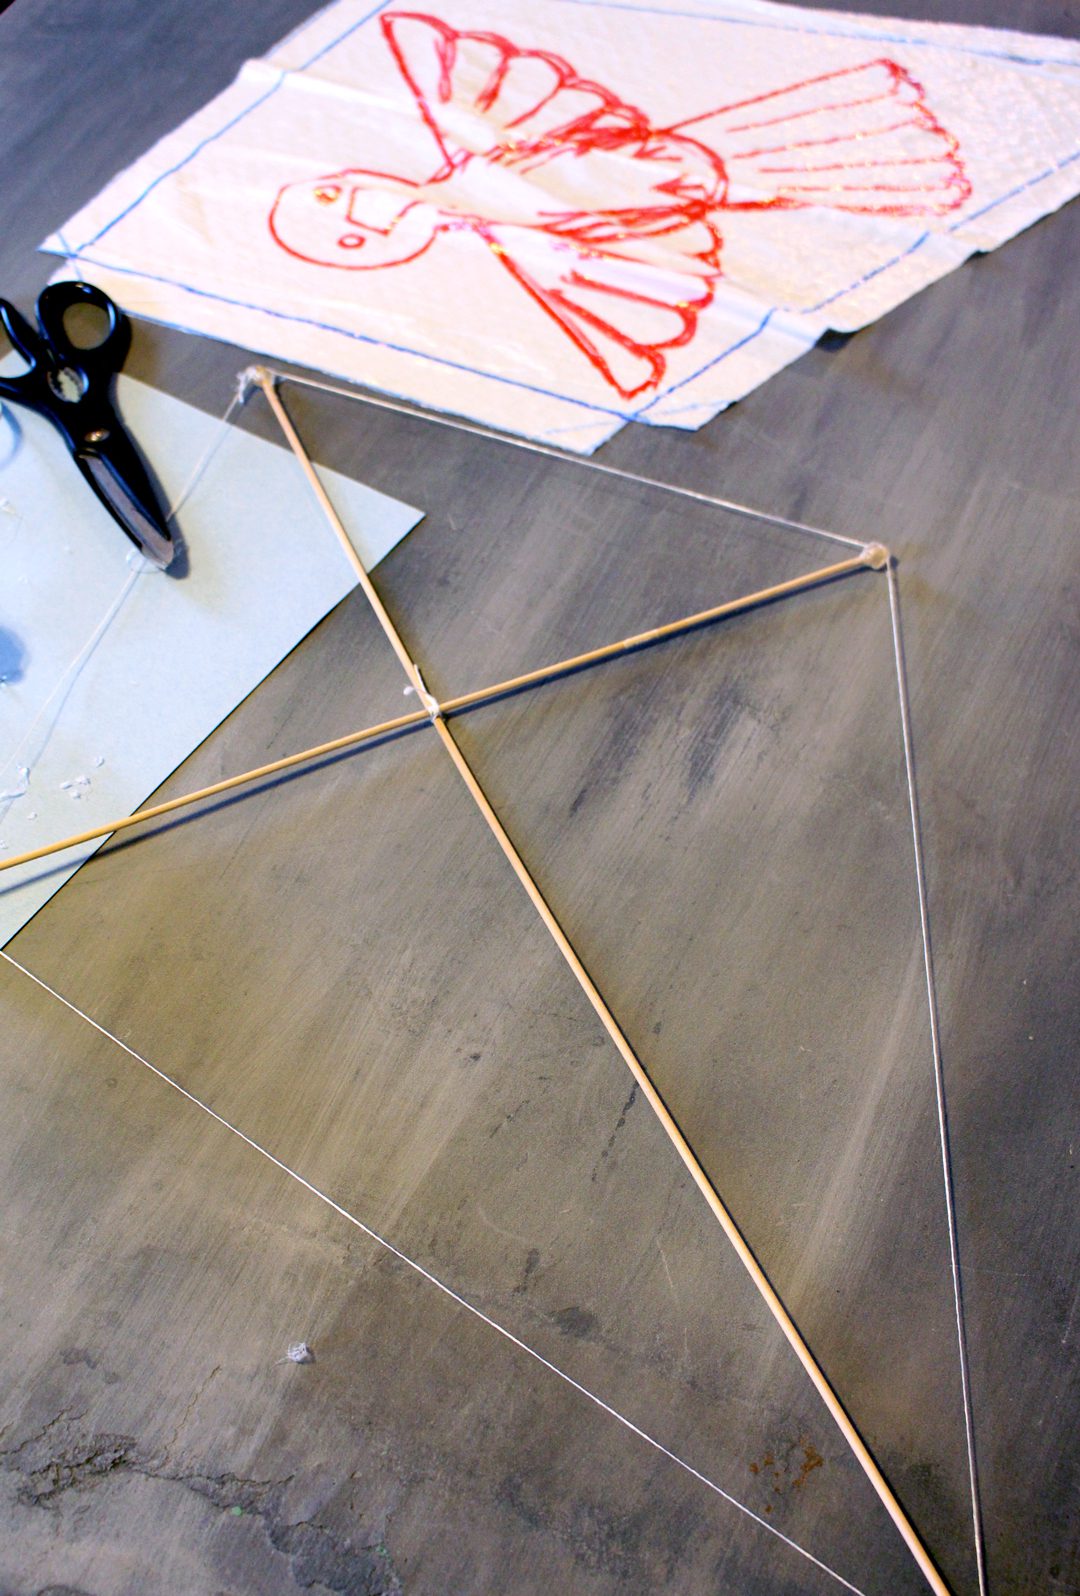
Attaching the Sail to the Frame
Next, we will finish framing the kite. Cut a piece of string long enough to go around the four kite dowel tips plus about a foot of extra length. Tie the string to the pony beads at the points where the beads would fit over the tips of the dowels. Using the glue gun, glue these beads where they slip over the tips of the dowels. From experience, I’ve learned that this is an activity for the adult to complete, not for the younger grands. Let each bead you glue cool completely before going on to the next one.
If you are using bamboo or larger dowels, this step can be done by placing the string in notches cut in the end of the dowels instead.
Lay this frame back on top of the plastic. Fold the extra inch of plastic over the string outline and tape it in place with the packing tape. It’s looking like a real kite now, isn’t it?
A Bridle
Cut three strings about 14 inches long to make a bridle for the kite. Tie one end of each string onto the tips of each of the top three dowels. Tie the other ends of all three strings together in one knot. This is where you tie the roll of string to fly the kite.
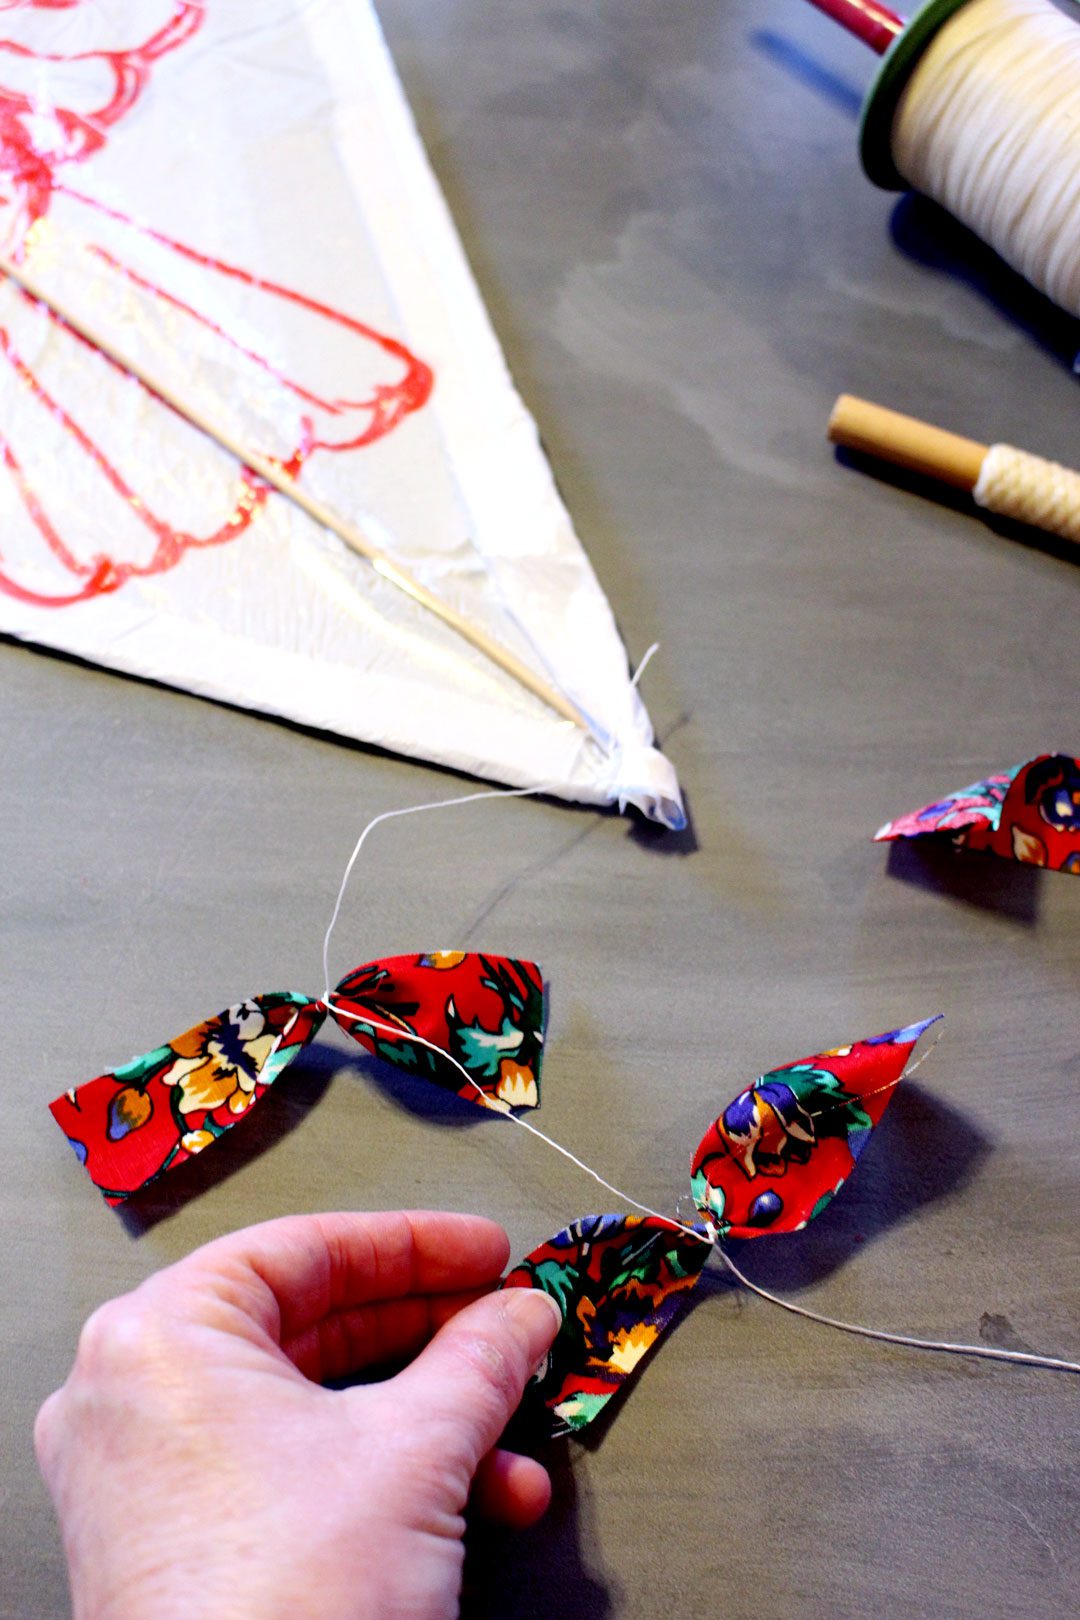
It Needs A Tail!
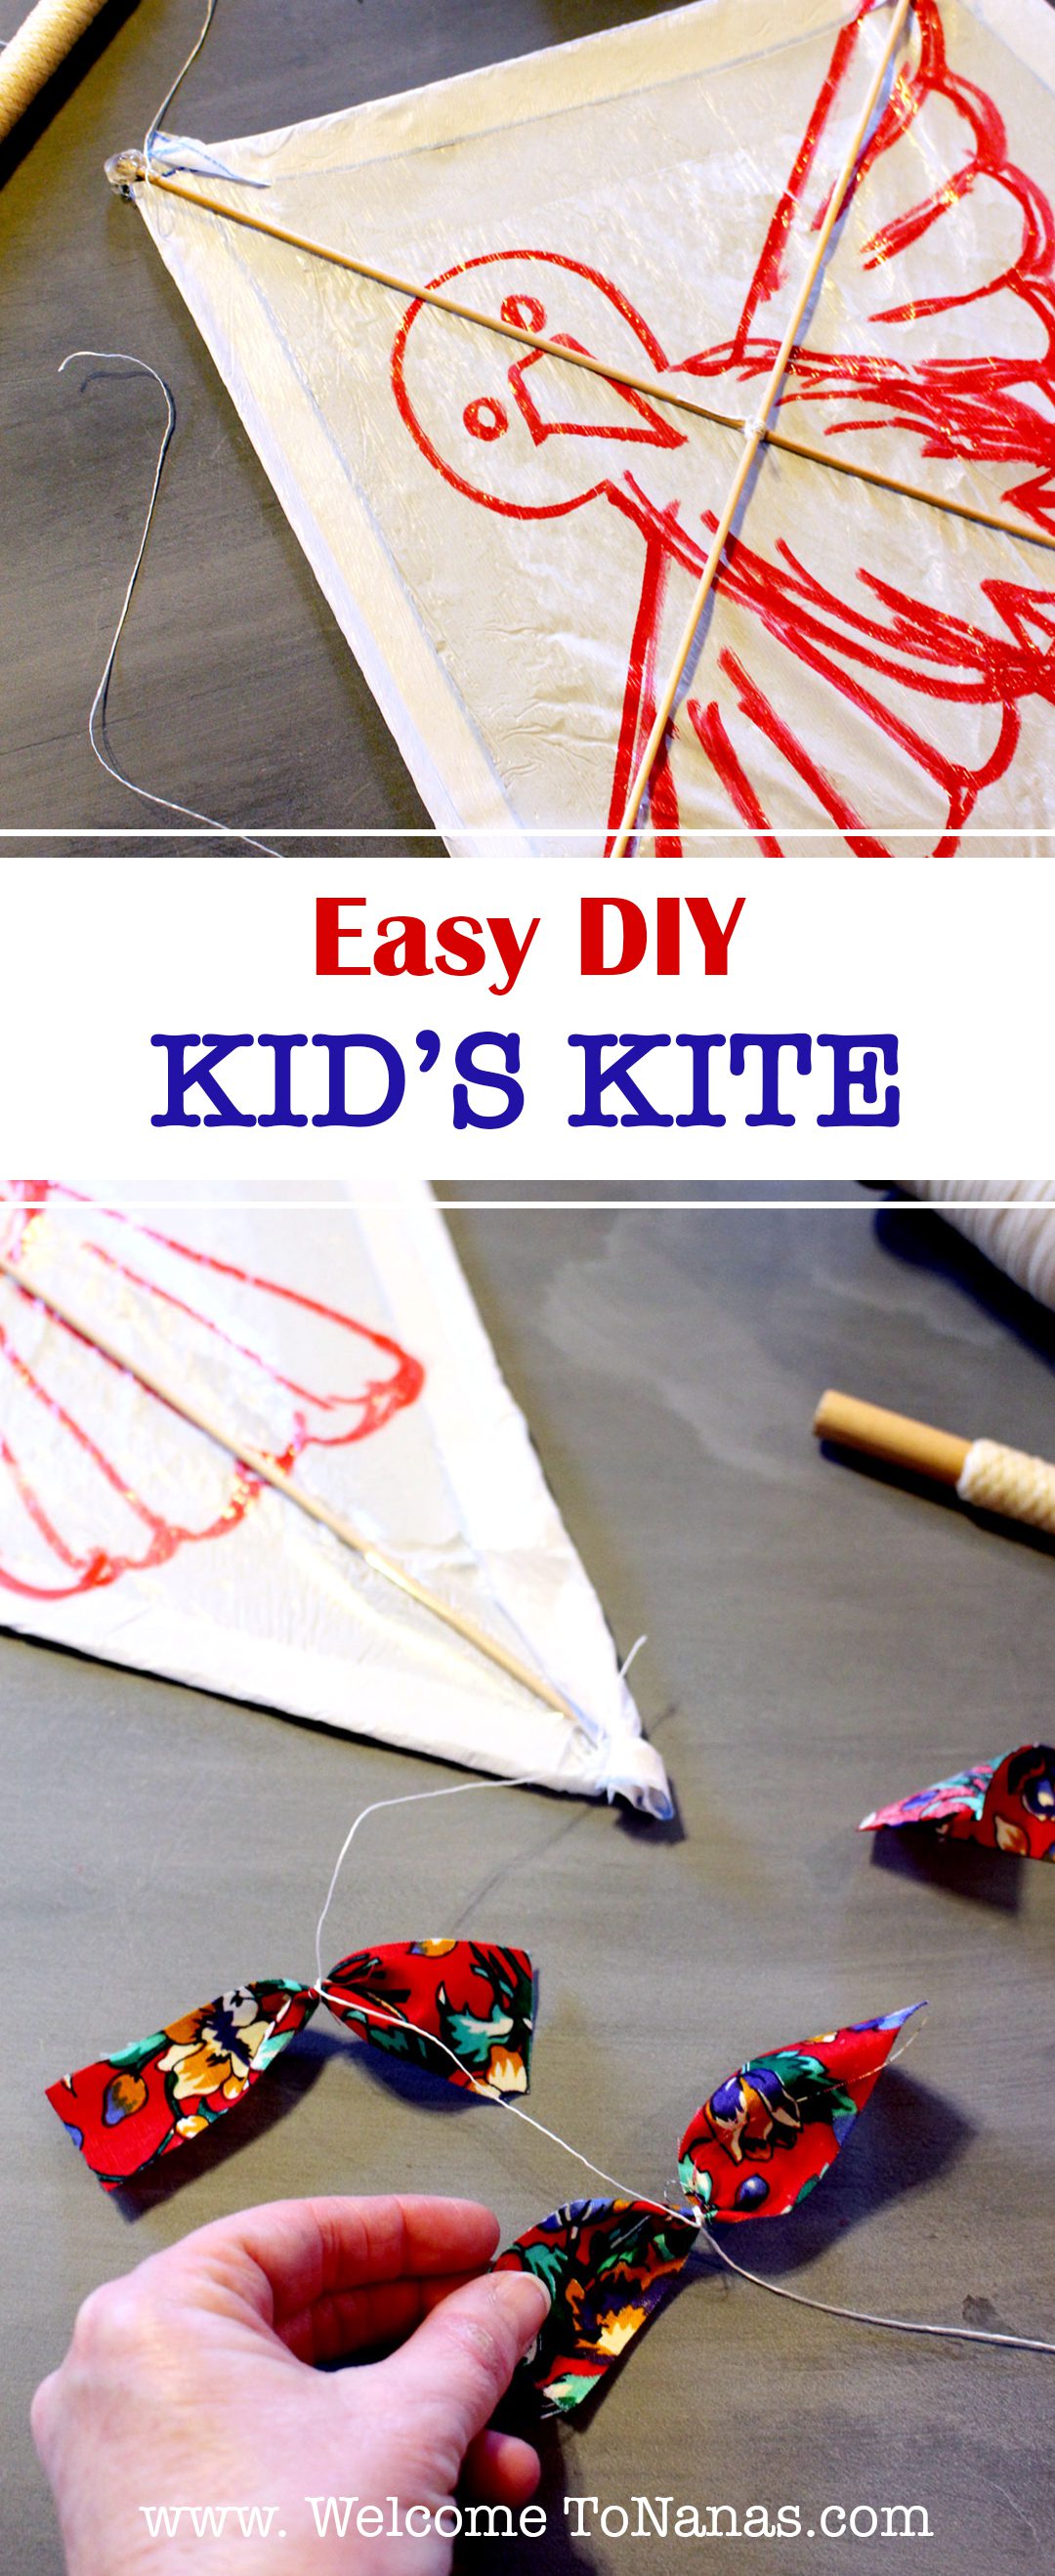
Last but not least is the tail! Cut a piece of string about 2 ½ times the length of the kite. Cut 8-12 pieces of cloth or plastic scraps. Tie these onto the tail at about 6 inch intervals. This is my favorite part of making a kite!
Let It Fly
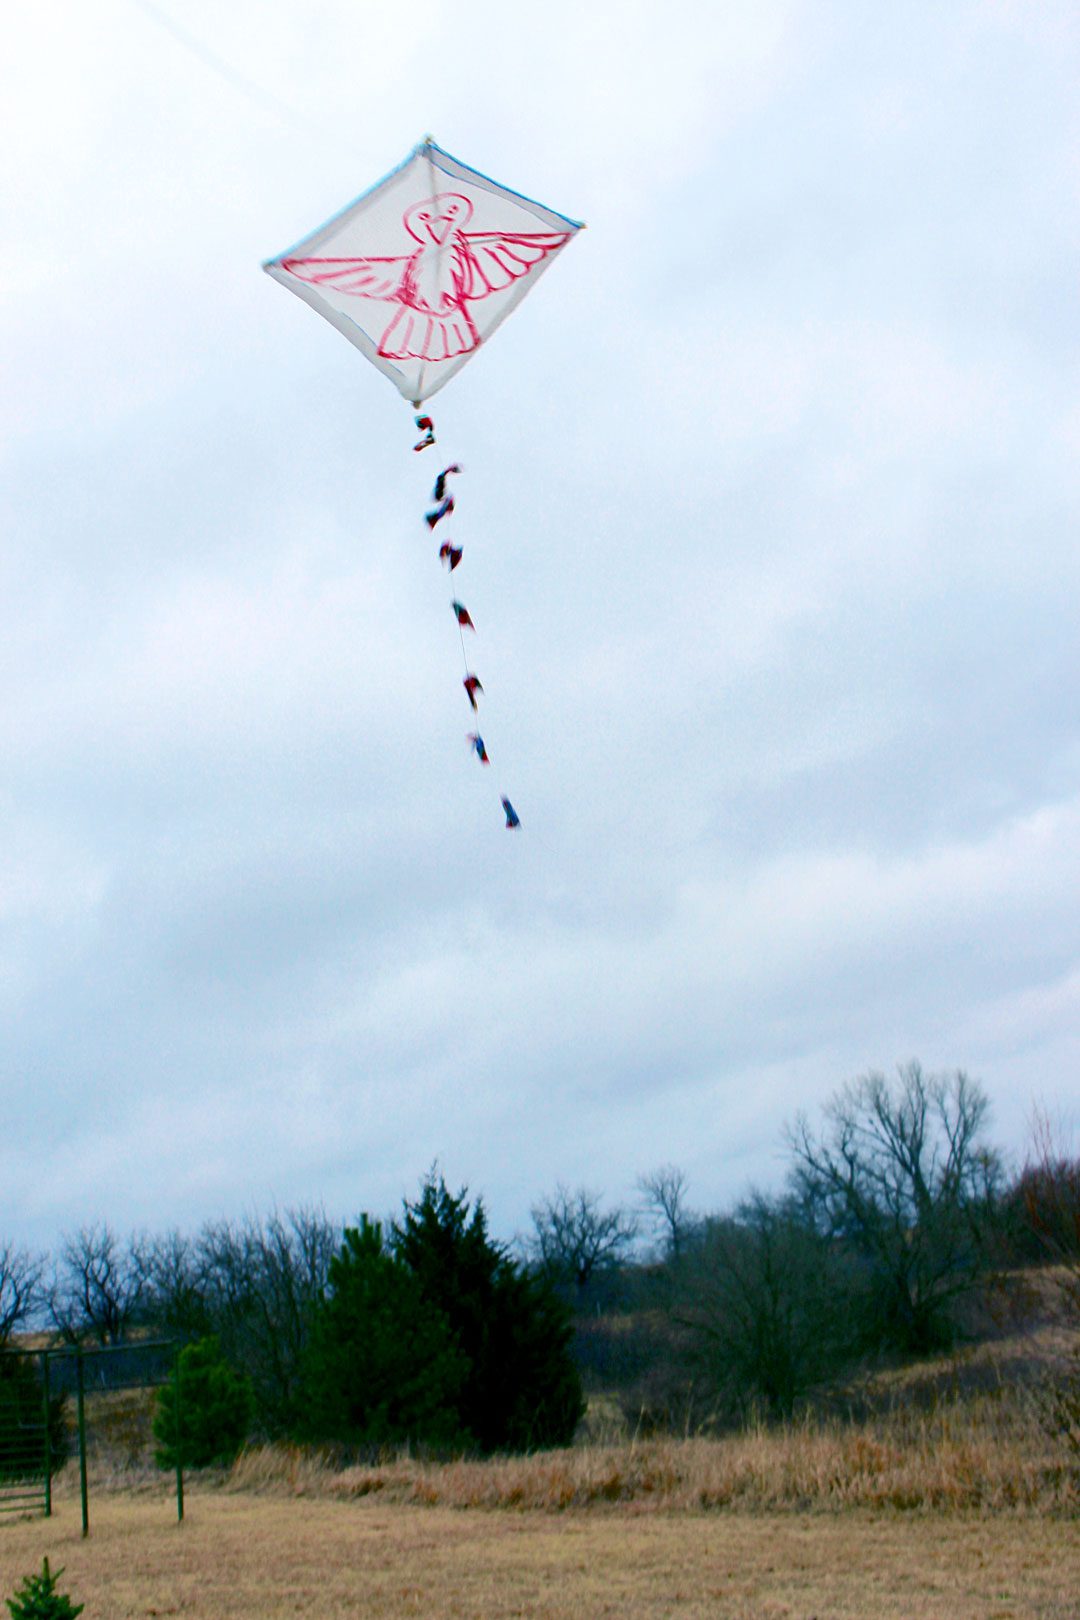
Yea! The kite is ready to catch that March breeze. I couldn’t wait and tried to fly it on a drizzly day with too much wind. It still went up but did a couple nose dives in a couple wind gusts. The grands will be ready to take a run to launch their own personalized kites. I’m hoping you have better weather than we did!
The traditional diamond shaped is fun, but, now that you’ve gotten the jist of that one, perhaps we’ll attempt making our own box kite next time!
You'll Need:
- 2 dowel rods that are ⅛ inch in diameter (or bamboo rods)
- 1 kitchen sized trash bag (13 gallon), heavies plastic weight possible (you can use other plastic as well)
- Clear packing tape
- Light weight, strong string
- 4 pony beads
- Hot glue gun
Instructions:
- Cut the two dowel rods to make the cross frame. The vertical, longer dowel is cut half again longer then the horizontal cross dowel. For instance, if the cross dowel is 16 inches wide (2x8) the vertical dowel is 24 inches long (3x8). Use string to lash the two dowels together at a 45o angle. This size fit onto the kitchen sized trash bag used in this example.
- Lay the trash bag or plastic out on a flat surface.
- Place the lashed dowel cross on top.
- Draw dots on the plastic at the tips of the four dowel points.
- Draw lines connecting those dots making the diamond shape.
- Draw a second set of lines about one inch outside the original diamond.
- Cut the kite sail out on this second set of lines.
- Use permanent markers to draw a design on the plastic for decoration.
- Cut a piece of string long enough to go around the four kite dowel tips plus about a foot of extra length.
- Tie the string to the pony beads at the points where the beads would fit over the tips of the dowels.
- Using the glue gun, glue these beads where they slip over the tips of the dowels. If you are using bamboo or larger dowels, this step can be done by placing the string in notches cut in the end of the dowels instead.
- Lay this frame back on top of the plastic.
- Fold the extra inch of plastic over the string outline and tape it in place with the packing tape.
- Cut three strings about 14 inches long to make a bridal for the kite.
- Tie one end of each string onto the tips of each of the top three dowels.
- Tie the other ends of all three strings together in one knot. This is where you tie the roll of string to fly the kite.
- Last but not least is the tail! Cut a piece of string about 2 ½ times the length of the kite.
- Cut 8-12 pieces of cloth or plastic scraps (about 2x5 inches in size).
- Tie these pieces onto the tail at about 6 inch intervals.
- Take it for a trial flight!
Enjoy!
Welcome to Nana’s! Where there’s fun things to do with your “grand” kids!
Come join the fun at www.WelcomeToNanas.com



Leave a Reply