Make candles with ice cubes? Yes!
Decorator candles were THE gift thing when I was young. There were Ice Cube Candles, candles molded in sand or seashells and candles that looked like banana splits. Yep, like ice cream! Ha. We loved them.
I’m eager for the grands to learn How to Make Candles with Ice Cubes. They are retro!
Ice candles DIY
Cut off the top of the carton to slightly higher than you want your candle height. There are also Candle Molds that can be purchased for this purpose.
The height of your Taper Candle needs to be slightly lower than the height of your carton. Cut a bit off the top so it is less tapered and cut off a bit of the bottom, so it is flat.
The Taper Candle will keep the wick straight up and down even when you put ice down in the carton. The taper candle does not need to be a new one. It’s OK if it has been burned part way down.
Make an ice candle with recycled old candles
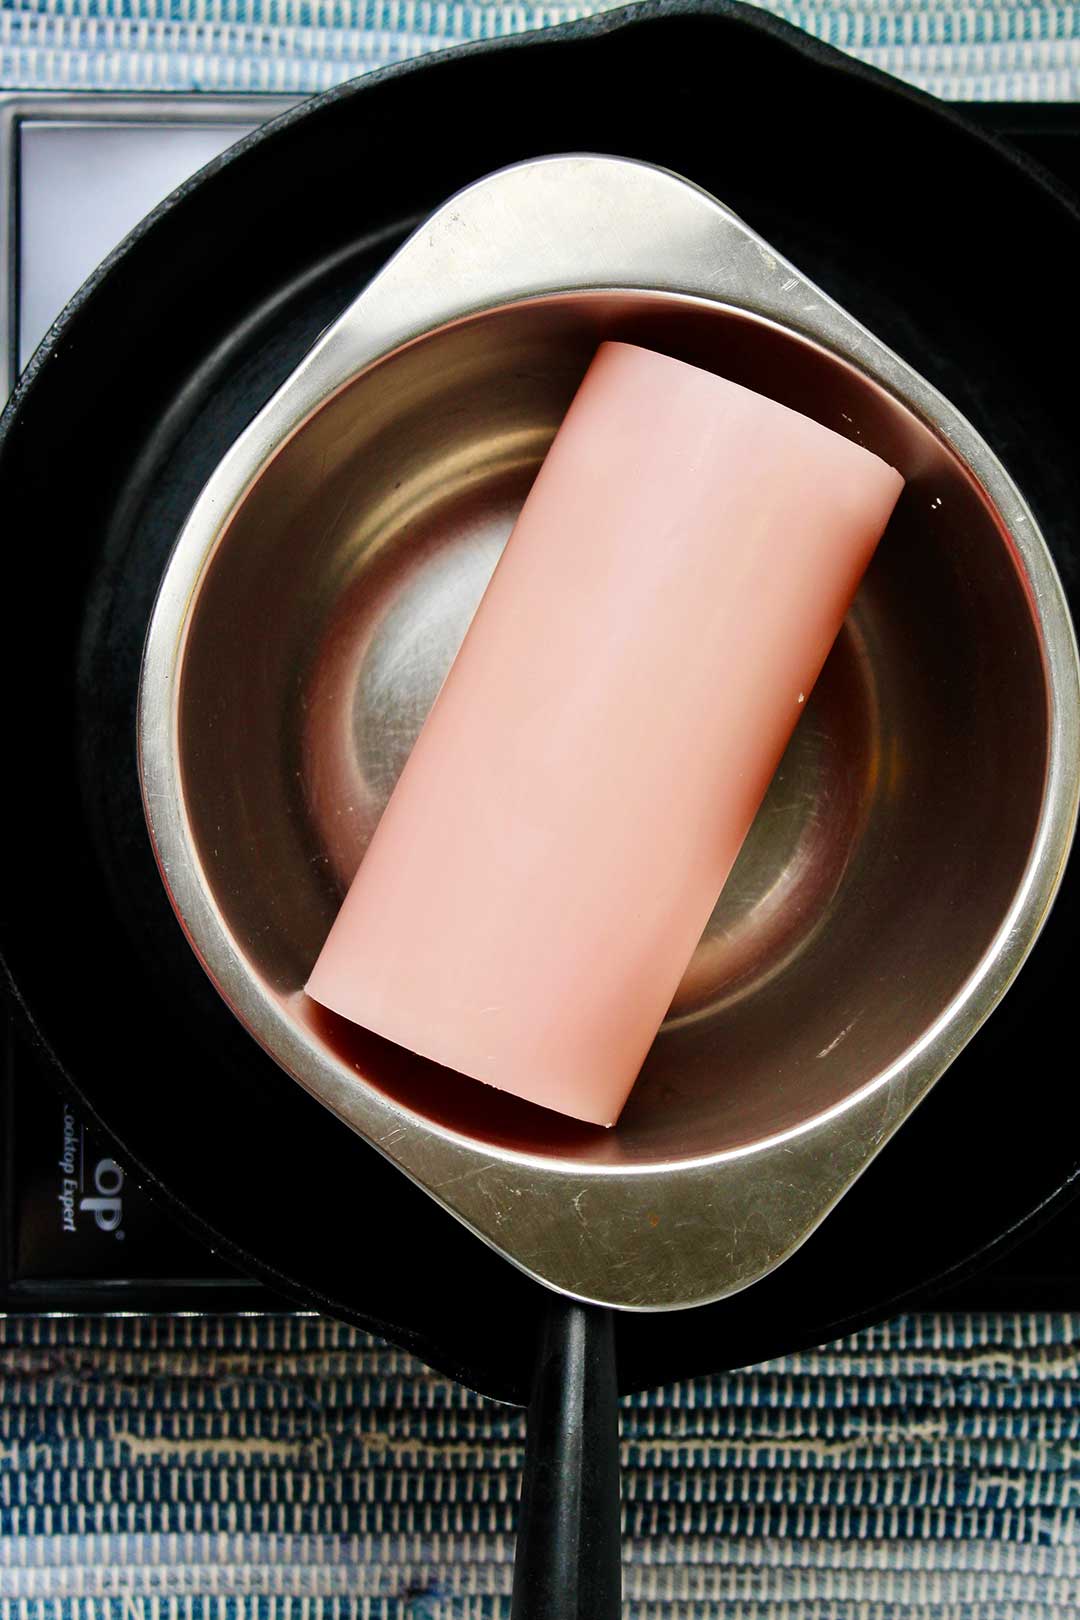
Wax from old candles can be used for this project or new Paraffin Wax can be purchased. The old candles will already have coloring and scents so keep that in mind. I melted down an old candle and added some red Crayons![]() to make a color that I hope looks pink when finished.
to make a color that I hope looks pink when finished.
Tip: You can freeze old container candles and the wax will pop out because it shrinks slightly when frozen.
Use a pick or screwdriver and a hammer over a cutting board to break of chunks of the new Paraffin Wax. The grands will love this step!!
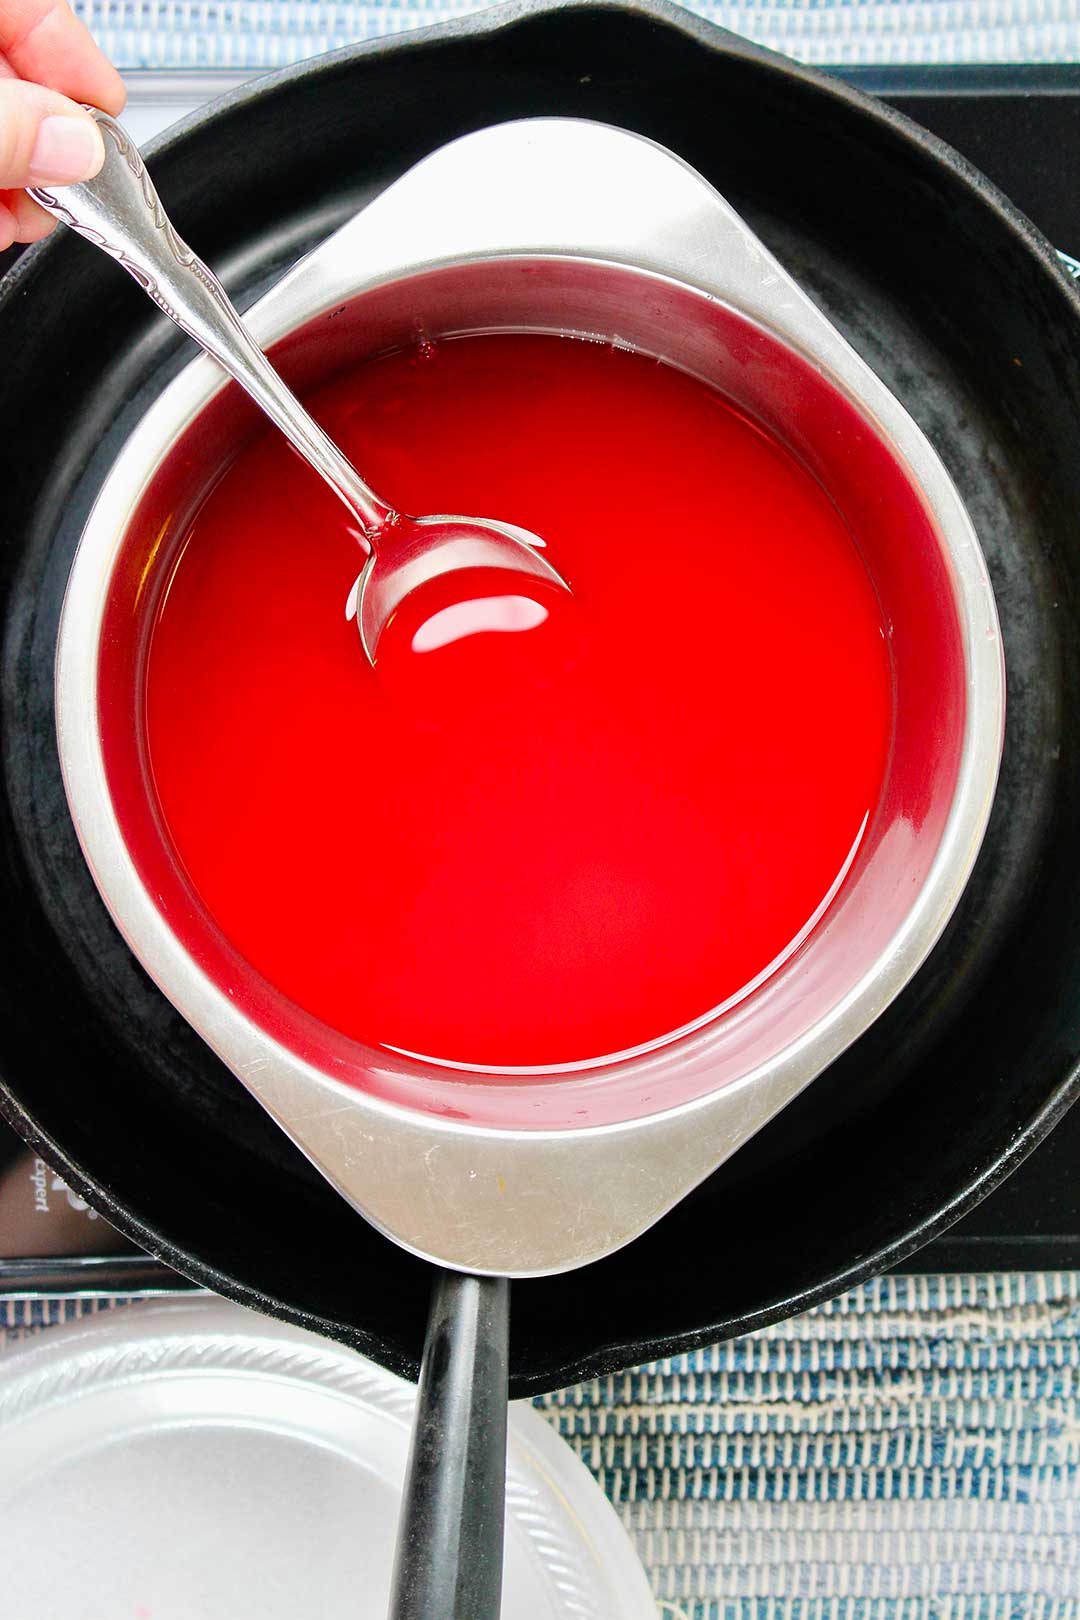
Melt the wax and coloring in a Double Boiler. Make sure to keep water in the pan under the wax, don’t let it boil dry. This keeps the candle wax at the temperature of the boiling water. Add the Fragrance Oils scent at the end before pouring.
Note: Melting and pouring wax are the most dangerous parts of candle making. Be sure to use adult supervision. Don’t leave the wax unattended, keep watch. NEVER melt wax in a pan directly on the stove!! This can cause a fire.
How to make an ice candle
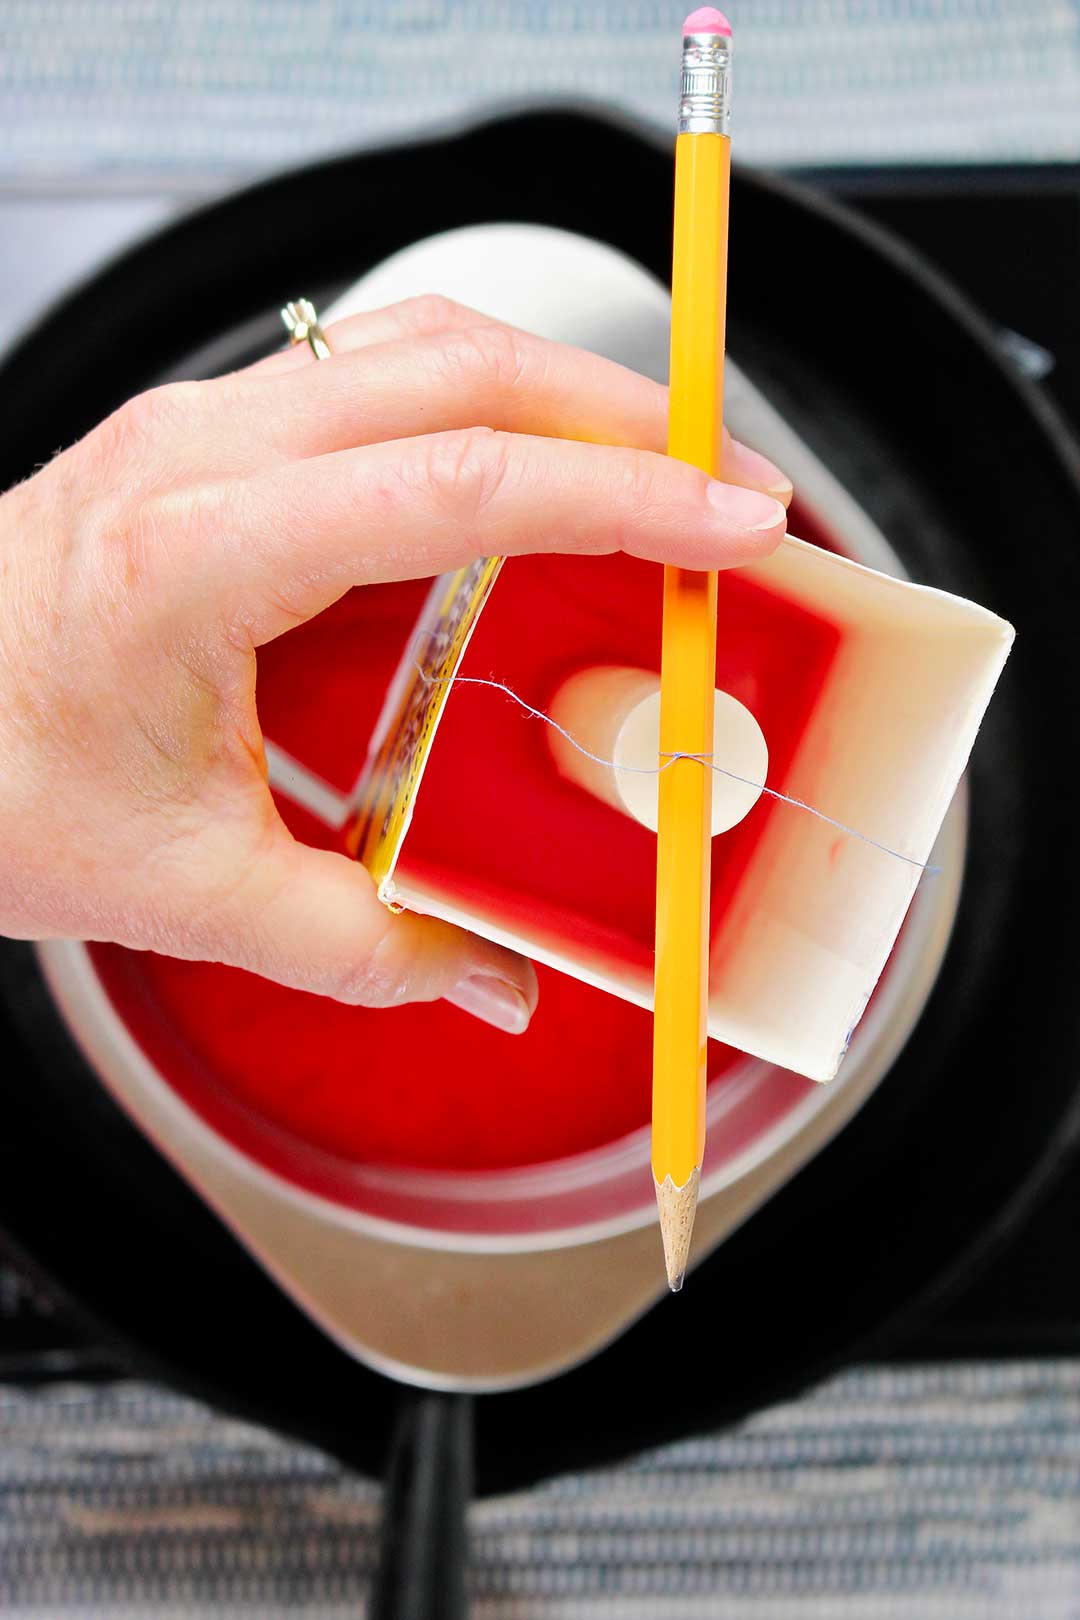
Pour ½ inch of melted wax in the bottom of the container and after it cools a bit, stick the taper into it, centered in the container.
Tip: I found it helpful to use a measuring cup to dip and pour the wax instead of pouring directly from the pan of wax.
Note: You can use new wicking if you prefer. This can be seen in the supplies picture. The wicking needs to be anchored at the bottom with some wax and then tied to a pencil, chop stick or dowel rod that is set on top of the carton. This will keep the wicking as straight as possible.
Candle making with ice cubes-
Fill the carton up with crushed ice. Make sure there aren’t any real large pieces or there will end up being air pockets in the candle that are too large. Perhaps ½ inch or ¾ inch sized ice at the largest. Don’t use whole ice cubes from a tray.
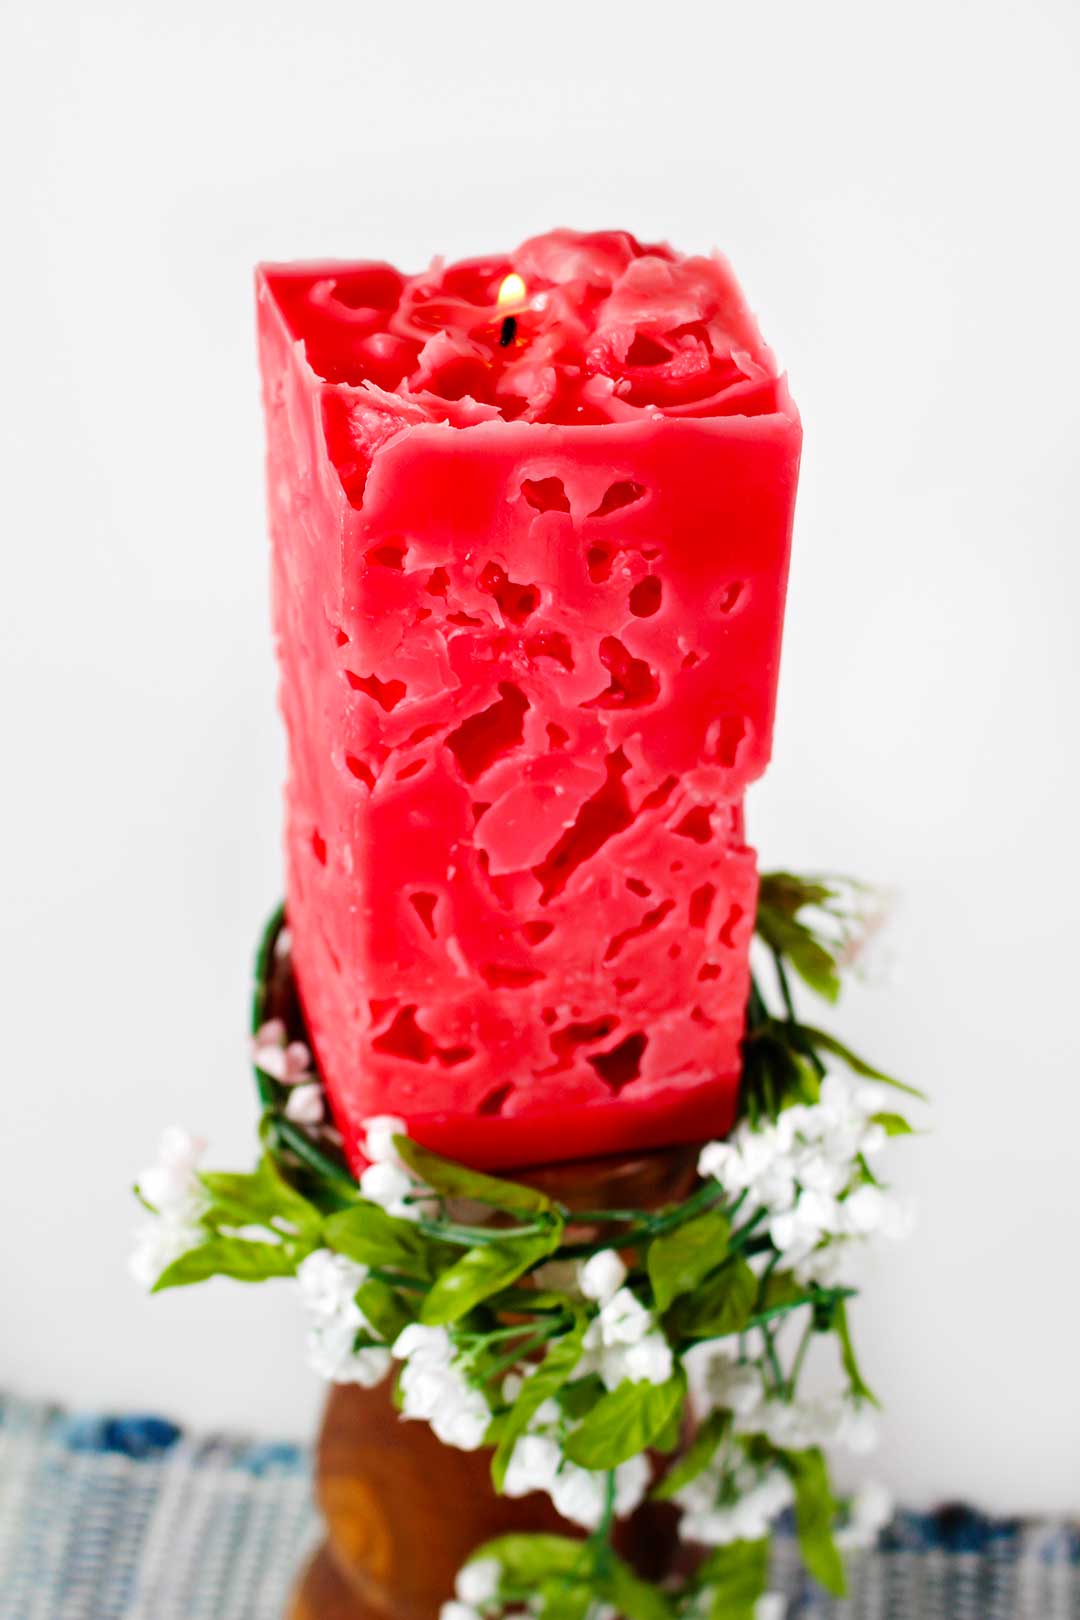
The ice will melt and leave a cool design of holes in the candle. Every candle has a unique pattern. Just wait and see!
Pour in the wax...
Pour the wax around the edge of the taper candle and let it run down and fill the carton with wax until it is at the top of the taper candle. This will allow the wax to melt the ice in the center of the candle first and leave more air holes around the outside of the candle.
Give the wax time to harden in the carton. This took ours about 20-30 minutes because the ice cools the wax off quickly.
Turn the carton upside down in a bowl or pan with edges so the water from the melted ice can drain out. Don’t be in a hurry here- it took a while for this to happen. About 20 minutes, I think.

Getting wax out of your pan or bowl
So, if you don’t mind keeping this pan or bowl for wax just set it on your craft shelf until we need it again in the next candle project. But if you do need it, here are a couple of methods to get the wax out. You can place it in the freezer and then pop out the wax in chunks. (This worked great for me.)
Or you can pour some boiling water into the pan and let it cool off. The wax will rise to the top and pop off. Then wipe the bowl with a disposable cotton rag. You can use some degreaser on the rag if needed.
Note: NEVER pour hot wax down your drain. It will harden in the drain and clog it.

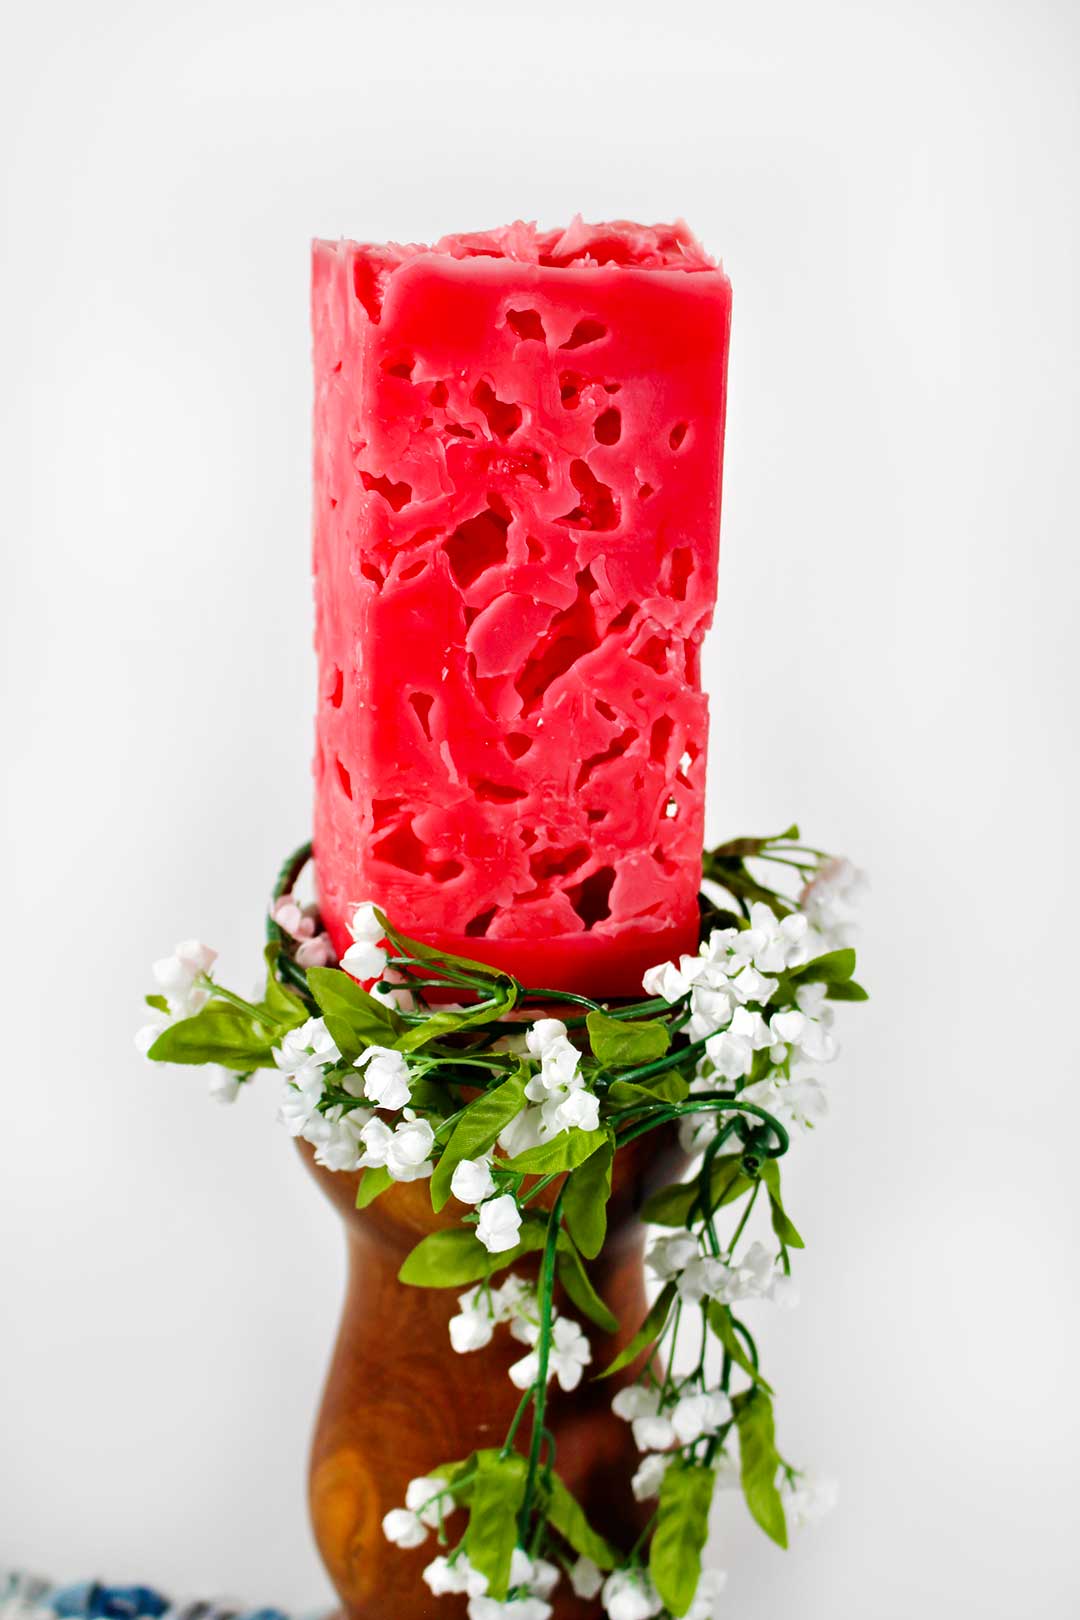
You learned how to make candles with ice cubes!!
When the wax is drained well, gently tear the cardboard carton off the candle.
Isn’t the design in the wax so cool? I told you the pattern would be unique!
Let the candle harden a bit further if it still feels soft.
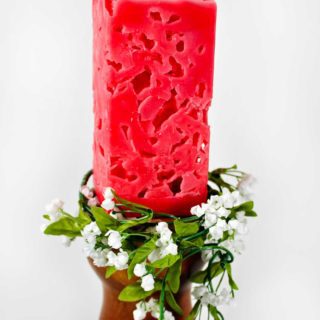
Then, burn your candle or use it as a gift for someone special.
Note: Never leave a lit candle unattended! Be careful and have adult supervision for the grands.
Want to make more candles?
Would you like to make more kinds of candles? I would! We will try more candle making in the future! I’m excited to try candles poured into sand or sea shells!
Burn your candles!
Of course, when we were young, we loved how our decorator candles looked so we never burned them. They got dusty waiting to be lit. That’s not how Nana is now! Burning my candles instead of waiting for a special occasion was a resolution I made after 9-11. (September 11th, 2001, when the World Trade Centers were attacked. You may need to tell the grands what this was.) Why wait? Enjoy your **ice cube candles now.
That may sound silly, but I also got out my good dishes and the tea towels my grandma embroidered for me to use daily. They bring me joy. Why keep them on a shelf or in a drawer when they can be appreciated now, when the person or reason you got them is still in your heart and mind. Use these items with the grands and tell your stories, it is important to pass on your stories.
So…burn your ice cube candles!!
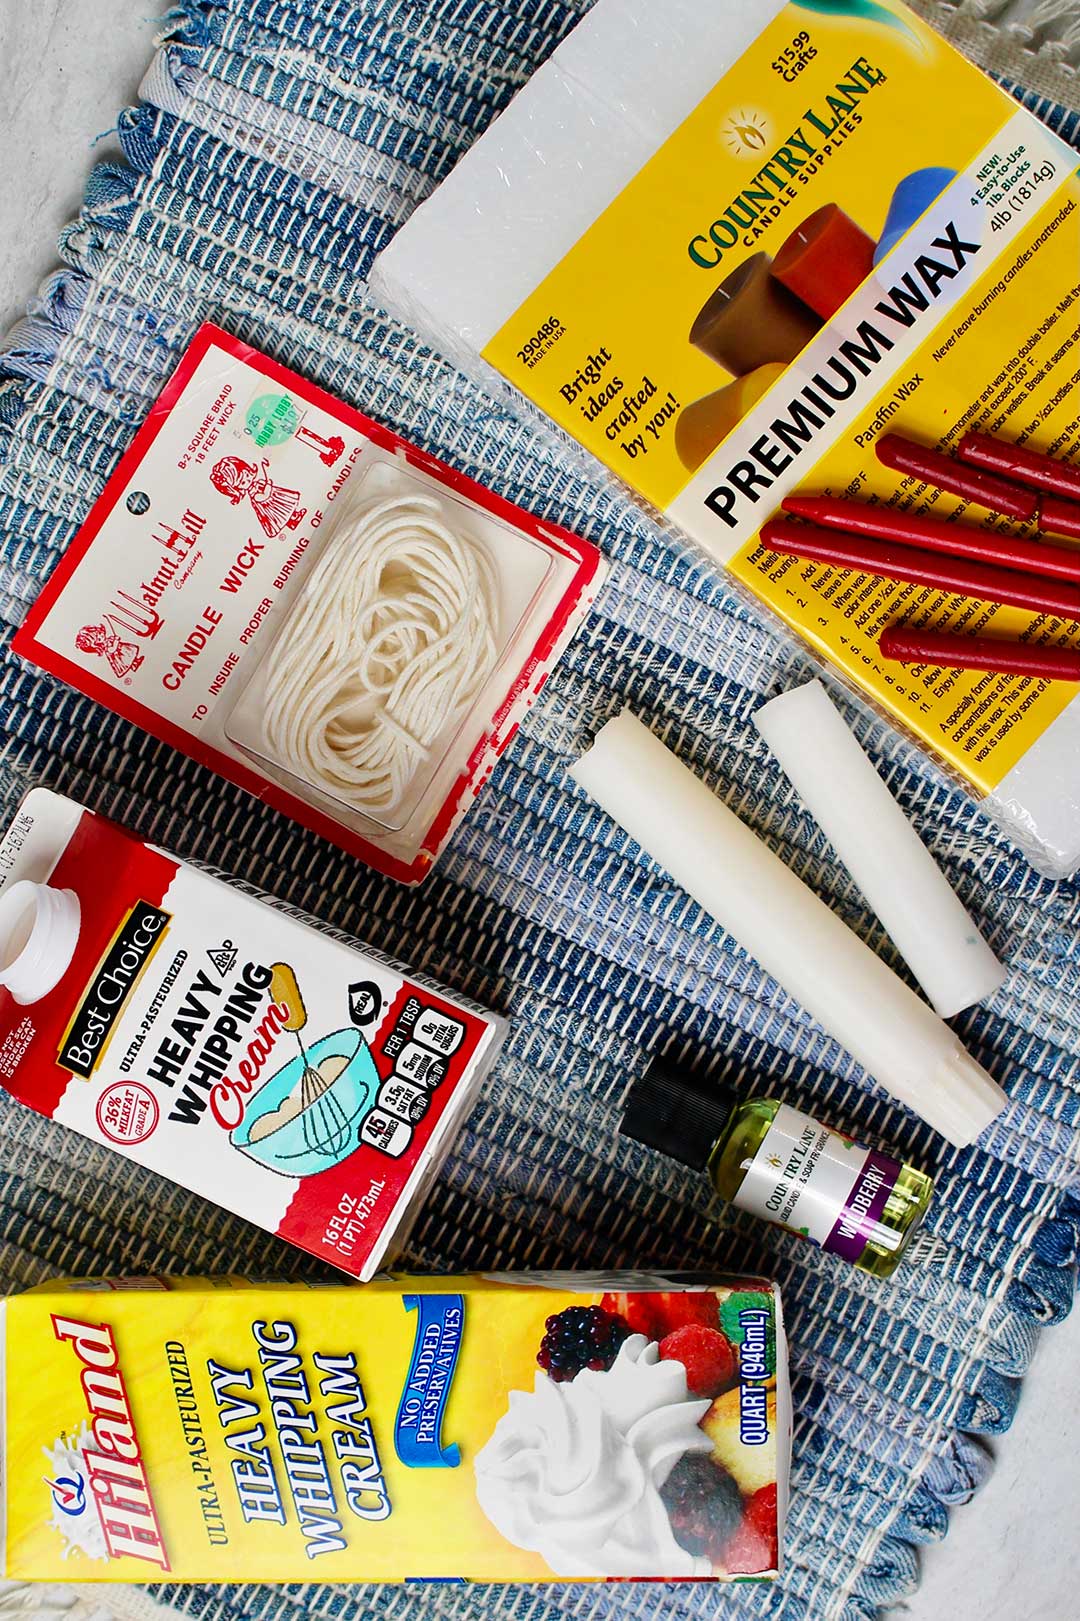
Supplies for How to Make Candles with Ice Cubes
- Cardboard Dairy carton like for Milk or cream cartons OR a commercial Candle Mold
- Taper Candle OR wicking for candle making
- Paraffin Wax OR used candles
- Crayons
 or a commercial Candle Dye
 - Fragrance Oils- Scent for the candle
- Double Boiler pan to melt wax
- Crushed ice
Note: This activity involves heating wax so it will take careful adult supervision.
Enjoy!
Welcome to Nana’s! Where there’s fun things to do with your “grand” kids!
Come join the fun at www.WelcomeToNanas.com
How to Make Candles With Ice Cubes
Equipment
- Double Boiler pan to melt wax
Items Required
- Cardboard Dairy carton like for Milk or cream cartons OR a commercial Candle Mold
- Taper Candle OR wicking for candle making
- Paraffin Wax OR used candles
- Crayons or a commercial Candle Dye
- Fragrance Oils- Scent for the candle (optional)
- Crushed ice
Instructions
- Cut off the candle mold container slightly higher than the height of your taper candle.
- Break wax into chunks and melt in a double boiler.
- Add coloring andscent to the melted wax and stir.
- Secure taper candle to bottom of container with some melted wax.
- Fill the container around the taper with crushed ice.
- Pour wax into the candle mold to the height of the taper candle.
- Allow wax to cool. Pour off the water from the melted ice.
- Tear off the container. Allow the candle to harden. Enjoy!


zCatLady says
Thank you for helping me learn how to make these wonderful candles! I was a teenager in the 70s, and one of my friend's moms was crazy about making them! Shed made me a beautiful one for Christmas one yeat that I managed to keep for about 25 years!
I'll teach this how-to to my grandkids. Some of them are just the right age. Thanks again!
Shelly says
What a fun memory that you can pass on to your grandkids as well! So glad you enjoyed the tutorial!