Easy Weaving on an Easy Weaving Loom
Making an easy weaving loom is simple and makes the concept of weaving come to life for the grands. Nana is a Home Ec major, so of course weaving intrigues me. There are several ways to make an easy weaving loom, but when the grands popped in unexpectedly a cardboard loom just took minutes to make. They were very intrigued by weaving as well!
A Cardboard Loom
The cardboard we used came off some old pads of drawing paper. It would have been nice if they were a bit heavier, but they were easy for the grands to handle and cut with scissors.
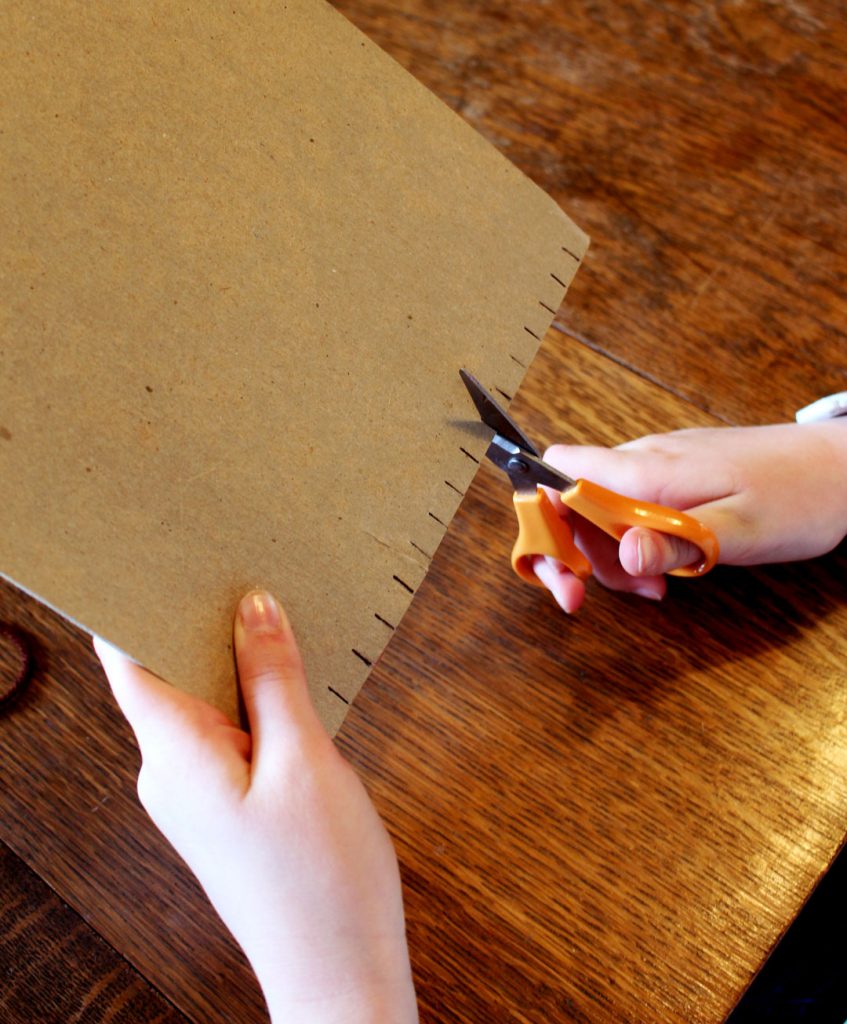
For young children, hold the cardboard in portrait position and mark across the top and bottom in about ½” increments. Older grands can do this themselves.
Clip into the cardboard about ⅜” on each mark. It doesn’t have to be exact.
String the “warp” yarns.
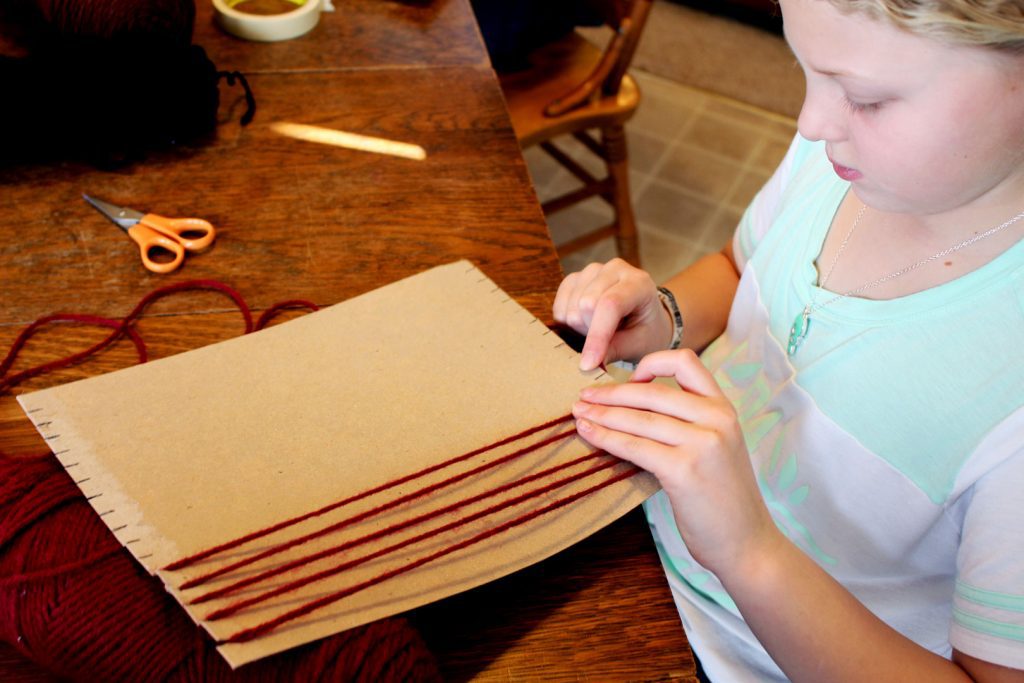
Warp yarns are the first set of yarns on the easy weaving loom that go up and down on the front of the loom. I have a tote of leftover skeins of yarn so the grands each chose a different color of yarn for their warp yarn.
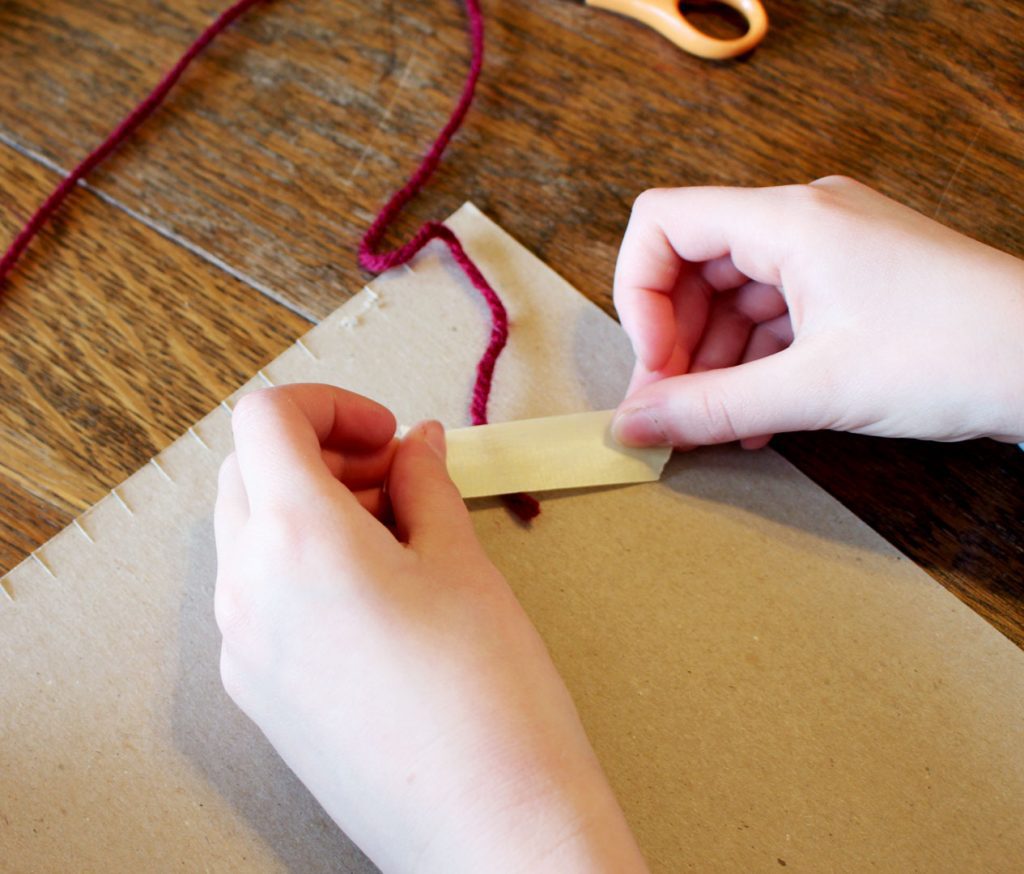
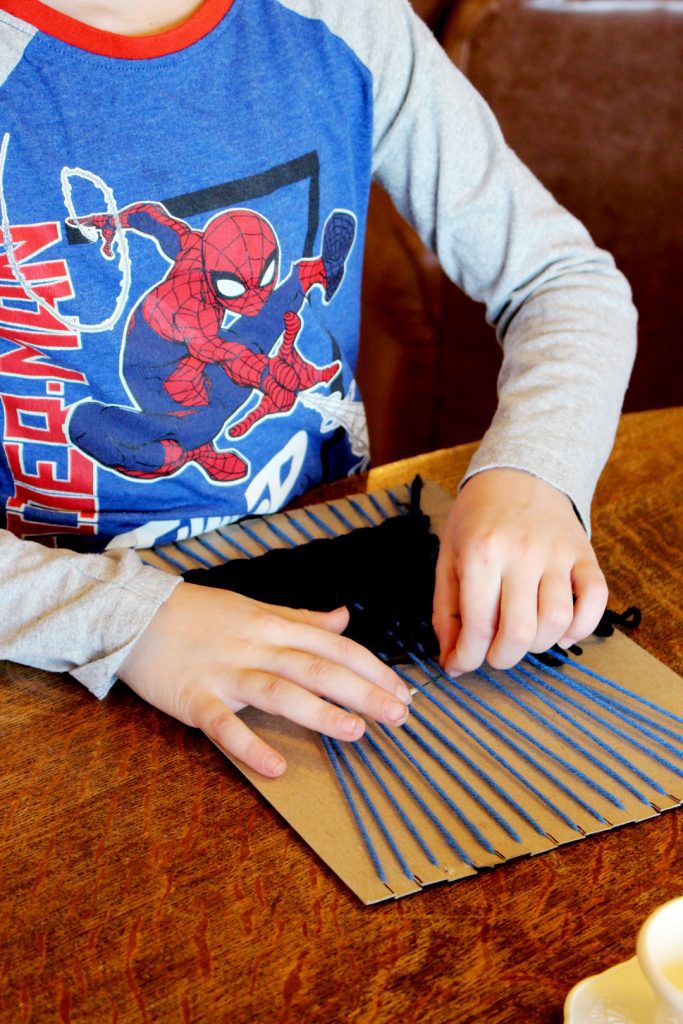
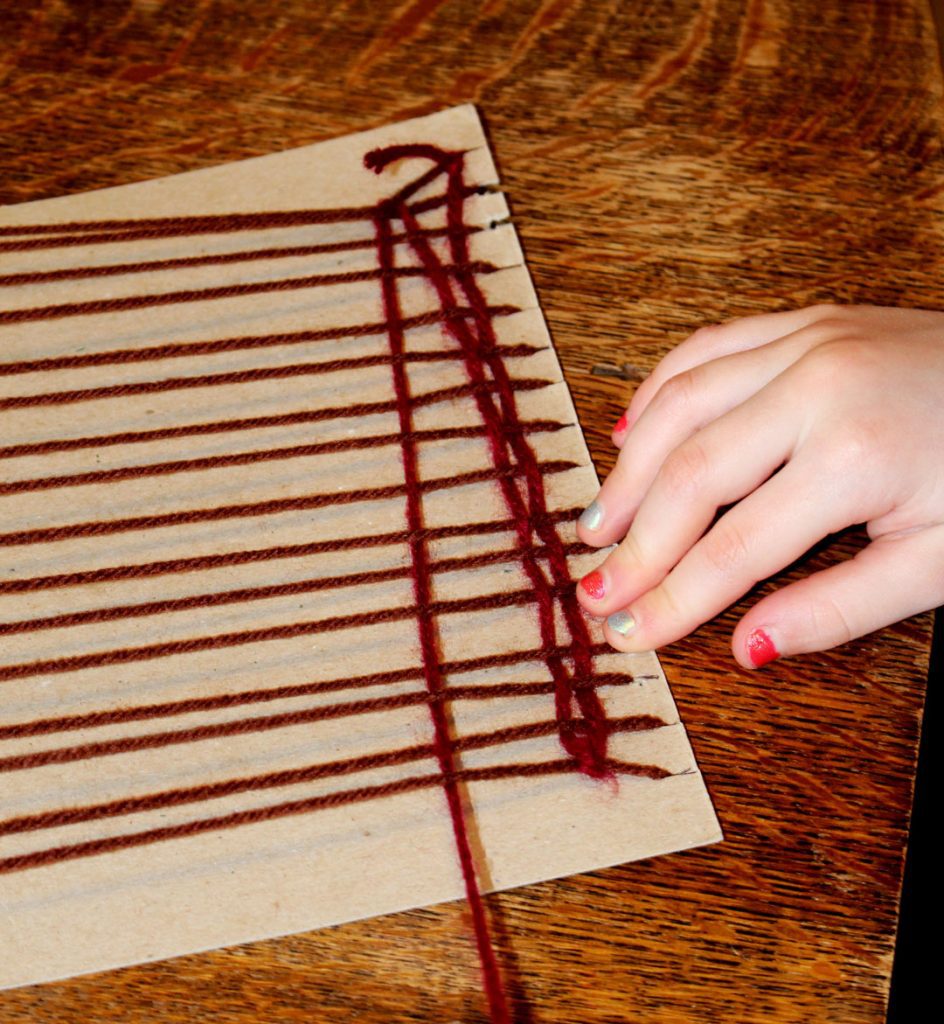
Tape the yarn onto the back of the cardboard and pull it down one of the edge slits onto the front of the easy weaving loom. Begin to string the yarn up and down the front of the cardboard of the loom.
Tuck the yarn around two slits on the bottom of the loom, up the front of the loom, around the next two slits on the top of the loom, down the front of the loom, around two slits on the bottom of the loom, and so forth. When the loom is completely “warped”, pull the yarn through the last slit of the loom and tape it onto the back of the loom.
Tip: Don’t pull the yarn too tightly or the cardboard will bow and bend. The goal is to “warp” the loom and it will still lay flat on the table. This wasn’t hard for the grands, but note that the yarns go up and down only on the front of the cardboard, they don’t go around and around and cover the back of the cardboard.
Now comes the weaving fun!
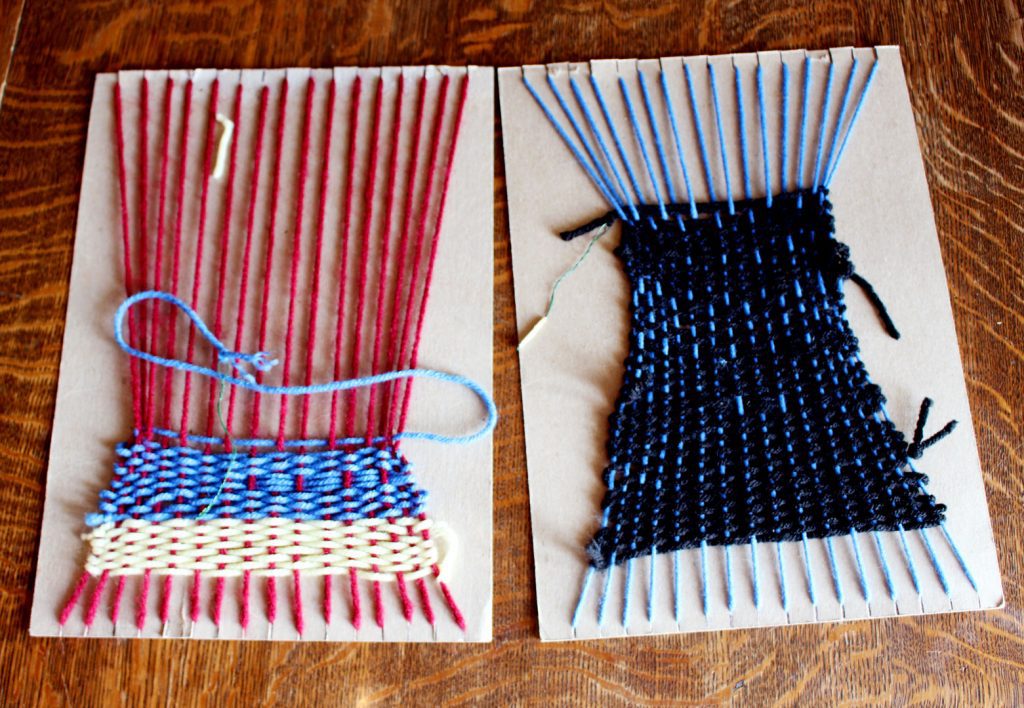
Let the grands choose the color of yarn they want to weave through their warp yarns. This is called the “weft” yarn, just sayin’. They can change colors when they want and make stripes of colors if you have more than one color.
Tip: It is easiest to learn to weave when using a different weft yarn color than the warp yarn color. Also, a thicker yarn fills the surface of the weaving more quickly for younger grands with shorter attention spans. The older grands liked the regular weight yarn and stuck with the weaving a long time to finish covering the front of the loom.
Tie one end of the yarn onto one of the outside warp yarns. Thread the other end of the yarn through a yarn needle. The grands picked up the over under pattern of weaving before I could even show them all! The hardest part of weaving for them was to remember to start a new row by going under the first yarn if they had finished the last row by going over the last yarn (or visa-versa). This brought a bit of frustration to the youngest grand until she got the hang of it.

Continue to let the grands weave back and forth until the yarn is almost used up. Tie the end to the outside warp yarn. Tie a new piece onto that same warp yarn and start right in again.
Tip: Don't pull the weft yarn too tight as you weave back and forth. Also, this is the time to change yarn colors if the grand would like to. This will make stripes of color as they weave. This was what two of the grands wanted to do. The other wanted to do his weaving all the same color.
Tie Off the Weaving
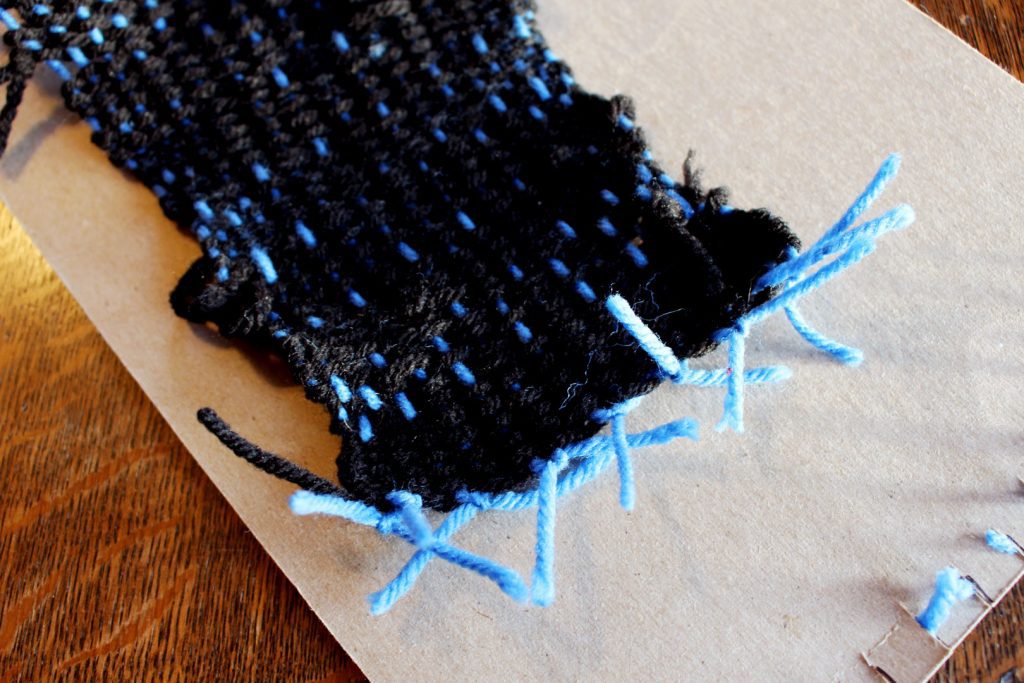
After the front of the weaving is full, clip the ends of the warp yarns at the top and the bottom of the loom. Carefully tie the warp yarns together, two at a time, from one side to the other on the top. Repeat this on the bottom as well.
Tip: Don’t pull hard on the yarns as you tie them.
The loose ends of the weft yarns can be woven into the weaving if you would like.
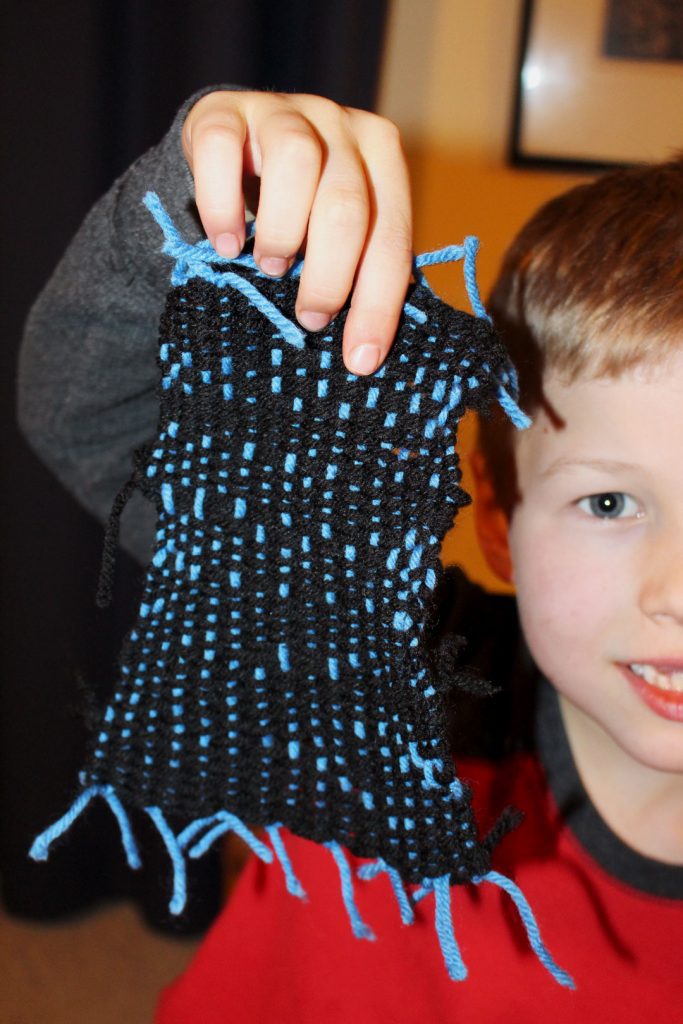
The grands wove as fast as they could to be first to finish their weaving. Boy grand finished first. He was making a blanket for his hedge hog! I'm sure Mr. Hedgehog will love it!
Supplies:
- Pencil
- Cardboard (mine were 9x11” pieces)
- Yarn
- Yarn needles
- Scissors
- Ruler
- Pencil
Enjoy!
Welcome to Nana’s! Where there’s fun things to do with your “grand” kids!
Come join the fun at www.WelcomeToNanas.com


Kerry says
This is so funny it has helped me so much with my weaving!!!!
Shelly says
Oh I'm so glad to hear that Kerry! Enjoy!