Ornaments Drawing
Everyone can learn to draw when they’ve got a teacher by their side and I’m here with 30 years of experience to be your guide! Let’s learn how to draw Christmas ornaments together, step-by-step, with this easy drawing tutorial. It only takes minutes, is perfect for any skill level, and will turn out right every single time.
Once kids have learned how to draw these Christmas ornaments, they can apply their new techniques to other round objects as well. It’s an easy art project that helps them grow in skills, confidence, and using their imagination.
Watch: Christmas Ornament Drawing

Note: Stop the video any time you want to do your drawing.
Supplies for How to Draw Christmas Ornaments
The supplies you need are some paper or a drawing pad, a couple pencils, and a good eraser. I found this eraser in some of my stuff, and I love the happy face that someone drew on it! Needing to erase something isn’t a big deal, practice smiling now because you will do some erasing in this lesson!
- Drawing pad or playing paper
- Pencils
- Eraser
- Christmas ornaments (to draw- or set of other round objects)
Ornament Drawing Step by Step
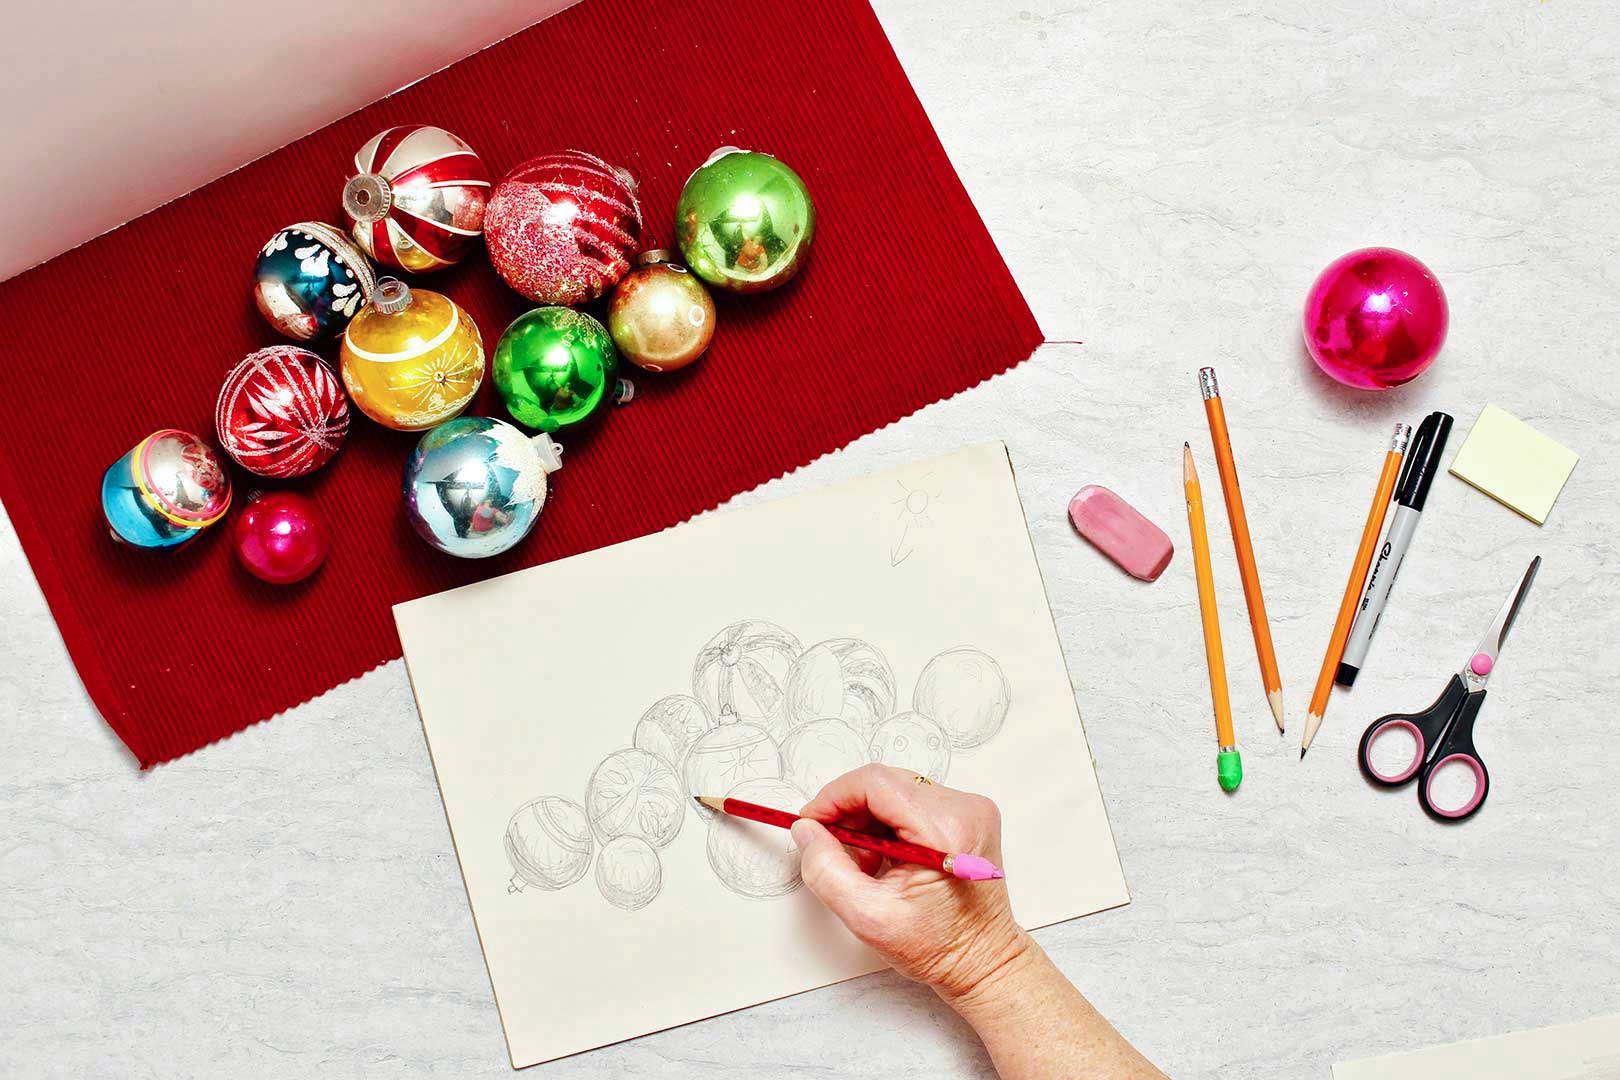
Set up a still life of your own round objects-
You can use any series of round objects to practice this drawing. Christmas ornaments is what I could find that were round! Cue balls or a series of sports balls would work as well. It does help to have some objects in front of you.
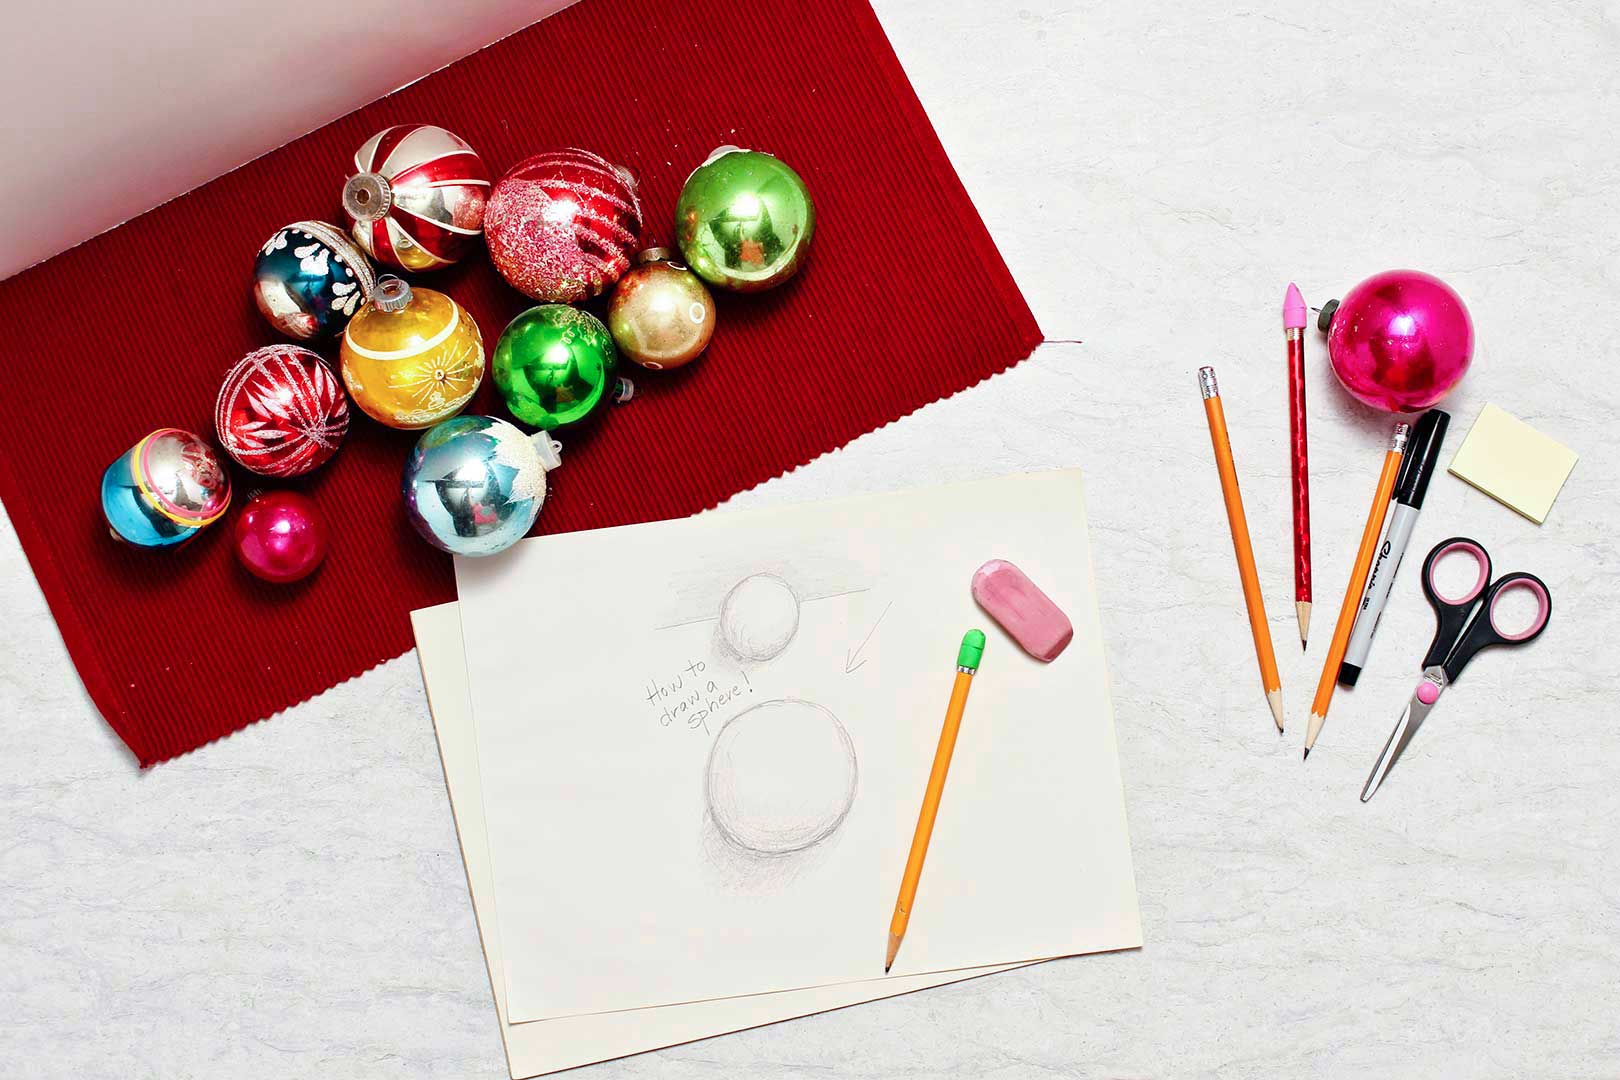
How to Draw a Sphere- previous lesson
So, each Christmas Ornament is a sphere. There is a lesson on how to draw a sphere and it may be helpful to go back and review that before you start. Here’s the link to How to Draw a Sphere if you want.
Direction of light source
We will have the light source be to the upper right of the paper. Using a flashlight to simulate a light source really helps to see where the shadows are on both the ornament and on the paper. You can see it in the video or try it yourself.
I drew a sun on my paper so you can see where I am making my light source. You don’t have to do this unless you want the reminder as you practice.

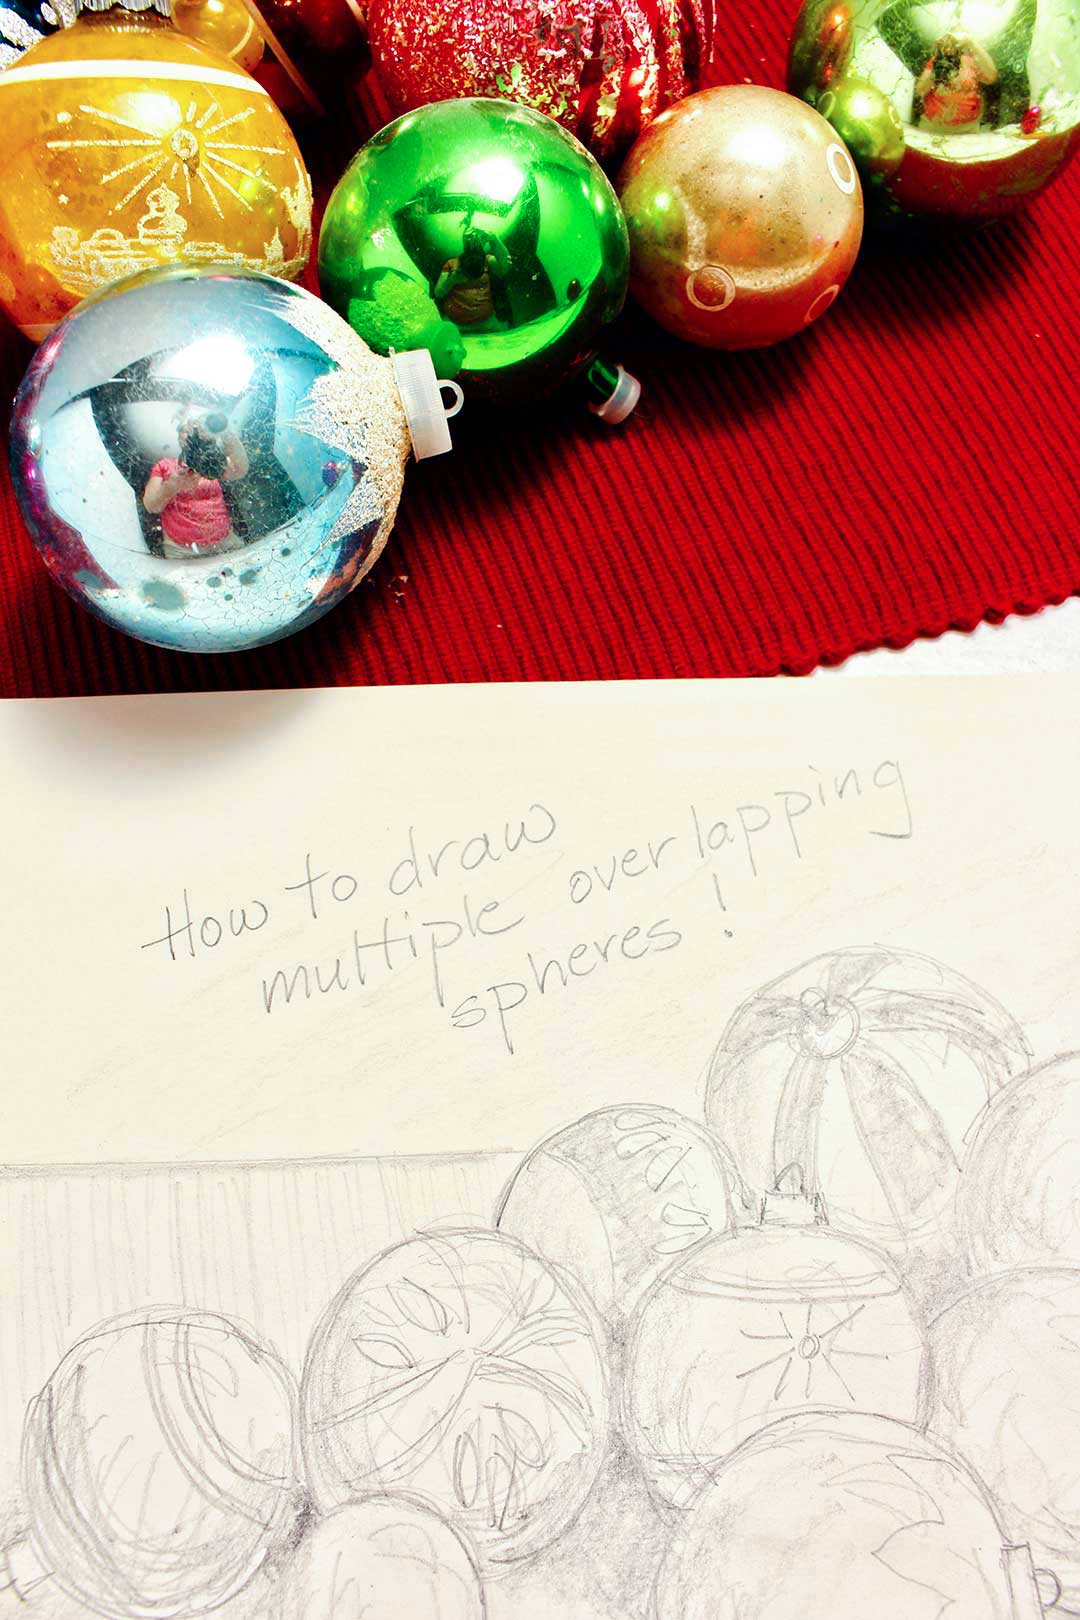
How do you draw an ornament that overlaps the others?
Drawing multiple spheres that overlap
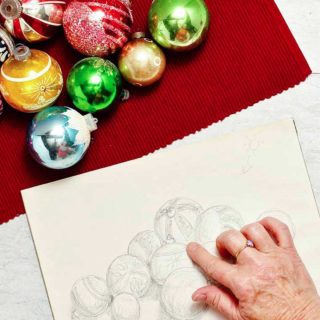
The video is shot from above so I’ve included a picture of my grouping of Christmas ornaments so you can see my viewpoint of the ornaments.
Do you see how the ones in front prevent you from seeing the entire ornament that is behind it. Of course, you know that, but let’s look at how you can draw what you are seeing.
Placement of the Christmas ornament on the paper surface
Drawing an object lower on the surface of the paper gives the impression that it is closer to you. I will refer to this as the surface effect.
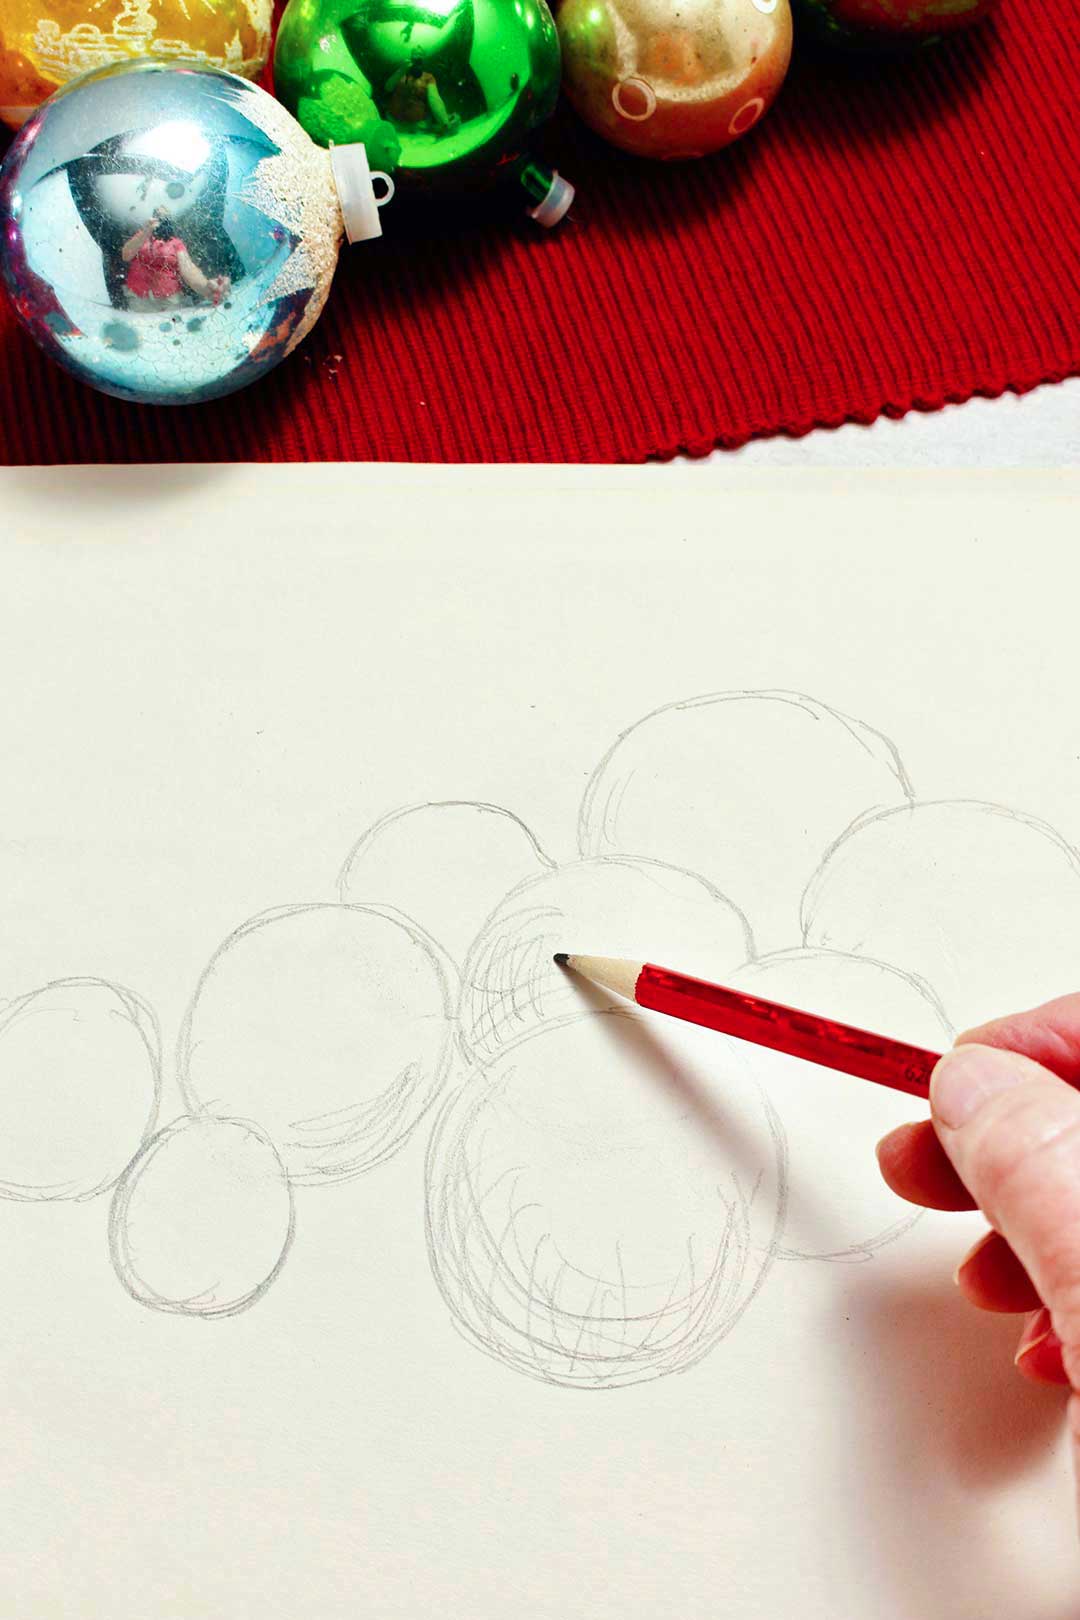
So, I chose the ornament that is closest to me and drew it on the paper. It is in the center of the grouping and so it is also in the center of the paper. Don’t worry if it isn’t a perfect circle- do the best you can or even use something round to draw around.
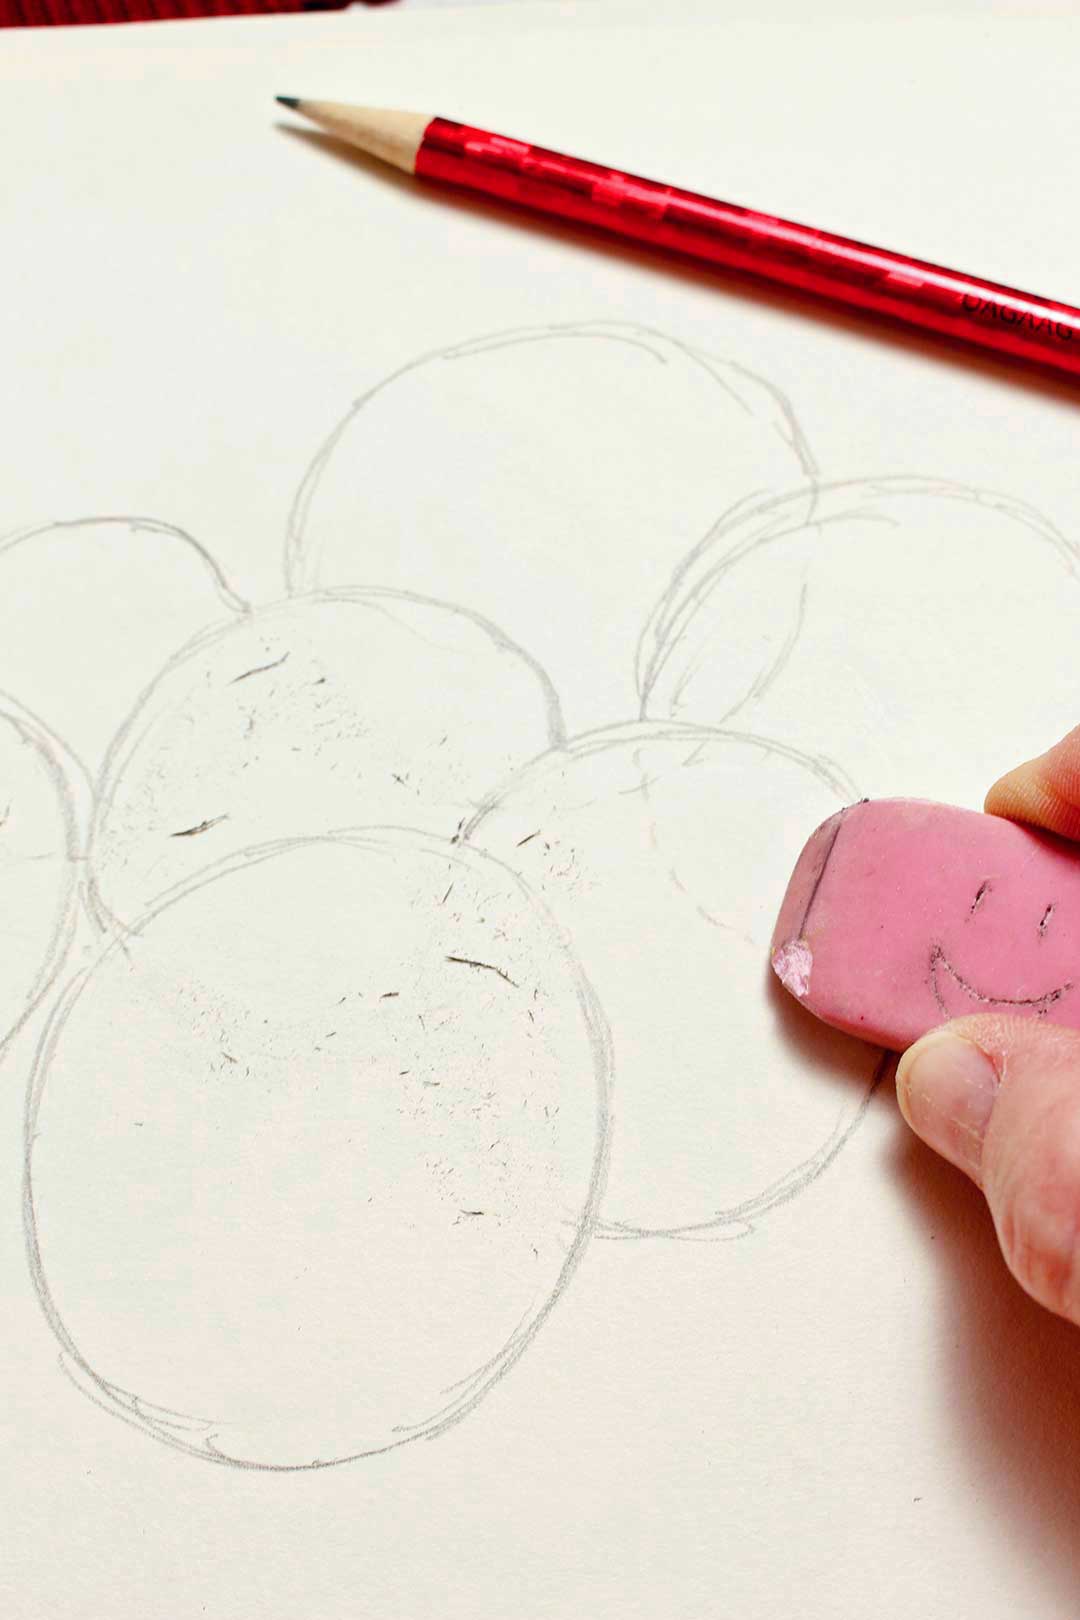
I am pointing to the ornament I am going to draw next to the right and back slightly. I draw it as a full circle overlapping the first ornament, to the right and slightly higher on the paper. Then I do the same thing with the ornament that is mostly behind the first one. It is drawn higher on the paper, overlapping the first circle.
Trick of the trade- erasing!! Works like a charm
When it is slightly higher on the paper surface it will appear to be further back in your drawing. Trust me!
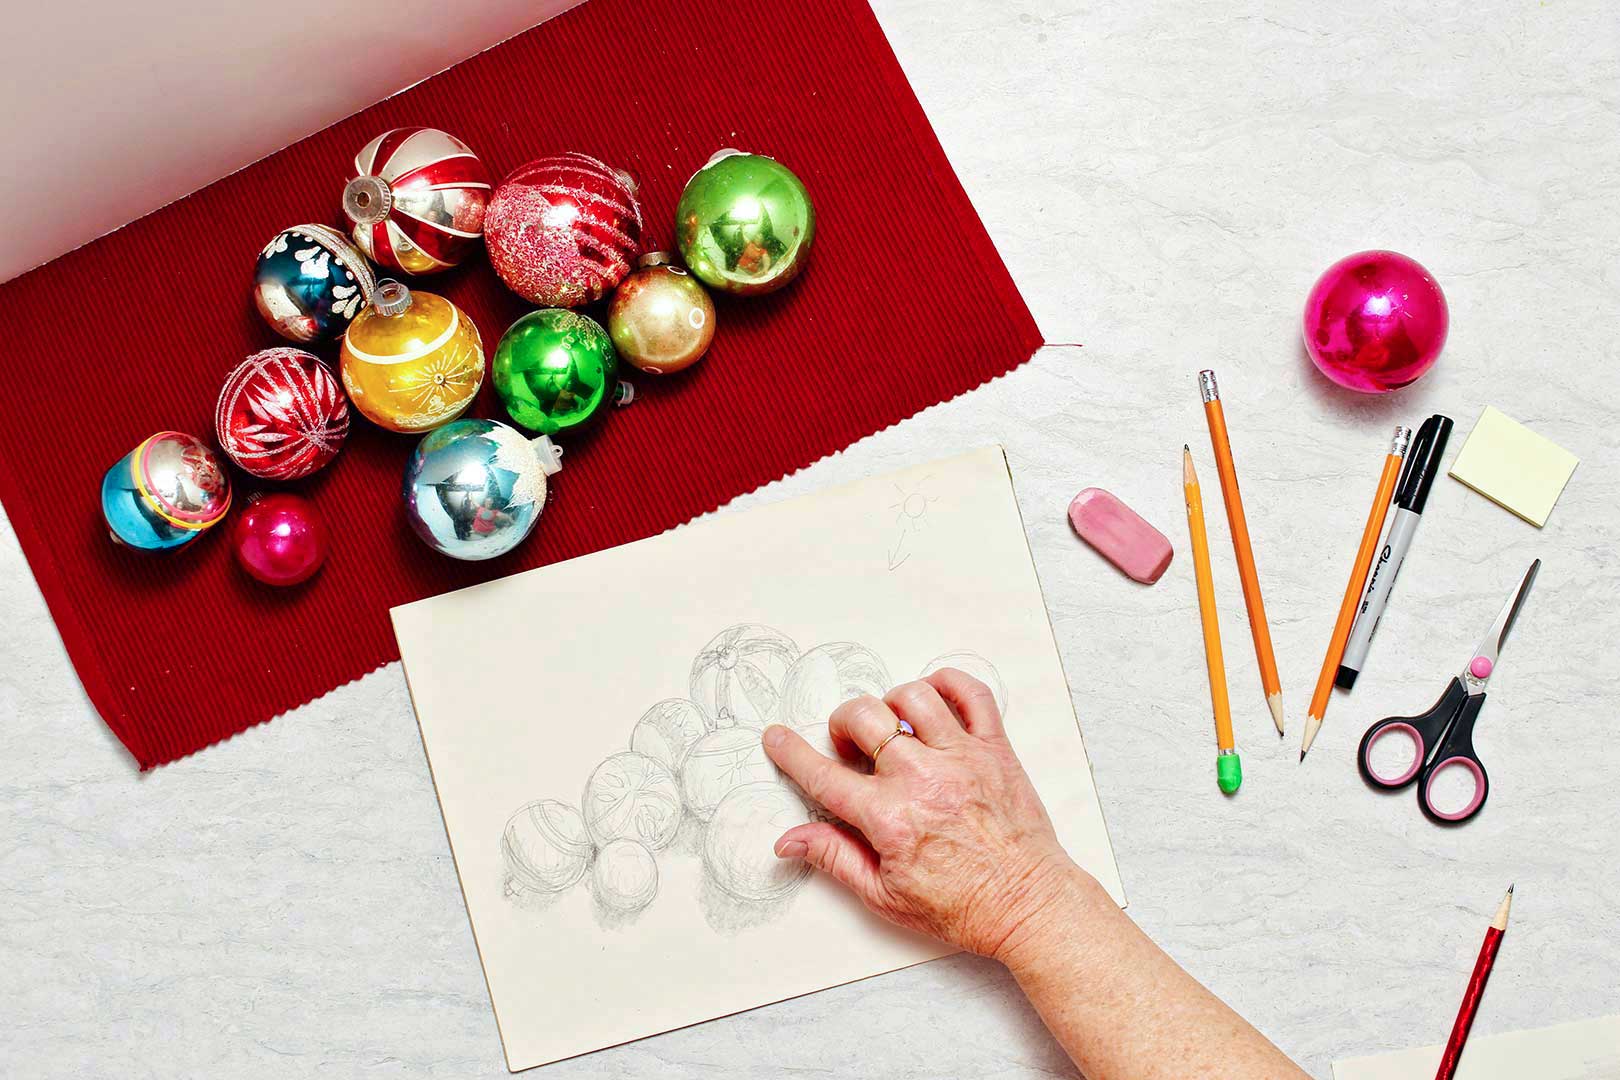
Then I come back and erase the lines of the second and third circle that are on top of the first ornament. Do you see how that immediately gives the effect of one circle being closer than the others, that it is in front of the second two circles? Cool, huh?
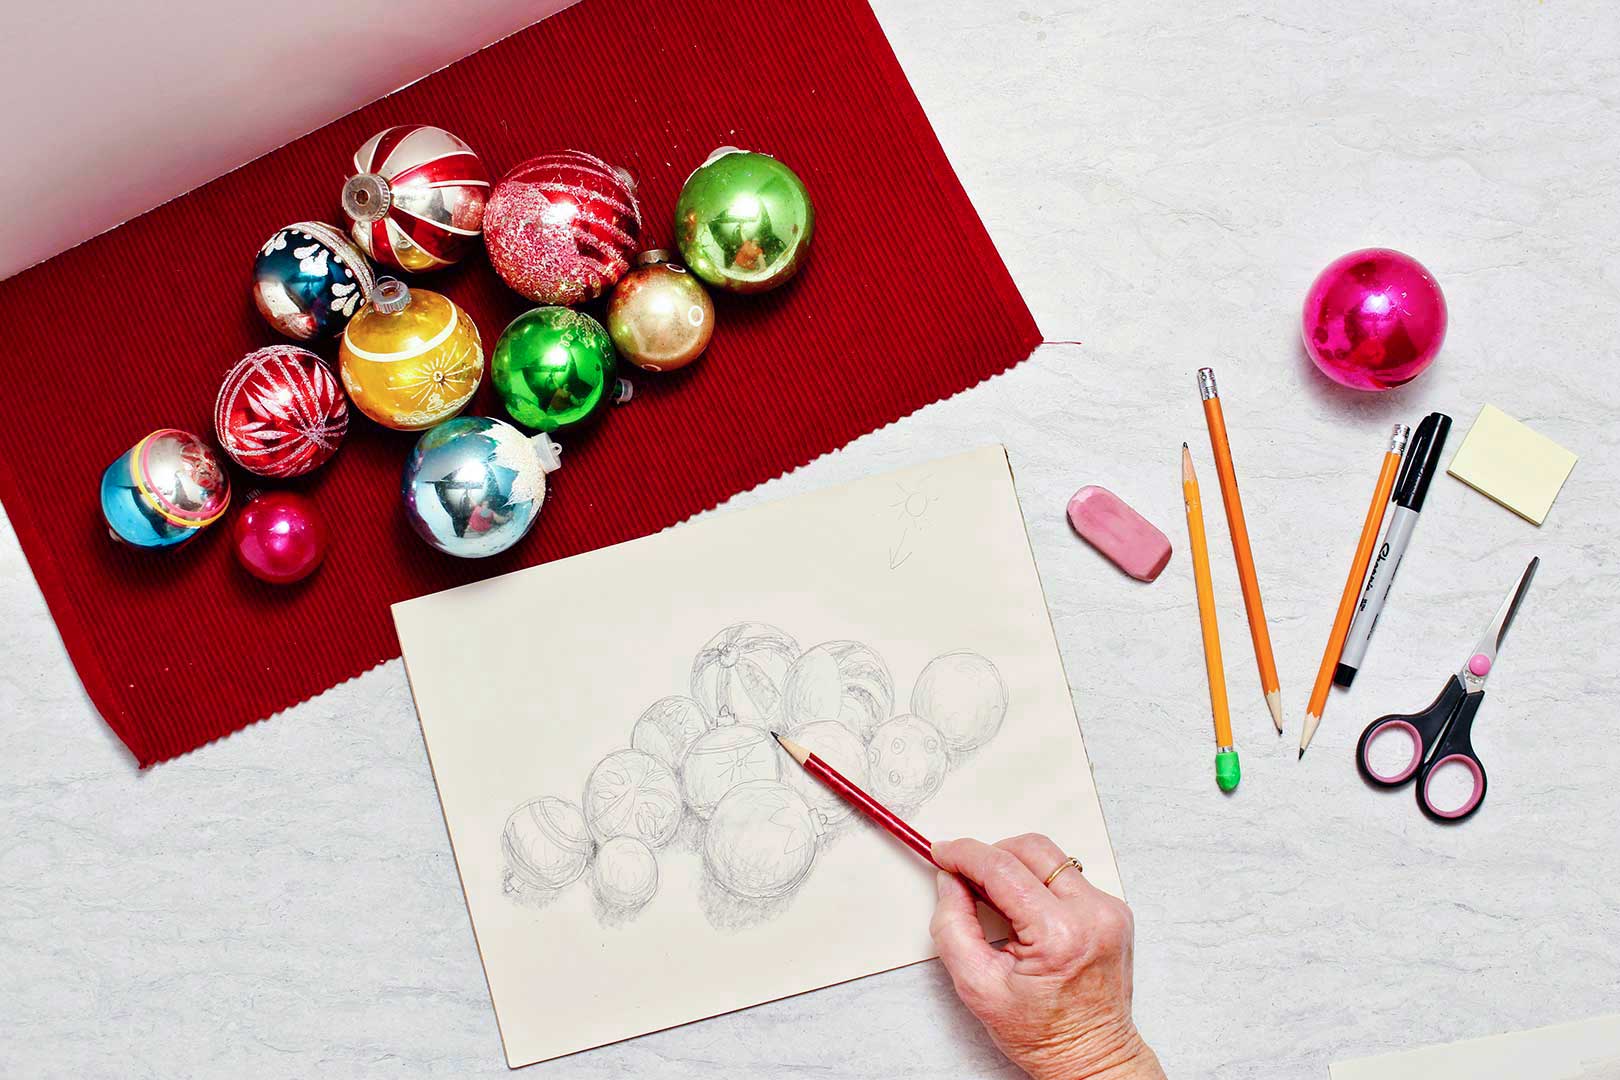
Repeat this with the rest of the round objects you have chosen to draw, or you can use the picture of the ornaments from this post if you want.
Draw the circles to the left or the right of the one before, slightly higher if further back or slightly lower if closer forward in the grouping. Draw the complete circles to begin with, overlap them and then erase the lines that are on top of the sphere that is towards the front.
Watch: Visualizing Ornament Drawing
Watch the video a few times to get the jist of this if it is confusing. Videos are wonderful!
How to Draw Christmas Ornaments to look round
Contour lines
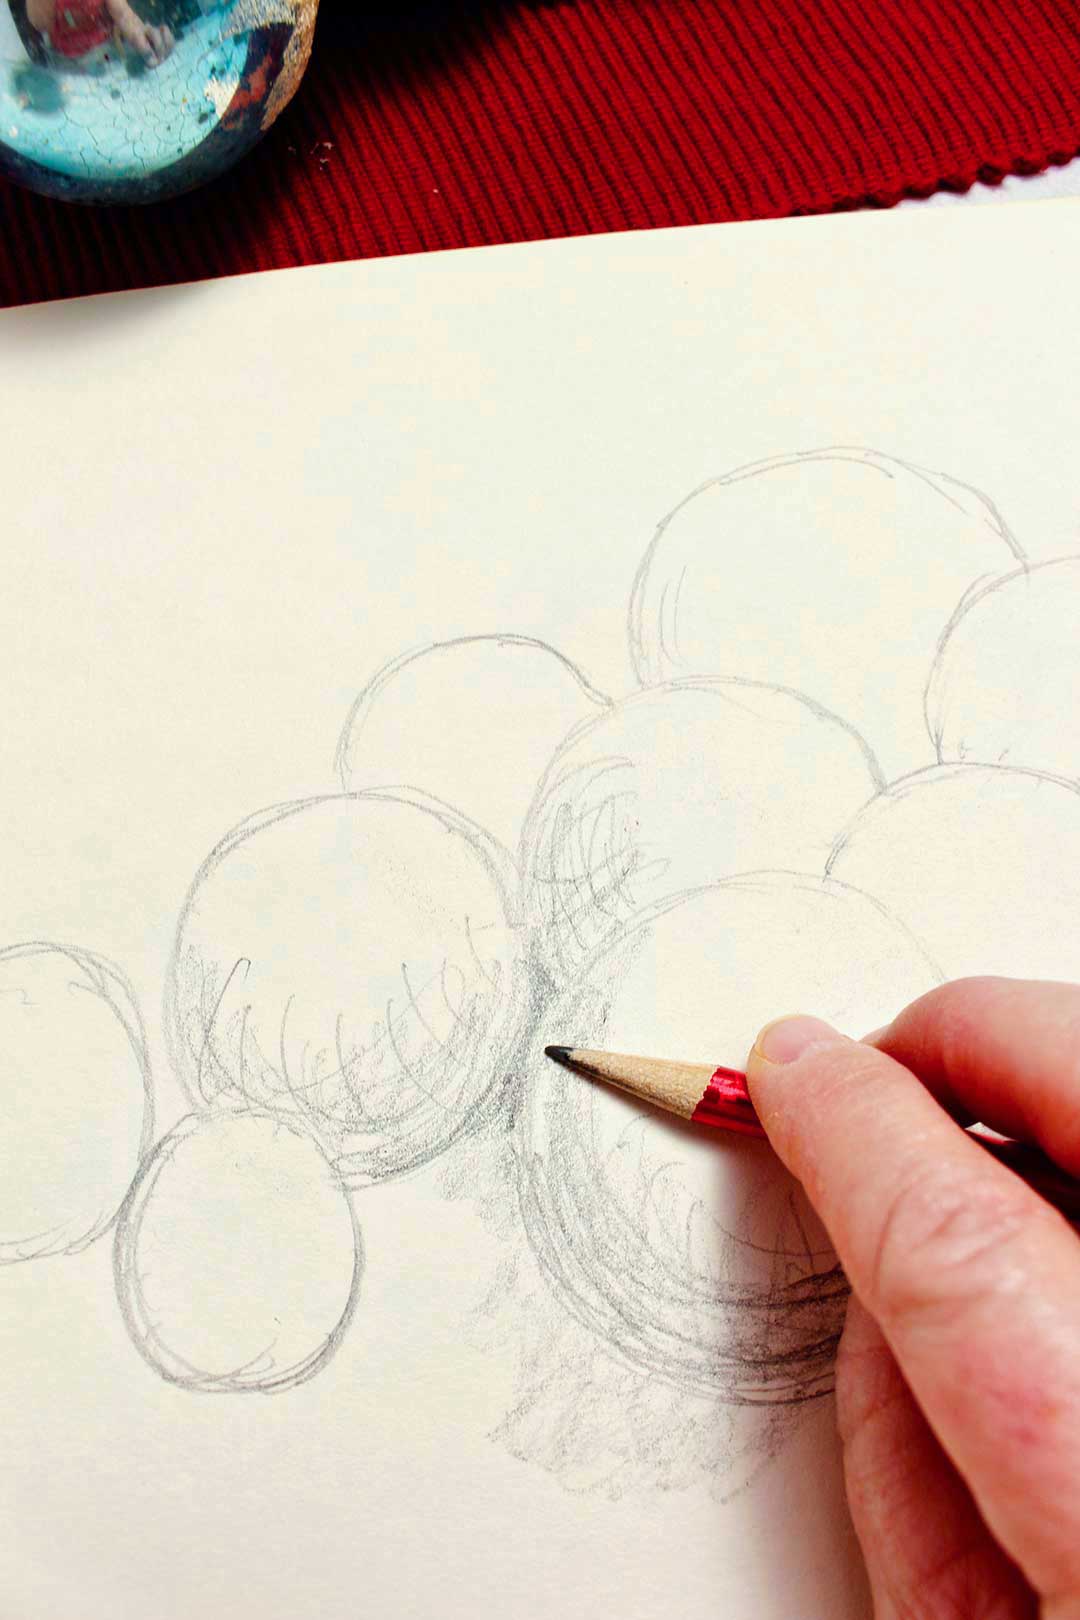
Next make the contour lines on the spheres in semi circles as shown in the How to Draw a Sphere post. Complete this on each individual sphere in your drawing. They will all be on the side away from the light source.
Shading
Add some shading in these areas and around the outside of each sphere. Don’t do any blending yet.
I went ahead and drew the decorations that are on each Christmas ornament next. Remember that the surface of the sphere is curved so your lines will usually be curved, like the contour lines. Do the best you can, have fun, do some shading to represent the darker colors.
The shadows that the spheres cast on the table surface are done with shading. Draw this next. Remember how the light source cast a semi-circle shadow on the table?
Shade the cast shadow and shade more darkly in the spaces between the spheres.
Blending
Use your finger to do some blending of the shading and contour areas.
Don’t smudge too much or you will lose the drawing in the smudging! I would know, been there, done that.
Light spot
I drew a small semi-circle shape on the top of each ornament where the brightest light hit the curved circle and erased much of the pencil drawing in that area. This gives the impression of the white spot where the light hits the sphere most directly. These are to the top right of the sphere, closer to the light source.
Drawing the table top
In my arrangement of ornaments there is a place mat underneath. I drew a rectangular shape around the ornament drawing and some small lines across the surface to simulate the texture of the placemat. Notice that the lines are all parallel, but I didn’t worry about them being perfectly straight.
Note: You can draw your table or just a line behind to look like a table edge.
Go back and do a bit more shading and go over the outside lines of your sphere-shaped objects to get a more crisp looking drawing. Work until you are satisfied.
You did it!! How to draw ornaments or other round objects!
This takes practice but is a drawing skill that you can master as you keep trying.
Notice how objects overlap and thing about how you would draw that effect. We will be learning more- with cubes next time!
I’m so excited that you are joining me in How to Draw Christmas Ornaments- multiple spheres.
Other Posts in the How to Draw series:
Enjoy!
If you try this craft, let me know! Go ahead and leave a comment, rate it, and tag a photo with #WelcometoNanas wherever you post.
Come join the fun at https://welcometonanas.com
Christmas Ornament Drawing
Equipment
- none needed
Items Required
- Paper or a drawing pad
- A couple pencils
- A good eraser
- Christmas ornaments (to draw- or set of other round objects)
Instructions
- A Christmas ornament is a sphere. Here’s the link to How to Draw a Sphere if you want to review this.
- Arrange several Christmas ornaments on the table in front of you. Or you can use the picture of the ornaments from this post if you want.
- Select the ornament that is closest to you and in the center of the grouping. Draw it on the paper. It is in the center of the grouping and so it is also in the center of the paper. Don’t worry if it isn’t a perfect circle- do the best you can or even use something round to draw around.
- Choose a second ornament that is next to the first. Draw it as a full circle overlapping the first ornament, to the right (or left) and slightly higher (or lower) on the paper. Then do the same thing with a third ornament that is mostly behind the first one. It is drawn higher on the paper, overlapping the first circle.When the second or third ornament is placed slightly higher on the paper surface it will appear to be further back in your drawing.
- Then I come back and erase the lines of the second and third circle that are on top of the first ornament. Do you see how that immediately gives the effect of one circle being closer than the others, that it is in front of the second two circles?
- Repeat this with the rest of the round objects you have chosen to draw.Draw the circles to the left or the right of the one before, slightly higher if further back or slightly lower if closer forward in the grouping. Draw the complete circles to begin with, overlap them and then erase the lines that are on top of the sphere that is towards the front.
- We will have the light source be to the upper right of the paper. Using a flashlight to simulate a light source really helps to see where the shadows are on both the ornament and on the paper. You can see it in the video or try it yourself.Next make the contour lines on the spheres in semi circles as shown in the How to Draw a Sphere post. Complete this on each individual sphere in your drawing. They will all be on the side away from the light source.
- Add some shading in these areas and around the outside of each sphere. Don’t do any blending yet.
- Draw the decorations that are on each Christmas ornament next. Remember that the surface of the sphere is curved so your lines will usually be curved, like the contour lines. Do the best you can, have fun, do some shading to represent the darker colors.
- The shadows that the spheres cast on the table surface are done with shading. Draw this next. Remember how the light source cast a semi-circle shadow on the table?Shade the cast shadow and shade more darkly in the spaces between the spheres.
- Use your finger to do some blending of the shading and contour areas.
- In my arrangement of ornaments there is a place mat underneath. I drew a rectangular shape around the ornament drawing and some small lines across the surface to simulate the texture of the placemat. Notice that the lines are all parallel, but I didn’t worry about them being perfectly straight. Note: You can draw your table or just a line behind to look like a table edge.


Leave a Reply