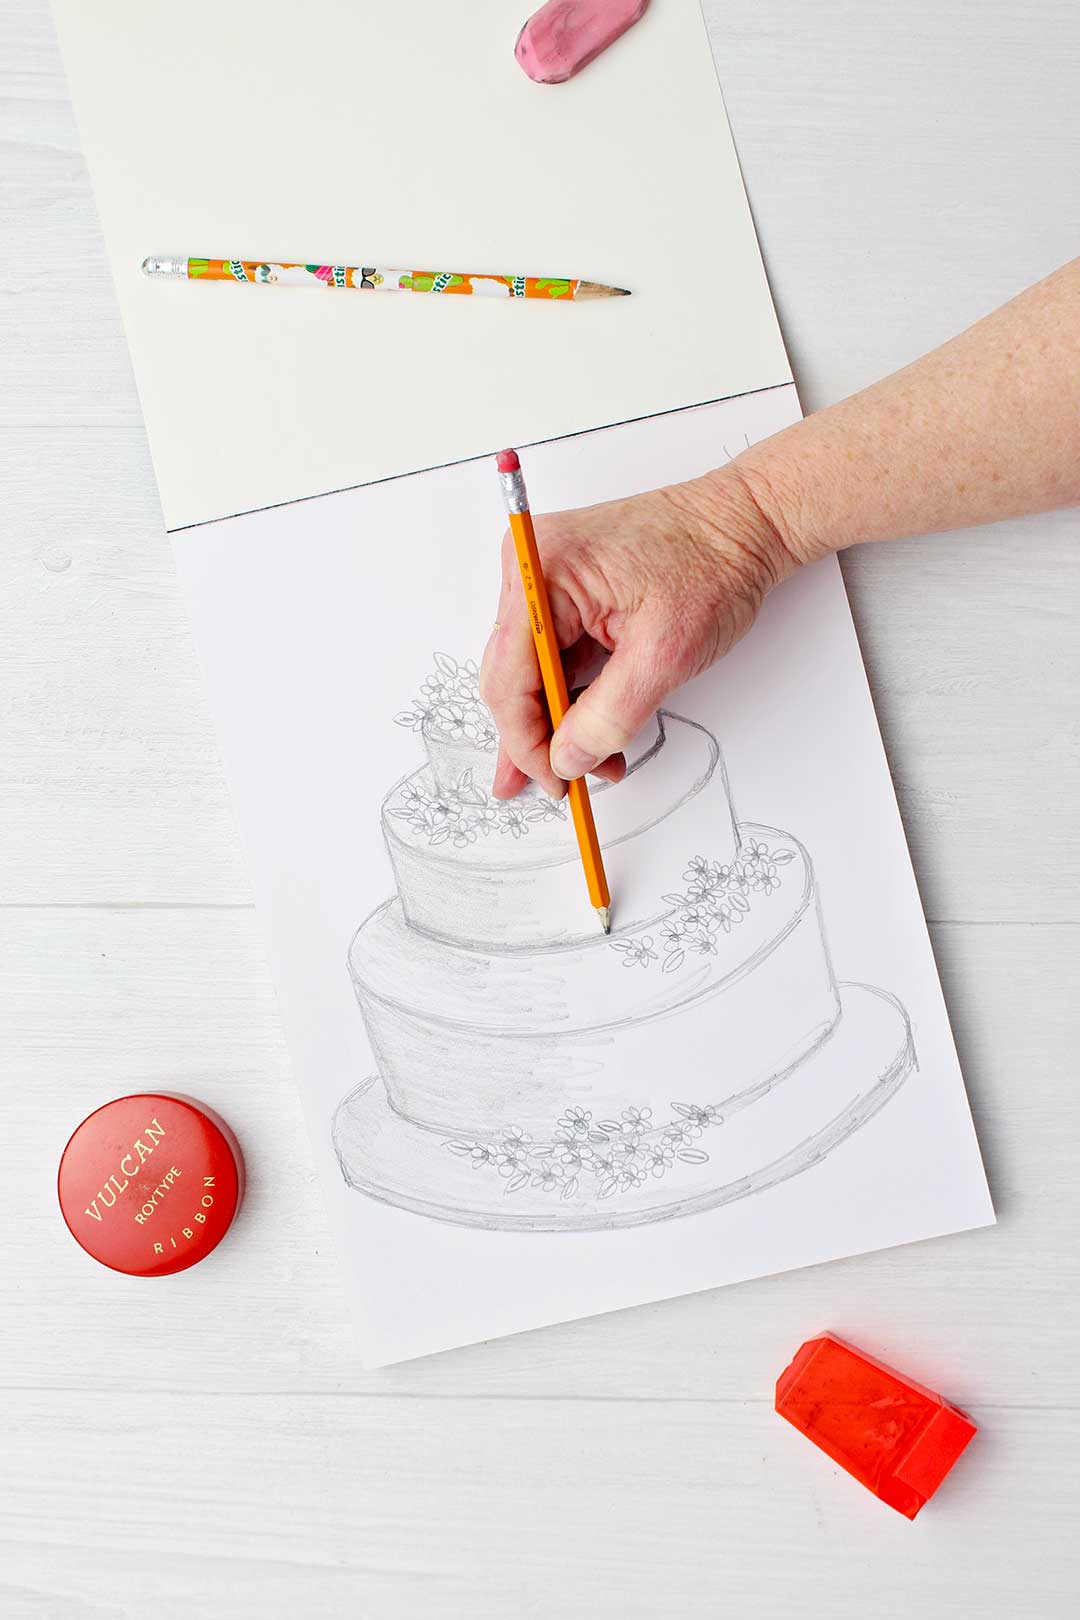
How to Draw a Wedding Cake
Hey, let’s learn How to Draw a Wedding Cake! June is the month that’s known for weddings! How about drawing a three-tiered cake with decorative flowers on top of each layer? Yum.
This takes the lesson on drawing a cylinder to a whole new level. Get it, a new level? 3 levels! Ha, very pun-ny!
You will learn to draw overlapping cylinders instead of just one cylinder.
Practice Drawing a Cylinder
If you haven’t practiced drawing a cylinder for a while, you might want to go back to that lesson and brush up a bit. Here is the link: Draw a Cylinder. Because we are going to draw a stack of three cylinders, one on top of another, to make a 3-layer cake.
There are so many things around you that are basically a cylinder shape. This wedding cake is a perfect example.
How to draw a foreshortened circle
So remember that a single layer of a round cake is a short, wide cylinder in its shape. If you look straight down on it, you see a circle.
It may be helpful if you go and grab an item around you that is a short cylinder and look at it a bit.
If you look straight down on it, you see a circle shape. But slowly tip it to the side and what does the top look like? An oval!
Keep tipping it and the top oval gets more and more narrow.
This is a foreshortened circle.
How to draw a cake
Drawing the top layer of the cake-
How to draw a foreshortened circle
That’s where we start drawing, the top of the top layer of our wedding cake, a foreshortened circle!
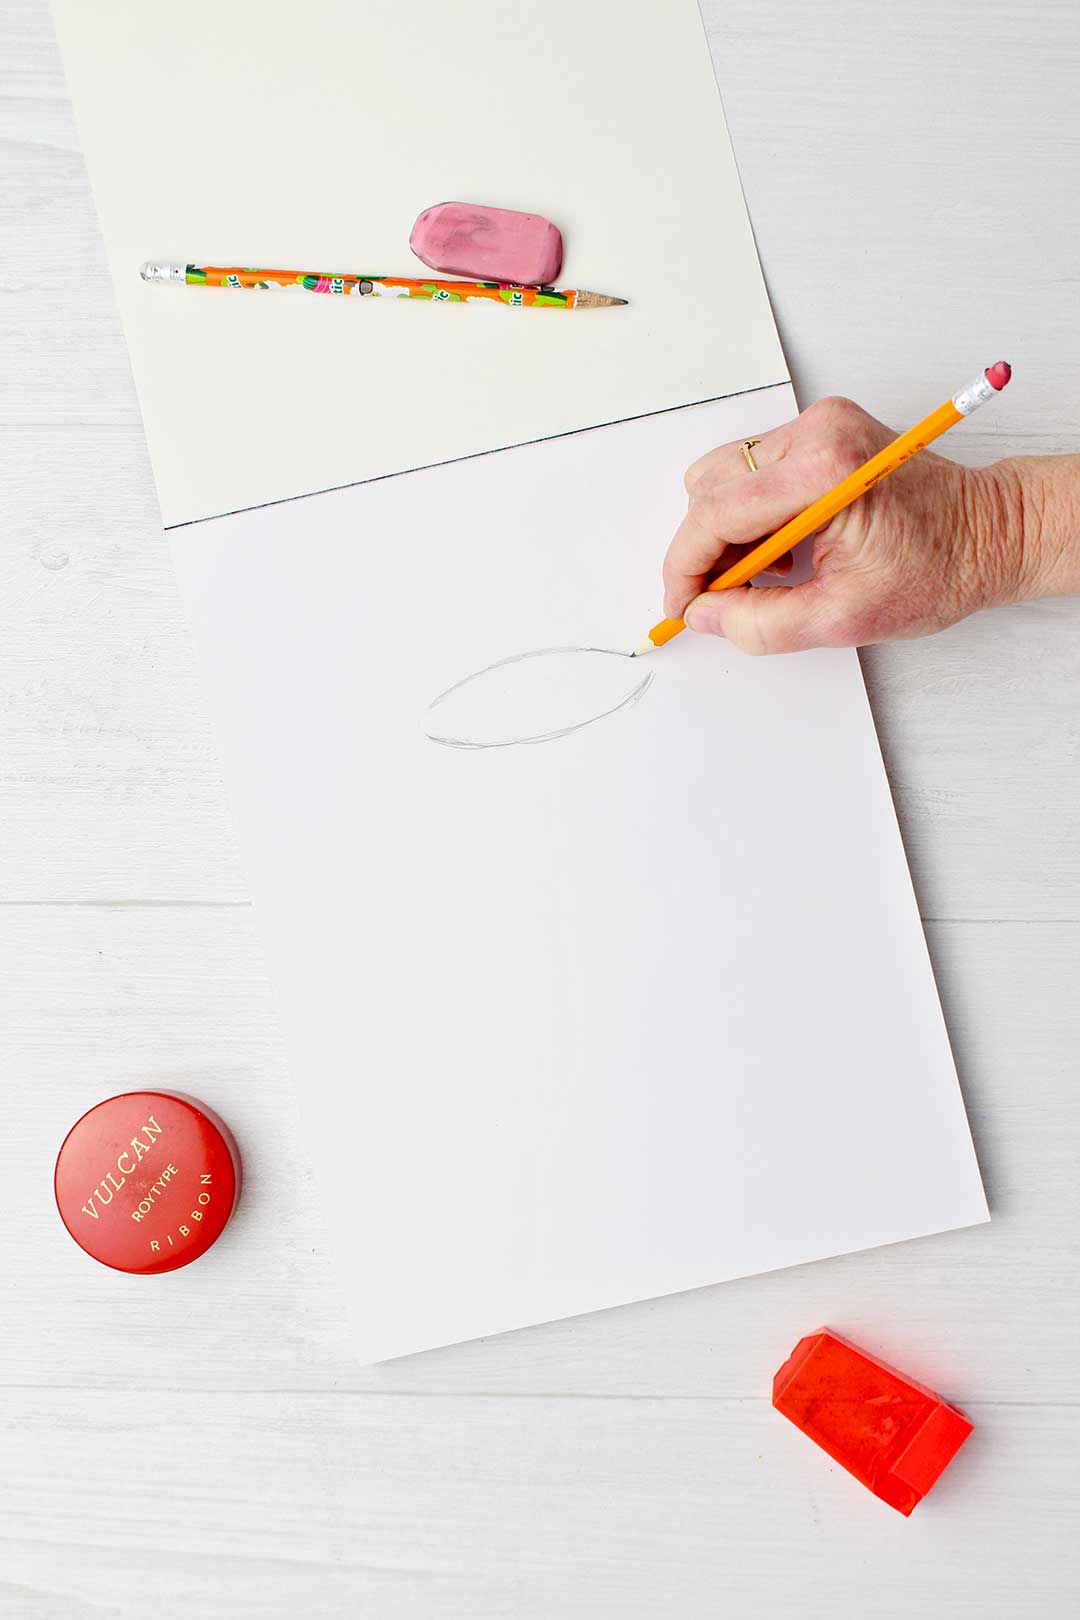
Start with a smile line on your paper, not very curved .
Then draw an upside-down smile line over this one, similar in its curved shape, just upside down.
Connect the two smile lines on each end, creating an oval, a foreshortened circle!
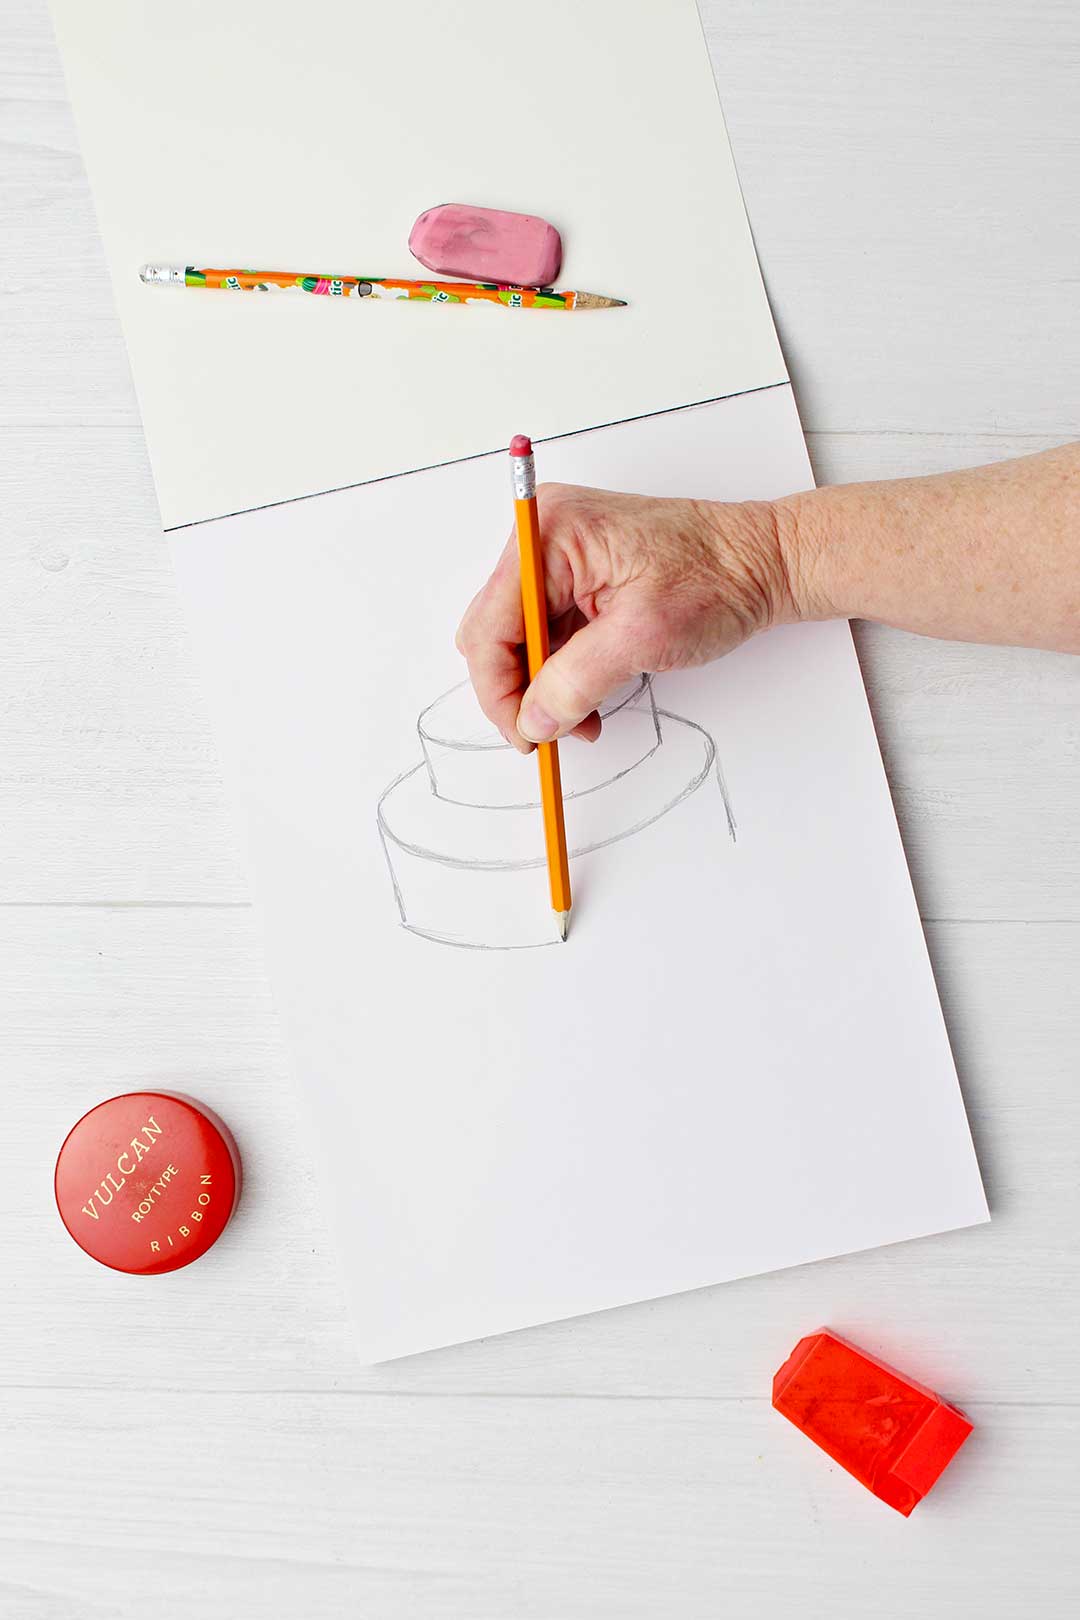
Remember, the more the cake (cylinder) is tipped away from you, the flatter the first smile line will be at the bottom of the foreshortened circle that is the top of the cake.
How to draw a cylinder or top layer of a cake!
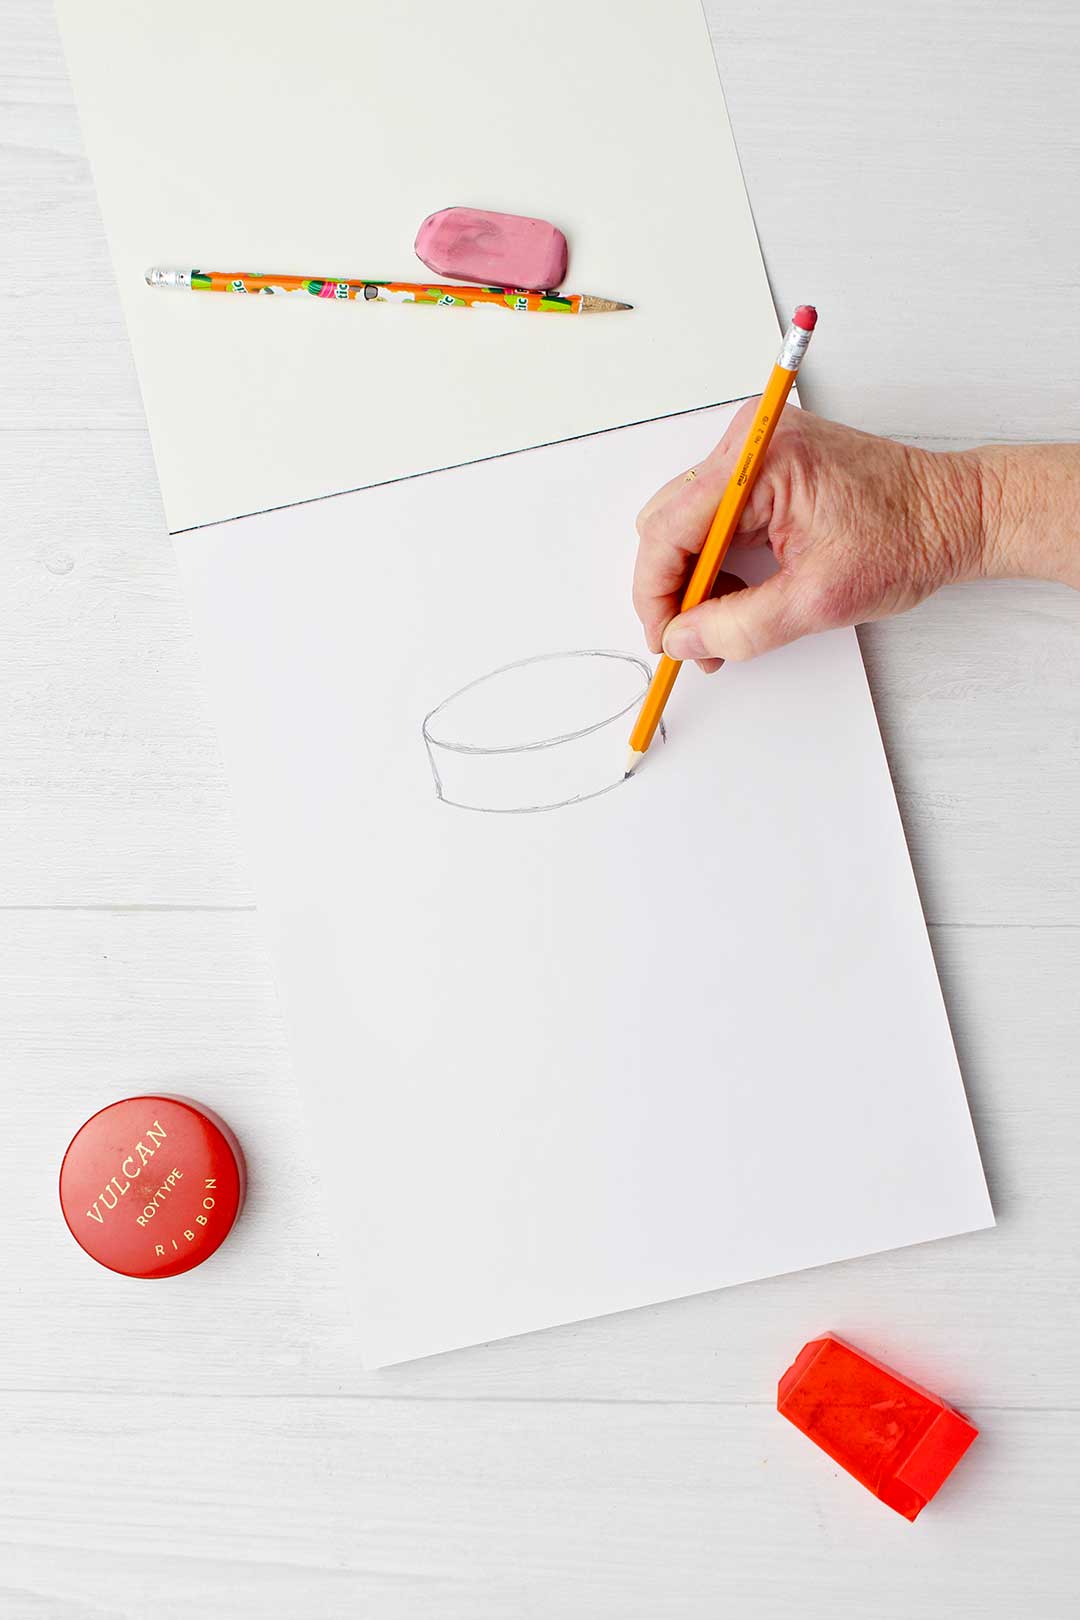
Finish drawing your short and wide cylinder (a cake) on your drawing paper.
Draw the two lines coming down from the two ends of the oval- they are the same length and not very long.
Connect the bottom of these two lines with a smile line that matches the one above it.
This is the top layer of your cake, a short and wide cylinder shape.
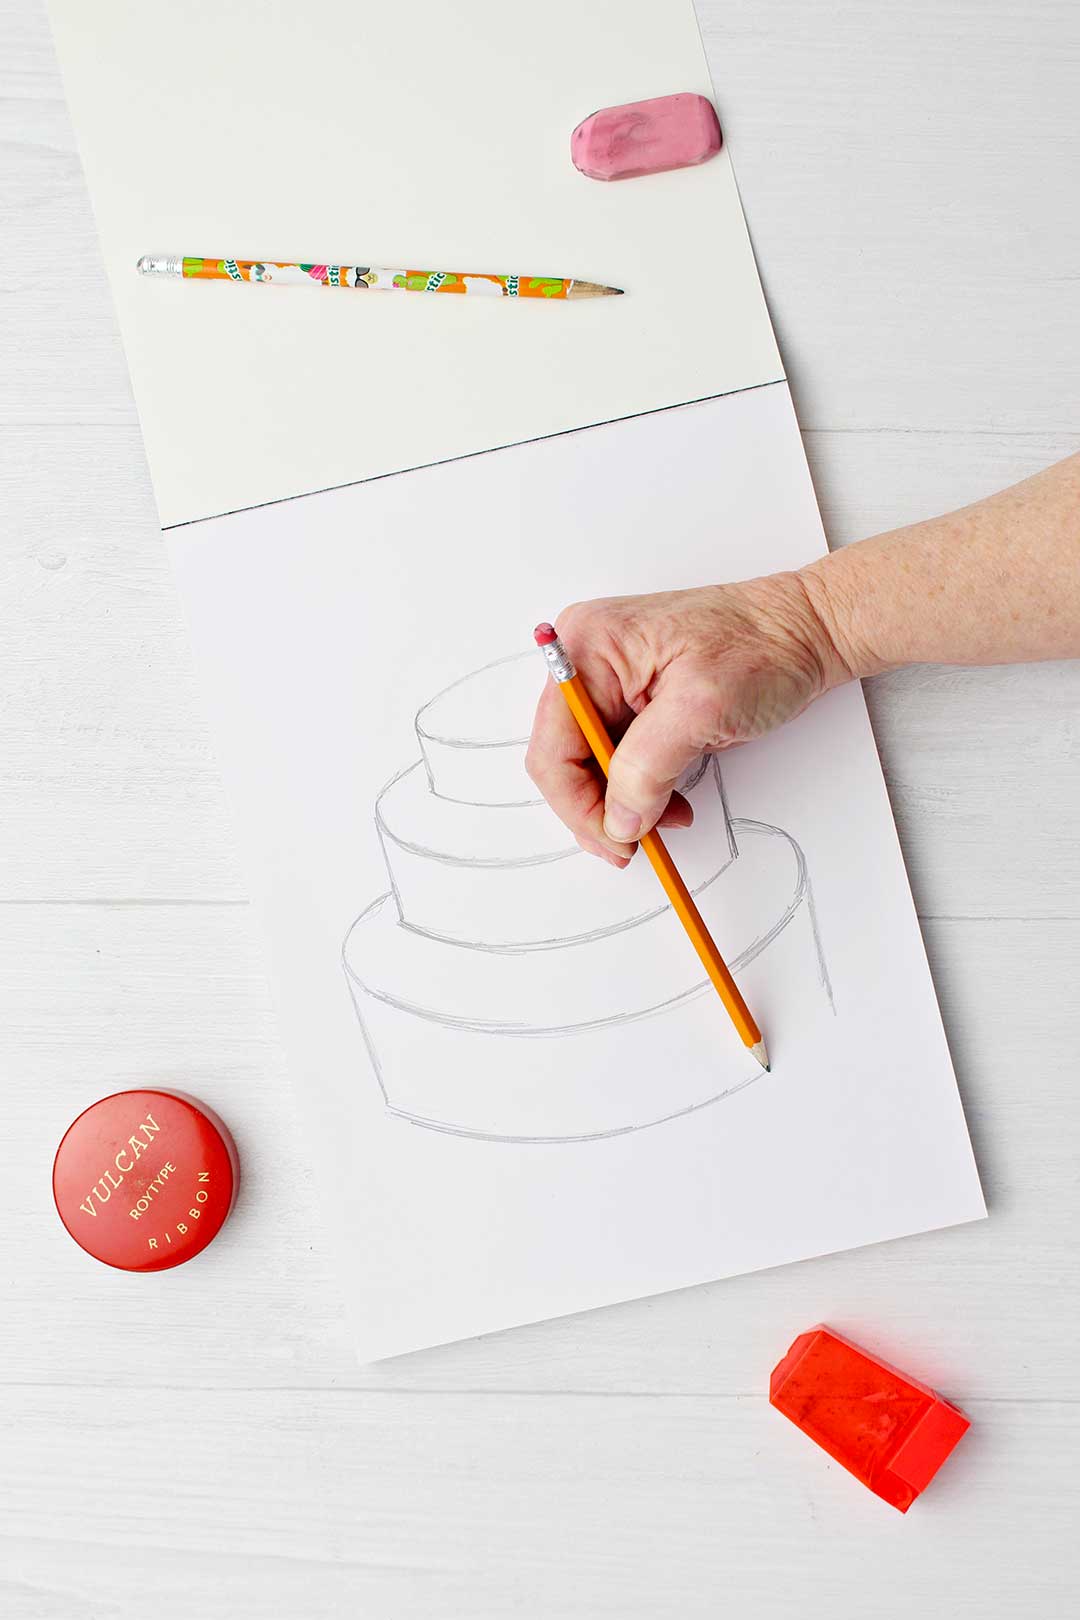
How to draw overlapping cylinders
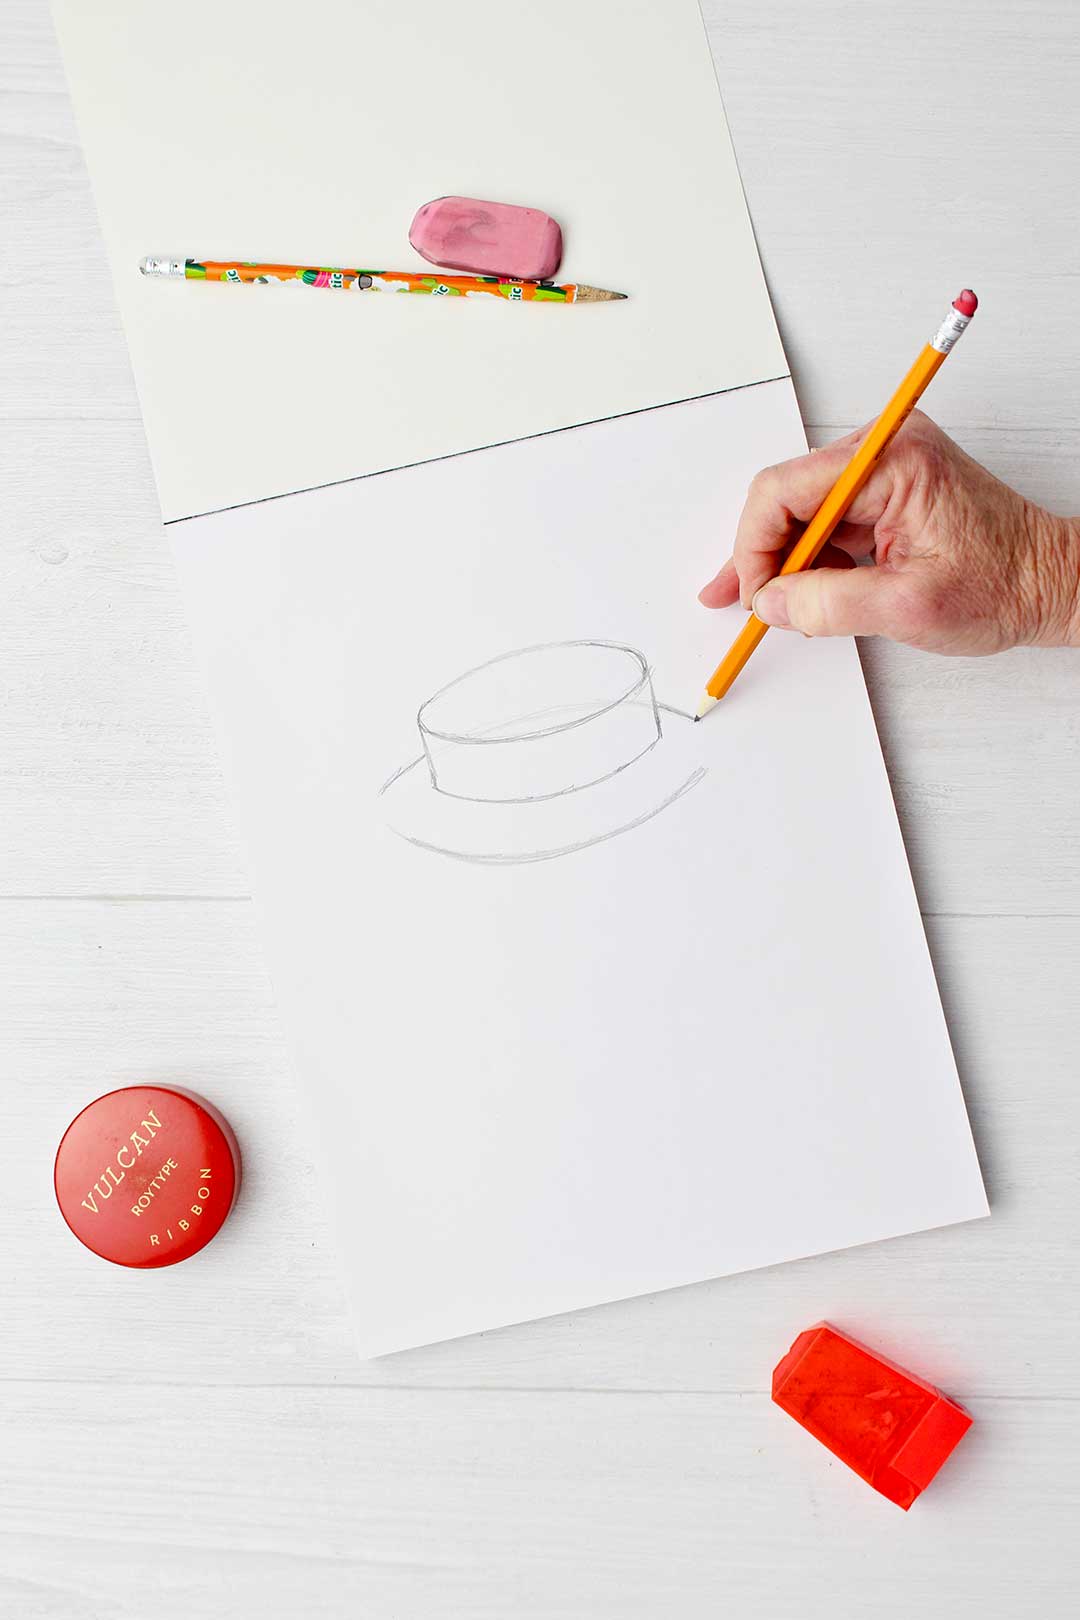
Now we are going to draw the second layer of the cake that is underneath the top layer. This is a second cylinder shape, but it is slightly larger in size, both in width and height.
Draw a smile line under the last one you drew that is the similar in its curved shape- but wider.
Then draw a smile line that matches this one but is above it and upside down, just like you did on the top level.
BUT- this line will go behind the top layer of your first cake. If it helps you, draw this line lightly and draw it right through the top layer of your cake.
Then go back and erase the part of the smile line that is through the top cake layer and make the lines darker that are not behind the top layer.
Connect the two smile lines on the end creating a foreshortened circle. This foreshortened circle should look similar in shape to the top one except be slightly larger.
This gives the illusion that the two layers of the cake overlap. Cool, huh?
After you practice this a few times, you will find that you don’t need to draw the part of the second smile line that goes behind the first tier of the cake.
Complete the second layer of the cake (the second cylinder) by drawing the two lines on the ends of the foreshortened circle coming down. Then draw the smile line that connects them and that matches the curve of the one above it.
Does it look like a two layered cake? This is two overlapping cylinders.
How to sketch a wedding cake....more layers!!
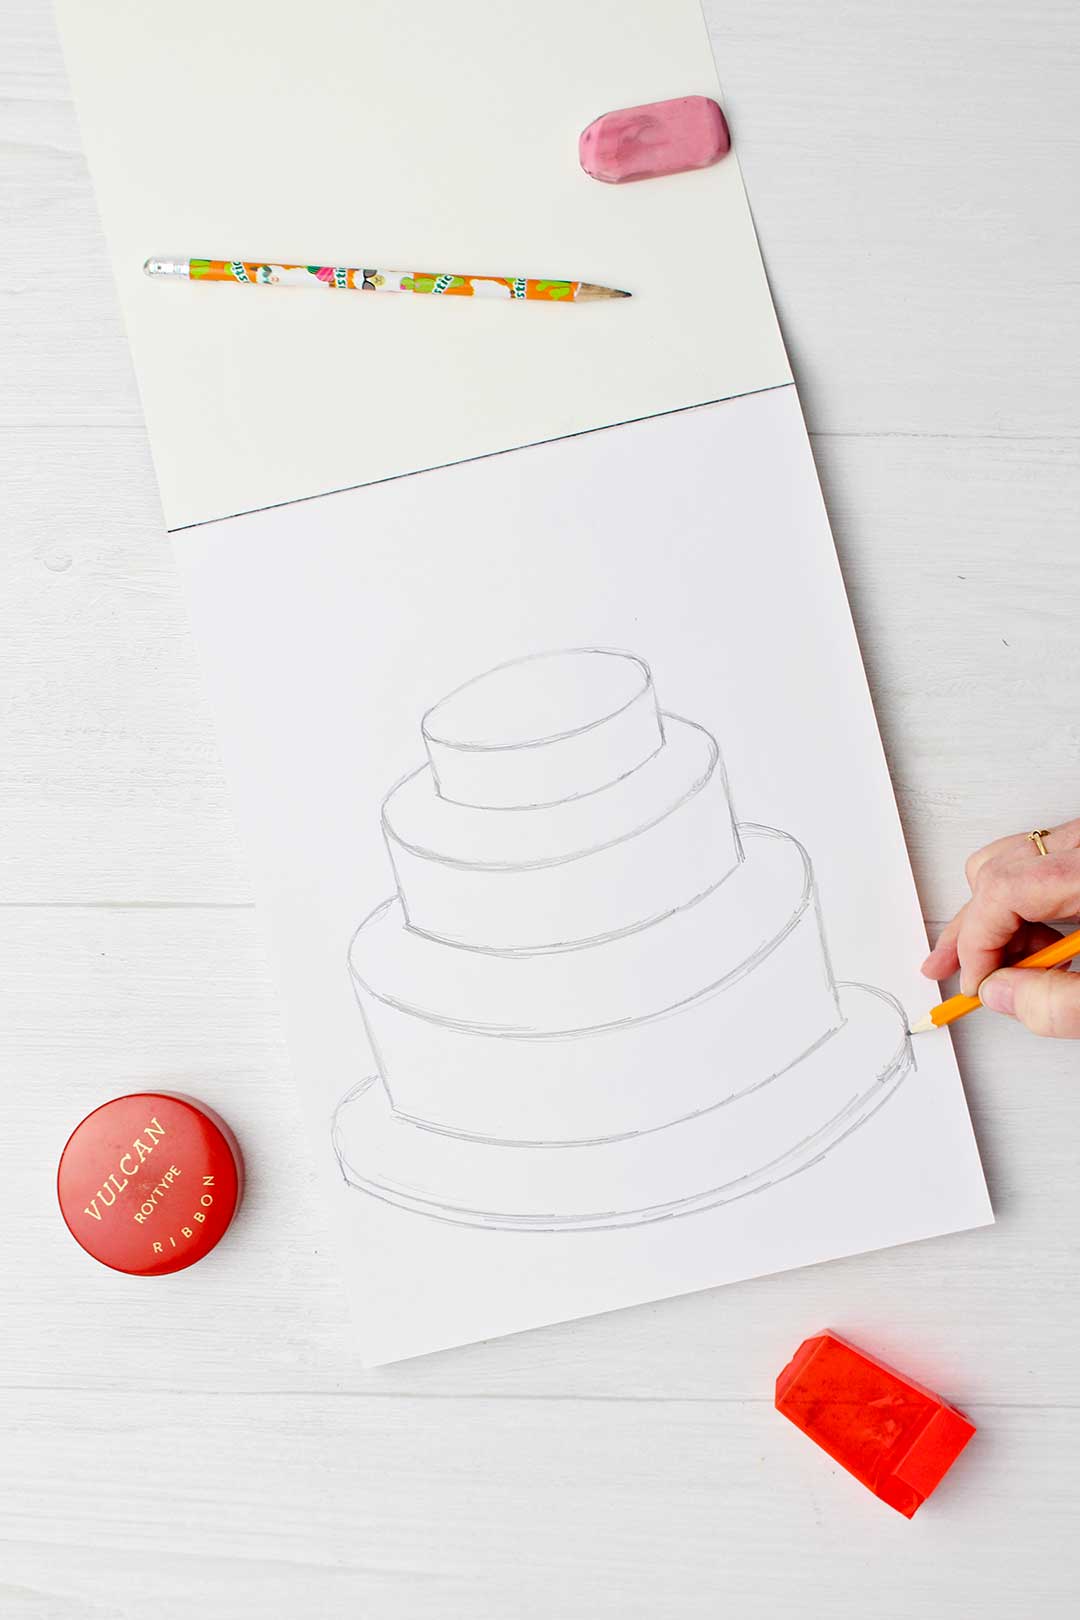
But wait, let’s make a third layer to this cake! There are lots of guests, it needs to be bigger.
Repeat the same process as you did for the second layer except make the third short and wide cylinder even a bit larger than the second one.
In theory you could keep doing this over and over and make your cake drawing huge. A 10-tiered cake that could feed an army!
Draw a plate to set the cake on...
Let’s place our cake on a plate. We don’t want it to just sit directly on the table, right?
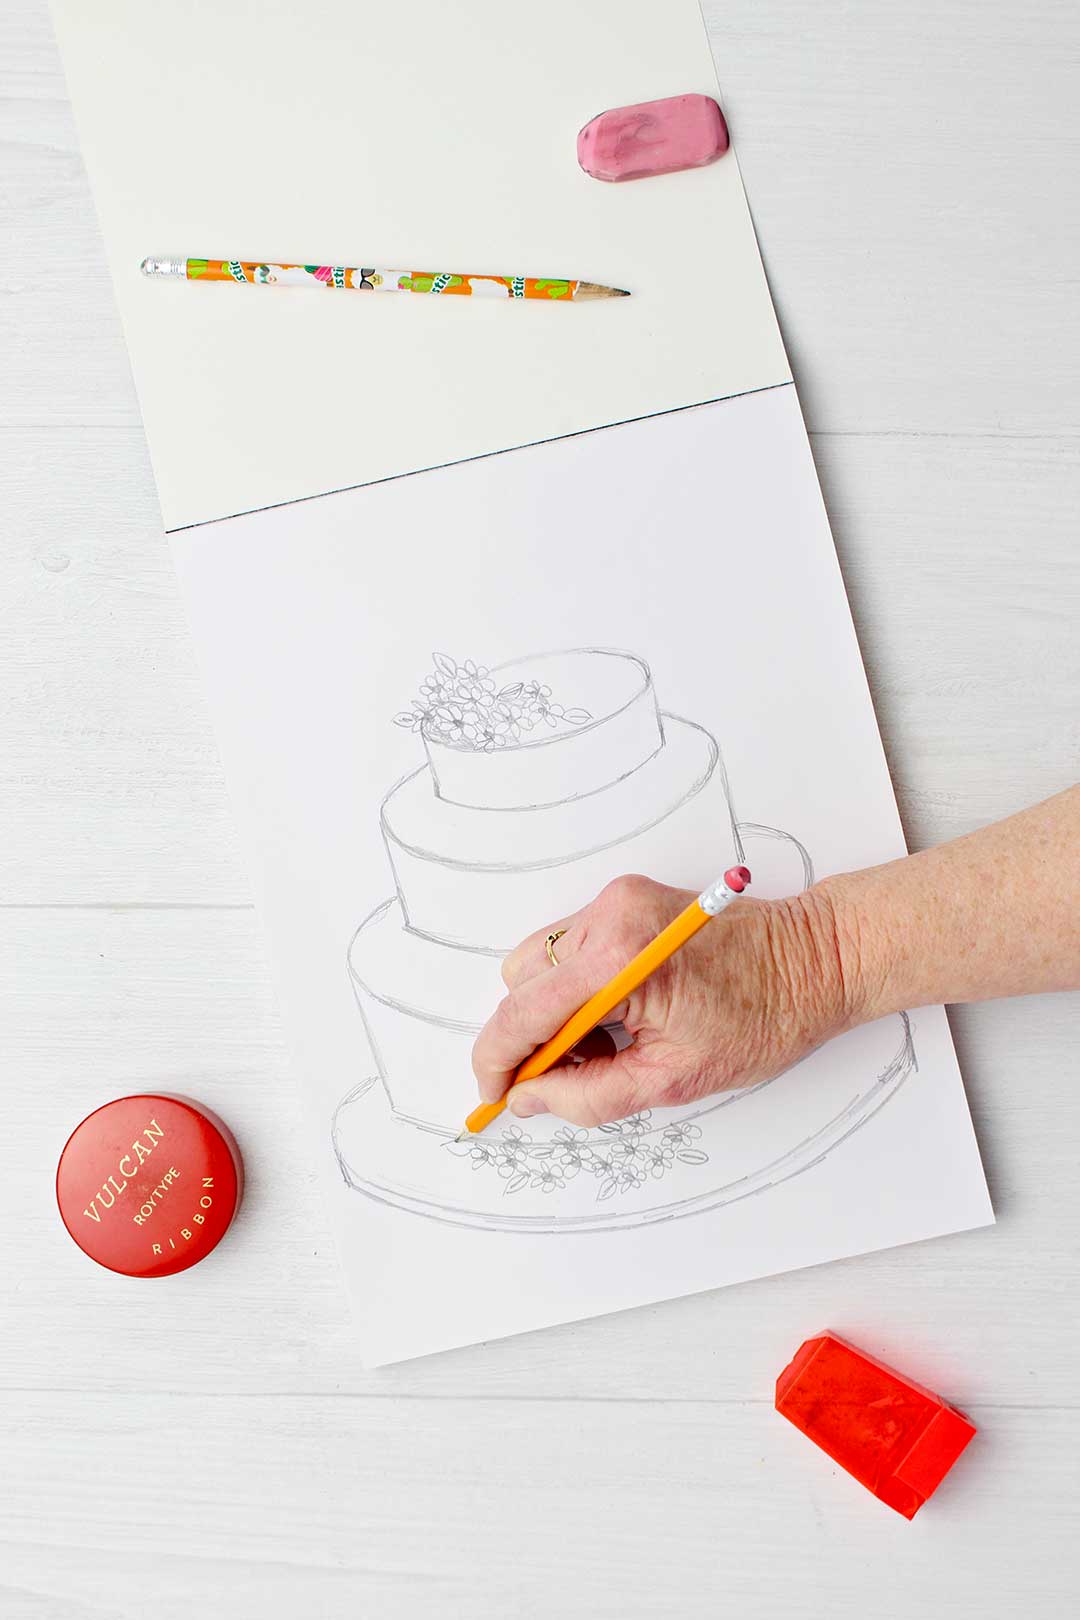
The plate is just one more additional overlapping cylinder except it is very, very short.
Draw one more smile line under the last one that is slightly wider but still similar in the curve of the line. Then complete the foreshortened circle.
But this time the two side lines coming down are very, very short.
Finish with the last smile line that will be very close to the one above it. This gives the illusion that the plate is very thin.
Learn how to draw- practice doodling!
Great job- this will get easier as you practice. Be sure to doodle and practice this and you will get faster and better at drawing overlapping cylinders.
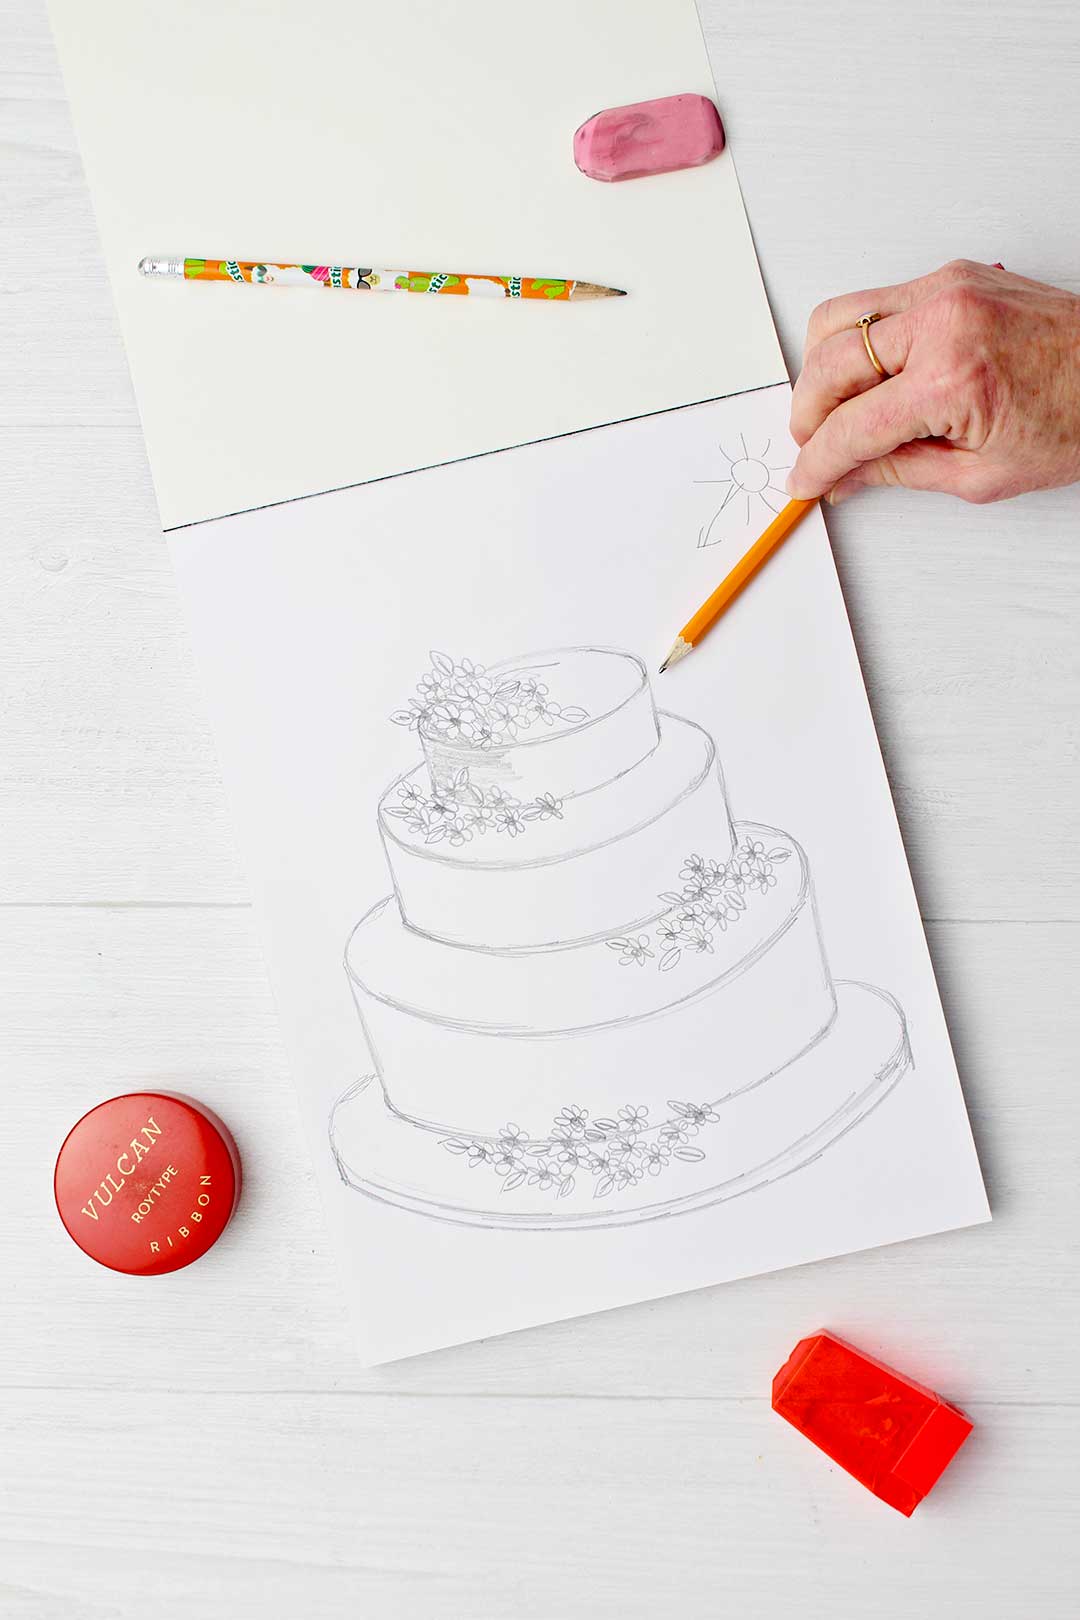
Add decorative flowers and ribbons
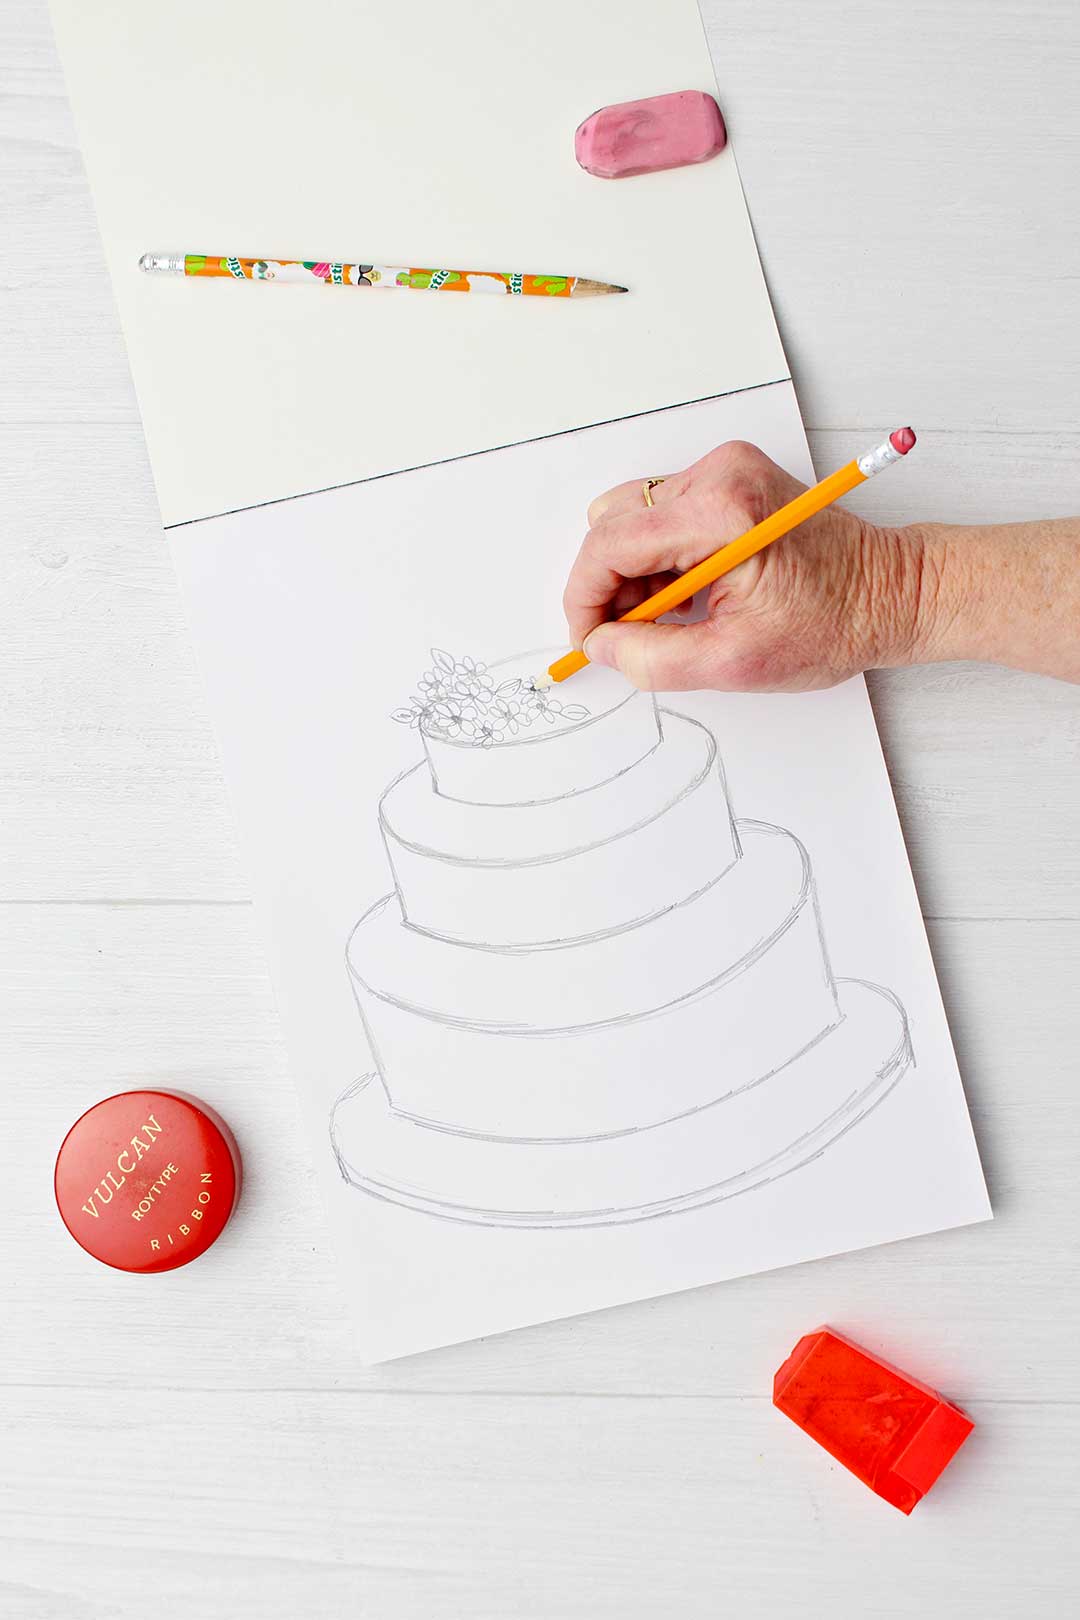
Have fun adding flowers on each level of the cake. You can imagine these flowers are made from frosting or are real flowers.
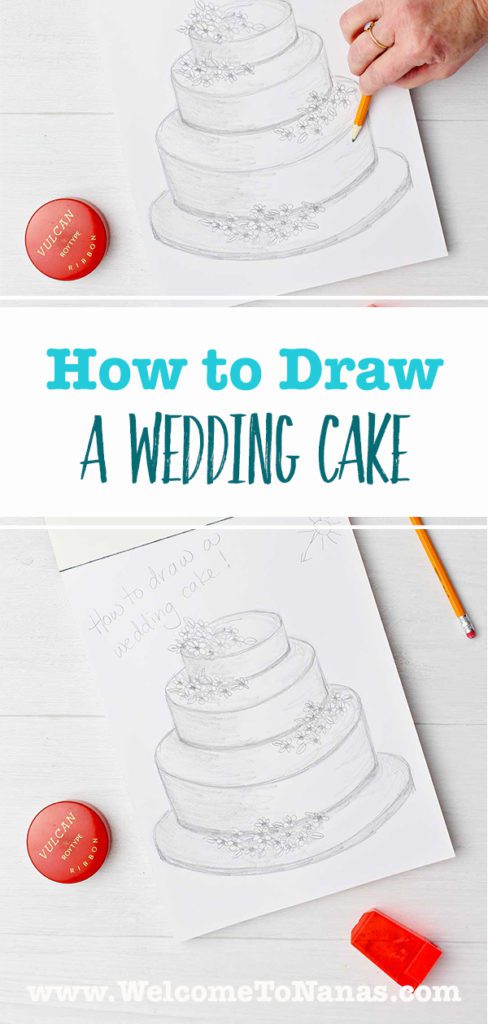
I drew a shaded line around the base of each cake layer, like a decorative line of frosting. I just liked how that looked.
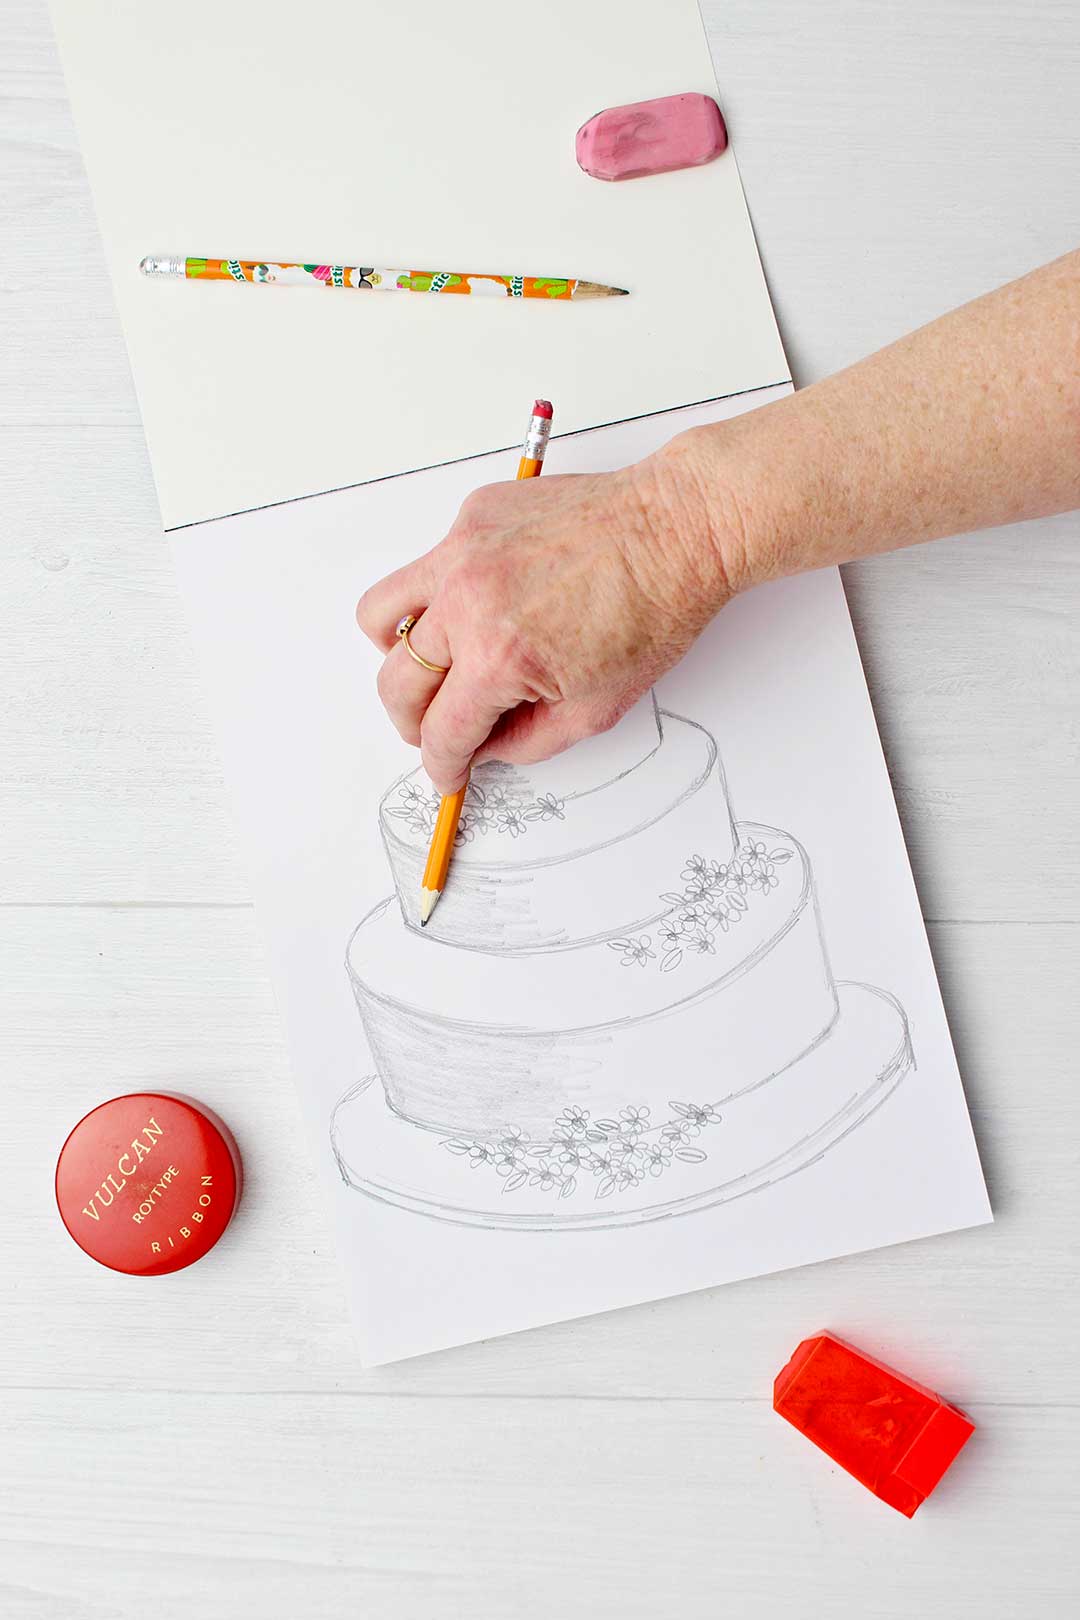
Lastly, we will do the contour lines and shading.
Pretend that the sun/light source is to the upper right.
With the side of the pencil, shade the parts of the cylinders that are away from the light. The cake would block the light and put the sides away from the light in shade. Smudge this a bit with your finger.
There are more details on this step in the How to Draw a Cylinder lesson.
Overlapping cylinders- smile line is the secret
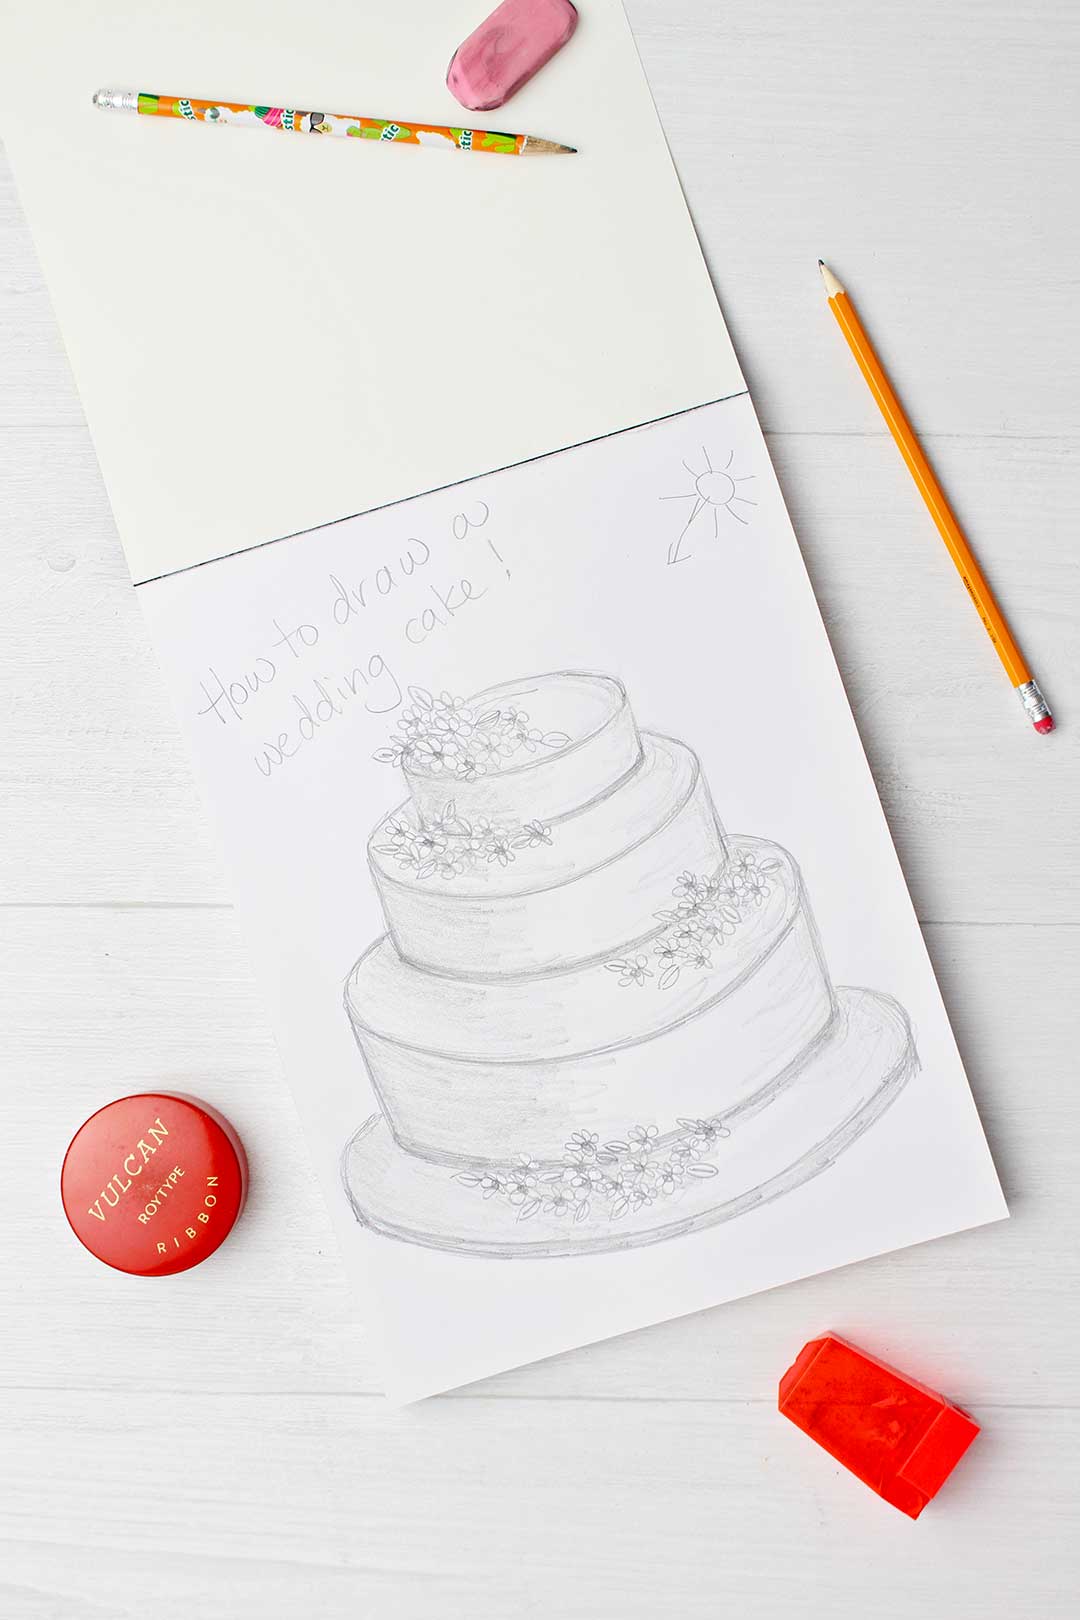
See what I mean, cylinders on a whole new level! This is basically a series of stacked cylinders. Overlapping cylinders.
The secret is the smile line, keeping it basically the same curve, and the foreshortened circle.
Once you understand these concepts you will be amazed at how many things you can draw so much more accurately and realistically.
Here are several more lessons on drawing cylinders if you want to practice. Most of my examples are food- I’m getting hungry.

More drawing lessons on cylinders
I’m heading to a wedding this weekend. Maybe you are too. If so, doodle a couple wedding cakes on your bulletin while you are waiting for the bride to come down the aisle!
Enjoy!
If you try this craft, let me know! Go ahead and leave a comment, rate it, and tag a photo with #WelcometoNanas wherever you post.
Come join the fun at https://welcometonanas.com
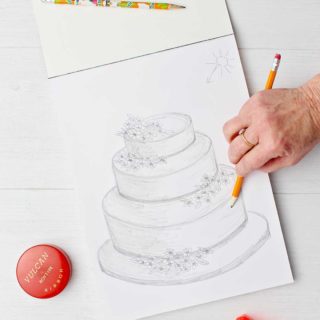
How to Draw a Wedding Cake
Equipment
- none needed
Items Required
Instructions
- Start with a smile line on your paper, not very curved .Then draw an upside-down smile line over this one, similar in its curved shape, just upside down.Connect the two smile lines on each end, creating an oval, a foreshortened circle!Draw your short and wide cylinder (a cake) on your drawing paper. Draw the two lines coming down from the two ends of the oval- they are the same length and not very long. Connect the bottom of these two lines with a smile line that matches the one above it.This is the top layer of your cake, a short and wide cylinder shape.
- Now we are going to draw the second layer of the cake that is underneath the top layer. This is a second cylinder shape, but it is slightly larger in size, both in width and height.Draw a smile line under the last one you drew that is the similar in its curved shape- but wider. Then draw a smile line that matches this one but is above it and upside down, just like you did on the top level.BUT- this line will go behind the top layer of your first cake. If it helps you, draw this line lightly and draw it right through the top layer of your cake. Then go back and erase the part of the smile line that is through the top cake layer and make the lines darker that are not behind the top layer.Connect the two smile lines on the end creating a foreshortened circle. This foreshortened circle should look similar in shape to the top one except be slightly larger.This gives the illusion that the two layers of the cake overlap. Cool, huh?Complete the second layer of the cake (the second cylinder) by drawing the two lines on the ends of the foreshortened circle coming down. Then draw the smile line that connects them and that matches the curve of the one above it.
- Repeat the same process as you did for the second layer except make the third short and wide cylinder even a bit larger than the second one.In theory you could keep doing this over and over and make your cake drawing huge. A 10-tiered cake that could feed an army!
- The plate is just one more additional overlapping cylinder except it is very, very short.Draw one more smile line under the last one that is slightly wider but still similar in the curve of the line. Then complete the foreshortened circle.But this time the two side lines coming down are very, very short. Finish with the last smile line that will be very close to the one above it. This gives the illusion that the plate is very thin.
- Have fun adding flowers on each level of the cake. You can imagine these flowers are made from frosting or are real flowers. I drew a shaded line around the base of each cake layer, like a decorative line of frosting. I just liked how that looked.
- Lastly, we will do the contour lines and shading.Pretend that the sun/light source is to the upper right.With the side of the pencil, shade the parts of the cylinders that are away from the light. The cake would block the light and put the sides away from the light in shade. Smudge this a bit with your finger. There are more details on this step in the How to Draw a Cylinder lesson.
Video
Notes
Supplies:




Leave a Reply