Learn How to Draw a Shamrock for St Patrick’s Day with this step-by-step drawing tutorial for kids. This easy art project can be used in all kinds of crafts, doodles, and DIYs!

Jump to:
- Cute Craft Alert: Shamrocks for St. Patrick’s Day!
- Why Is the Shamrock Important on Saint Patrick's Day?
- Supplies for Drawing
- How to Draw a Shamrock Step by Step
- Craft Tips
- Craft Variations
- FAQ
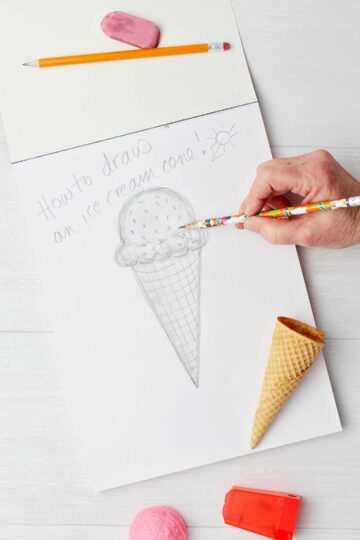
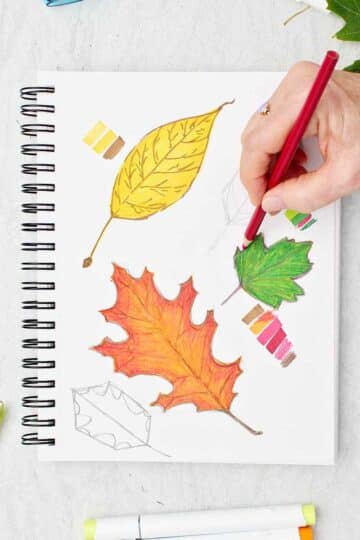
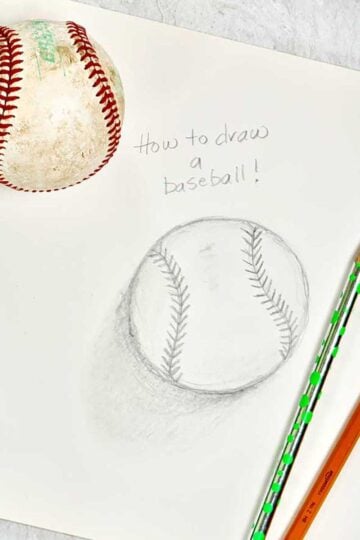
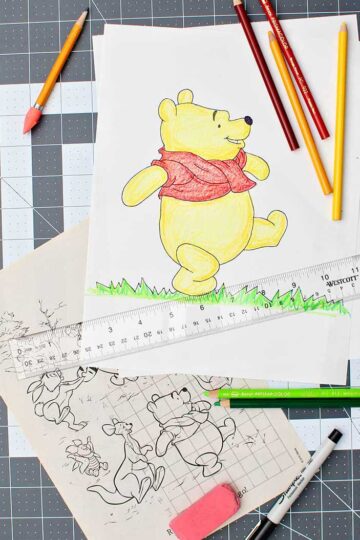
- More Drawing Tutorials for Kids
- Come Join the Fun at WTN!
- Want More Crafts?
- How to Draw a Shamrock for St Patrick’s Day
Cute Craft Alert: Shamrocks for St. Patrick’s Day!
March 17th is Saint Patrick's Day and everyone can be Irish for the day! One of the many symbols for the celebration is the three leafed shamrock. The Irish alway use it to decorate for the holiday and represent Ireland.
This is a great tutorial for how to draw a shamrock for kids. They can learn step by step how to draw and color the shamrock, and you can too!
As an extra little bonus, I've included instructions on how to draw the shamrock flower too. Enjoy the drawing tutorial and don't forget to wear a DIY green shamrock on St. Patrick's Day!

Why Is the Shamrock Important on Saint Patrick's Day?
Saint Patrick was a missionary to Ireland in the 5th century. The legend says that he used the three leafed Shamrock to help teach about the Holy Trinity. As a result the Shamrock is a well-known and well-loved symbol for Ireland and the Irish people.
Did you know you can grow a shamrock? Shamrocks' scientific name is oxalis regnellii...say that three times fast! The shamrock plant has delicate flowers and makes a pretty house plant.
The plants are in stores close to St Patrick's Day. You can find one to color in this St. Patrick's Day coloring page after you are finished learning how to draw your own!


Supplies for Drawing
You don’t need much to learn how to draw shamrocks!
- Drawing paper- Use drawing paper or a sketch book to try this tutorial.
- Pencil, pen, or marker- Use a pencil or marker to draw a shamrock.
- Eraser- Have an eraser handy when drawing with pencil
- Colored pencils- Use colored pencils or crayons to color in the shamrock (optional).


How to Draw a Shamrock Step by Step
I think it's helpful to watch the video when learning how to draw a shamrock.
Draw three shamrock leaves
The shamrock has three leaves, and each leaf looks like a heart. The points of the hearts meet in the center.
So find the center of your paper. Draw a heart shape that goes up towards the top of your paper from that center area. But don't connect the two lines at the bottom. When you draw a heart it's kind of like two ice cream cones side by side, have you noticed that before?
It might be easier if you turn the paper to the side to draw the next leaf. Draw another heart shape that goes towards one side of your paper. The heart will start where the last one left off. Don't connect the two lines at the bottom of this heart either.
Turn your paper the opposite direction and draw another heart that goes to the other side of the paper. The heart will start where the first one left off. Don't connect the two lines at the bottom of this heart either.
You now have 3 heart-shaped leaves that connect to one another in the center of your paper. The heart leaves do not need to be perfectly shaped. The three leaves are still unconnected at the bottom though.

Draw the stem
The open space is where we are going to draw the stem. The stem is like a rectangle except it is going to curve to the side instead of being straight.
Draw a line that starts where the last heart line stopped and moved towards the bottom of your paper at a slant. Draw a second line that starts where the other heart stopped. This second line will run fairly parallel to the first one but gets a little wider at the bottom.
Next you will draw a line that connects those two lines, but it will be kind of in a smile shape (not straight). Lastly draw another line at the bottom of the stem that is a frown shaped line (t will connect on either end of the smile line). Then the stem looks like it's been cut off and you can see the bottom of it.


Add details to the shamrock leaves
Next we will add a few details to the center of the leaves. Draw a line that goes down the center of one leaf. The line starts in the middle of the shamrock but doesn’t go to the outer edge of the leaf.
This doesn't need to be straight line. In fact a slightly curved line makes the leaf look more real. This is the vein in the center of the leaf.
Small vein lines that go off from this center vein line on a shamrock leaf. Draw 3 or 4 small lines on each side of the center vein. The lines start on the vein and slightly curve outwards but don’t go clear to the edge of the leaf. Repeat this on each of the three leaves.

Color the shamrock
Coloring the Shamrock is simple because it's basically all the same color, green! But we will do some shading with 3 shades of green to make it look more 3D.
Color the shamrock a solid light green color. Use either colored pencils or crayons.
Choose a darker green color and add some shading to the leaves. Lightly color around the edges of the leaf and over the vein lines, also around the stem. The dark color will blend into the lighter color so don't make hard coloring lines.
Lastly, color a bit of yellow over the center areas of the leaves and stem, blending it into the greens.


Draw a shamrock flower
The shamrock flower has five white petals. If you draw a group of shamrocks add a few shamrock flowers into the bunch of shamrocks. The video shows how to do this.
What do you think of the shamrock that you drew? Keep practicing and you will get better and better!
Craft Tips
Here are a couple tips on how to draw a shamrock easy.
- Use a Pencil- I recommend using a pencil while learning to draw a Shamrock. Later you can use a pen, but it's nice to be able to erase as you learn
- Practice Shading- When shading the shamrock tilt the colored pencil to the side and shade with the side of the pencil lead. This blends the shading nicely.
Craft Variations
Here are a few variations you’re welcome to try with this shamrock drawing:
- Shamrock flowers- At the end of the video I show how to draw a group of shamrocks and the shamrock flower. The small, 5-leaved, white flower is small and delicate.
- Face painting- Use the shamrock outline drawing to paint a shamrock on your face. Check out the Quick & Easy Face Painting Post to learn how to face paint.
- Four leaf clover- Use the tutorial to draw a four-leaf clover. Just make four leaves instead of three!
FAQ
Draw three heart shaped leaves that come out from the center of your paper. Add a stem to the bottom. Draw a center vein line to each leaf with 3 small vein lines that come out from that center vein line. You'll find more details in the tutorial.
A shamrock is a type of clover but not all clover is a shamrock. Does that make sense? They say that the four-leaf clover brings good luck.
More Drawing Tutorials for Kids
Looking for more easy drawing tutorials to try? Here are a few of our favorites:
Come Join the Fun at WTN!
Try this craft, leave a comment, rate it, and tag a photo with #WelcometoNanas wherever you post.
Want More Crafts?
Love getting crafts straight to your inbox? Sign up to receive a weekly email and get a free crafty gift!


How to Draw a Shamrock for St Patrick’s Day
Equipment
- none needed
Items Required
- drawing paper or a sketch book
- a pencil or marker
- eraser
- colored pencils or crayons optional
Instructions
Draw three shamrock leaves
- It helps to watch the video when drawing the shamrock. The shamrock has three leaves, and each leaf looks like a heart. The points of the hearts meet in the center. So find the center of your paper. Draw a heart shape that goes up towards the top of your paper from that center area. But don't connect the two lines at the bottom. It might be easier if you turn the paper to the side to draw the next leaf. Draw another heart shape that goes towards one side of your paper. The heart will start where the last one left off. Don't connect the two lines at the bottom of this heart either.Turn your paper the opposite direction and draw another heart that goes to the other side of the paper. The heart will start where the first one left off. Don't connect the two lines at the bottom of this heart either.
Draw the stem
- The open space is where we are going to draw the stem. The stem is like a rectangle except it is going to curve to the side instead of being straight.Draw a line that starts where the last heart line stopped and moved towards the bottom of your paper at a slant. Draw a second line that starts where the other heart stopped. This second line will run fairly parallel to the first one but gets a little wider at the bottom.Next you will draw a line that connects those two lines, but it will be kind of in a smile shape (not straight). Lastly draw another line at the bottom of the stem that is a frown shaped line (t will connect on either end of the smile line). Then the stem looks like it's been cut off and you can see the bottom of it.
Add details to the shamrock leaves
- Draw a line that goes down the center of one leaf. The line starts in the middle of the shamrock but doesn’t go to the outer edge of the leaf.This doesn't need to be straight line. In fact a slightly curved line makes the leaf look more real. This is the vein in the center of the leaf.Small vein lines that go off from this center vein line on a shamrock leaf. Draw 3 or 4 small lines on each side of the center vein. The lines start on the vein and slightly curve outwards but don’t go clear to the edge of the leaf. Repeat this on each of the three leaves.
Color the shamrock
- Color the shamrock a solid light green color.Choose a darker green color and add some shading to the leaves. Lightly color around the edges of the leaf and over the vein lines, also around the stem. The dark color will blend into the lighter color so don't make hard coloring lines. Lastly, color a bit of yellow over the center areas of the leaves and stem, blending it into the greens.
Draw a shamrock flower
- The shamrock flower has five white petals. If you draw a group of shamrocks add a few shamrock flowers into the bunch of shamrocks. The video shows how to do this.


Leave a Reply