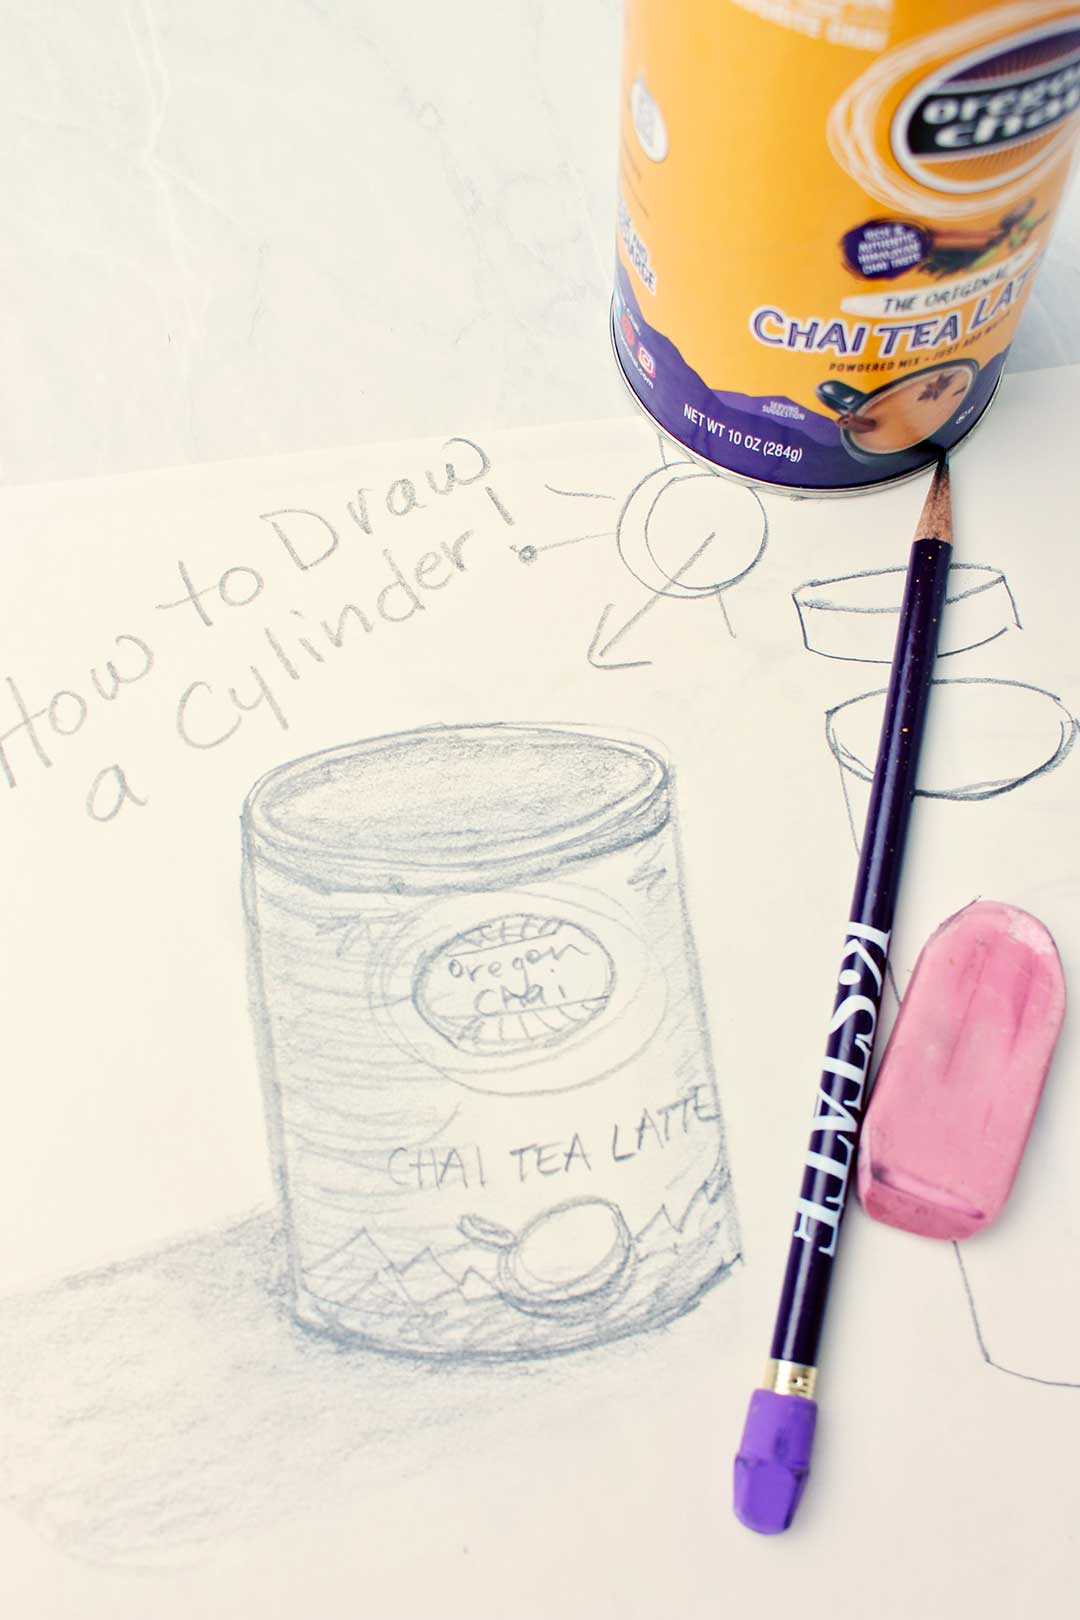
The How to Draw a Cylinder secret
How to Draw a Cylinder is all about the secret of drawing a foreshortened circle. This secret helps you draw so many items around you! Be patient and you will learn this secret and love the results.
How to draw a circle for starters…
You have been drawing a circle from a very young age. If you are doing these lessons with kids, practicing drawing a circle is a great starting place for this lesson. You could start by drawing around something that is round, like a round lid or a coin. Then practice drawing a circle on your own. The more you practice the better you will get!
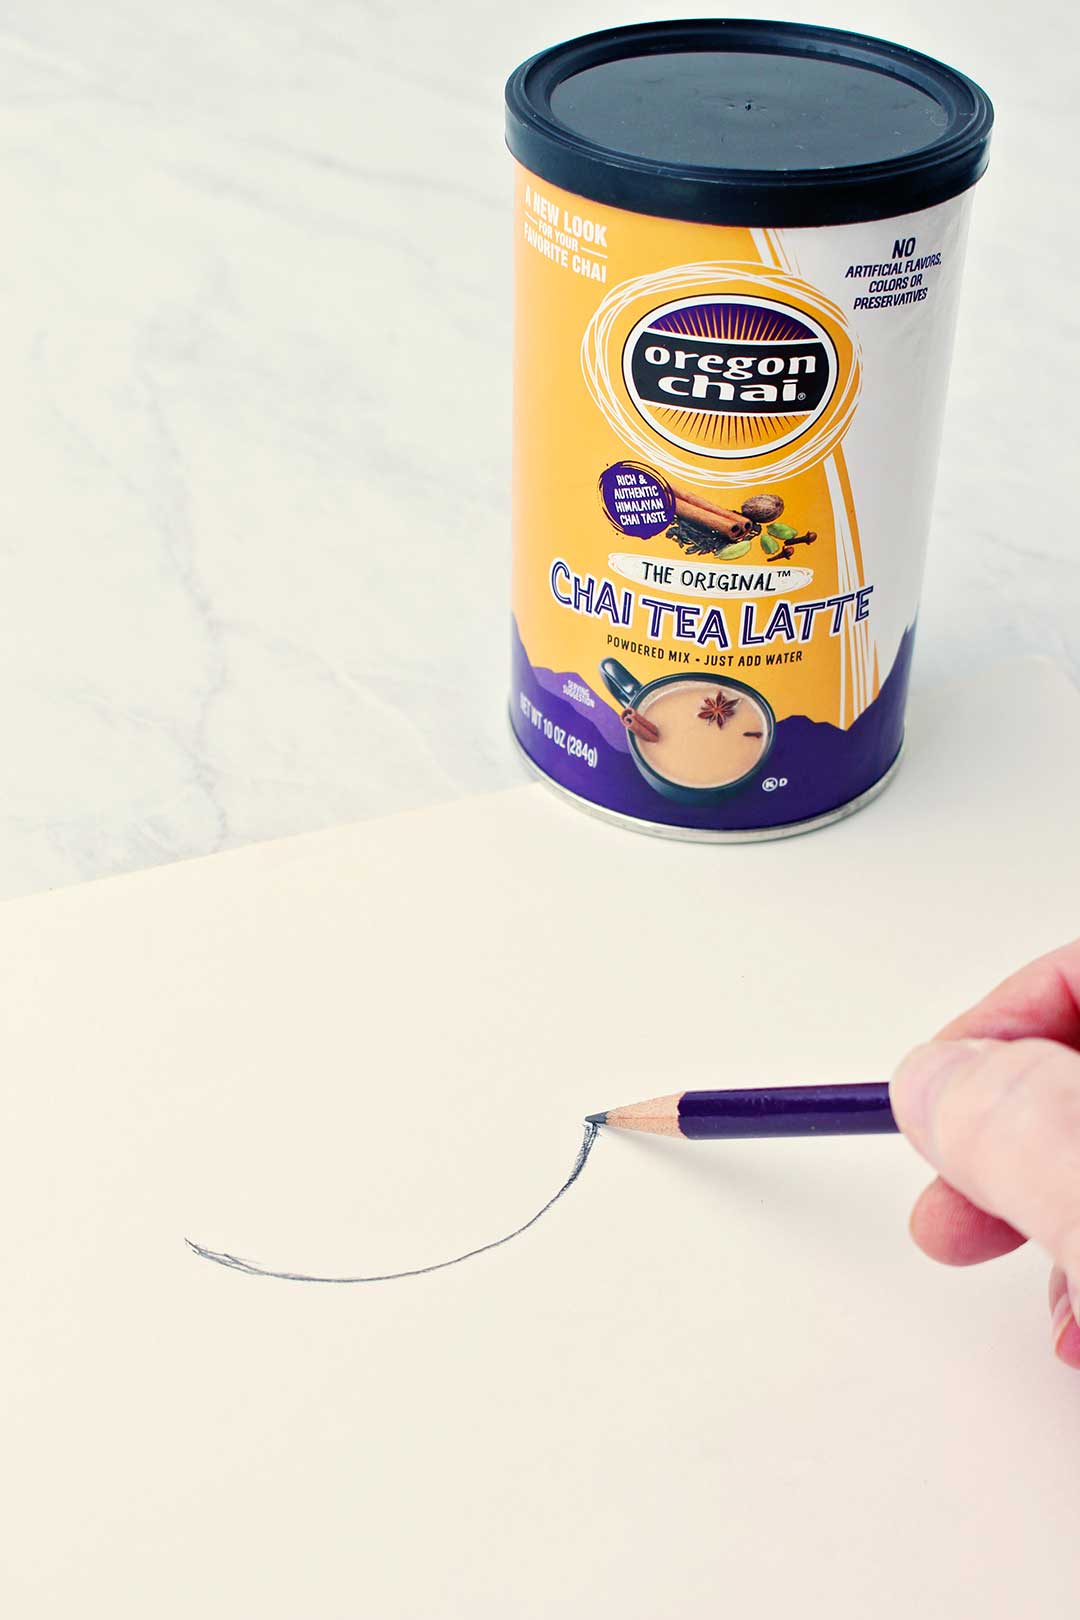
Want to learn a whole new spin on drawing a circle?
Let’s learn about a drawing a foreshortened circle.
A what?
A foreshortened circle is what we call drawing an object that is a circle shape, but the object is tilted to the side.
Let’s look at what we are talking about here. Take an object with a circle top, like a can of fruit and hold it so you are looking straight down at the can. Then slowly tilt the can away from you. Do you see how the circle top begins to look like an oval? And then the more you tilt the can away from you the narrower the oval becomes? This is a foreshortened circle.
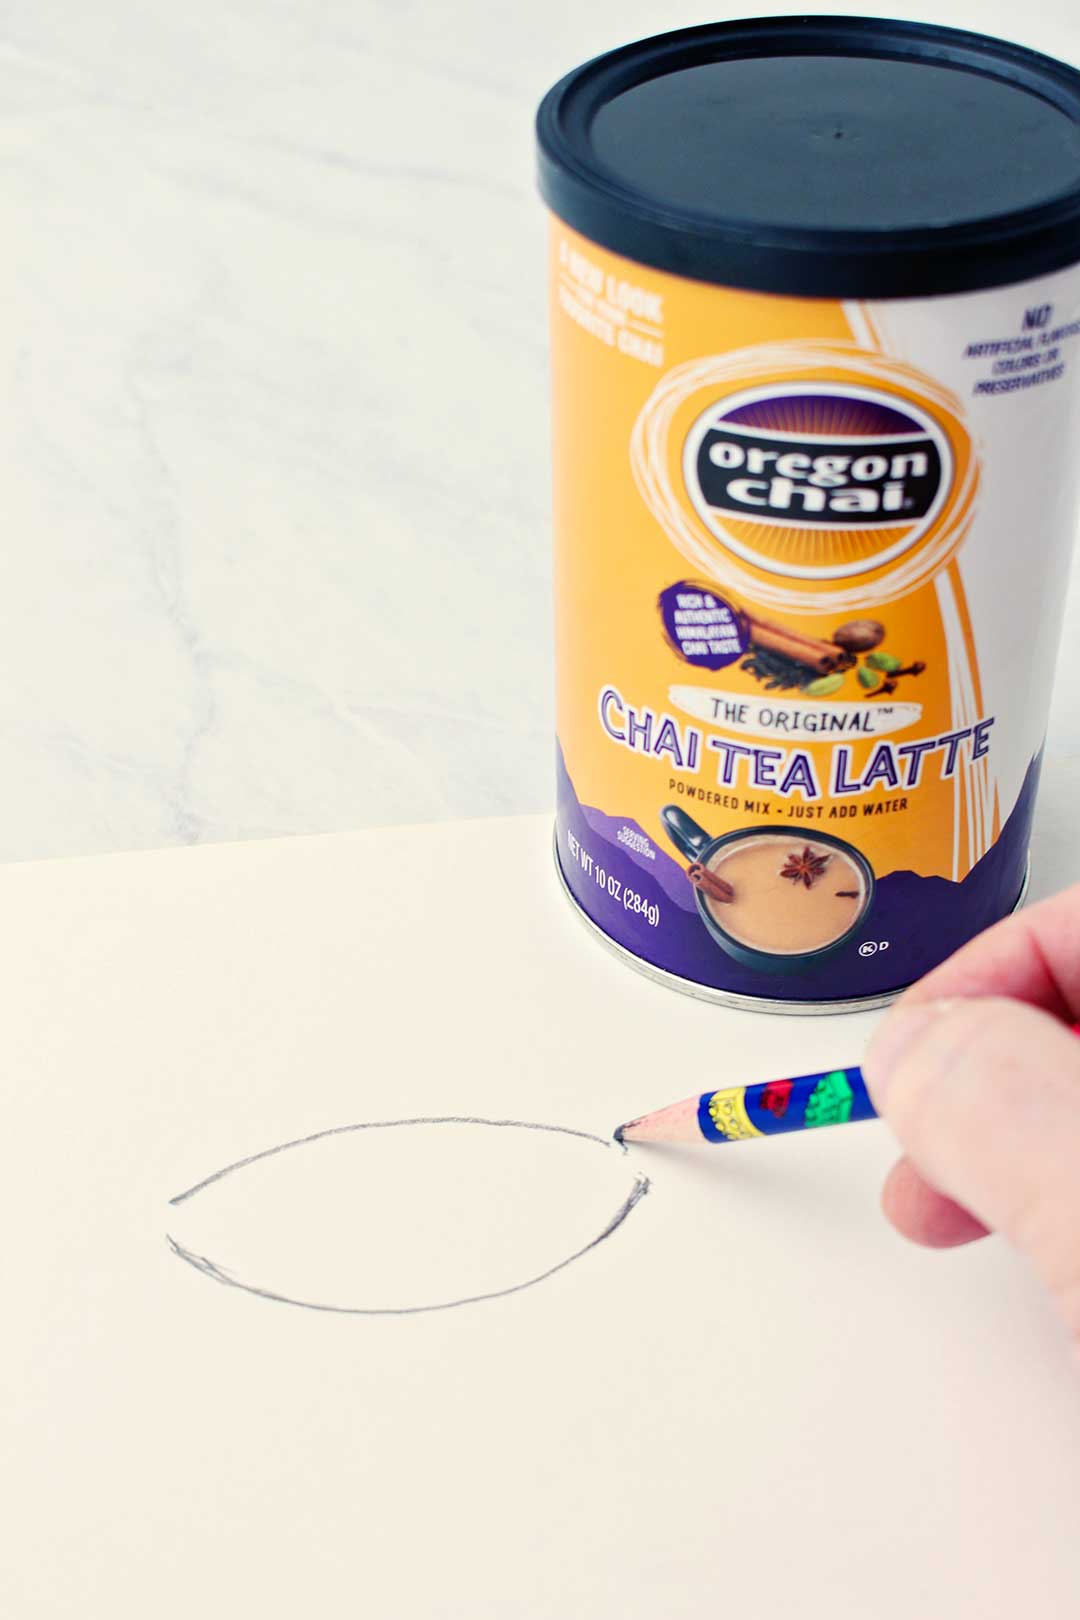
The How to Draw a Cylinder secret- a foreshortened circle
Get ready to smile!
There are some tricks to drawing a foreshortened circle to look like the object you are wanting to draw. Want to learn the trick? It is the idea of drawing a smile.
Think of the bottom half of a circle being a smile shape. The more you tilt a round shaped object away from you, the flatter the smile shape is on the bottom of the foreshortened circle.
So, if you draw a cylinder-shaped object from the side you will start drawing the circular top with a smile shape for the bottom edge. And you will try to match how curved or flat the smile shape is by how far the object is tilted away from you. The further it is tilted, the flatter the smile shape will be.
Then you will draw a matching curve shape over the top of that smile shape and connect them with curved lines on each end that finish the oval shape.
Cool, huh? Now you know the trick. But there is more because that was just the top of they cylinder.
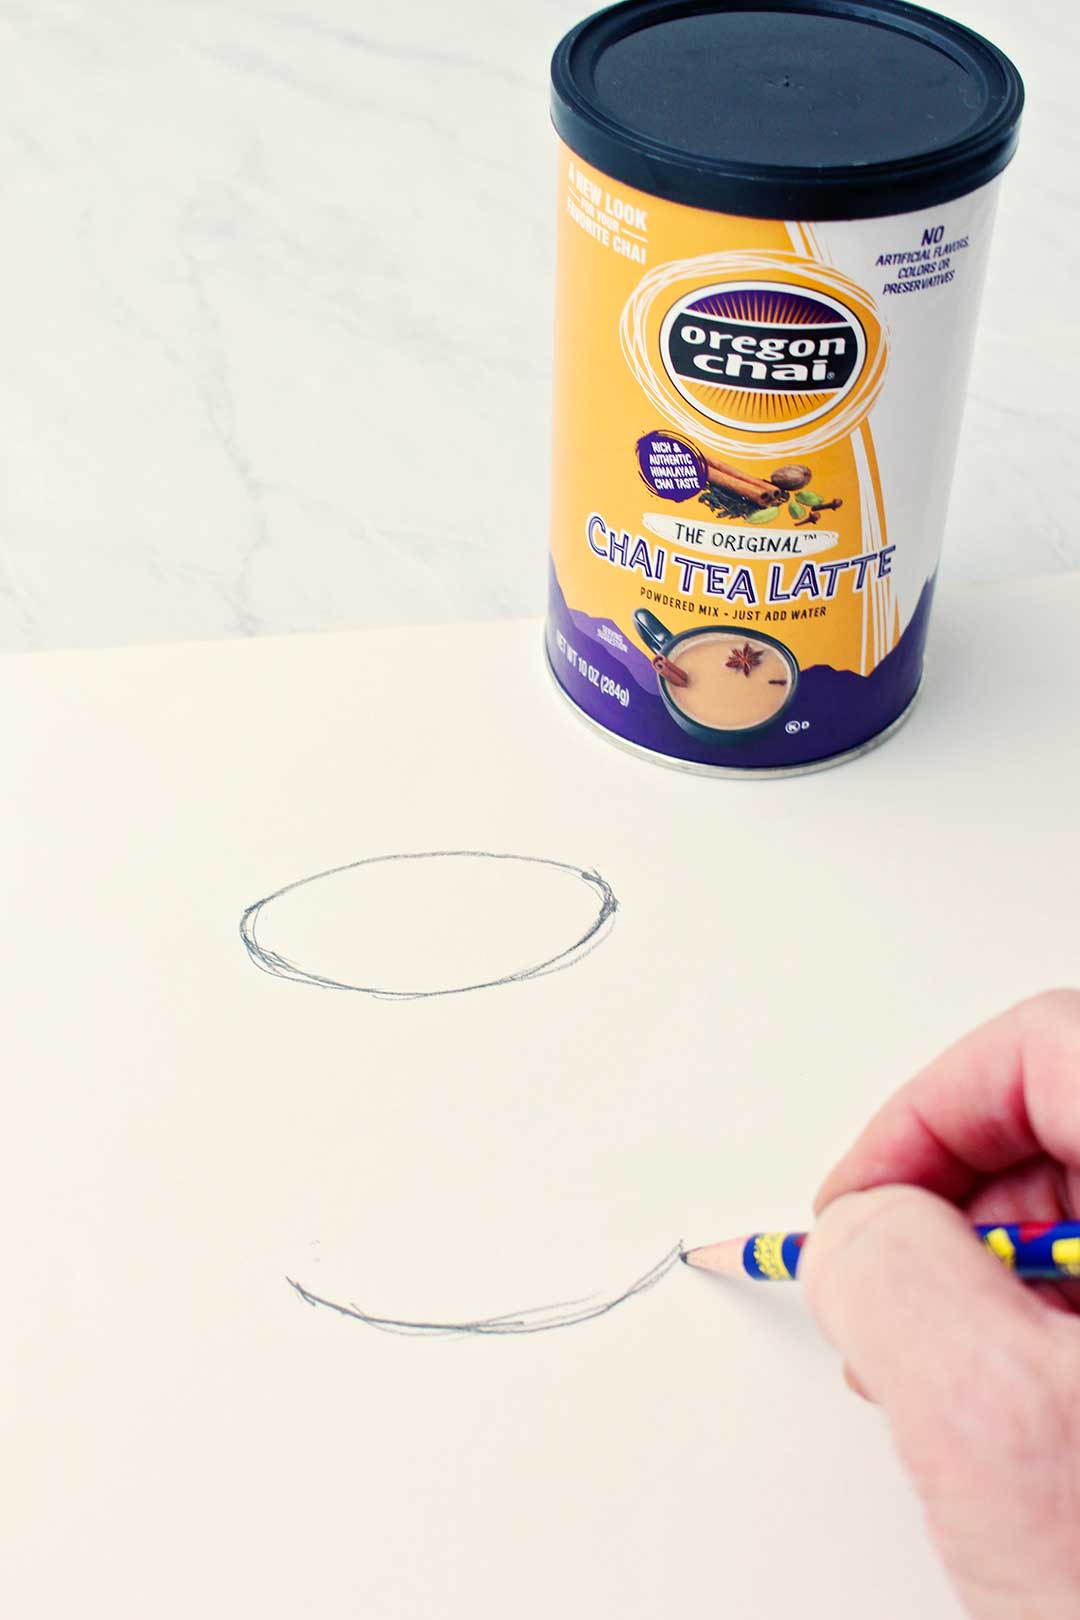
How do you draw a cylinder?
To draw the rest of the cylinder shape, you will draw a smile for the bottom of the can that matches the smile shape you drew for the bottom of the foreshortened circle. This smile will be lower on your paper, directly under the first smile shape.
Draw a straight line down from the right edge of the foreshortened circle to the right edge of the bottom smile. Then draw a straight line down from the left edge of the foreshortened circle to the left edge of the bottom smile.
Boom. You just drew a cylinder shape.
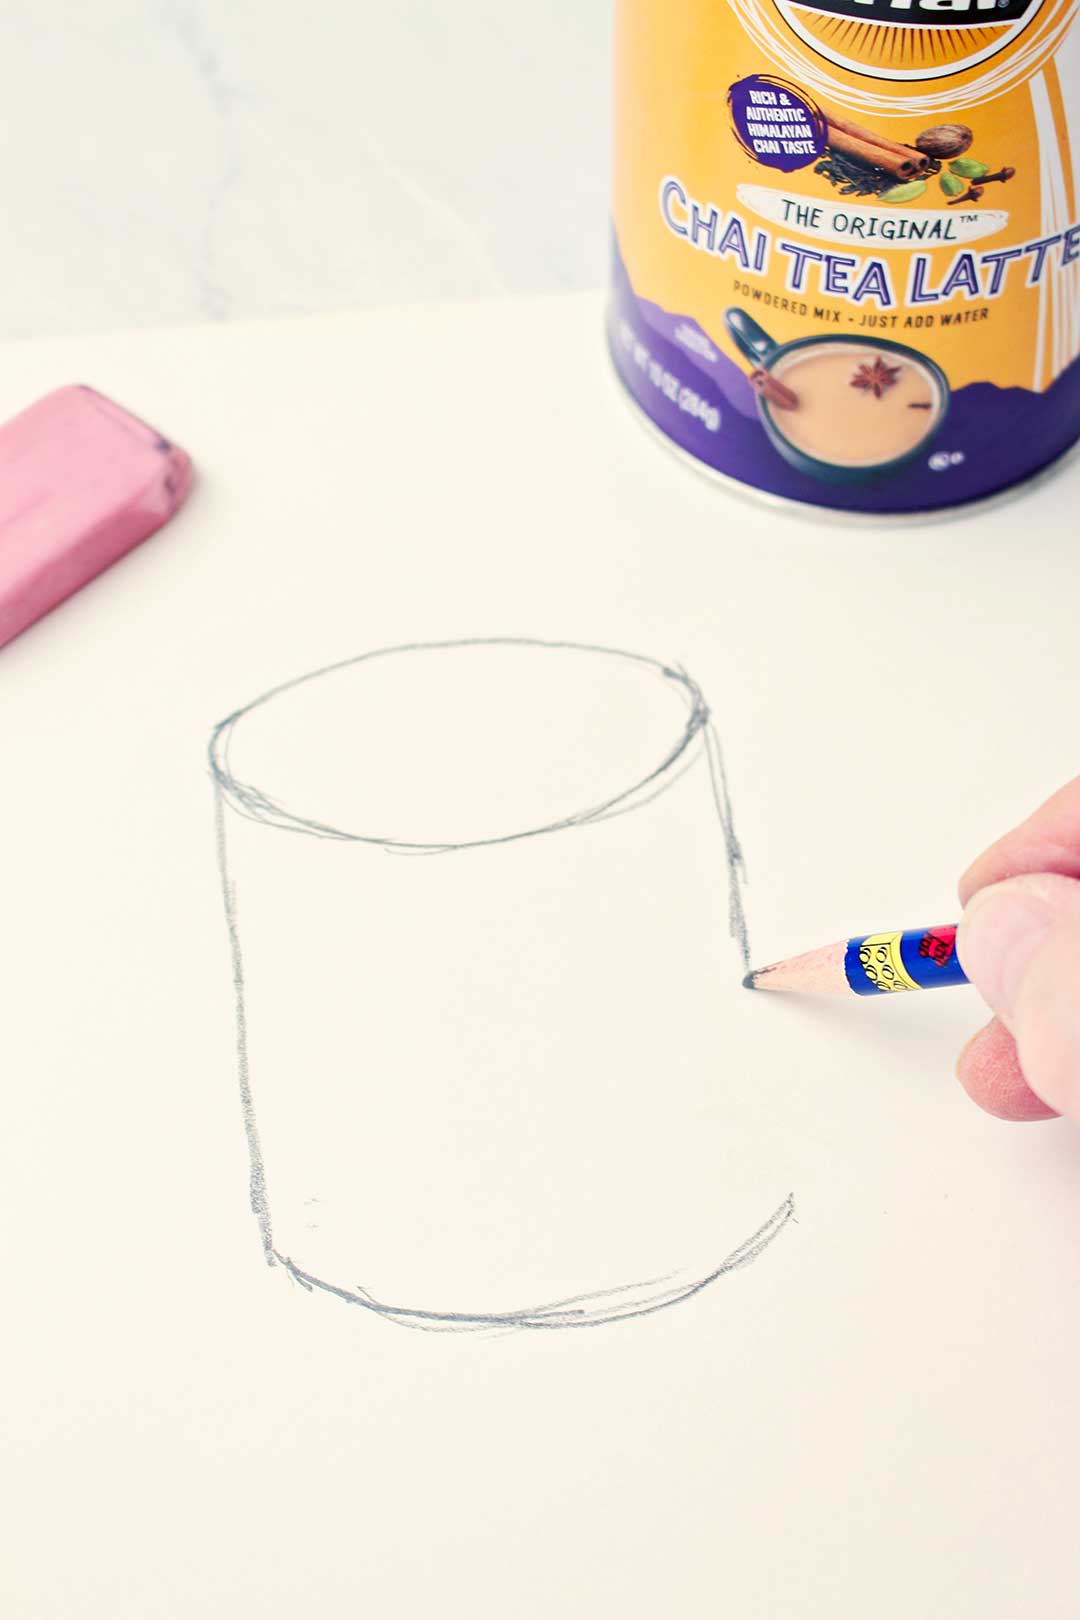
How to draw a cylindrical shape
You can make your cylinder taller or shorter by making the bottom smile lower or higher on the page before connecting the sides.
You can make the cylinder wider or narrower by making the first smile shape of the foreshortened circle wider or narrower.
Lastly, you can make the cylinder more or less tilted looking by making the foreshortened circle with a more or less curved smile shape on the bottom.
Now you really know the secret.
Look around you and notice all the objects around you that are cylinder shaped. Take note of how you would draw a cylinder that looked like that object.
Doodle on your paper and practice making several cylinder shapes. Have fun! Don’t worry about how good they are, just keep practicing.
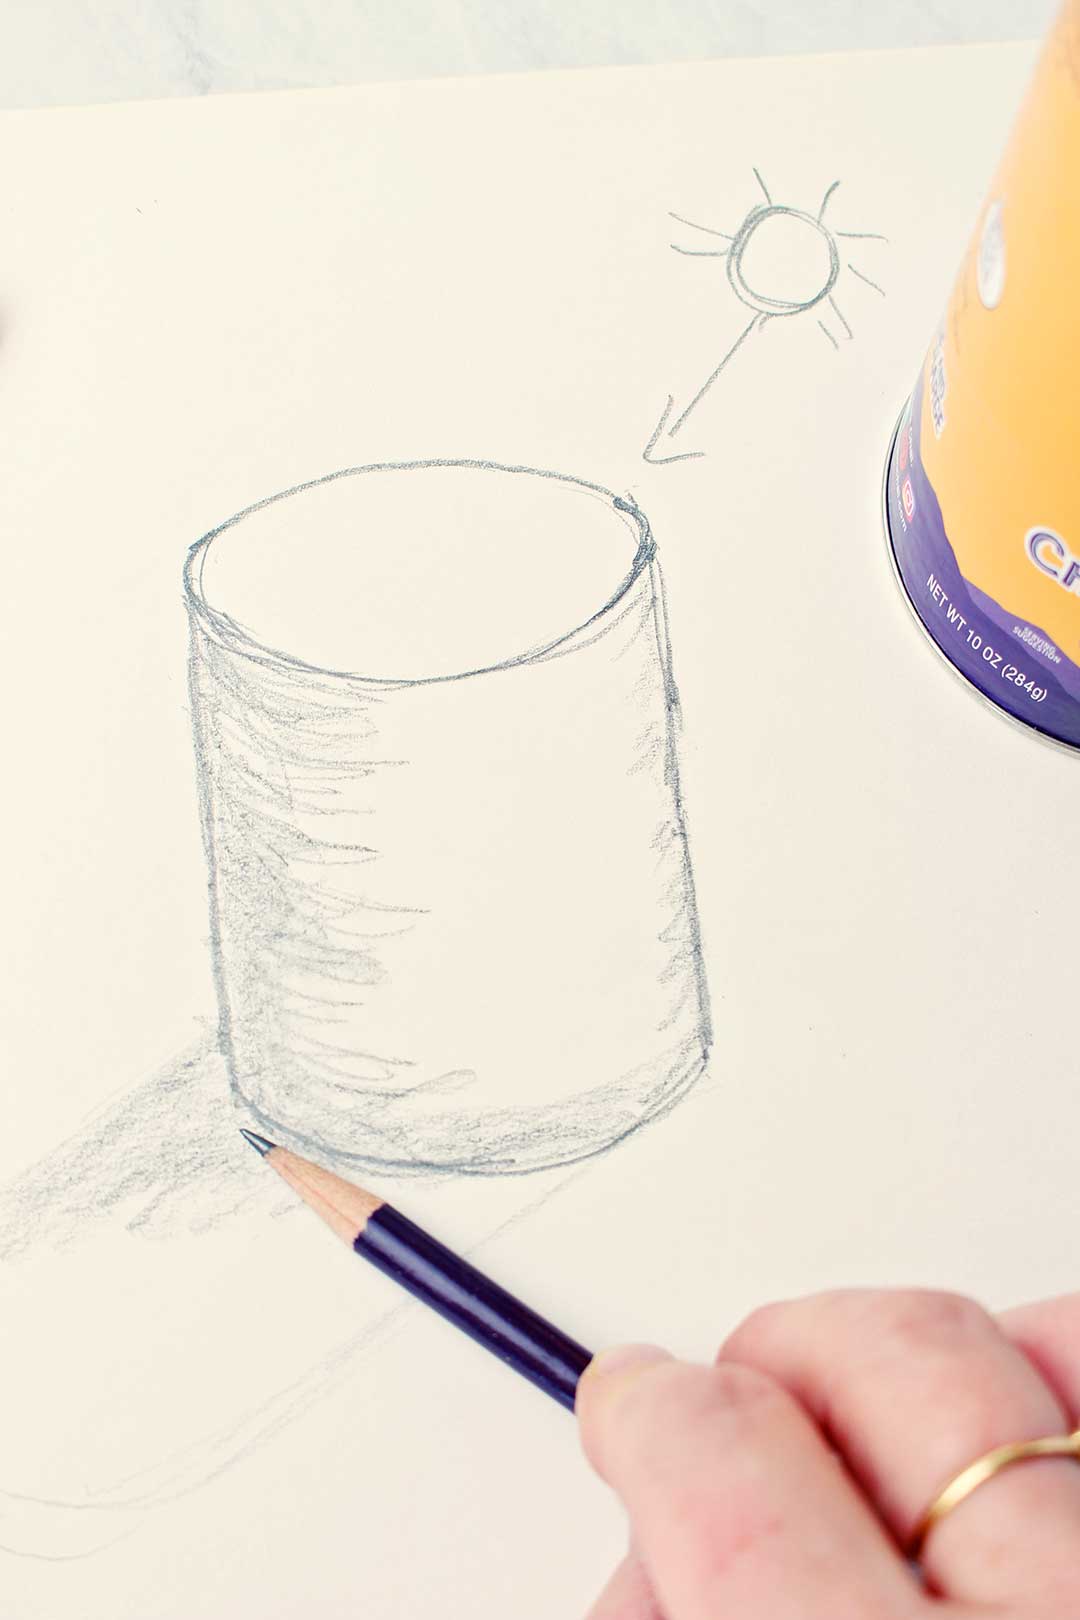
How to draw a 3D cylinder
To make the cylinder that you drew have a 3-dimensional look we will add contour lines and shading. This is where is really gets fun. We did this same thing on the sphere that we drew.
Imagine that your light source is coming from the upper right side and shining down on the cylinder. That will create a shadow on the left side of the cylinder and will cast a shadow down on the table to the left.
Contour lines are basically some lines in the shadow area of the cylinder that match the smile line you started with in drawing the cylinder. Draw some light contour lines on the left side of the cylinder that go the same direction as the first smile that you drew for the foreshortened circle.
Then add some shading on the left side of the cylinder by using the side of the pencil lead on the paper. Gently rub this with your finger to blend this together a bit.
Add some cast shadow in kind of a cylinder shape down onto the left of the cylinder and blend that as well.
You can draw a line behind the cylinder to be the edge of the tabletop and add a bit of drawing to make it look like the surface of the table if you want.

What do you think?
Isn’t that a good start at drawing a cylinder?
We will continue to learn more about how to draw a cylinder in perspective
You will be surprised at how many things around you are a cylinder shape or some variation of the cylinder shape! We will have fun drawing some of those items in future posts.
For now, just doodle cylinders as often as possible, all heights and widths and do some shading on them. That is always how you get better at something! This is so fun. Keep practicing!
Other Posts in the How to Draw series:
- How to Draw a Sphere
- How to Draw a Baseball
- How to Draw Christmas Ornaments- multiple spheres
- How to Draw a Pumpkin
Enjoy!
If you try this craft, let me know! Go ahead and leave a comment, rate it, and tag a photo with #WelcometoNanas wherever you post.
Come join the fun at https://welcometonanas.com
How to Draw a Cylinder
Equipment
- none needed
Items Required
Instructions
- Think of the bottom half of a circle being a smile shape. The more you tilt a round shaped object away from you, the flatter the smile shape is on the bottom of the foreshortened circle. So, if you draw a cylinder-shaped object from the side you will start drawing the circular top with a smile shape for the bottom edge. And you will try to match how curved or flat the smile shape is by how far the object is tilted away from you. The further it is tilted, the flatter the smile shape will be.
- Then you will draw a matching curve shape over the top of that smile shape and connect them with curved lines on each end that finish the oval shape.
- To draw the rest of the cylinder shape, you will draw a smile for the bottom of the can that matches the smile shape you drew for the bottom of the foreshortened circle. This smile will be lower on your paper, directly under the first smile shape.
- Draw a straight line down from the right edge of the foreshortened circle to the right edge of the bottom smile. Then draw a straight line down from the left edge of the foreshortened circle to the left edge of the bottom smile.
- Imagine that your light source is coming from the upper right side and shining down on the cylinder. That will create a shadow on the left side of the cylinder and will cast a shadow down on the table to the left.Contour lines are basically some lines in the shadow area of the cylinder that match the smile line you started with in drawing the cylinder. Draw some light contour lines on the left side of the cylinder that go the same direction as the first smile that you drew for the foreshortened circle.
- Then add some shading on the left side of the cylinder by using the side of the pencil lead on the paper. Gently rub this with your finger to blend this together a bit.
- Add some cast shadow in kind of a cylinder shape down onto the left of the cylinder and blend that as well.
- Isn’t that a good start at drawing a cylinder? The pictures in the post and the video are very helpful in learning how to draw a cylinder.



Leave a Reply