Homemade Fruit Popsicles are such an easy, quick, and healthy summer snack! Choose from four variations and let the kids help whip up some tasty, fruity treats that are perfect for a hot summer day.
Jump to:
4 Ways to Make Homemade Fruit Popsicles for Summer
This post may contain affiliate links. Please read my disclosure policy.
If it was a nice summer day, I often sent my kids outside with an ice-cold popsicle. I would rather have the drips on the front porch steps than the kitchen floor! But wherever the drips fell, the kids were happy with a popsicle in their hand.
Sometimes those popsicles were made in our little plastic popsicle molds that I still have in my cupboard.
These Homemade Fruit Popsicles are so much better for you than those little sugar water store bought popsicles! Kids can have so much fun as they help make their own popsicles. And you can feel good about handing your child a homemade fruit popsicle on a hot summer day.
Homemade Fruit Popsicle Ingredients
Here’s a bit of info about the ingredients you will use to make homemade fruit popsicles. This will help you make a huge number of popsicle flavors!
Fruit
You may choose any fruit or combination of different fruit. You can use up what’s in your refrigerator or purchase what sounds good to you and are your favorite fruits !
Cut the fruit up, take the seeds out, and the peelings off (unless it’s a fruit that has peelings that are nutritious and will blend up well into the purée).
There are many fruits to try such as watermelon, kiwi, mango, berries of all sorts, bananas, apples, and grapes to name a few. Purchasing frozen fruit makes this recipe even faster (no peeling and slicing).
Keep in mind that some fruits have a higher water content. Thus it’s good to cut down on the amount of juice used in the recipe for those fruits. This just takes some experimenting to figure out. A fruit like this that comes to mind quickly as watermelon.
Juice
Any type of juice may be used in your homemade fruit popsicles. I almost always have orange juice and apple juice on hand. But when the grands are coming, I might have cranberry juice of some type because we use it for our tea parties!
You could also use grape juice, pineapple juice, etc.
It is possible to use other juice flavored liquids in your popsicles if you choose to (like lemonade), but most will add more sugar.
I like to match the juice flavor to the flavor of the main fruit chosen for the recipe. For example, orange juice matches well with citrus types of fruits. Apple juice pairs well with non-citrus fruits. But there is no rule on that.
Juices can be mixed as well and create delicious flavors
You could technically even use vegetable juice, at least mixed in with other fruit juice. I have to admit that doesn’t sound the best to me, but it is a possibility!
Yogurt
Not every homemade popsicle option uses yogurt. It is delicious as an option and causes the popsicle to have a creamy texture.
Choose the type of yogurt you like the best and would taste good in the recipe. Options include plain yogurt, Greek yogurt, flavored yogurt. There are a lot of options.
If you would like to follow along with Nana, click this link: 4 Ways to Make Homemade Fruit Popsicles Full Length Tutorial.
Sweetener
Fruit contains natural sugars. You don’t have to add a sweetener. Taste the fruit puree and juices and see if they need a sweetener before adding one. Sweeten to your taste with these options if desired.
Choose the sweetener that fits into your dietary preferences for your children. You may use a little bit of honey, sugar, corn syrup, maple syrup, etc. This is a personal preference.
I did not add very much sweetener to my popsicles. You’ll see the option of corn syrup in one video and honey in another. Adding a sweeter causes a juice popsicle to become less icy as it freezes.
In option three I would choose to leave the honey out of the yogurt next time. The yogurt was sweet enough the way it was to begin with.
Extra ingredients
Vanilla in a very small amount adds a nice, rich flavor to certain fruit and yogurt popsicle combinations.
Lemon juice (or the option of lime juice if you prefer), adds a little bit of tartness to the flavor of the fruit.
Can you see why I say there are an huge number of combination possibilities when making homemade fruit popsicles? Have fun, fun, fun experimenting with combinations resulting in a variety of flavors.
I would be so interested to see what you come up. Please attach pictures! It will give us all new ideas.
Tips for Making Homemade Fruit Popsicles
You can find the full instructions to make the popsicles below, but here are some extra tips to help along the way!
- Fruit popsicles are a great way to use up those last pieces of fruit and ounces of juices that you have in your refrigerator. You can use pieces of fruit that are slightly riper than you want to use as snacking fruit. Just cut out any bad spots and use the good part of the fruit in the purée.
- Children should be supervised when using a blender. Instruct them to never stick a measuring spoon or mixing utensil into the blender while it is running. I hope it goes without saying they should never reach into a blender. It is challenging to learn how to wash as well. Make sure children are of age and well instructed before allowing them to use a blender on their own.
- These ingredients can be easily inter changed. You will need to experiment to determine your favorite flavor options.
- If you have extra fruit/yogurt mixture after filling the molds, you can mix it in a cup and drink it as a smoothie if you would like. Even better, set it in the freezer for just a little while and it will get a bit thicker and colder. If you forget and leave it in there too long, it will be frozen solid so just sit it out for a bit and eat it as it thaws.
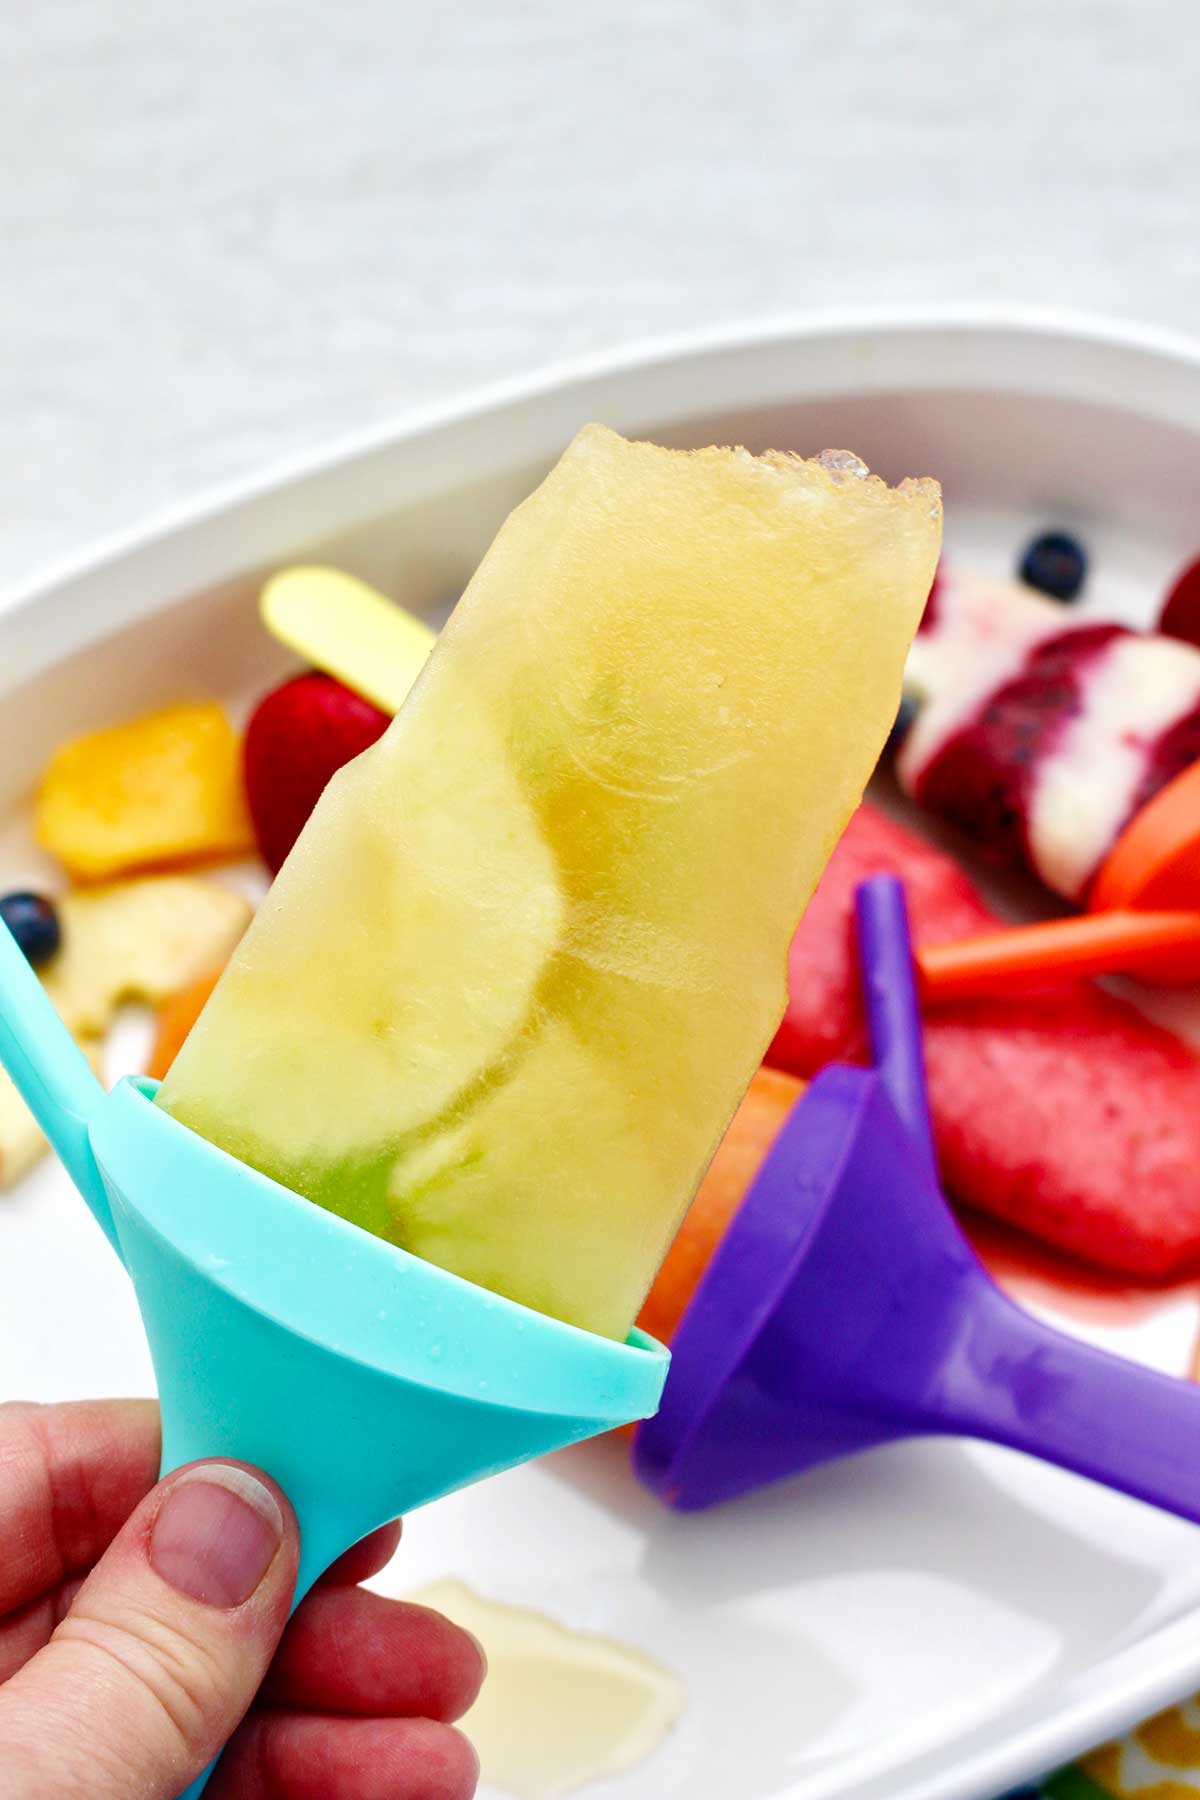
- To get the Popsicles to release from the molds, run the mold section under water or dip it into a pan of water for about 30 seconds. Gently pull on the popsicle stick to see if it releases. If it doesn’t release easily dip it back into the water for a few more seconds.
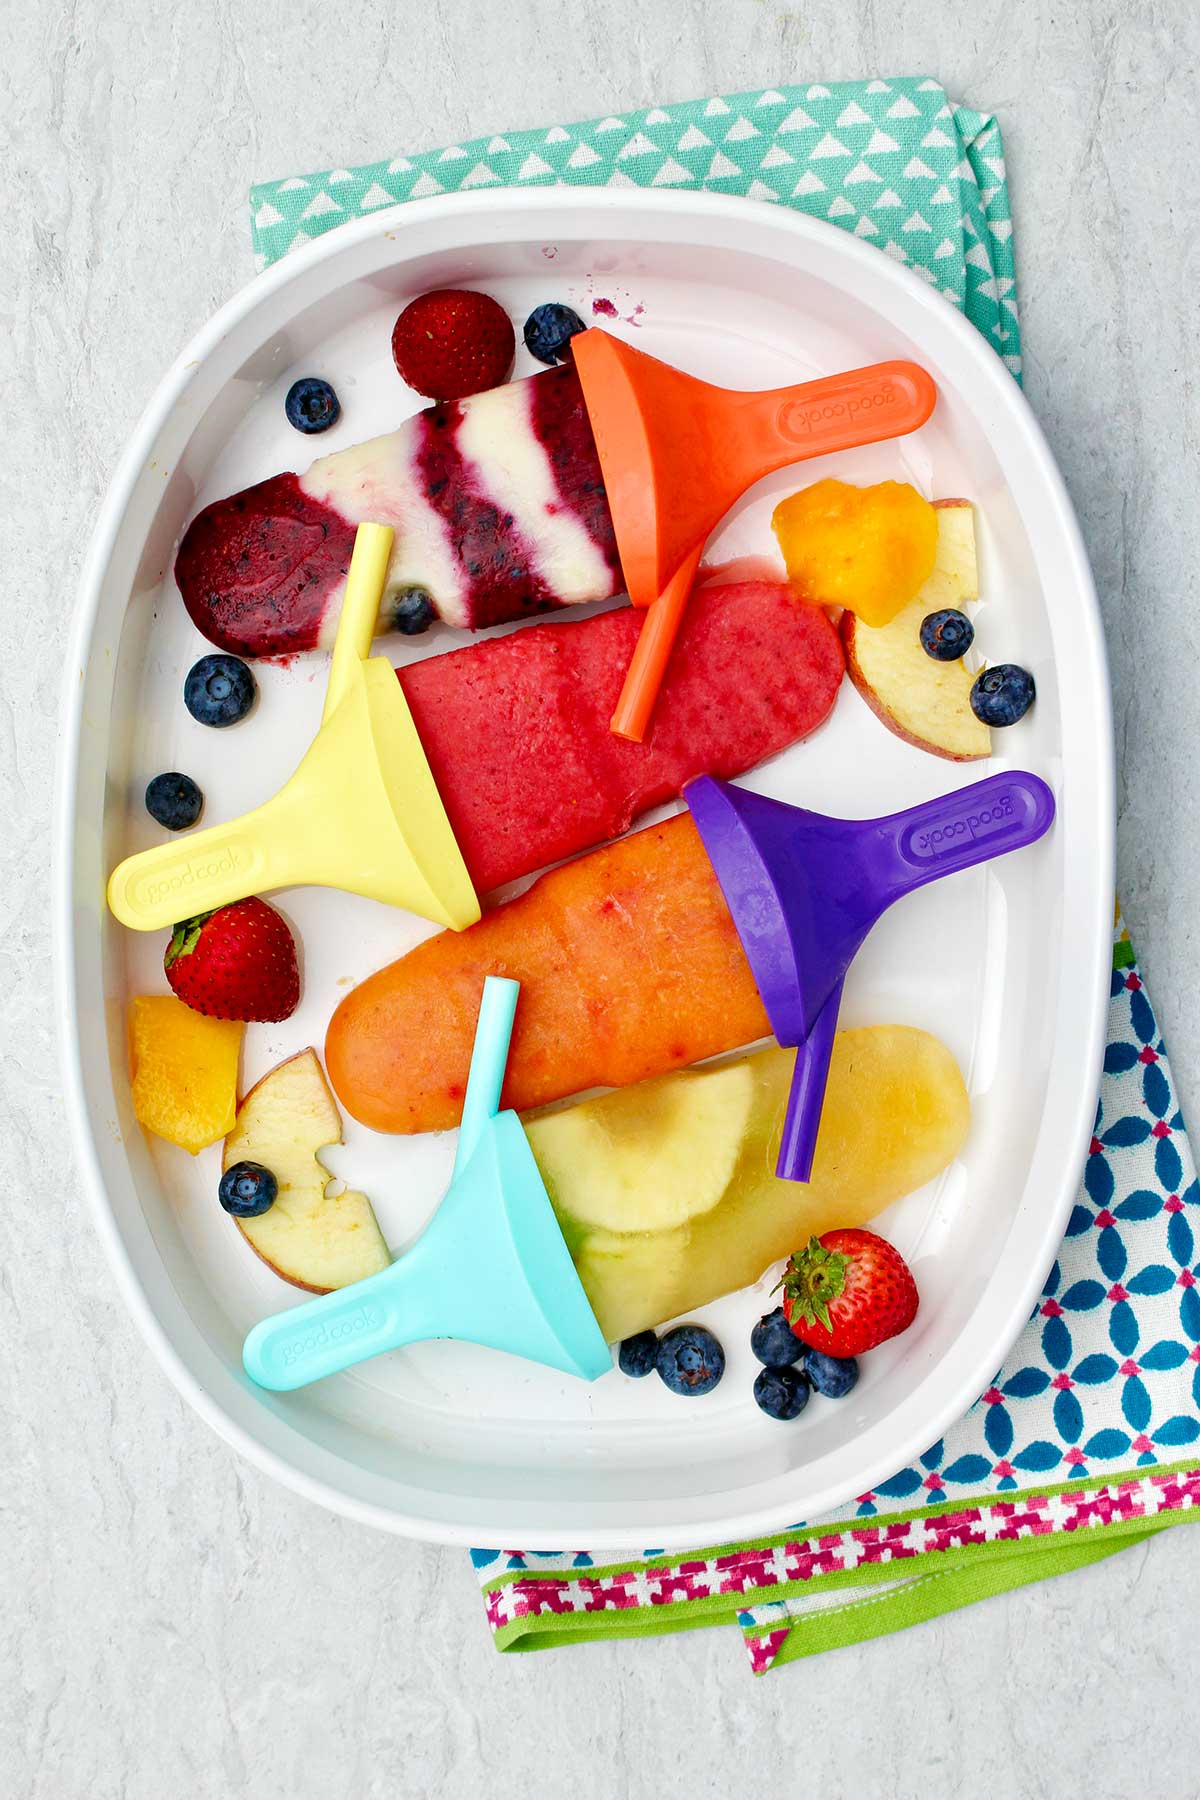
Storing Homemade Fruit Popsicles
When your real fruit popsicles are released from the molds, you can lay them on parchment paper on a cookie sheet and stick them in the freezer for 15-30 minutes. This hardens the outside edge again.
Take them off the parchment paper when they’re hard frozen, and put them into a freezer container, plastic wrap, or zip-lock bags to use at a future time. It’s a good way to store your homemade fresh fruit popsicles.
Recipe Variations
As promised, there are easy recipes at the end of the post for four variations in making Homemade Fruit Popsicles.
These options add even more combination possibilities in making popsicles! The full recipes for each option are found below. Time to use a bit of creativity!!
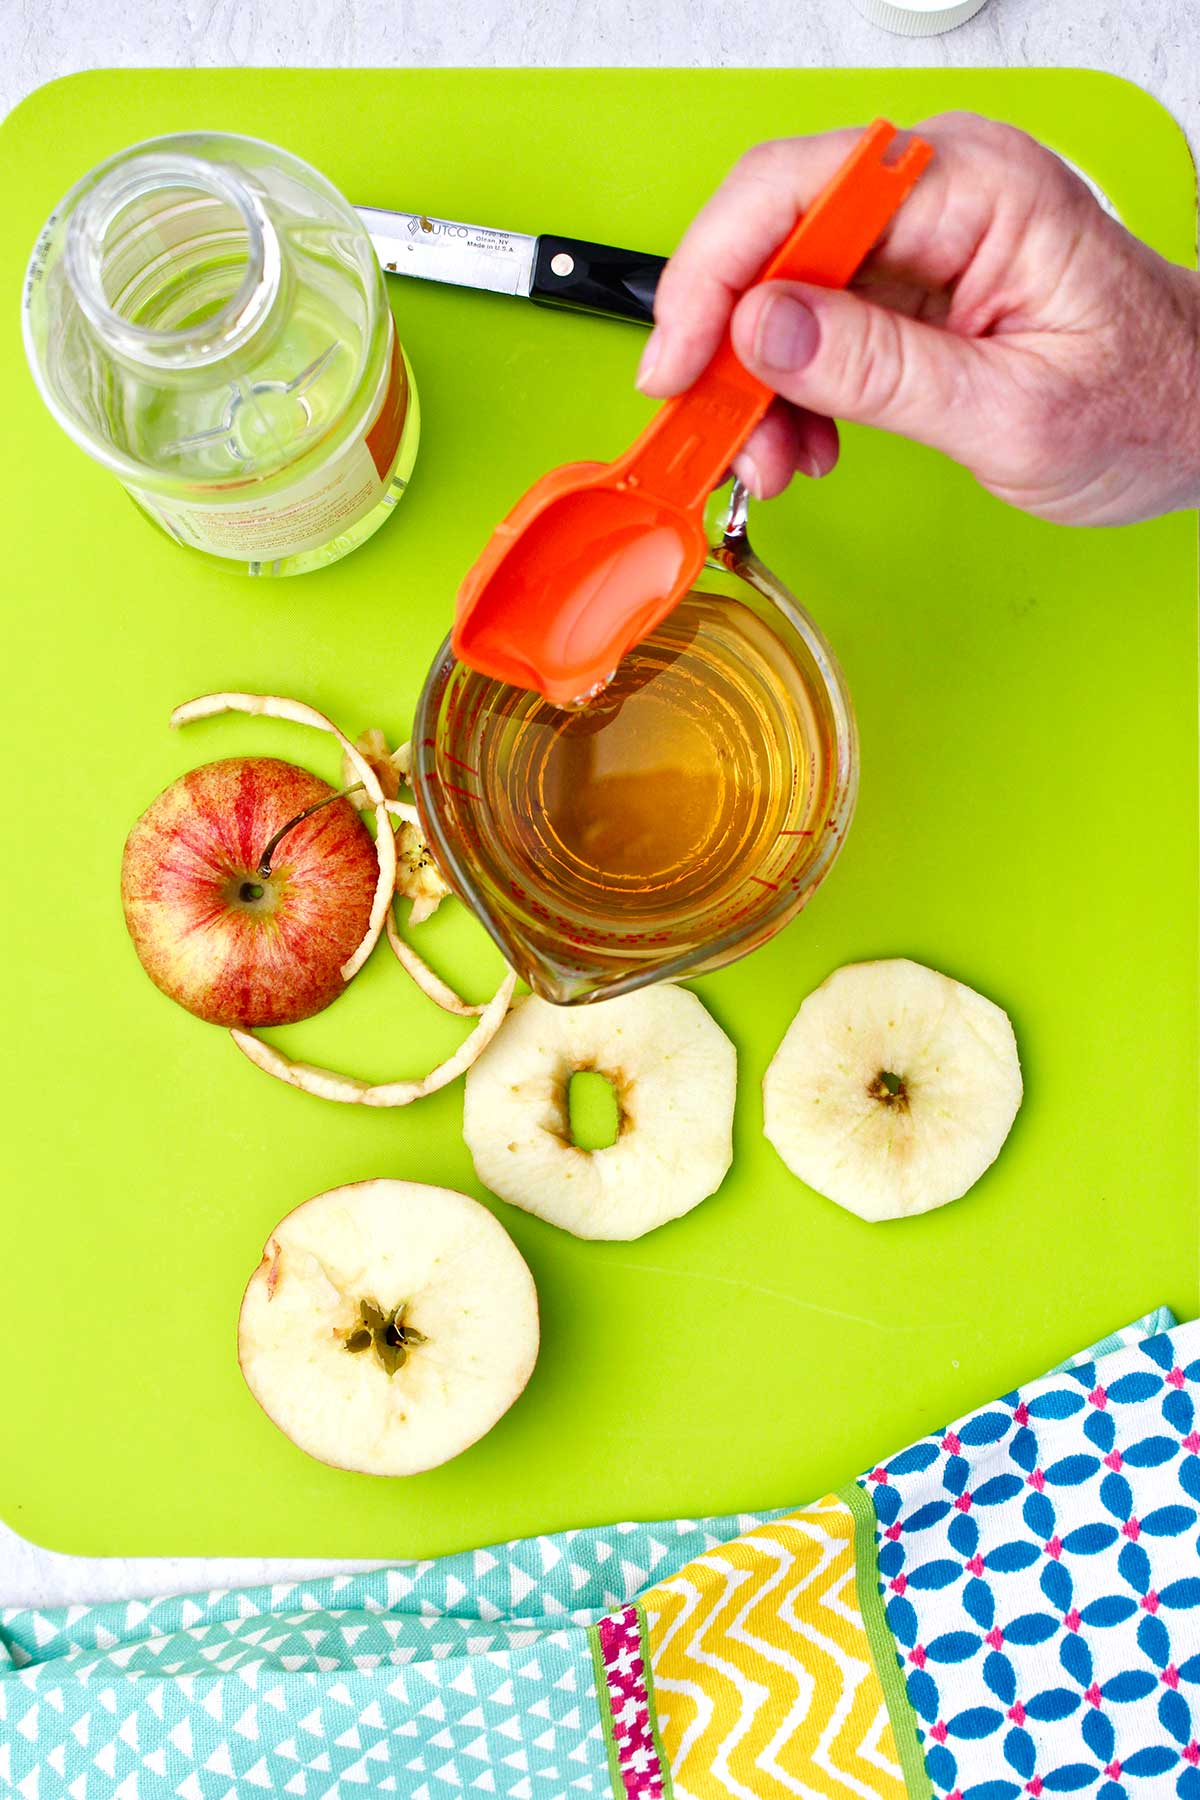
Option One: Fruit juice popsicles
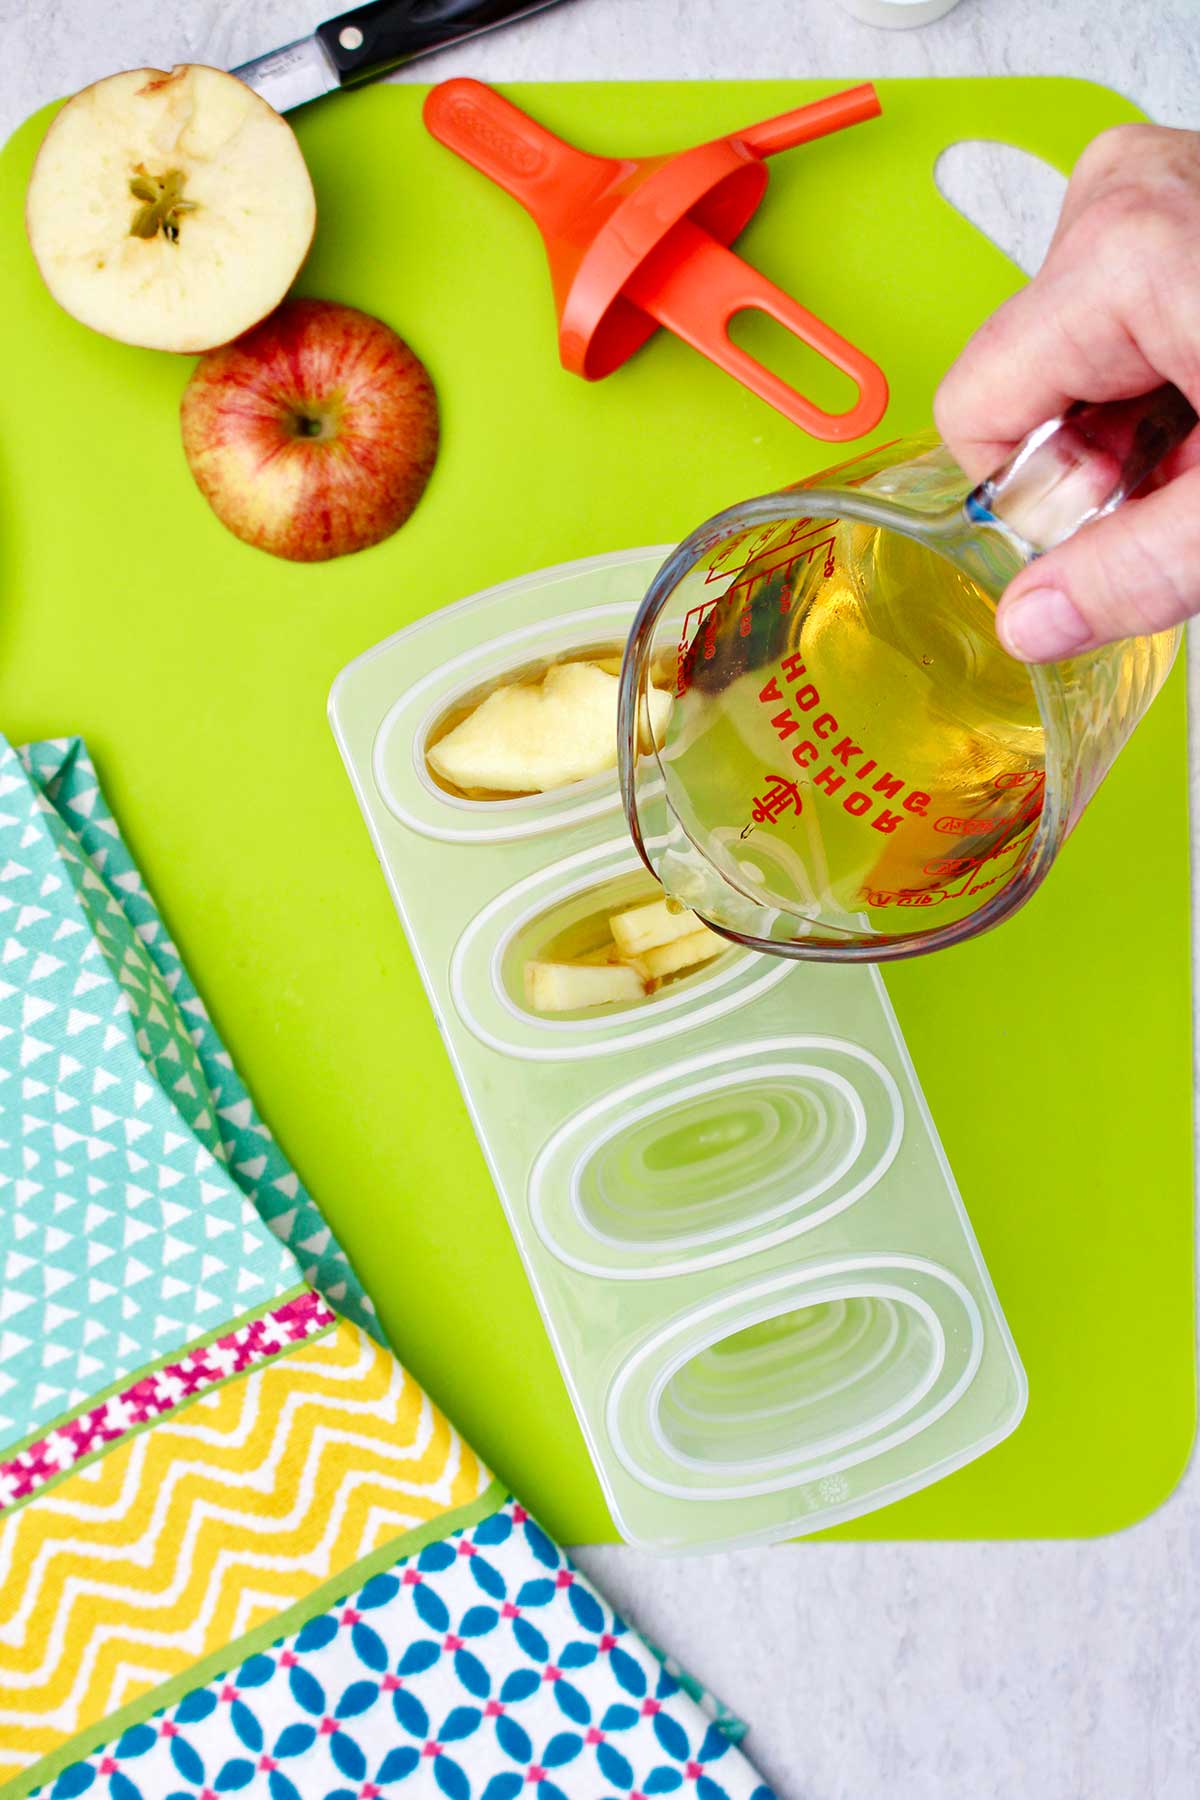
Option one uses fruit juice as the main ingredient, no yogurt is added. If you are in a hurry and want a popsicle that goes together very quickly, a juice popsicle is the perfect option! Can add small slices of fruit
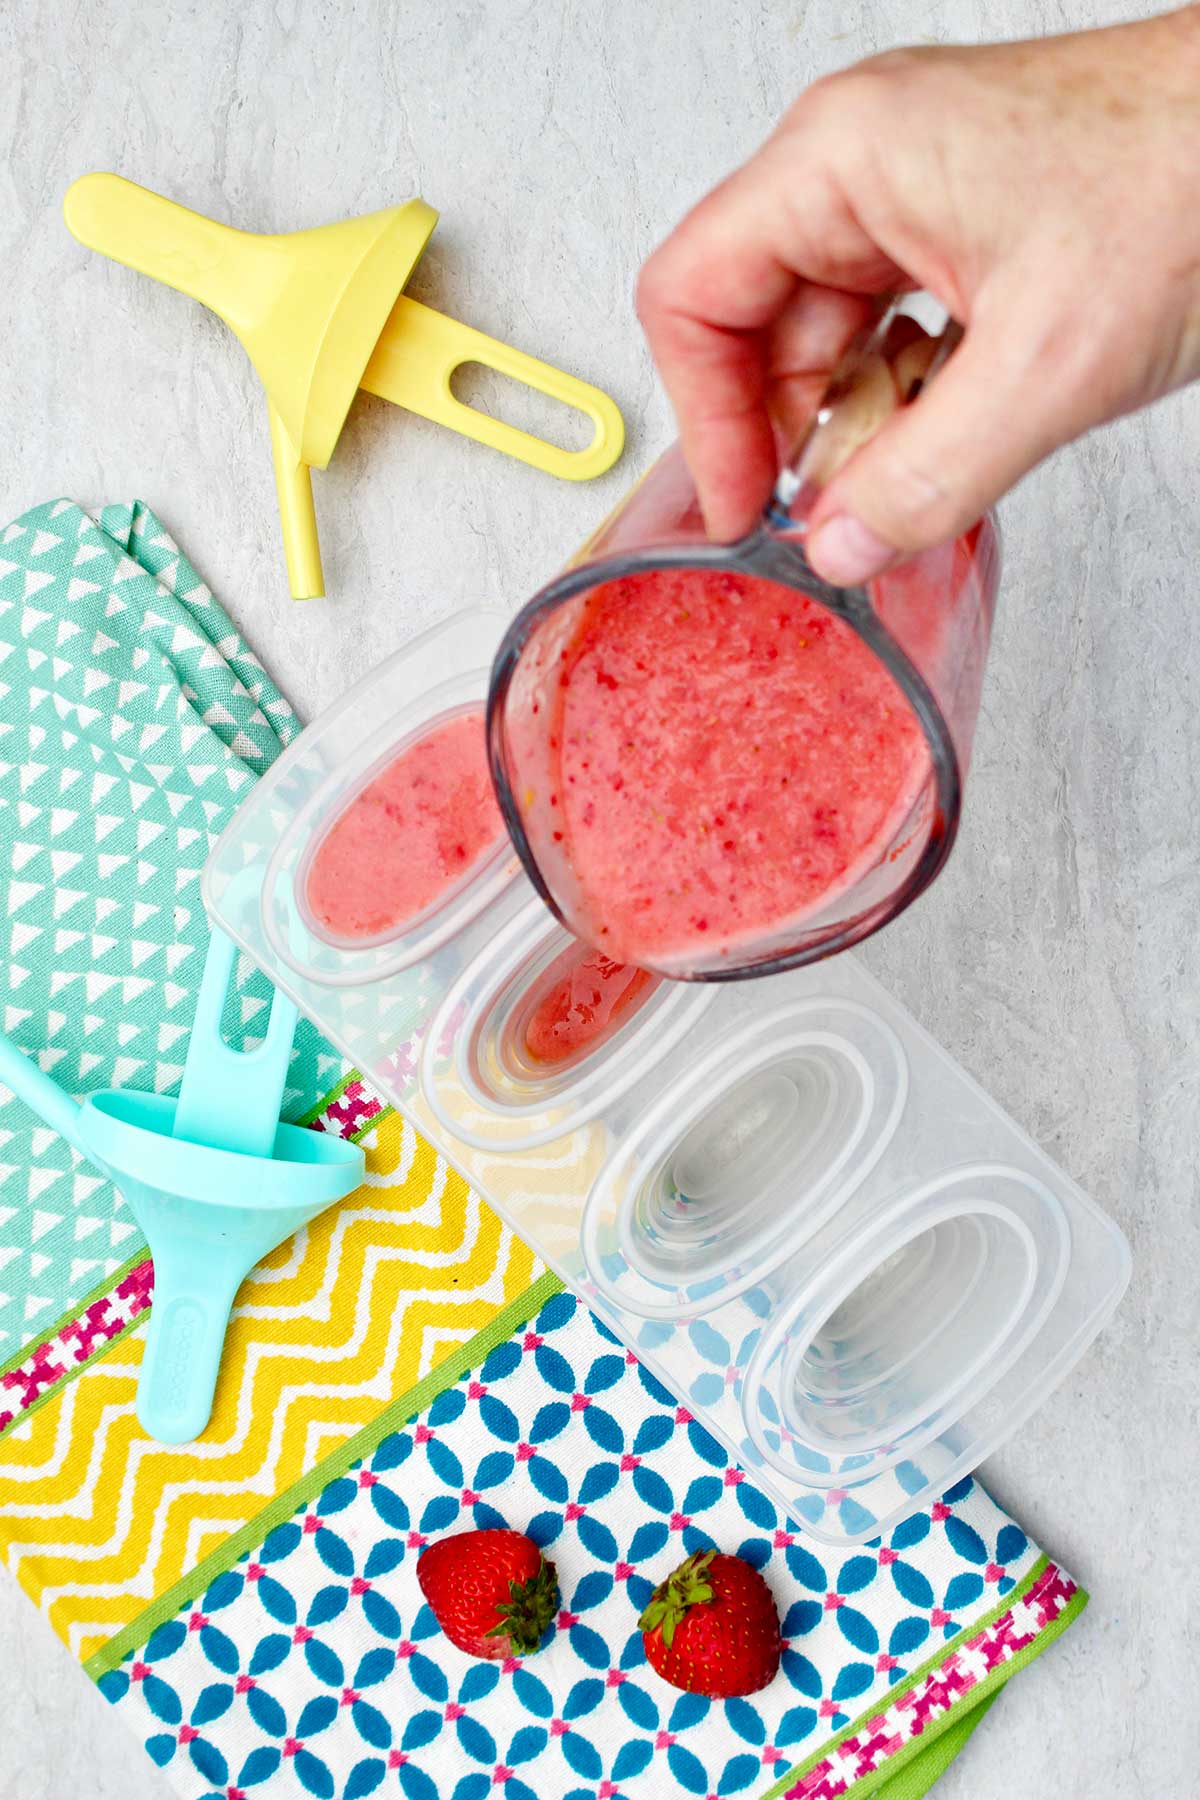
Option Two: Blended fruit and juice popsicles
Option two is a blended fruit and juice combo for your homemade fruit popsicles. The simple taste of whole fruits and juice makes a great summer treat in the summer months.
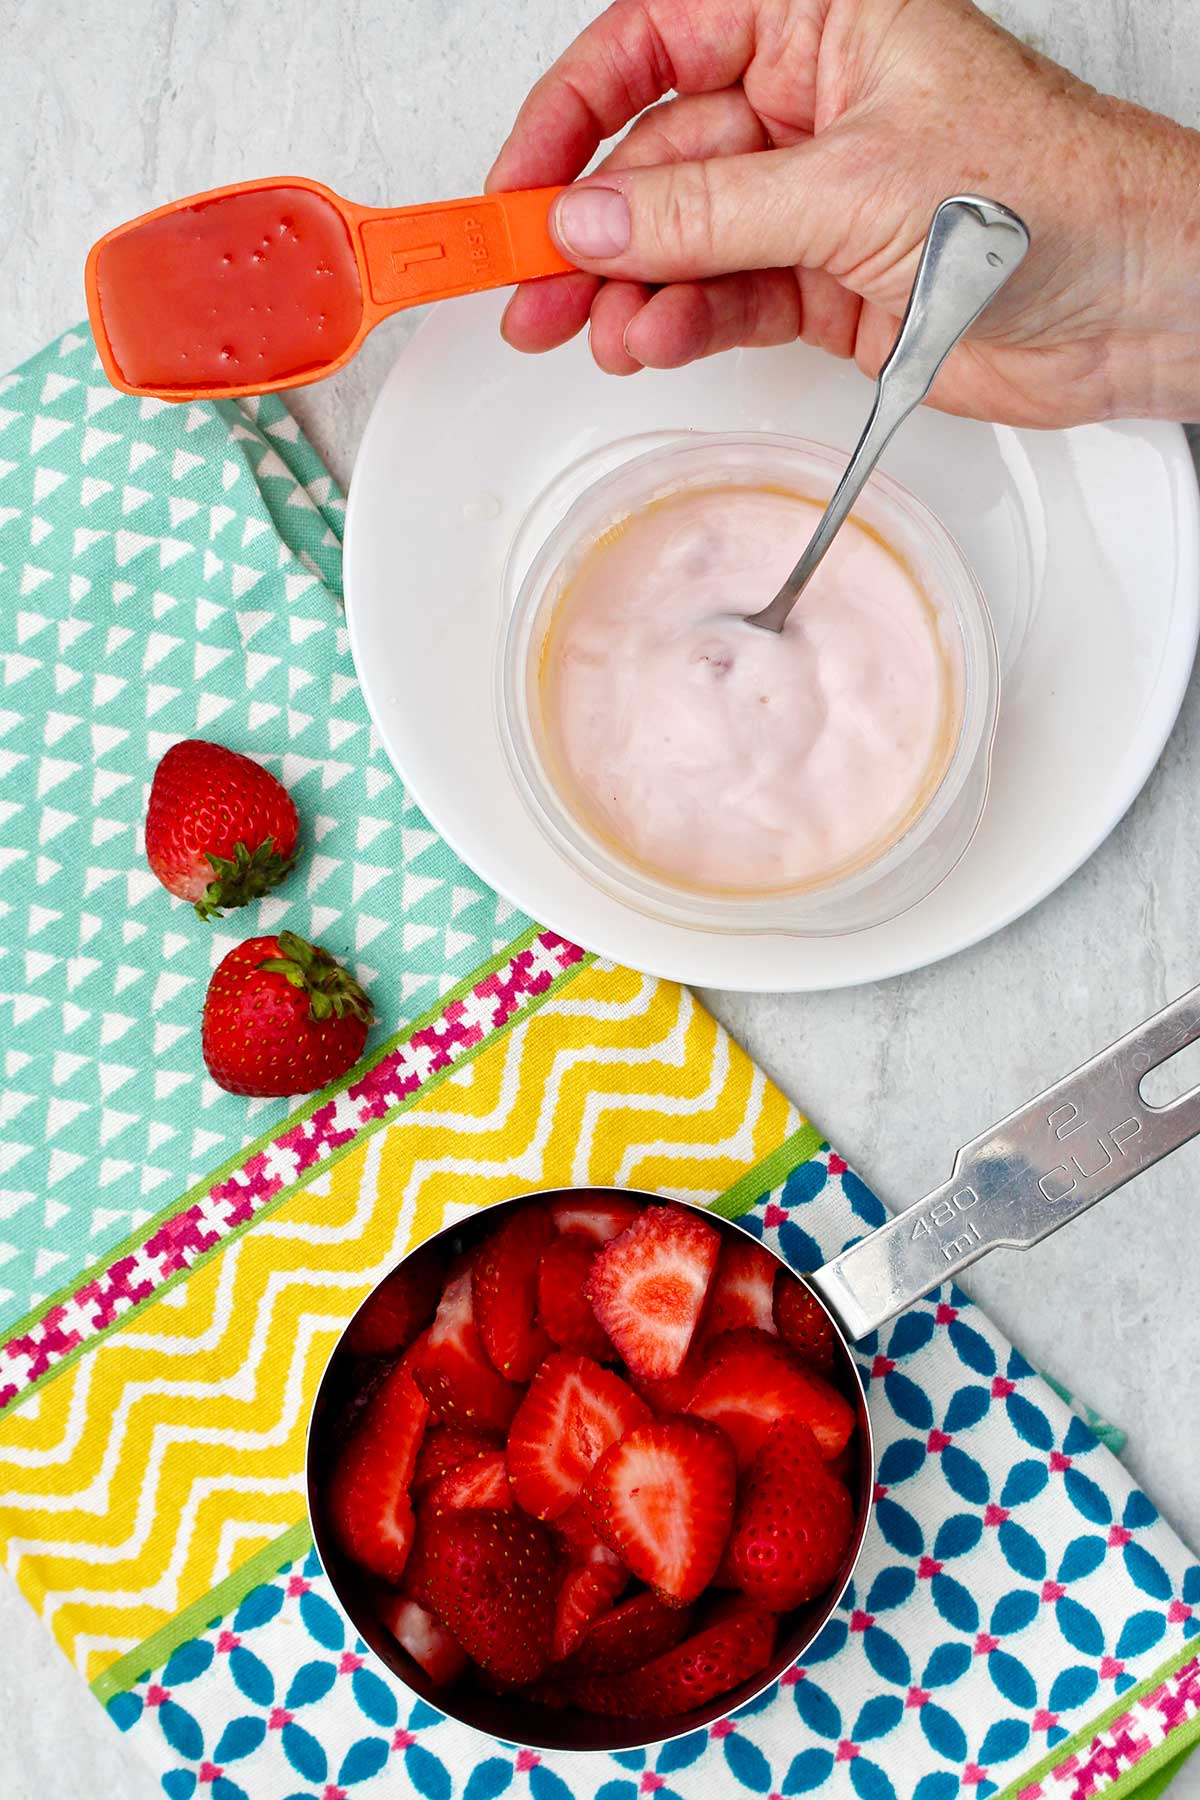
Option Three: Blended fruit and yogurt popsicles
Option Three blends in yogurt with the fruit. If you would like a creamier texture to your popsicle, this may be the option for you!
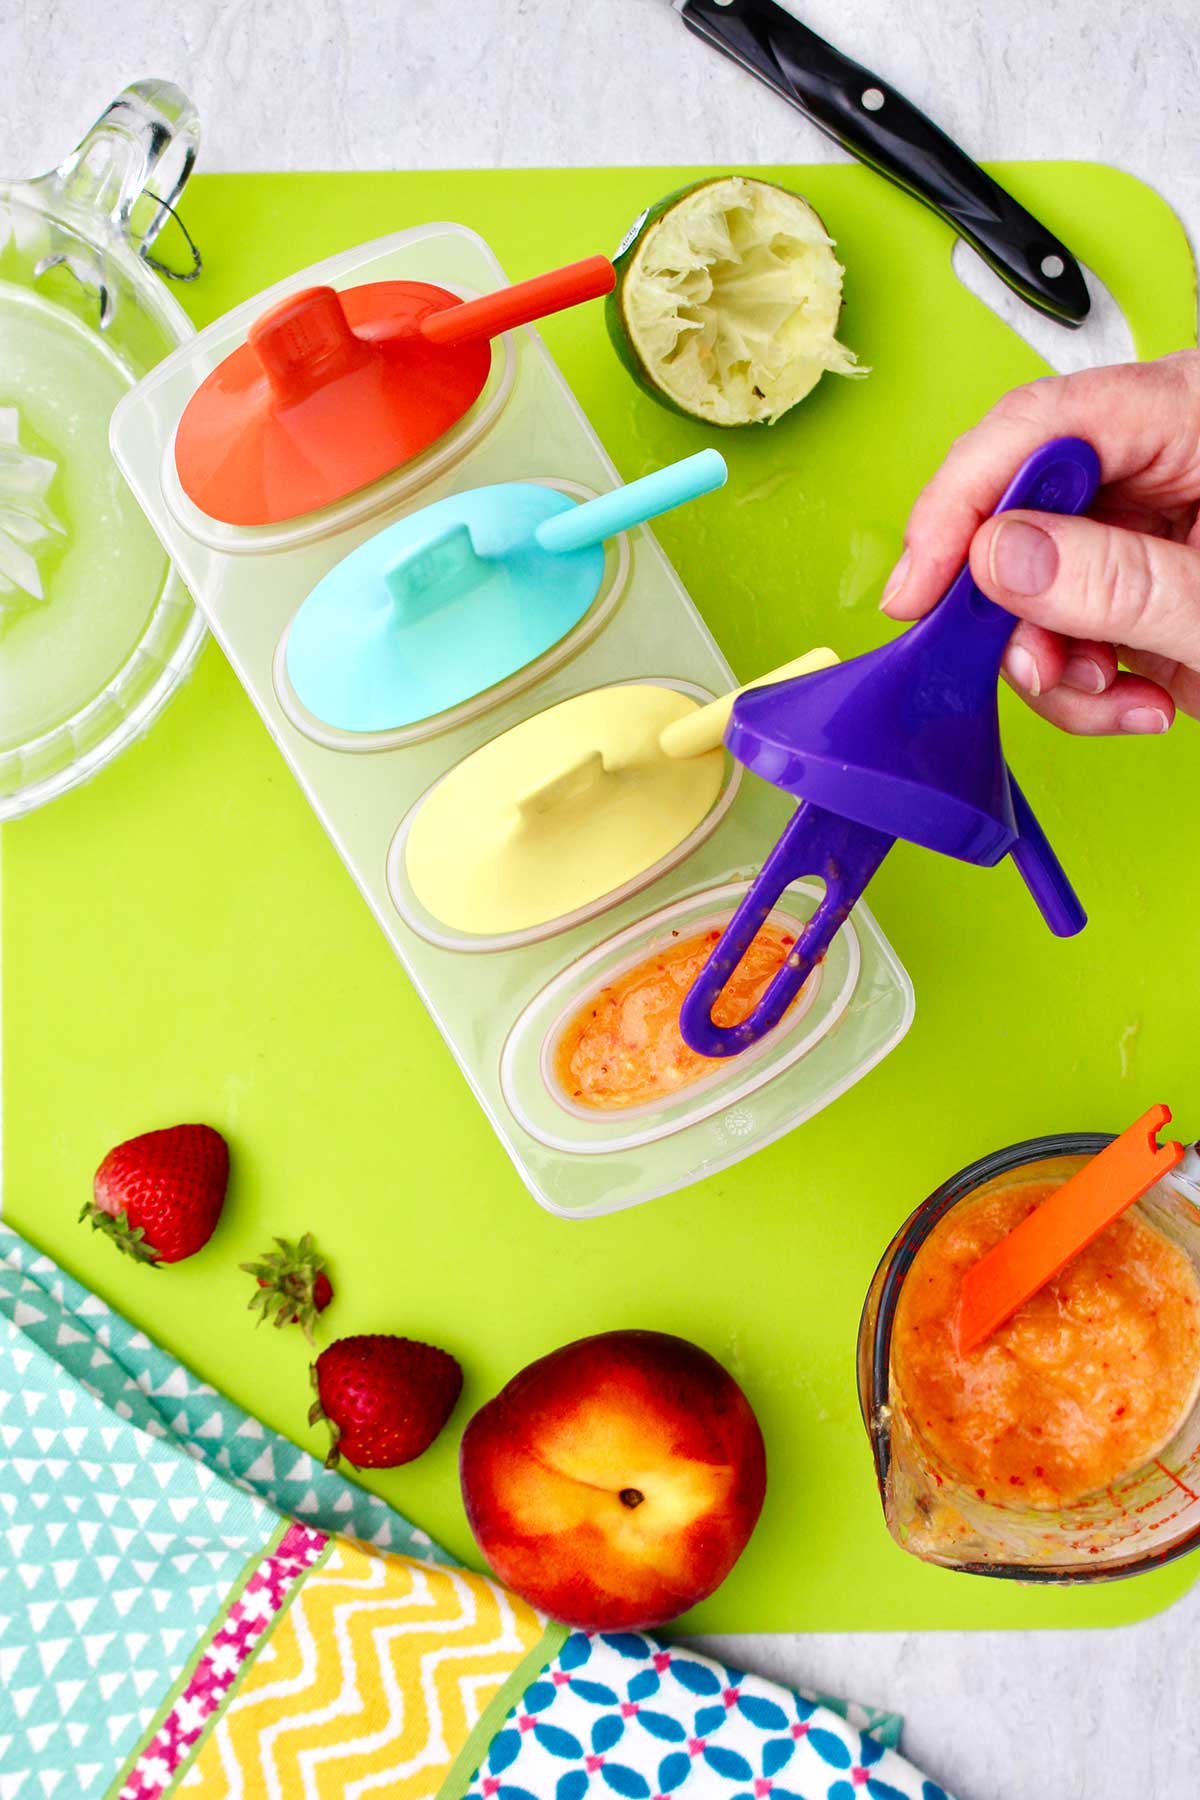
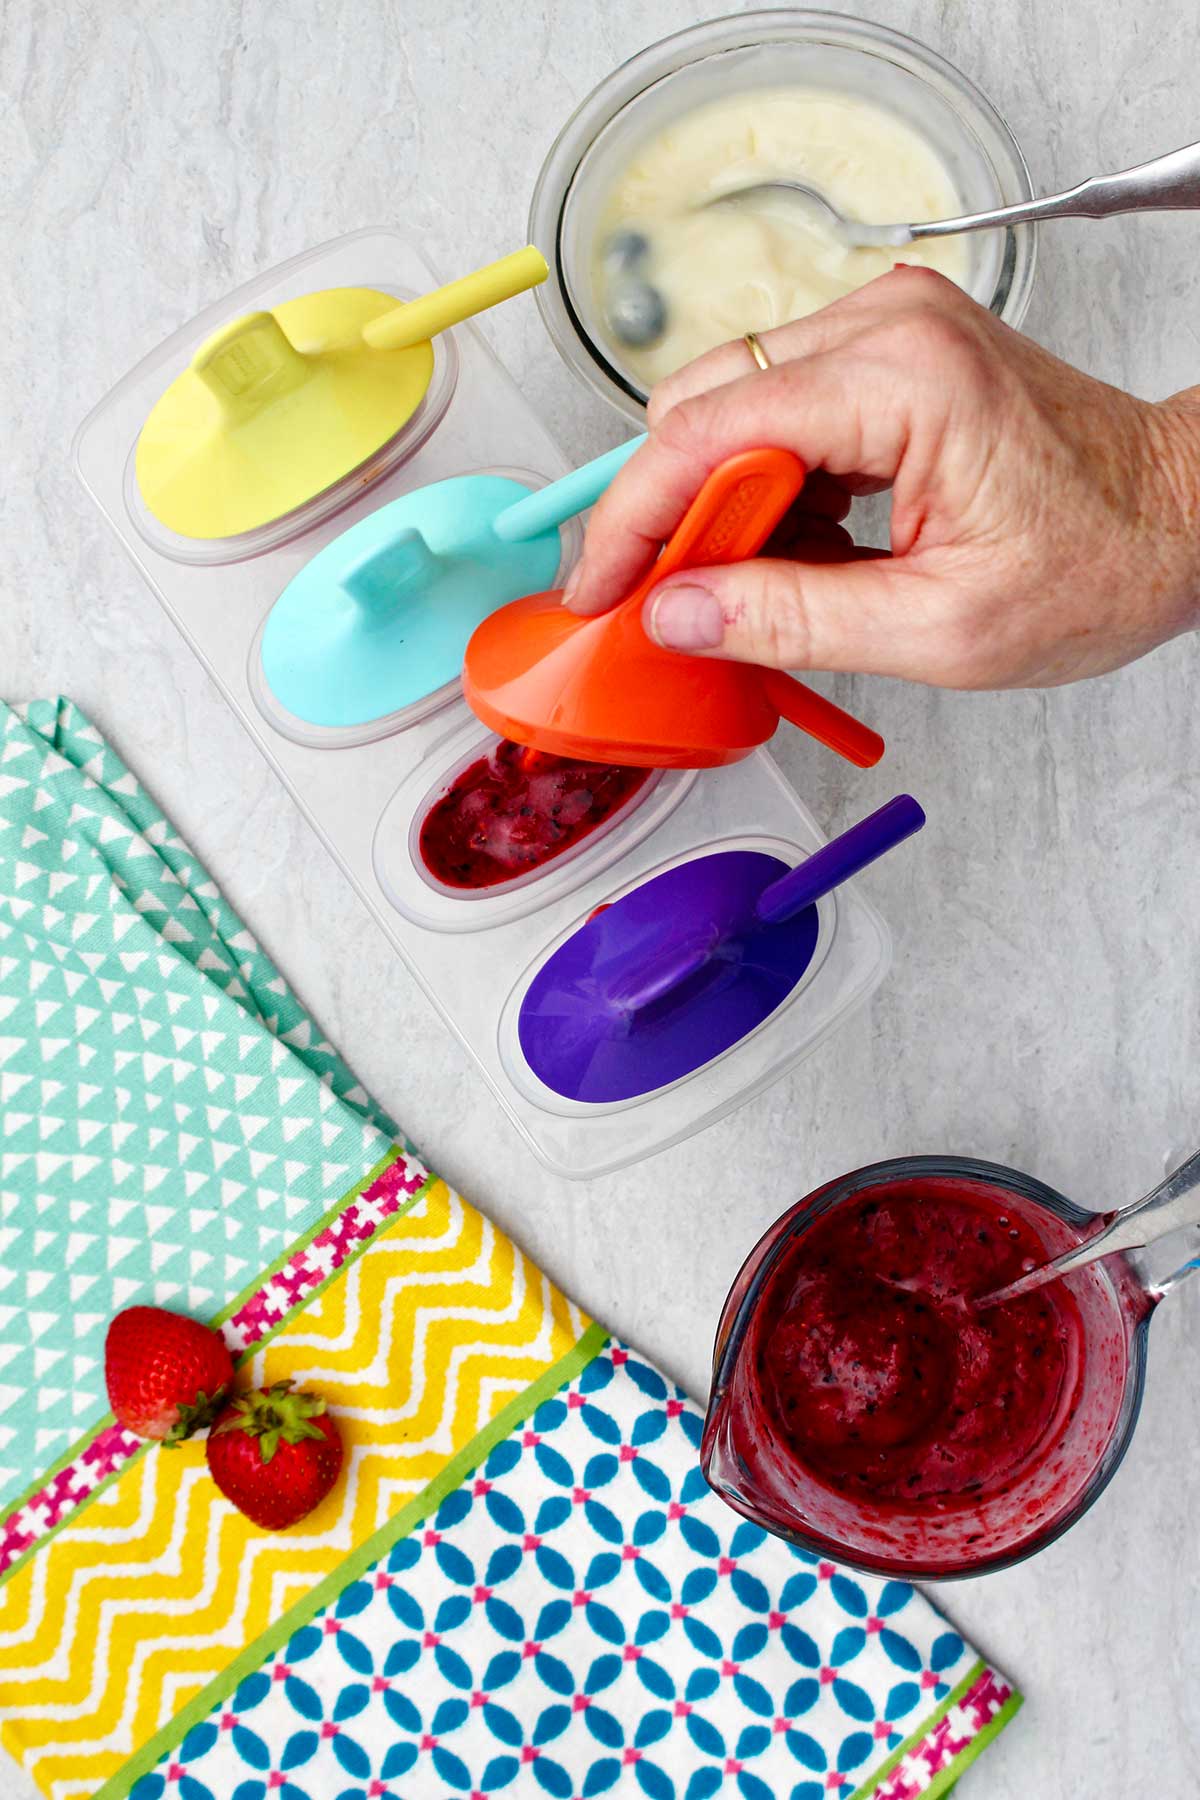
Option Four: Layered fruit and yogurt popsicles
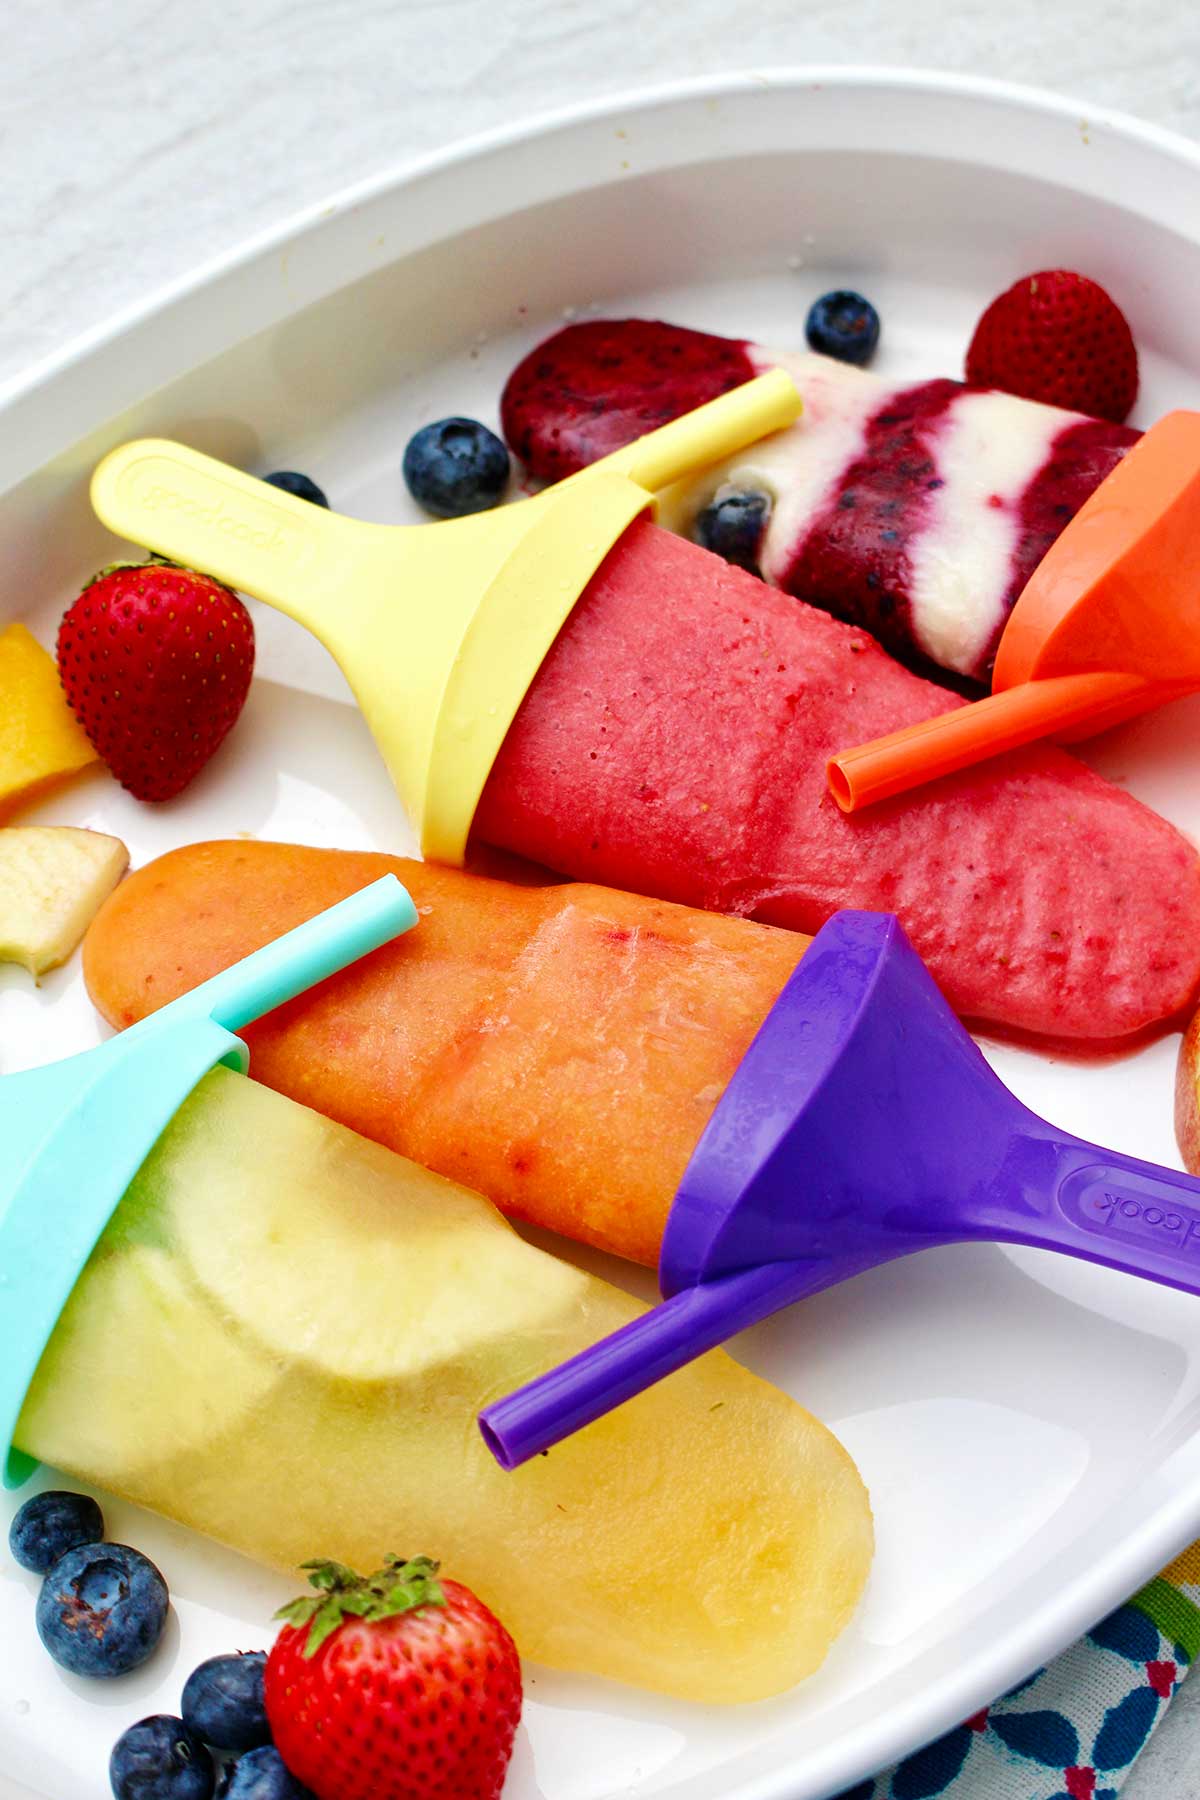
Option Four layers the fruit and yogurt. OK, if you want something that’s easy but makes you look like you went to a lot of trouble, you’re going to like option four. It makes you look good because your popsicles look good. Layers of fruit and yogurt are quite showy in a homemade popsicle.
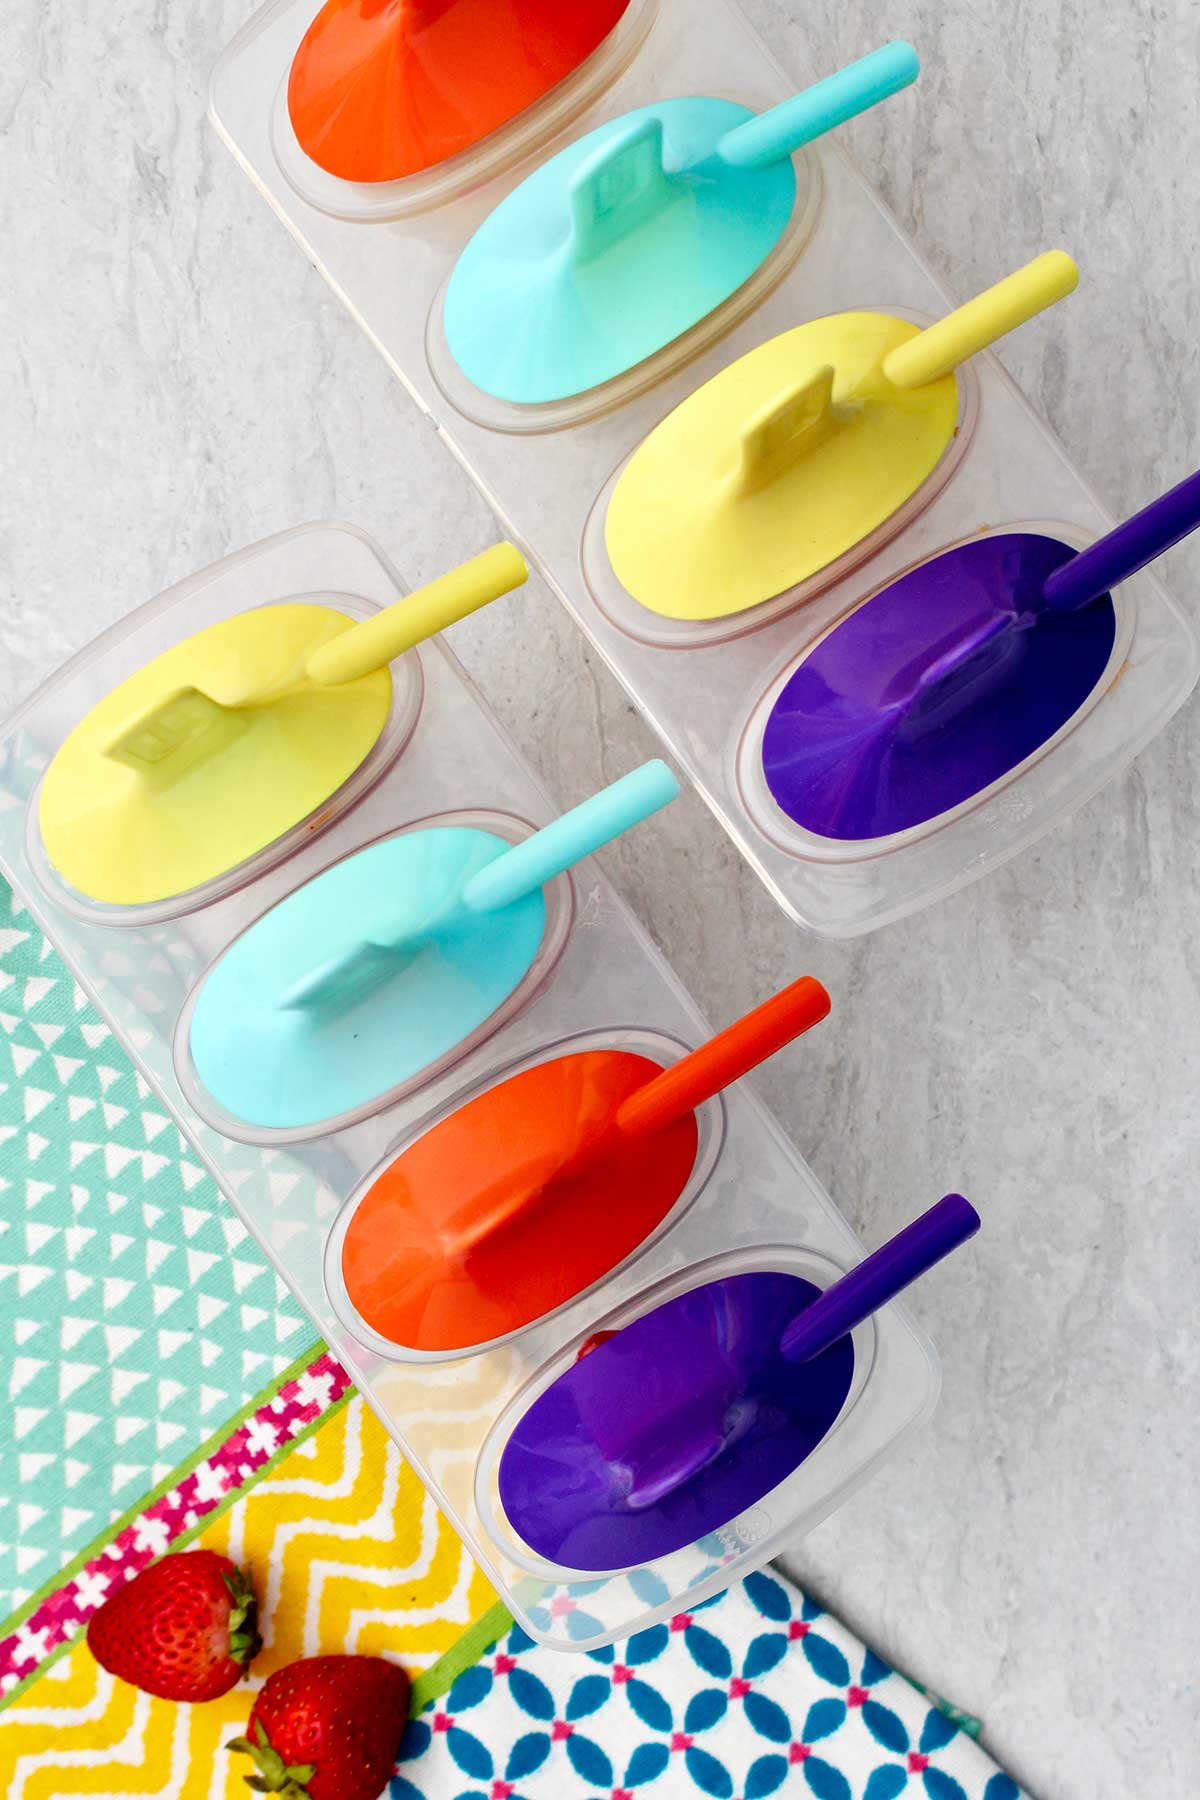
The Best Popsicle Mold
The star of this show is the popsicle mold. I still have the old molds that I used when my children were young. But I saw these Good Cook brand popsicle molds on sale at our local market and gave them a try.
I really like them and I liked the feature of having a little sippy straw on the base that lets a child suck up the extra fruit juices before they spill over the edge.
This mold type held 3.5 ounces of mixture. One cup is 8 ounces so that means one cup of fruit mixture would fill two of the popsicle molds. This is a good rule of thumb.
Check out the capacity of your popsicle mold and then you know how much fruit and juice you need to fill them. The recipe typically calls For 2 ½ cups of fruit to start with. As you experiment, you can alter this to be a little more or less so that fits well in your molds.
A silicone mold
There are many good options for molds in your local stores as well as online. I was impressed with this silicone mold that makes 10 popsicles and uses either their plastic sticks or disposable wooden sticks. A silicone mold is said to pop out the popsicle!
Don’t forget the small paper cups option. Dixie cups are small in size and can be used as popsicle molds. Fill them up to about ⅜ of an inch from the top for headspace. Then cover them with a small piece of aluminum foil.
Stick a popsicle stick down into the center. The aluminum foil will hold it up as the fruit is freezing in the cup. Otherwise it falls over of course and is cockeyed when you get it out the freezer.
Note: this works with ice cube trays as well as a kind of popsicle mold.
If your popsicle mold doesn’t have a way to catch the drips built in, purchase some foil cupcake liners. Stick the popsicle stick down through the center of a liner so that it cups up around the popsicle and catches the drips! Stellar!
FAQ
All juice popsicles (option 1) freeze more quickly- 4-8 hours. When additional ingredients are added it slows the freezing rate (options 2, 3, 4). Leave them in the freezer for 8 hours. For all of the options it is best to freeze overnight.
To get the Popsicles to release from the molds, run the mold section under warm water or dip it into a pan of water for about 30 seconds. Gently pull on the popsicle stick to see if it releases. If it doesn’t release easily dip it back into the water for a few more seconds.
More Easy Snack Recipes for Kids
Looking for more quick and easy snacks for kids? Here are a few favorites for you to try for the perfect summer treat:
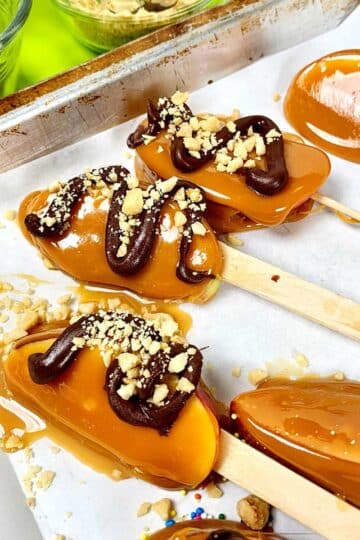
- Yummy Caramel Apple Slices on a Stick
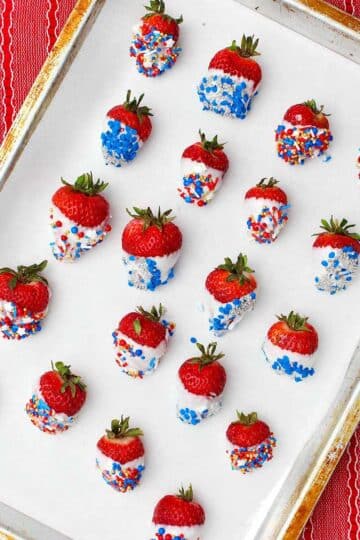
- White Chocolate Dipped Strawberries
- Yummy Homemade Granola Bars
- Simple Graham Cracker and Frosting Sandwich Cookies
ENJOY!
If you try this craft, let me know! Go ahead and leave a comment, rate it, and tag a photo with #WelcometoNanas wherever you post.

4 Ways to Make Homemade Fruit Popsicles for Summer
Equipment
- silicone mold that makes 10 popsicles this one uses either their plastic sticks or disposable wooden sticks
Ingredients
Option One: Fruit juice popsicles
- 2 ½ cups of your favorite juice or juice combo (orange, apple, cranberry, grape, etc)
- 3 tablespoon corn syrup or honey (optional) – this slows freezing so there are less large/crunchy ice crystals
- sliced fruit (optional)
Option Two: Blended fruit and juice popsicles
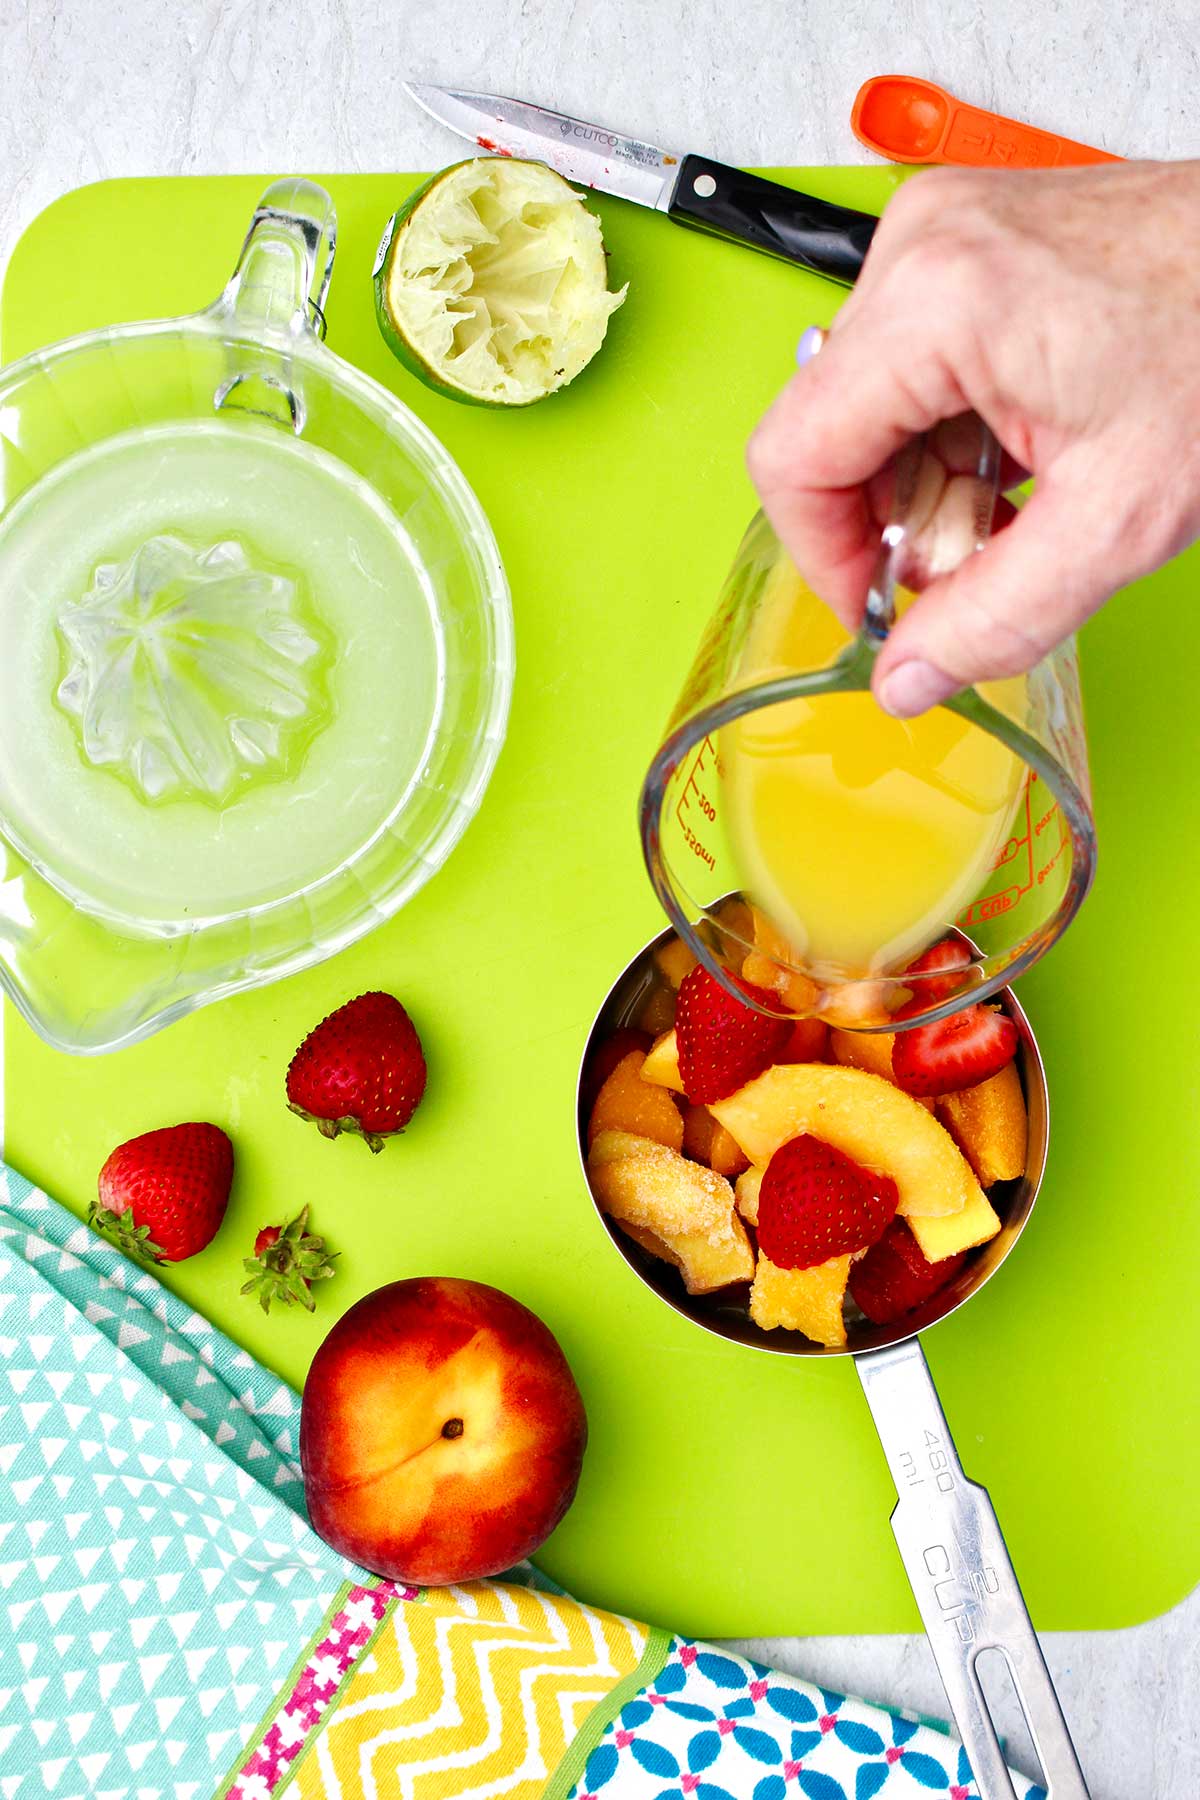
- 2 ½ cups fruit -peeled and cut into chunks (blueberries, strawberries, peaches, etc.)
- ¾ cup juice -match color/taste to the fruit you choose
- 3 teaspoon honey
- 1-2 teaspoon sugar (optional)
- ¼ teaspoon vanilla
- ½ teaspoon lemon juice
Option Three: Blended fruit and yogurt popsicles
- 2 ½ cups cut up fruit -strawberries, blueberries, peaches, etc.
- ¾ cup yogurt (plain, flavored, Greek, etc.)
- 3-6 tablespoon honey
- 1-2 teaspoon sugar (optional)
- ¼ teaspoon vanilla
- ½ teaspoon lemon juice
Option Four: Layered fruit and yogurt popsicles
- 2 cups fresh fruit (blended)
- 1 cup yogurt (flavor and type of your choice)
- 3 tablespoon honey
- 1-2 tablespoon Tbsp sugar (optional)
Instructions
Choose a popsicle mold- silicone mold that makes 10 popsicles - this one makes 10 popsicles and you may use plastic sticks or wooden sticks.
Option One: Fruit juice popsicles
- Option one uses fruit juice as the main ingredient, no yogurt is added.If you are in a hurry and want a popsicle that goes together very quickly, a juice popsicle is the perfect option!
- Place a few pieces of sliced fruit in the mold if using that option. Blend the sweetener into your juice if you choose that option.Put the liquid in a liquid measuring cup with a pour spout.Fill molds (leaving headspace for expansion) and put on lids or add sticks.Place in the freezer and freeze 4-8 hours (but overnight is best)
Option Two: Blended fruit and juice popsicles
- Option two is a blended fruit and juice combo for your homemade fruit popsicles.
- Put the fruit in the blender and add the fruit juice. Add the honey, vanilla, and lemon juice. Purée well in the blender.Taste and add more sweetener if desired.Pour the fruit and juice mixture into a liquid measuring cup with a pour spout. Fill molds (leaving headspace for expansion) and put on lids or add sticks.Place in the freezer and freeze 8 hours (but overnight is best)
Option Three: Blended fruit and yogurt popsicles
- Option Three blends in yogurt with the fruit. If you would like a creamier texture to your popsicle, this may be the option for you!
- Place the fruit, yogurt, honey, vanilla, and lemon juice into the blender.Blend until smooth.Taste the mixture and add the additional sugar if you would like.Pour the fruit and juice mixture into a liquid measuring cup with a pour spout. Fill molds (leaving headspace for expansion) and put on lids or add sticks.Place in the freezer and freeze 8 hours (but overnight is best)
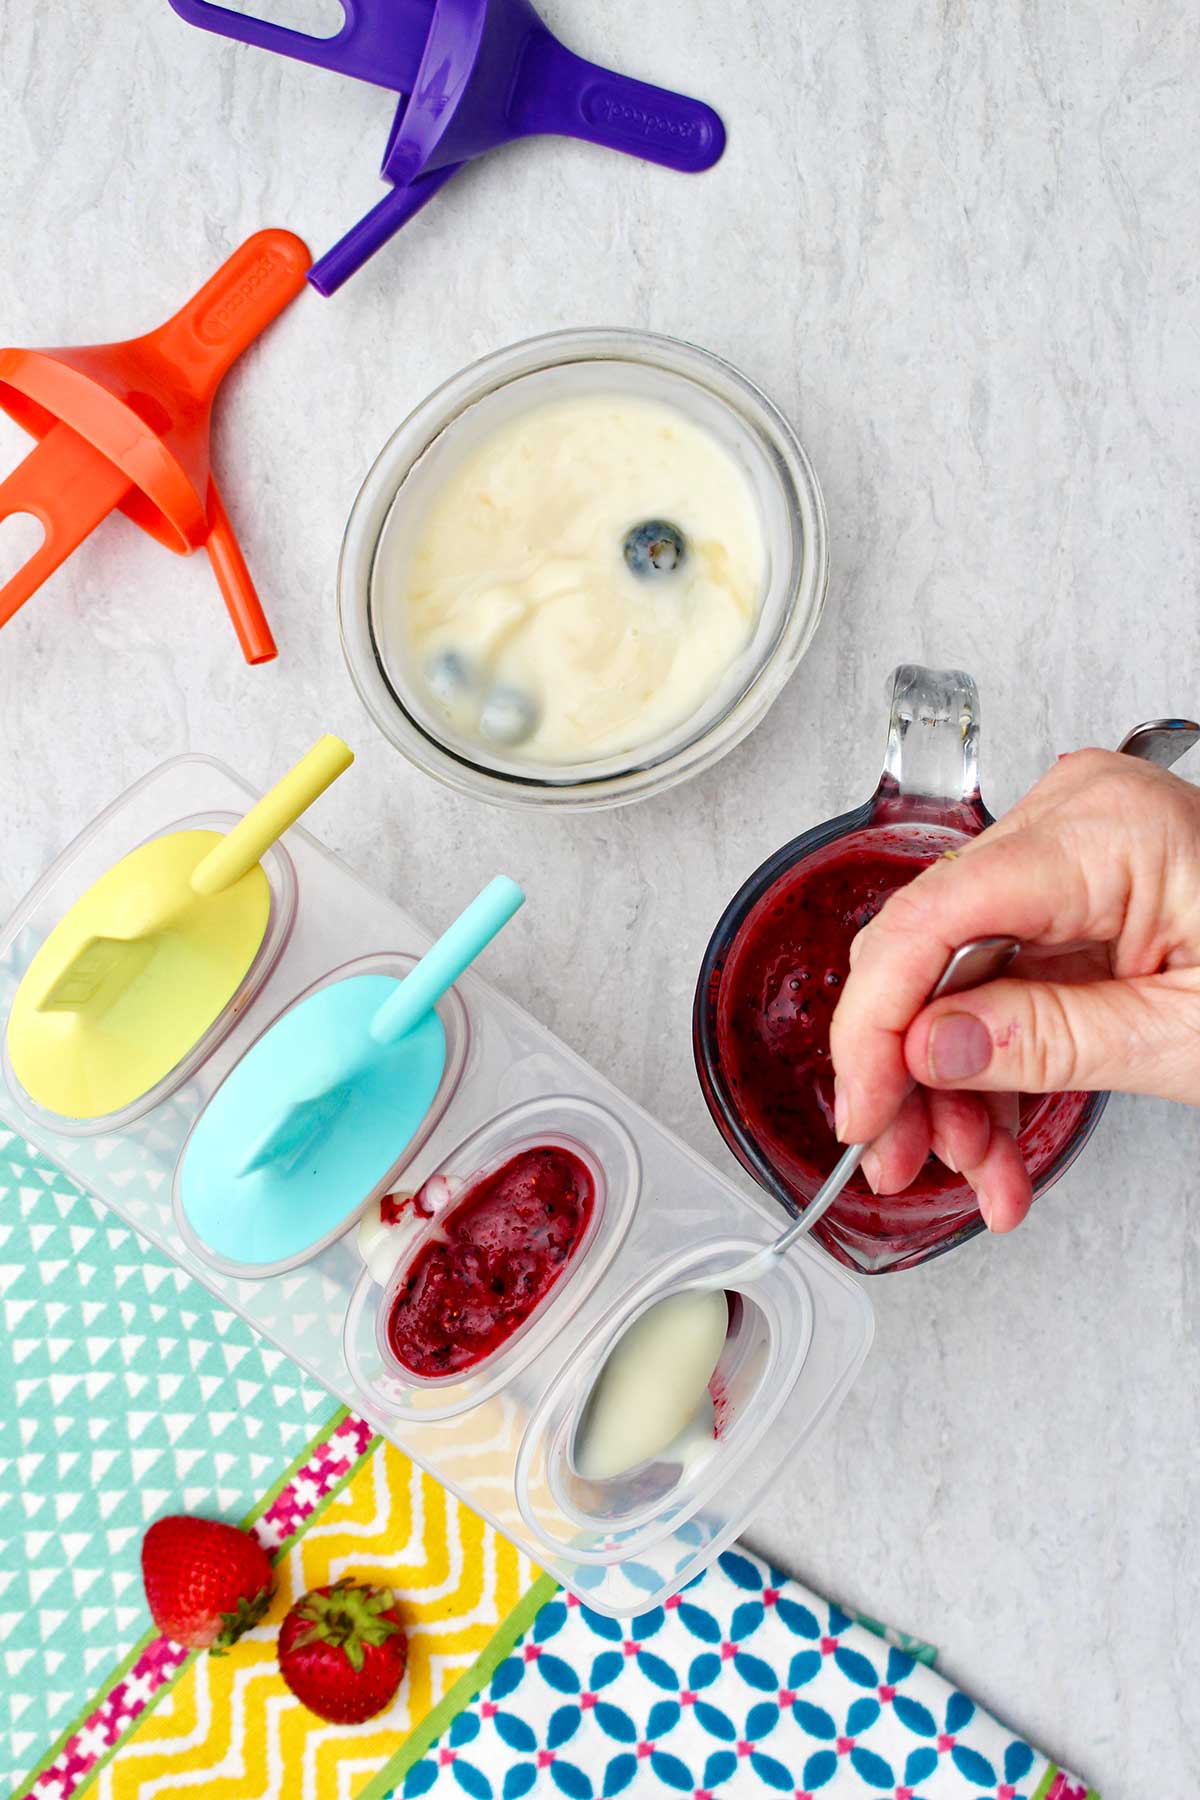
Option Four: Layered fruit and yogurt popsicles
- OK, if you want something that’s easy but make you look like you went to a lot of trouble, you’re going to like option four. It makes you look good because your popsicles look good.
- Blend up the fruit in the blender, then put it in a bowl. May add the sugar to this fruit mixture if desired.Mix the yogurt and the honey together in a small bowl.Using spoons, layer the berry mixture and the yogurt mixture until the popsicle mold is filled. You will want to start an end with the berry mixture. Leave headspace for expansion. Put on lids or add sticks.Place in the freezer and freeze 8 hours (but overnight is best)
Video
Notes
I had to add a bit of apple juice to the blender because the fruit needed a little more moisture to blend well. It did not take very much, just a couple tablespoons or so.
I added honey to my yogurt andI kind of wished that I hadn't. The yogurt was already sweetened and the honey turned the yogurt kind of a gold color. I would have preferred it to be white. *

Shelly says
So these popsicles got good reviews from grandkids and from papa! Did you find other good combinations?