Wax Resist Dyed Easter Eggs
This was my favorite way to decorate Easter eggs when I was growing up. We would blow out the raw eggs so they were hollow and keep them on the table as a decoration for a long time.
Blown eggs break easily, so, for the grands we’ll use hard boiled eggs or dyeable craft eggs (that is what we used in this example).

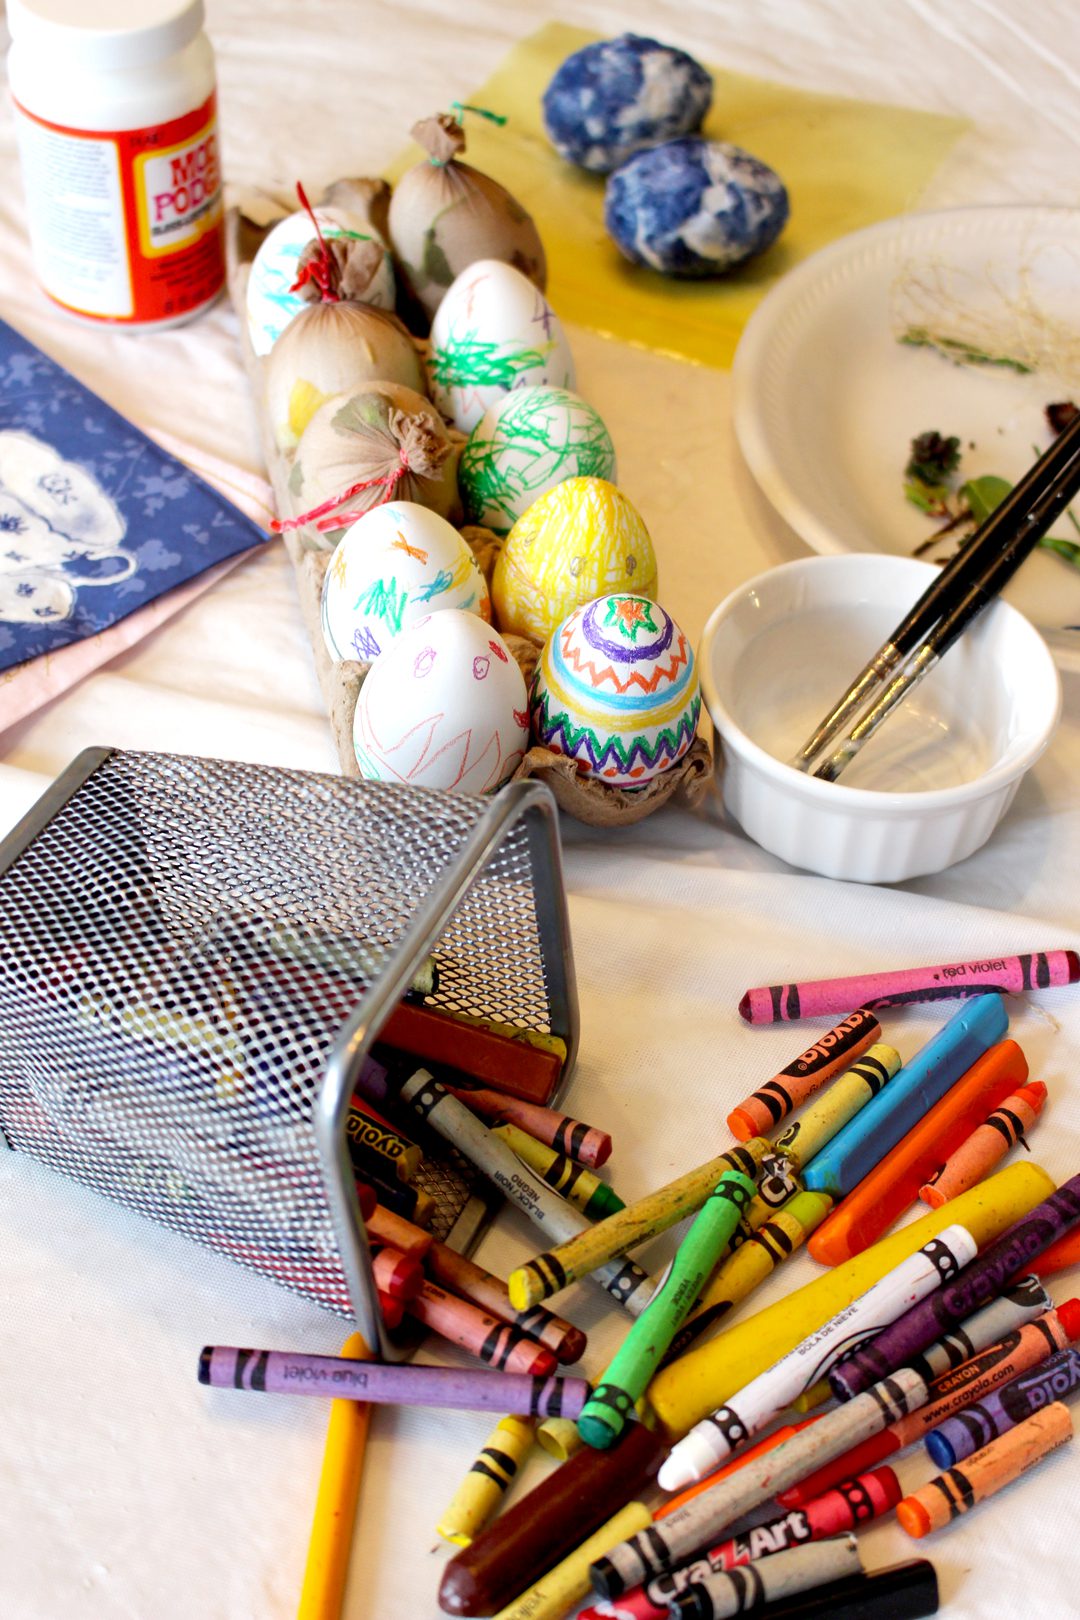
A wax resist is a simple Easter egg decorating concept. Use crayons (which are made with wax!) to make designs and pictures on the eggs. Be sure to leave “white space”, uncolored area on the egg. The colored wax will show through the dye.
Follow the directions on the dye to color the eggs.

Tip: The dyeable eggs came with a small amount of dye to use to color the eggs. The directions said to roll the eggs in a few drops of the dye in a plastic bag. I really didn’t care for this method. I recommend using the regular dye kits that allow you to drop the eggs in liquid.
Supplies: 2-3 eggs per child- hard boiled OR white craft eggs (made to be dyed); Easter Egg Dye; Crayons

Decoupage Easter Eggs
Let’s try another fun Easter Egg decorating technique!
Decoupage makes very pretty decorated Easter eggs.
This is the same technique we used to decorate candle holders last Christmas. You can use tissue paper on your eggs, but instead of tissue paper, this time we are using paper napkins with neat patterns.
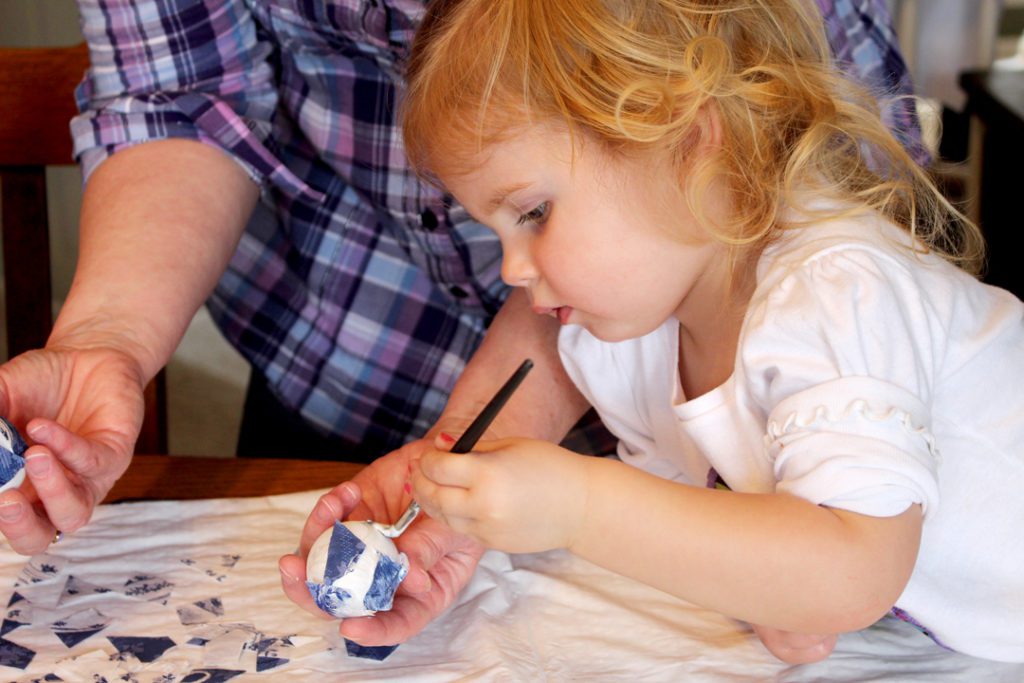
Tear or cut the napkins into fairly small pieces.

Use the brush to coat part of the egg with decoupage. Stick pieces of napkin onto this part of the egg, overlapping the pieces so none of the egg shows through. Continue to add glue to get the pieces to stick and to completely cover the egg.
Tip: These got pretty sticky in our hands. Perhaps you could coat half of the egg and apply the napkin pieces and then let dry for awhile before turning the egg over and doing the second side of the egg.
I usually finish with one overcoat of decoupage.
Let sit and dry on a foam egg carton or on plastic (or the paper will stick and tear).
Supplies: 2-3 eggs per child- hard boiled OR white craft eggs (made to be dyed); 2-3 decorative napkins; Decoupage; Old paint brushes
Plant Silhouette Eggs
Up for one more Easter Egg decorating technique? Me too!!
These super cool silhouette eggs are fun and easy to make.
Let the grands collect several small flowers, leaves and interesting grasses outside.
Place an egg into a piece of panty hose. Position the leaves and flowers between the egg and the panty hose as flat and smoothly as possible so the pattern will show.

Tie the panty hose tightly around the egg and use a twist tie to hold it in place on the side of the egg that is opposite of the leaves/flowers. Snip off the excess panty hose.
Follow the instructions on the dye to color the eggs.
After the dye has dried (takes several hours with the panty hose), remove the pantyhose and the plant material to reveal imprints of the flowers and leaves.
Supplies: 2-3 eggs per child- hard boiled OR white craft eggs (made to be dyed); Easter Egg Dye, Small flowers/ leaves/ grasses from outside; Panty hose; Twist ties
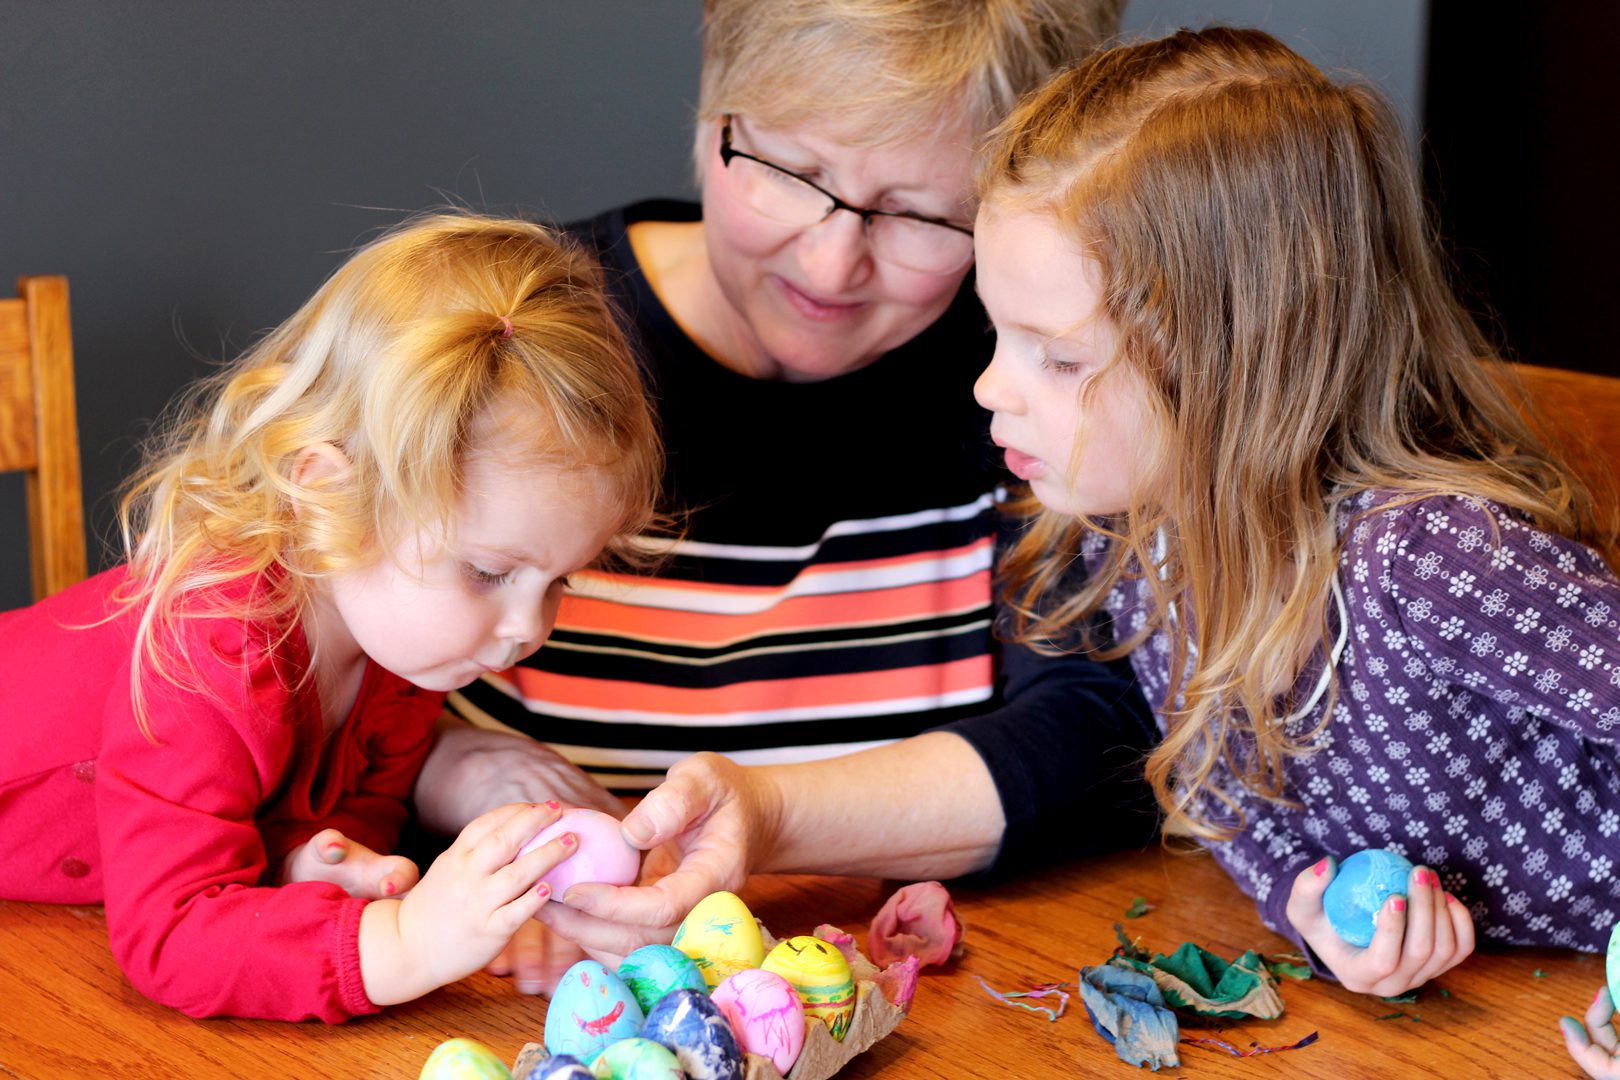
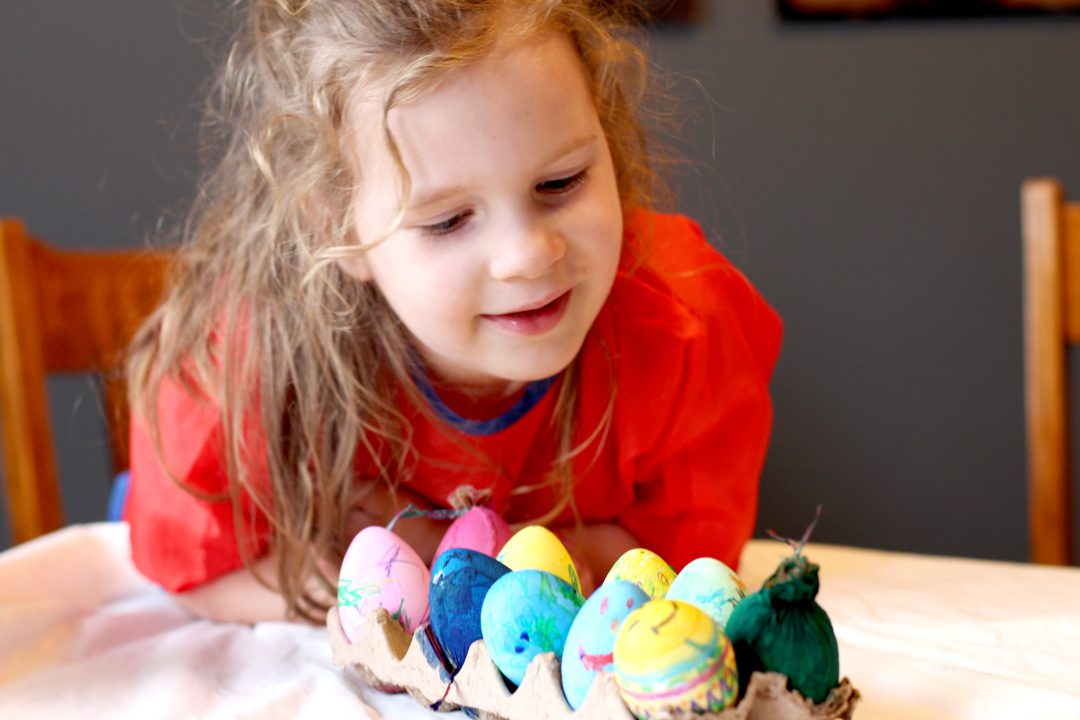
Easter Egg Decorating
Place your creations in a bowl on the table for a centerpiece. They are so beautiful and are made with love! I was enjoying the grandkids so I forgot to get a finale picture of the eggs in the bowl. Next time I'll get it done!
If you are on a roll with egg decorating, you could also try painting wooden eggs, or this fun shaving cream egg idea!
Photo credit goes to Bethanie Achenbach.
Enjoy!
Welcome to Nana’s! Where there’s fun things to do with your “grand” kids!
Come join the fun at www.WelcomeToNanas.com

How to Decorate Easter Eggs, 3 Ways!
Equipment
- Scissors
- Supplies listed on Easter Egg Dye (where applicable)
Items Required
- 2-3 Eggs per child - hard boiled OR white craft eggs
Wax Resist Dyed Easter Eggs
- Easter Egg Dye
- Crayons
Decoupage Easter Eggs
- 2-3 Decorative napkins
- Decoupage
- 1 Old Paint Brush
Plant Silhouette Eggs
- Easter Egg Dye
- Small flowers/ leaves/ grasses from outside
- Panty hose
- Twist ties
Instructions
Wax Resist Dyed Easter Eggs
- Use crayons (which are made with wax!) to make designs and pictures on the eggs. Be sure to leave “white space”, uncolored area on the egg. The colored wax will show through the dye.
- Follow the directions on the dye to color the eggs.
Decoupage Easter Eggs
- Tear or cut the napkins into fairly small pieces.
- Use the brush to coat part of the egg with decoupage. Stick pieces of napkin onto this part of the egg, overlapping the pieces so none of the egg shows through. Continue to add glue to get the pieces to stick and to completely cover the egg.
- Finish with one overcoat of decoupage.
- Let sit and dry on a foam egg carton or on plastic (or the paper will stick and tear).
Plant Silhouette Eggs
- Let the grands collect several small flowers, leaves and interesting grasses outside.
- Place an egg into a piece of panty hose. Position the leaves and flowers between the egg and the panty hose as flat and smoothly as possible so the pattern will show.
- Tie the panty hose tightly around the egg and use a twist tie to hold it in place on the side of the egg that is opposite of the leaves/flowers. Snip off the excess panty hose.
- Follow the instructions on the dye to color the eggs.
- After the dye has dried (takes several hours with the panty hose), remove the pantyhose and the plant material to reveal imprints of the flowers and leaves.


Leave a Reply