Who doesn’t love a TP roll craft?
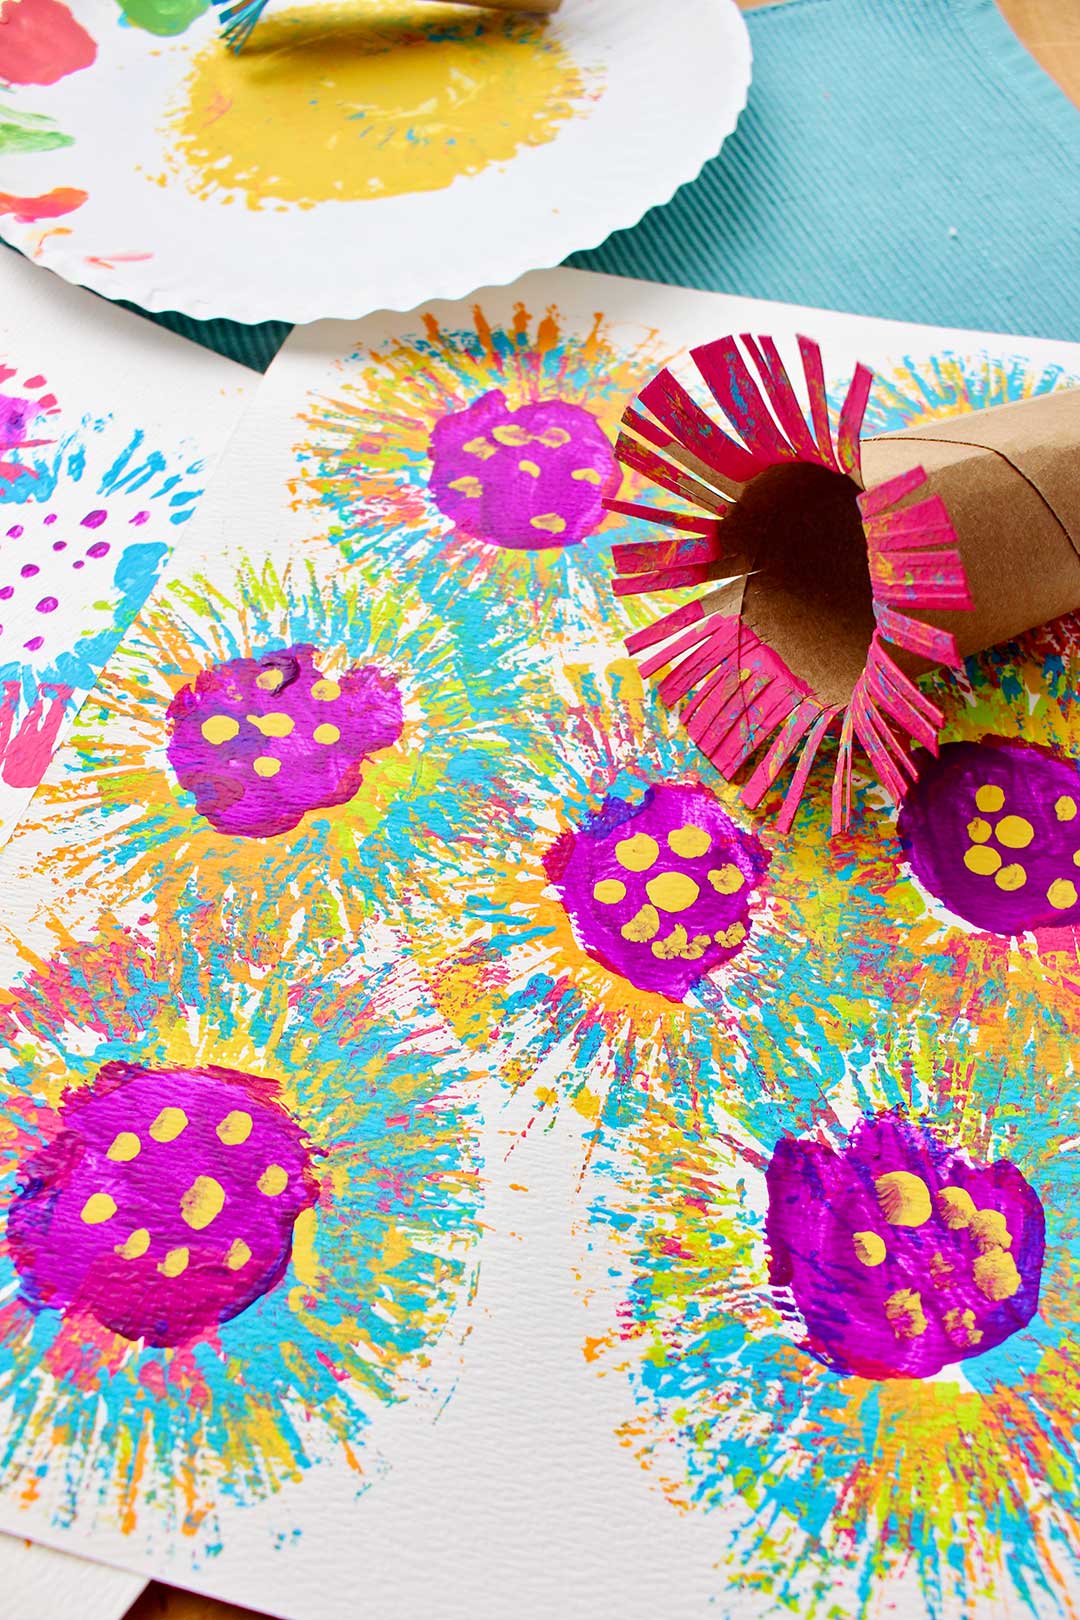
The grands and I had a lot of fun making an Easy Toilet Paper Roll Flower Painting. Aren’t they pretty?
The kids chose great colors to use and created fun flower centers that just made the flower design pop!
It used supplies that I had on hand and who doesn’t love recycling a toilet paper roll? Right?
Toilet Paper Roll Flower Painting
This craft is a spin-off of the toilet paper roll fireworks painting that I saw online a while ago. I didn’t get around to trying it before the 4th of July so I pondered how else the fireworks sunburst pattern could be used.
Painting Flowers With Toilet Paper Rolls
Well, flowers of course! Paint the sunburst pattern and then add a center and you have a great way to paint flowers!
This is an easy-peasy craft. And yet the older kids liked doing it too. Especially all together in a group. You could feel their creative ideas splash off each other. Fortunately, they didn’t let PAINT splash off of each other!
How do I paint flowers with toilet paper rolls?
The star of this show is the humble toilet paper roll! Those little cardboard tubes finally get their day in the sun! Ha!
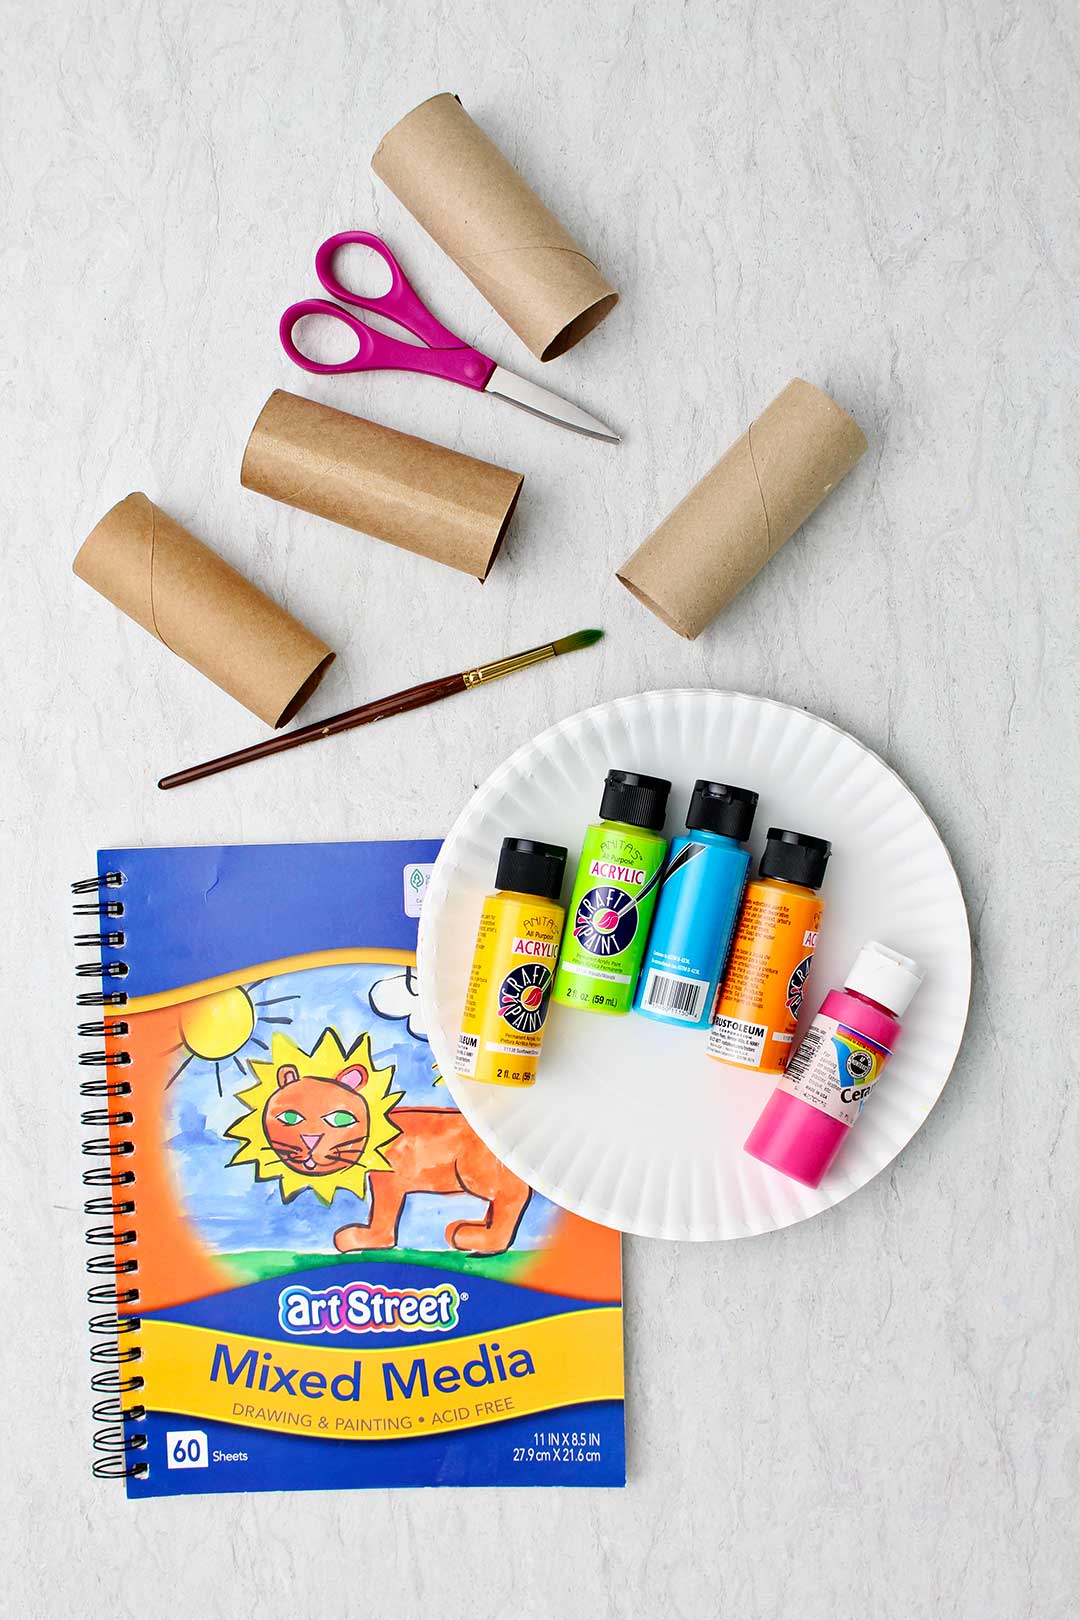
Collect up several cardboard toilet paper rolls. You will need one for each color of flowers that you would like in your painting.
Prep your toilet paper tube "brush"
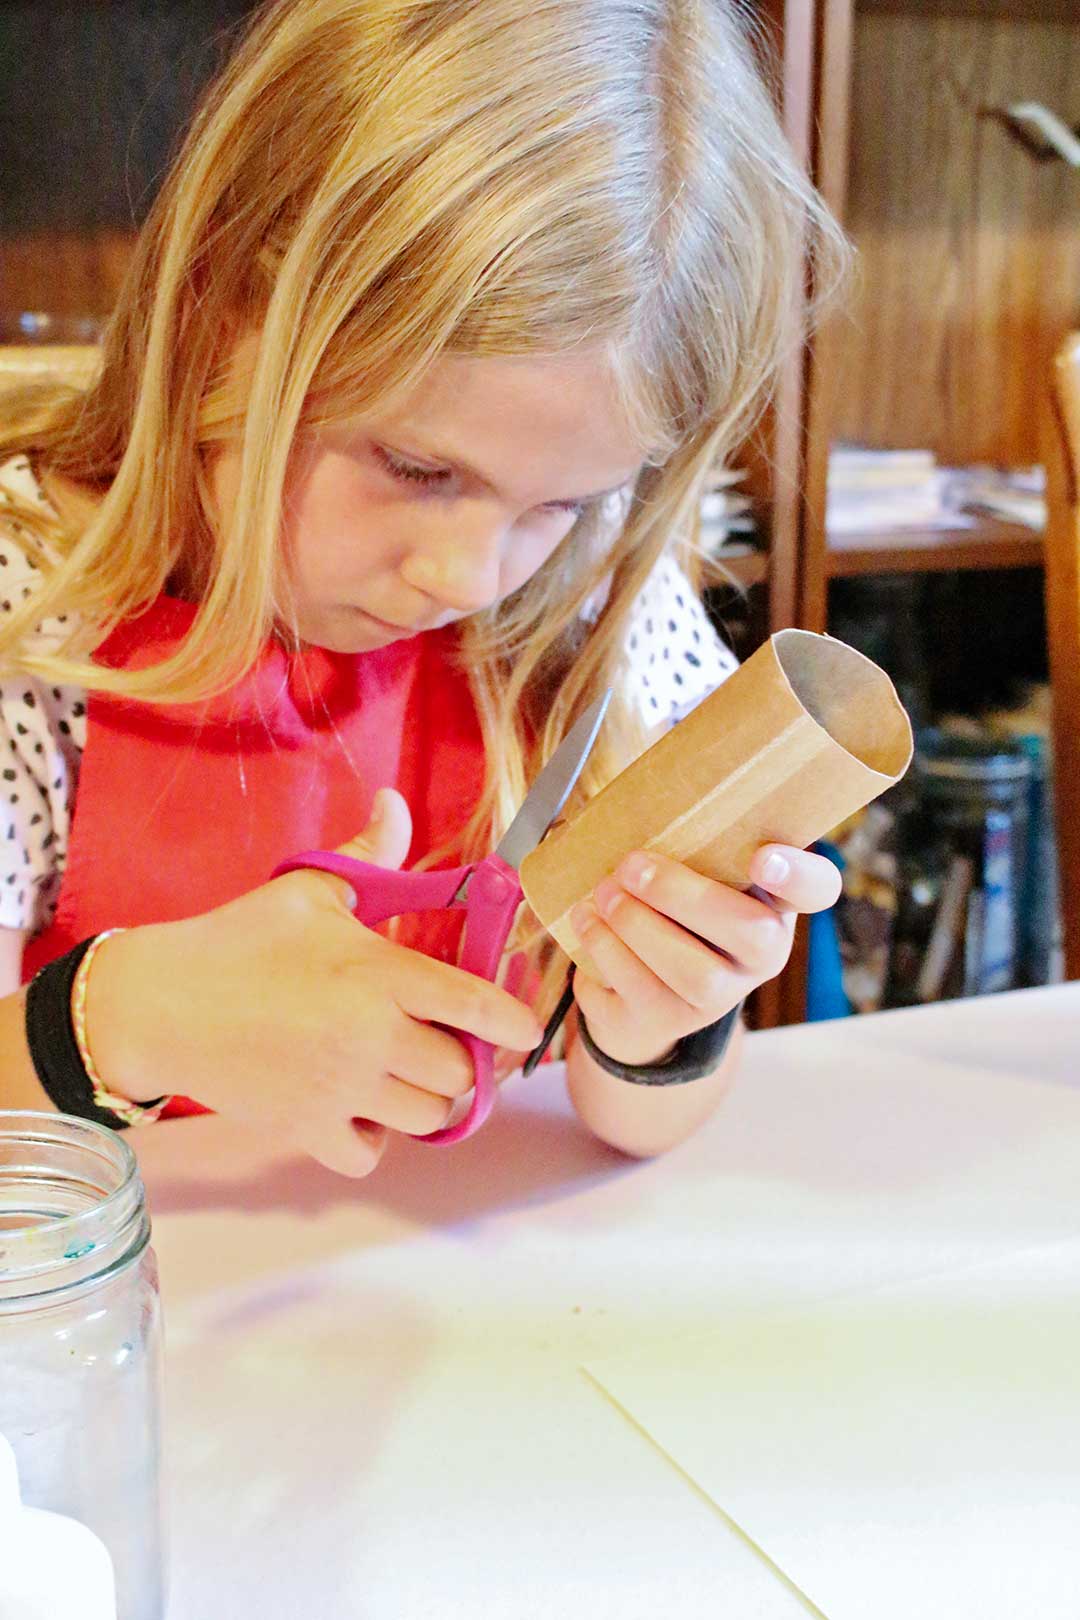
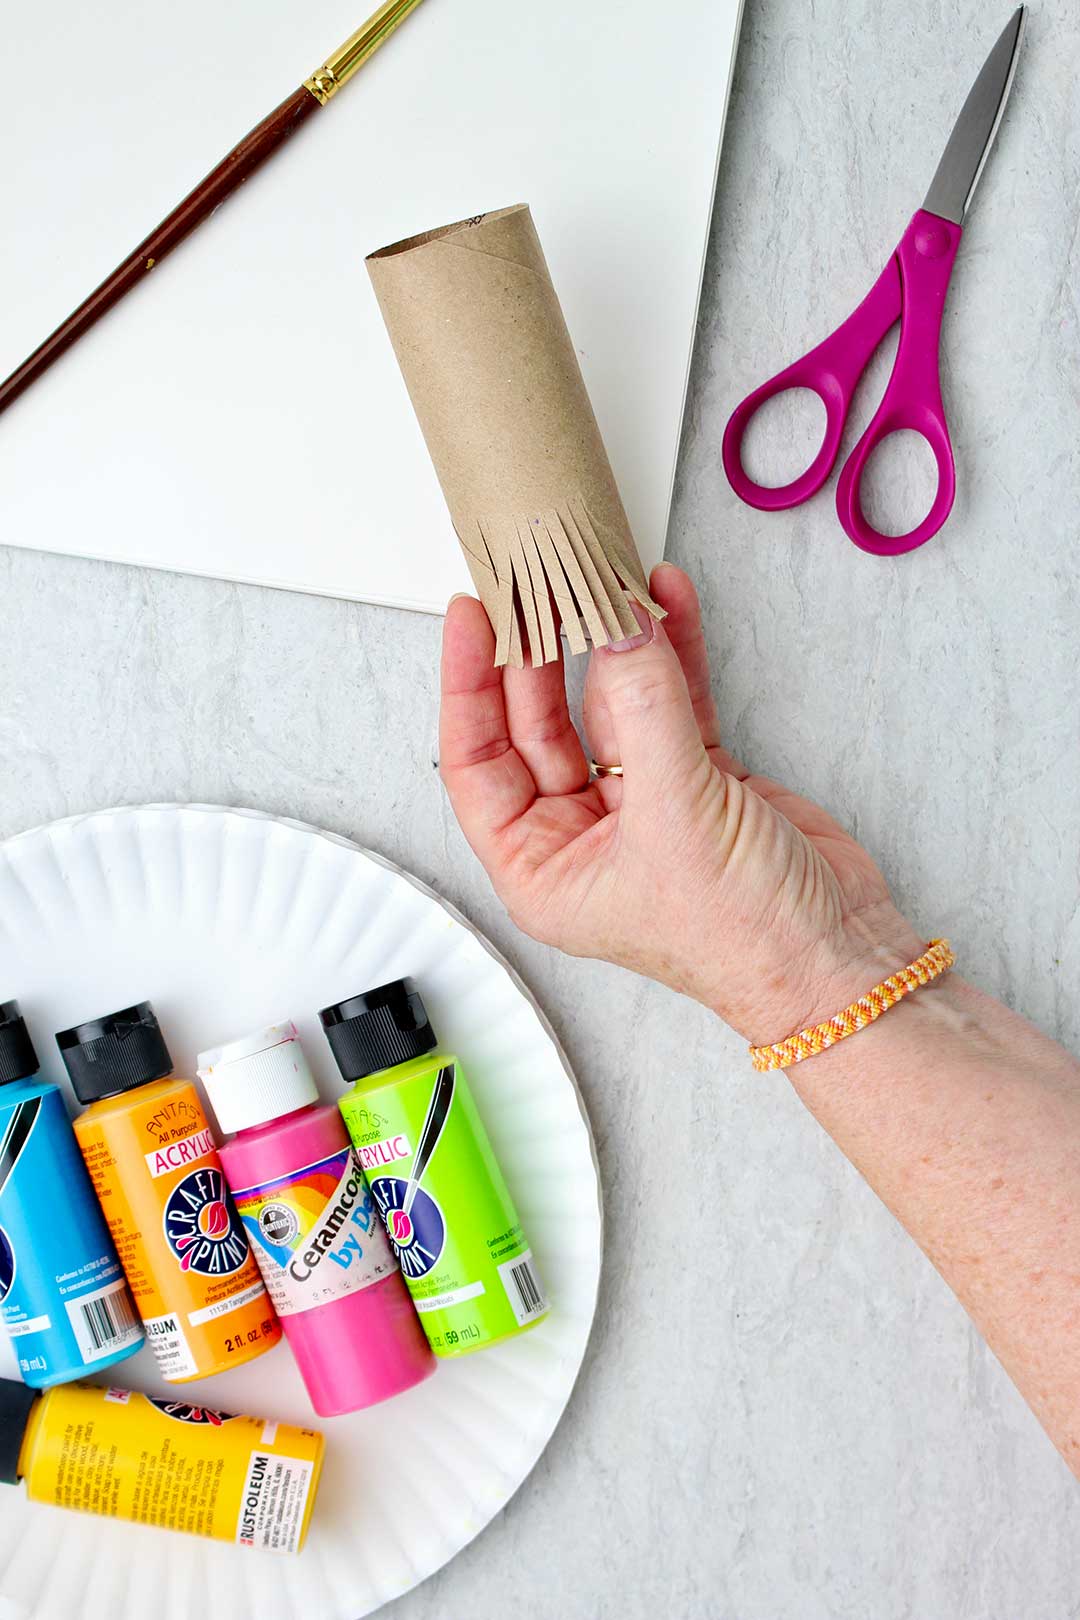
Use a scissors to cut up the tube about an inch. You will make these cuts all around the tube- so the edge is fringed when you are done.
It is good if the cuts are pretty close together as this makes a more interesting pattern. The older grands were able to do this more easily than the younger ones. You may need to help with this step for littles.
Hold onto the un-fringed end of the tube as your handle and gently try pushing it straight down onto a flat surface. The fringed will spread out like a sunburst! Cool huh?
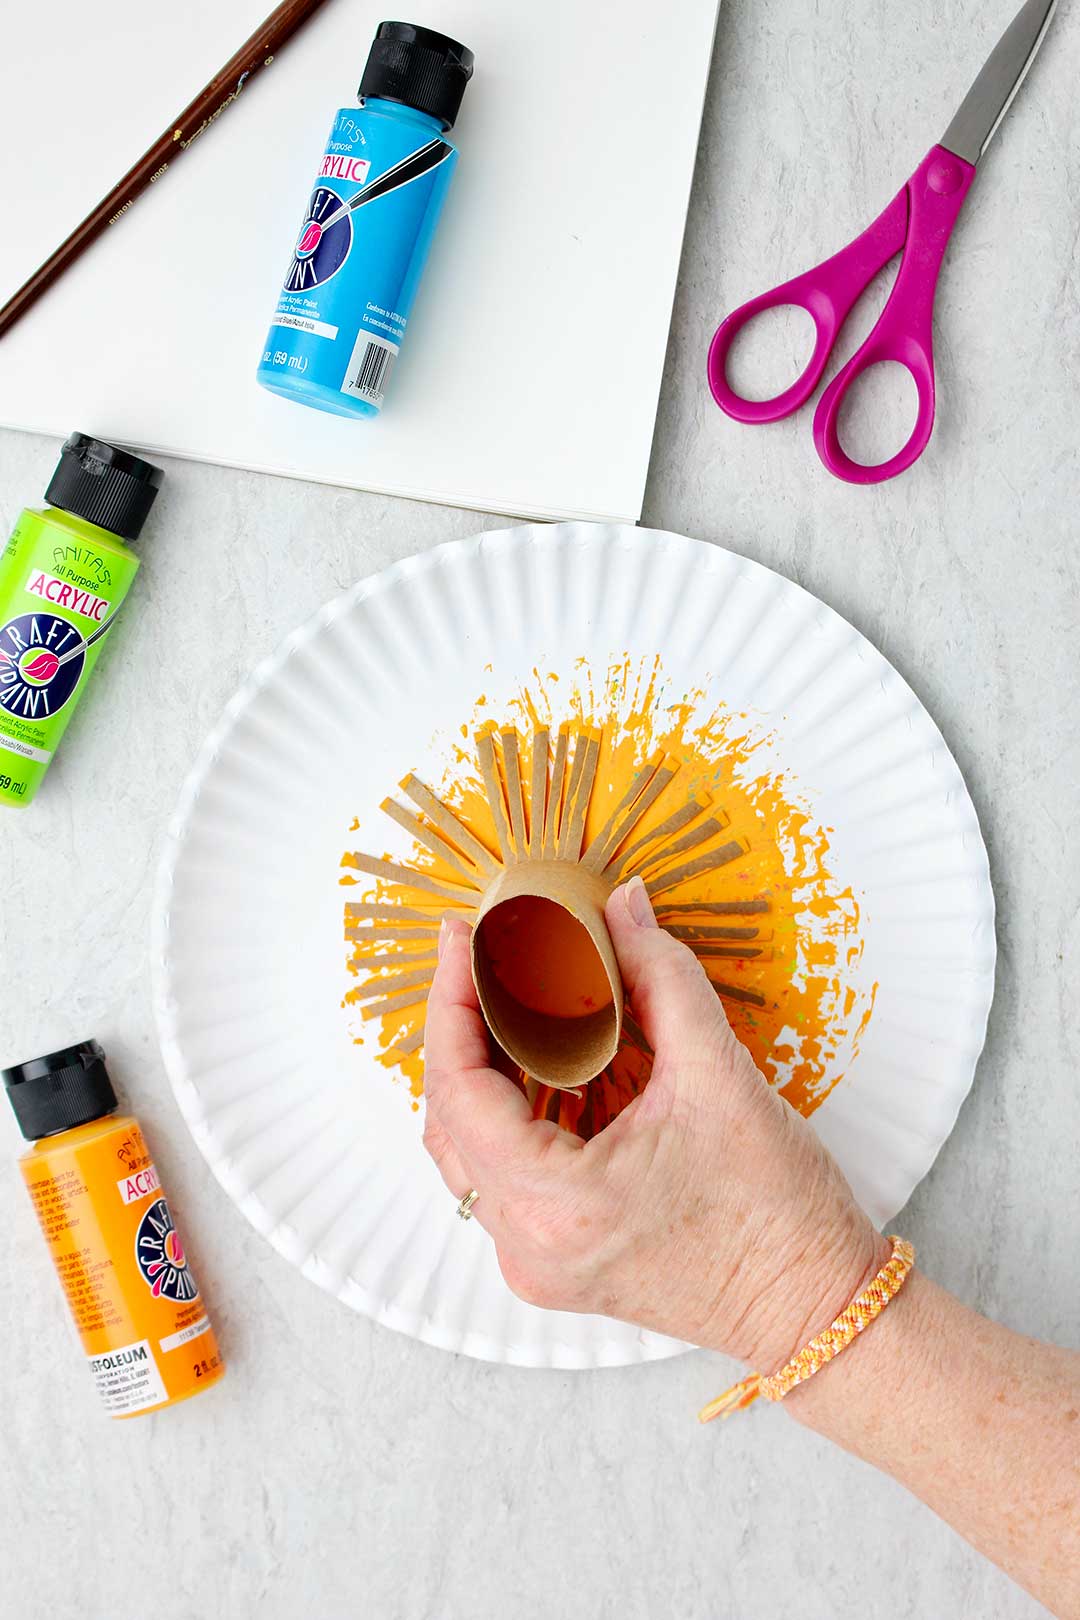
Choose your paint colors
Acrylic craft paints work well for this project. I keep a supply on hand and use them all the time. I noticed that I need to restock soon as some colors are running low. They are available at craft stores and many discount stores as well as in sets online.
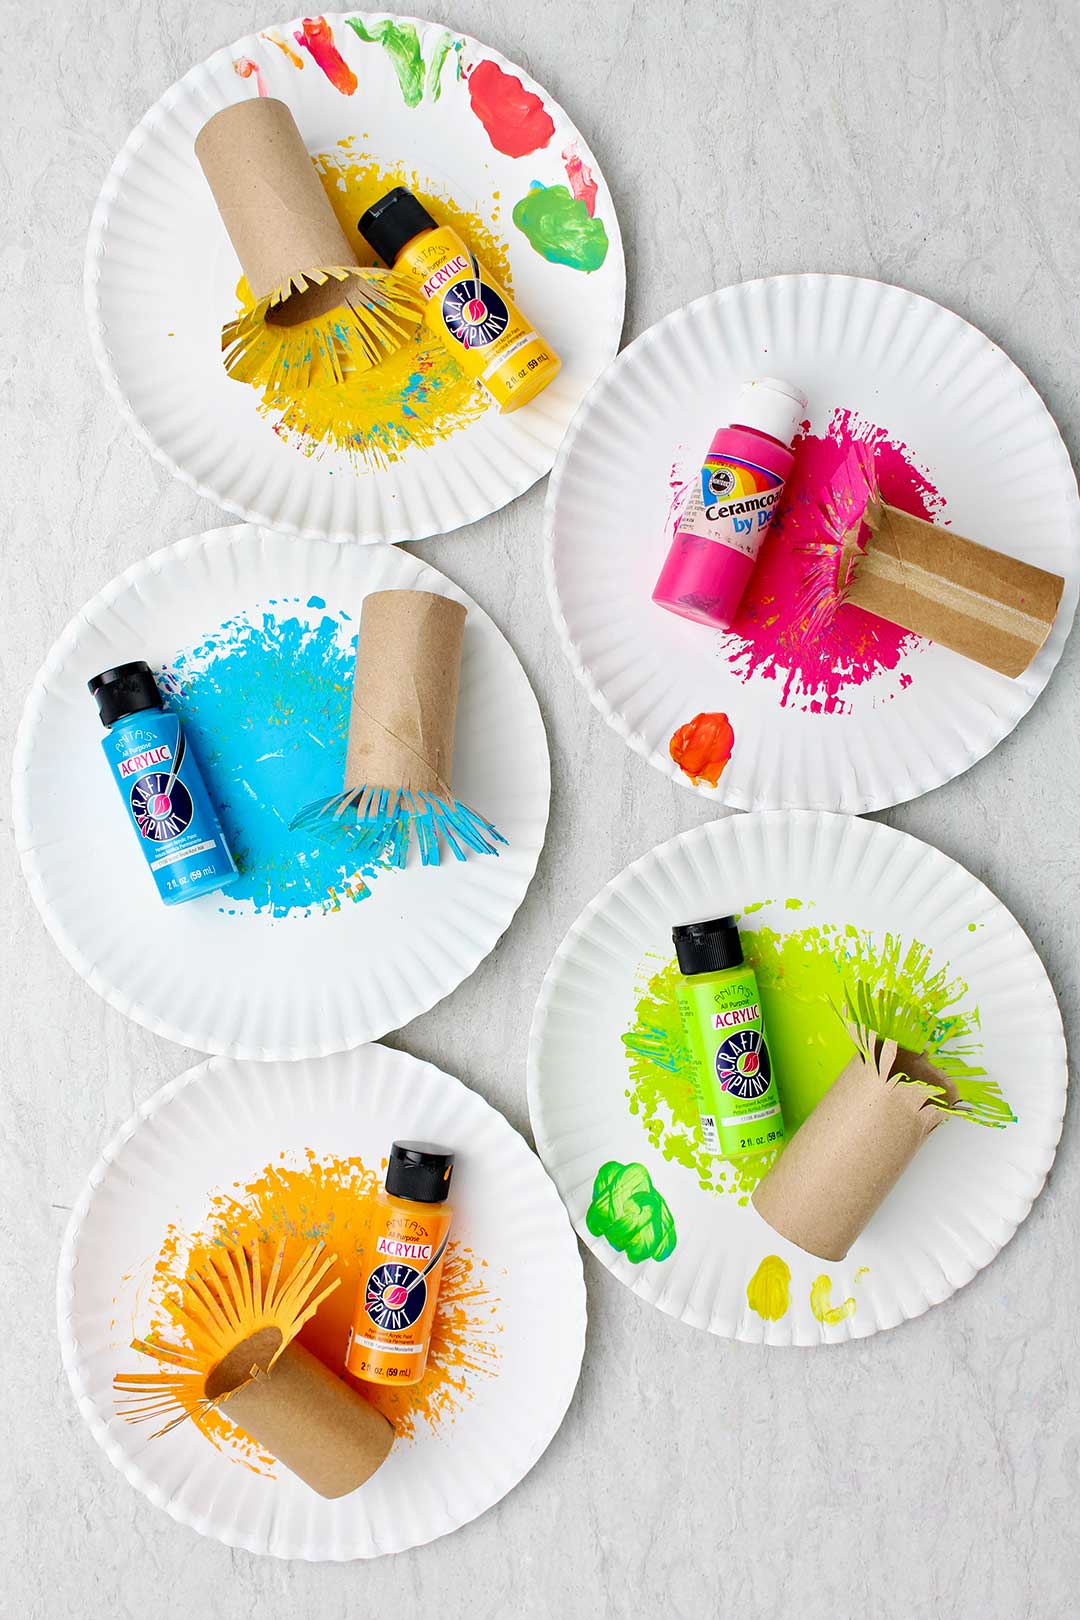
We used 5 colors of paint on this larger art paper. The paper in my photos was about 9x12” in size which worked great. The paper is for mixed media which includes paint. Regular copy paper would be too light weight.
You will need a paper plate for each color of paint. Squirt about a half-dollar sized amount of paint on the center of the plate.
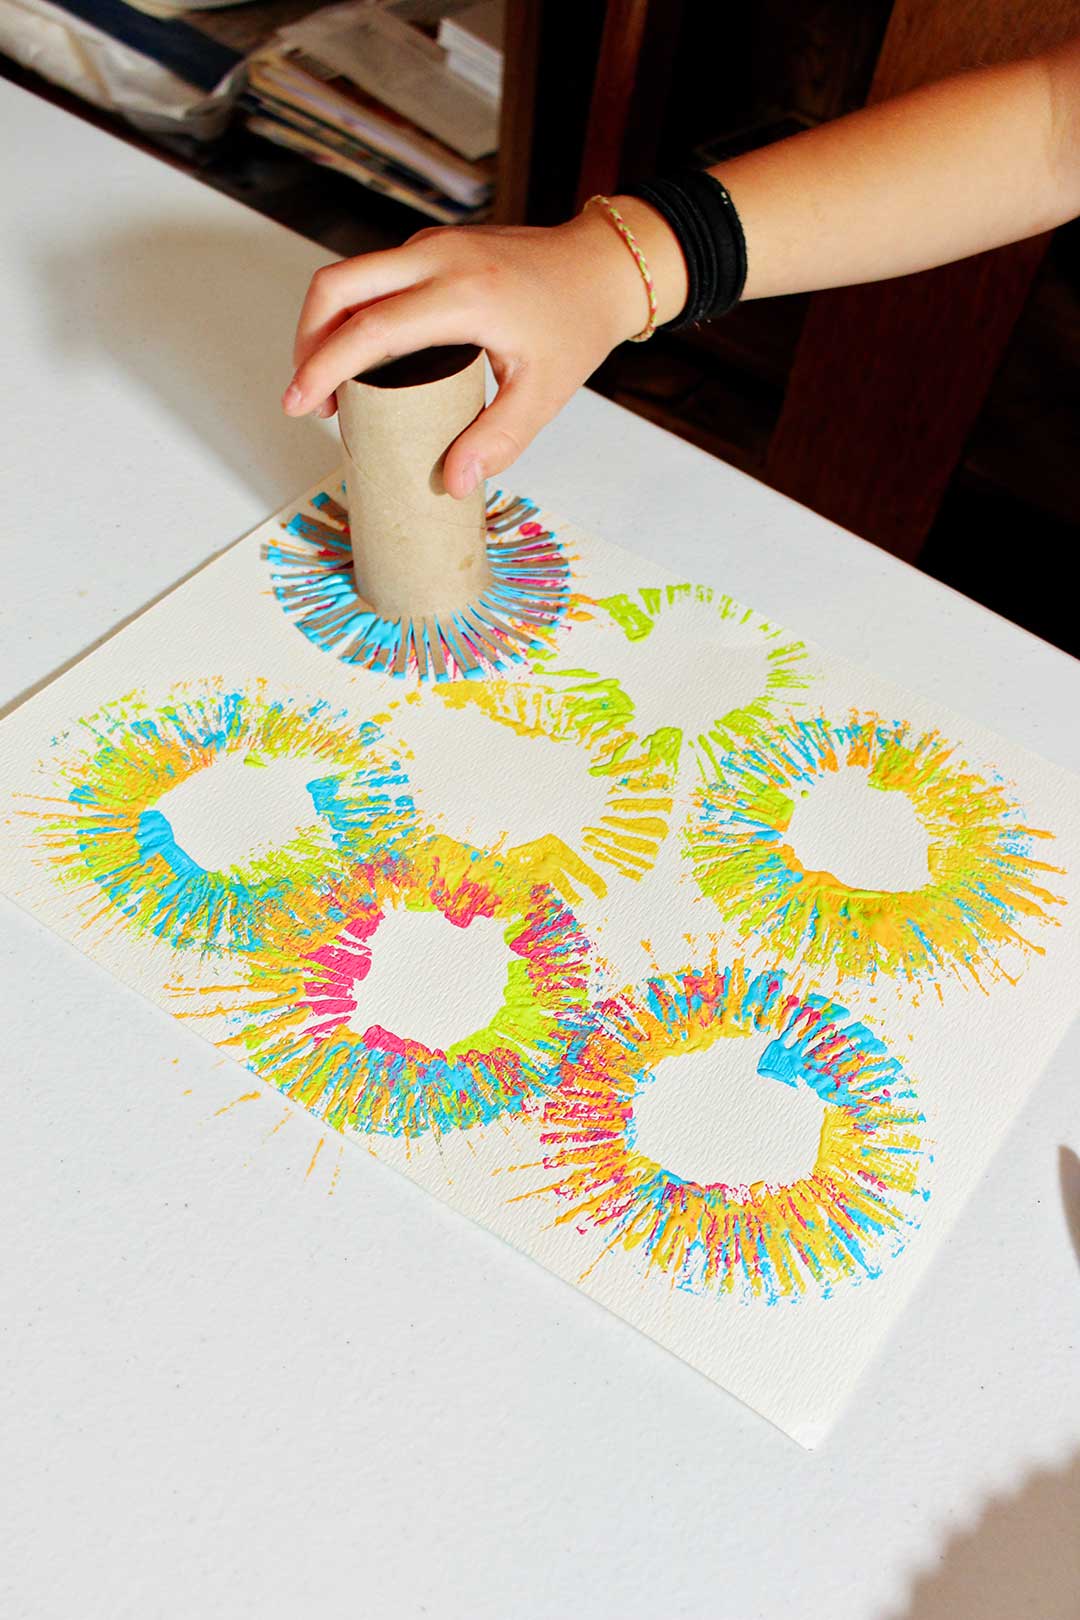
Paint your flowers
Pick up a toilet paper tube and use the un-fringed end as your “handle”. Dip the fringed end of the tube down into the paint. The tube is your “paint brush” so you will need to kind of spread the paint around on the plate to get it all over the fringe.
Then press the paint covered fringe down onto the paper where you want your “flower”. The kids pulled it up and if they wanted more “petals” they turned the tube slightly and pressed it down onto the paper again in the same place.
Repeat with each color of paint making a spray of flowers over the paper.
One granddaughter wanted to leave her flowers this way, one color for each flower.
The other grand wanted a second color in her flowers so she took another color of paint on a tube and pressed that down on top of one of her flowers. She really liked this affect.
This multiple colored sunburst reminded me of tie-die! It was pretty. This idea could be used for another project if we wanted a tie-die look for some reason.
How about a flower center?
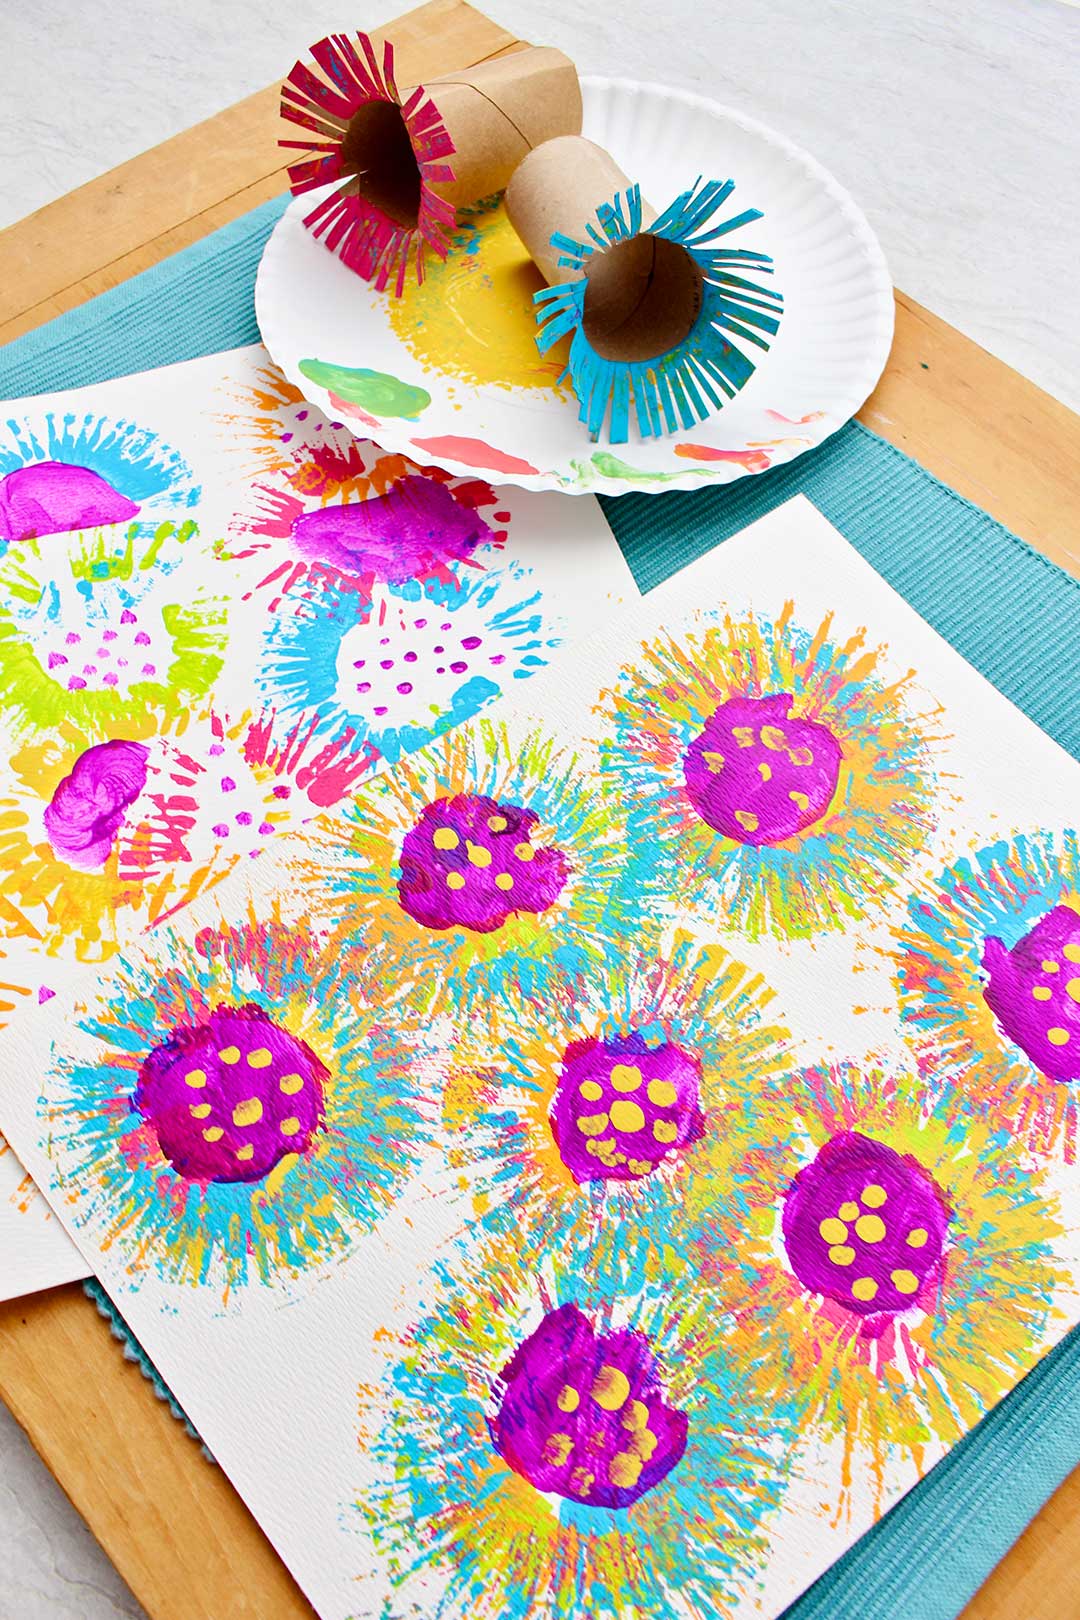
The tube does not put any paint down in the middle, leaving a large circle in the center of the petals.
We brainstormed on ways to paint the centers and decided on painting a circle and/or making dots of color in the center. Of course we ended up doing some of BOTH!
A darker red-purple was the lucky color chosen to be the flower centers.
The grands used a paint brush for this and made a couple this way.
They also tried using the paint brush and making dots of yellow in the center of a couple other flowers.
One grand stopped here…and the other grand decided to paint all the centers purple and then add dots of yellow over the top. I didn’t think of it until later, but a cotton swab would work well to make dots of color.
All of these options worked well, and the girls liked how they turned out.
Toilet Paper Roll Fireworks Painting
Toilet Paper Roll Fireworks Painting is where I first saw this technique used most recently. It works well using red, white, and blue paint on a black or dark blue paper. The multi-colored technique would make a great fireworks look too.
I even wondered about making t-shirts this way. Tell me if you try it and how it works.
Toilet Paper Roll Dandelion Painting
Recently a friend did the Toilet Paper Roll Dandelion Painting at an adult ladies’ group at our church. She thought it would work well for all skill levels and get people over the “I can’t draw/paint” concerns in their minds.
I think it was very successful so keep this technique in mind for adults as well as kids.
They used white paint on a colored background and painted on a stem. Very cute!
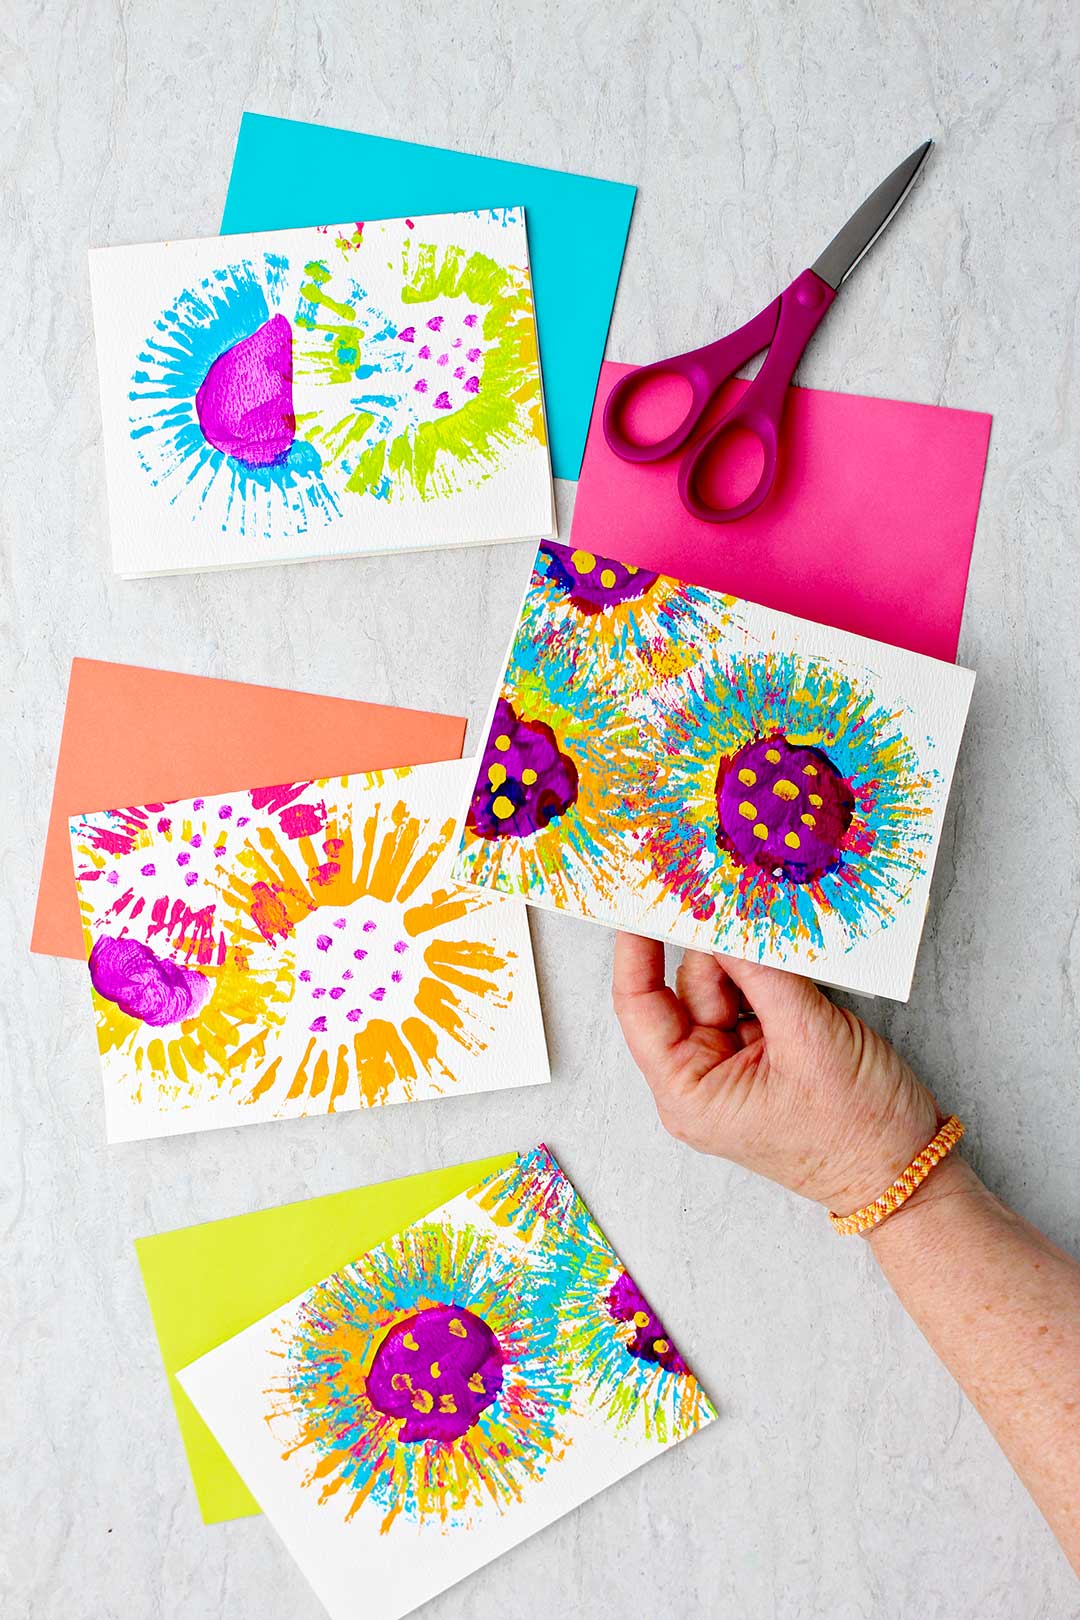
Easy Toilet Paper Roll Flower Painting go in the mail
When we were done with the Easy Toilet Paper Roll Flower Painting, the grands wanted me to keep them and use them for another project. So I cut them into cards that I’ll send to those grands in the mail in a couple months. Fun, huh??
Of course they would be cute on a bulletin board, the refrigerator, or in a frame too!
Want some more crafts with flowers? Try these from Welcome To Nanas!
Enjoy!
If you try this craft, let me know! Go ahead and leave a comment, rate it, and tag a photo with #WelcometoNanas wherever you post.
Come join the fun at https://welcometonanas.com
Easy Toilet Paper Roll Flower Painting
Equipment
- Paint brush and/or cotton swabs
- Scissors
Items Required
- Toilet paper rolls (one for each color of paint)
- Mixed-media paper
- Acrylic craft paints in colors of your choice
- Paper plates
Instructions
- Use a scissors to cut up the toilet paper tube about an inch. You will make these cuts all around the tube- so the edge is fringed when you are done. You need one for each color paint.
- You will need a paper plate for each color of paint. Squirt about a half-dollar sized amount of paint on the center of the plate. Acrylic craft paints work well for this project.
- Pick up a toilet paper tube and use the un-fringed end as your “handle”. Dip the fringed end of the tube down into the paint. The tube is your “paint brush” so you will need to kind of spread the paint around on the plate to get it all over the fringe.Then press the paint covered fringe down onto the paper where you want your “flower”. The kids pulled it up and if they wanted more “petals” they turned the tube slightly and pressed it down onto the paper again in the same place.Repeat with each color of paint making a spray of flowers over the paper. Use one color per flower or add a second color on top!
- A darker red-purple was the lucky color chosen to be the flower centers. The grands used a paint brush for this and made a couple this way.They also tried using the paint brush and making dots of yellow in the center of a couple other flowers. One grand stopped here…and the other grand decided to paint all the centers purple and then add dots of yellow over the top. I didn’t think of it until later, but a cotton swab would work well to make dots of color.
- When we were done with the Easy Toilet Paper Roll Flower Painting, the grands wanted me to keep them and use them for another project. So I cut them into cards that I’ll send to those grands in the mail in a couple months. Fun, huh??Of course they would be cute on a bulletin board, the refrigerator, or in a frame!
Video
Notes
Supplies for Easy Toilet Paper Roll Flower Painting:
- Toilet paper rolls (one for each color of paint)
- Mixed-media paper
- Acrylic craft paints in colors of your choice
- Paper plates
- Paint brush and/or cotton swabs
- Scissors



Leave a Reply