Learn how to draw a Pastel Chalk Christmas Winter Scene with this step-by-step art tutorial for kids! Kids of all skill levels can create beautiful winter landscapes on the first try.
Jump to:
- Cute Craft Alert: Christmas Winter Scene for Kids is Here!
- Supplies for a Winter Scene Drawing
- Steps to Draw a Winter Scene
- Art Project Tips
- Art Project Variations
- FAQ on Snow Winter Scenes
- More Easy Art Projects for Kids
- Come join the fun at WTN!
- Want More Crafts?
- Easy Pastel Chalk Christmas Winter Scene for Kids
Cute Craft Alert: Christmas Winter Scene for Kids is Here!
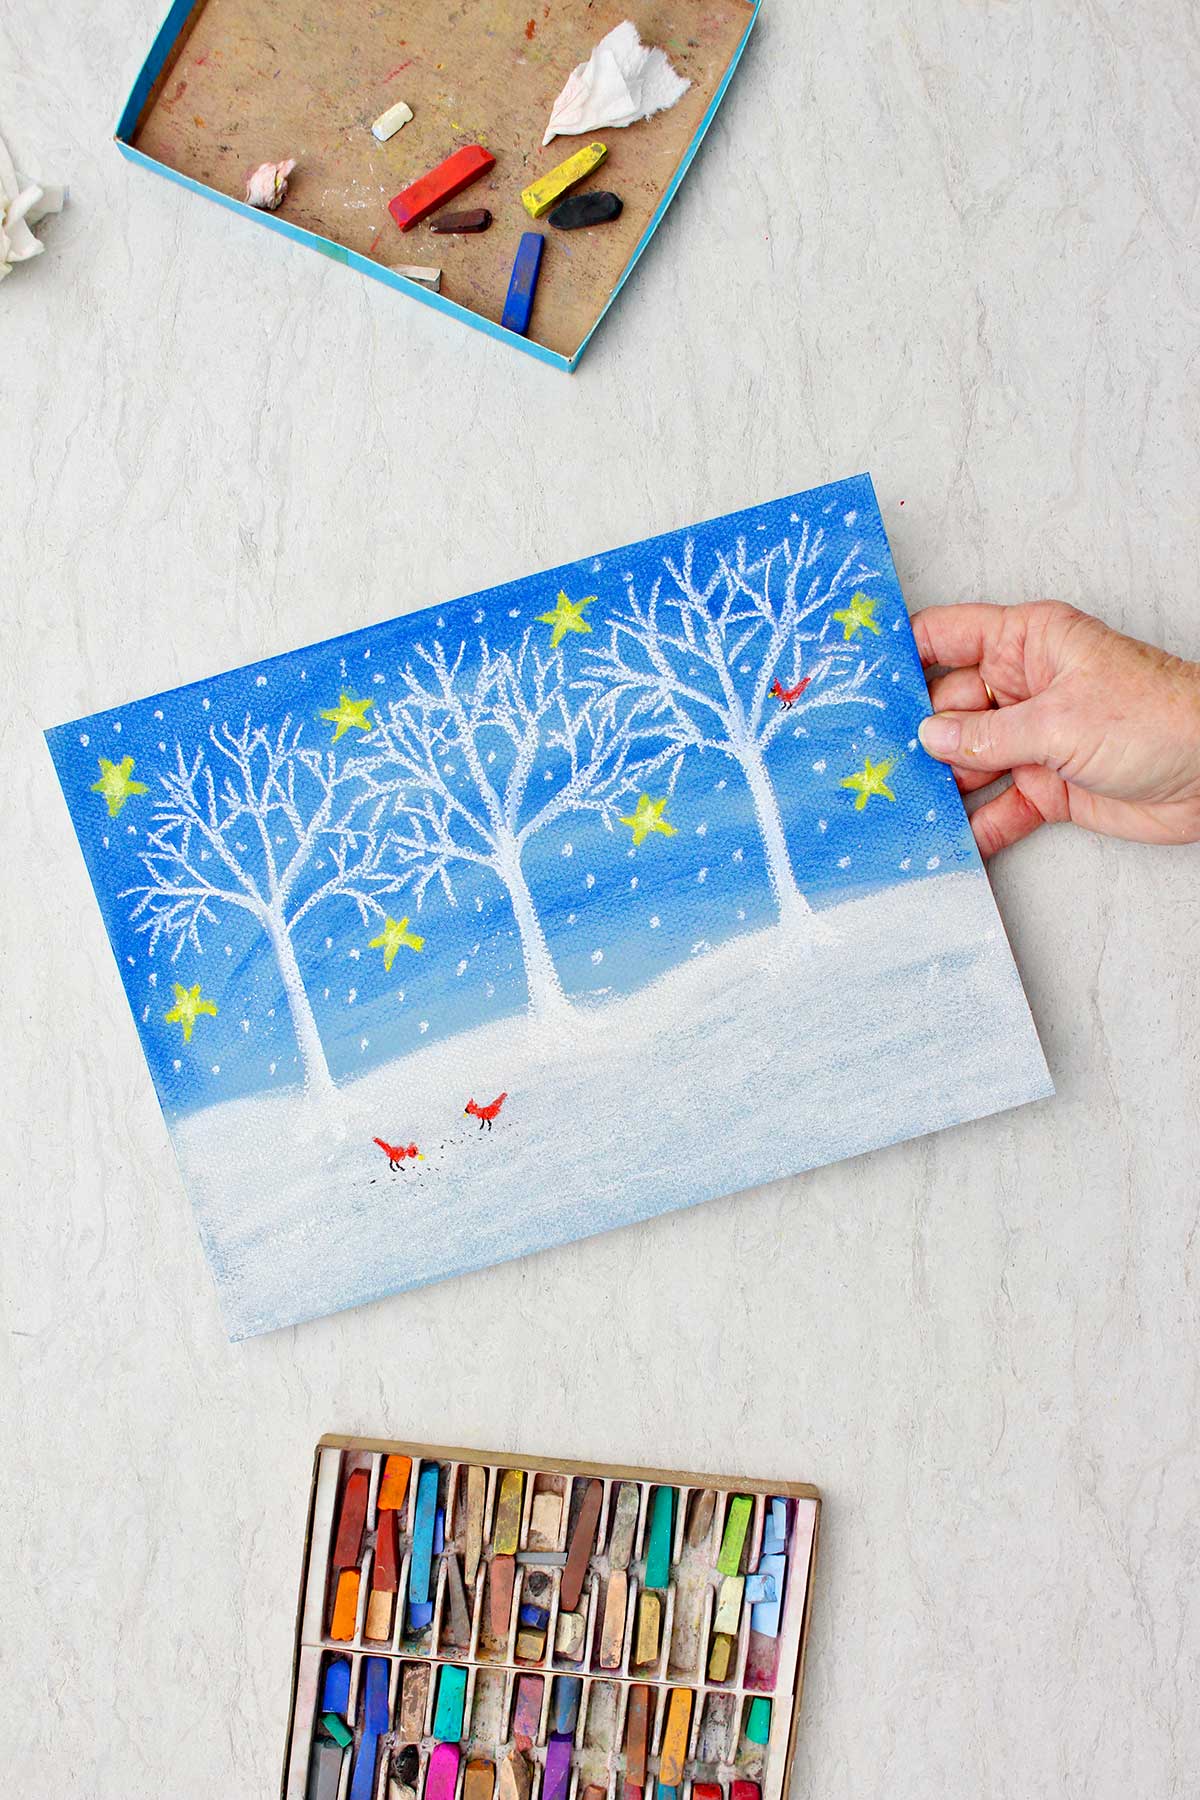
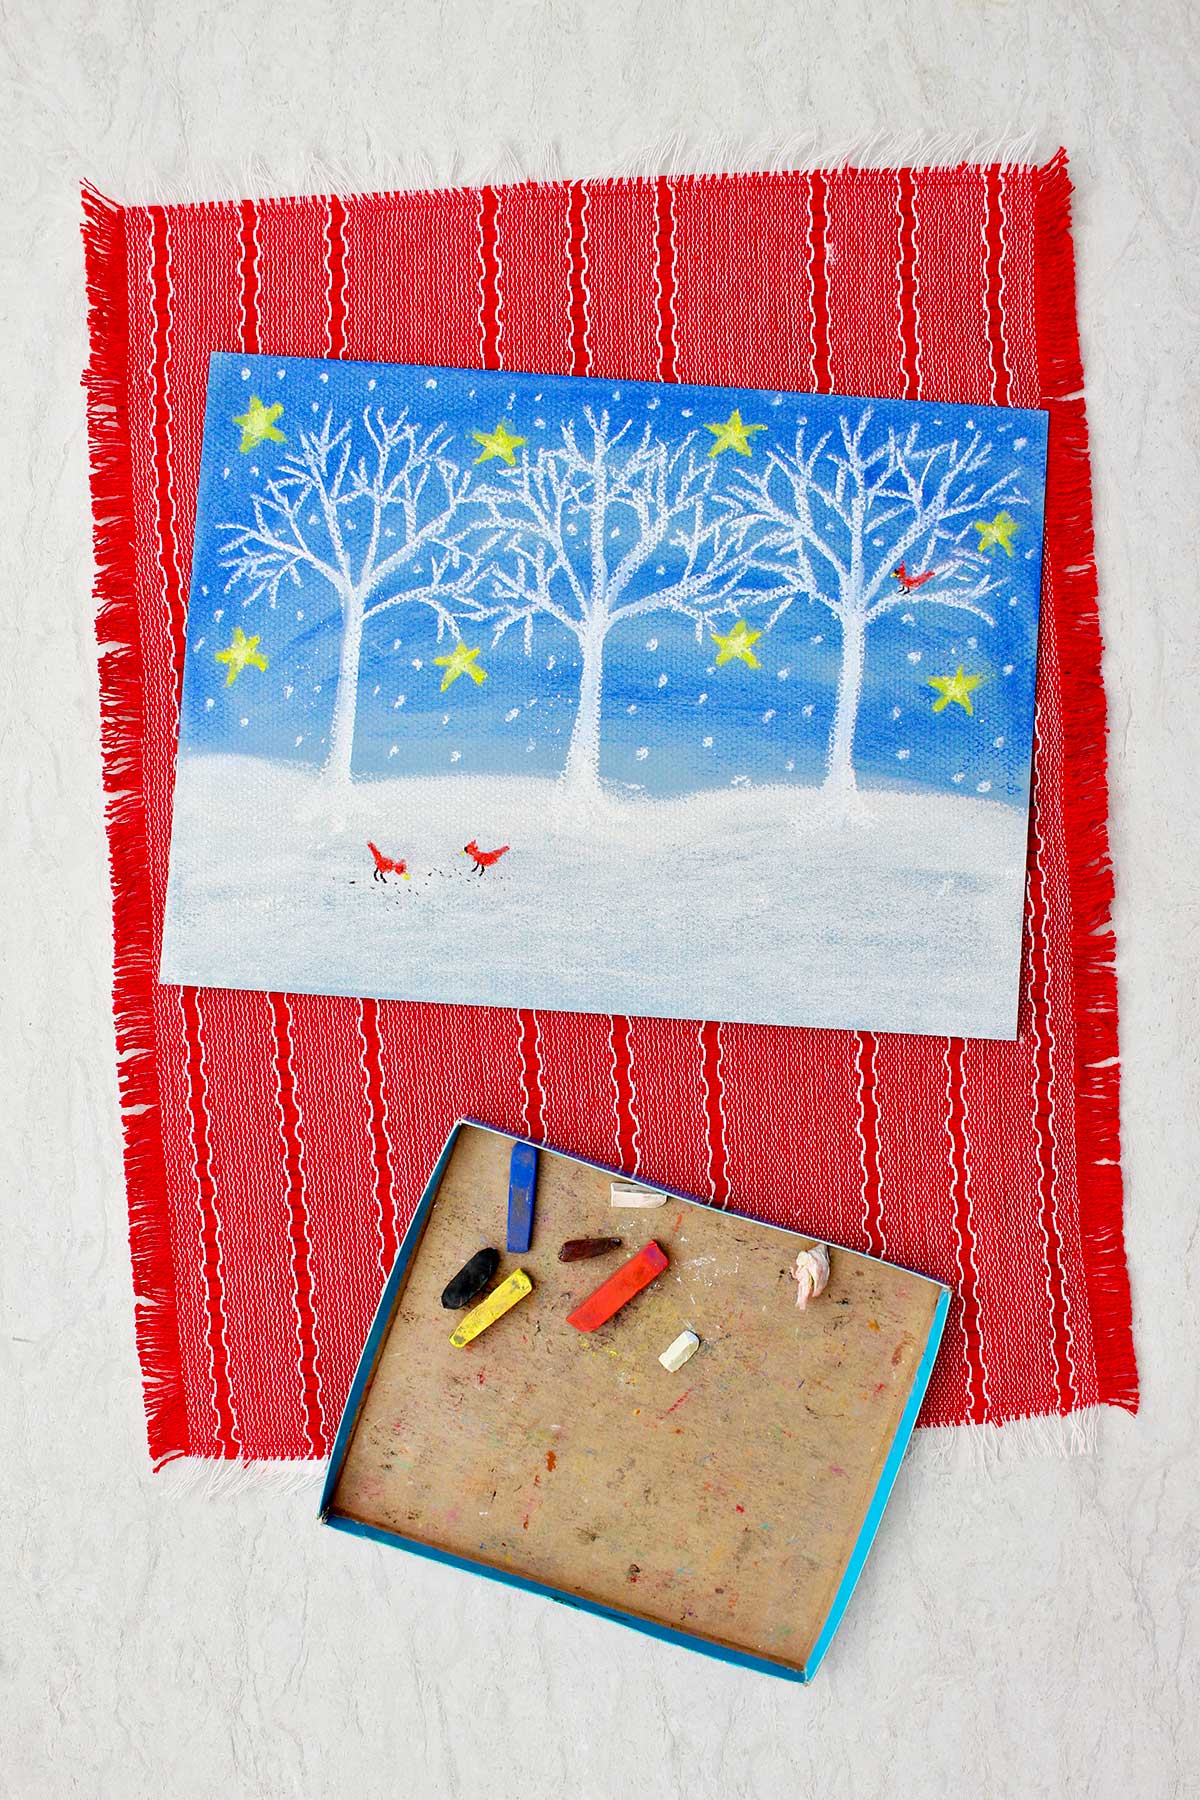
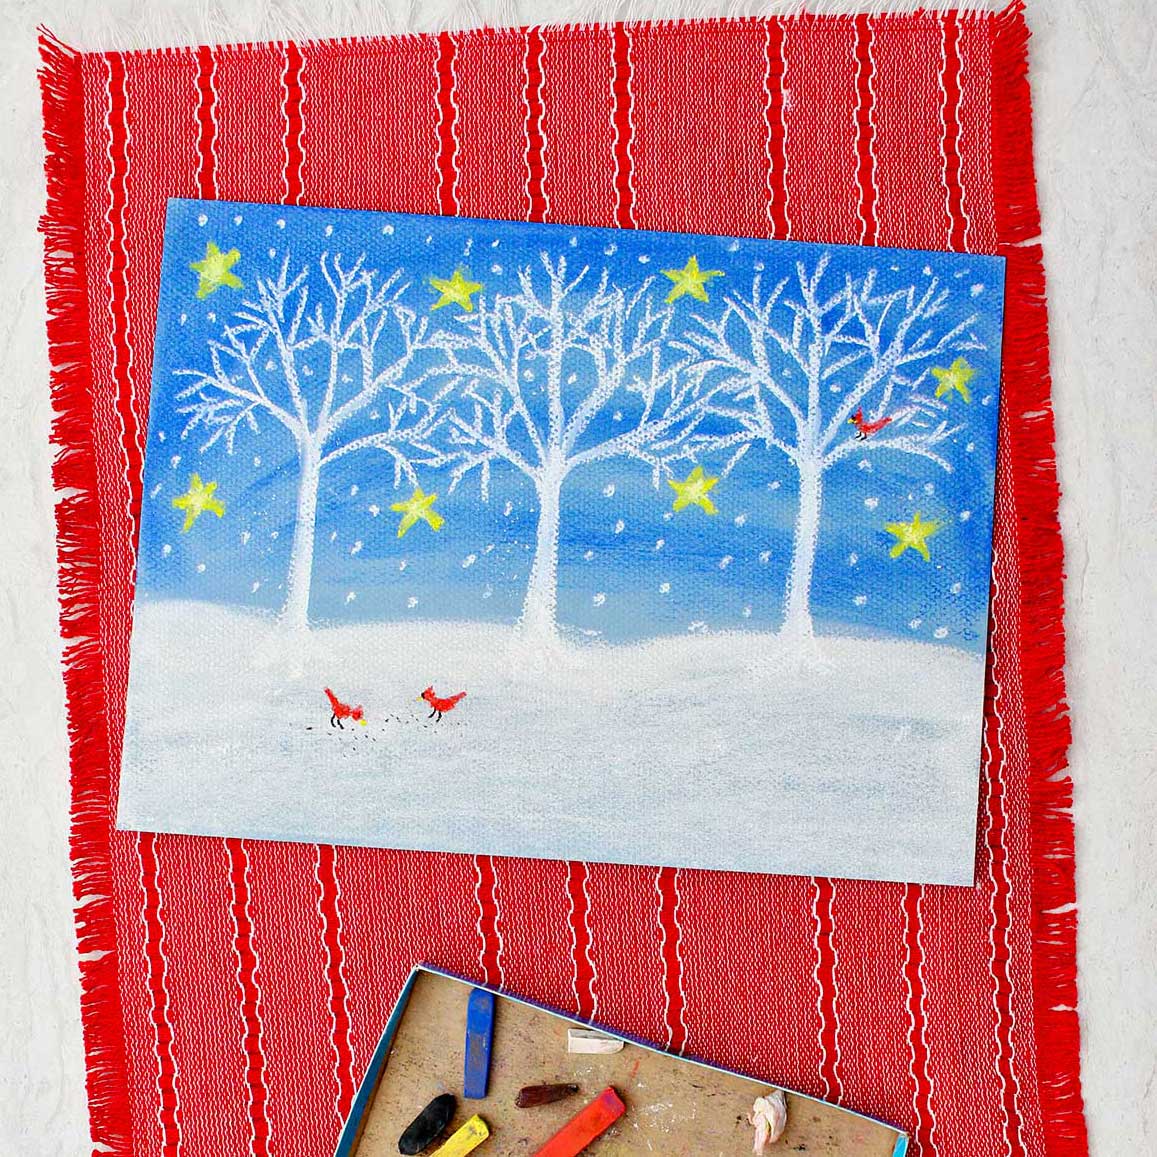
I love the winter wonderland scene of snow-covered trees on a winter morning, don’t you? The red color of cardinals pops out against the white on the ground and trees.
Want to learn how to how to draw a beautiful winter scene like this? It makes a lovely Christmas card or gift!
Soft pastel chalks create a drawing unlike any other type of art materials that you’ve tried. The white chalk on the blue paper makes drawing winter scenes easy.
I will walk your kids through this cute winter themed project step-by-step and they will love the results!
Supplies for a Winter Scene Drawing
You don’t need much to bring these cute Christmas winter scenes to life!
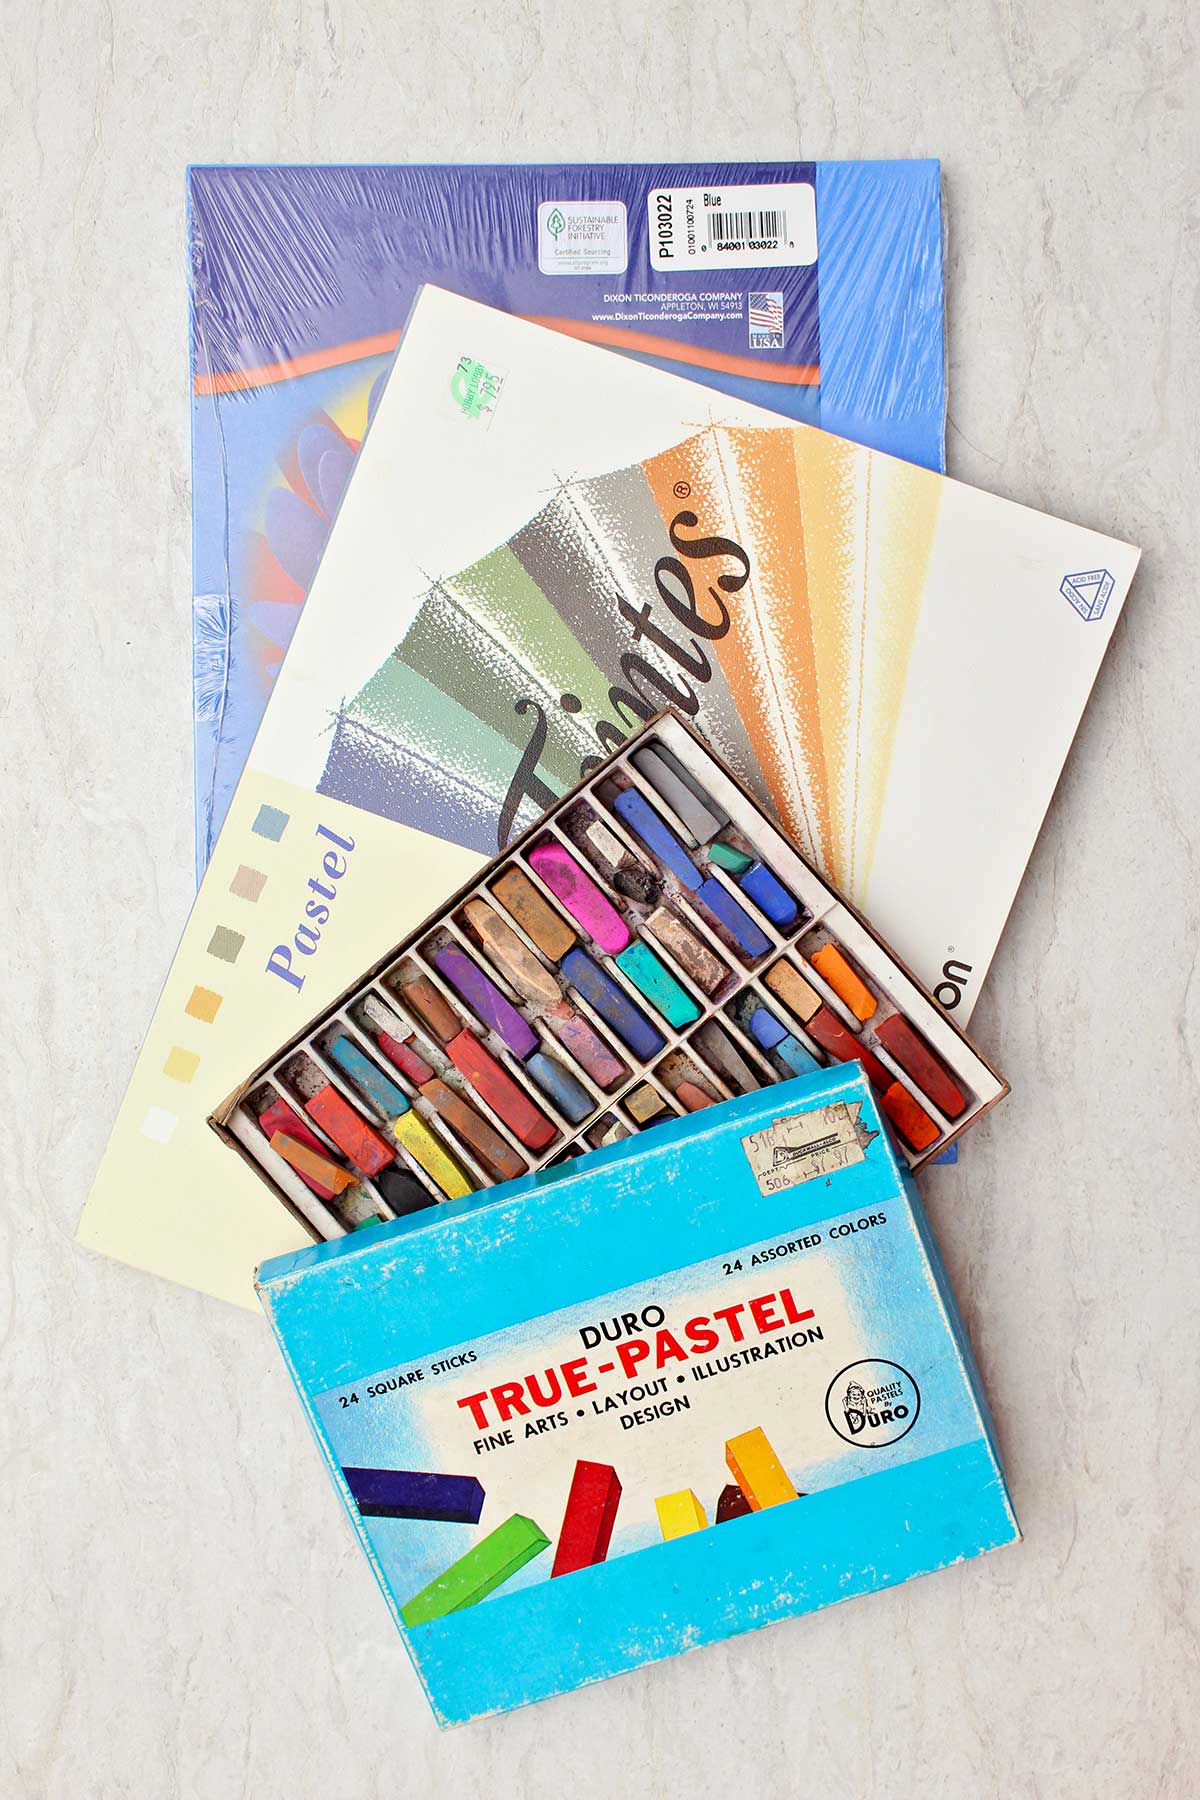
- Pastel chalk- A small set of pastel chalks will be all you need.
- Blue paper- I’m using construction paper for my blue paper. But blue cardstock or actual blue pastel paper also work
- Other materials- Paper towels and something to cover your work surface.
Steps to Draw a Winter Scene
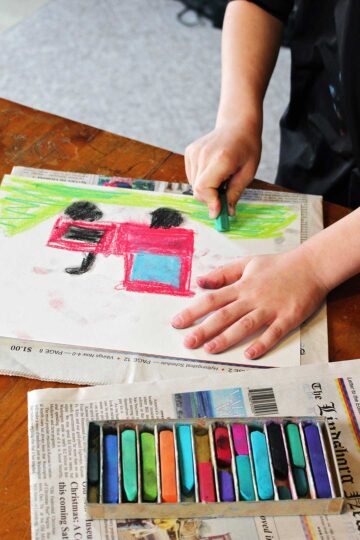
Cover your work surface with newspaper to catch the chalk dust and smudges.
Place your blue construction paper the landscape direction (horizontal) for this drawing.
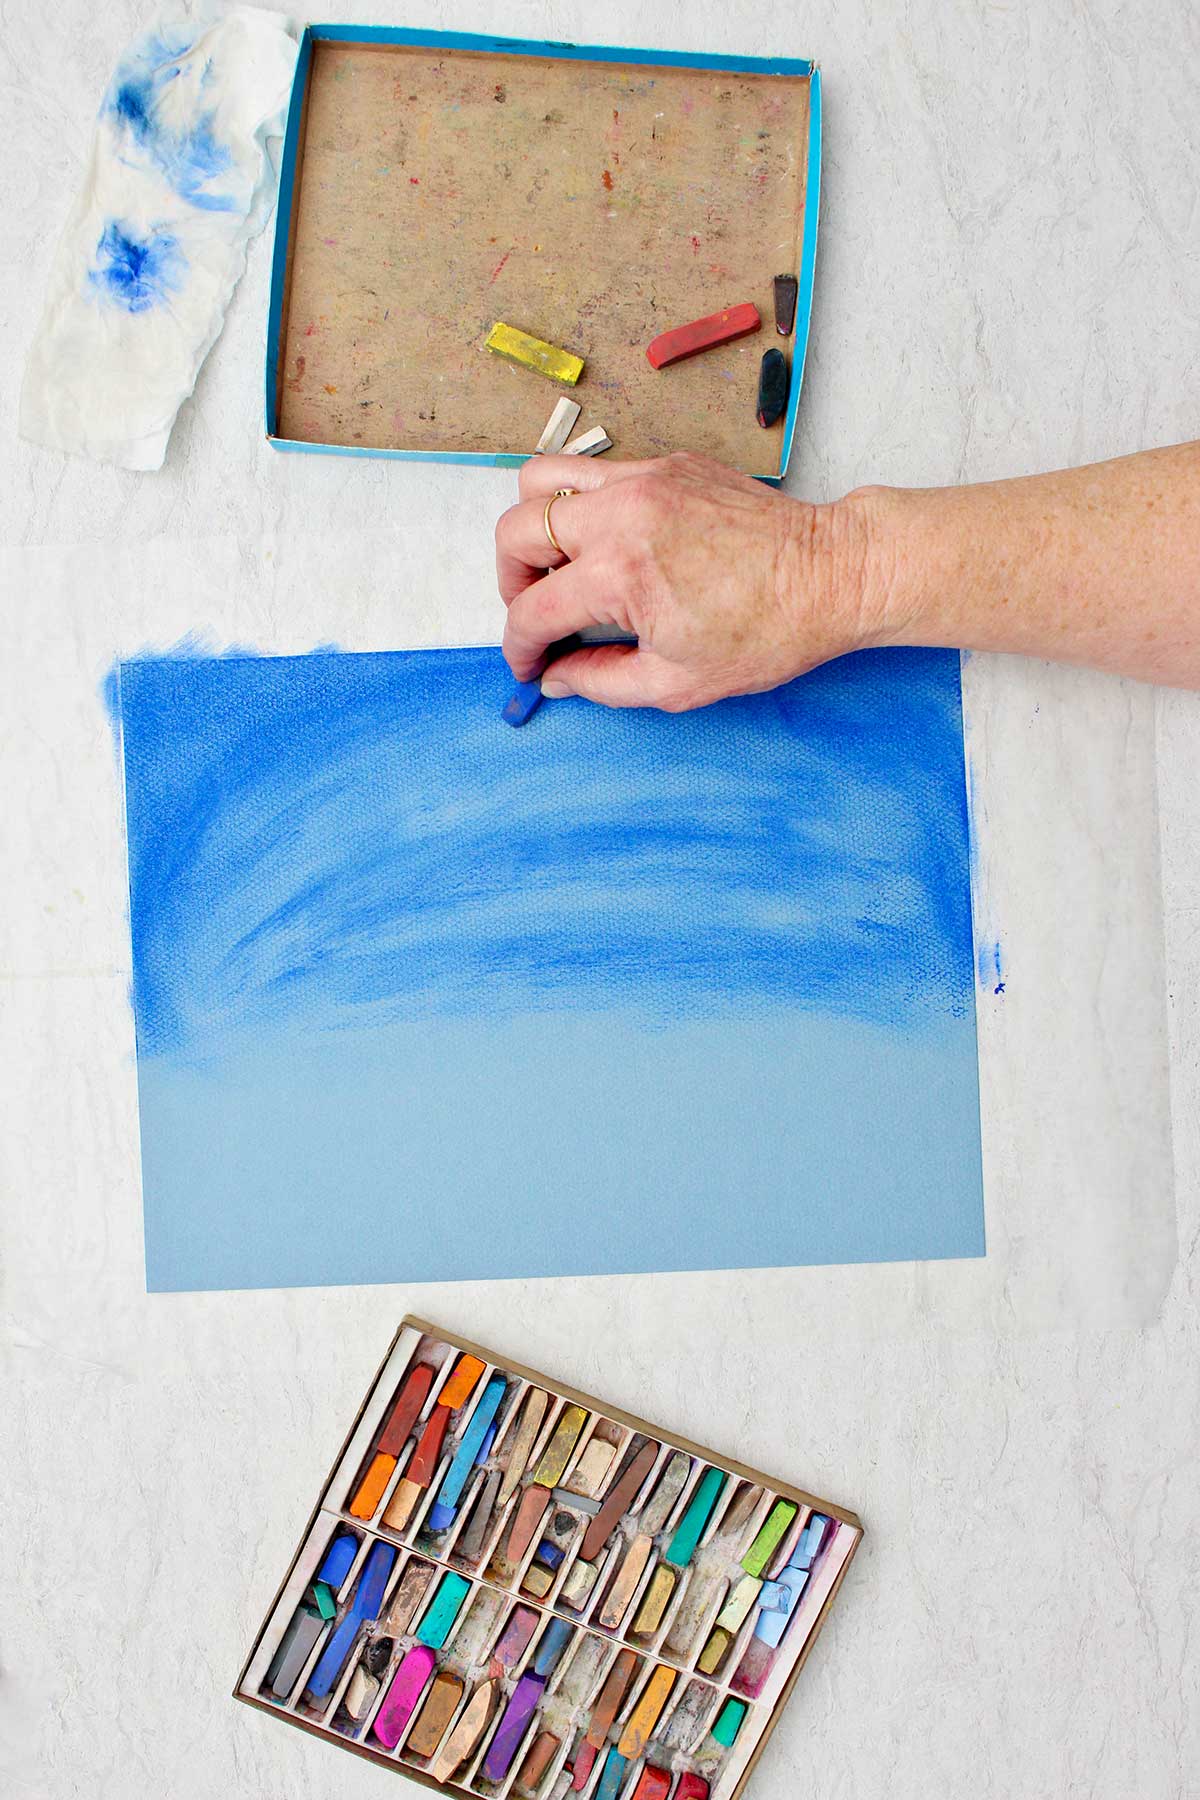
Use a darker blue chalk to make the top ¾ of the paper look more like a night sky. Lay the chalk on its side and color over the paper lightly making it darker on the edges of the paper.
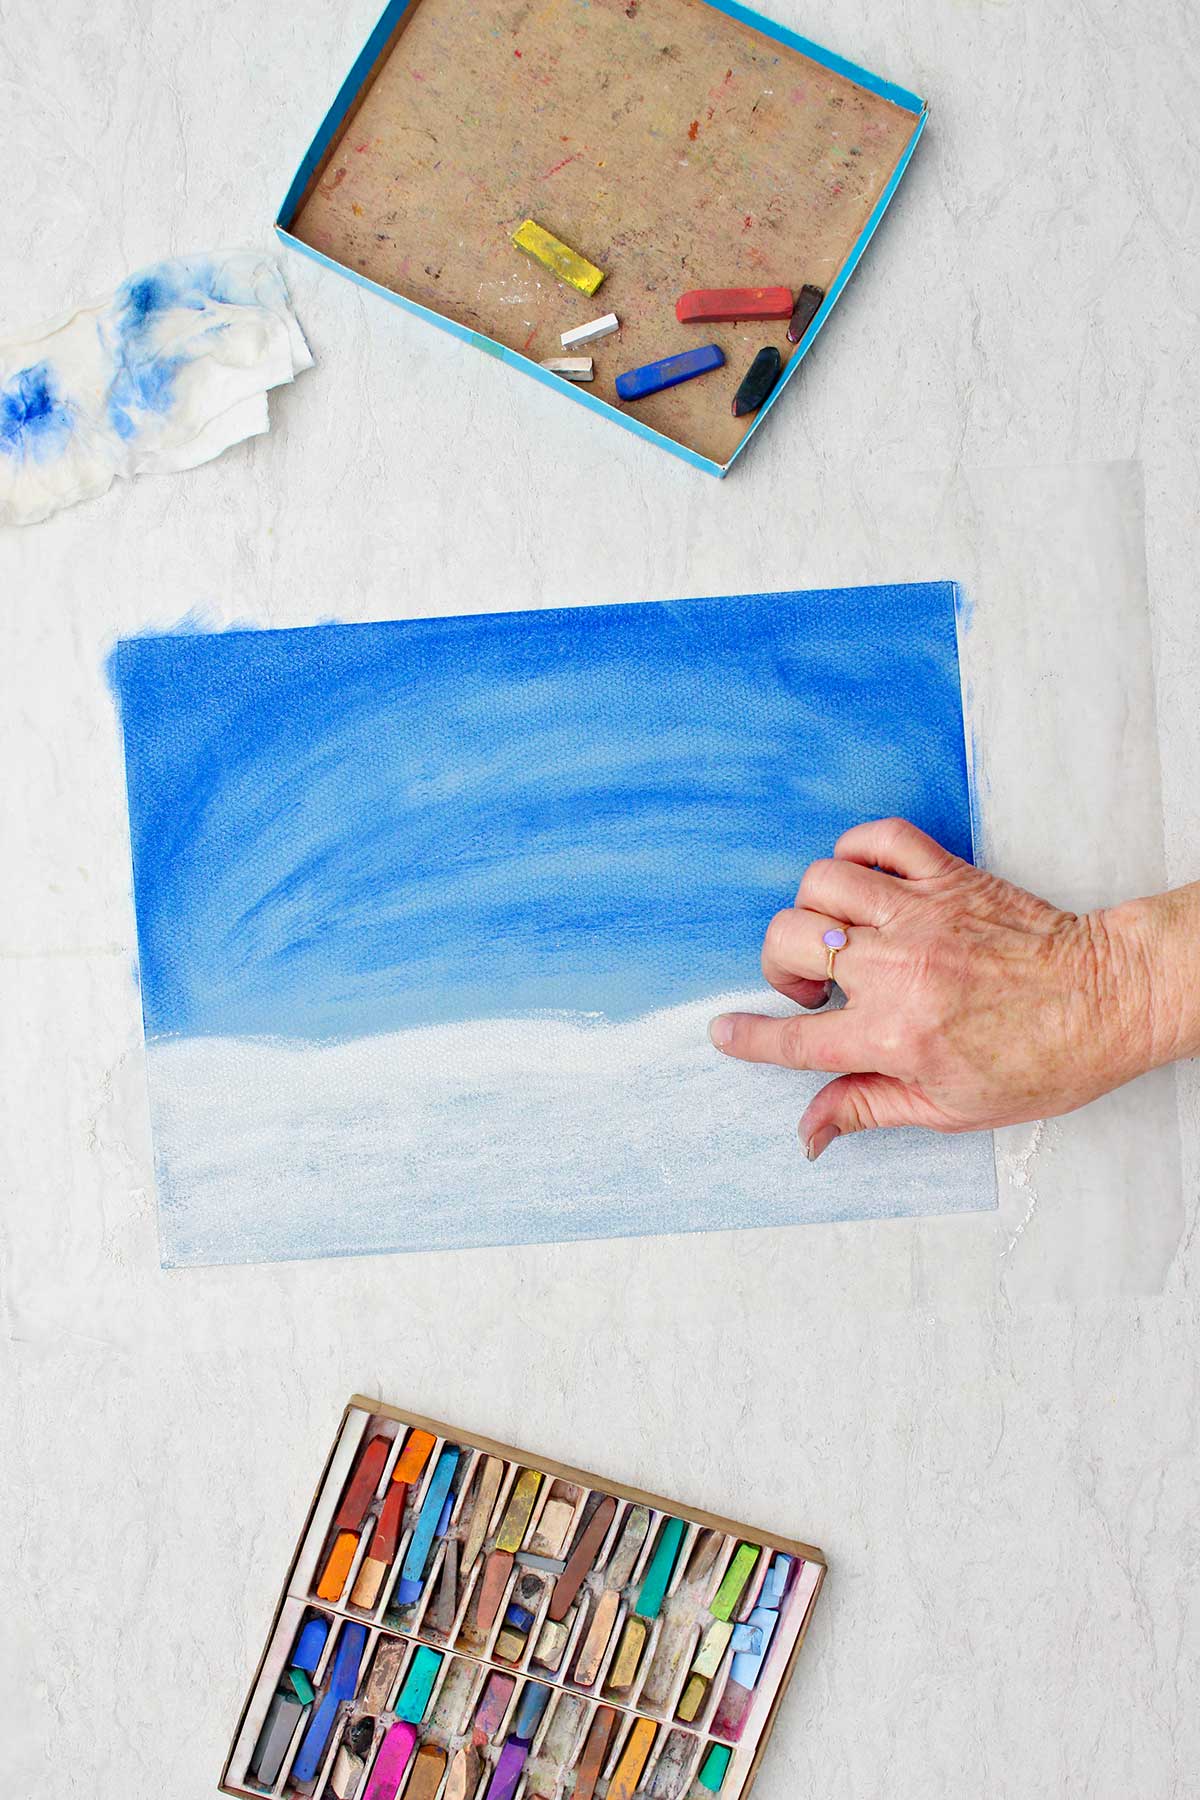
Use your finger to blend (smudge) the chalk making the chalk smooth on the paper.
Use the white chalk to make an area of “snow” on the bottom of ¼ of the paper. Cover the paper well and make the top edge roll up and down like snow drifts after a snow storm.
Take a finger and blend the chalk so it looks smooth and covers the paper well.
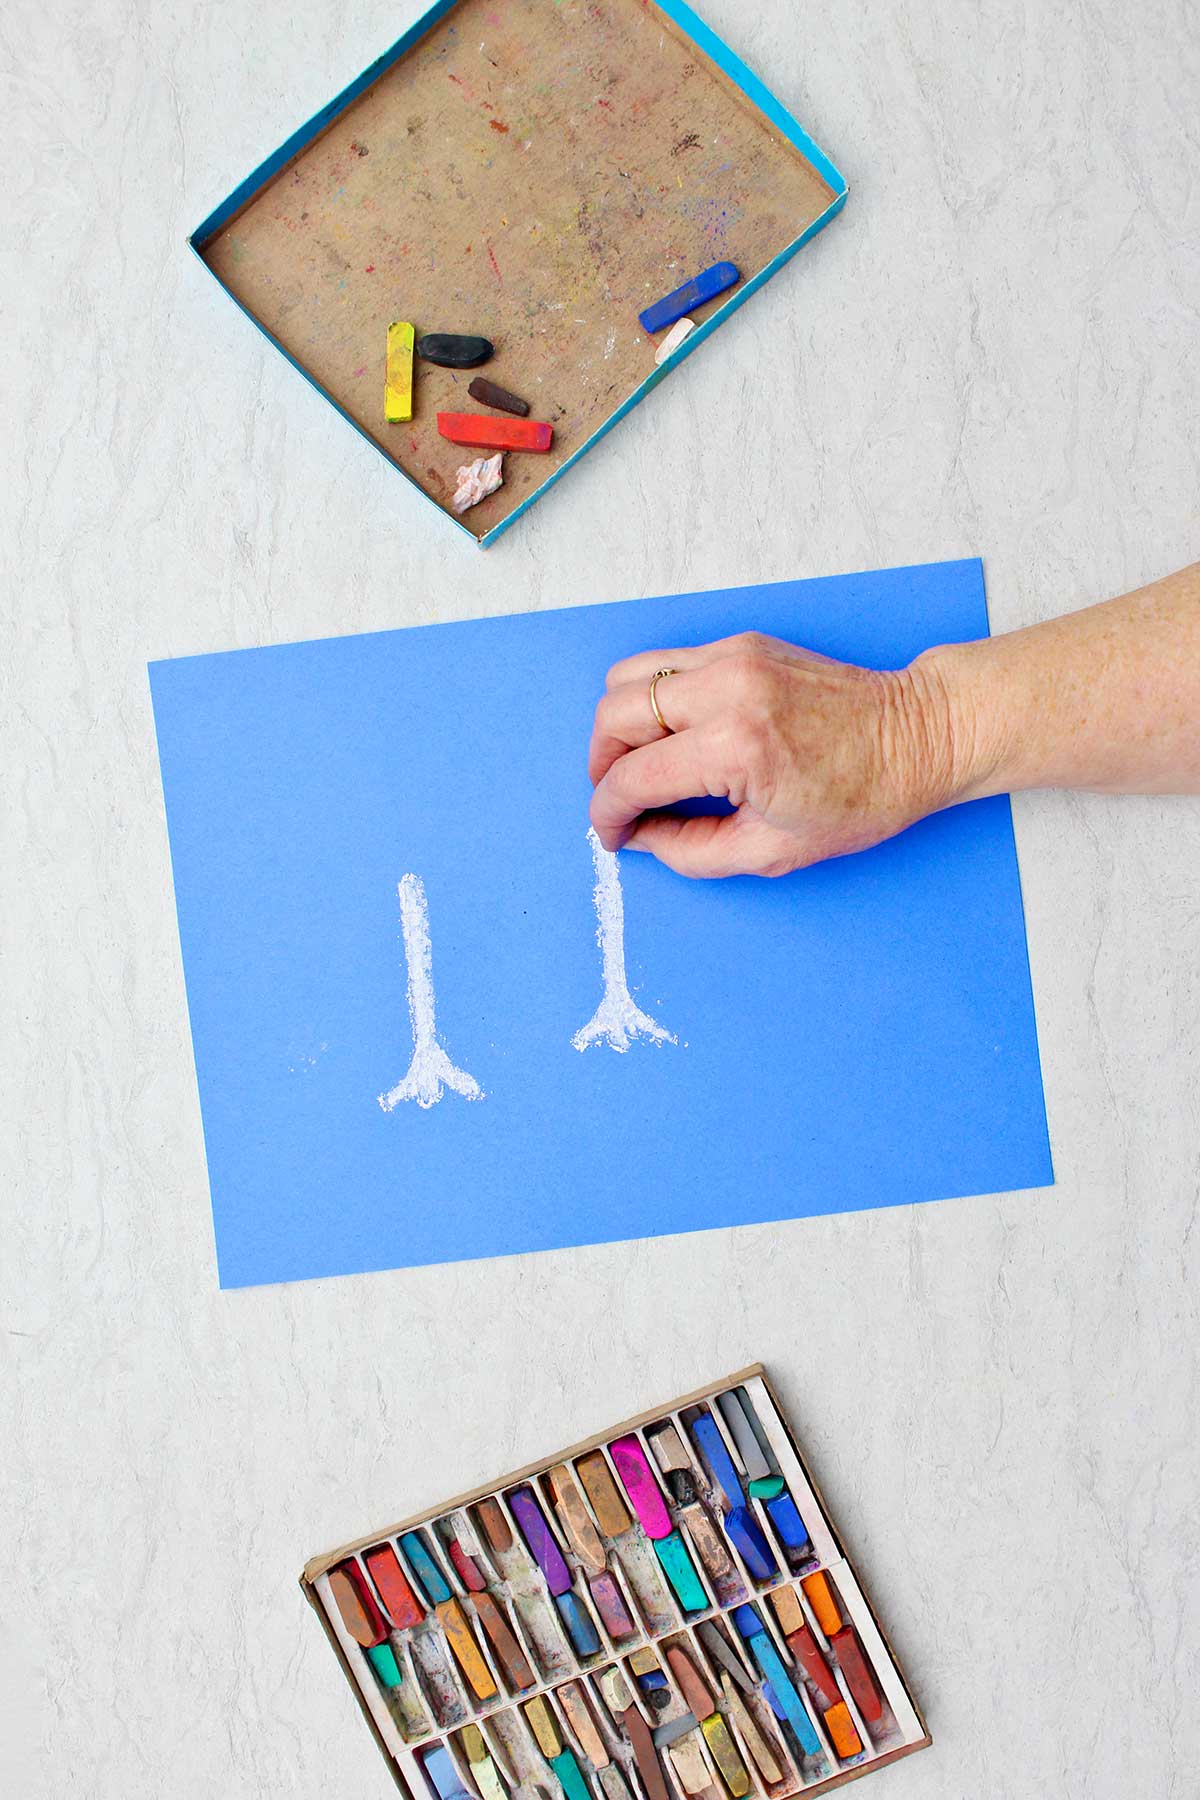
Drawing a small winter forest
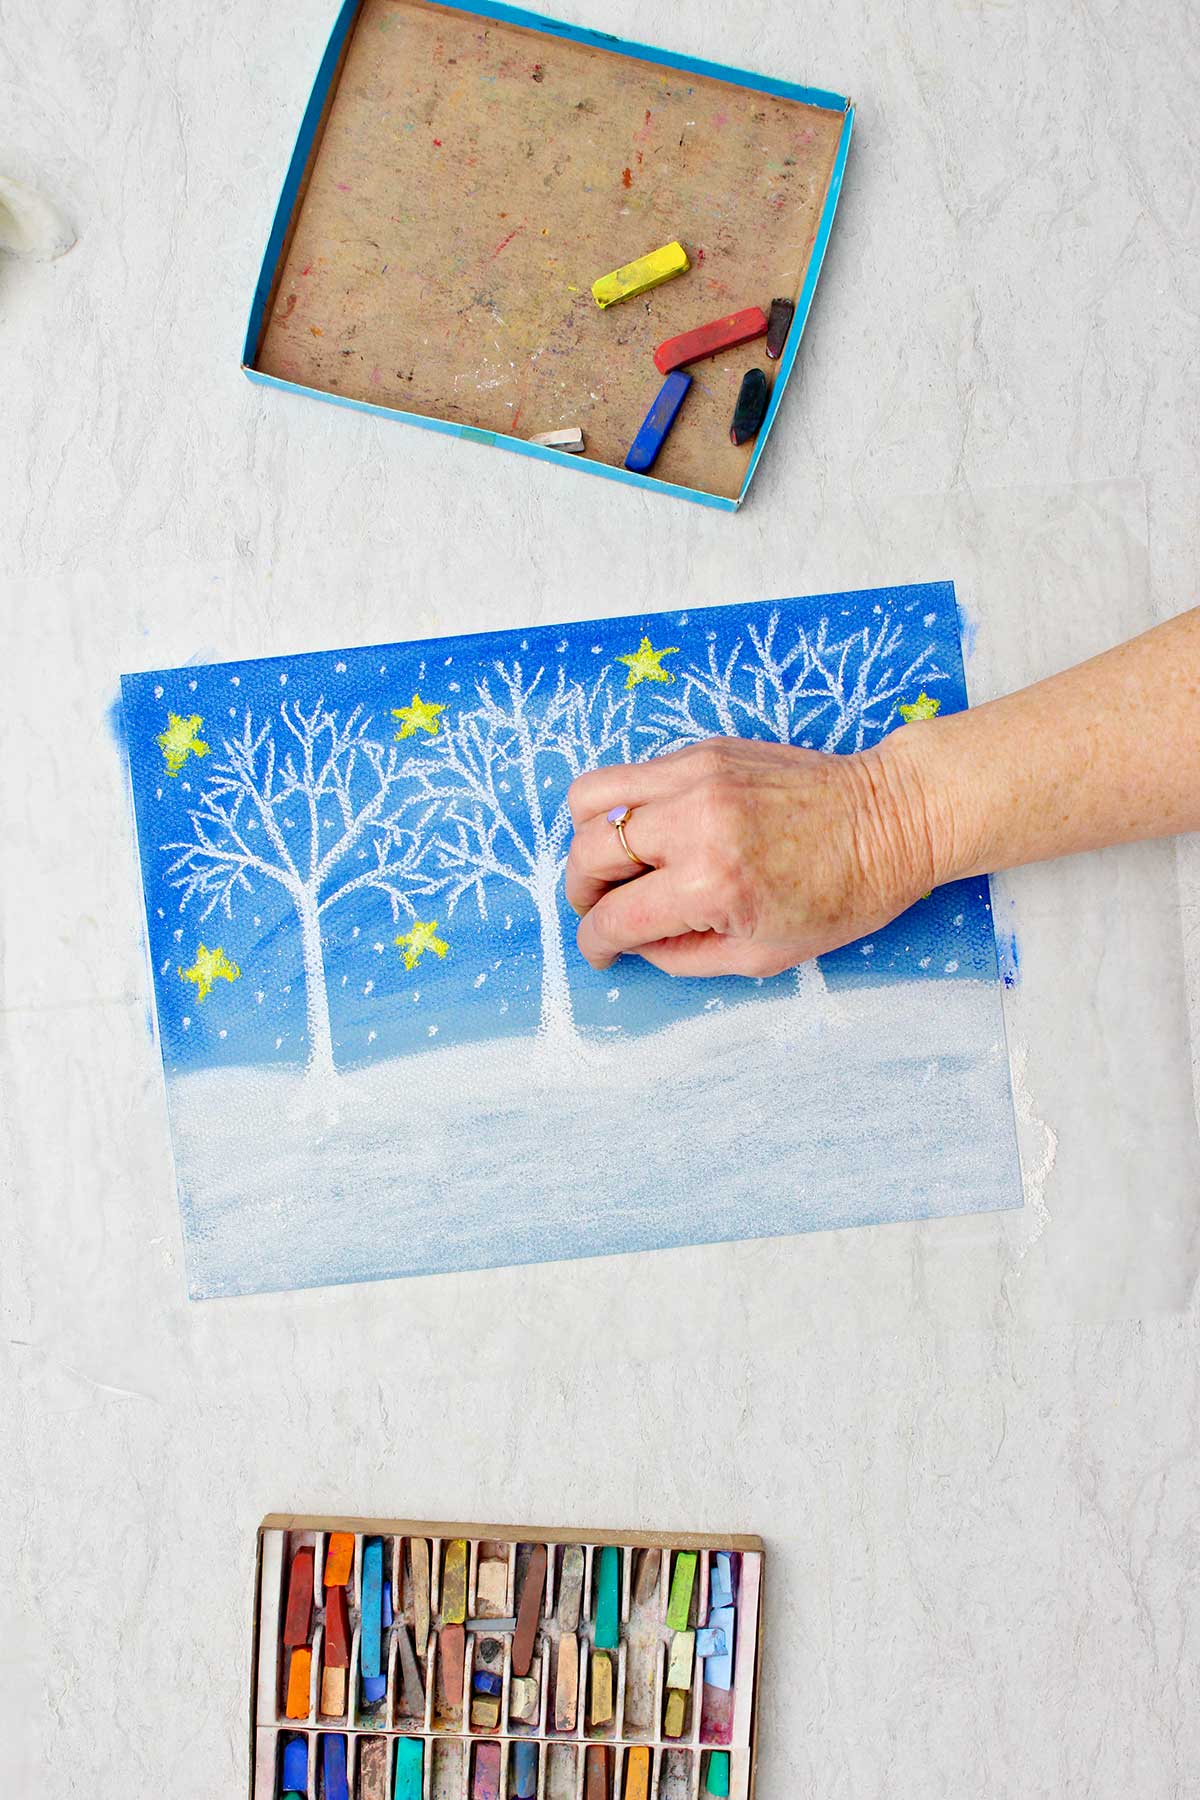
Use the white chalk to make 3 tree trunks up from the snow drift to about ½ way up the paper. Widen the trunk out slightly at the bottom to look like roots.
Draw five or six larger branches coming out of the top of the trunk, looking like your five fingers spread out on your hand.
Draw a series of yellow stars around these trees, maybe 6-8 stars. The video teaches how to make stars if you don’t know how.
Make 4 or five smaller branches coming out of the end of each of the larger branches.
Then making 4 more even smaller twigs out of the end of these smaller branches. The video makes this clear if you can't visualize it.
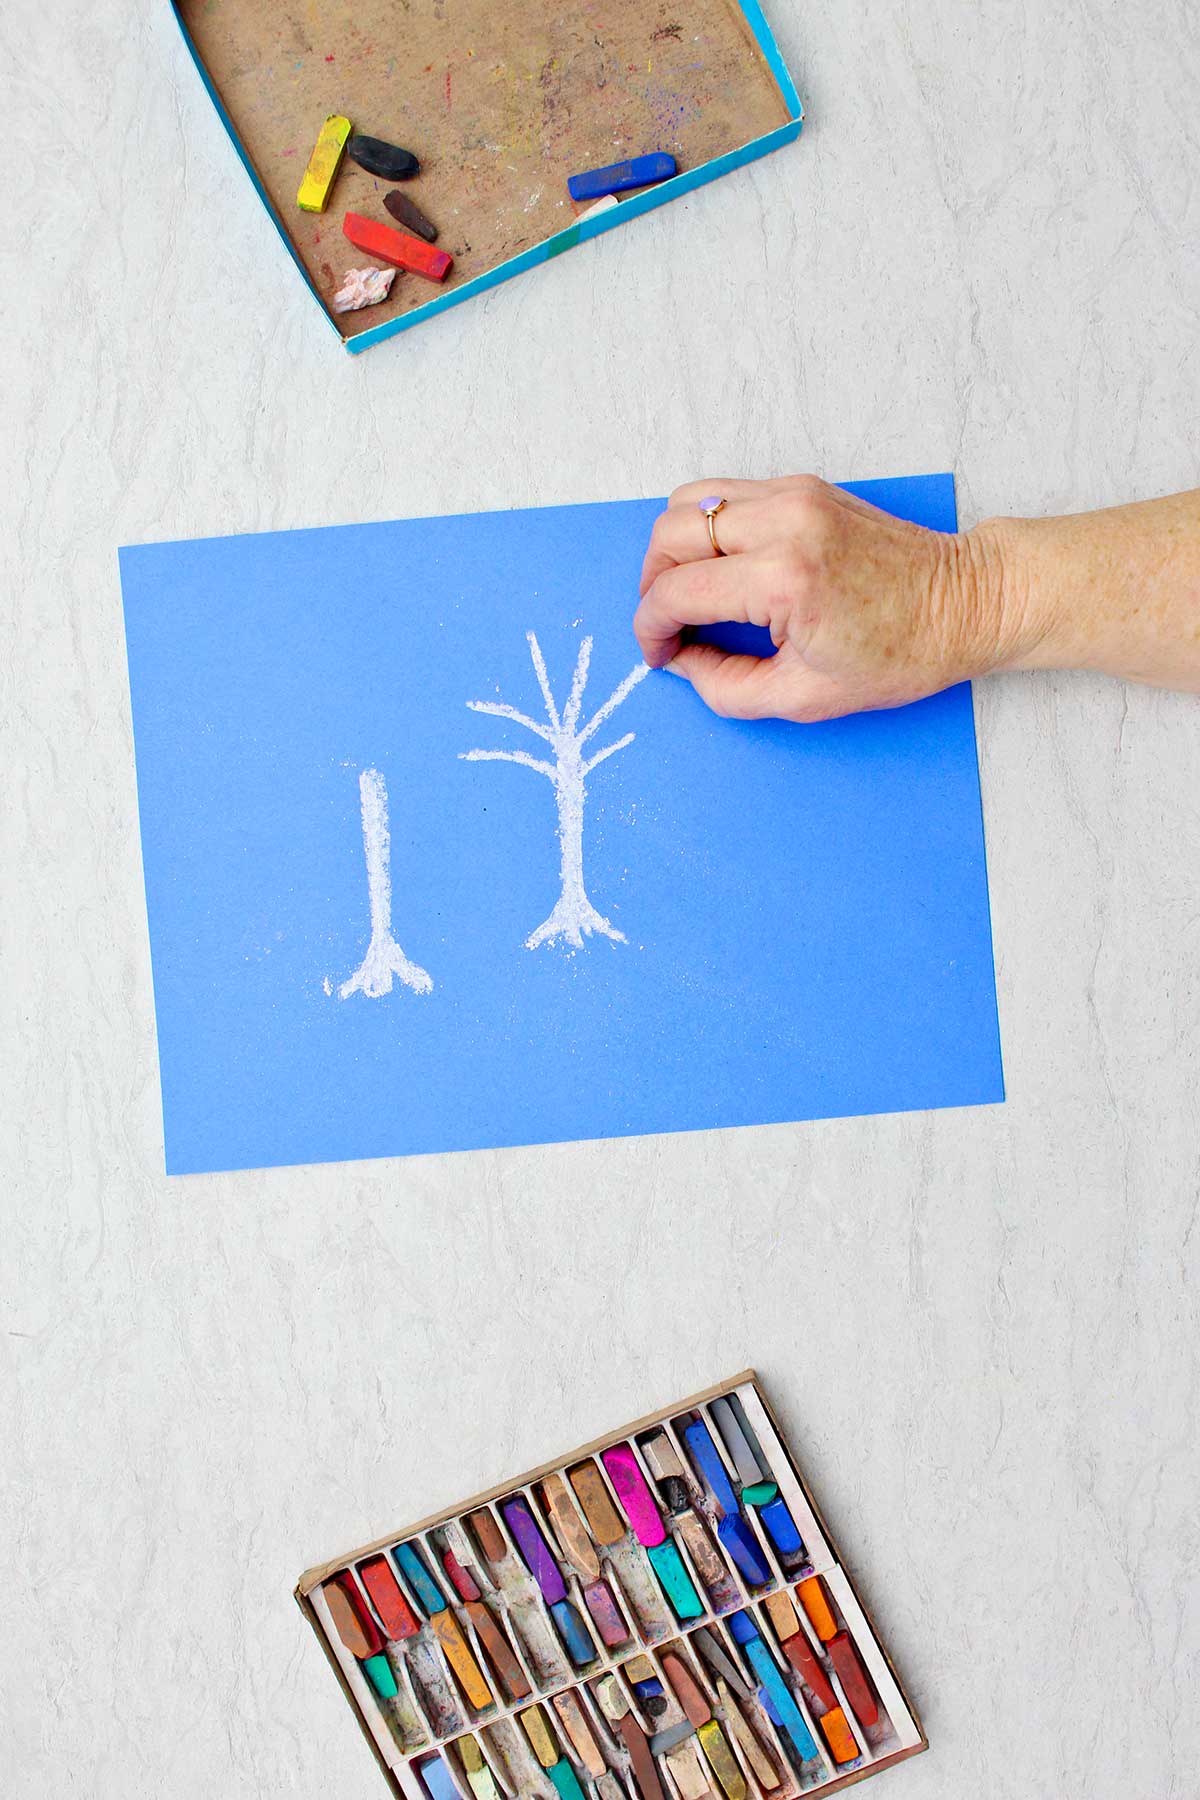
Details to add
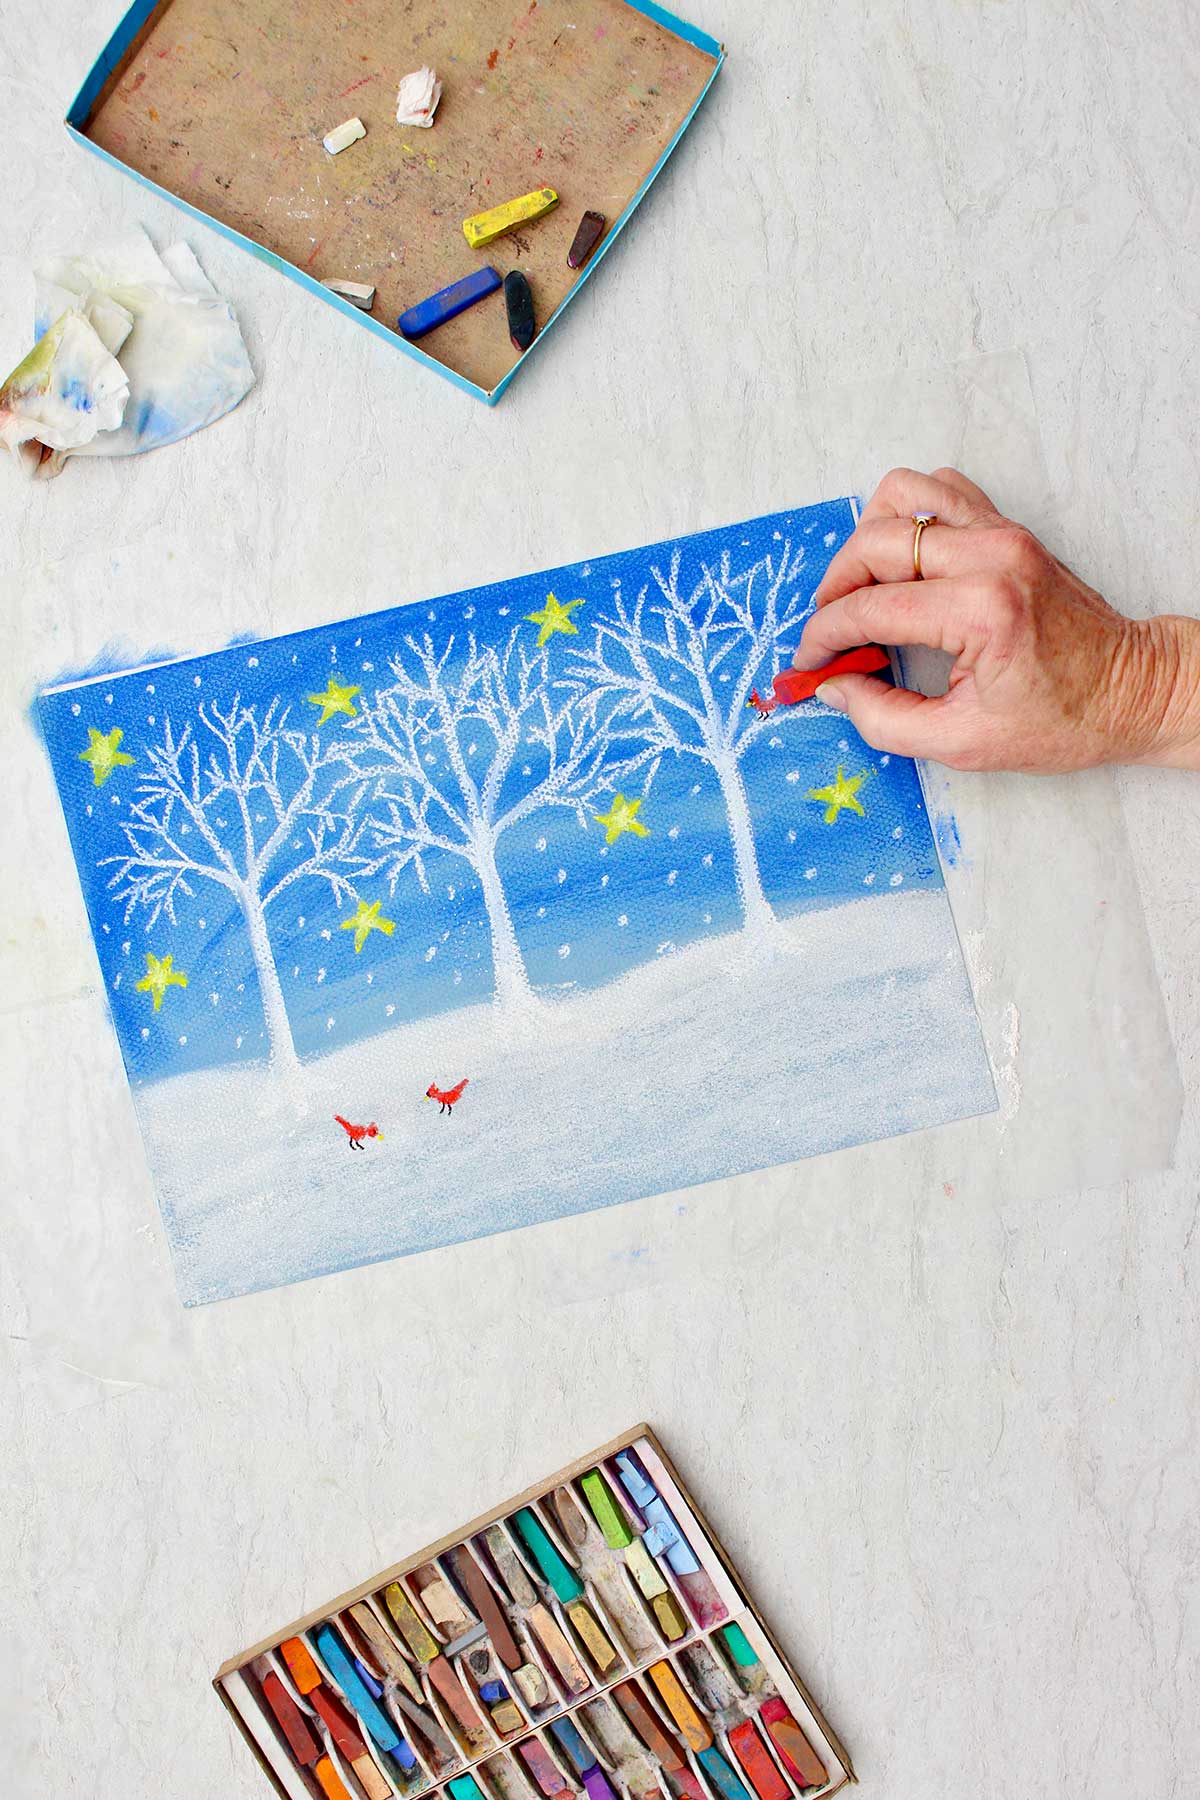
This is a winter Christmas scene so we need to draw snow coming down! The snow is small dots made of white chalk all over the blue sky.
Draw a small cardinal in one of the trees and two birds on the ground. Make a small circle head, an oval body, and a line for a tail out of red chalk. Make a small black line on the front of the head and two small black lines for legs.
Finish the bird with a small yellow triangle beak. Again, the video helps with these steps.
A few tiny dots for seed around the birds complete the picture.
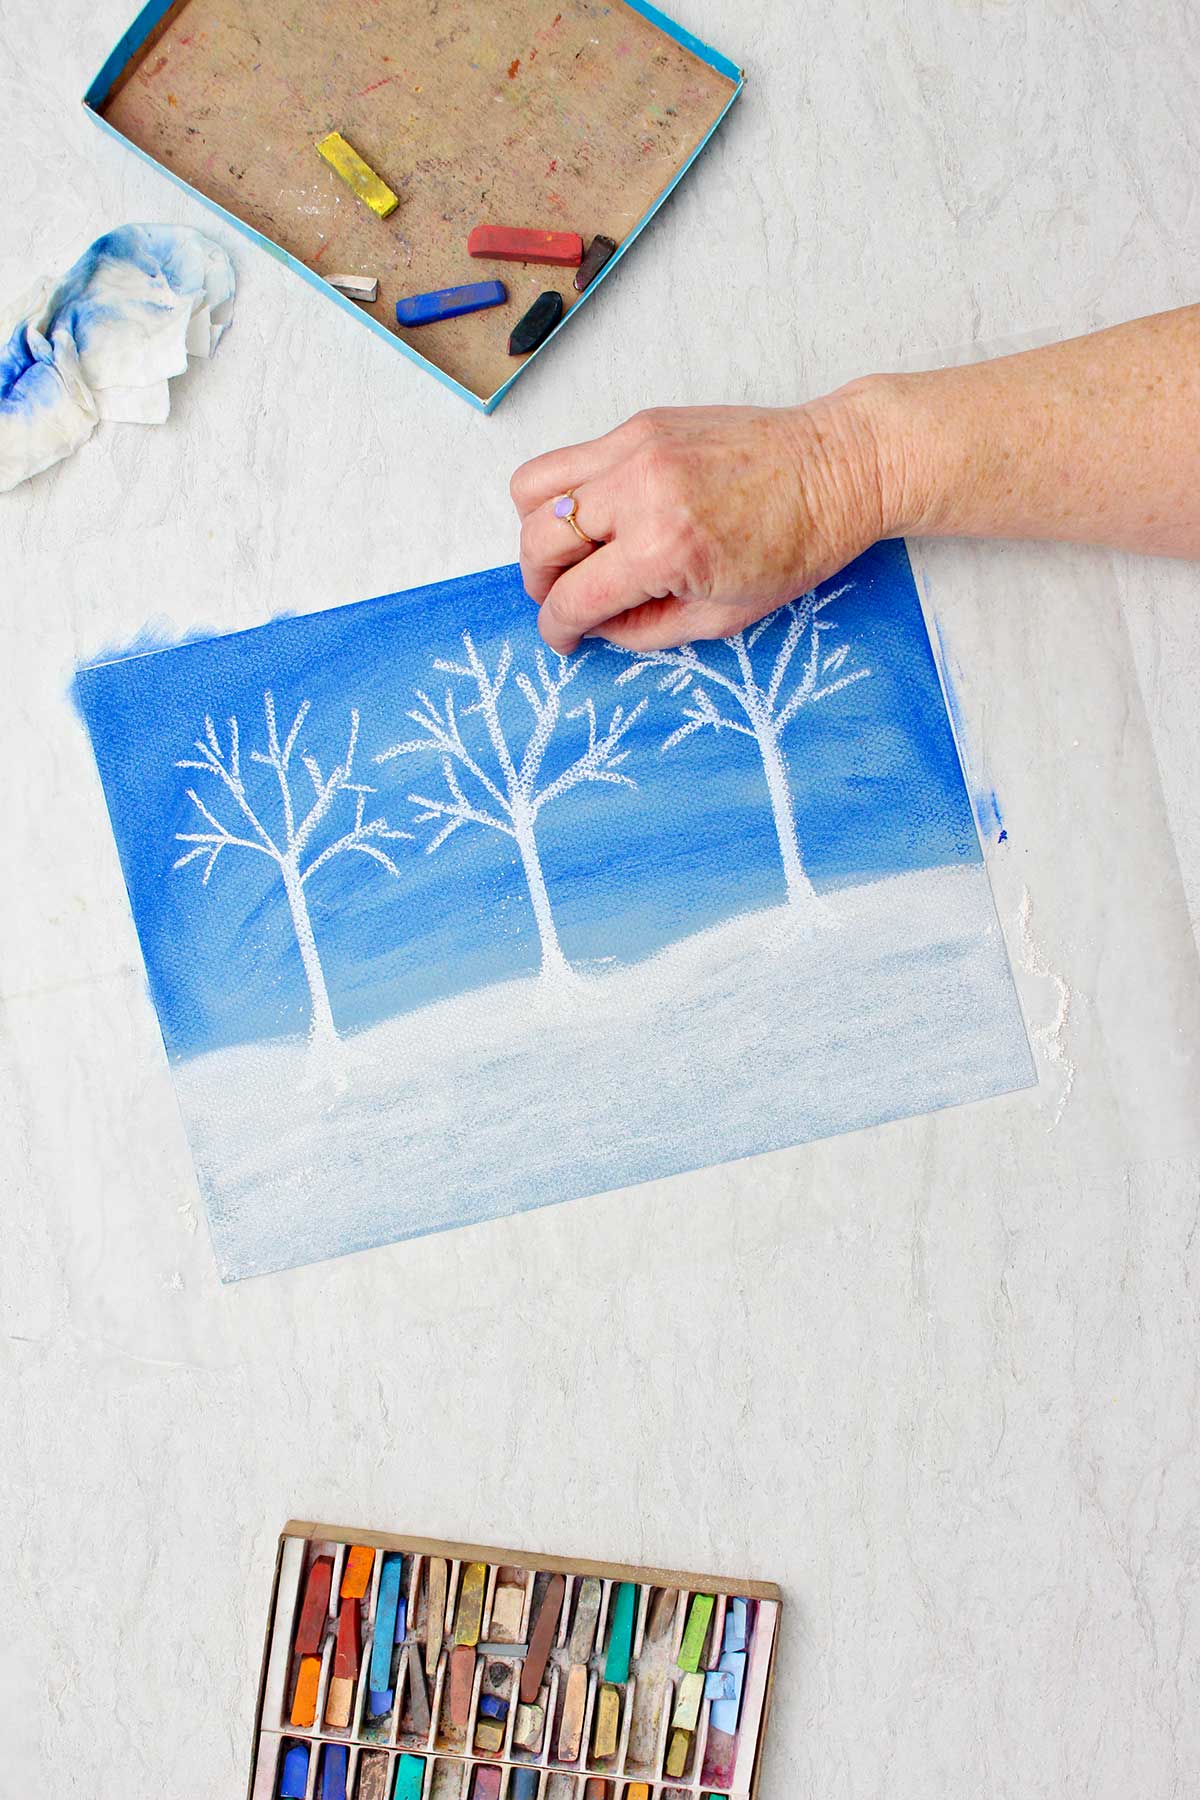
Art Project Tips
- Hold the paper with the fingertips of your non-drawing hand so it doesn’t move but you don’t smudge it either.
- Don’t rub your drawing hand over the paper as you draw or it will smudge the chalk. If you have to set your hand on the chalk drawing, place a piece of paper under your hand and carefully move it when needed.
- Practice a tree and a bird on a scrap paper before trying the drawing on your paper. You will learn how the pastels work and how to use them better.
- Draw the bird with a colored pencil if it is too hard to draw with the chalks. The chalks make it hard to be precise.
- Applying a fixative spray over the chalk drawing when you finish will lessen the possibility of smudging.
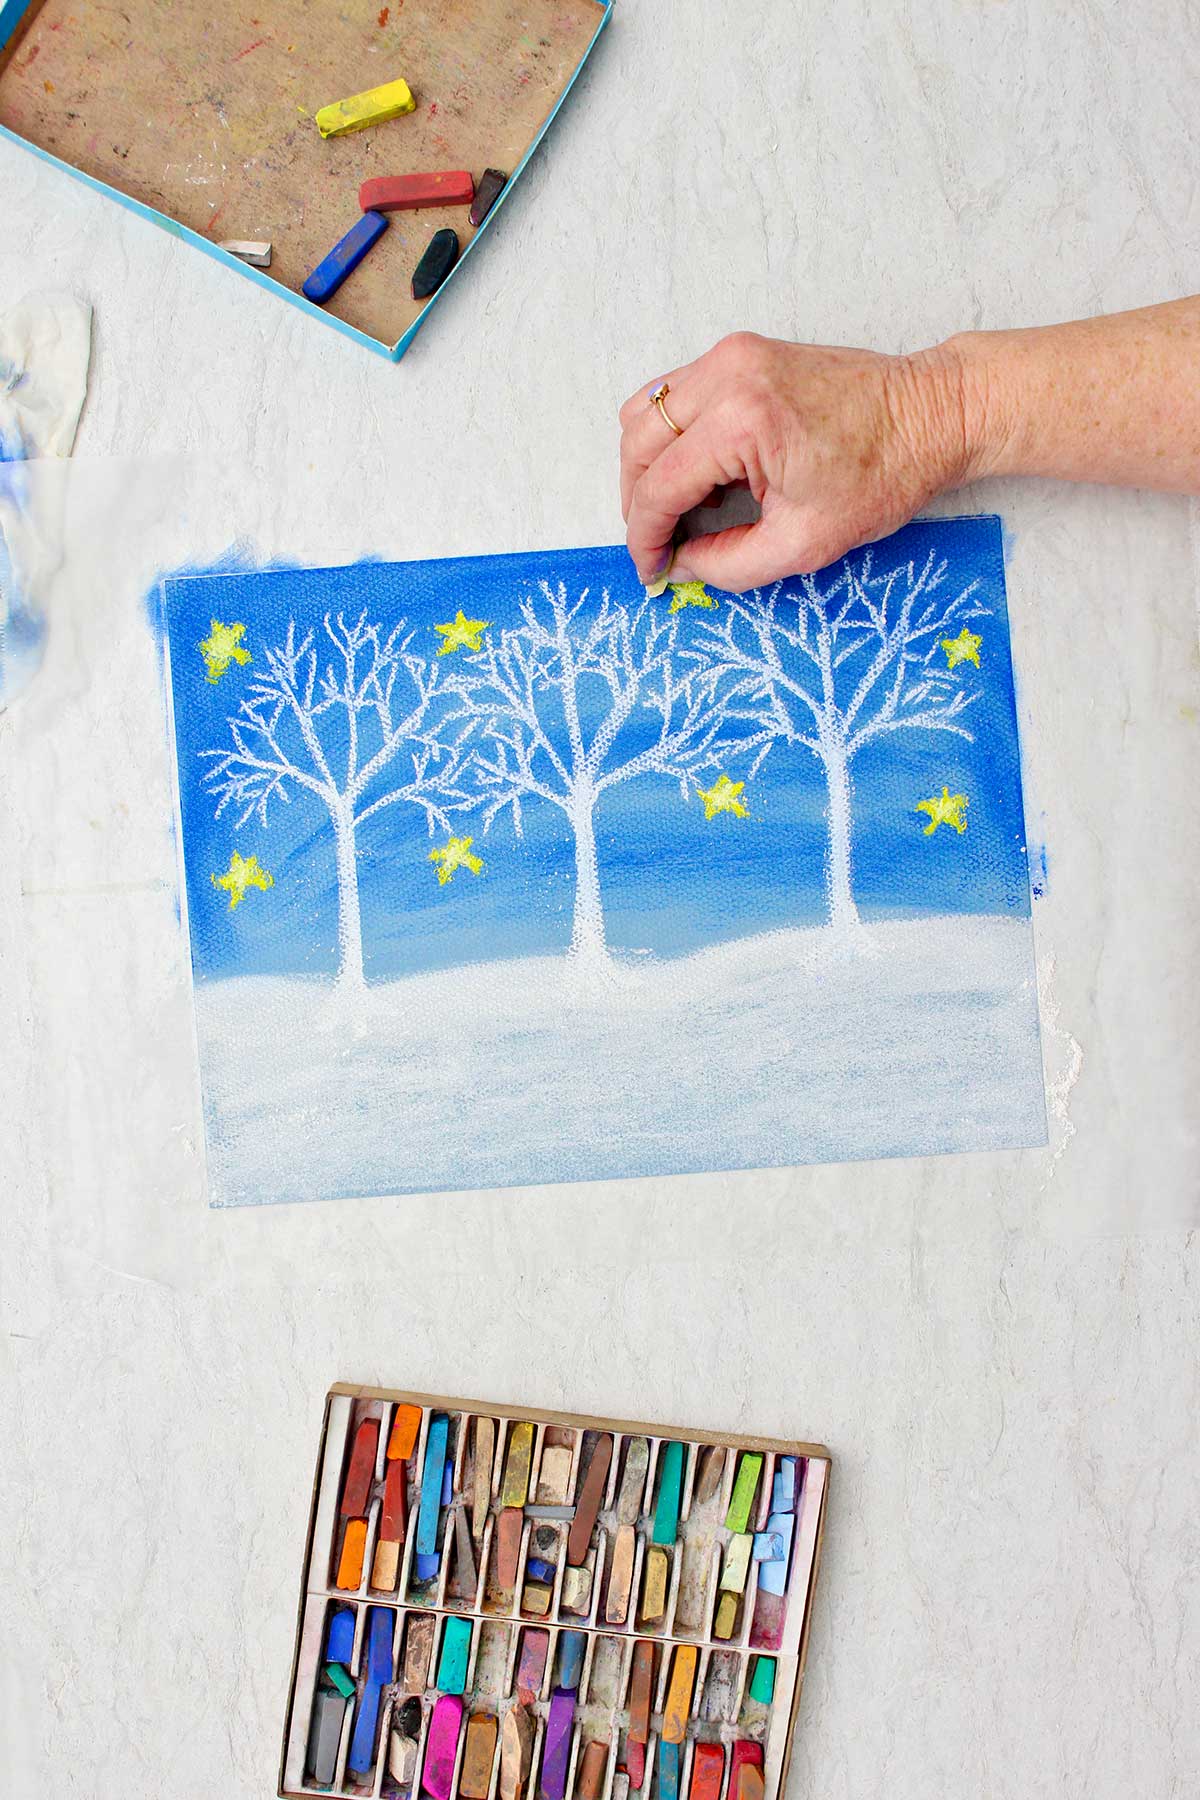
Art Project Variations
Here are a few variations you’re welcome to try with this simple winter Xmas scene craft:
- Draw a snowman in the center of your page with a tree on either side for a snowman winter scene. The snowman is three circles of white chalk- a smaller one on top, medium sized in the middle, and larger on the bottom. Add a hat, face of dots, carrot (triangle) nose, buttons, and a scarf.
- Use brown chalk to color the trees and add white lines on the top side of the branches to make the tree look like it is covered in snow.
- Turn the paper vertically (portrait direction) and draw one larger tree.
FAQ on Snow Winter Scenes
This tutorial is broken down into steps to make the process incremental. You draw the sky and snow. Then add trees with increasingly smaller branches. The background has stars and snow flakes. The cardinal birds bring a touch of red to the scene. Follow the directions and you will be successful.
Watch the video and stop at each step to allow the kids to do that step of the drawing. Be present to point out things they may miss.
This chalk drawing is a good starter project for beginners. The video and written step by step directions make the process easy.
More Easy Art Projects for Kids
Looking for more great drawing or painting tutorials for kids? Here are a few favorites for you to try:
This is the time of the year to wish you a happy holiday season!
Come join the fun at WTN!
Try this craft, leave a comment, rate it, and tag a photo with #WelcometoNanas wherever you post.
Want More Crafts?
Love getting craft ideas straight to your inbox? Sign up to receive a weekly email and get a free gift!
Easy Pastel Chalk Christmas Winter Scene for Kids
Equipment
- none needed
Items Required
- pastel chalks
- construction paper But blue cardstock or actual blue pastel paper also work
- Paper towels
- something to cover your work surface
Instructions
- Place your blue construction paper the landscape direction (horizontal).Use a darker blue chalk to make the top ¾ of the paper look more like a night sky. Lay the chalk on its side and color over the paper lightly making it darker on the edges of the paper.Use your finger to blend (smudge) the chalk making the chalk smooth on the paper.
- Use the white chalk to make an area of “snow” on the bottom of ¼ of the paper. Cover the paper well and make the top edge roll up and down like snow drifts after a snow storm. Take a finger and blend the chalk so it looks smooth and covers the paper well.
- Use the white chalk to make 3 tree trunks up from the snow drift to about ½ way up the paper. Widen the trunk out slightly at the bottom to look like roots.Draw five or six larger branches coming out of the top of the trunk, looking like your five fingers spread out on your hand.
- Draw a series of yellow stars around these trees, maybe 6-8 stars. The video teaches how to make stars if you don’t know how.
- Make 4 or five smaller branches coming out of the end of each of the larger branches. Then making 4 more even smaller twigs out of the end of these smaller branches. The video makes this clear if you can't visualize it.
- The snow is small dots made of white chalk all over the blue sky.Draw a small cardinal in one of the trees and two birds on the ground. Make a small circle head, an oval body, and a line for a tail out of red chalk. Make a small black line on the front of the head and two small black lines for legs.Finish the bird with a small yellow triangle beak. Again, the video helps with these steps.A few tiny dots for seed around the birds complete the picture.




Leave a Reply