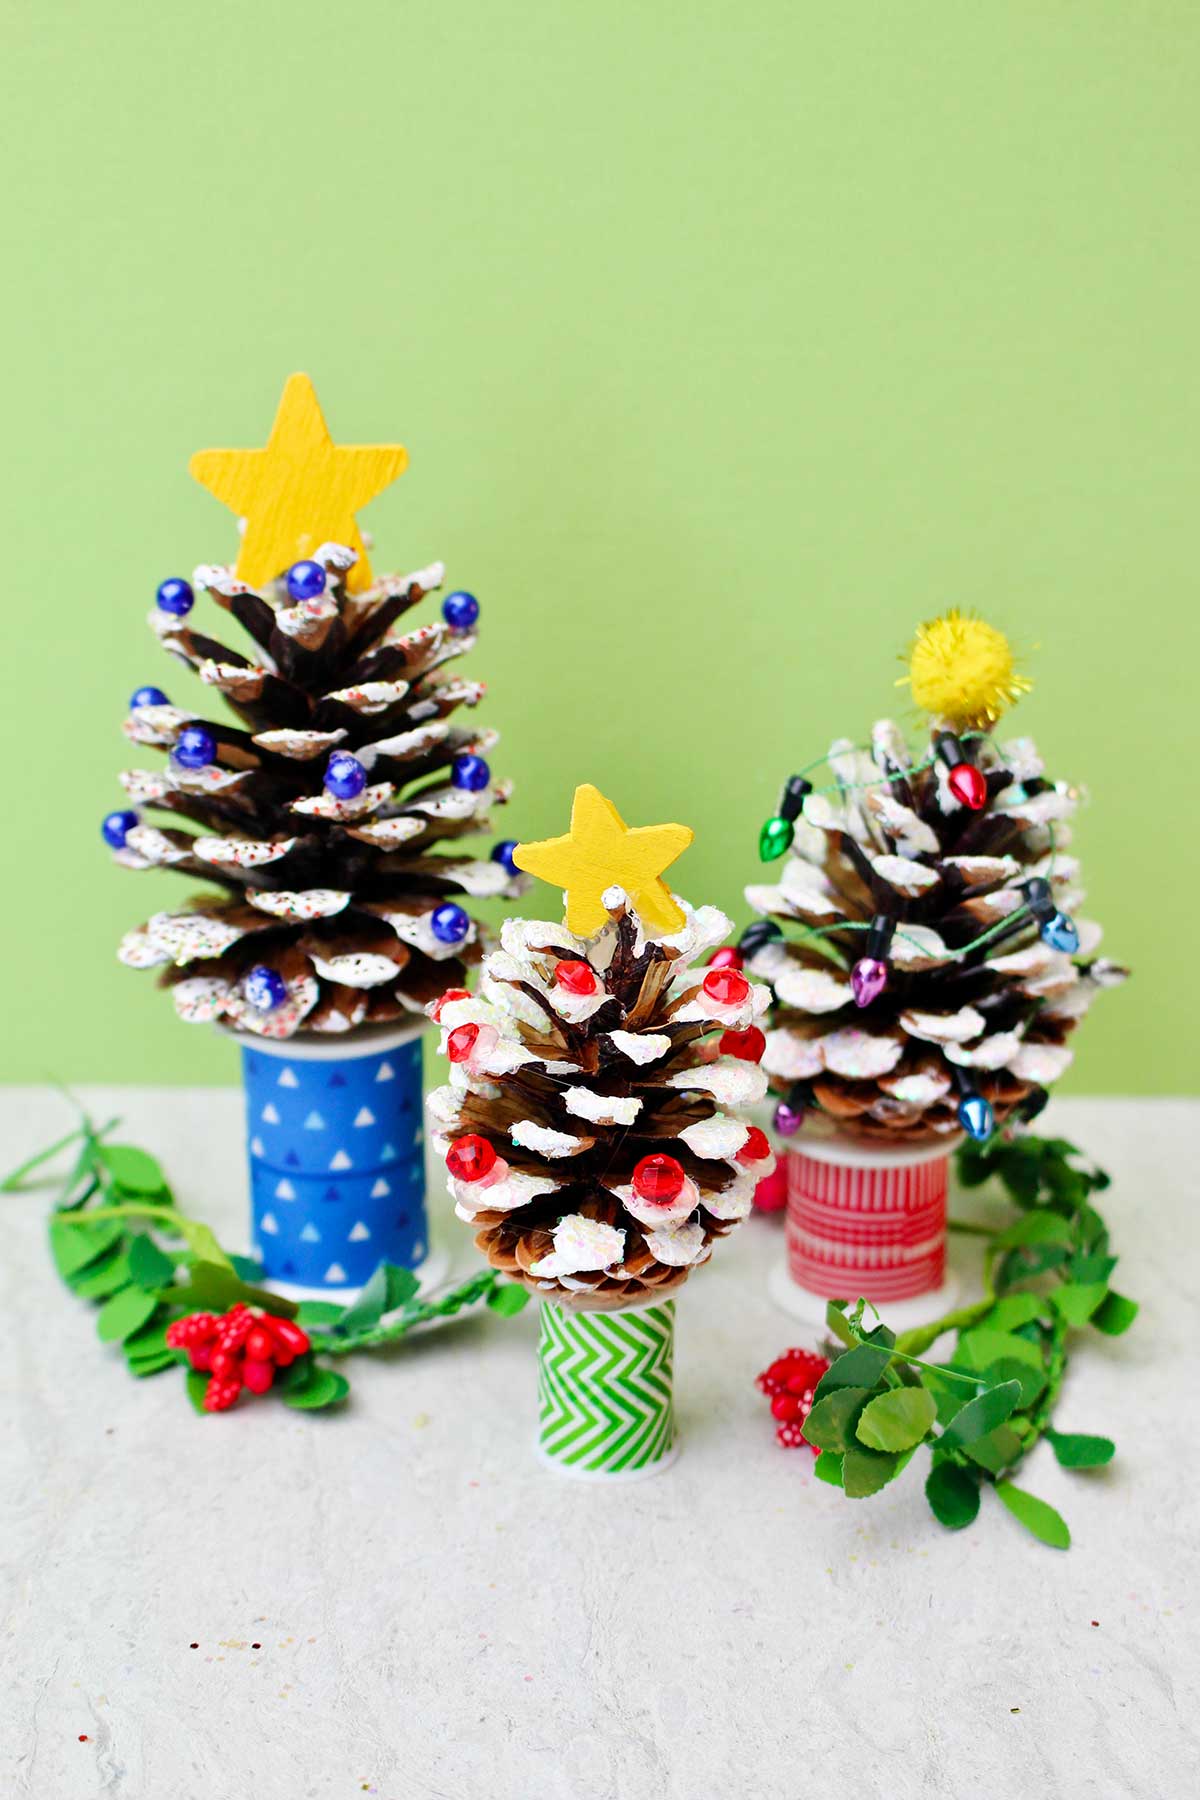
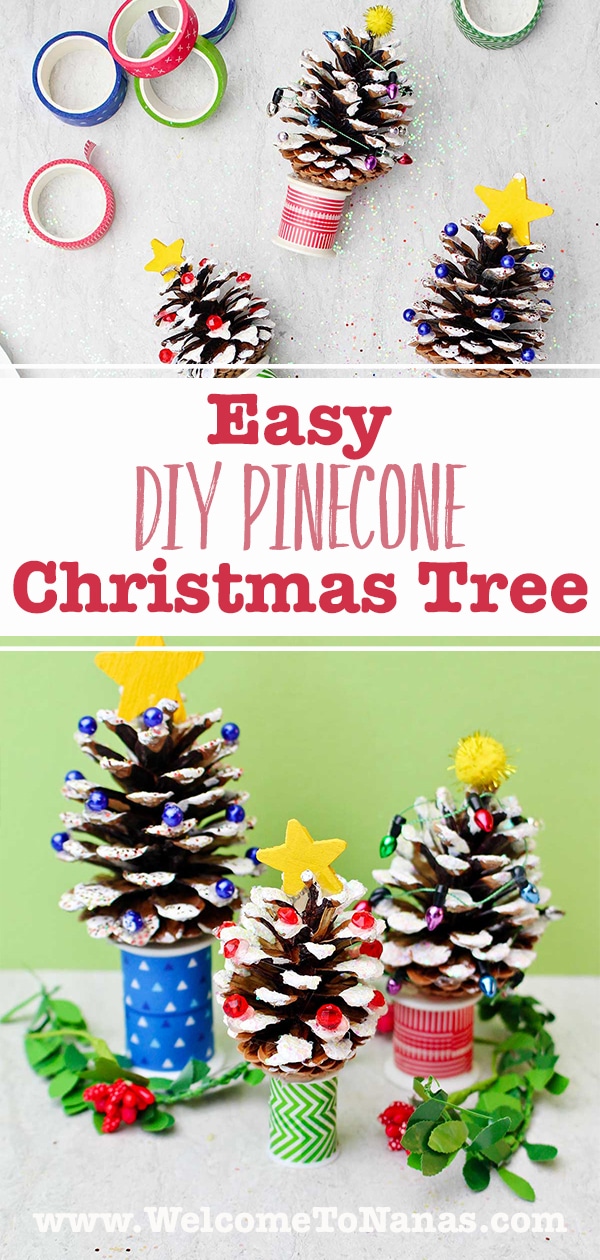
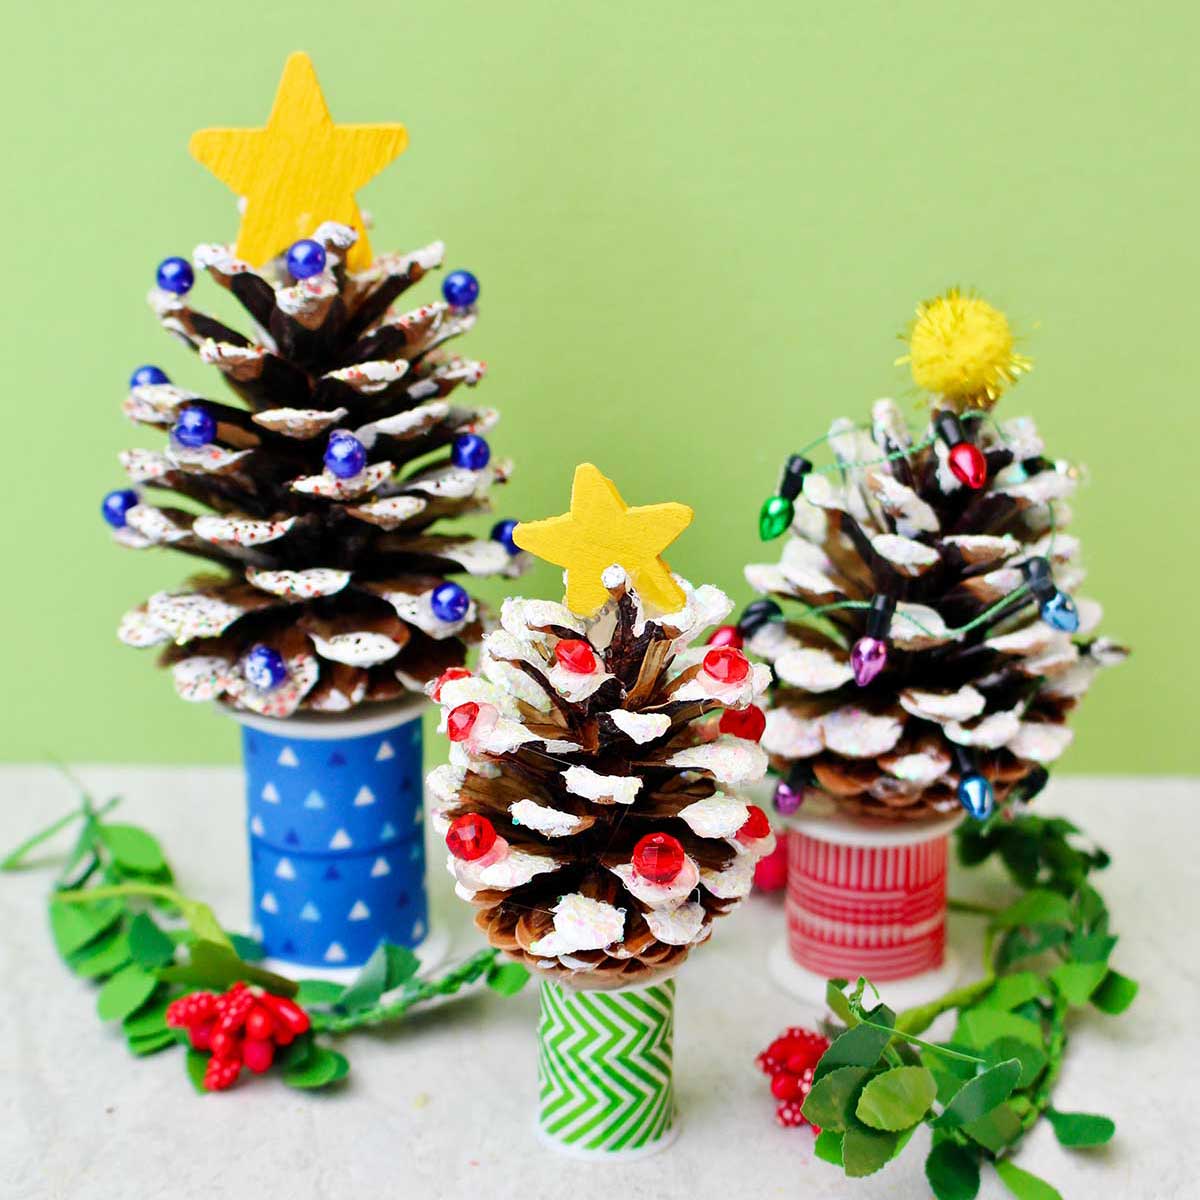
This Easy DIY Pinecone Christmas Tree Craft for kids is perfect for a quick Christmas decoration or DIY gift! Paint white snow on a pinecone and then bedazzle it with glitter and beads.
Jump to:
Cute Alert: A Mini Pinecone Christmas Tree!
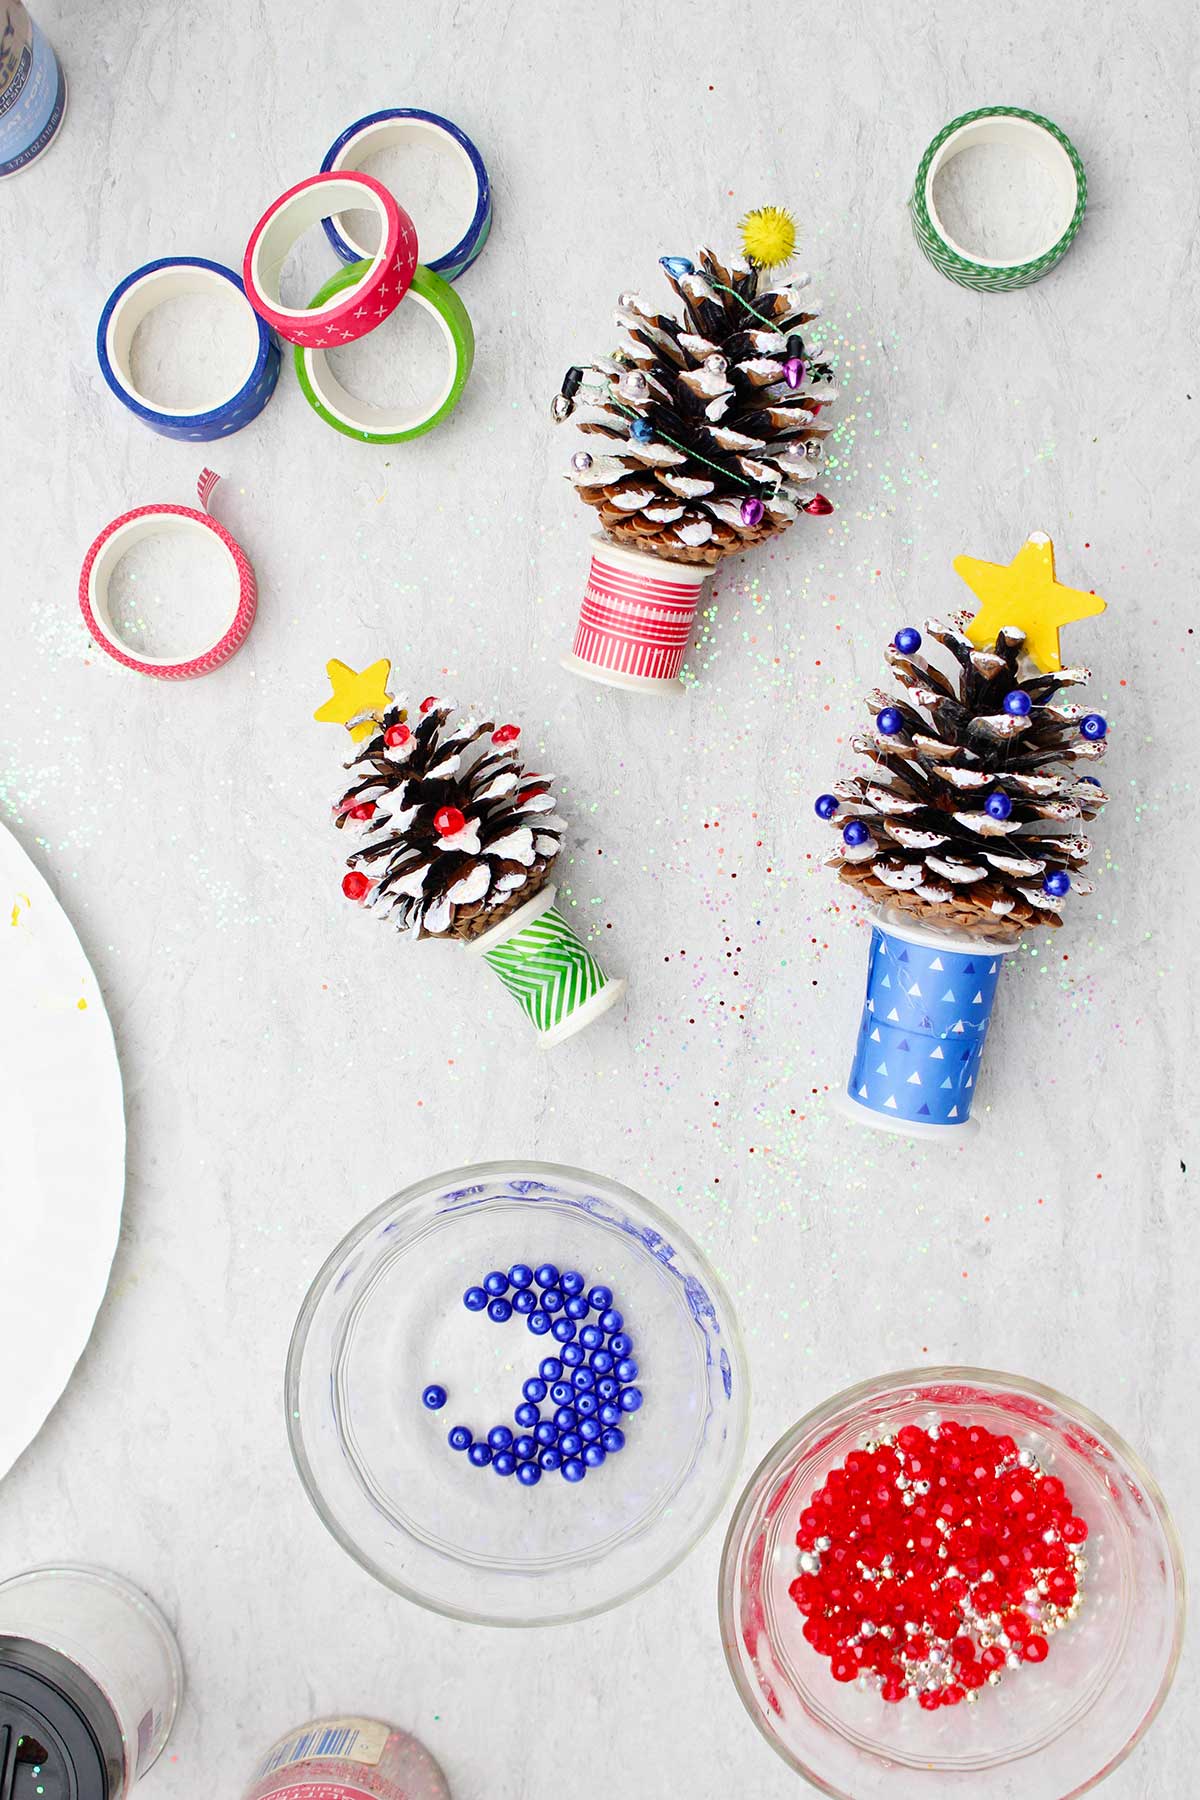
I had some extra pinecones left from a fall craft and wondered how I could use them for Christmas. I picked one up and seeing its shape reminded me that I can make a Christmas tree with pinecones!
That's all I needed to get going on this Easy DIY Pine Cone Christmas Tree Craft. Adding some beads as mini "Christmas lights" plus some glittery "snow" made them look so festive.
This is a simple craft that can be pulled together quickly for kids of all ages.I love how they turned out and hope you have as much fun as I did in making them!
Craft Supplies
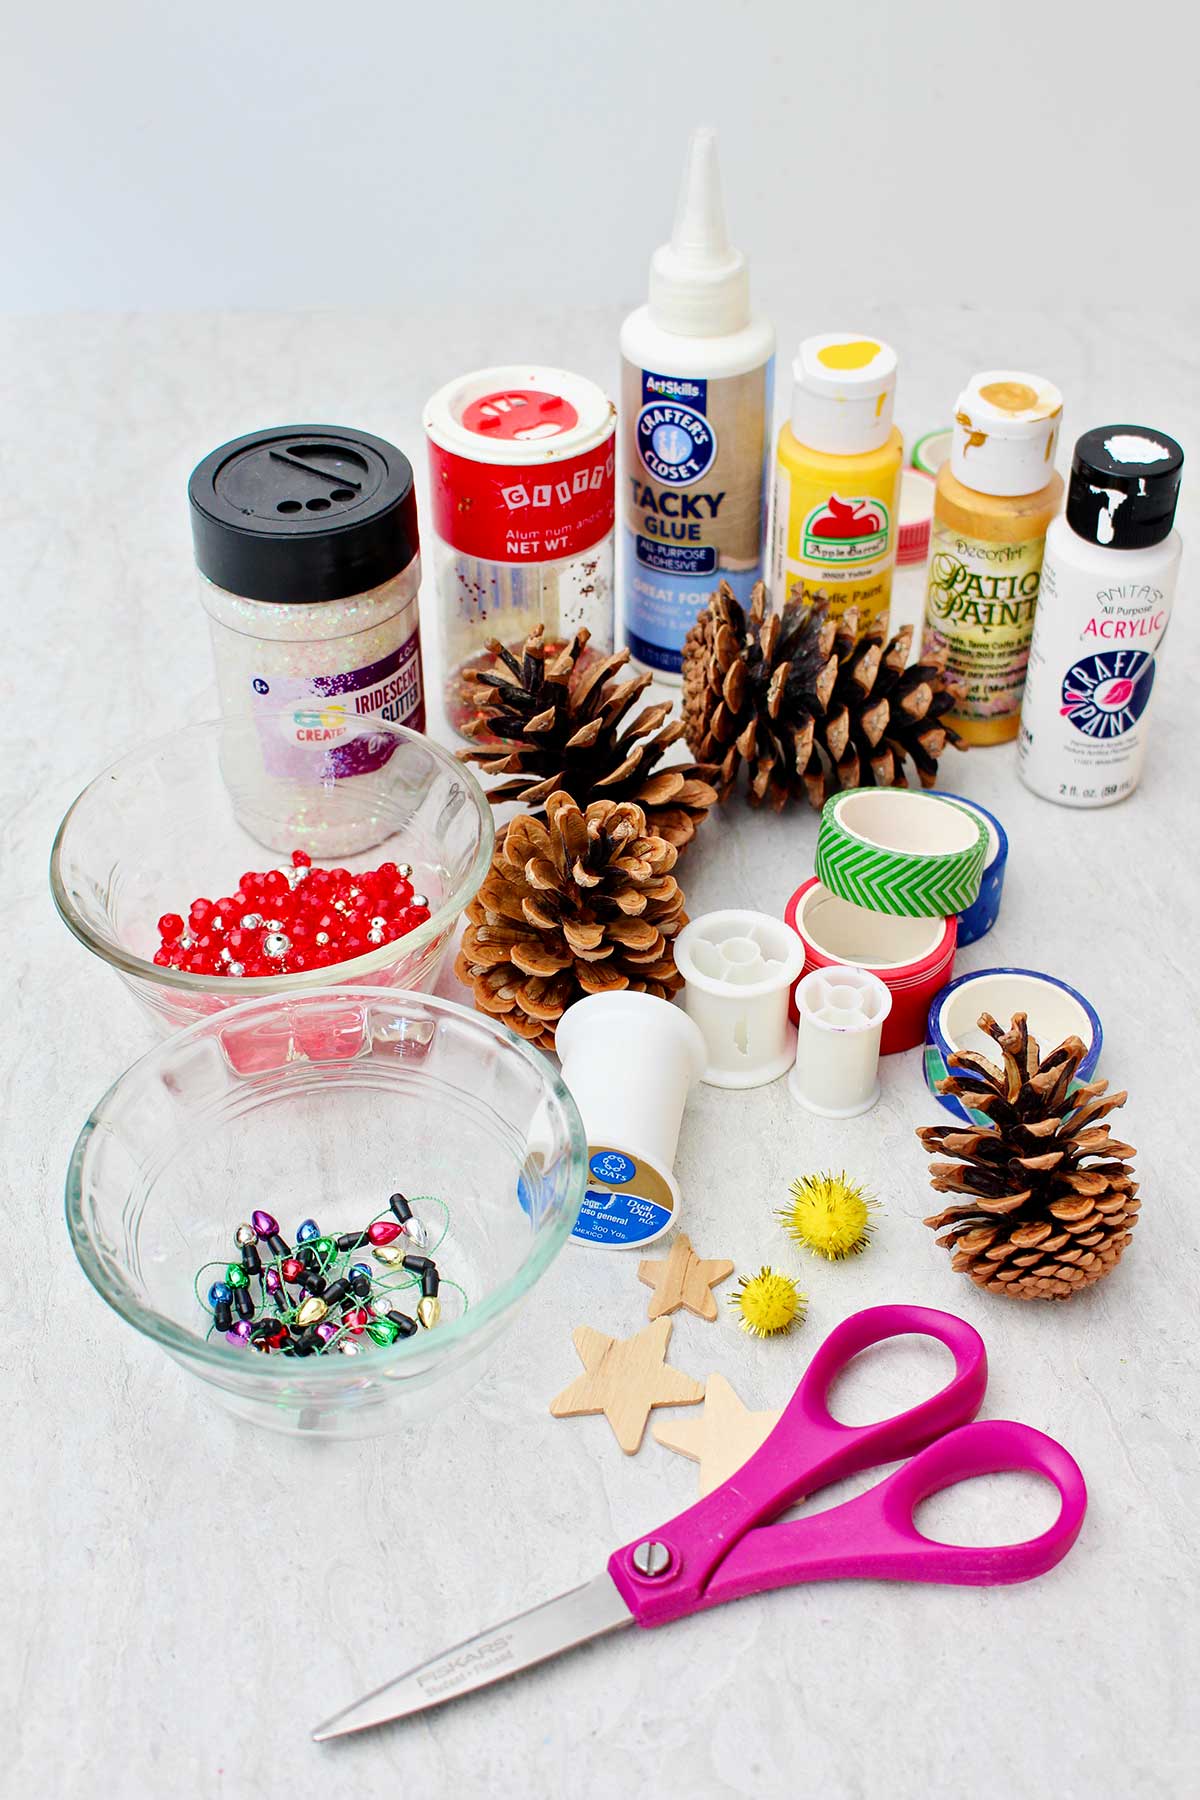
Here are a few quick notes about the supplies you will need to make this pinecone Christmas tree craft!
- Pinecones- pick up some well shaped open pinecones
- Acrylic craft paint- I used white and yellow acrylic craft paints
- Glitter- glitter in the color of your choice
- Wooden stars- small sizes of wooden stars
- Beads- small beads in any color(s)
- Spools- empty thread spools of various sizes
- Washi tape- washi tape in the color(s) and design(s) of your choice
- Extra supplies- paint brushes, paper plates, tweezer, hot glue gun and glue
Steps to Make a Christmas tree with pine cones
Start with the painting.
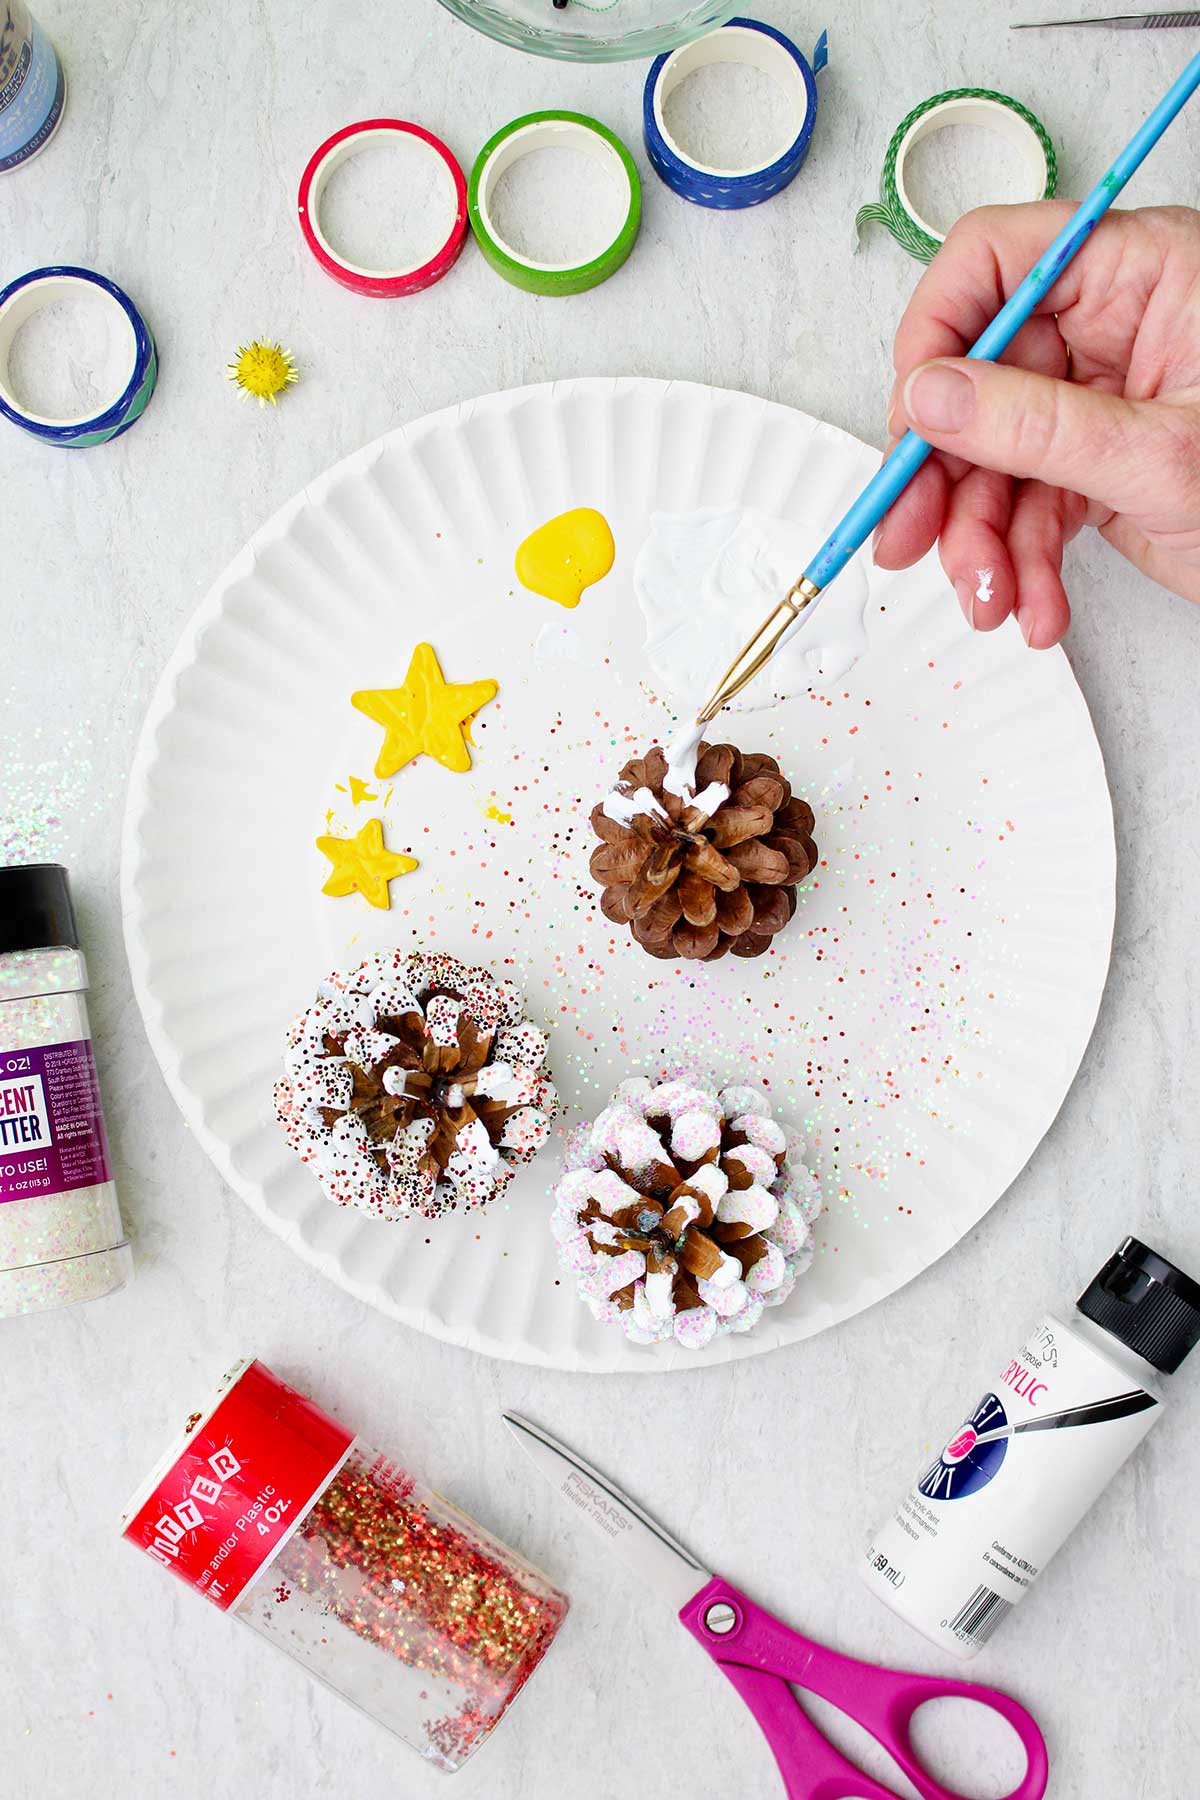
Let's start by painting the wooden stars. I used yellow acrylic craft paint, but a glittery gold would look great if you had some of that on hand. Paint the edges of the small stars as well as the fronts. Then set them aside to dry on one side as you work on the next step.
I like working on top of a paper plate because it keeps my work surface clean and is disposable and inexpensive. Score!
Next, we'll paint the snow on the Christmas trees. I used white acrylic craft paint. Hold the pinecone by the point at the top. Then use your brush to run down each of the little arms of the pinecone.
Add glitter
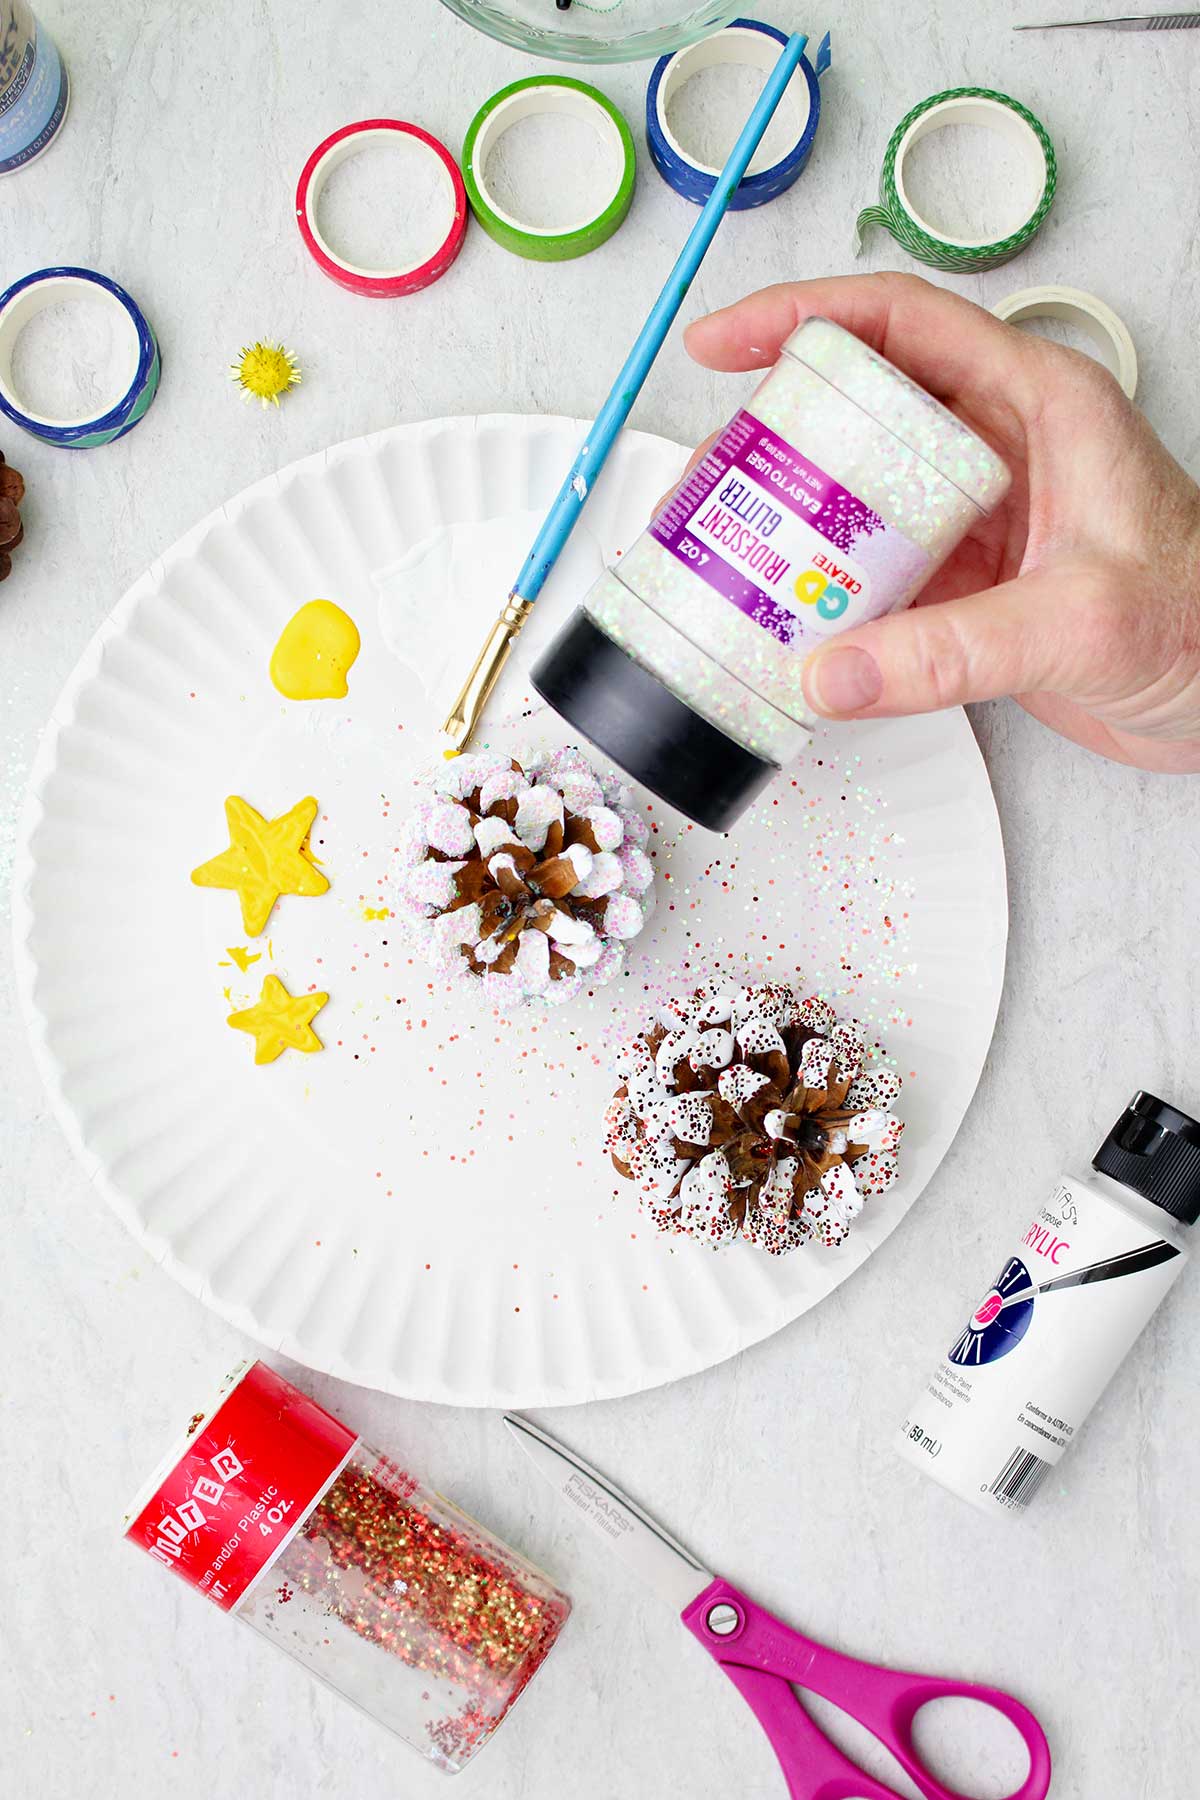
While the paint is still wet you will add glitter (if you choose to do so). I continued to hold the pinecone by the tip and sprinkled the glitter it. Do this step over the paper plate. Try to get some glitter on every branch.
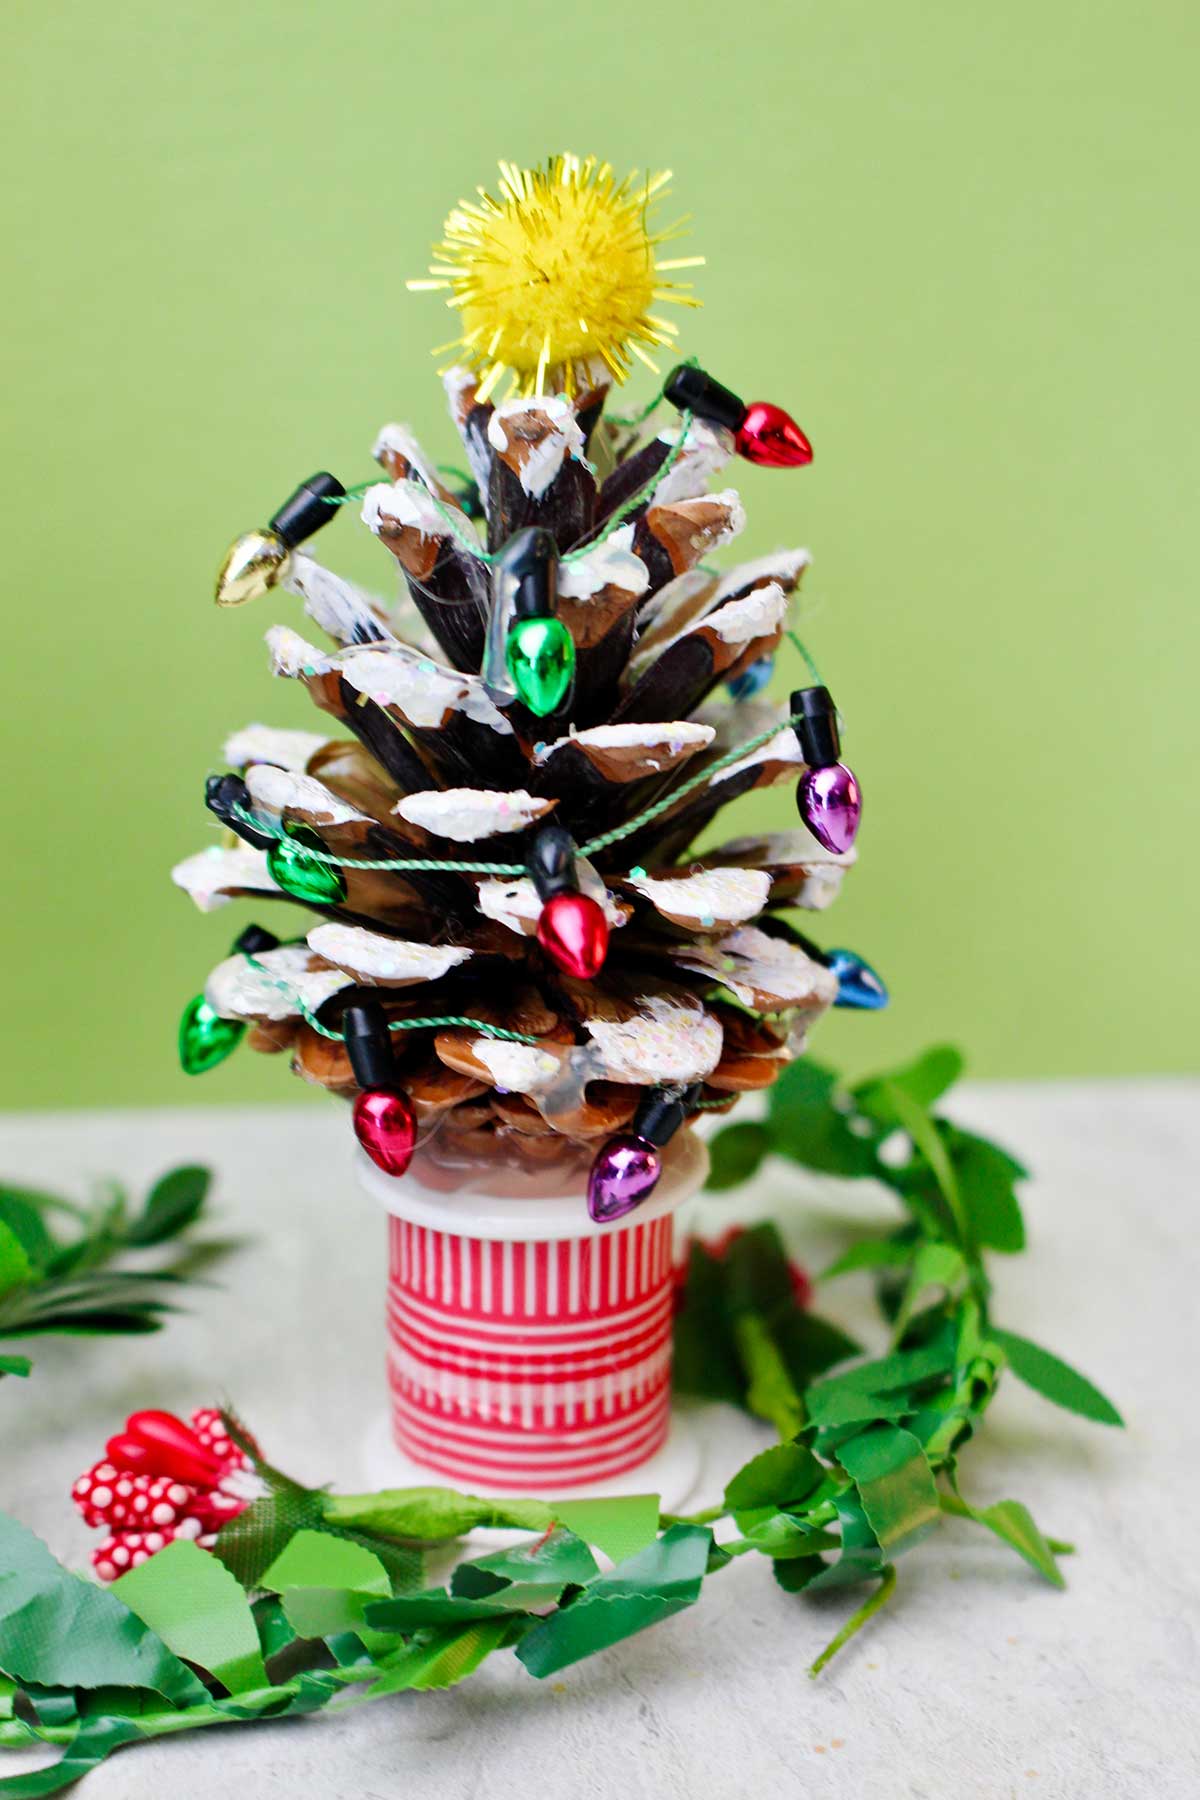
On the first pinecone tree I used a gold and red glitter. On the other two I used some iridescent white glitter. It reminds me of how the snow sparkles when the sun hits it.
Set the pinecones to the side to dry.
Now turn your stars over and paint the other side. Set them aside to dry.
Decorate your spools
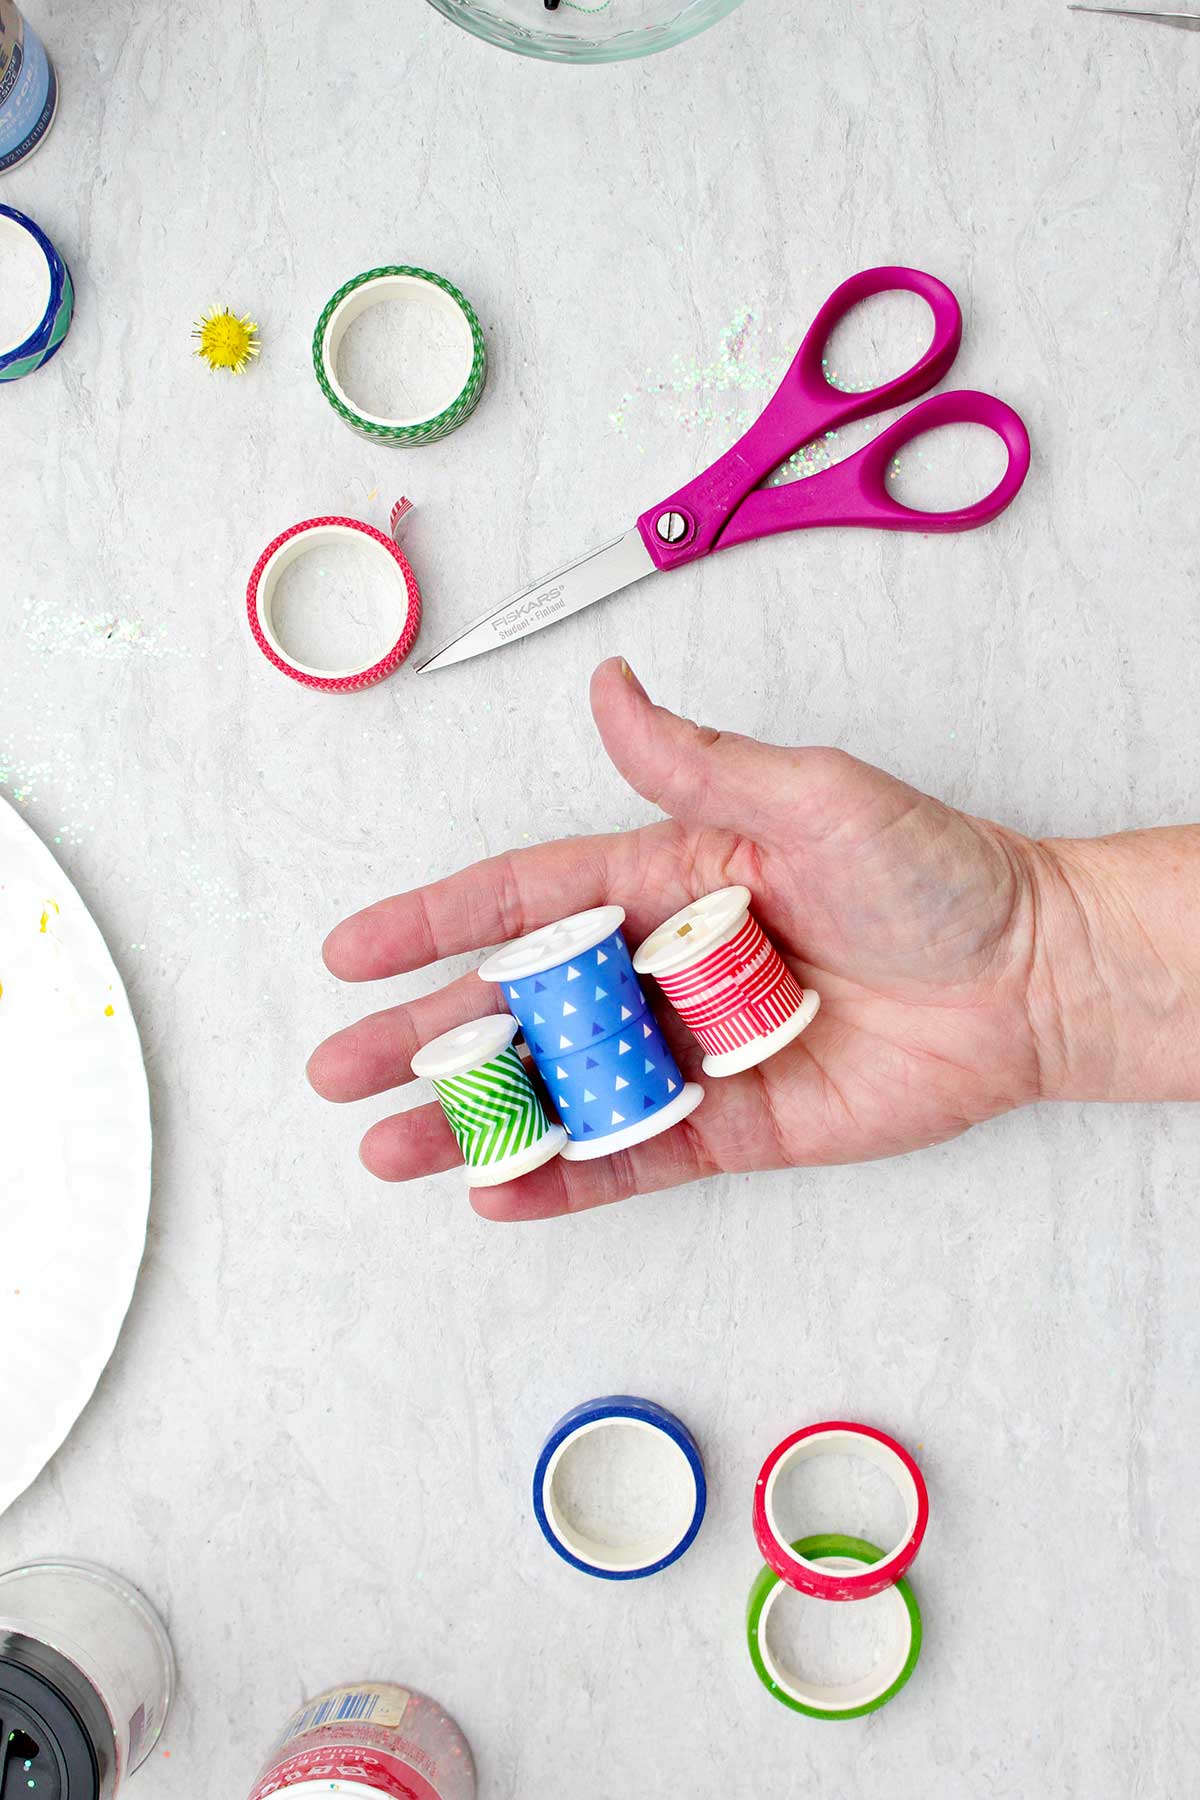
Use spools that used to hold thread for the trunks or bases of the tree. I chose three different sizes of spools.
Use some washi tape to cover the spool where the thread used to be. The hard part of this step is choosing which washi tape to use! They are all such pretty patterns and colors. I chose a blue, a red, and a green pattern to cover the three different spools.
Glue on the "trunks"
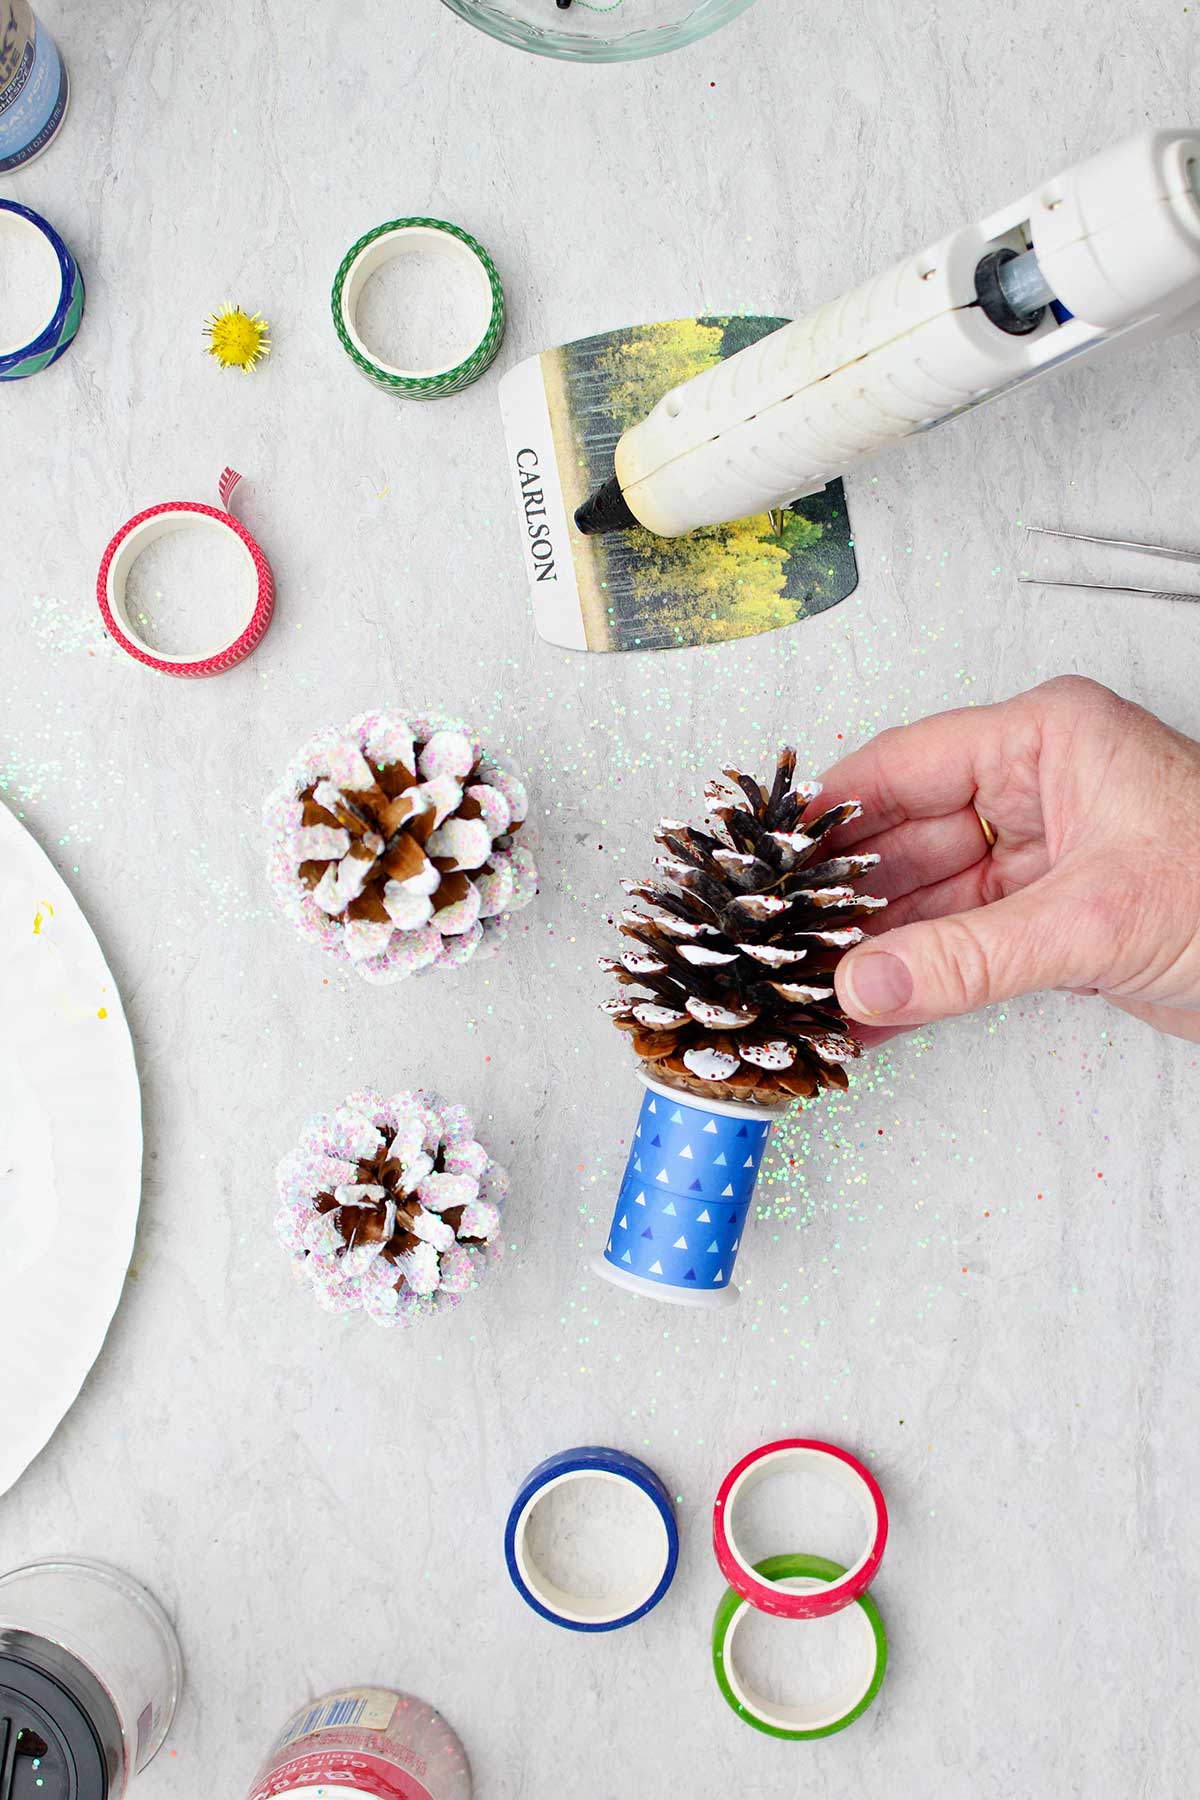
When the paint is dry on both the stars and the pinecones it's time to glue them onto the spools. I found that the hot glue works the best for this step.
Hold the pine one by the tip and put some hot glue on the bottom of the pinecone (the thicker part of the pinecone). Place the pinecone on top of the spool so that it sits straight up.
Sometimes pinecones are crooked on the bottom, and they will tilt to the side. So continue to hold this until the glue cools and the pinecone stays in place.
How to decorate pine cone Christmas trees
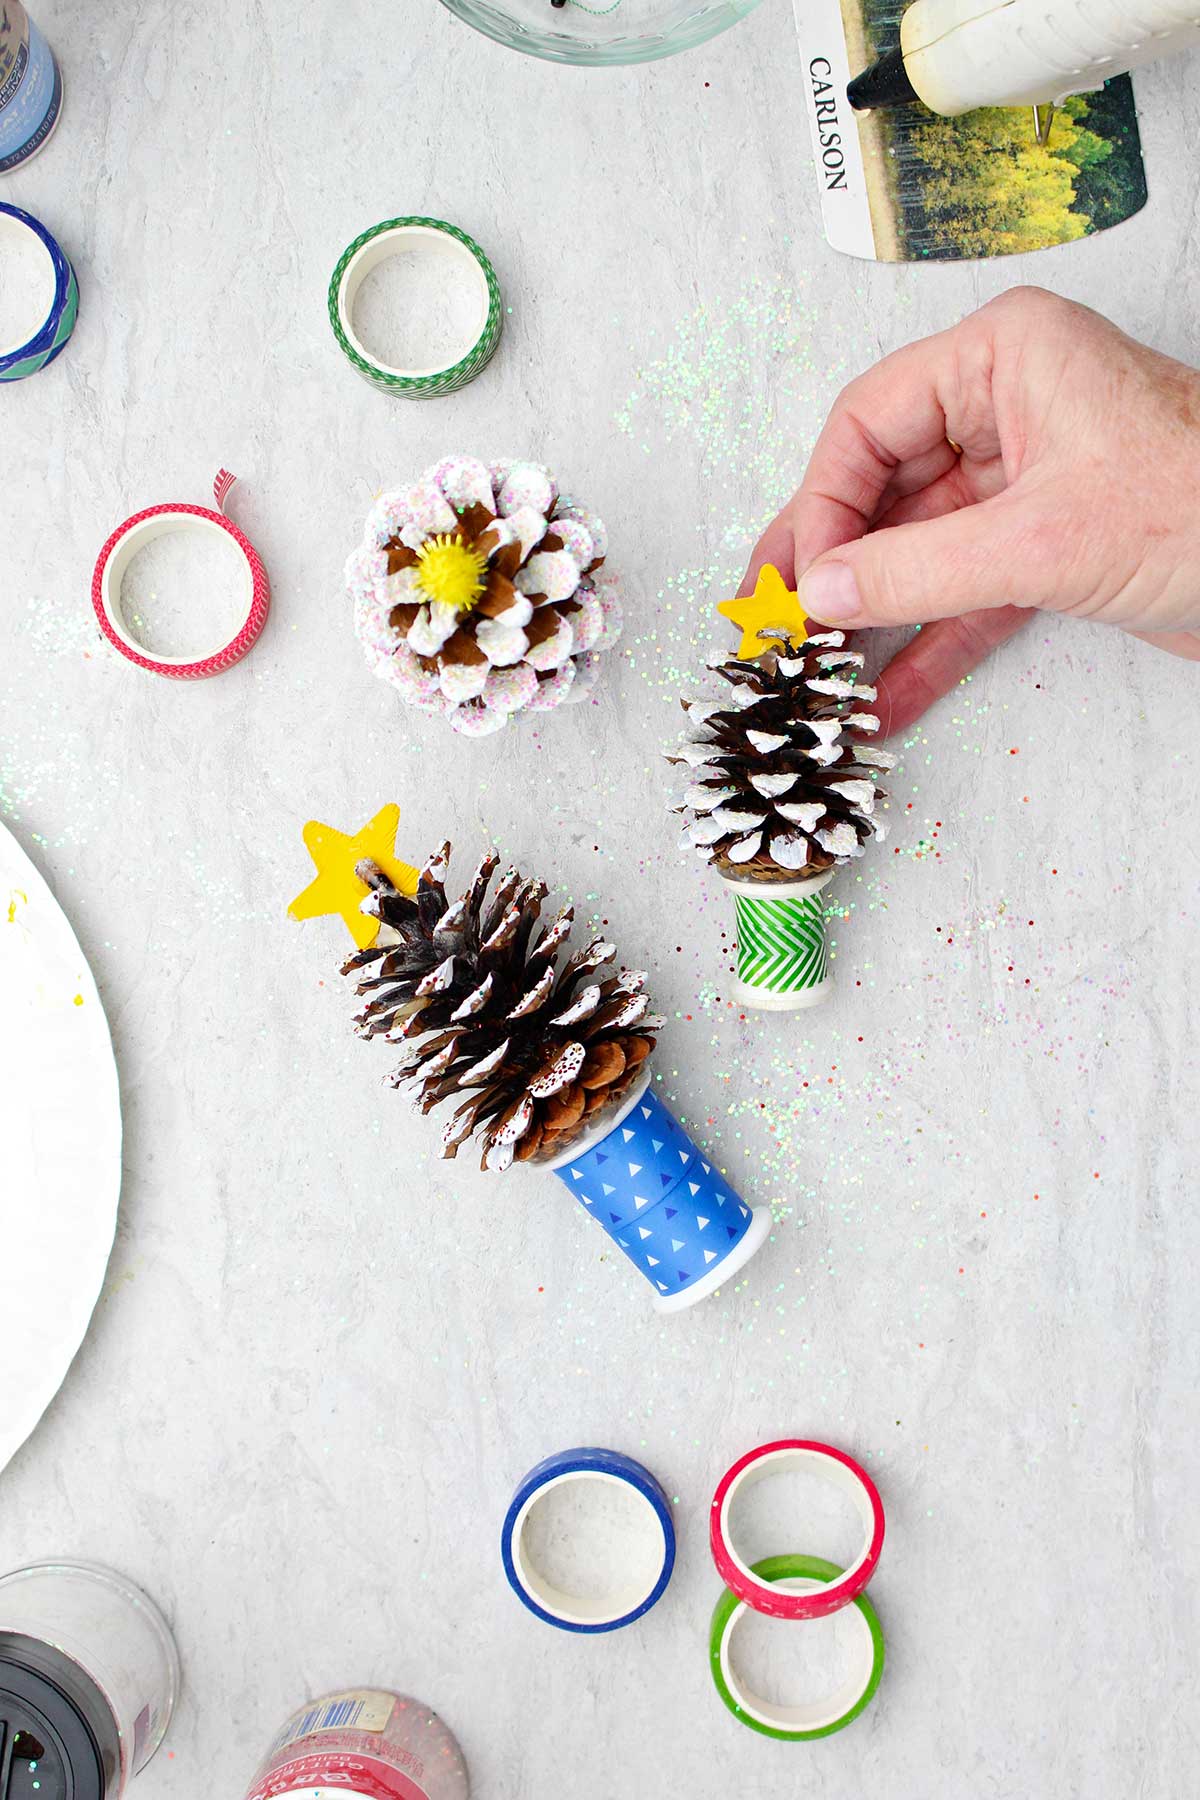
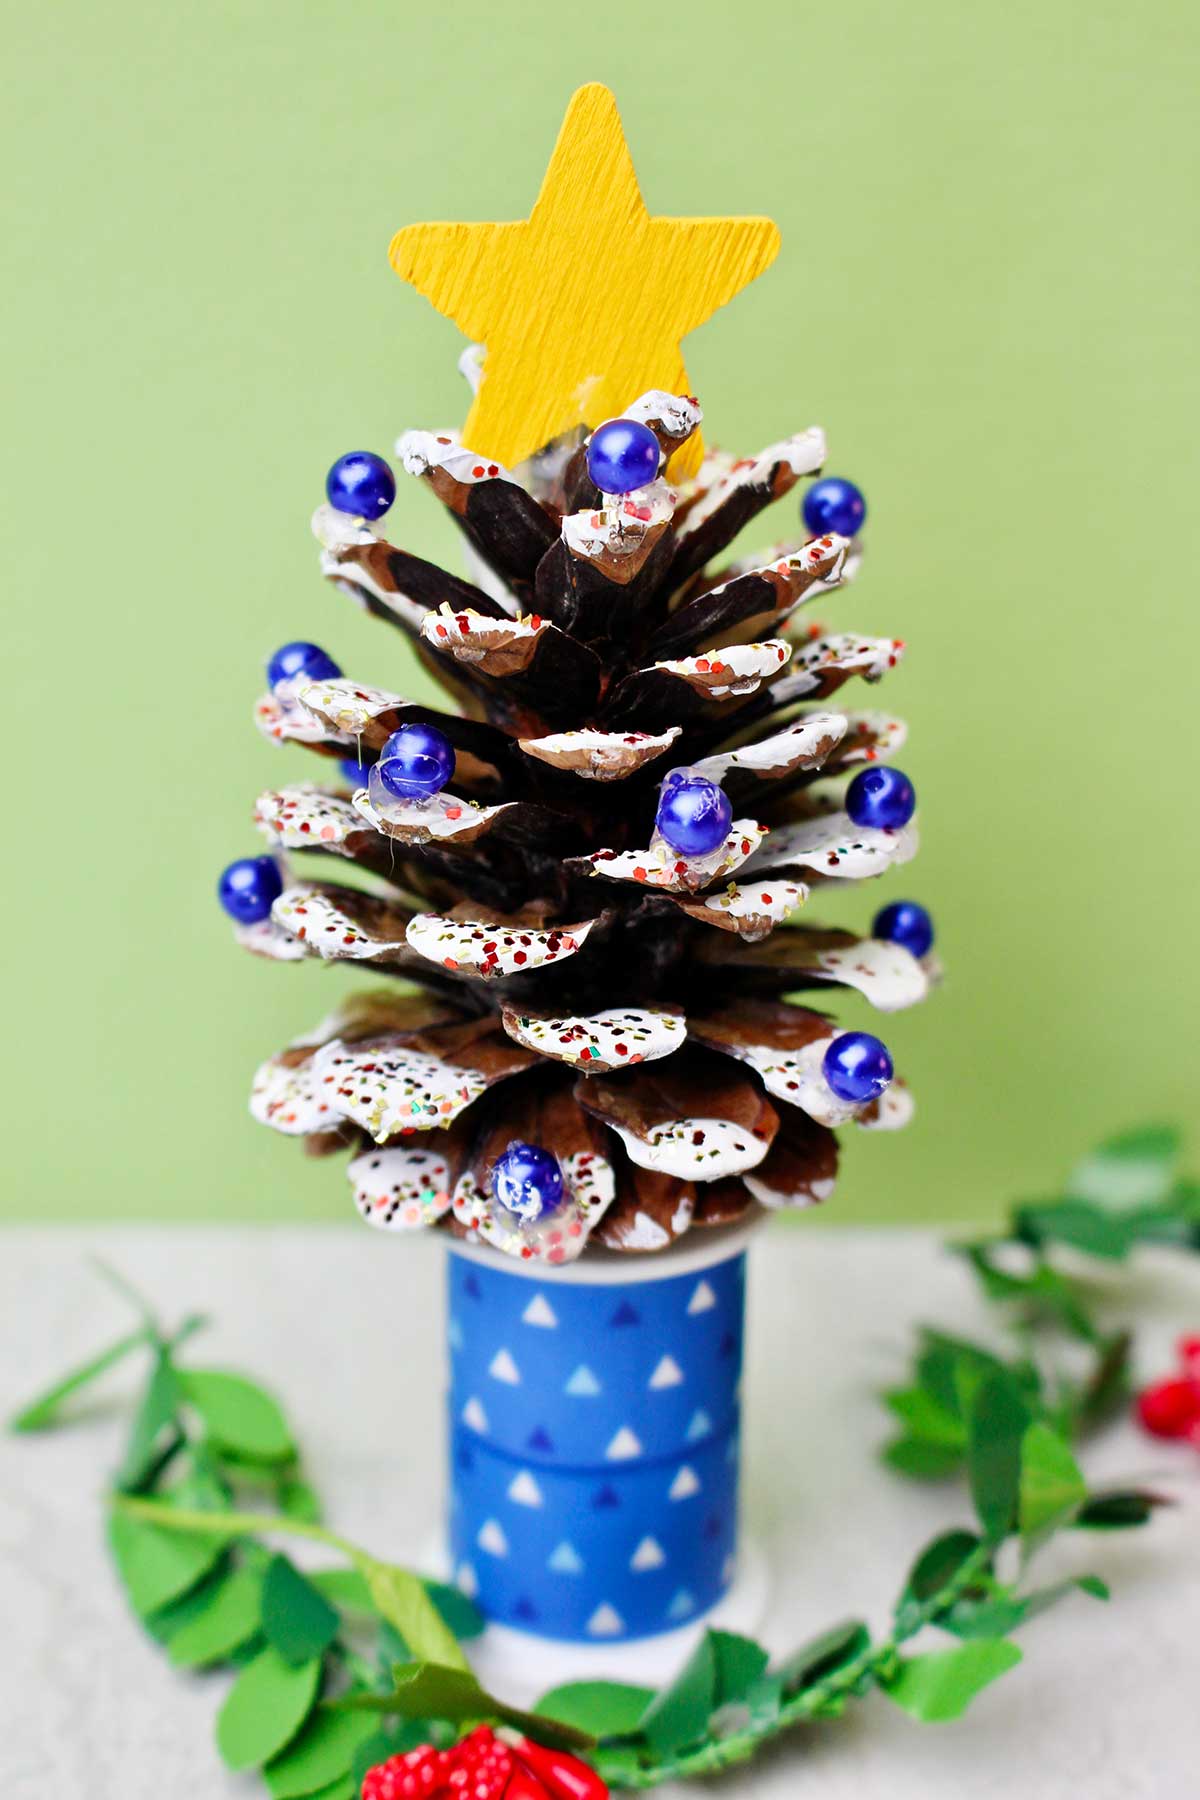
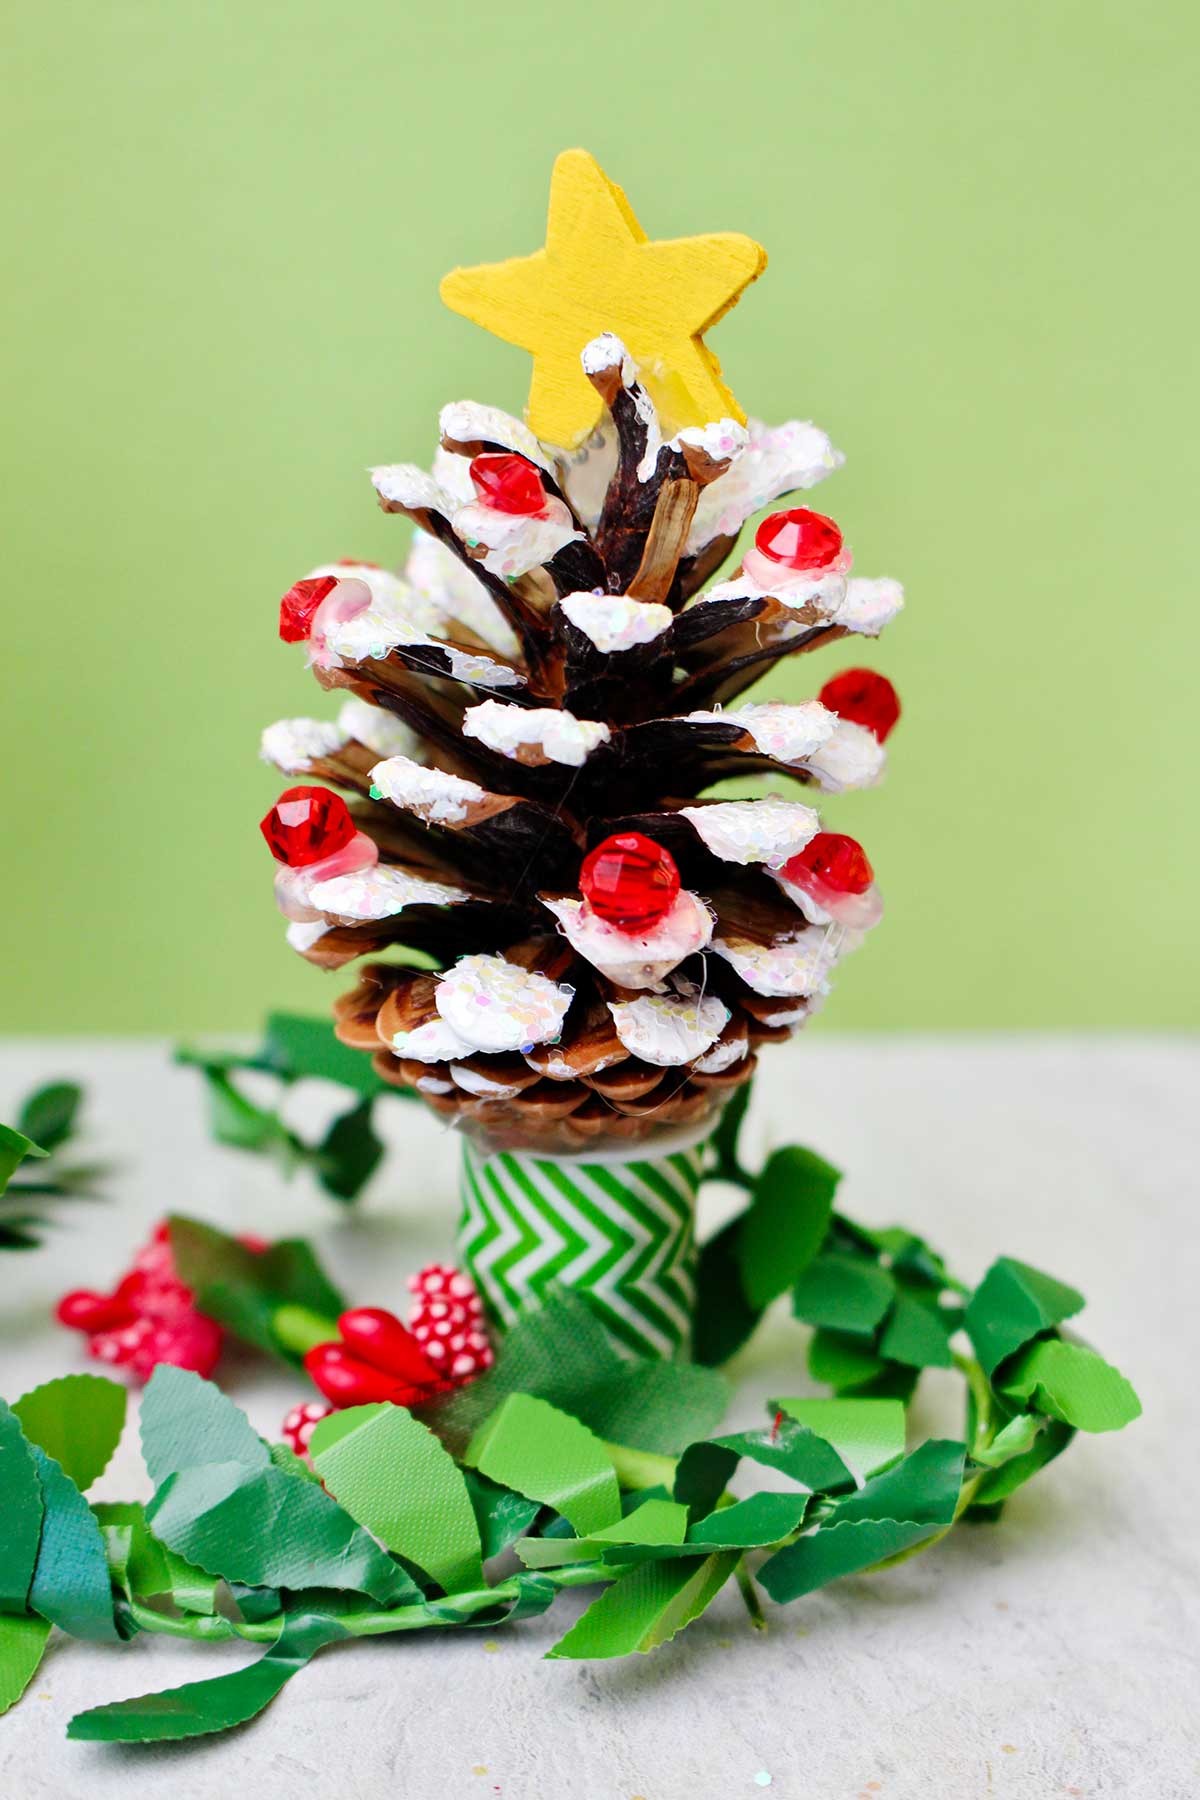
Put a little hot glue on the bottom of your painted star and place it on the top of the pinecone. Hold it until the glue cools so that the star remains standing straight up.
Then put small amounts of glue on the tips of several branches and drop small beads into the glue. These are to look like ornaments on the tree. I used tweezers to place to drop the bead onto the hot glue so that I didn't burn my fingers.
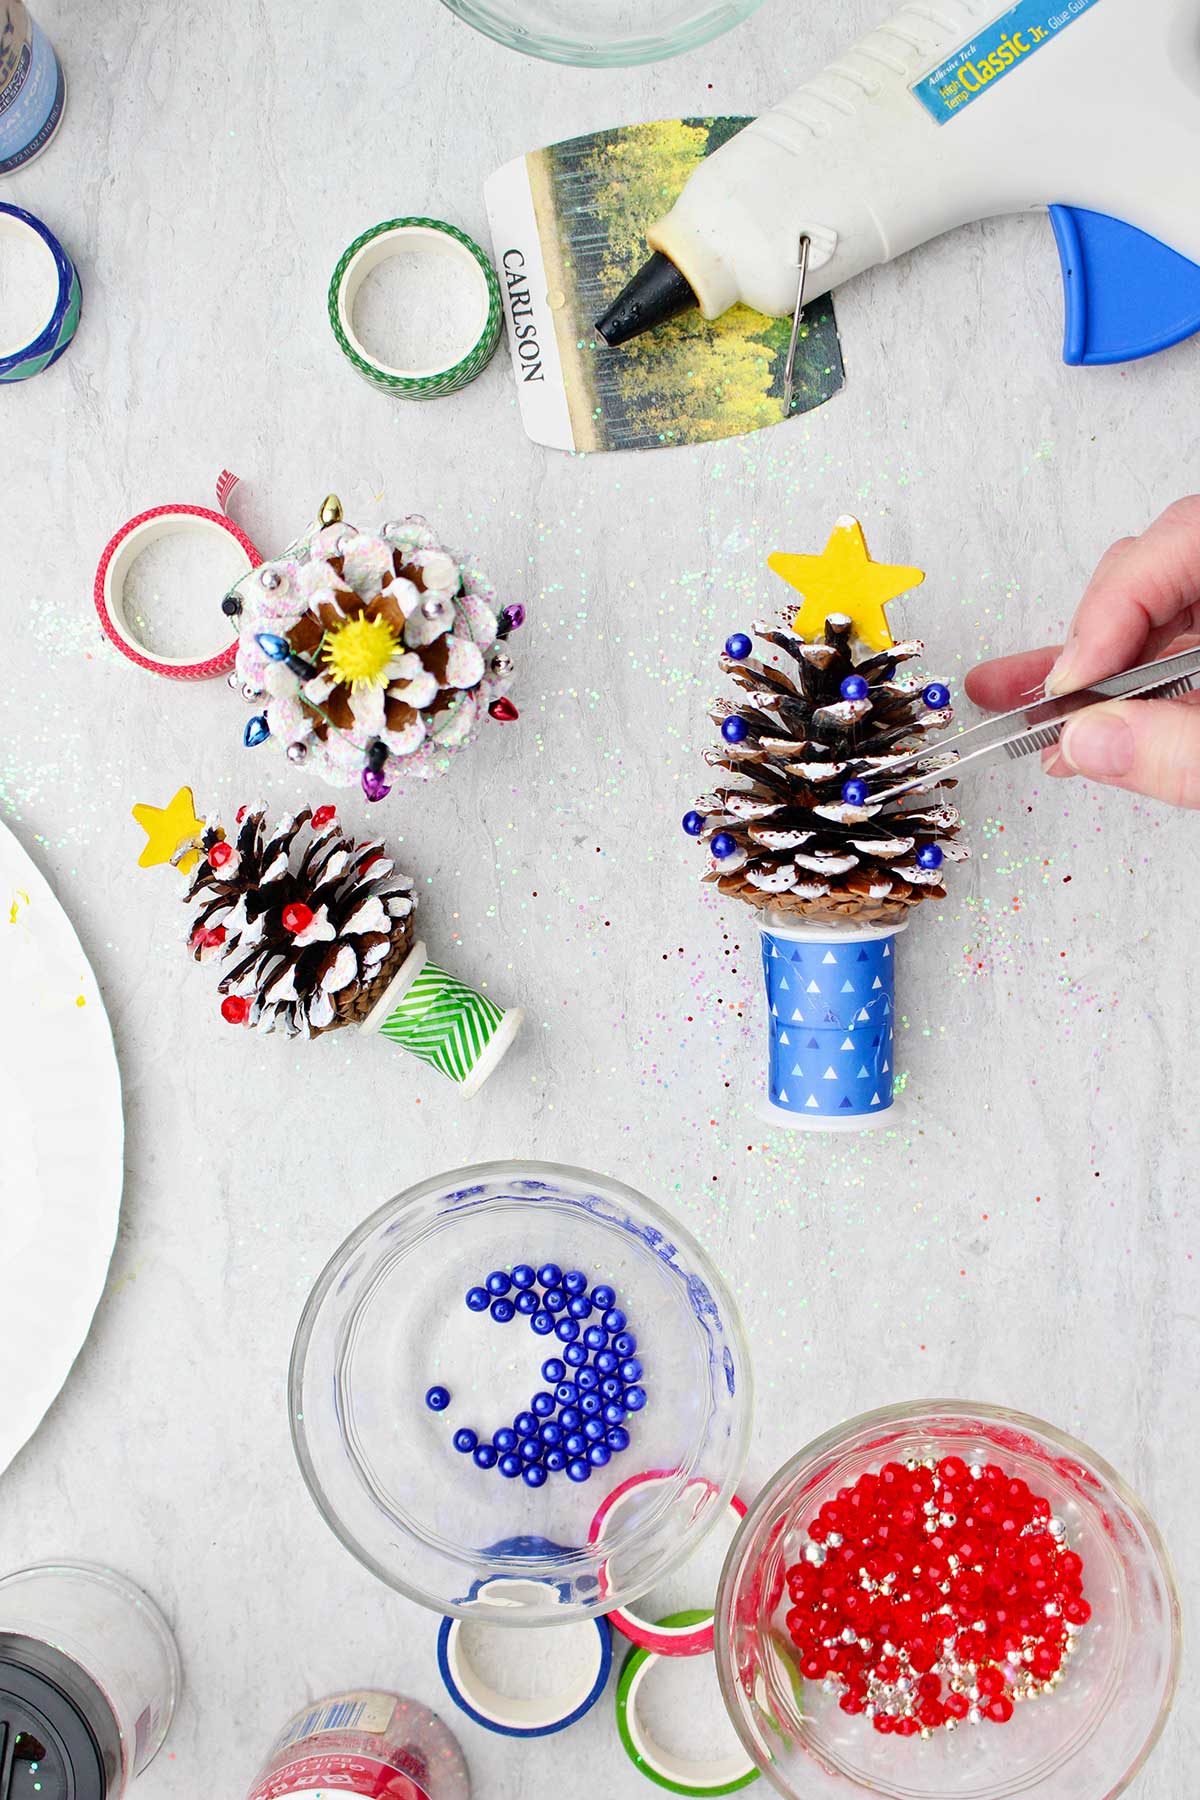
Continue adding beads to several of the small branches until you like the way it looks. There does not need to be a bead on every branch.
When the glue is cool pull off any small threads of hot glue that are remaining.
If you would like to follow along on the full length video tutorial on YouTube, here is the link: Pinecone Christmas Tree Craft Full Length Tutorial Video
Craft Tips
- Paint "snow"- get some white craft paint on the tip of each "branch". Make it look as if the snow has come down and is sitting on the ends of the branches.
- Tacky glue- Use tacky glue instead of hot glue (especially for putting on the beads)
- Hot glue- let the hot glue cool slightly before attaching the pinecone to the spool.
- Tweezers- drop the beads into the hot glue with tweezers to avoid burning your fingers
- Paper plate- work over a paper plate to protect your work surface and to catch the glitter
- Pine Cone Xmas Trees look nice in small groups of uneven numbers. Like 3 pinecone trees together, especially if they sit on different sizes of spools. Nice for gifts or holiday decorating.
Craft Variations
Want to switch things up? Here are a few ways you can customize and play with this craft.
- Pom-poms- use pom-poms for stars and/or for ornaments
- Tree trunks- use bottle caps or small wooden squares for bases
- Scrapbook paper- use scrapbook paper to cover the spools instead of washi tape
- Pine cone Christmas ornament- Tie a ribbon to the tip of the pinecone. It can be hung on the tree as a pine cone ornament.
- Pinecone garland- Make several trees and tie them to a cord or ribbon to use as a garland for your Christmas decor.
FAQ about Pinecone Christmas Tree Crafts
The step by step directions above answers this question. This is an easy craft that uses paint for snow and beads to decorate a pinecone Christmas tree.
Tie the pinecone Christmas trees that you make to a cord and hang as a garland to decorate your home this holiday season.
Yes! Make a pinecone Christmas tree and tie a ribbon to the top. It can be hung as a tree ornament!
More DIY Christmas Craft Projects for Kids
Looking for more easy Christmas crafts that are great for kids? Here are a few of our favorites:
Come join the fun at WTN!
Try this craft, leave a comment, rate it, and tag a photo with #WelcometoNanas wherever you post.
Sign up for weekly emails and you'll receive a free gift!
Easy DIY Pinecone Christmas Tree Craft
Equipment
- Hot glue gun and glue
Items Required
- pinecones pick up some well shaped open pinecones
- acrylic craft paints
- glitter in the color of your choice
- wooden stars in small sizes
- empty thread spools
- washi tape
- extra supplies- paint brushes, paper plates, tweezer
- hot glue gun and glue
Instructions
- Start by painting the wooden stars. I used yellow acrylic craft paint (front, edges, back side). Work over a paper plate.
- Paint the snow on the Christmas trees. I used white acrylic craft paint. Use your brush to run down each of the little arms of the pinecone.
- While the paint is still wet you will add glitter- sprinkle it so it falls into the paint.
- Use spools that used to hold thread for the trunks or bases of the tree.Use some washi tape to cover the spool where the thread used to be.
- Hold the pine one by the tip and put some hot glue on the bottom of the pinecone (the thicker part of the pinecone). Place the pinecone on top of the spool so that it sits straight up.
- Put a little hot glue on the bottom of your painted star and place it on the top of the pinecone.
- Then put small amounts of glue on the tips of several branches and drop small beads into the glue. These are to look like ornaments on the tree. I used tweezers to drop the beads into the glue.






Leave a Reply