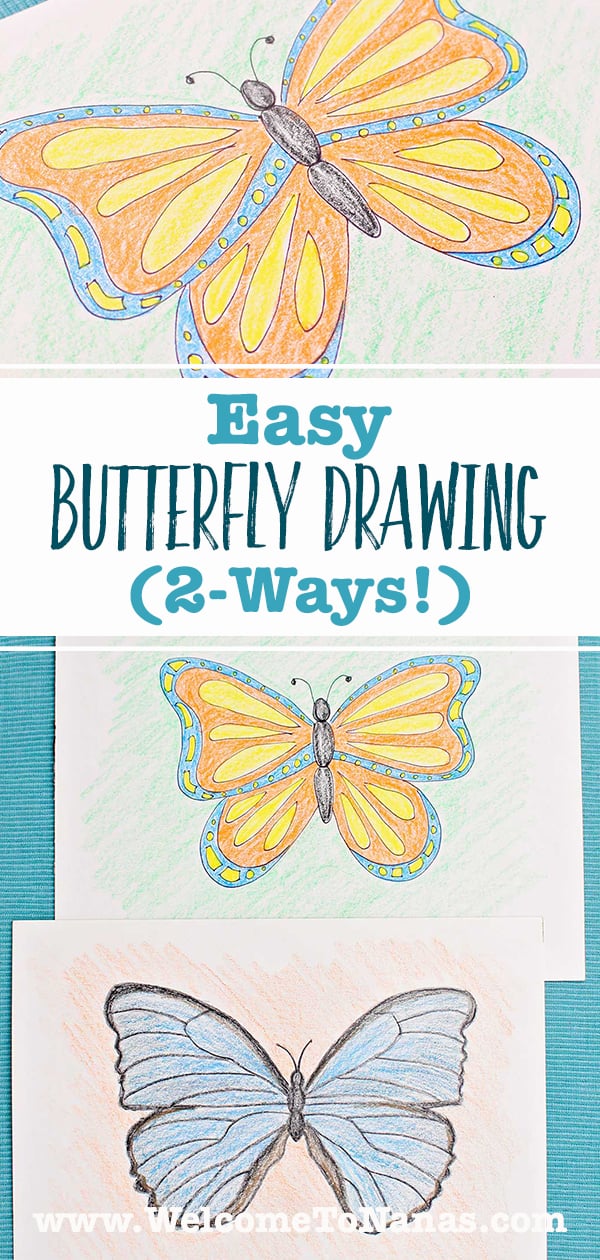
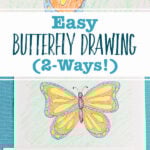
If there’s one thing I’ve drawn 100s of times in my 50 plus years of drawing it’s a butterfly! Try this step-by-step butterfly drawing tutorial to learn how to draw 2 different styles of butterflies that look realistic every single time.
Jump to:
Butterflies How to Draw
What is it about butterflies? It’s an insect that draws our attention and causes us to want to draw it. I often spy butterflies I find on my walk and admire the patterns on their wings.
This usually causes my next doodle to be a butterfly drawing. And I’ve discovered there are a few tricks to drawing a butterfly that help make the wings more even.
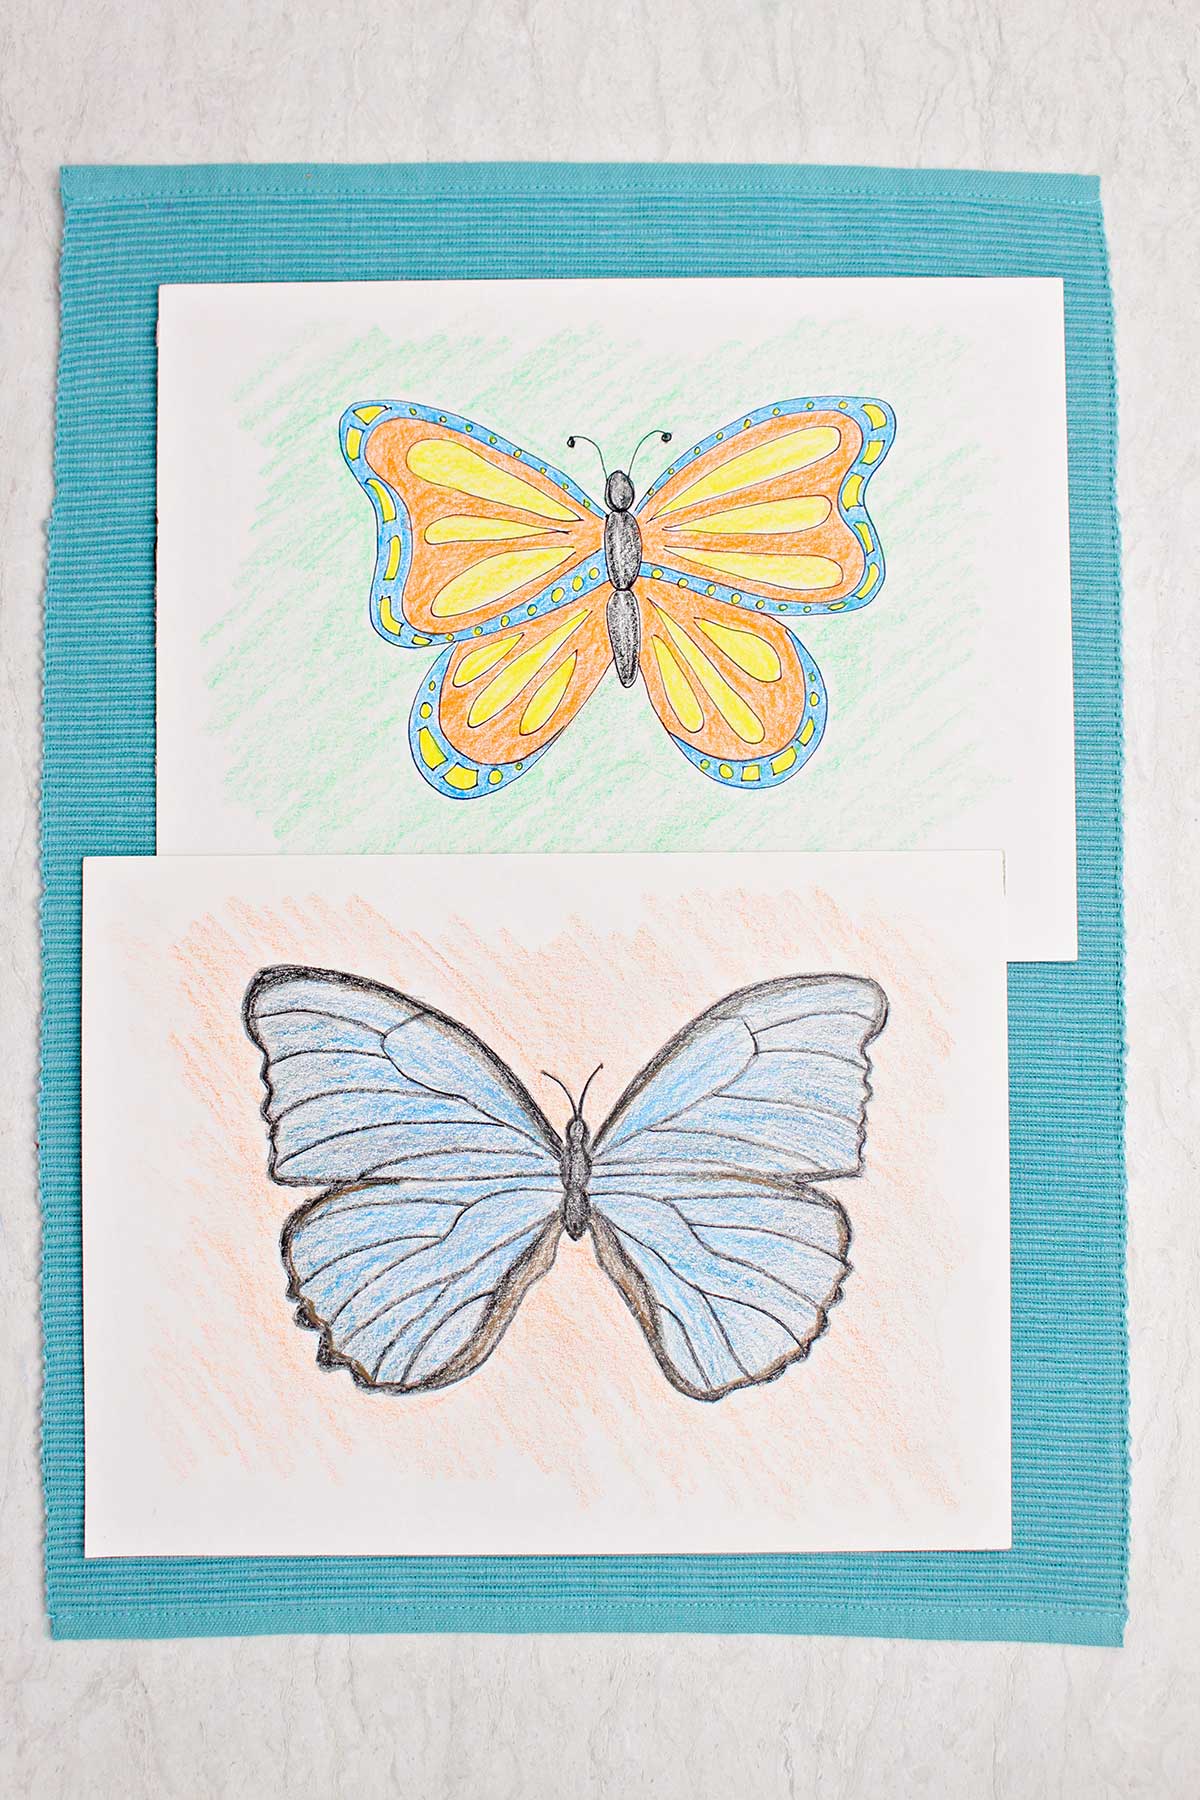
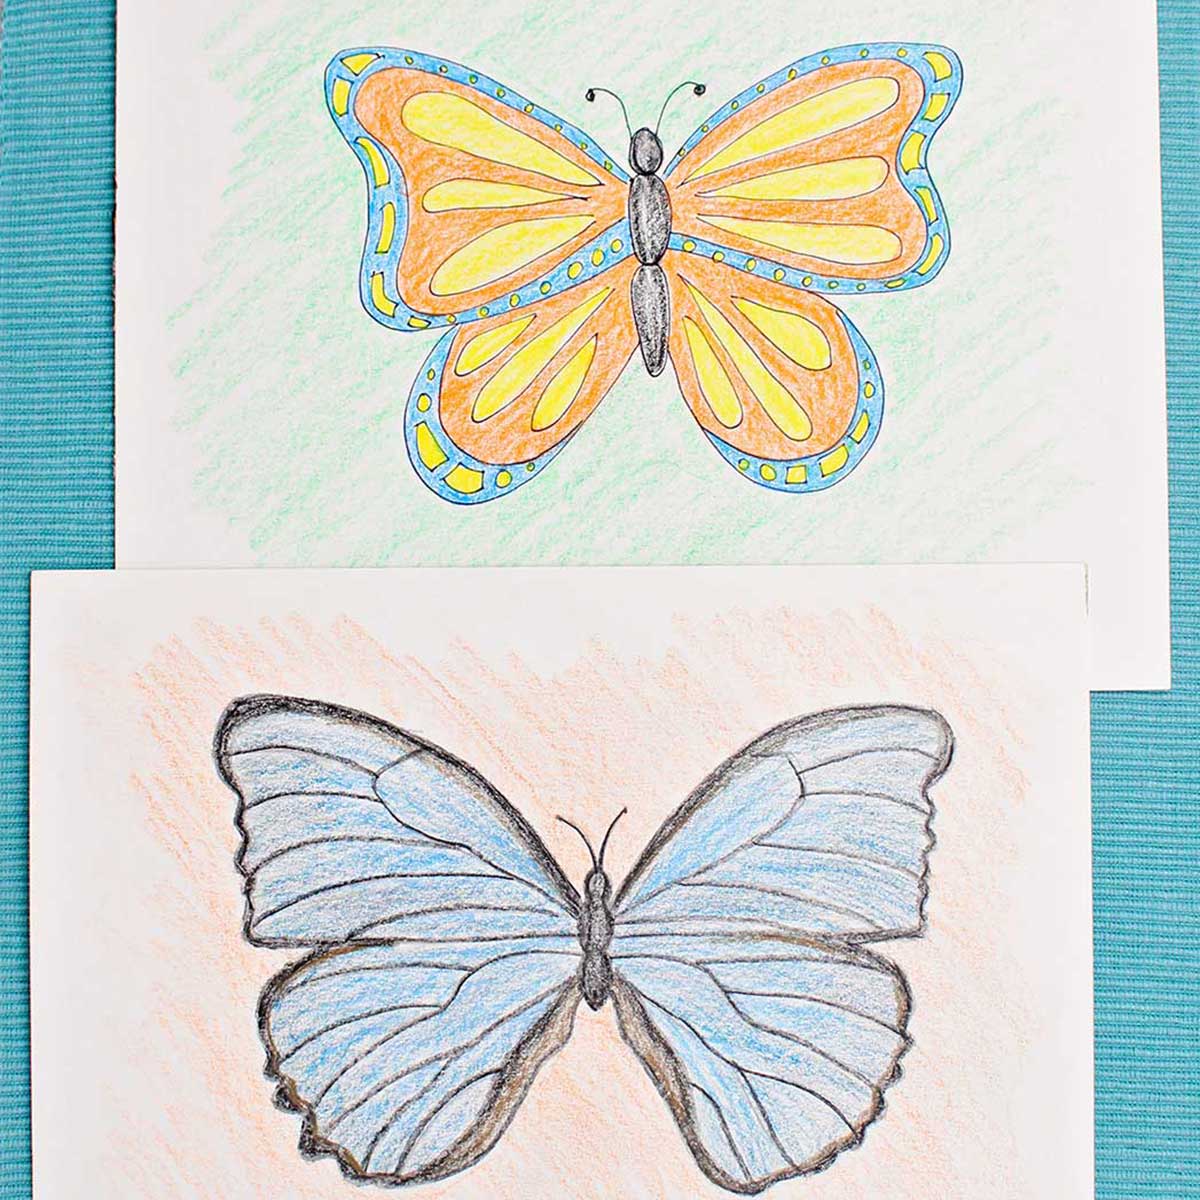
A simple black line drawing of a butterfly makes a great coloring page for kids or a great addition to their flower drawing. Graduating to a 3D shaded pencil drawing of a butterfly is so satisfying. We will be doing both a 2D and a 3D butterfly. Draw any butterfly type and add color if you want. The kids will love learning how!
A simple grid system makes drawing both the 2D and the 3D with shading options of this butterfly drawing a breeze. It will give you confidence in drawing the mirror image wings. Let’s give it a try together!
Supplies for a Butterfly Drawing
You don’t need much to bring your butterfly drawing to life!
- Drawing paper- Use drawing paper or a sketch book to try this tutorial.
- Pencil, pen, or marker- Use a pencil or marker to draw a butterfly.
- Eraser- Have an eraser handy when drawing with pencil
- Colored pencils- Use colored pencils or crayons to color in the butterfly drawing (optional).
Butterfly Drawings Step by Step
If you want to watch a video to follow along with me as we draw our butterflies, you can find the YouTube video tutorial here: Easy Butterfly Drawing (2 Ways)!
Butterfly drawing #1- A 2D butterfly (like a coloring book)
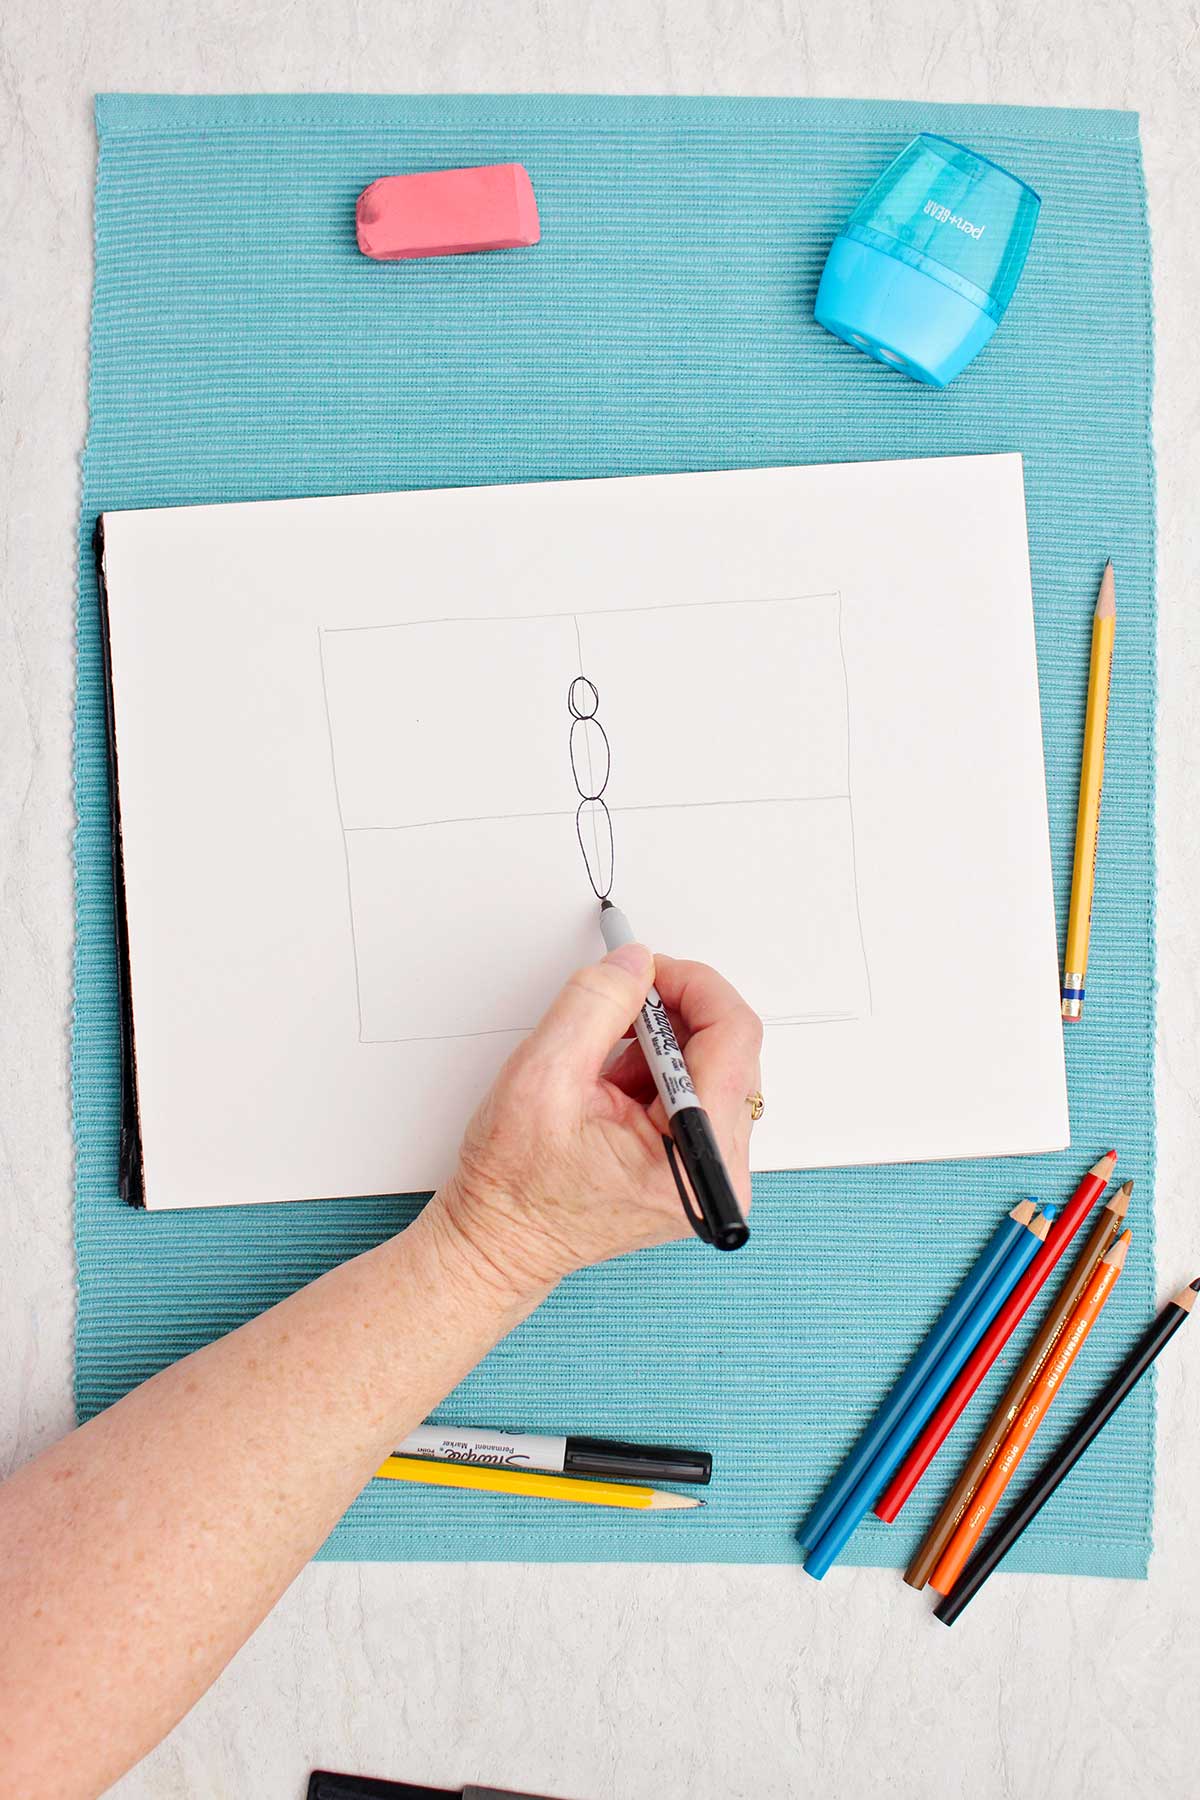
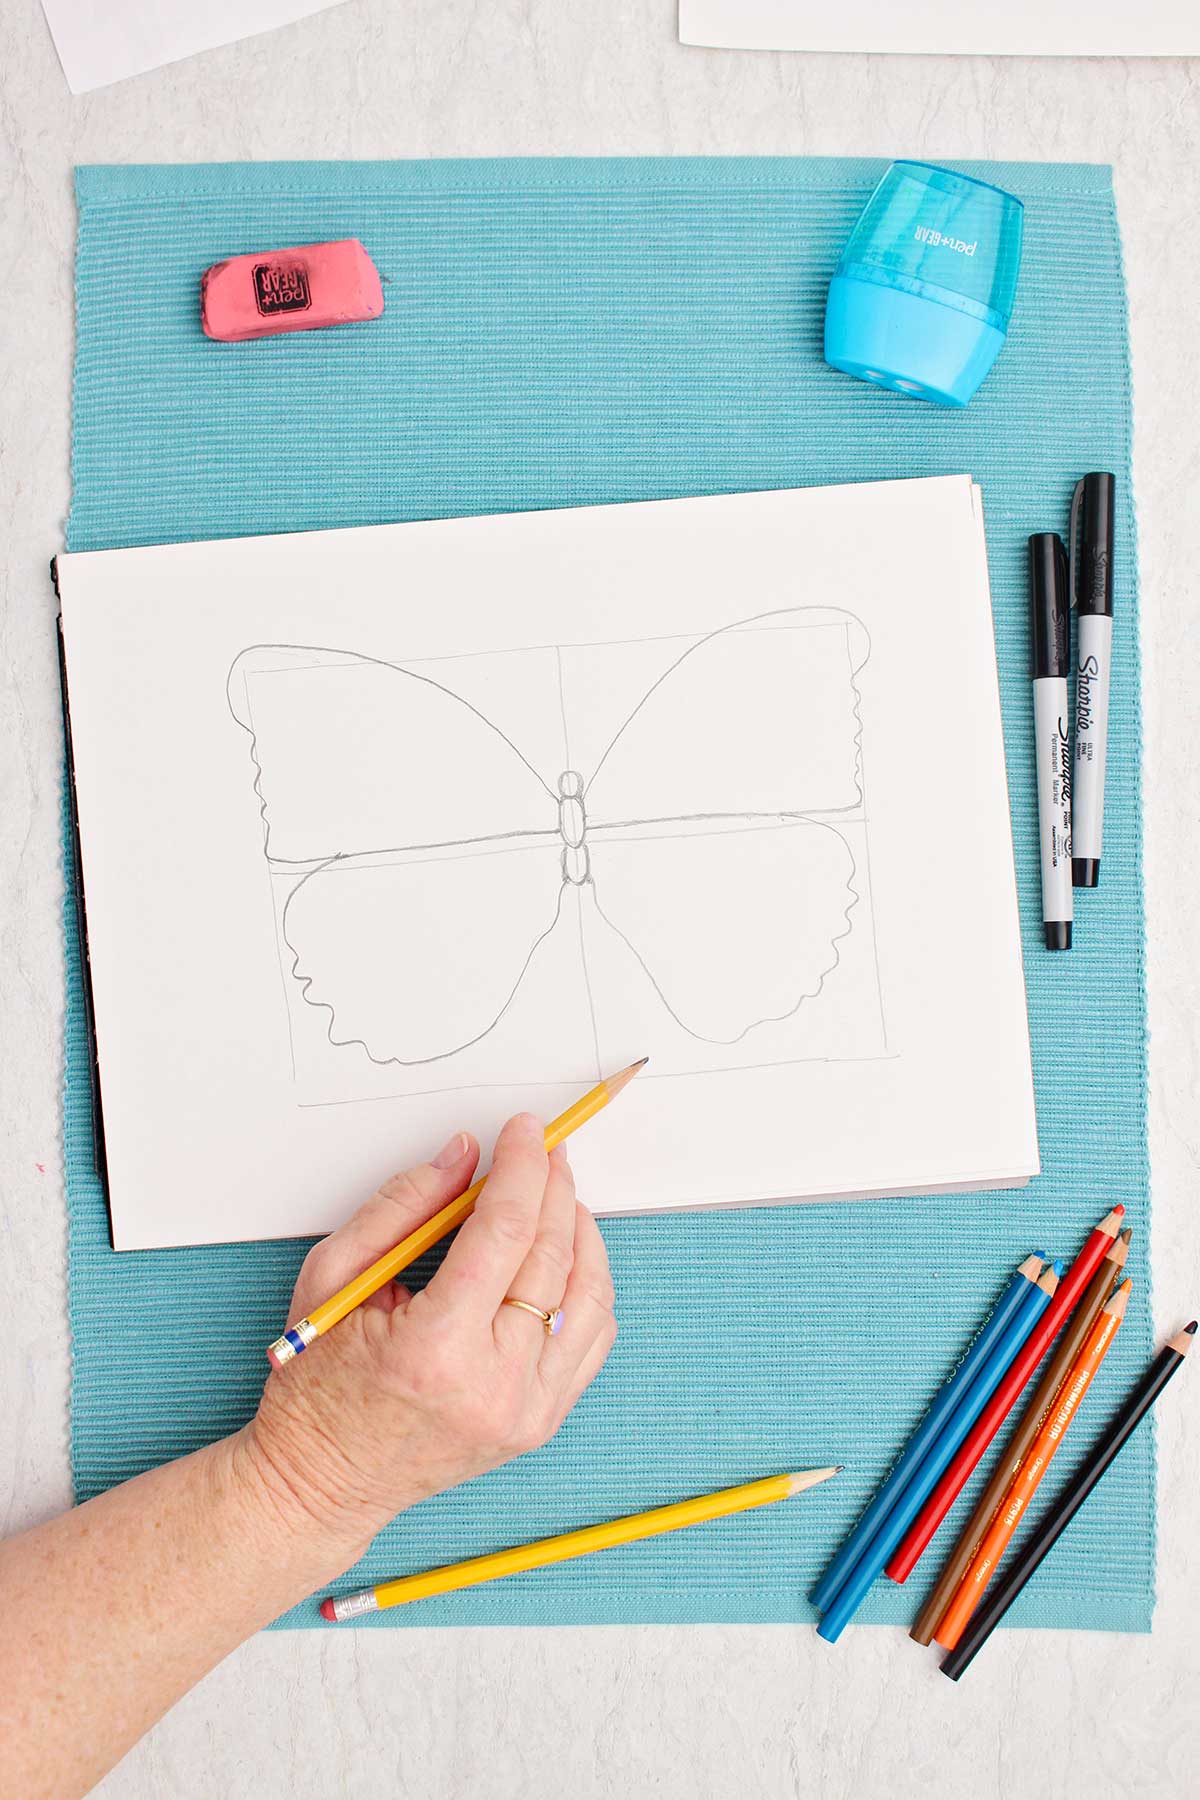
- In pencil draw a square the size of the butterfly you want to draw. Then draw a line that cuts it in half vertically and a second line that cuts it in half horizontally. This is a grid that will be where you draw your butterfly.
- In pencil or with a marker draw the body of the butterfly down the center line as shown in the photo and video. the body is a circle head and two oval sections below the head.
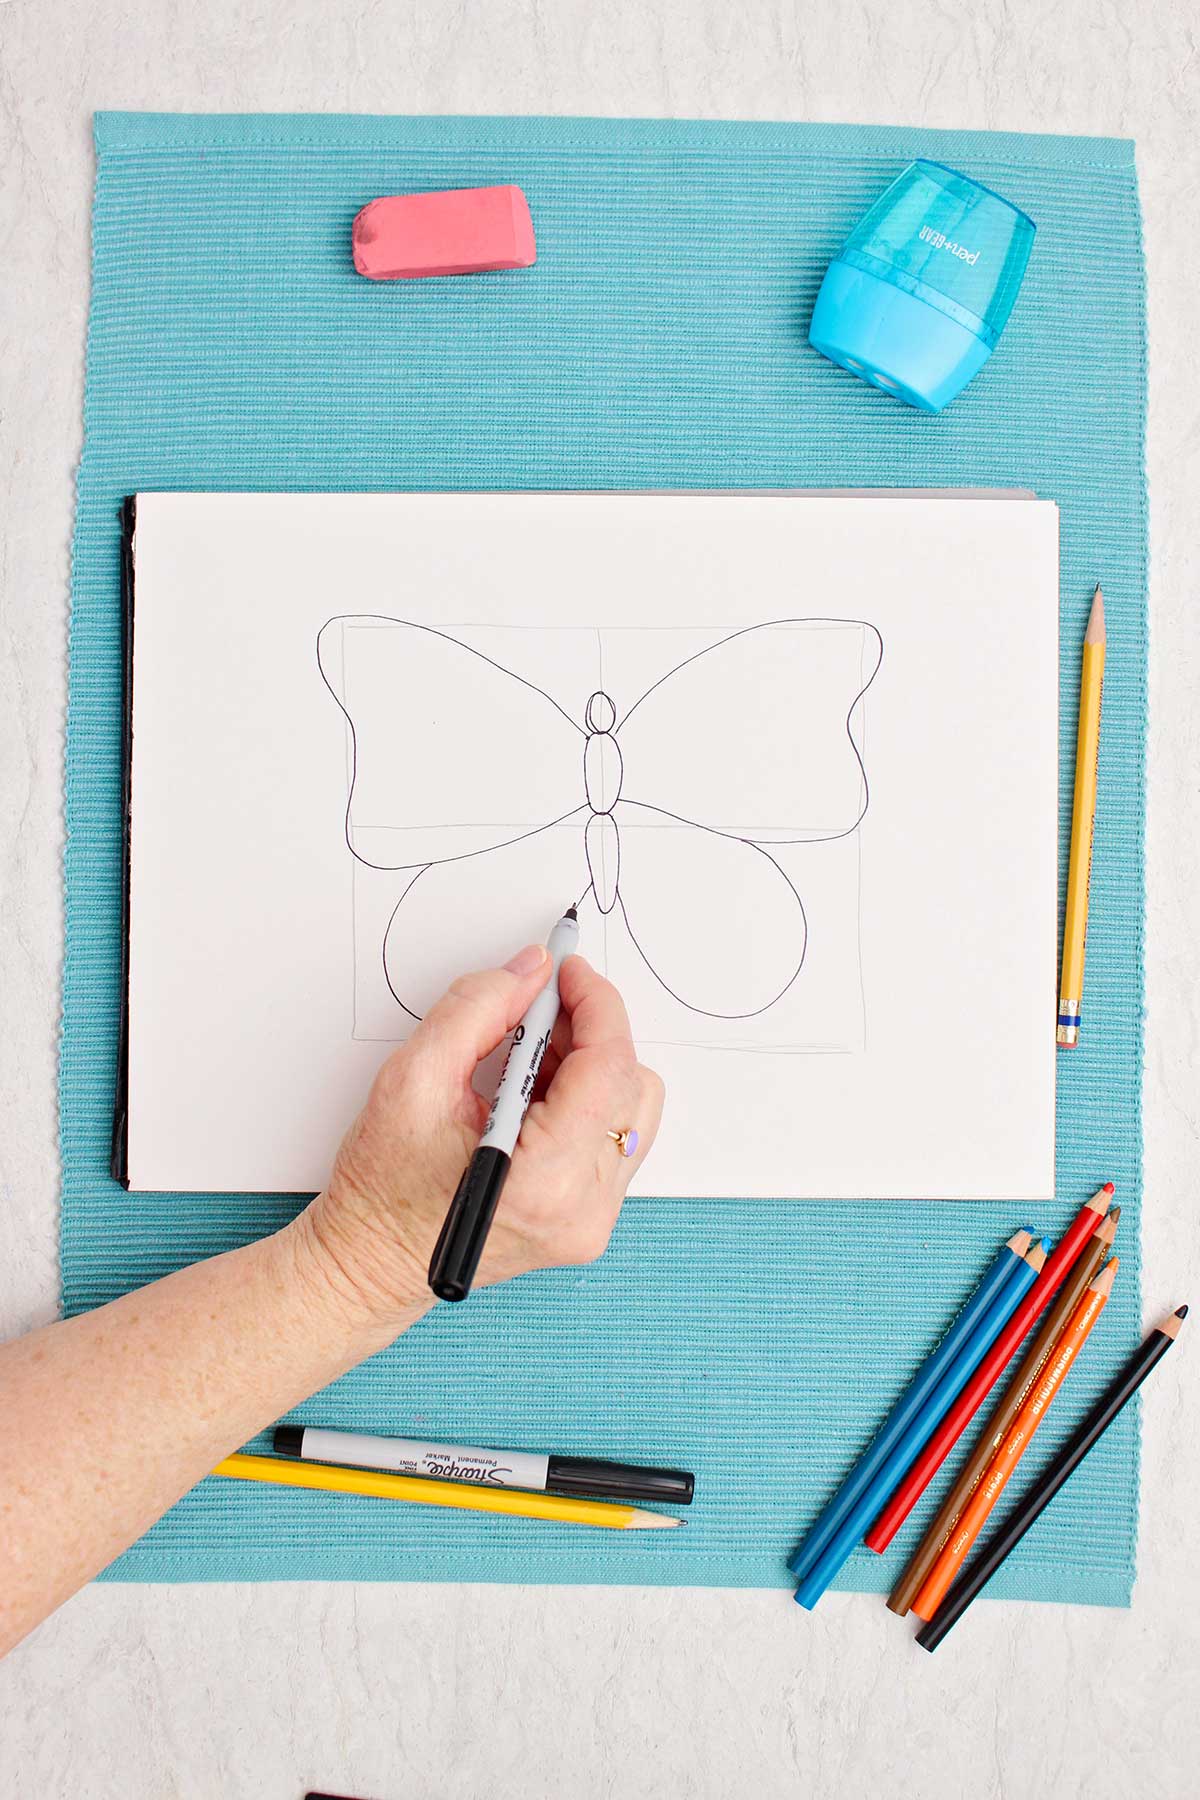
- The top wing is a modified rounded corner triangle drawn in the top right square of the grid. And a mirror image of that wing is drawn in the top left grid square. Do the best you can to imitate the first wing you drew but backwards. It helps to see this in the video.
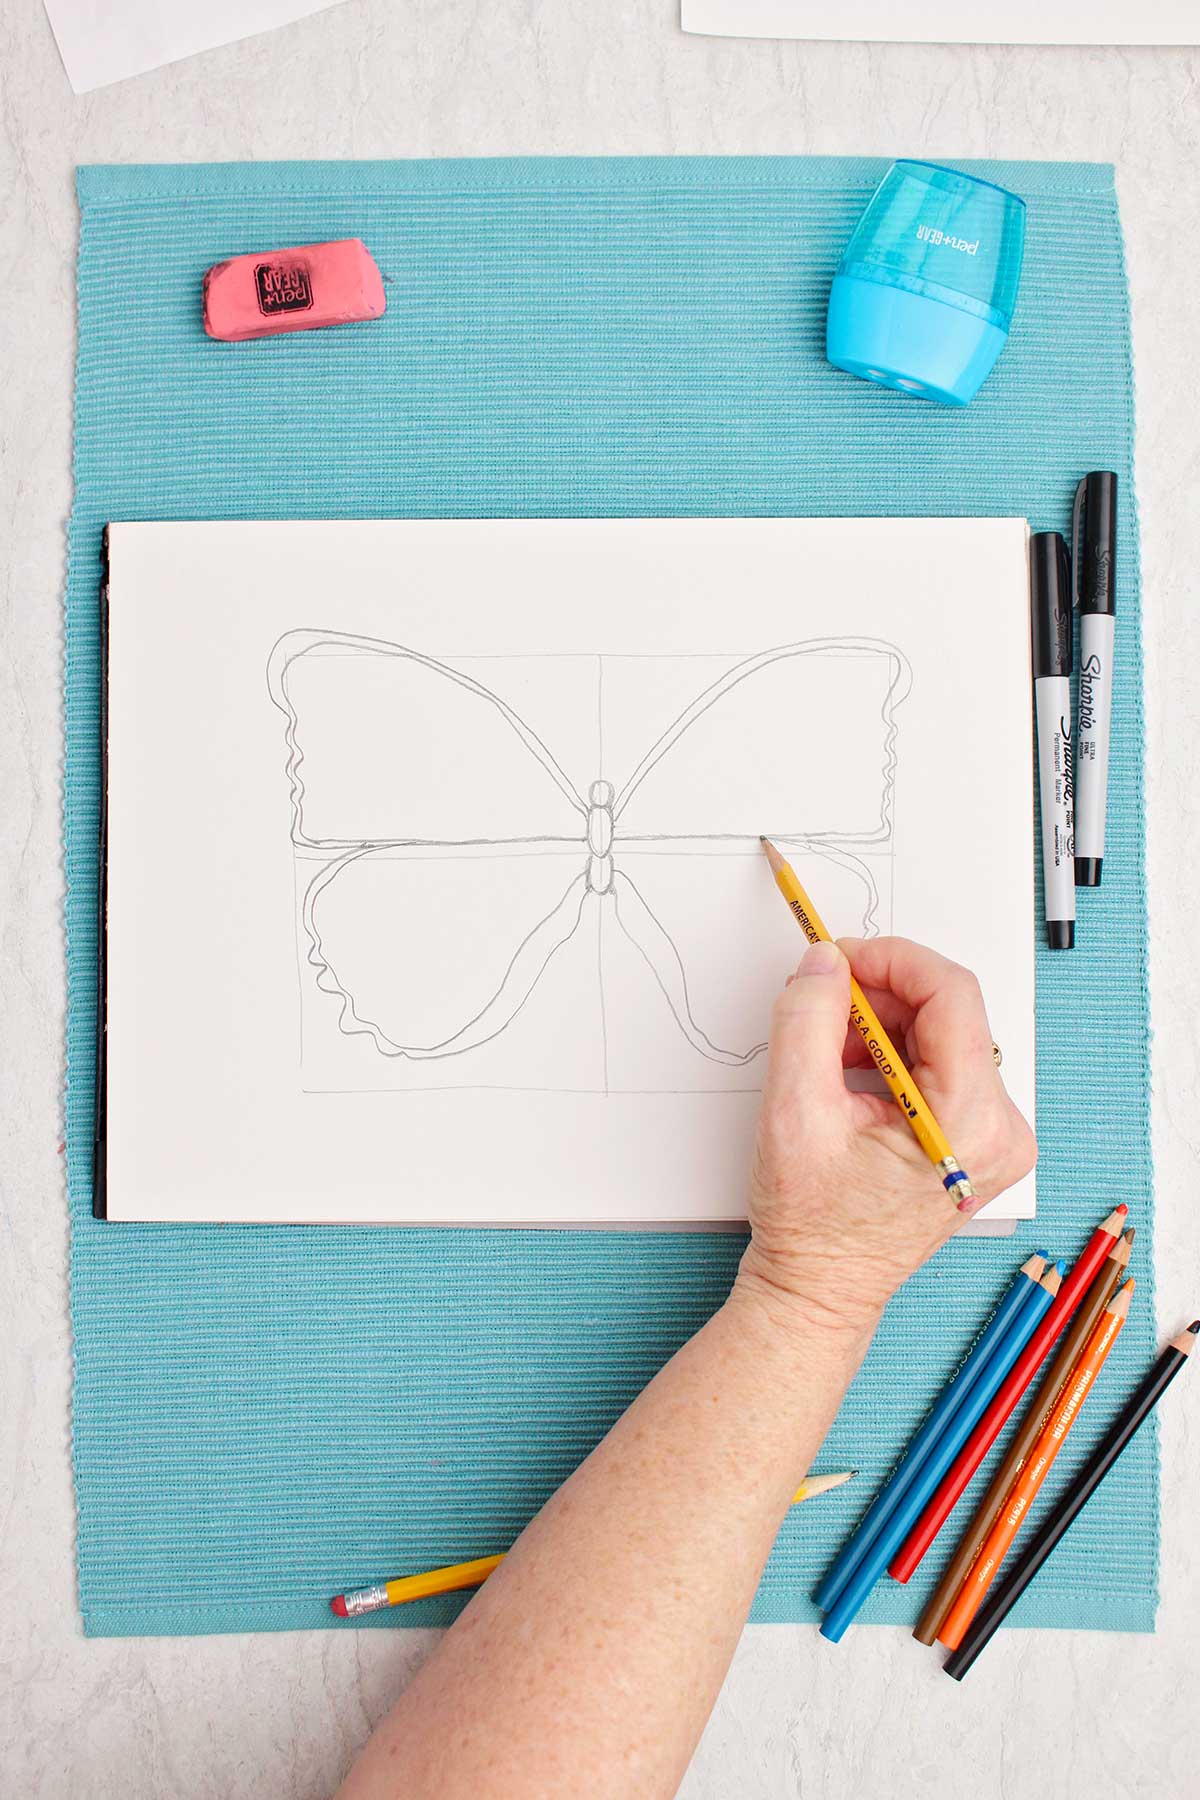
- Draw the bottom sections of the wings- the first in the bottom right square of the grid. It is a teardrop shape. Make the mirror image of this wing section in the bottom left square of the grid. Imitate the other section but backwards.
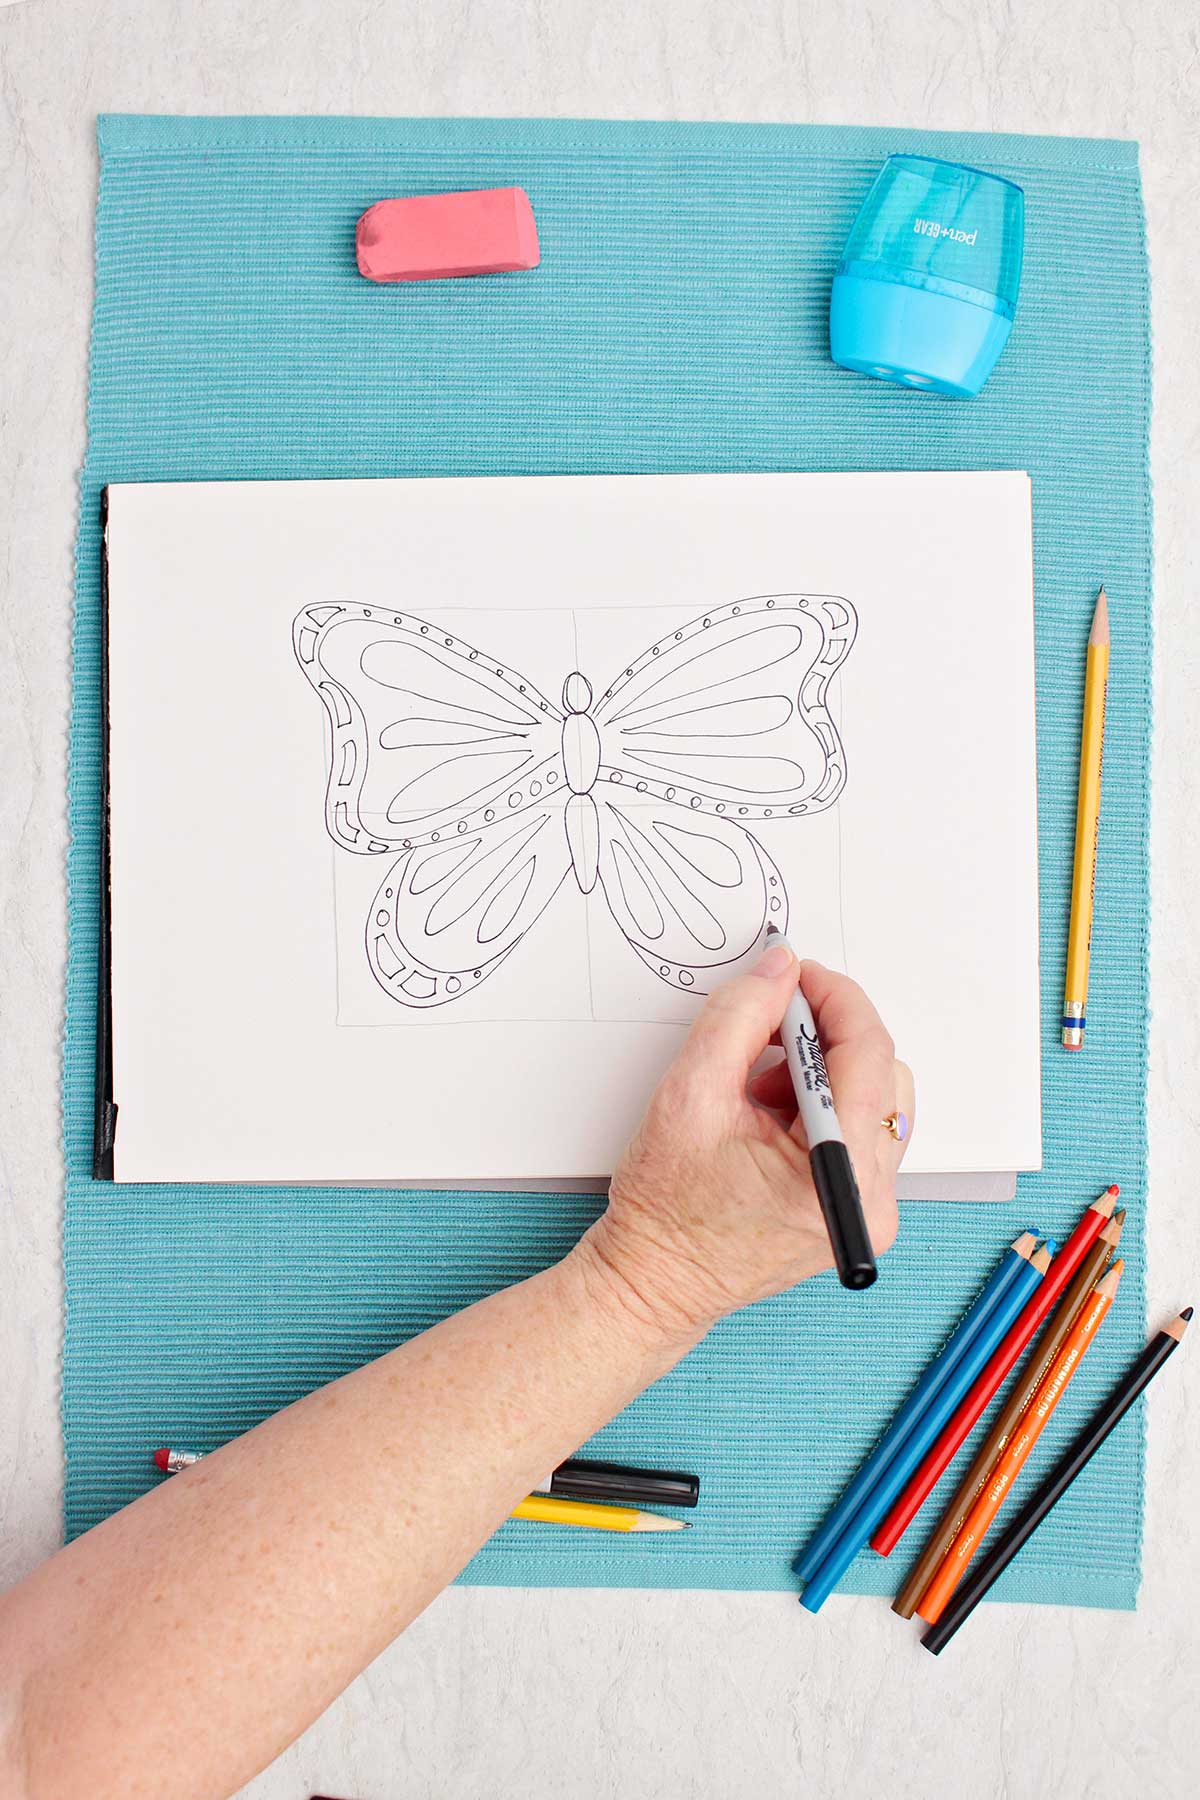
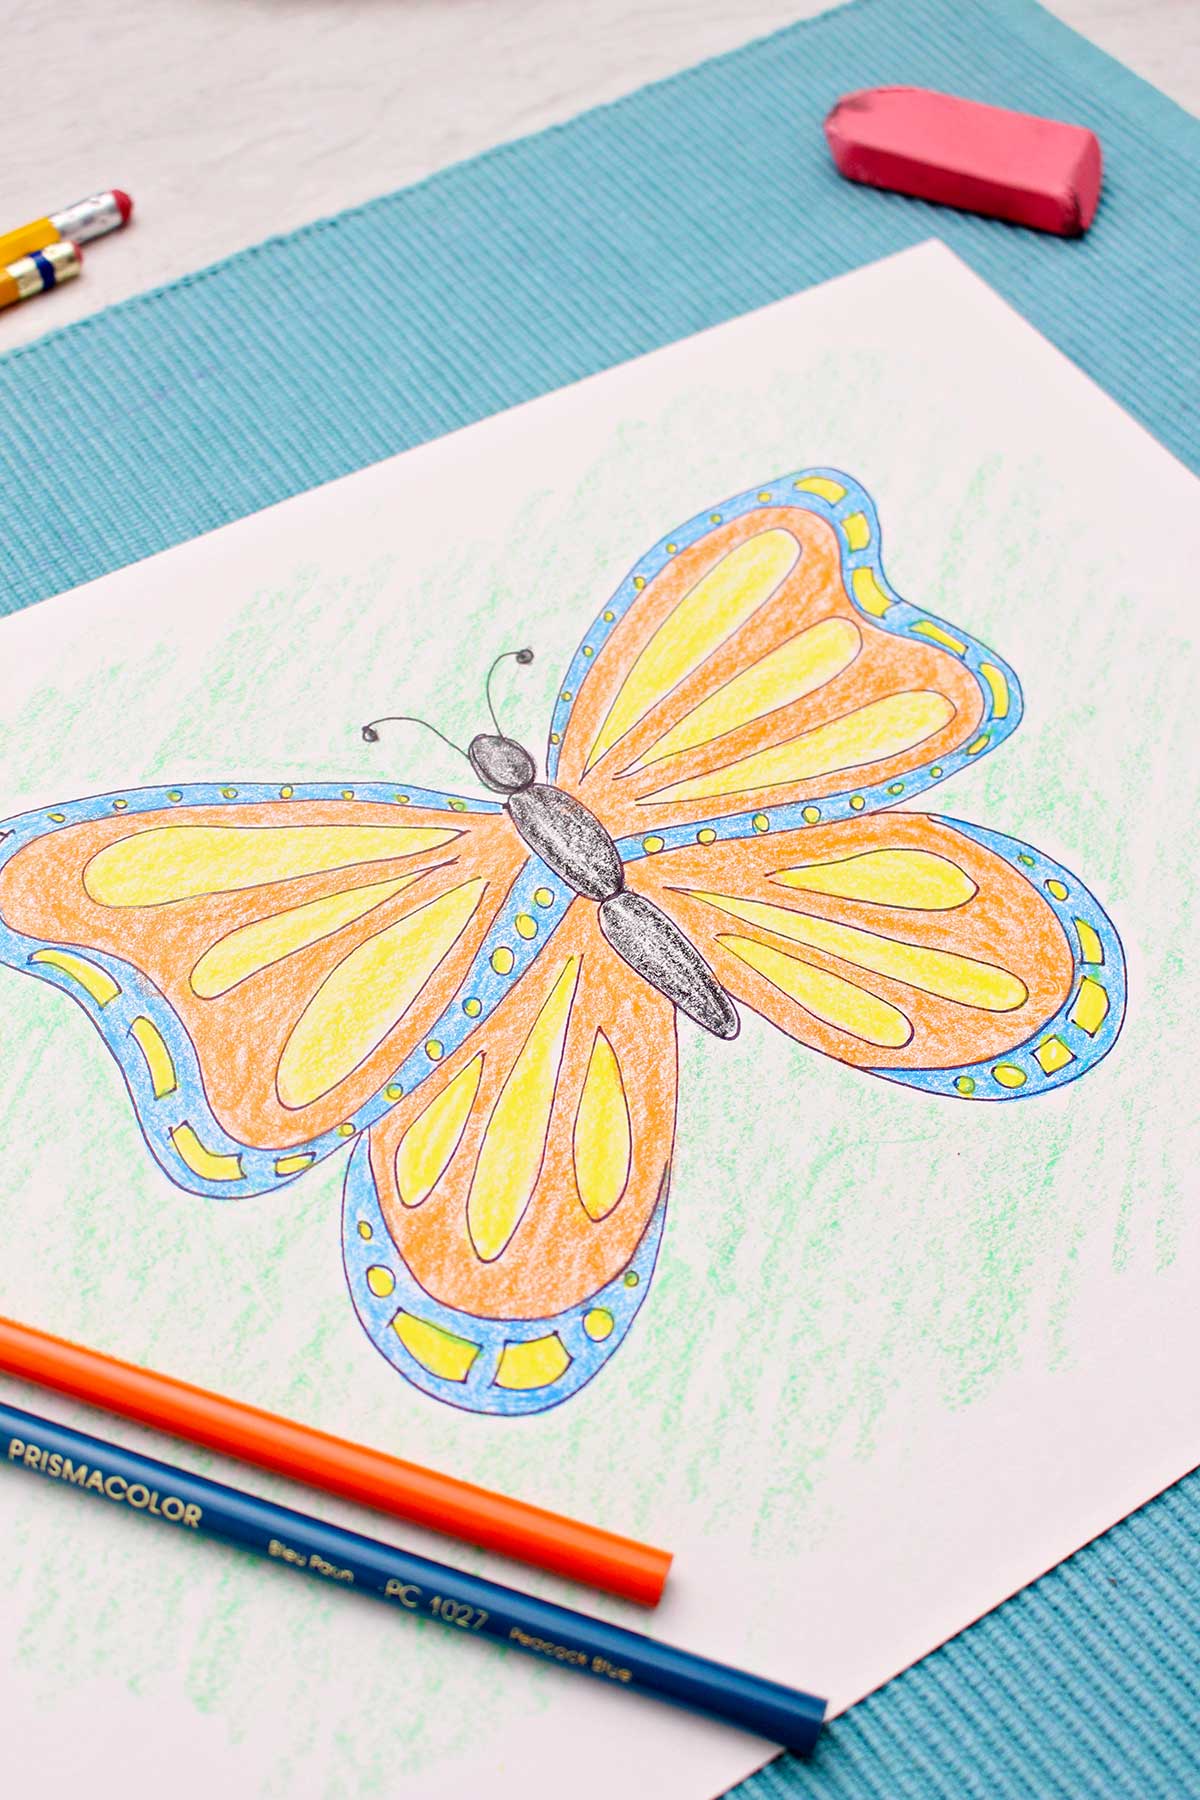
- Decorate the wings. I added a border to each wing section and added squares and circles in the border. Then decorated the inner part of the wing with teardrop shapes. Whatever you do on one wing, do in reverse on the other wing. Have fun!
- Finish with details like antenna and a face.

Butterfly drawing #2- A 3D butterfly with shading
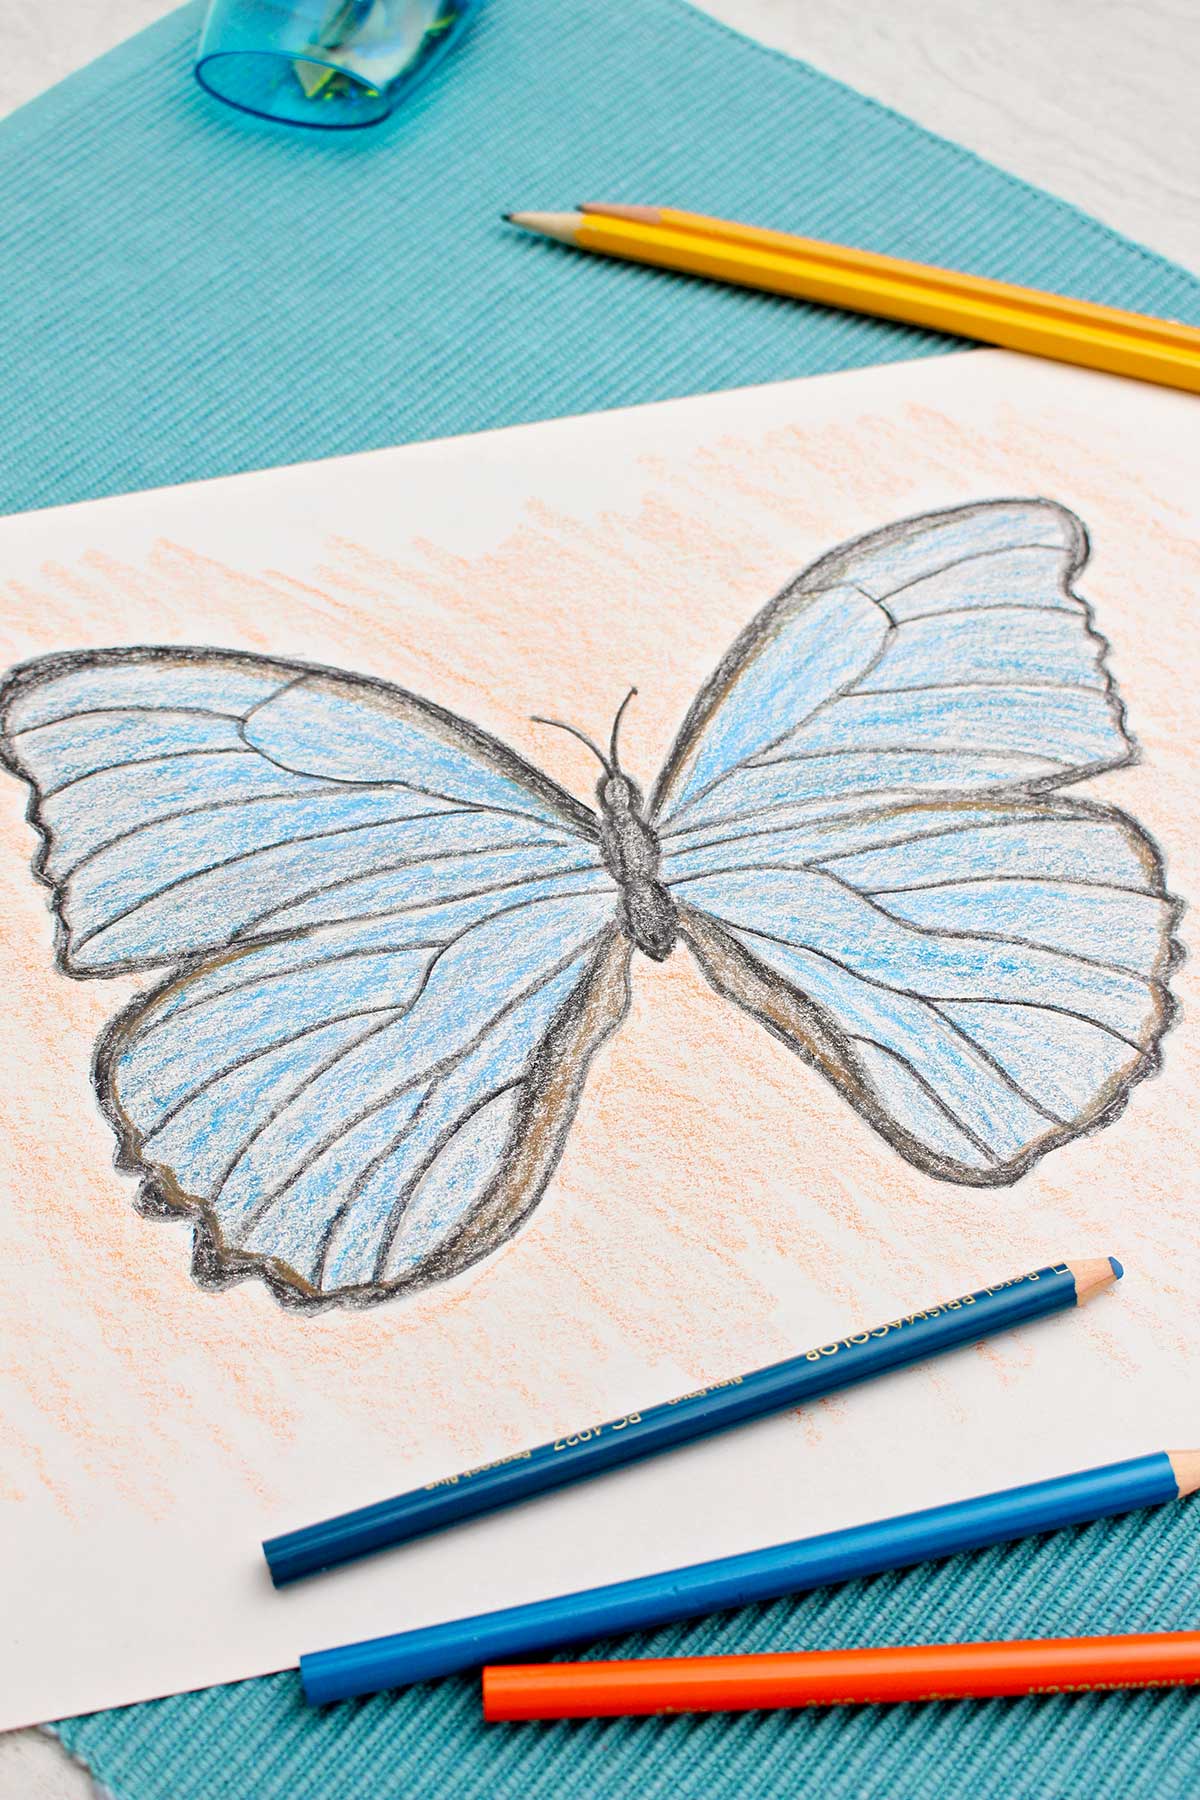
- Find a picture of a butterfly you would like to draw. I drew a blue morpho butterfly.
- Start with the four square grid (in pencil) like we did with butterfly drawing #1. Along the center line of the grid sketch the body of the butterfly.
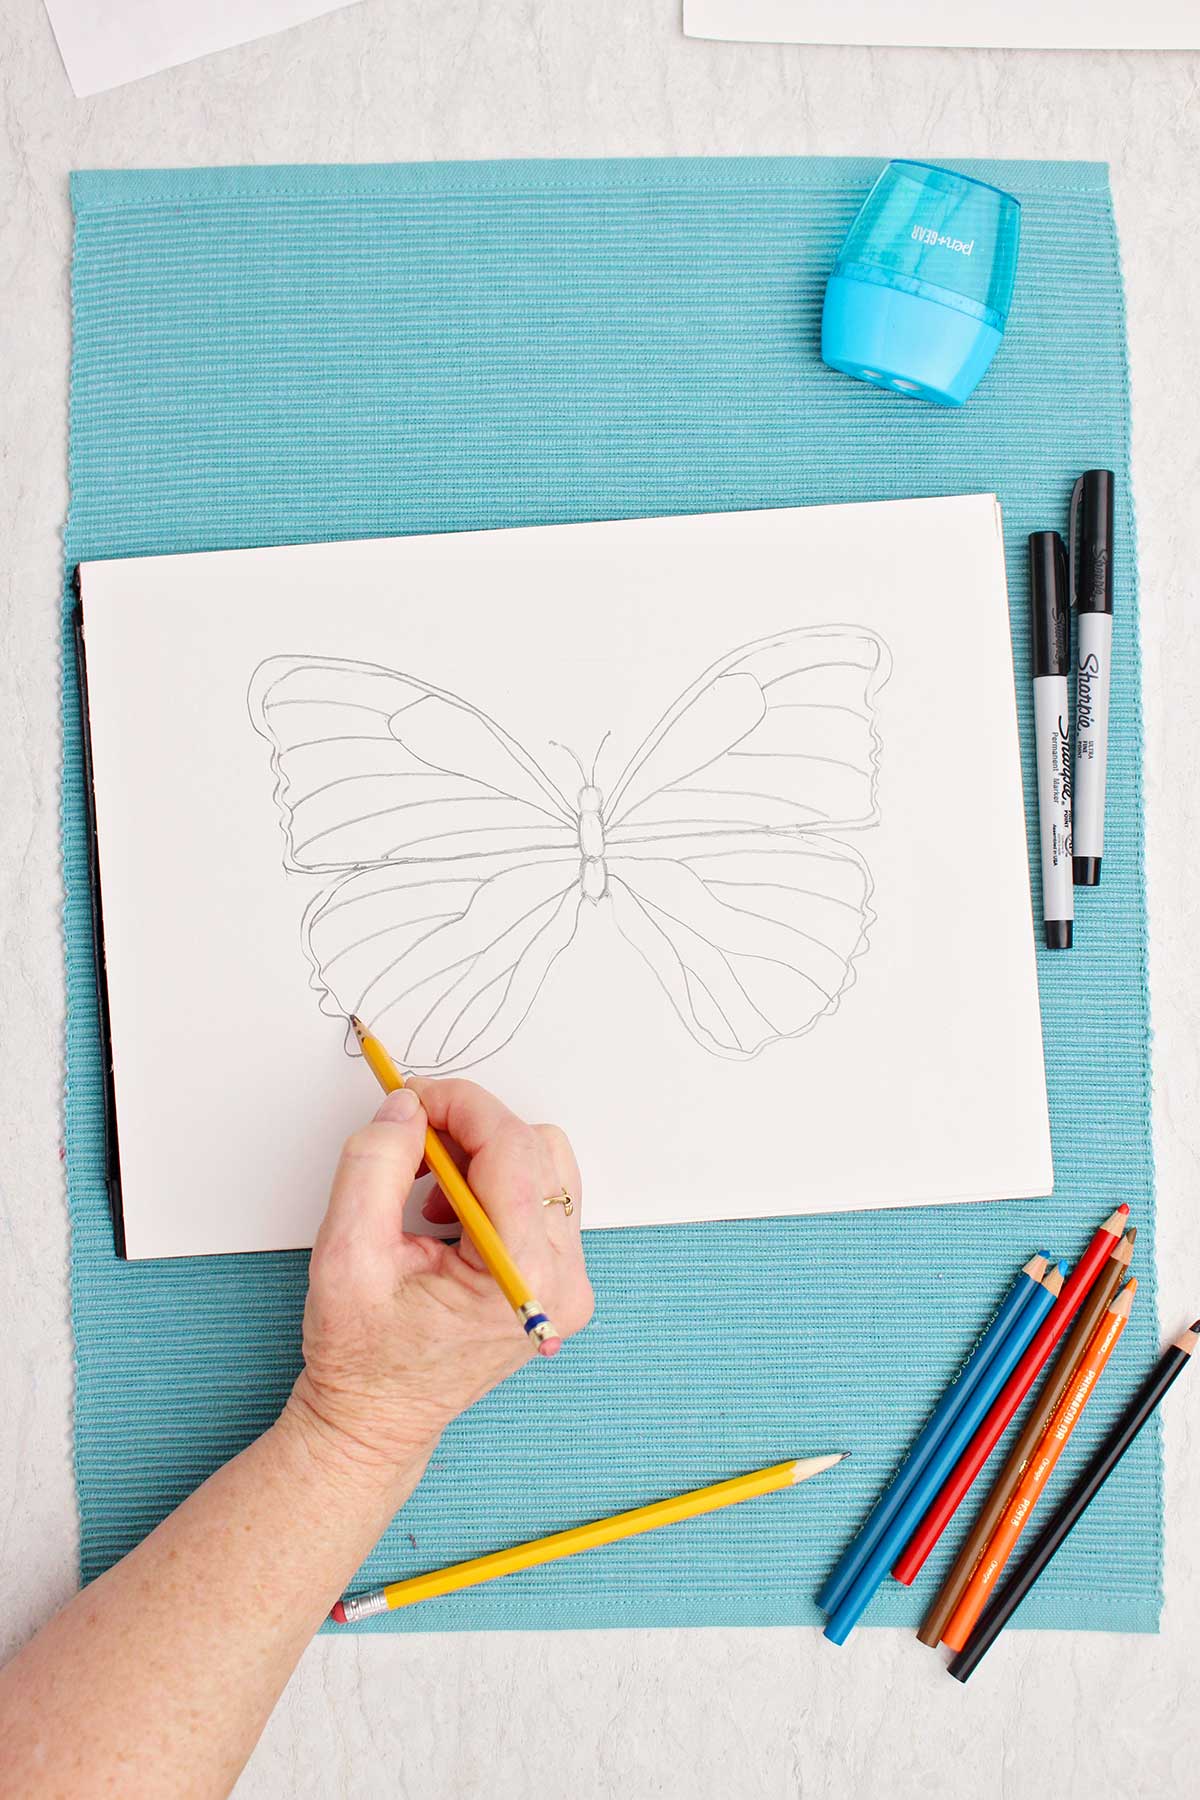
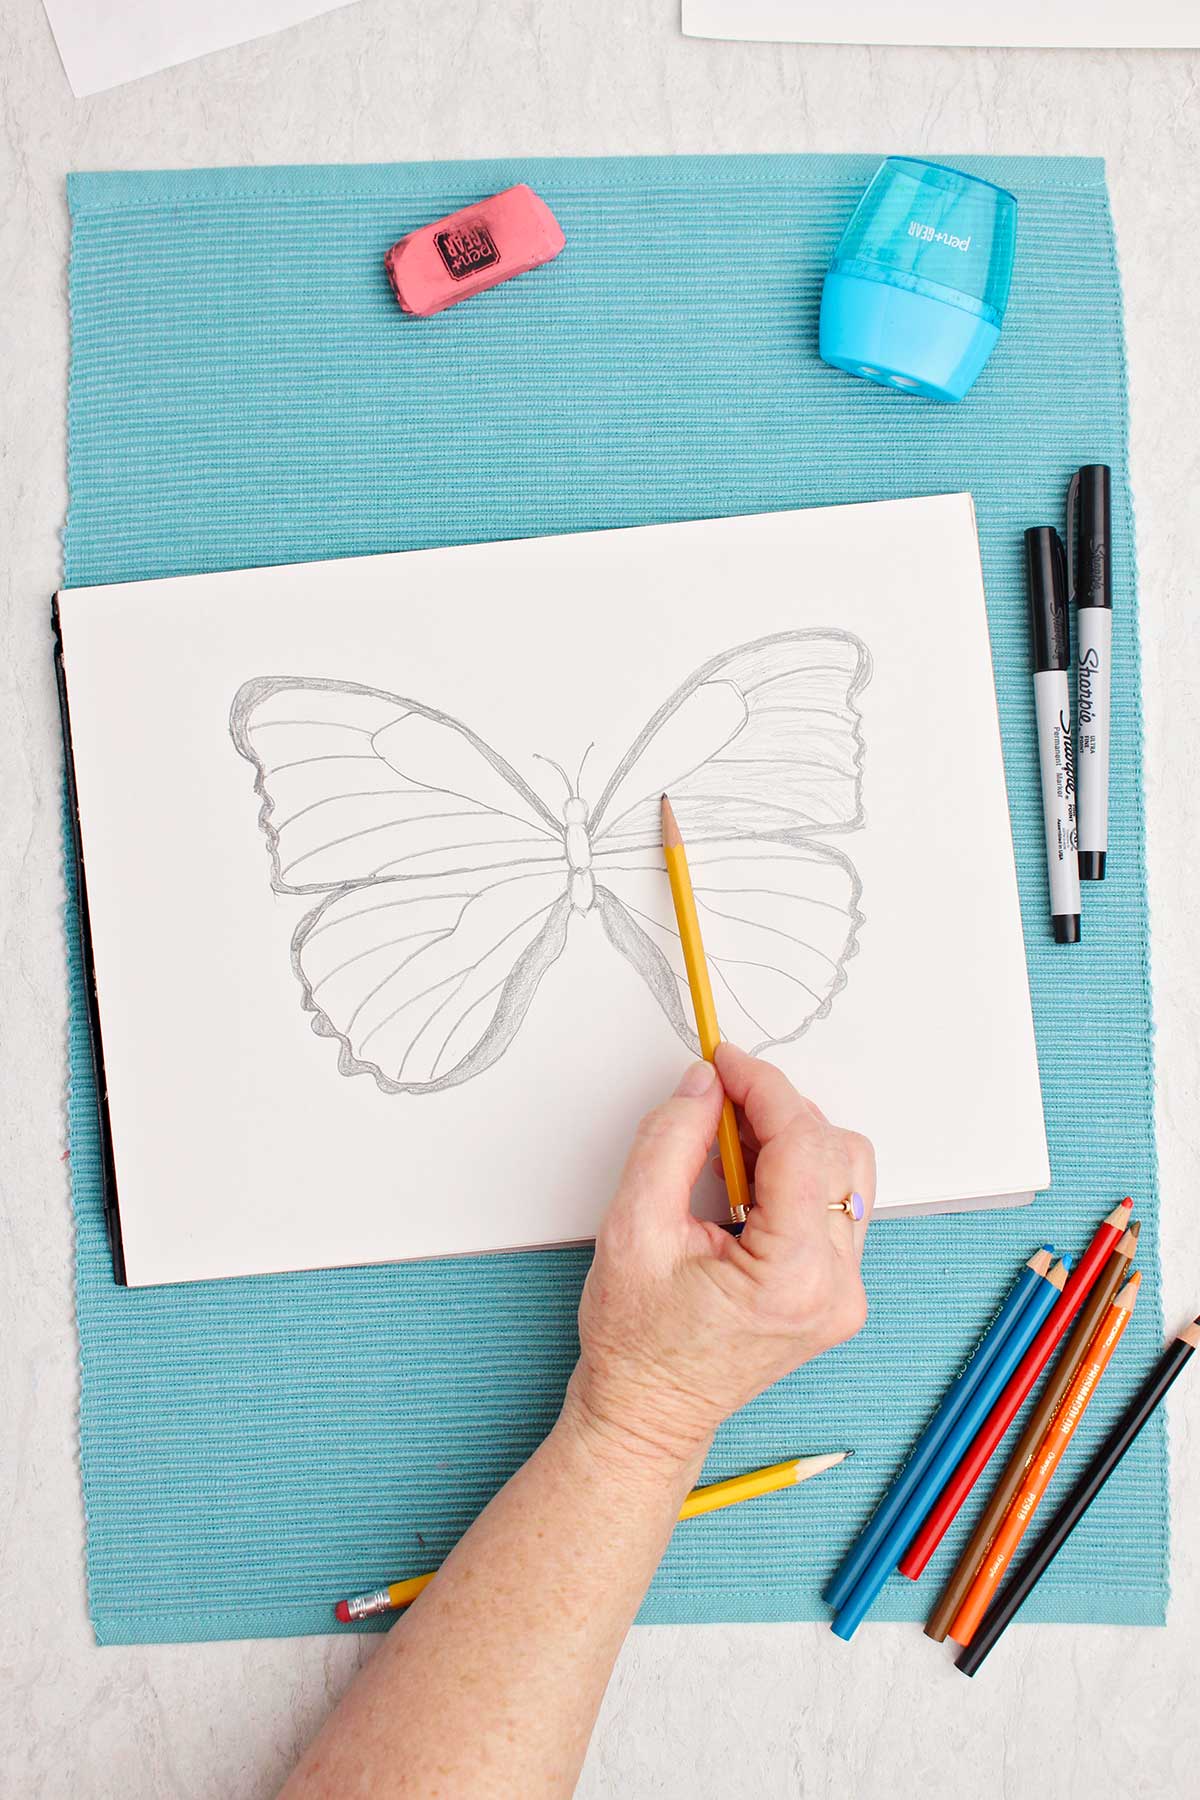
- With a pencil draw the shape of the top right wing in the top right square of the grid. Imitate this shape in reverse in the top left square of the grid. Imitate the outline, the dips, the waves and curves so it looks like the butterfly in the picture. Repeat this wing shape in reverse the top left square of the grid.
- Repeat this with the bottom right and left lower wing sections.
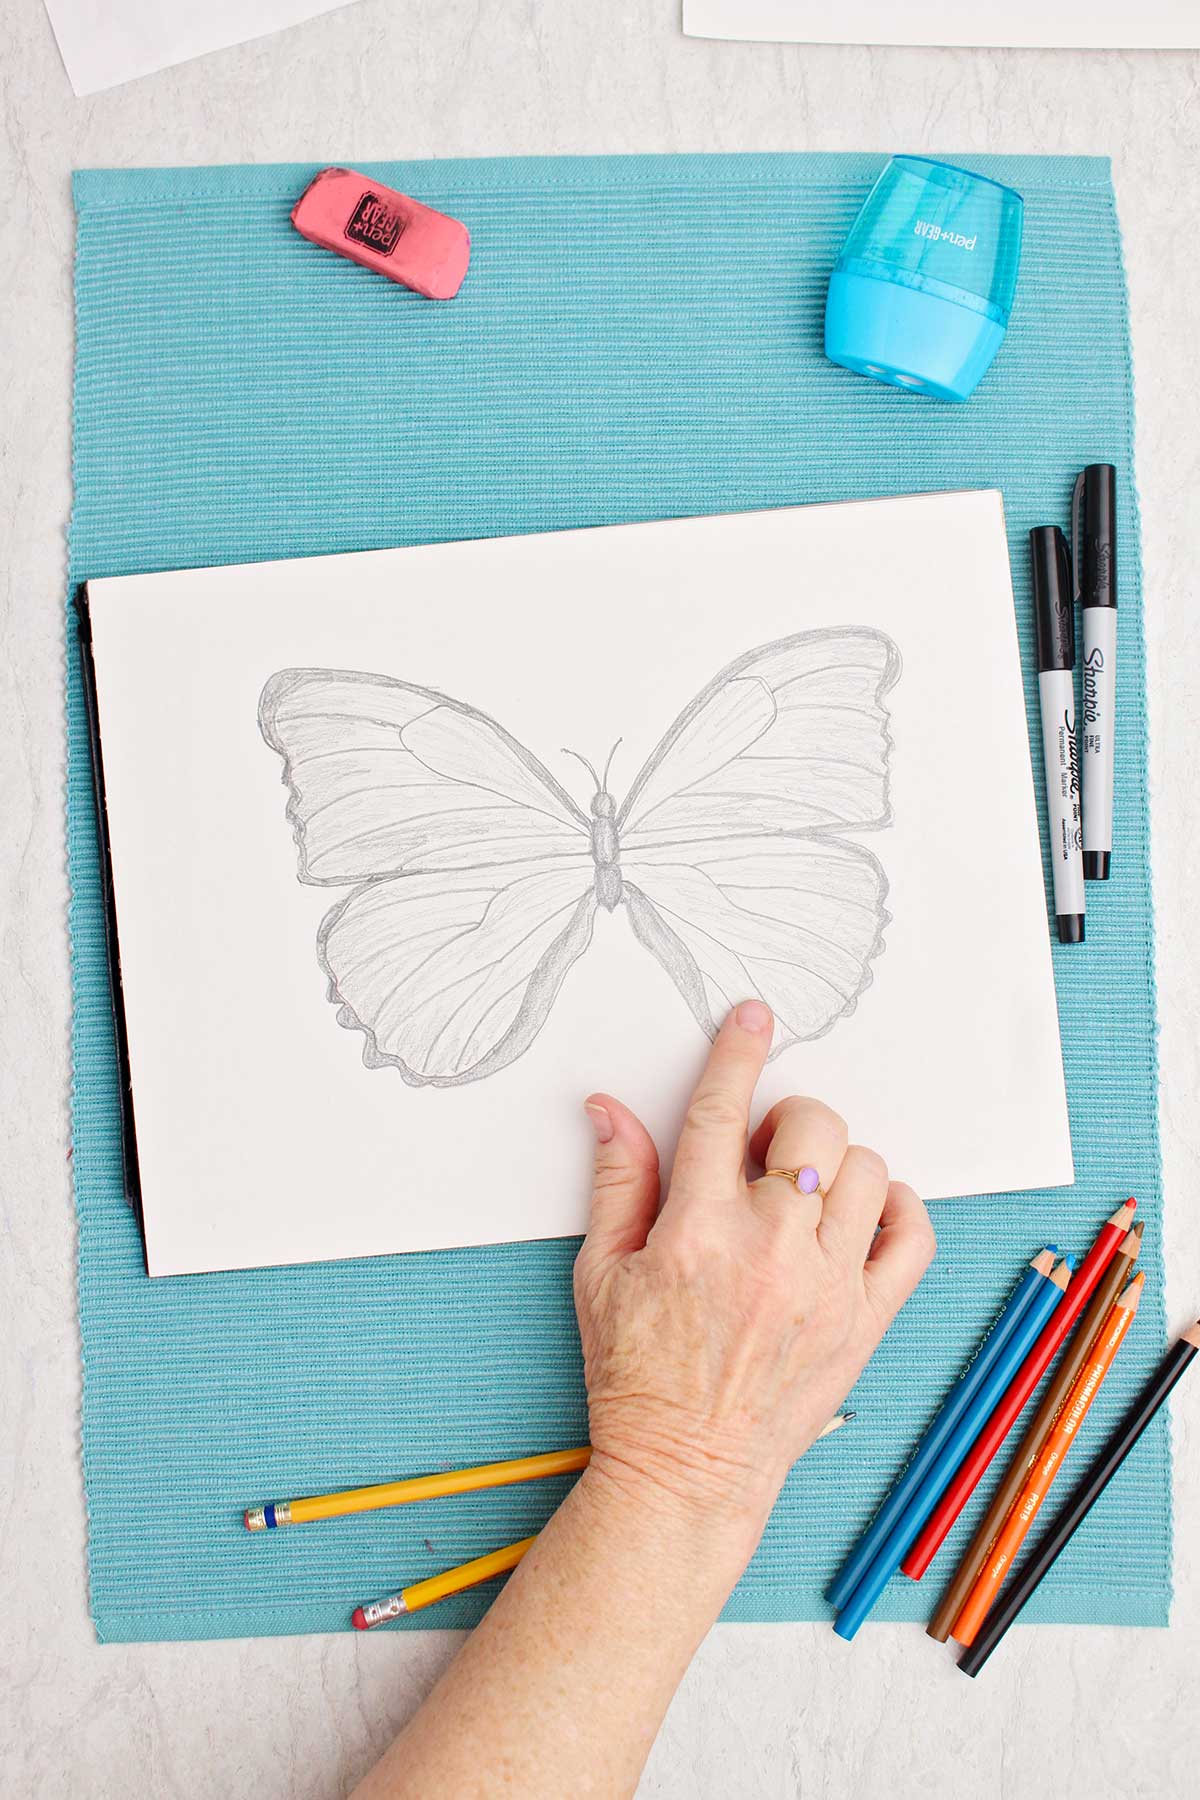
- Begin to draw the pattern on the inside of the wings. Imitate what you see in the picture of the butterfly you’re using. Draw a border around the wing edges and the stained glass pattern in the center of the wings. Remember to repeat the pattern in reverse on the opposite side of the butterfly.
- Add finishing details like antenna and surface pattern on the butterfly.
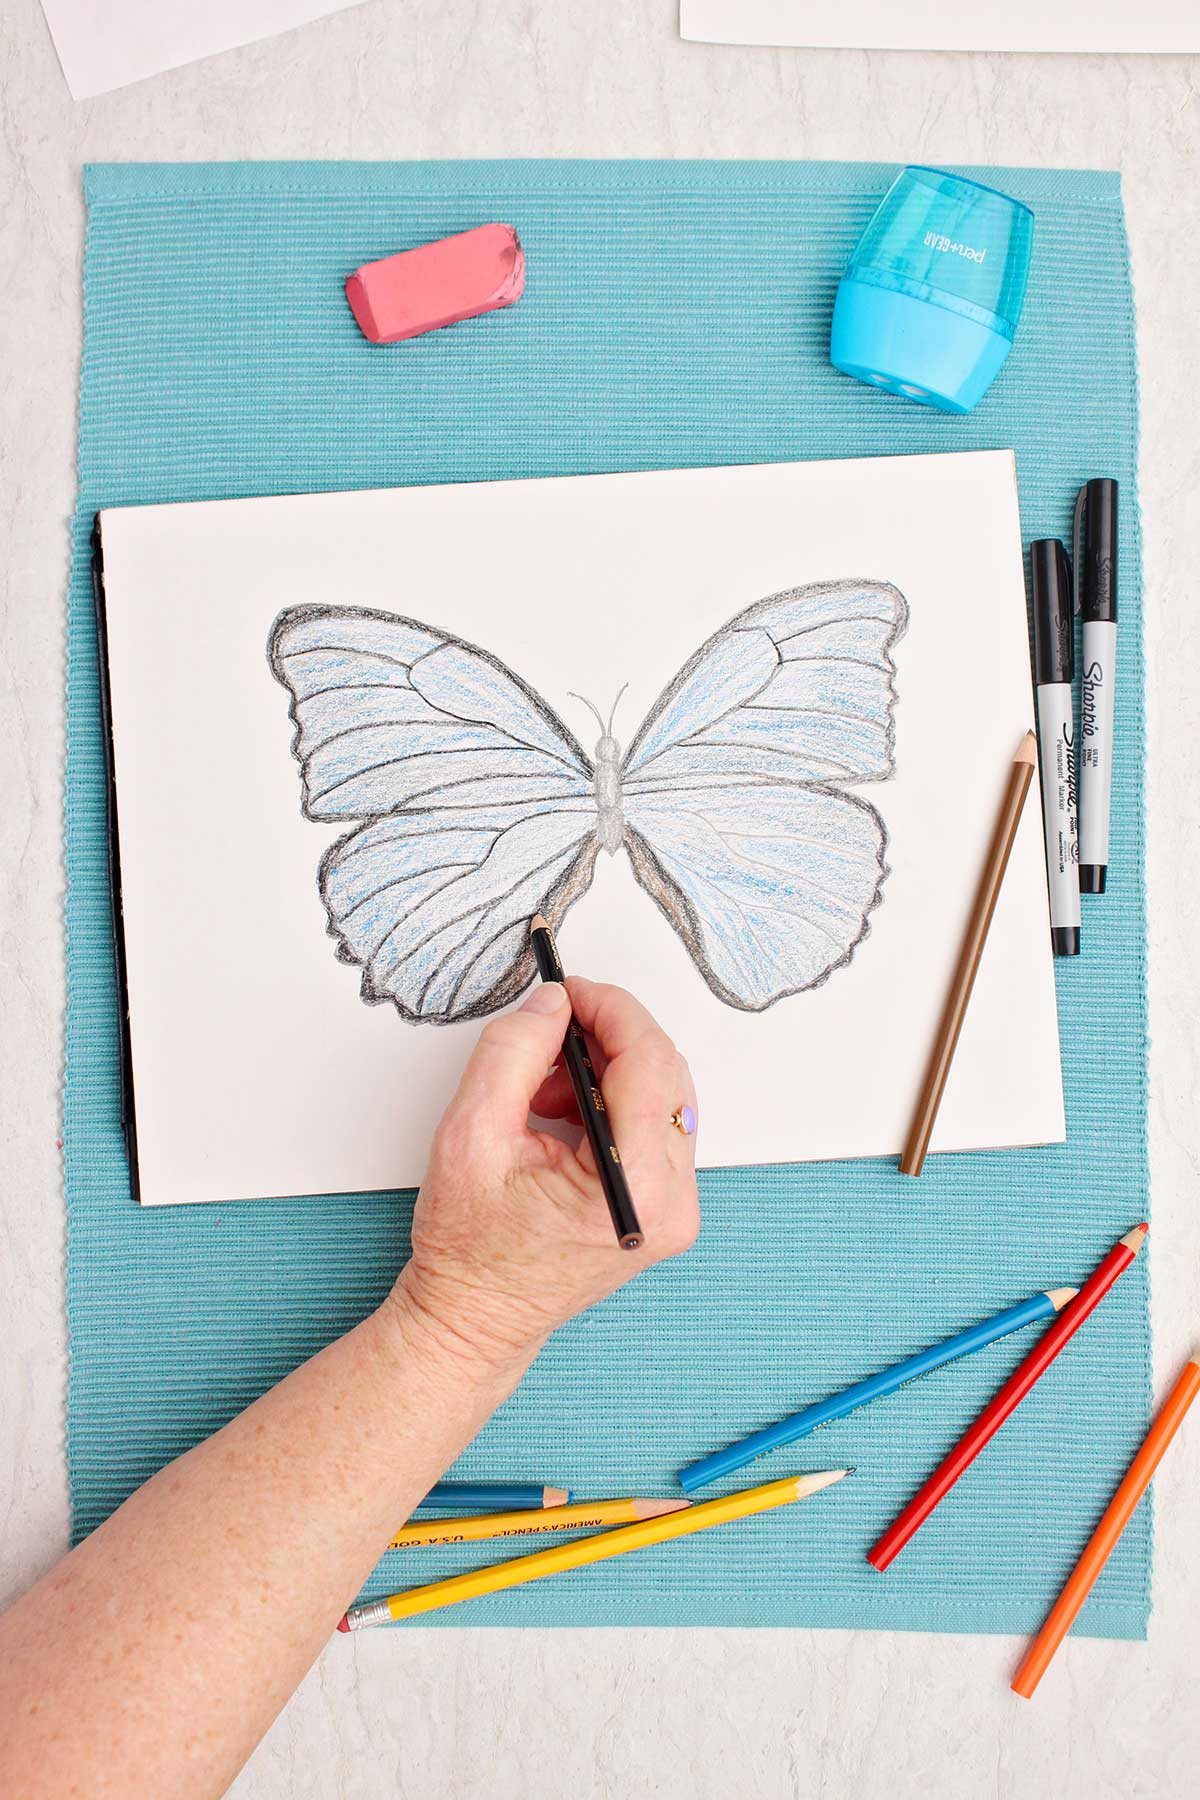
- Shade in the butterfly. Tip your pencil over so that you are using the side of the lead to make marks on the paper. Look at your picture and shade the parts that are darkest first using firm pressure with the pencil as you draw. The center of the wings on mine were lighter and had texture so lighter pressure and some lines in that section helped achieve this effect.
- Instead of shading, use colored pencils on your butterfly.
Craft Tips to Draw a Butterfly Easy
These tips can help drawing a butterfly even easier!
- A grid will be where you draw your butterfly and it will help you to make the wings similar in shape and size. Make the grid the size you want the butterfly in your drawing.
- When making a second wing section, help it to be similar (but in reverse) of the first section you drew by starting and stopping at the same place on the body of the butterfly. Also match the position of your second section lines on the grid with the first section. Cross the grid in the same places for example.
- Don’t make “lines” as you shade your drawing. Use the side of the pencil lead for a smooth mark.
- Butterfly #1 in 2D makes a great coloring page for kids. Butterfly #2 in 3D is a more realistic looking butterfly for your drawings.
Craft Variations
Here are a few variations you’re welcome to try with this art project for kids:
- On butterfly #1 make your butterfly beautiful with a variety of design shapes- circles, teardrops, squares and rectangles, lines, and so forth.
- Take care to observe your butterfly photo (butterfly #2) and imitate the outline of the butterfly in your grid. This will set the look of the butterfly.
- Instead of shading butterfly #2 in 3D, use colored pencils. Start with your lighter colors and get darker. Colored pencils can be layered up to make new colors. Experiment with your colors on a test paper.
FAQ About How to Draw a Butterfly
Find a picture of a butterfly to use as a “model” to draw. Create a four square grid to use for the butterfly. Draw the top two wing sections and then the bottom two wing sections as mirror images in the grid. The body is drawn on the center vertical line of the grid.
Butterflies How to Draw- the trick is using a four square grid and drawing the four wing sections, one in each square. The wings make a mirror image so the right side and left side will be mirror images. This is easier to do in a grid where you can see where the outline goes more easily. Then draw the design on the inside.
Yes you can. Butterfly #2 is a 3D shaded butterfly and you can choose to draw any type or species of butterfly you would like. Just adapt the outline of the wings you draw so they look like the butterfly you have chosen. Also make the pattern inside the wing to look like the pattern on your butterfly picture.
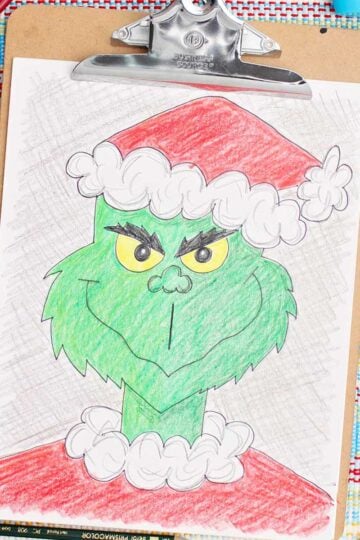
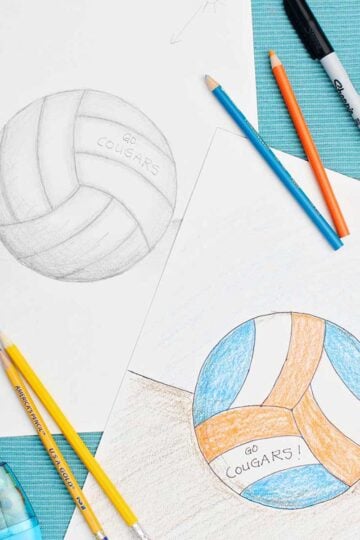
More DIY Drawing Tutorials for Kids
Looking for more easy tutorials for kids who want to learn how to draw? Here are a few of our favorites:
Come Join the Fun at WTN!
Try this craft, leave a comment, rate it, and tag a photo with #WelcometoNanas wherever you post.
More Crafts Please!
Love getting crafts straight to your inbox? Sign up to receive a weekly email and get a free gift!
Easy Butterfly Drawing (2 Ways)!
Equipment
- none needed
Items Required
- drawing paper or a sketch book
- a pencil or marker
- an eraser
- colored pencils or crayons (optional)
Instructions
Butterfly drawing #1- A 2D butterfly (like a coloring book)
- In pencil draw a square the size of the butterfly you want to draw. Then draw a line that cuts it in half vertically and a second line that cuts it in half horizontally. This is a grid that will be where you draw your butterfly.
- In pencil or with a marker draw the body of the butterfly down the center line as shown in the photo and video. the body is a circle head and two oval sections below the head.
- The top wing is a modified rounded corner triangle drawn in the top right square of the grid. And a mirror image of that wing is drawn in the top left grid square. Do the best you can to imitate the first wing you drew but backwards. It helps to see this in the video.
- Draw the bottom sections of the wings- the first in the bottom right square of the grid. It is a teardrop shape. Make the mirror image of this wing section in the bottom left square of the grid. Imitate the other section but backwards.
- Decorate the wings. I added a border to each wing section and added squares and circles in the border. Then decorated the inner part of the wing with teardrop shapes. Whatever you do on one wing, do in reverse on the other wing. Have fun!
- Finish with details like antenna and a face.
Butterfly drawing #2- A 3D butterfly with shading
- Find a picture of a butterfly you would like to draw. I drew a blue morpho butterfly.
- Start with the four square grid (in pencil) like we did with butterfly drawing #1. Along the center line of the grid sketch the body of the butterfly.
- With a pencil draw the shape of the top right wing in the top right square of the grid. Imitate this shape in reverse in the top left square of the grid. Imitate the outline, the dips, the waves and curves so it looks like the butterfly in the picture. Repeat this wing shape in reverse the top left square of the grid.
- Repeat this with the bottom right and left lower wing sections.Begin to draw the pattern on the inside of the wings. Imitate what you see in the picture of the butterfly you’re using. Draw a border around the wing edges and the stained glass pattern in the center of the wings. Remember to repeat the pattern in reverse on the opposite side of the butterfly.
- Add finishing details like antenna and surface pattern on the butterfly.
- Shade in the butterfly. Tip your pencil over so that you are using the side of the lead to make marks on the paper. Look at your picture and shade the parts that are darkest first using firm pressure with the pencil as you draw. The center of the wings on mine were lighter and had texture so lighter pressure and some lines in that section helped achieve this effect.(optional) Instead of shading, use colored pencils on your butterfly.

Leave a Reply