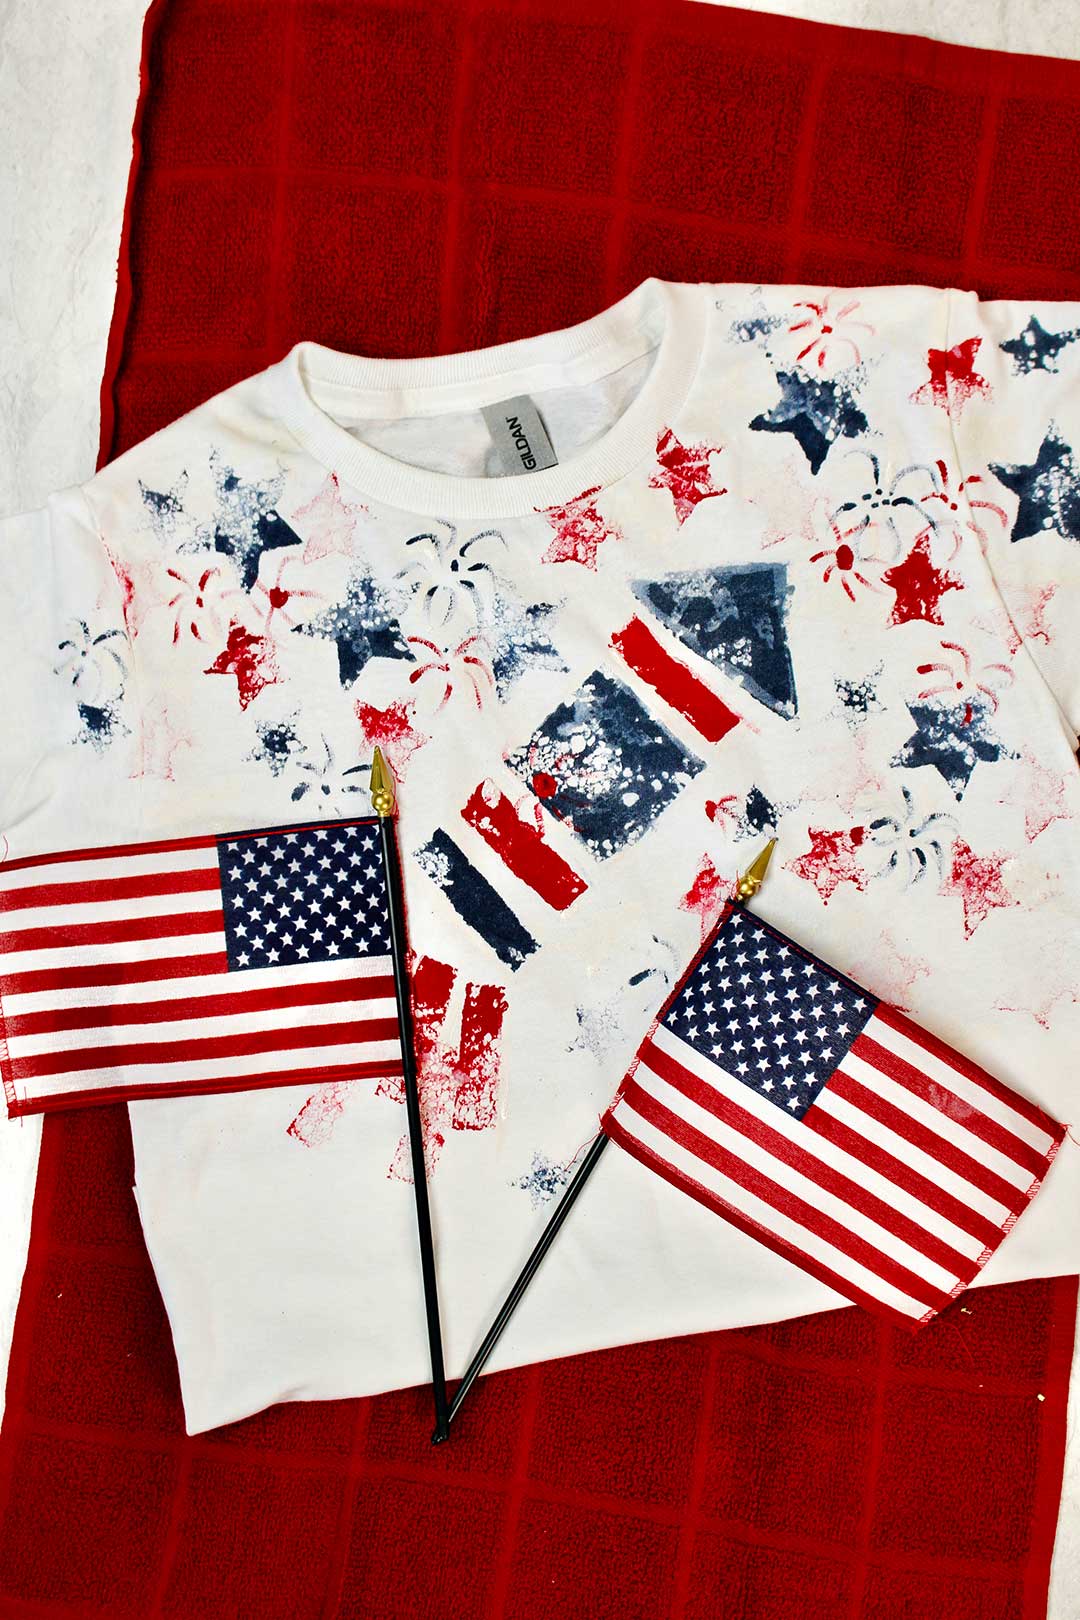
Cute 4th of July Shirts
These cute and easy DIY 4th of July Shirts with Sponged Rocket Design would be a perfect activity for the whole family to make and wear on the July 4th weekend. Any age adult or grand can do this simple craft.
: DIY 4th of July Shirts with Sponged Rocket DesignRelax and watch the video if you prefer!
4th of July Matching Family Shirts
About 25 years ago my brother and sister-in-law had all our extended family to their lake cabin home. The kids had a blast swimming, decorating their boat for a 4th of July boat parade, and setting off fireworks.
In the afternoon when the kids needed a break Dina pulled out the supplies for making a DIY 4th of July Shirt. She had paint, sponges, and t-shirts for all of the kids.
Each child took turns making their t-shirt and coming up with their red, white, and blue designs. The rocket design was a favorite, but you can make any design you choose!
After the shirts dried, they could wear them for the evening. I’ve never forgotten the idea.
Fourth of July Shirts- Let’s give it a try!
Set up a table and gather the kids and adults to make their own t-shirts. You may want to do small groups at a time if there are a lot of people.
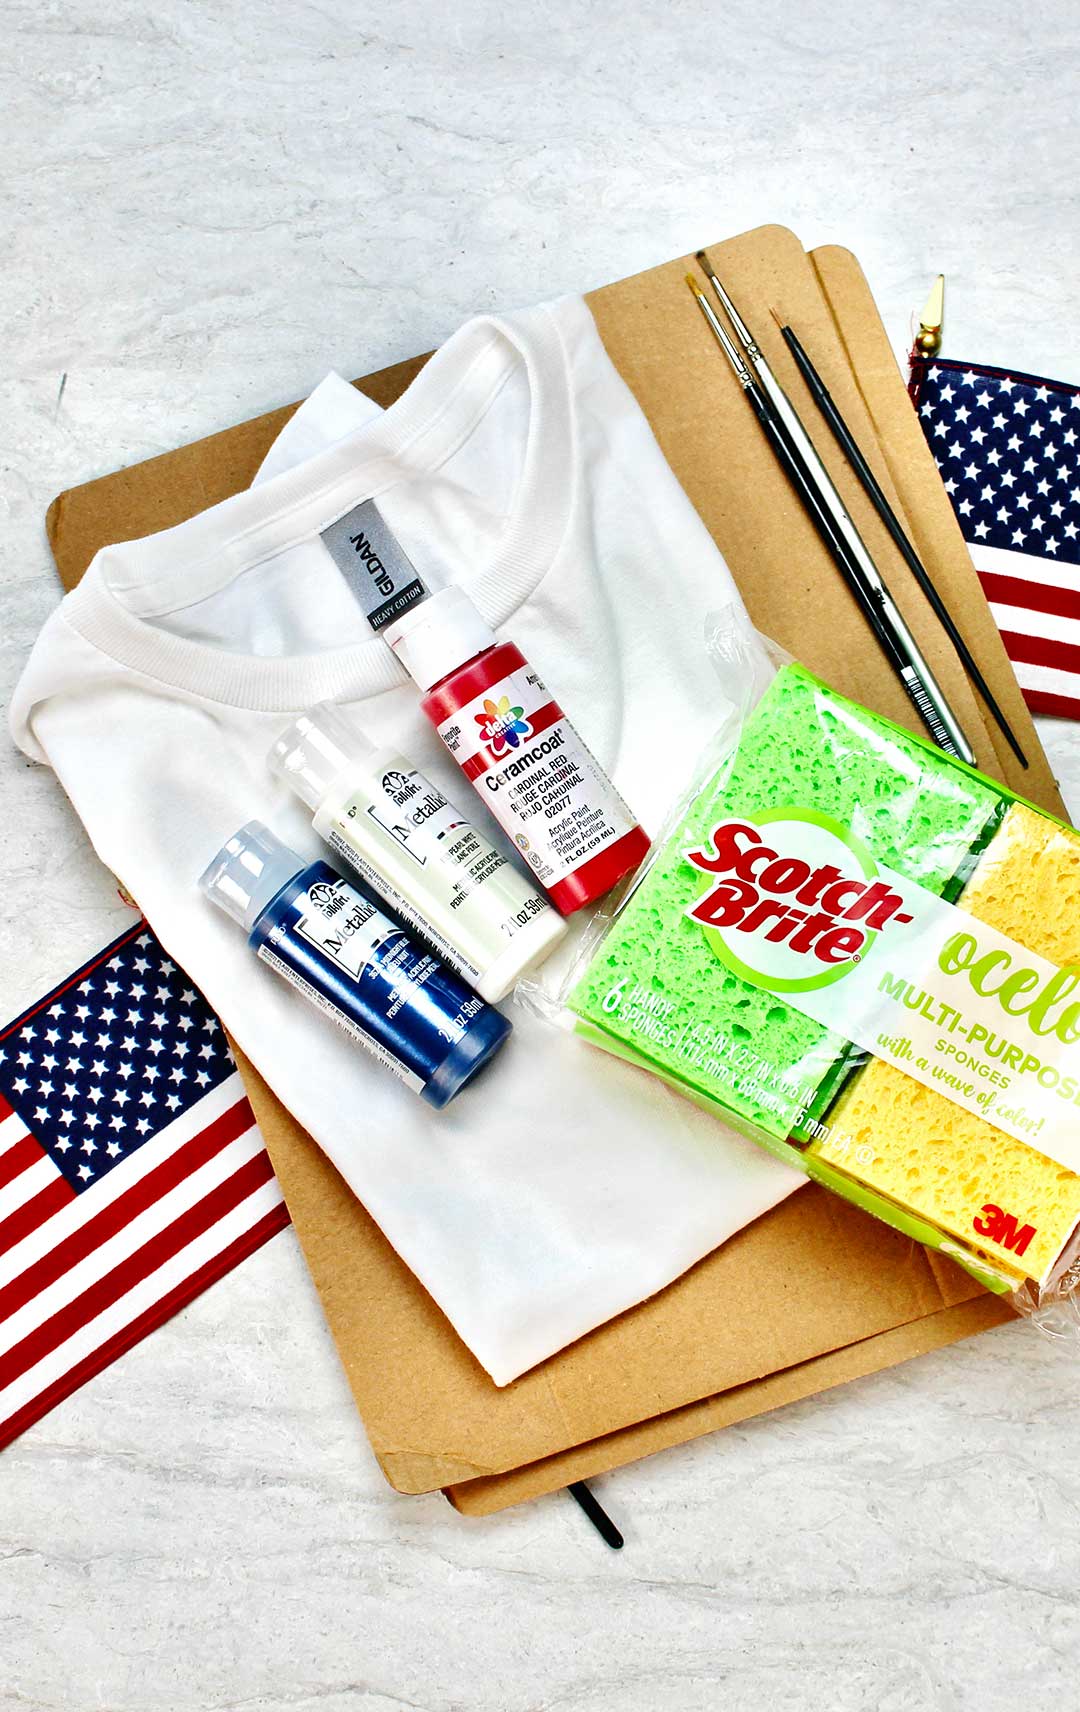
The supplies for this craft are simple- a t-shirt for each person (in the correct size- Mens, Womens, kids), sponges, small paint brushes, and red, white, and blue acrylic craft paint.
DIY Sponge Stamps- easy!
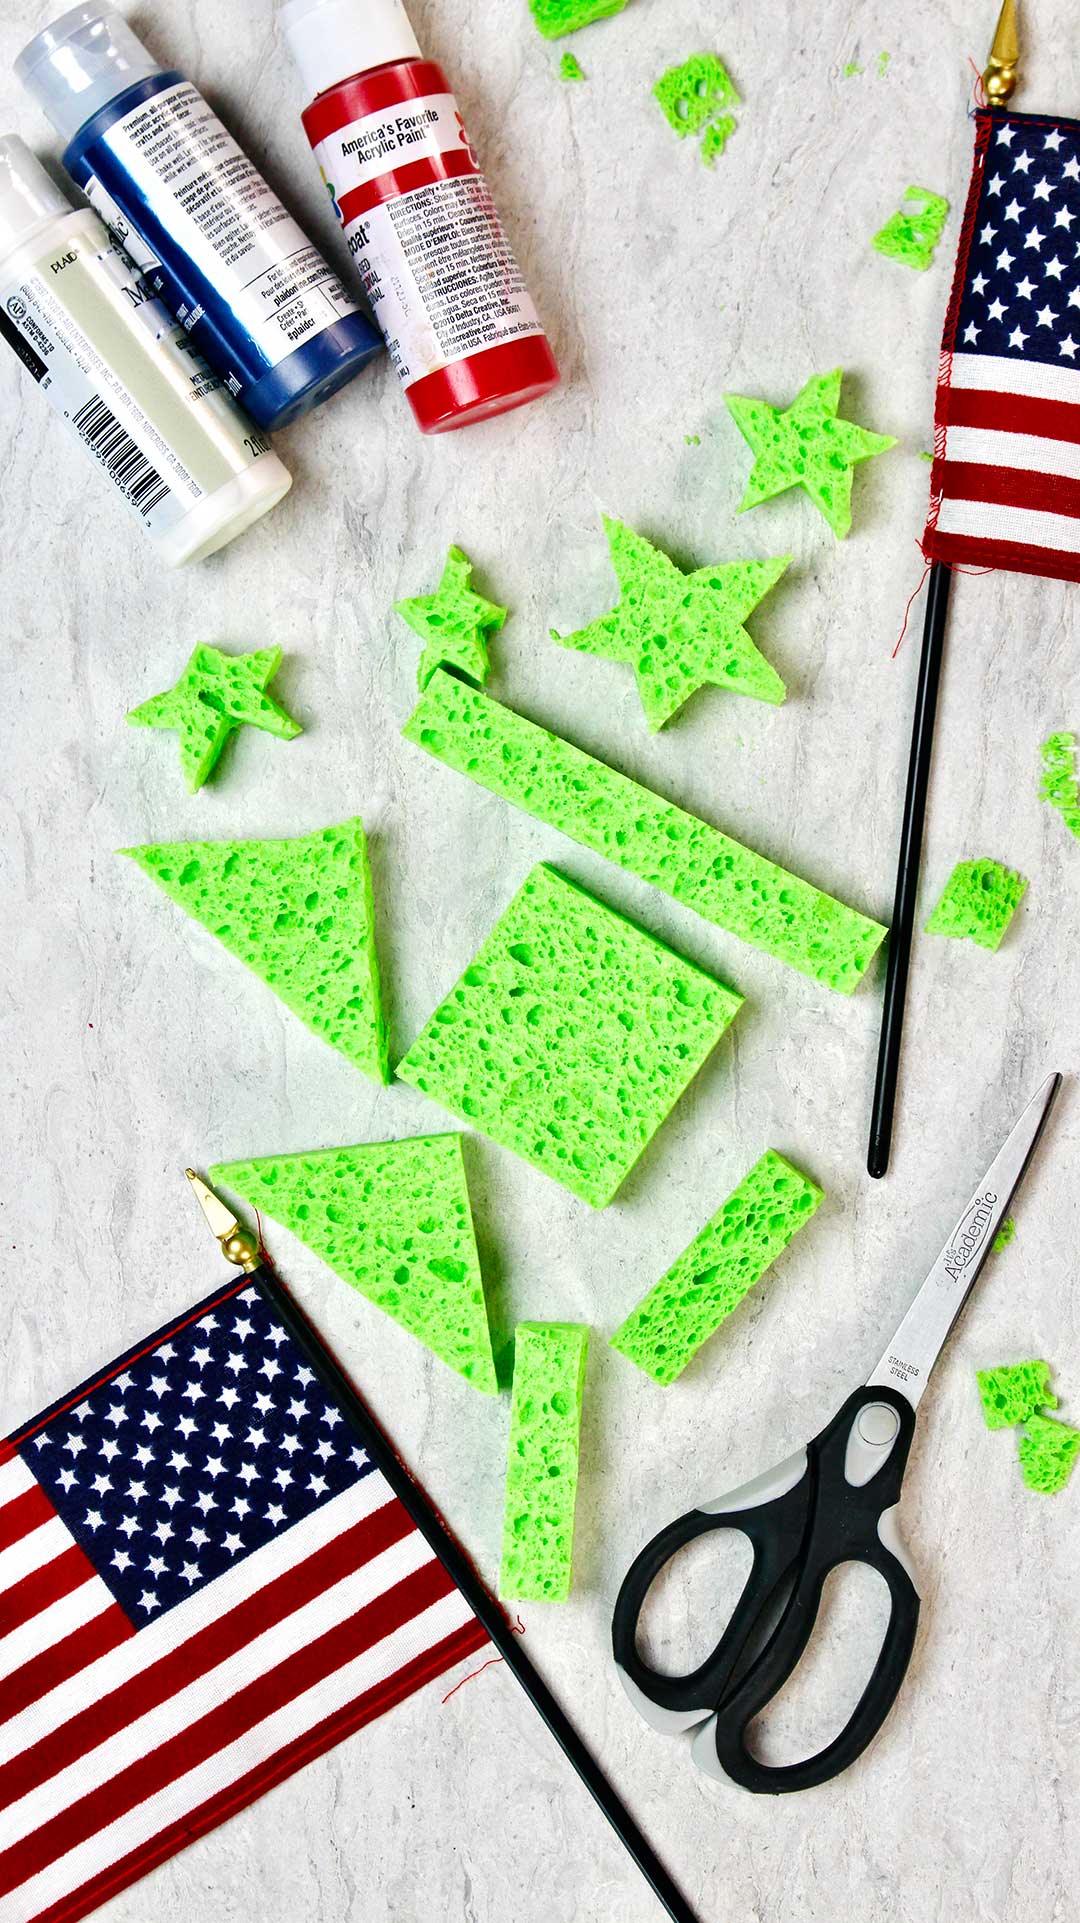
The sponges are used for making your own sponge stamps.
Use scissors to cut one or two sponges in geometric shapes. I have attached a pdf that you can print to know how I cut sponges into the shapes shown in the video and pictures that make the rocket design. Click this link for the DIY 4th of July Shirts sponge cutting template to print and use.
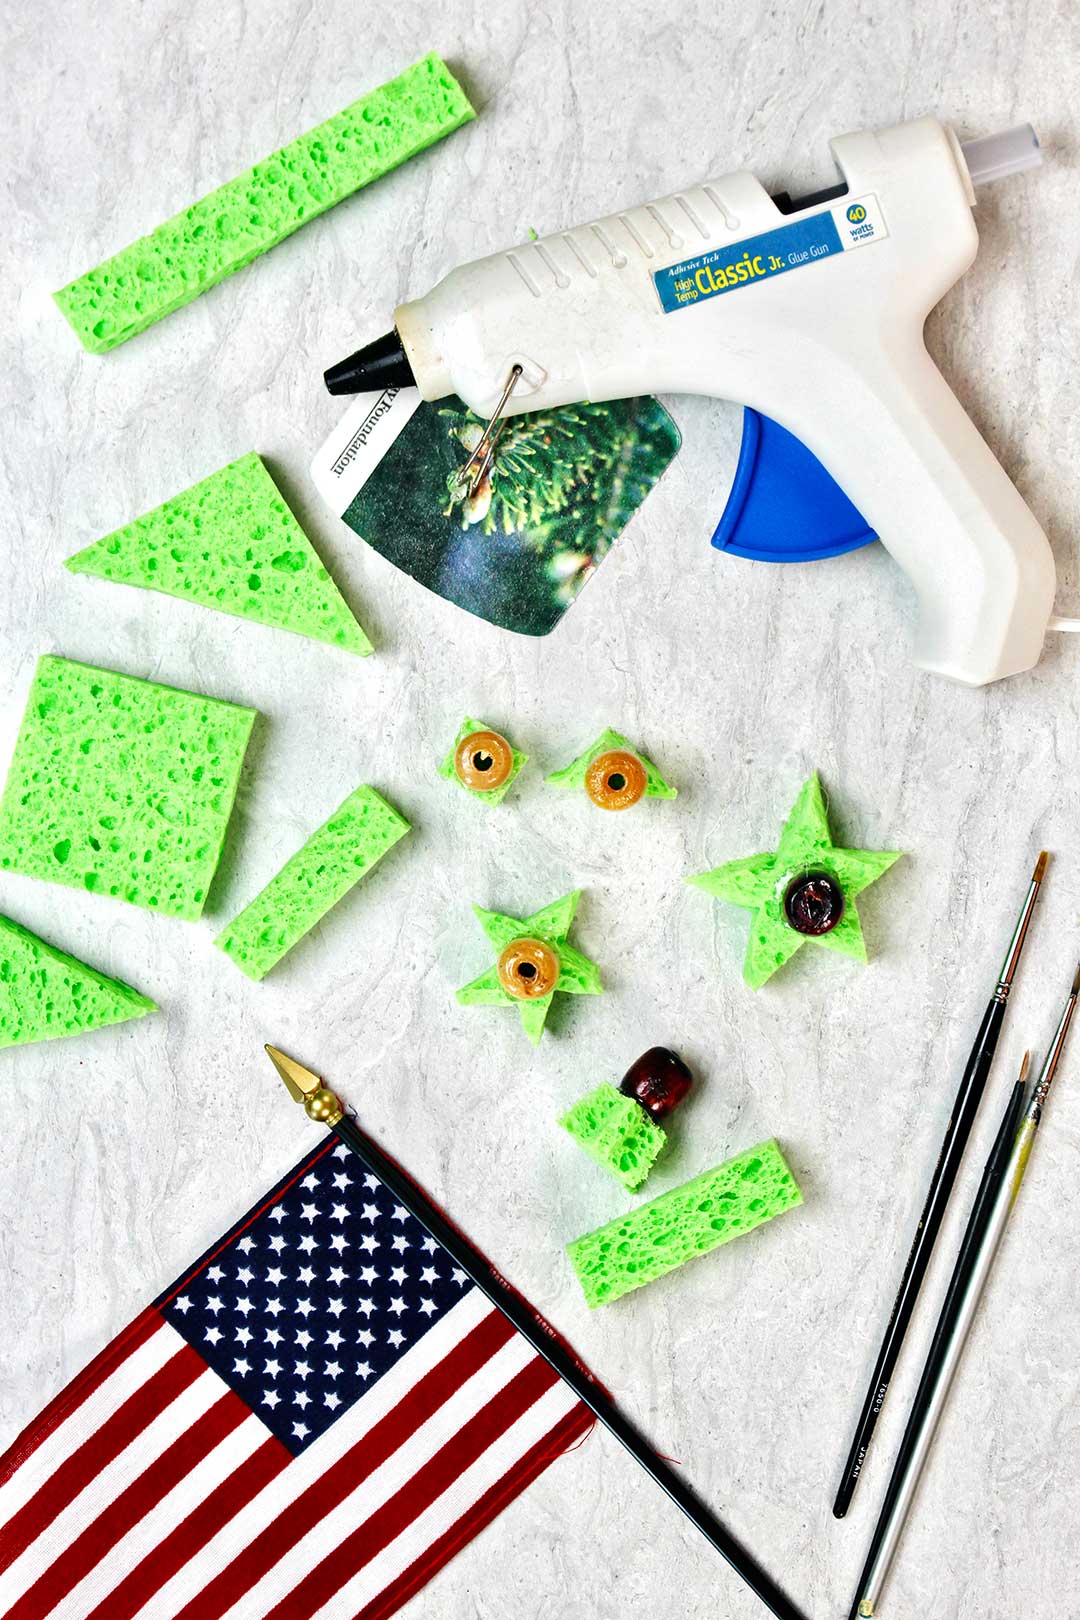
Some of the sponge stamps are small. It is fine to use them with your fingers. But I chose to hot glue some big wooden beads to the sponges that can be used for handles.
The sponge “handles” worked like a charm and didn’t fall off when I washed the sponges! Woo-hoo!
How do I make 4th of July shirts with sponged rocket design?
Squirt some craft paint out onto a plate or a foam/paper plate.
Tip: Put one color on each plate. Then the colors don’t mix and there is a place to set the stamps after using them.
Give the people time to think a bit about what design they would like to make with the stamps that you have. You can show them a picture of the rocket design on this post if they want an idea, but kids usually have a million ideas of their own. That’s great!!
Also instruct your grands to not dip the sponges in various colors. Have enough sponge stamps for each color so they aren’t tempted to double dip colors. That prevents mixing of colors (to purple, brown or pink) when you are making a July 4th t-shirt featuring red, white, and blue!!
Dip the sponge stamp into the paint, making sure the whole surface of the stamp has paint on it. Don’t overload the paint though, kind of dab it off on the plate. Too much paint on the fabric will get stiff and crack.
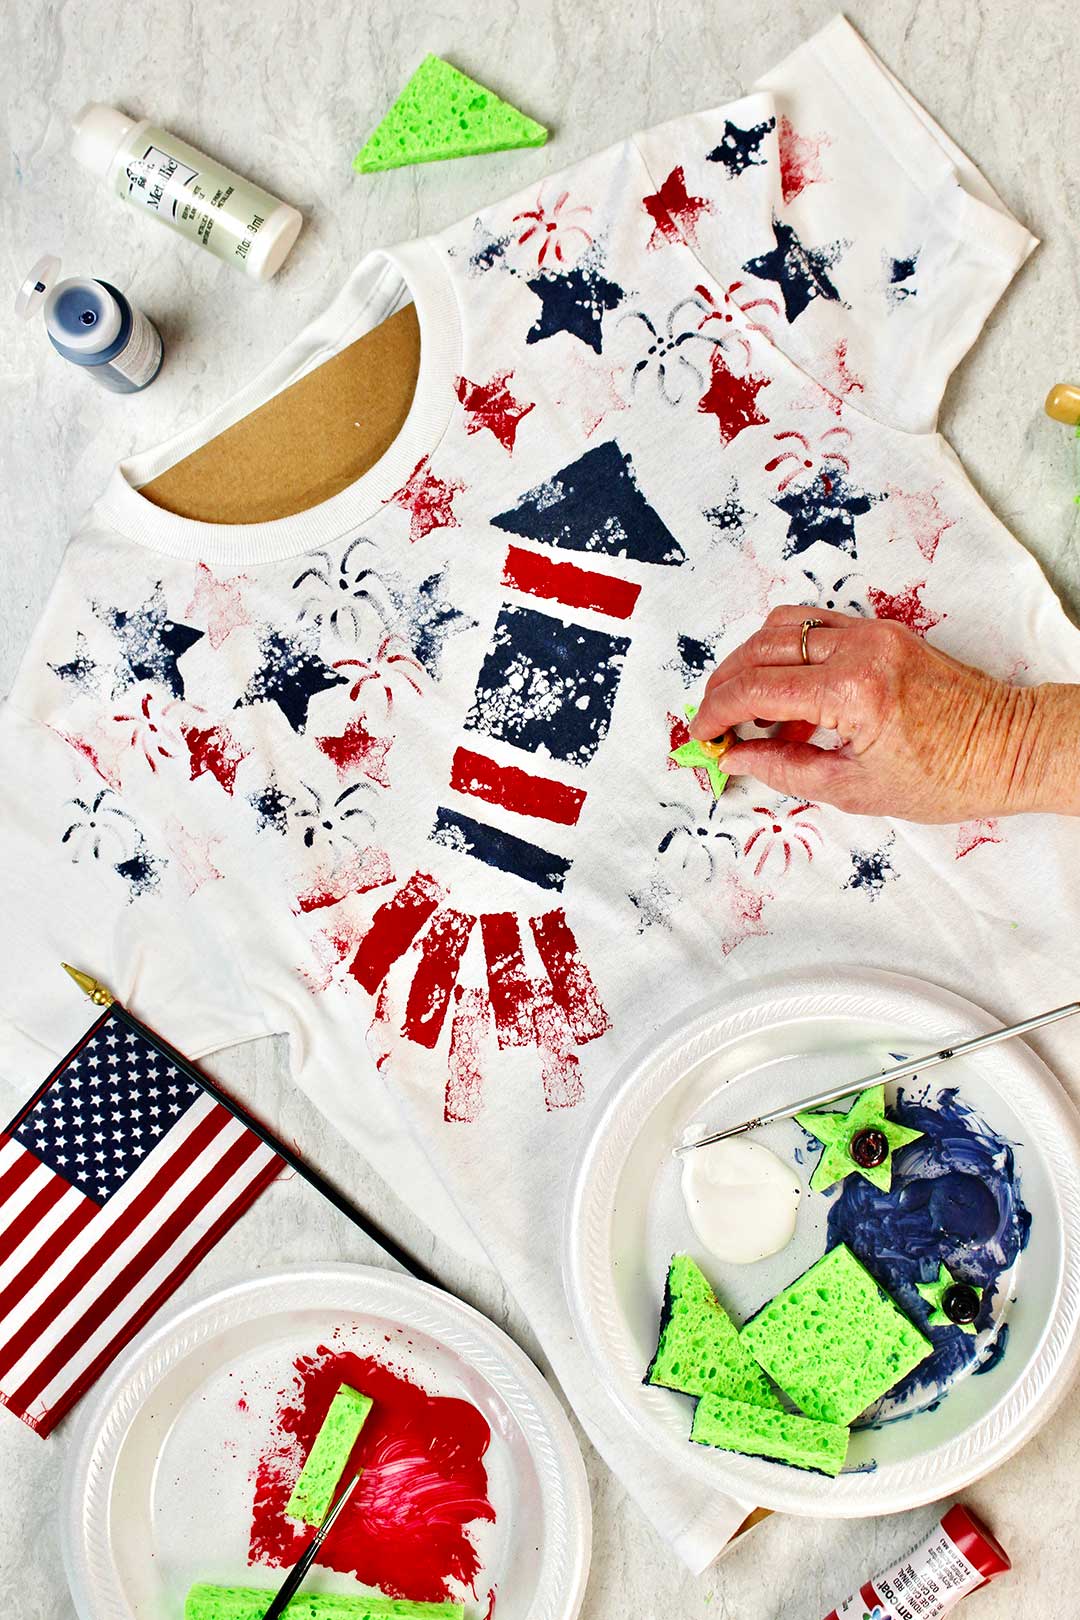
Start in and have fun!
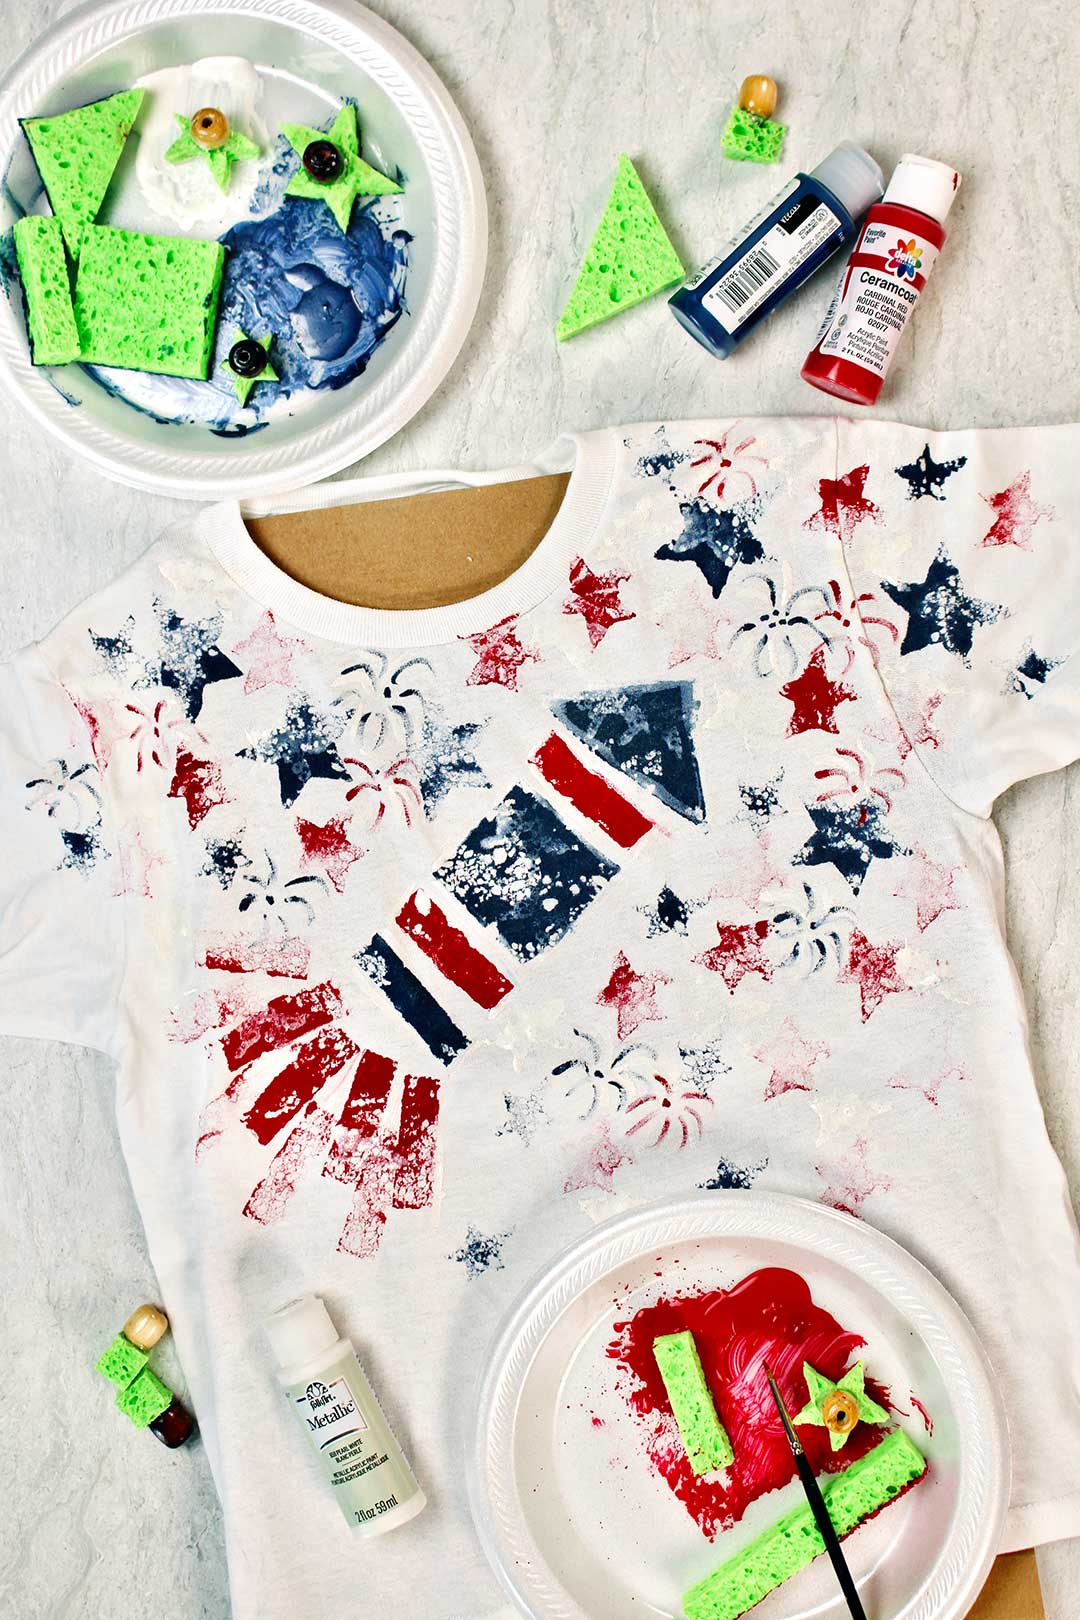
The white pearlized craft paint doesn’t show up on a white shirt but makes a really neat shimmering effect. So, we went ahead and used it with stamps for the shimmer effect.
Tip: Using the sponge stamp multiple times without re-dipping in the paint causes the image to get lighter and lighter with each stamp. That makes a really cool effect that can look like distant stars, smoke in a rocket or a fireworks explosion!
After the paint has dried a bit, use the small paint brushes to add lines and outlines wherever you would like on the shirt. We added the pearlized white on outlines of the shapes which looked nice and added some reflection and depth.
Again, here is a link to the template to cut sponges to use as stamps for the DIY 4th of July Shirts project.
Family 4th of July shirts- say "cheese!"
Let these shirts dry and you are ready to wear them for a family picture to immortalize the time together. I still have the picture with our kids all those years ago- such great memories.
July 4th shirts to make with groups
This is such a nice group activity and would work well for a birthday party or pool party close to the 4th of July. A second July 4th t-shirt idea on WTN is made with handprints and finger prints- click this link to check it out.
More Cute 4th of July ideas:
So if you are just getting started with the great 4th of July crafts, here are some more ideas you may want to try!
- 4th of July Denim and Rag Strip Flag
- Summer Sky Free July Coloring Page
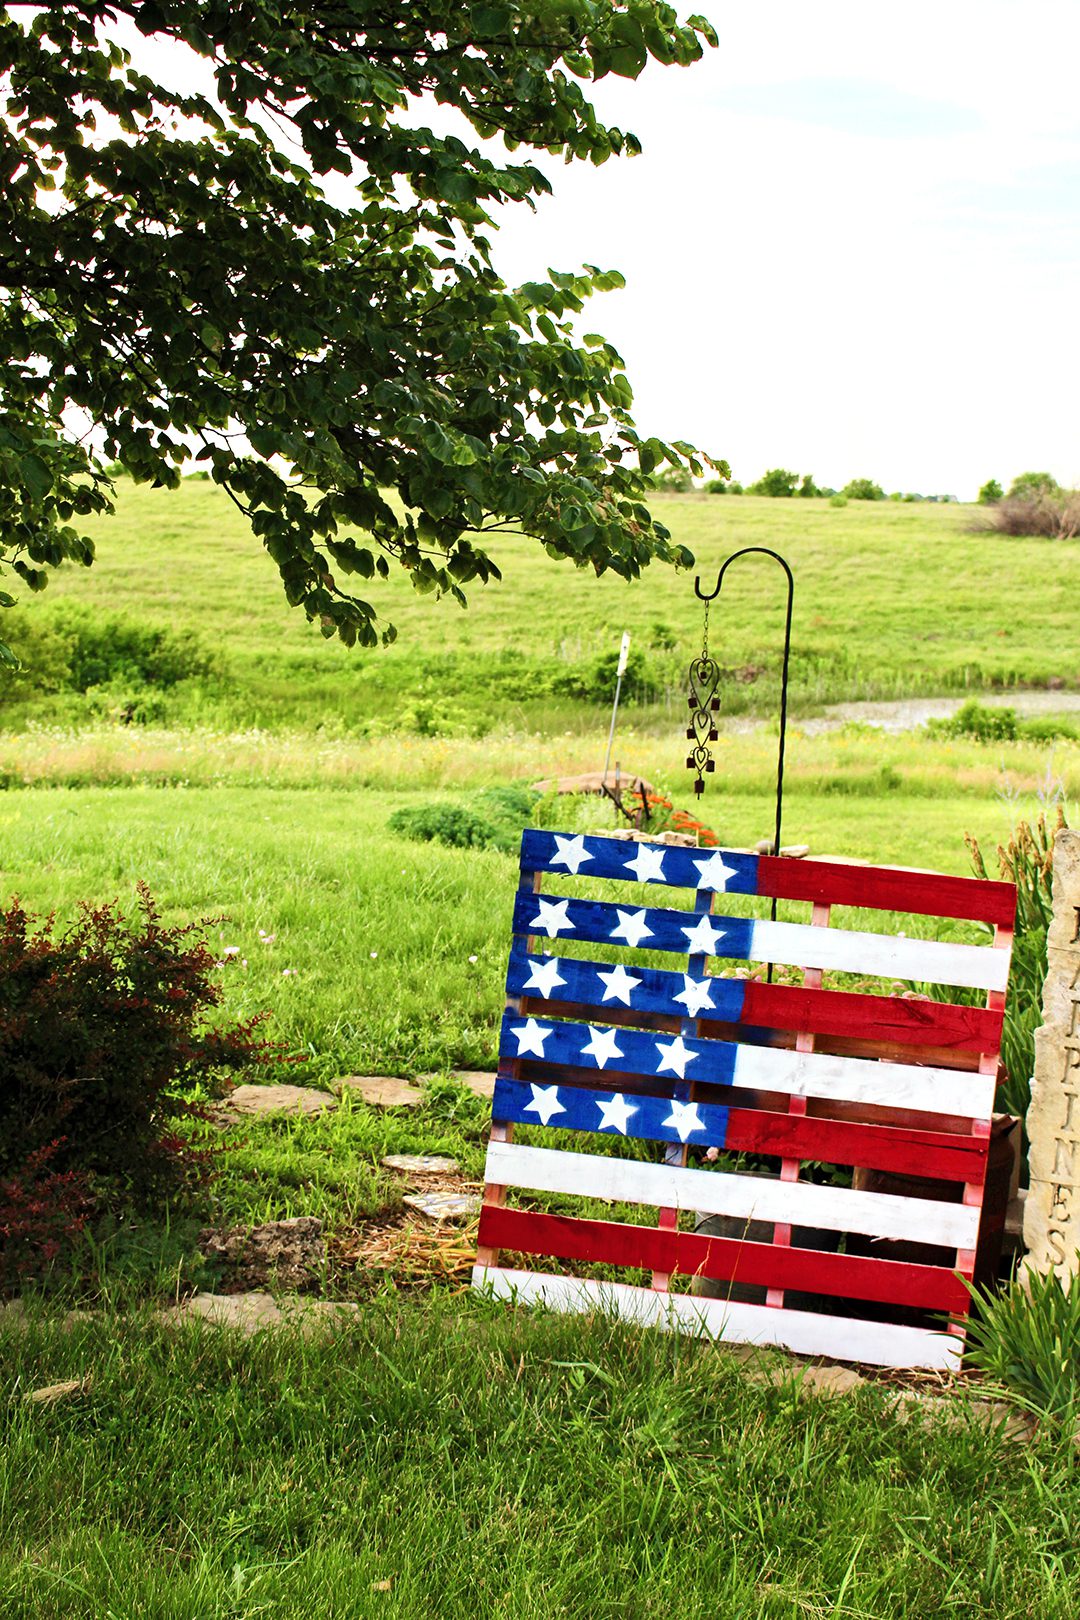
- Fourth of July Wooden Pallet Painted Flag
- 25 Fun Summer Activities for Kids
How about some 4th of July food ideas?
- Tender Grilled Papa Burgers
- Red, White & Blue Fruit Parfait
- Root beer floats
- Red, White and Blue Cake
- Ice Cream in a bag
Happy 4th of July from Nana!
Have a wonderful 4th of July for all those in the US!! And we invite all to enjoy a weekend together making memories with family wherever you may live!!
Enjoy!
If you try this craft, let me know! Go ahead and leave a comment, rate it, and tag a photo with #WelcometoNanas wherever you post.
Supplies for 4th of July Shirts with Sponged Rocket Design:
- T-shirt in correct size for each person (I used white shirts)- Mens, Womens, kids
- Acrylic craft paint in red, pearlized white, blue
- Sponges- (multi-purpose plain sponges)
- OR- foam stamps (star design, geometric designs)
- WTN Free Template for cutting sponges to shape- Link
- Small paint brushes
- Scissors
- Hot glue gun (optional)
- Large wooden beads or small spools (optional)
DIY 4th of July Shirts with Sponged Rocket Design
Equipment
- Small paint brushes
- Scissors
- Hot glue gun (optional)
Items Required
- T-shirt in correct size for each person (I used white shirts)- Mens, Womens, kids
- Acrylic craft paint in red, pearlized white, blue
- Sponges- (multi-purpose plain sponges)
- Large wooden beads or small spools (optional)
Instructions
- Use scissors to cut one or two sponges in geometric shapes.I have attached a pdf that you can print to know how I cut sponges into the shapes shown in the video and pictures that make the rocket design. Click this link for the DIY 4th of July Shirts sponge cutting template to print and use.
- Some of the sponge stamps are small. It is fine to use them with your fingers. But I chose to hot glue some big wooden beads to the sponges that can be used for handles.
- Squirt some craft paint out onto a plate or a foam/paper plate.
- Dip the sponge stamp into the paint, making sure the whole surface of the stamp has paint on it. Don’t overload the paint though, kind of dab it off on the plate.
- After the paint has dried a bit, use the small paint brushes to add lines and outlines wherever you would like on the shirt. We added the pearlized white on outlines of the shapes which looked nice and added some reflection and depth.
- Let these shirts dry and you are ready to wear them for a family picture to immortalize the time together.
Video




Leave a Reply