You are going to love how easy and fun it is to make one-of-a-kind Sharpie and Alcohol Art! With decades of teaching under my belt, I know how to turn inexpensive supplies into fun, stunning art projects that all ages and skill levels will love. This craft for kids is no exception!
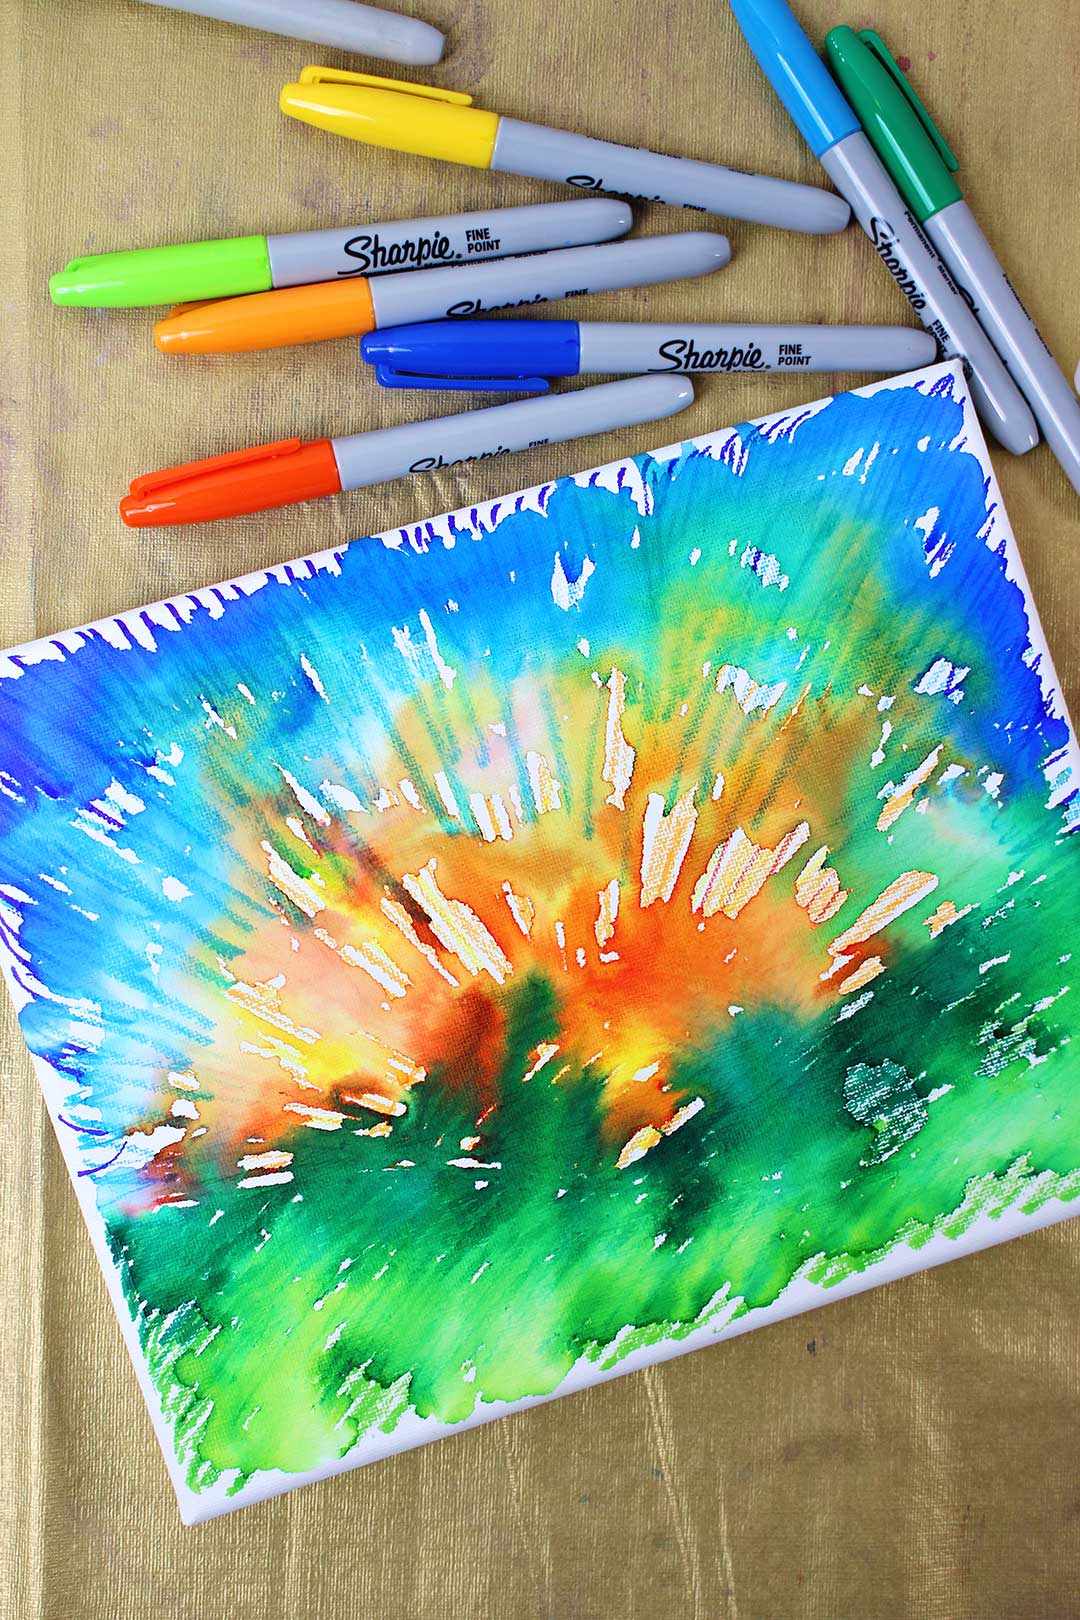
This Alcohol Painting Makes The Perfect Summer Art Project
This swirly, creative art project is beautiful, unique, budget-friendly, and wonderfully forgiving. It’s the perfect craft for beginners, kids, seasoned crafters, or even a whole classroom! Read on for my simple step-by-step tutorial, complete with all my tips and tricks to help you turn the right kind of mess into art.
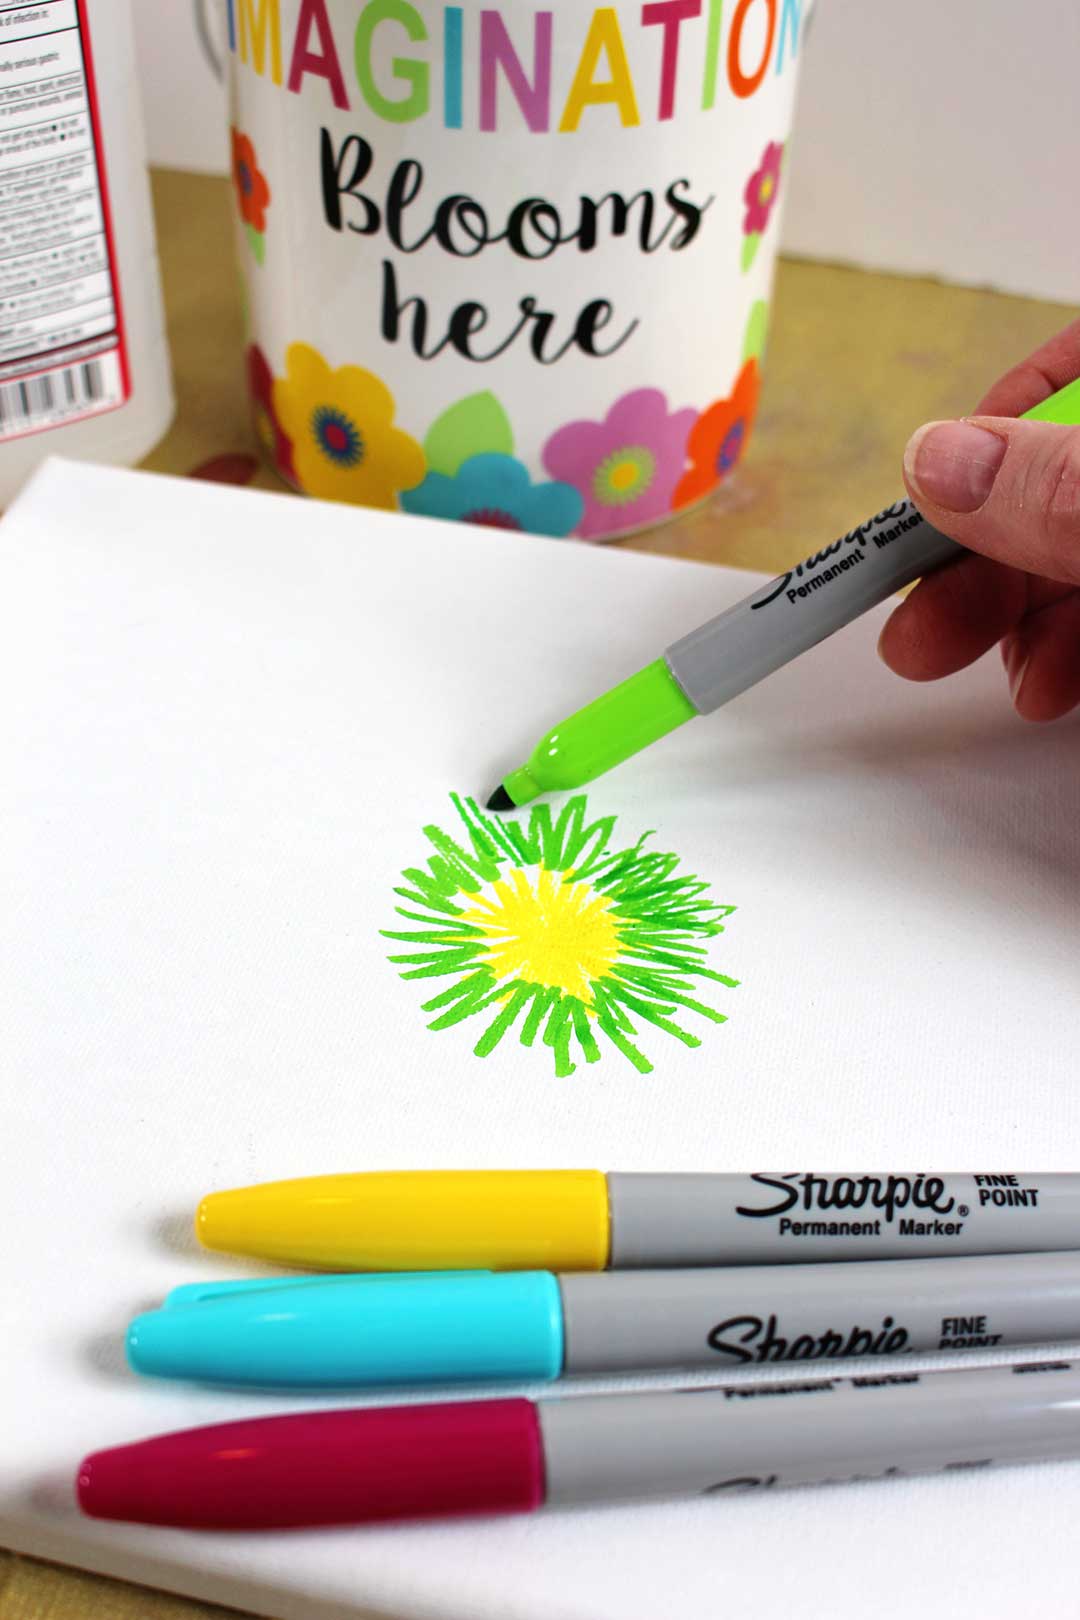
Collect up a few materials, some you may have on hand, and invite the grands to join you to start the summer with the coolest project. Make a Cool Sharpie and Alcohol Painting on Canvas.
Any age grand will enjoy this unusual craft.
What makes it unusual? Well, put away your desire for your picture to turn out just as you envisioned. Because the whole point of this technique is you just don’t know what will happen!
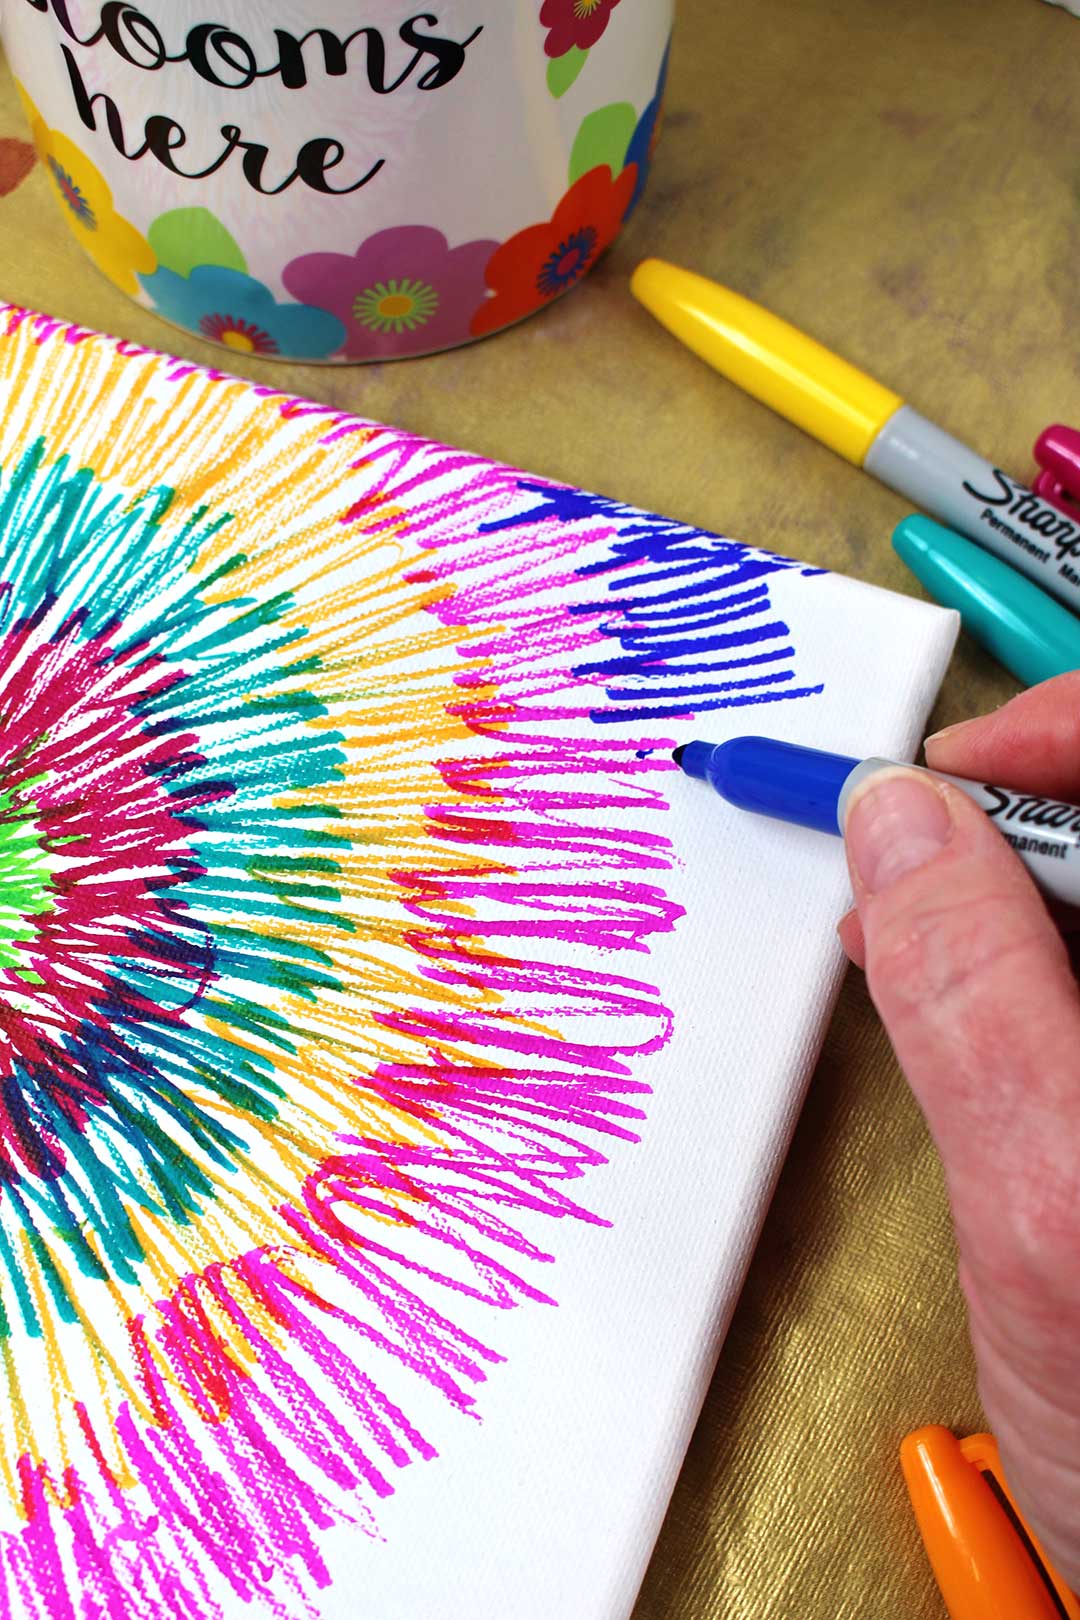
The alcohol swirls the color of the permanent markers on the canvas and…well, it’s just magic.
So are you ready to create a bit of magic? You bet!
Before You Start Your Sharpie Art
It’s good to explain to the grands before they start drawing, that the point of this project is to let the colors swirl with the alcohol. Sometimes kids need permission to not get too detailed in the drawing part of a project like this if they are budding artists. I’d hate for them to create a masterpiece and then have it swirled with alcohol and not be expecting it!
What You'll Need For Your Artsy Sharpie Drawings
The supply list is short: a canvas, permanent markers and alcohol. You may have all of these things on hand already.
We used 8x10” canvases because that’s what I always keep on hand. If you are working with younger grands you may want to use a 5x7” size. It takes some time to fill a canvas with a picture when using permanent markers.
The Importance of Permanent Markers
Permanent markers contain a dye that is alcohol based (as opposed to the water based markers like Crayola Markers). The alcohol wets the permanent marker dye and lets it swirl- that’s where the magic begins.
Permanent markers can be purchased in sets (or individually) and are more expensive than the water based markers. Of course they need to be kept away from littles if there isn’t close supervision but work wonderfully for projects such as this.
It is wise to put down paper or an old tablecloth under this project to avoid marker on the counter or table top.
How to Do This Alcohol Painting Project
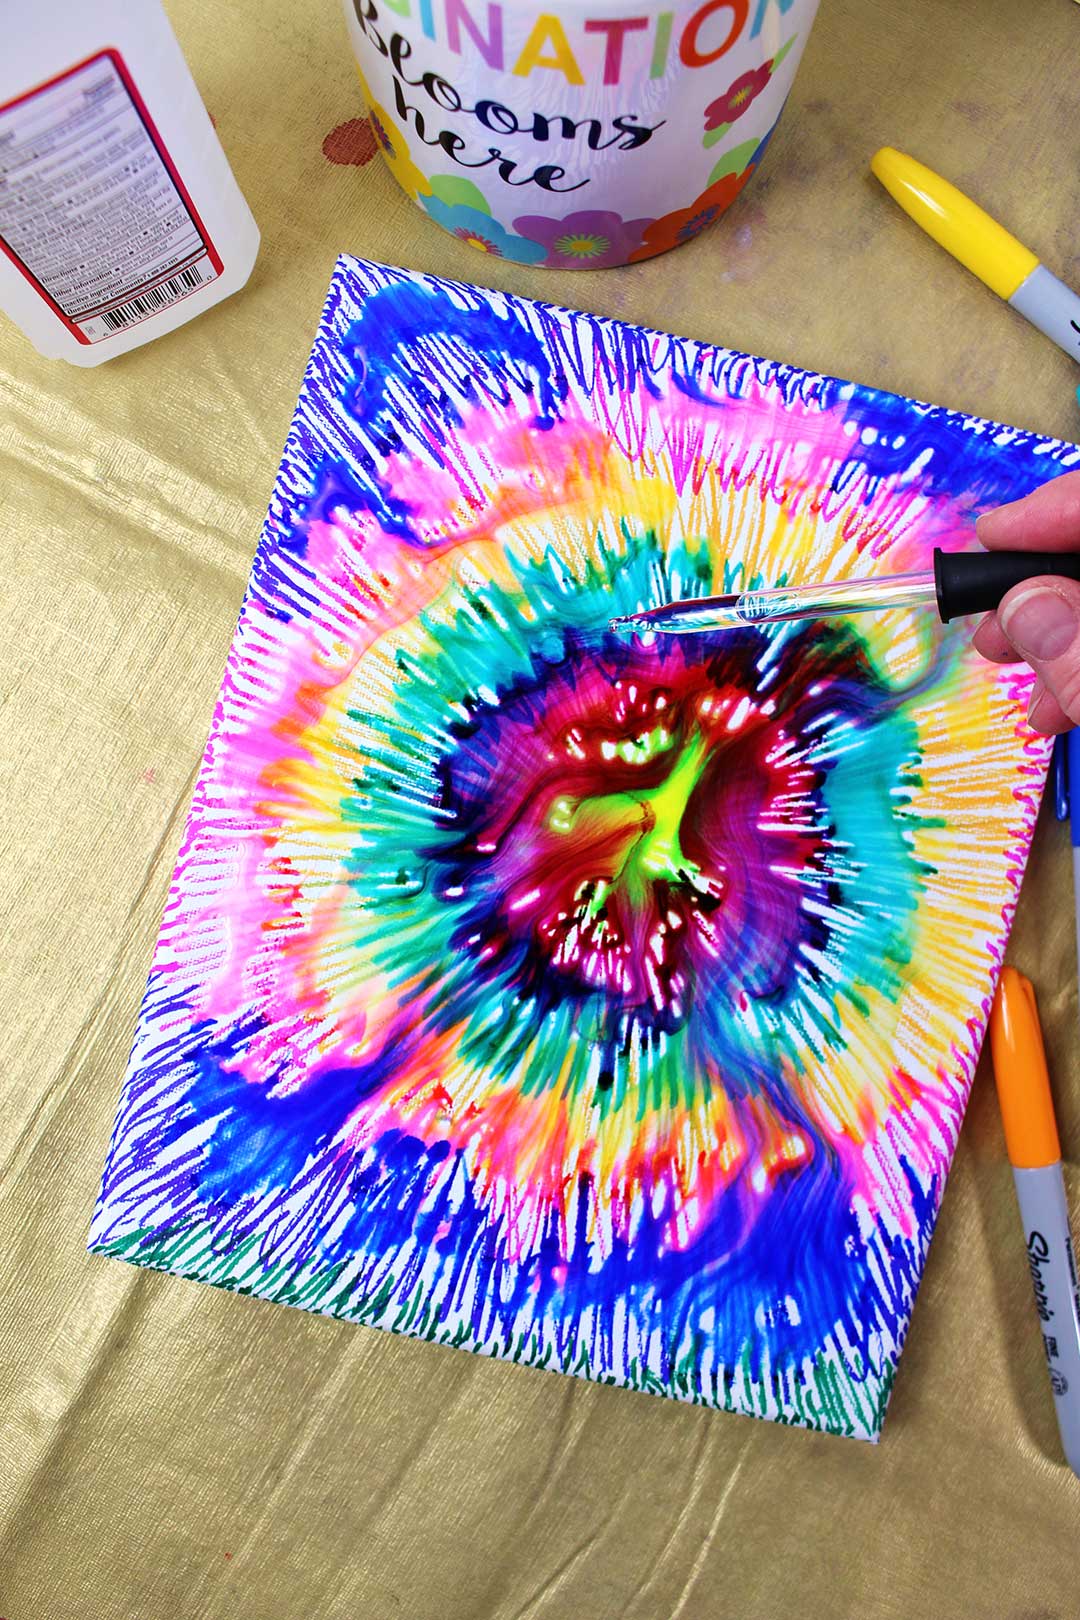
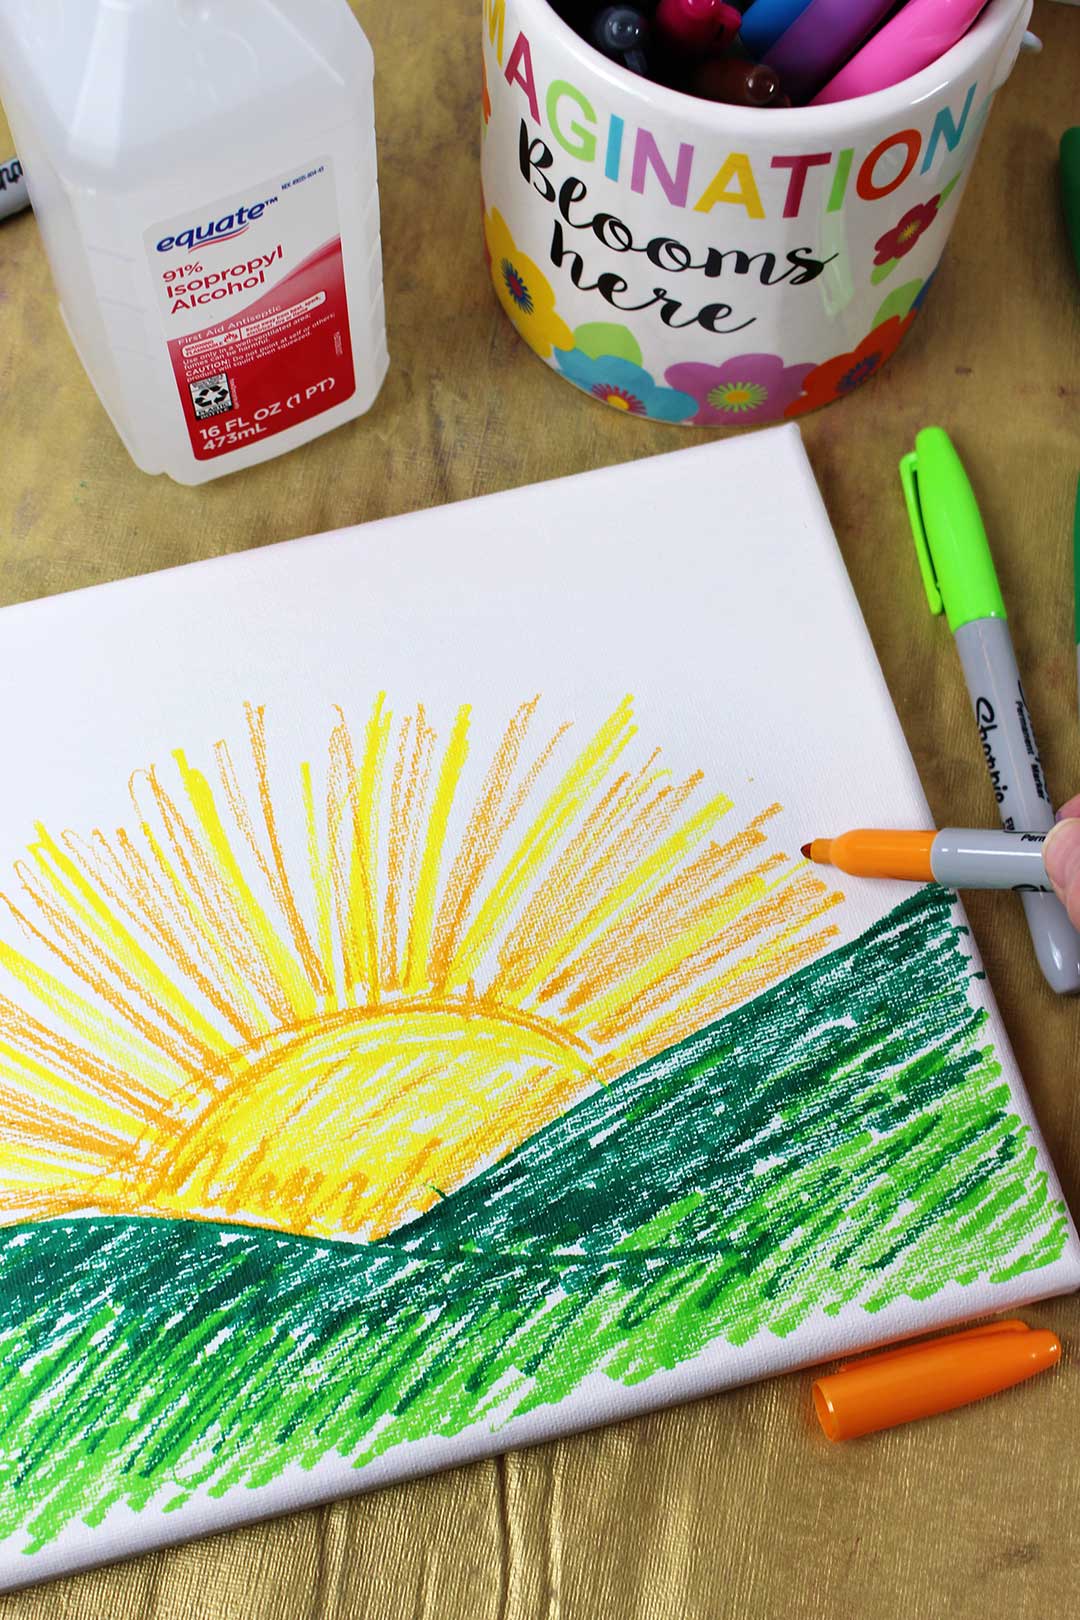
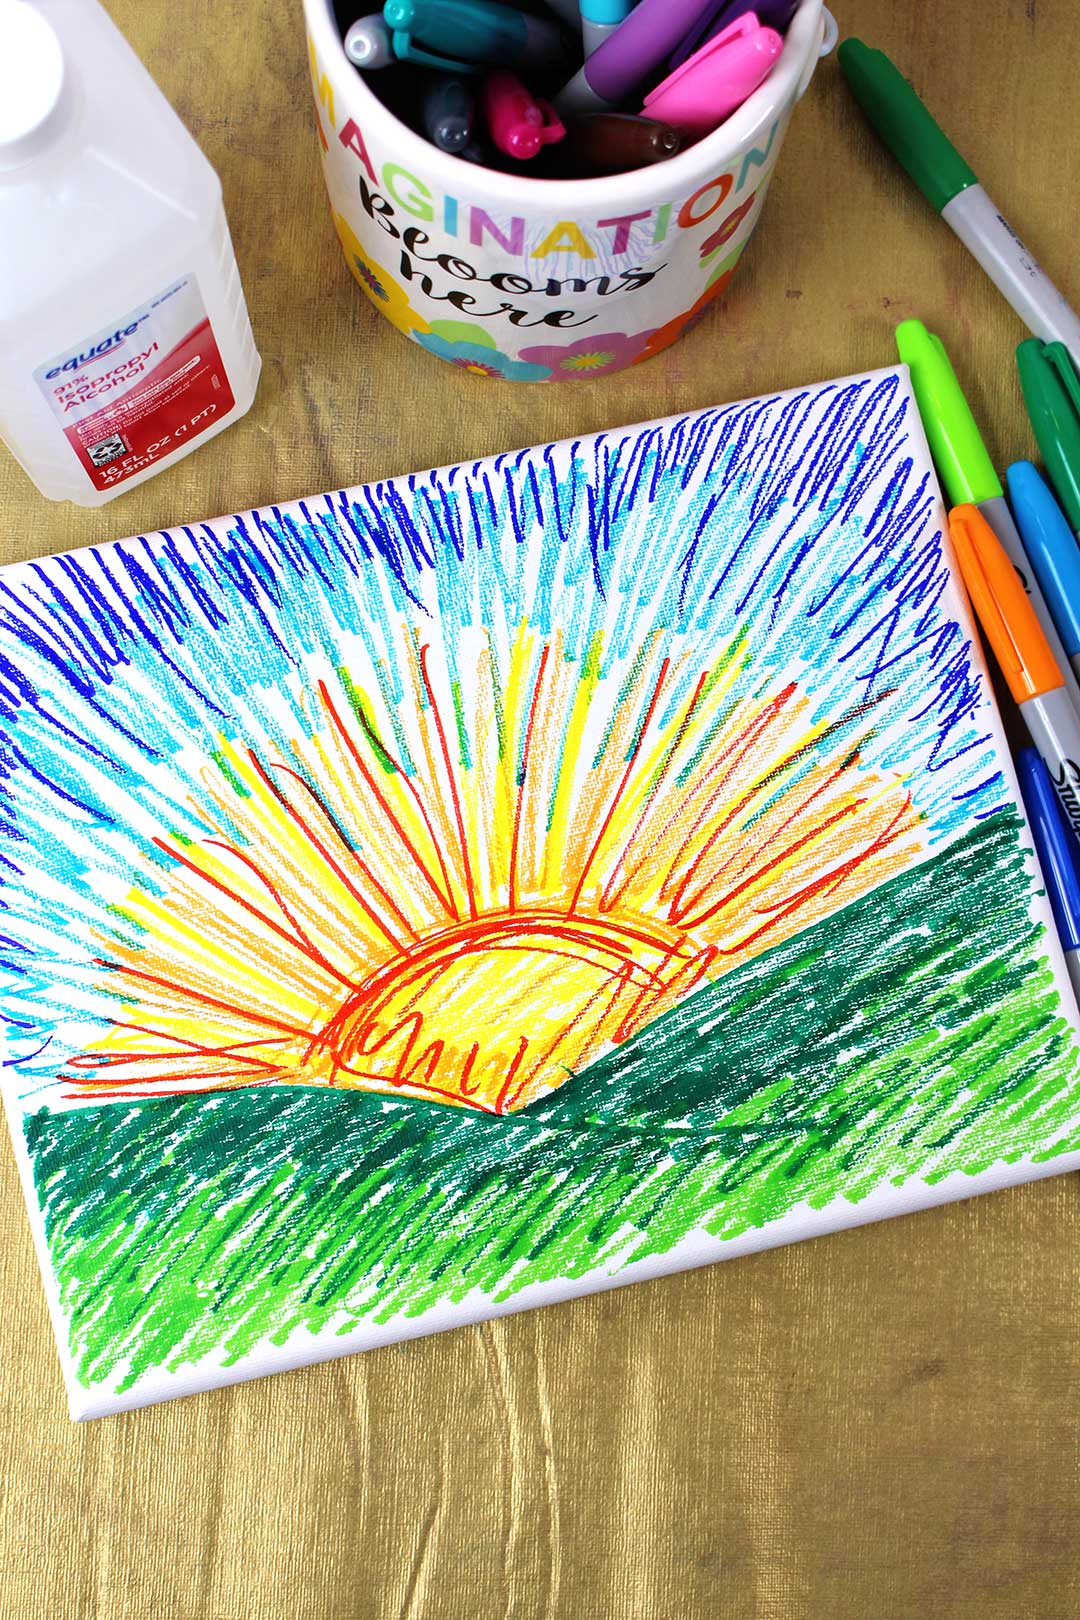
The first canvas pictured had a tie-dye look to it, circular colors that radiated out from the center. The second is a sunset. These are great ideas if one is needed, but that is rarely an issue with kids. They seem to jump into drawing with their bottomless imaginations. That’s one of the beautiful things about crafts, they fuel the imagination. Don’t you love that?
The canvas doesn’t have to be perfectly covered. Some white space works fine. Also, the markers can be used one color on top of another for a two or three tone look. That’s a cool feature of permanent markers.
Alcohol dripping ahead, eyedropper recommended
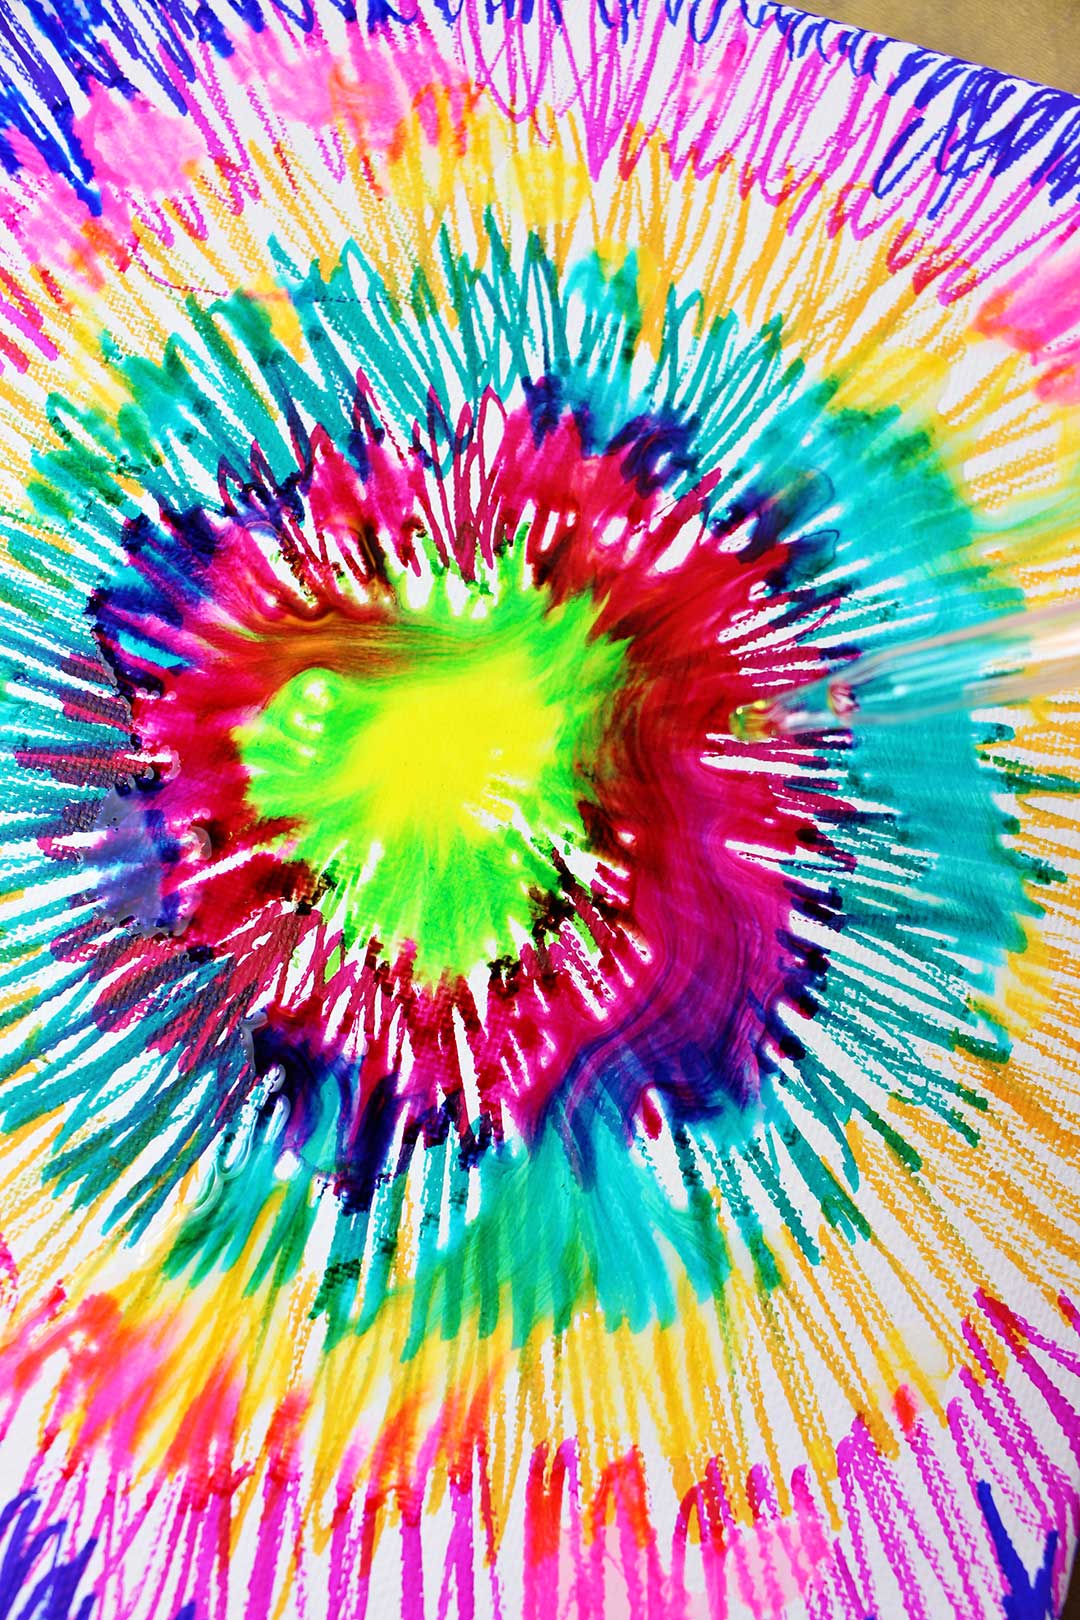
When the canvas is colored it is time for the magic, dripping on the alcohol.
It is important that the alcohol is the 91% Isopropyl Alcohol. I didn’t know there was any difference in alcohols, but the first time I tried the project it wouldn’t lift the permanent marker colors and make them swirl. Talk about a disappointment! The grands were good sports about it but we will take one for the team and save you the trouble.
We used an eyedropper to drip the alcohol on the canvas which worked wonderfully. Another snafu we made was to use a spoon and pour the alcohol on the canvas. Um, it pooled up and just made a mush of the design. That’s why there is no finished product pictures of the first design. That’s a second time we took one for the team. You’re welcome. Ha!
Less is more, don't get in a hurry
Anyways, dropping the alcohol with the eyedropper and just watching what happened with a bit more patience worked so much better. Don’t get in a hurry, just watch the magic and drip on a bit more alcohol in various areas to let the swirl magic happen. Stop before the alcohol puddles up, less is more. The alcohol dries quickly. You could always drip on a bit more later if you want.
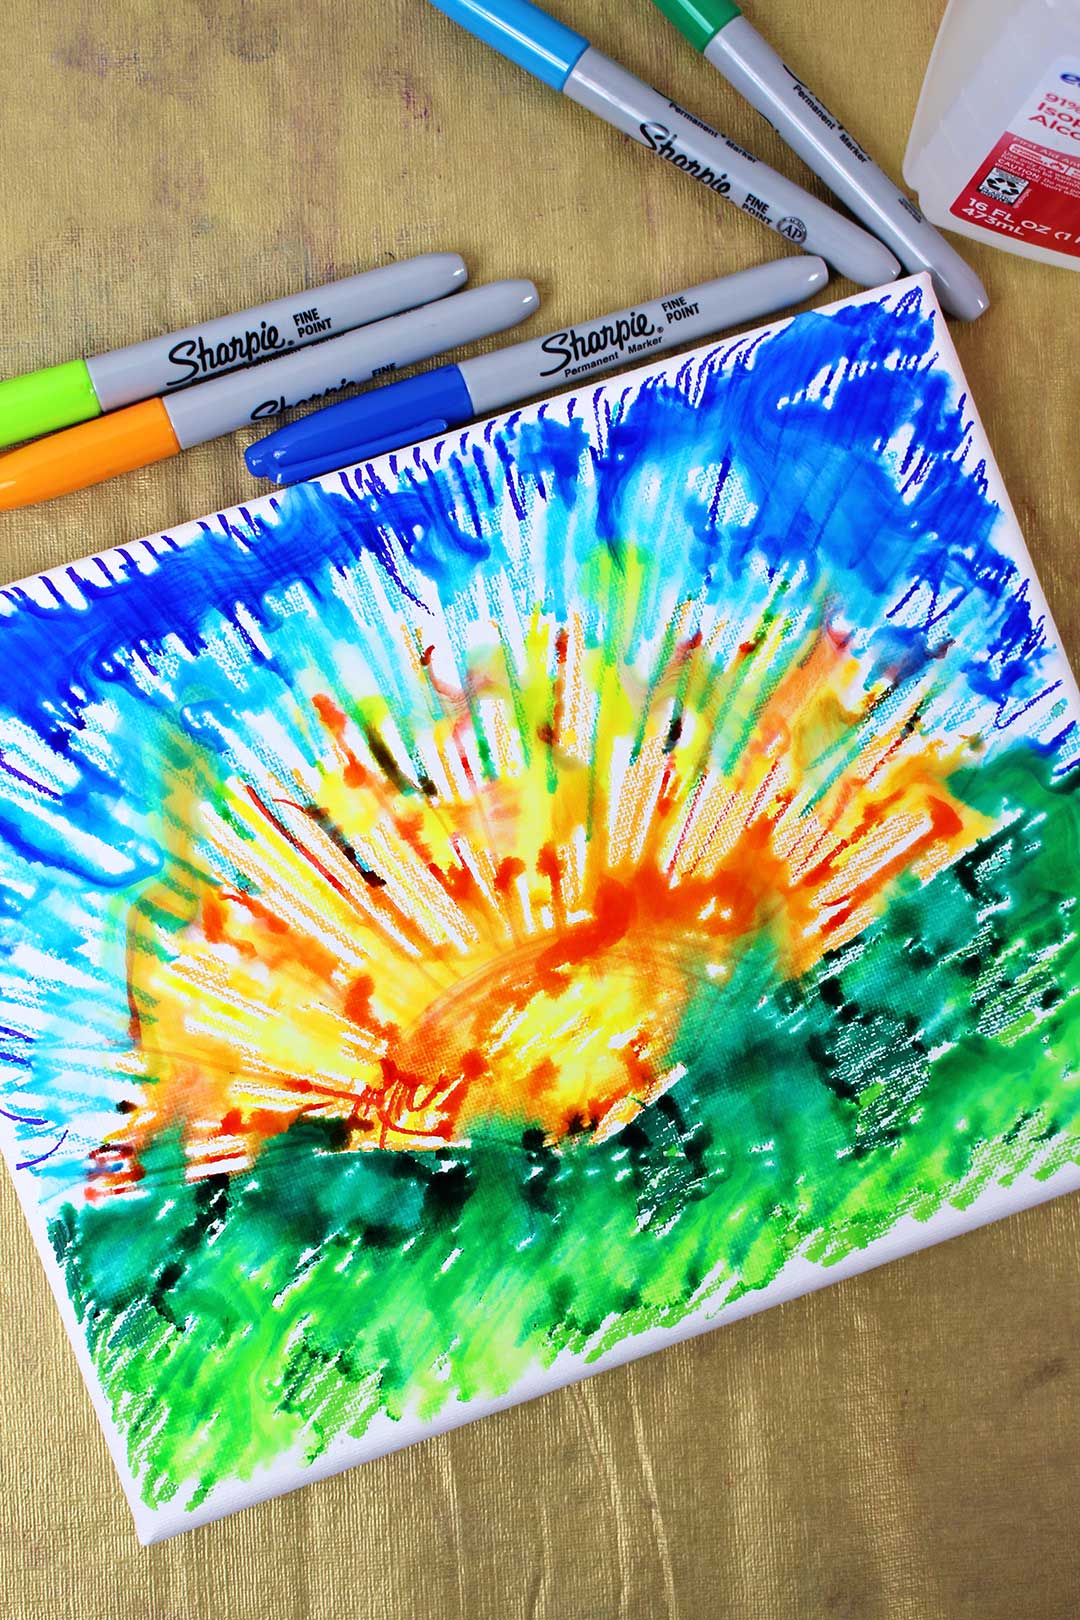
I love how the second one turned out. Like I said, it’s magic.
Next time we are going to try tilting the canvas so the alcohol drips down from the top to the bottom which would give a whole different effect.
I’m eager to see pictures of your creations. Have fun creating and conversing. Those are precious moments together.

If you try this craft, let me know! Go ahead and leave a comment, rate it, and tag a photo with #WelcometoNanas wherever you post.
Come join the fun at https://welcometonanas.com
More from Welcome To Nana's
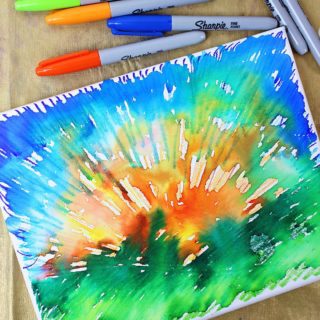
Artsy Sharpie Drawings
Equipment
- Eyedropper
Items Required
- 1 8×10” Canvas
- 1 set Permanent Markers (like the Sharpie brand)
- 91% Isopropyl Alcohol
Instructions
- Put down paper or an old tablecloth under this project to avoid marker on the counter or table top
- Color your canvas with any pattern or picture that you can imagine, just keep in mind the alcohol will swirl the picture unpredictably!
- Use an eyedropper to drip the alcohol on the canvas. Don’t get in a hurry, just watch the magic and drip on a bit more alcohol in various areas to let the swirl magic happen. Stop before the alcohol puddles up, less is more.
- Let the canvas dry completely before displaying your new creation!



Sharon says
Try using a straw to blow the alcohol across the masterpiece!
Shelly says
I love that idea- haven't done that in quite awhile!! Thanks for the idea
Judy Rodriguez says
Can we use a small spray bottle for the alcohol?
Shelly says
Yes, I think that would work really well. Please be careful not to leave it where littles can get to it thinking it is water though!
Mary Brubaker says
Have you ever tried spraying the alcohol on the canvas?
Jenna says
We are going to try this with Spring colors. Such a fun idea! Thank you.
Shelly says
Great idea!!
Renae says
We have done this on t-shirts with great success, we drew flowers & dripped alchohol from the center of each flower...beautiful! For the canvas, I think I might try spraying on the alchohol.
Shelly says
I can't wait to try this on a t-shirt. Thanks for sharing that idea.
I thought of spraying the alcohol but didn't have an empty spray bottle on hand.
Another good idea!!
Michelle says
I've done this on tshirts as well as ceramic tiles. With the tshirts I used a coffee mug under the shirt with a rubber band to hold the fabric in place which isolated the individual designs. With the ceramic tiles I sprayed the alcohol onto the tiles and tilted them in various directions to give them a watercolory kind of look. I've also taken a small paint brush and swirled the ink around a bit. (side note, if you're using the ceramic tiles without the grands you can also opt to light the alcohol on fire. Not only will it dry even faster but the flame makes it's own pattern with the alcohol and ink.)
Shelly says
I am eager to try this. I have tiles in my studio to use in a craft and haven't gotten to them yet so this is a perfect idea. I'm also wanting to try the t-shirt idea. I really appreciate you trying the craft and giving such amazing feedback!
Karen says
I did this on ceramic tiles and after drying for 2 days, the ink was coming off on my fingers. It needs some kind of sealant??
cyndi cote says
Yes, if the tiles will be handled, they can be sealed with a poly spray.
Terri Knox says
If we use on a T-shirt what happens to the T-shirt when it gets washed?
Do you still use permanent markers and alcohol?
Suzanne says
I’ve done this technique many times w my grandson on coffee filters. He’s four, so this year for MiMi camp we will graduate up to the canvas idea. We always spray our creations…he loves this part. Thanks for a great idea!
Shelly says
I love that you are "Mimi"!! I have done the filters with water (see the coffee filter butterfly post on http://www.welcometonanas.com) but not with alcohol. I hope your new art adventure went well!!
Chrissy S. says
I did this project for our church camp. Everyone loved it, but a couple of things that didn’t work for us.
The canvas panel (the type where the canvas is glued to a hard backing) does not bleed well. If I were to do this again, I’d definitely pay the little extra and get true wrapped canvas. Otherwise, but hit.
*I’ve done this on plain white bandanas, t-shirts, white canvas tennis shoes and cotton pillow cases.
Lynn Mitchell says
I did this with canvas. Did not bleed well.Just kind of made a mess. Was underwhelming for kiddos.
Shelly says
I'm sorry to hear that- I never like crafts that don't go as planned!
A key is to have the 91% Isopropyl Alcohol. Most household alcohol is a lower percentage. This lifts the marker and helps it to bleed.
The second key is not to oversaturate the canvas.
Hope that helps- and sorry for the bump in doing that craft.
Cecile Bone says
Could you do this on watercolor paper instead of canvas. With the size classes I have the canvas will be pretty pricey.
Thank you
Jackie M says
I wonder the same thing Cecile. Is this process do-able on watercolor paper? I can't afford canvas for an entire class.
Monica says
Great idea (Nana here too) 🥰🥰
Chan says
Can I use cardstock and regular markers?