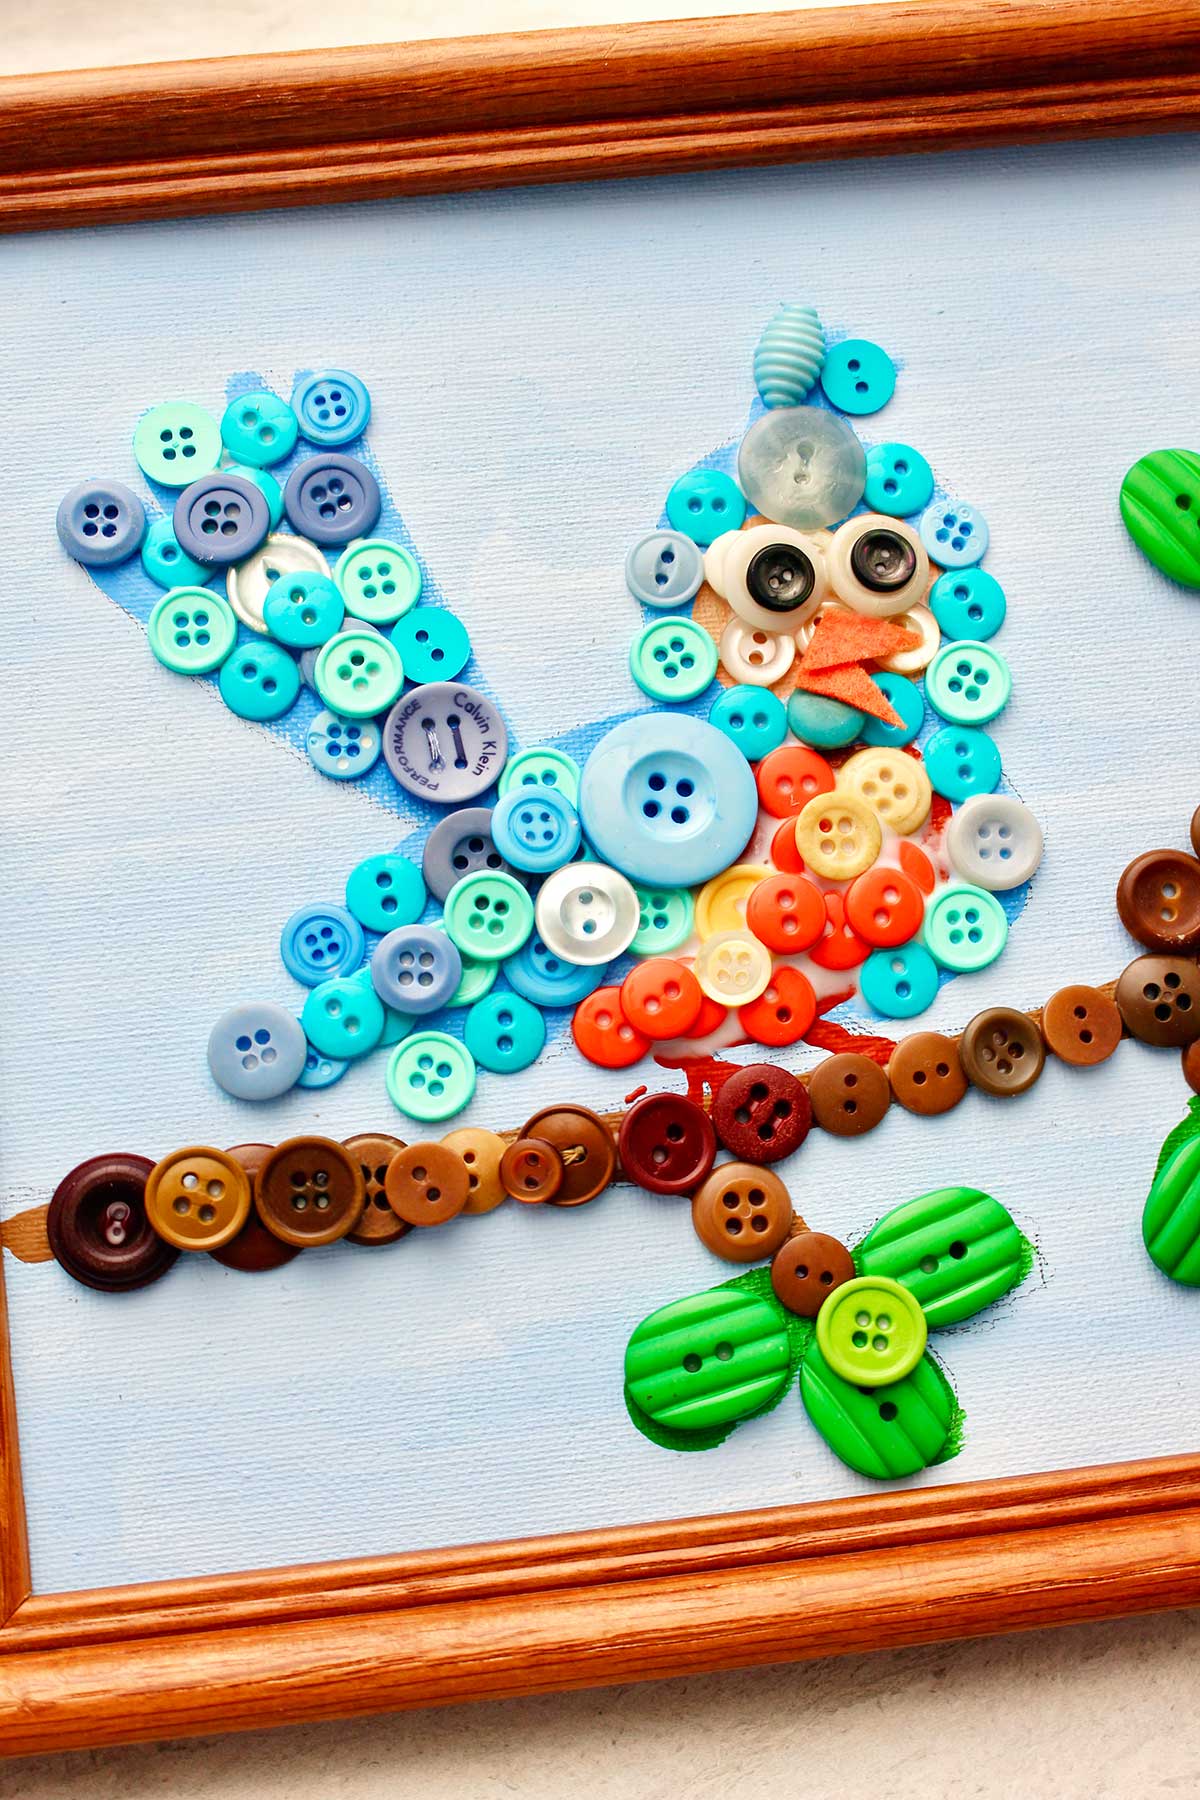
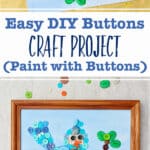
This Easy DIY Buttons Craft Project allows kids of all ages to "paint with buttons". Have great fun making whimsical pictures using buttons of all shapes, sizes, and colors!
Jump to:
- Easy DIY Buttons Craft Project (paint with buttons)
- Follow along on video
- What button picture do you want to make?
- Make a sketch to plan your easy button project
- Deciding on button colors
- What buttons should I use for a button craft?
- Canvas board backing for the picture
- Paint or cover the canvas board
- Art and craft buttons and sewing buttons
- Transfer the sketch onto the canvas
- Paint the sketched picture
- Glue on the buttons
- Button mosaic art- fit them all together
- Add extra buttons and finishing touches
- The "eyes" have it
- A beak from felt
- Special supply options and ideas
- Frame your button craft project
- Want more ideas for canvas crafts and art projects?
- Enjoy!
- Supply list for Easy DIY Button Craft Project (Painting with Buttons)
- Easy DIY Buttons Craft Project (Paint with Buttons)
Easy DIY Buttons Craft Project (paint with buttons)
You will really enjoy this Easy DIY Buttons Craft Project. It’s kind of like painting with buttons! You can make any type of whimsical picture using buttons, and the buttons make it almost look 3-D!
This is a perfect craft for kids of all ages. It is great for developing fine motor skills, dexterity, and eye hand coordination for early childhood development. The cute buttons in different colors make it so much fun a person doesn't realize it's also helping with skills! Score!
Note: Button craft projects are also perfect for regaining fine motor skills for older people.
Follow along on video
If you would like to follow along with me while making your button craft project, there is a free tutorial full length video at this link: Easy DIY Buttons Craft Project Full Length Video Tutorial.
What button picture do you want to make?
The first step is to think about what picture you would like to make out of buttons. You can make an any sort of picture, but it’s important to simplify the image so that it looks good made out of buttons.
It can’t be as accurate as a drawing, but gives a general impression with shapes and colors. It turns out so pretty but just isn't as detailed.
Let's brainstorm ideas. So maybe you would like to make a bird like an owl, flamingo, bluebird, or dove. You could also draw a simplified version of an animal, such as an elephant, cat or dog.
There’s lots of simplified shapes that would look so cute like a ladybug, fish, truck, tea cup, etc.
Think about where you want the picture in your home or who you’re giving it to. That will help you make a decision on what to make.
Make a sketch to plan your easy button project
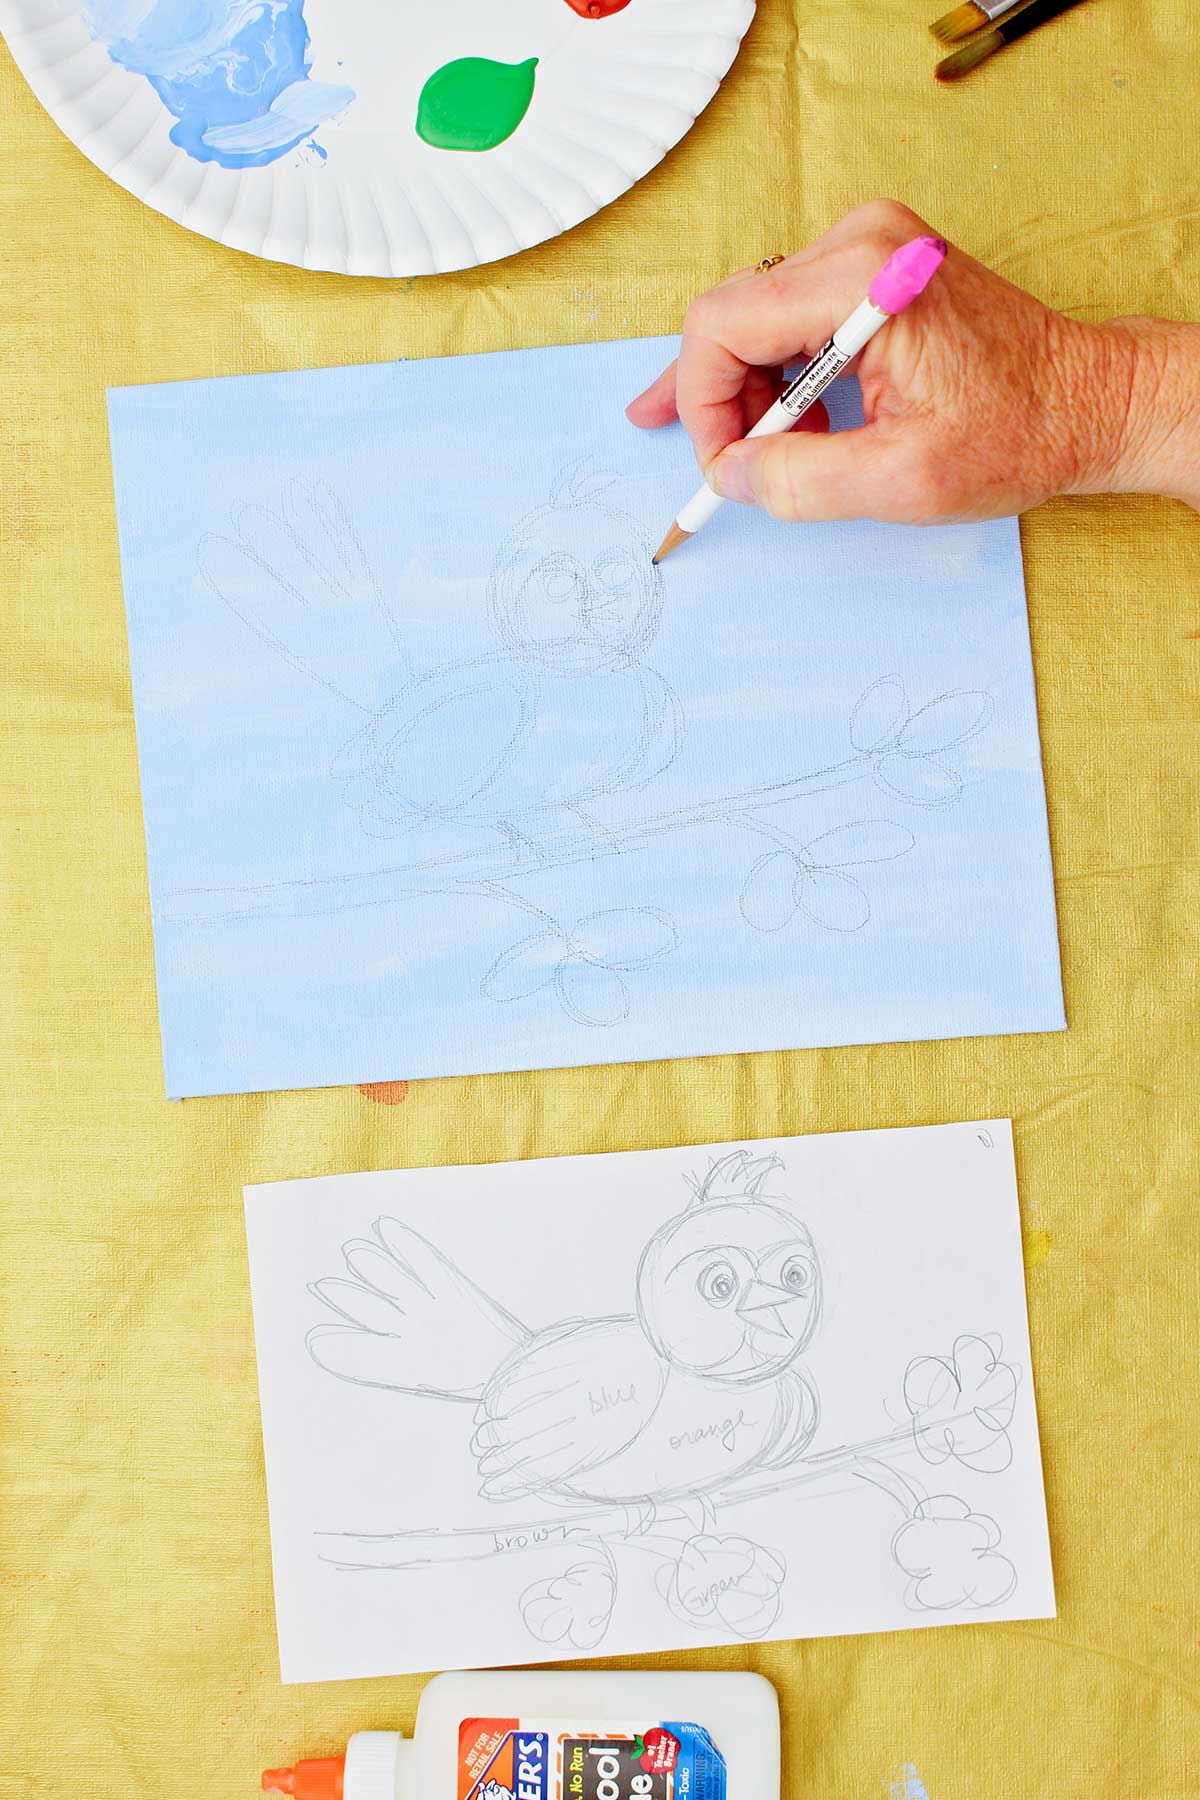
Make a simple sketch on paper of that object so it is mostly defined by the outline shape and some simple features.
If drawing an animal, you could make the stomach, tail, or wings a different color. Think about the eyes and how you will create them from buttons.
Deciding on button colors
On your sketch you will want to make some notes about what colors of buttons you will use in each area of the object that you’re making.
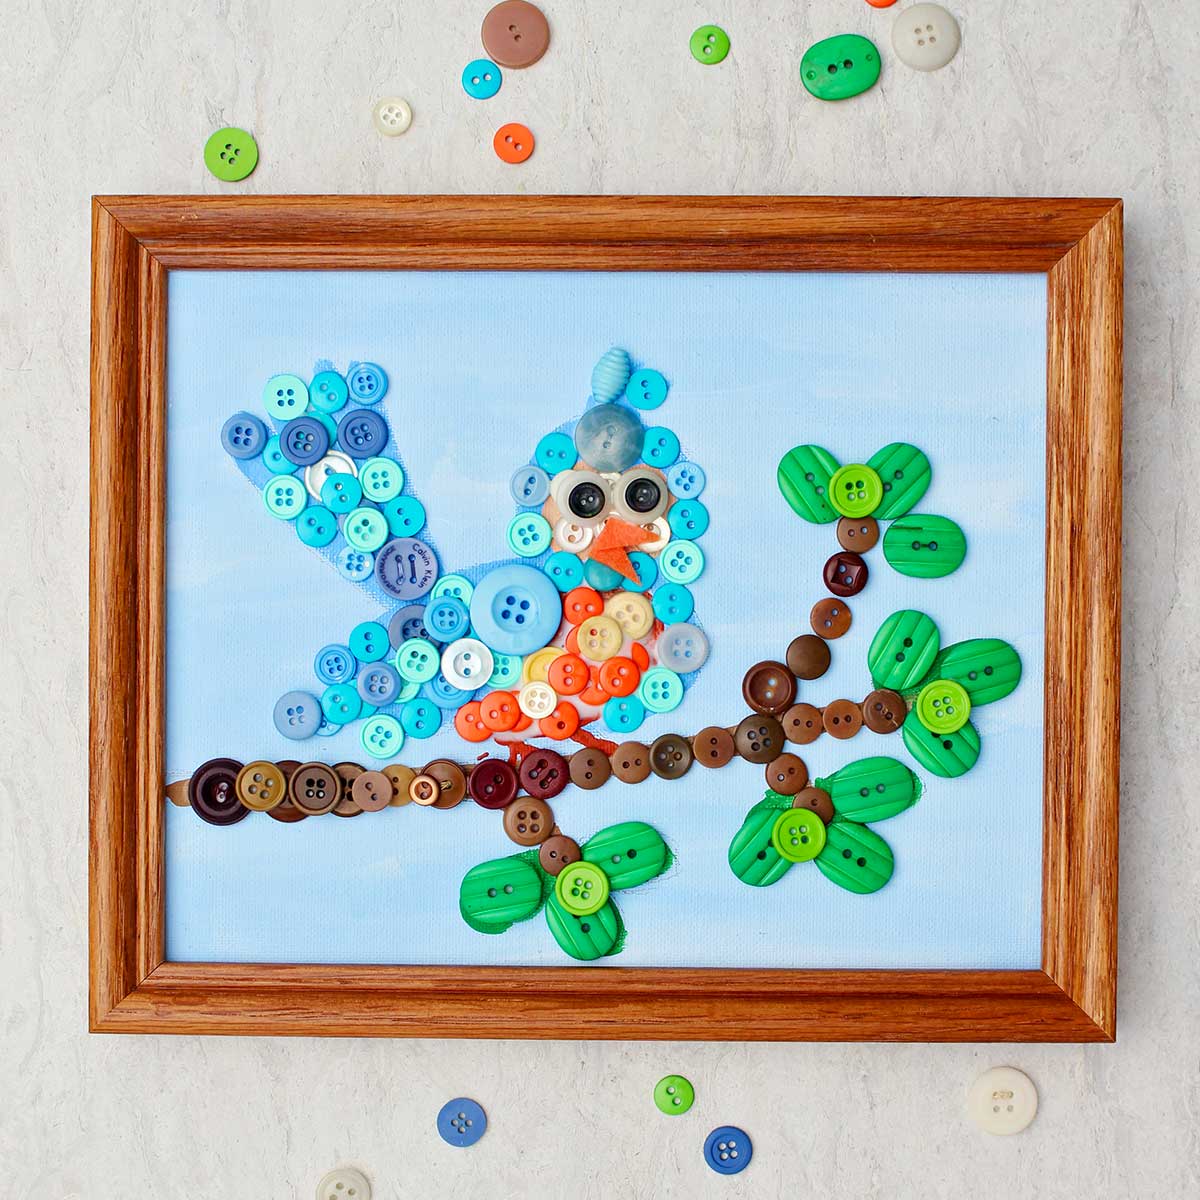
Let's use the bluebird featured in the pictures and video as an example. The bluebird was drawn with pretty simple shapes. The various shapes will be covered in these colors of buttons:
- The back and wings of the bird blue.
- The stomach is going to be orange.
- The eye sections are going to be off-white.
- Brown buttons will be used for the branch below the bird.
- And green buttons will make leaves on the branch.
What buttons should I use for a button craft?
With these colors in mind you can look and see what buttons you have and what needs to be purchased.
I have a large button stash in my craft room, but most of them are white, ivory, brown, and black. There was a need to pick up some extra buttons in order to create enough quantity and variety to cover the blue part of the bird.
WalMart had a small packet of blue and green buttons that worked great. You can pick buttons up in the craft section of a local store around you or order online if you don’t have the colors you need in your own button stash.
Canvas board backing for the picture
In the video in the pictures, you will see that I used an 8 x 10" canvas board on which to make my picture. This slips nicely into an 8 x 10" frame if if you would like to hang yours up on the wall in a frame.
You can also use a stretched canvas or a piece of card stock paper. Of course the canvases will be more durable.
If your picture gets much larger than 8 x 10" it takes a lot of buttons to cover the surface. So unless you have a specific idea or location and want a larger piece I would recommend staying with an 8 x 10" canvas- especially for kids.
Paint or cover the canvas board
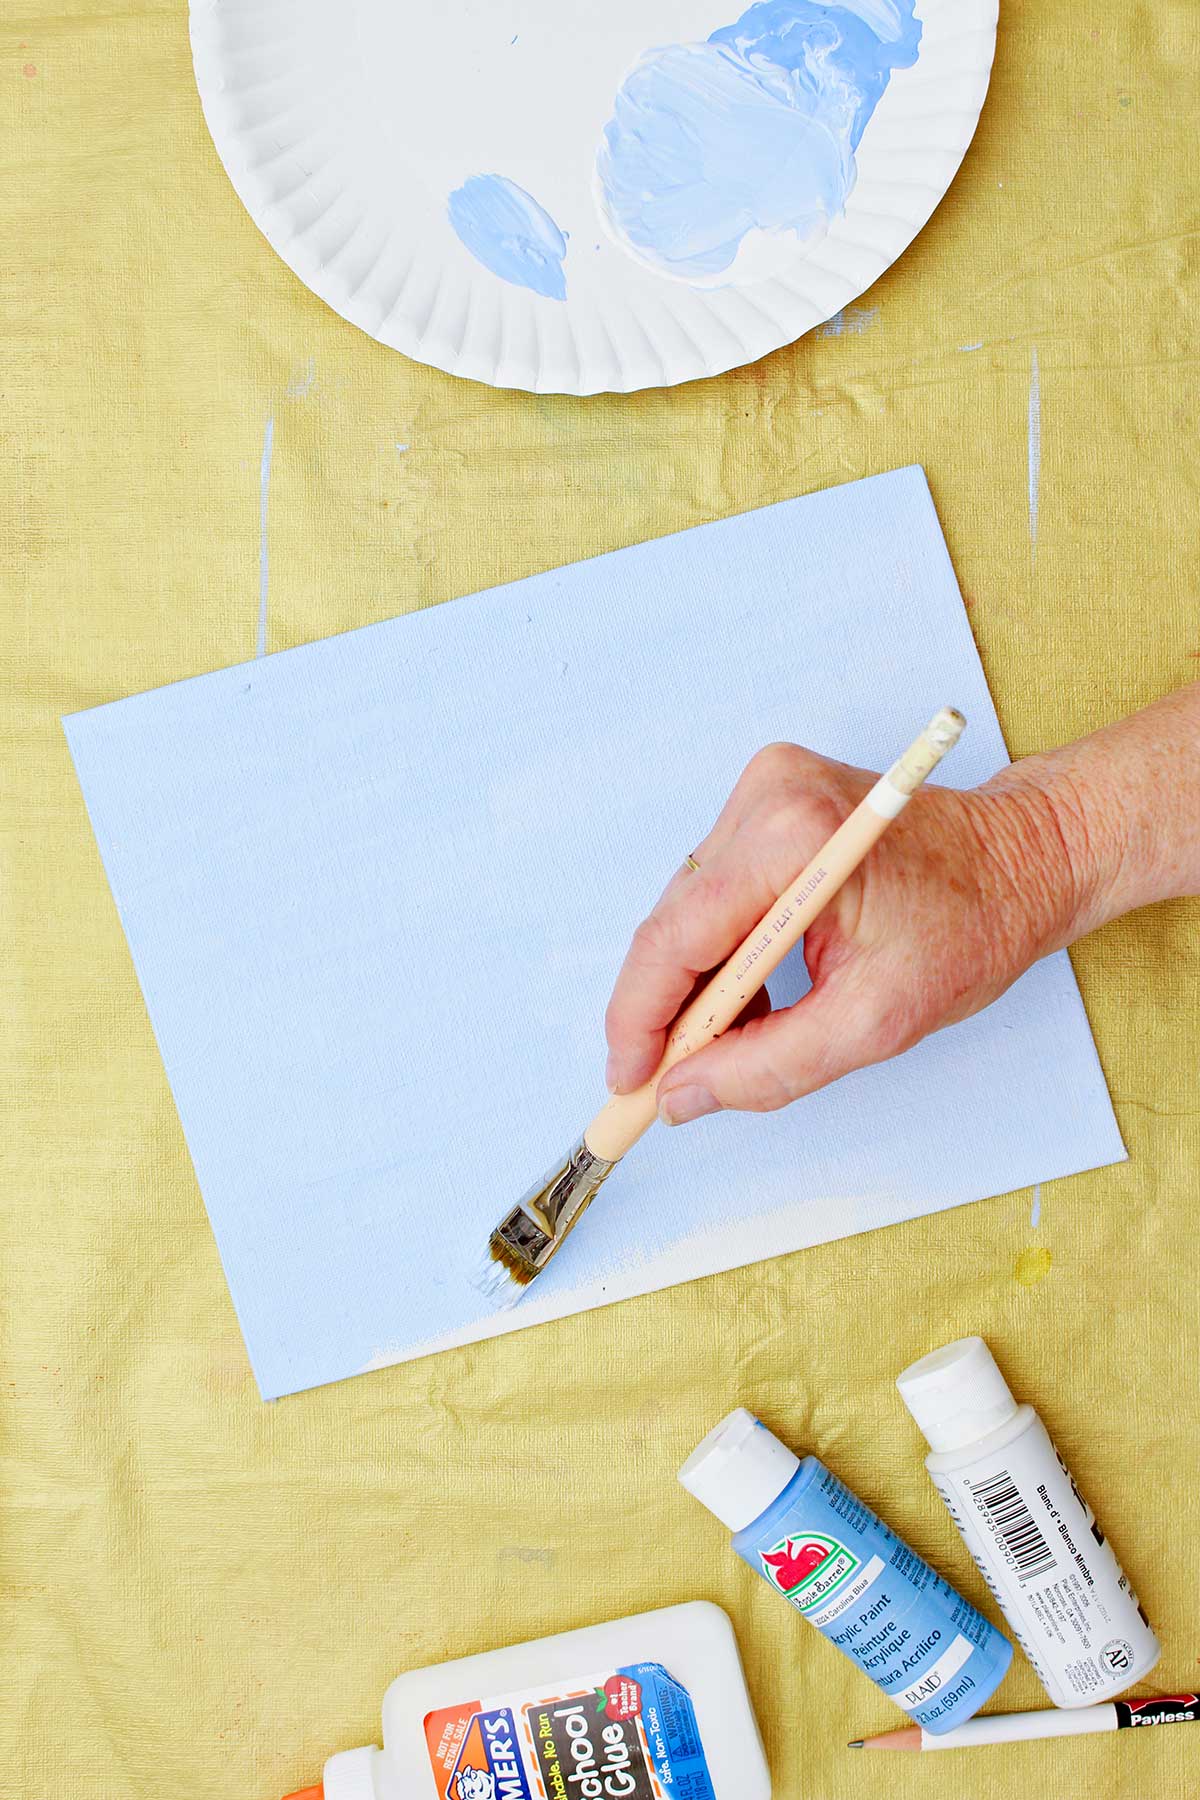
It’s nice to cover your canvas with either paint or a decorative paper as a background.
I chose to make a bluebird for this project. I want the background to look like a sky.
So I chose to mix up a bit of light blue paint from white and blue acrylic craft paint. Then I painted the entire surface of the canvas board.
Think about what you would like in the background of your picture. It would’ve been fun to have had some scrapbooking paper with very small print to glue over the background of the canvas. That also could’ve looked like a sky for the bird drawing.
Think about your picture, what do you want for your background? You can paint or paper it and could even use newspaper if you’d like. It depends on what you are drawing and the look you want for your personal style.
Set the canvas aside to dry when finished with the background.
Art and craft buttons and sewing buttons
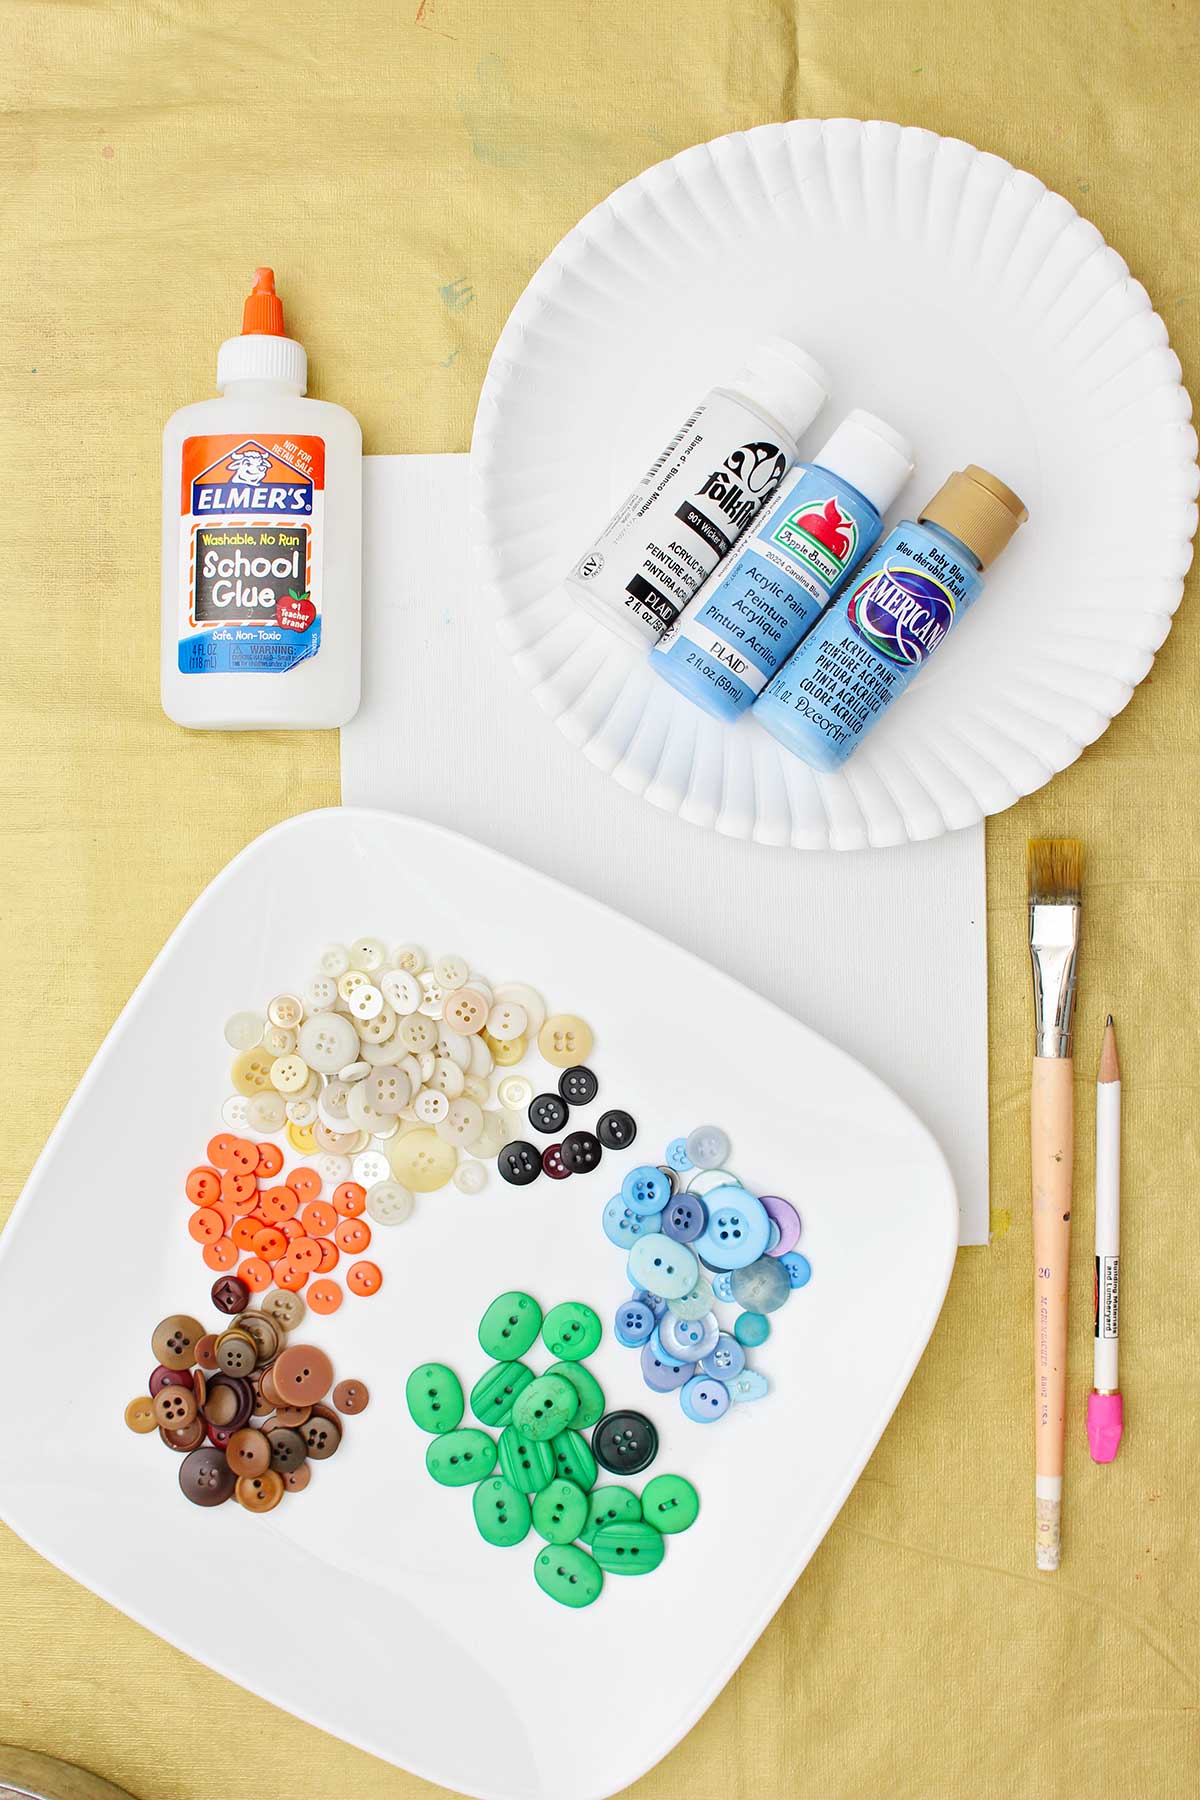
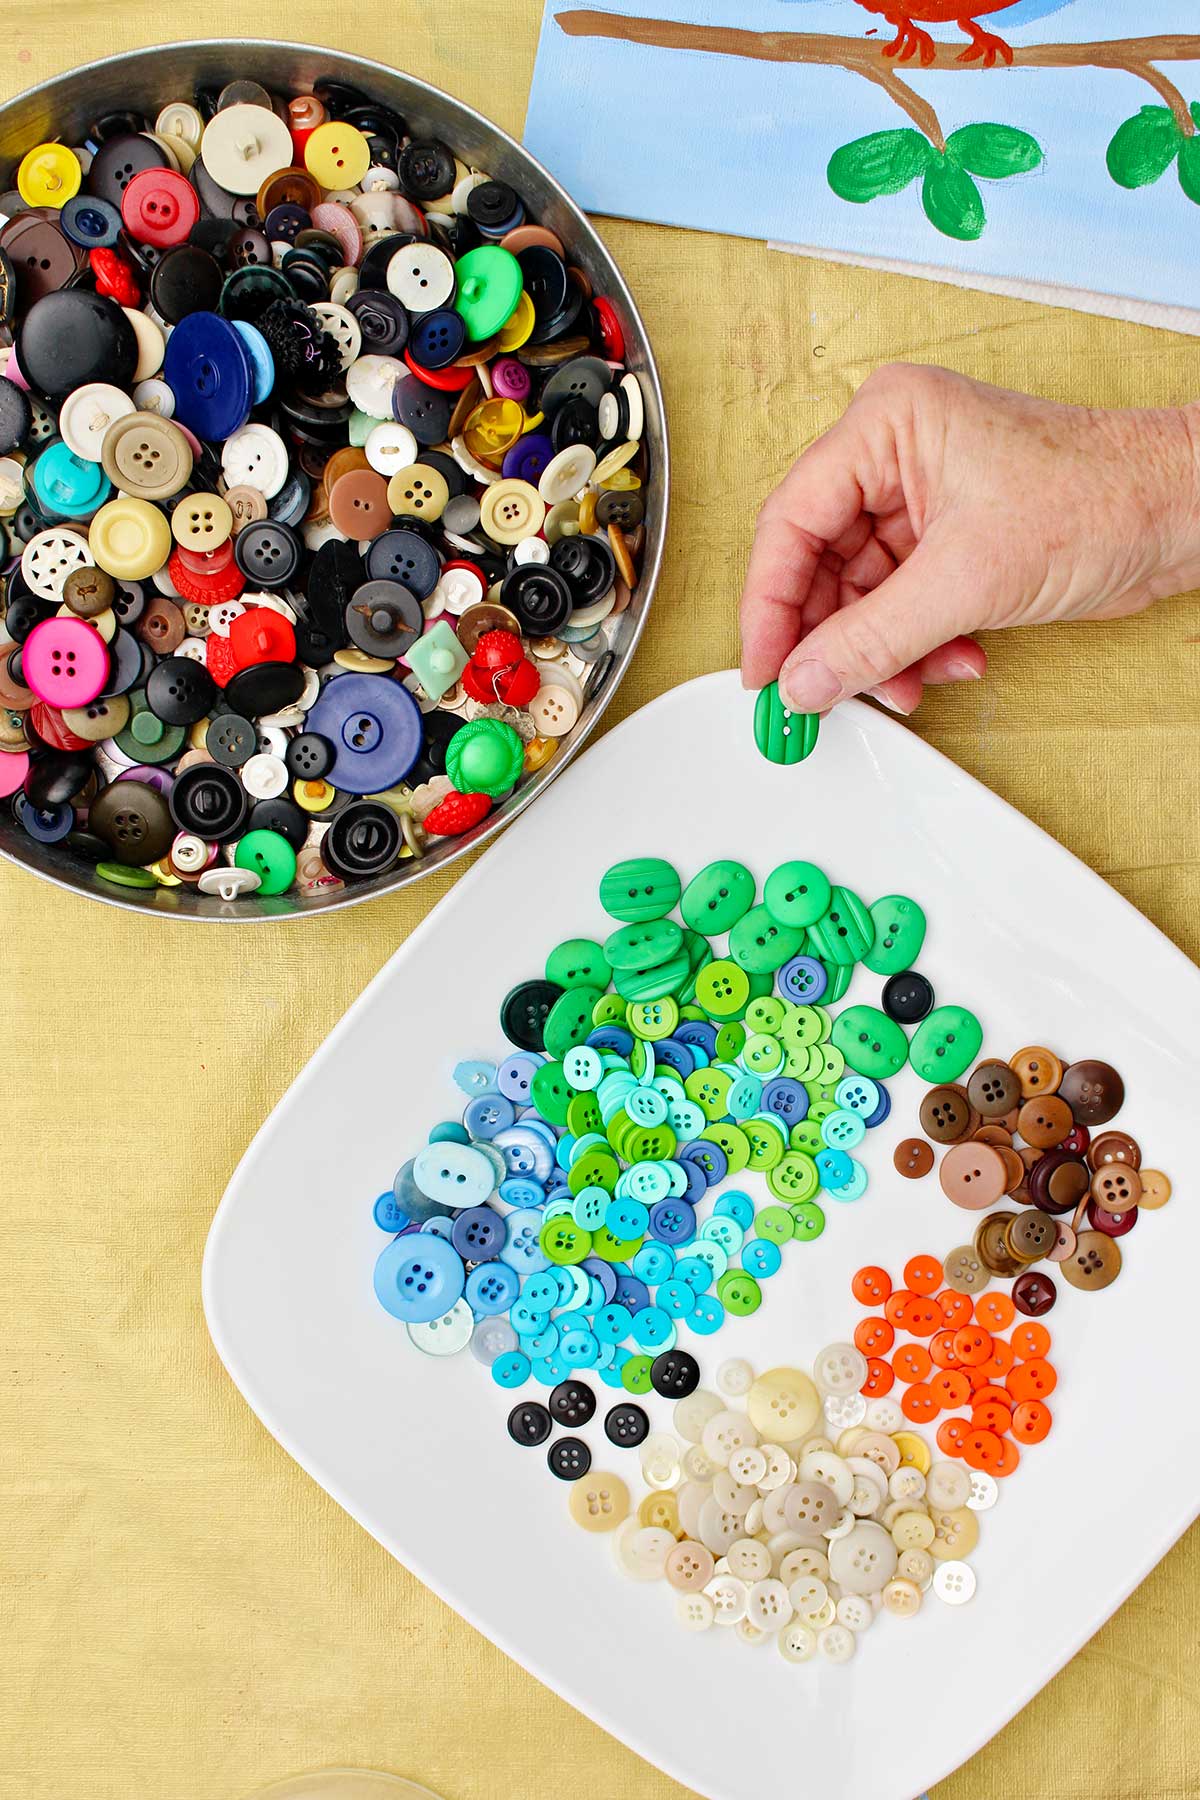
While the canvas is drying, get out your sewing buttons and begin to separate out buttons in the colors that you chose for your picture. You could see on the plate in my picture that I separated out the colors that I mentioned earlier.
It is fun to use a few novelty buttons to add interest if you have them (shaped, vintage, metal, or wooden buttons).
I emptied the purchased package of craft buttons into my collection of older buttons on the plate to fill out some extra color needs for the picture.
If you like to do a lot of crafting with these types of things, you might just mention it to people that you know that like to sew and such.
I have received several collections of buttons from people who have retired from sewing. They wanted to pass them along to someone who would use them. That’s why I have as many as I do . I have not gone out and purchased all of them.
Tip: If you want to use shank buttons, you may need to clip off the shank back with a pliers so they will lay flat on your picture.
Transfer the sketch onto the canvas
When the paint on the background is dry, you will want to transfer your sketch onto your canvas.
There are a couple different ways that you can do that. You could rub your pencil over the back of the picture. When you lay it down on your canvas and trace over your drawing, it will transfer some of that pencil lead onto your canvas. But that can get kind of messy.
A second way is to cut our your drawing and trace around it. Then you can pencil in the features inside the drawing.
Or you can just go ahead and draw it onto your canvas the same way you drew the first sketch. Remember, it does not have to be perfect!
Paint the sketched picture
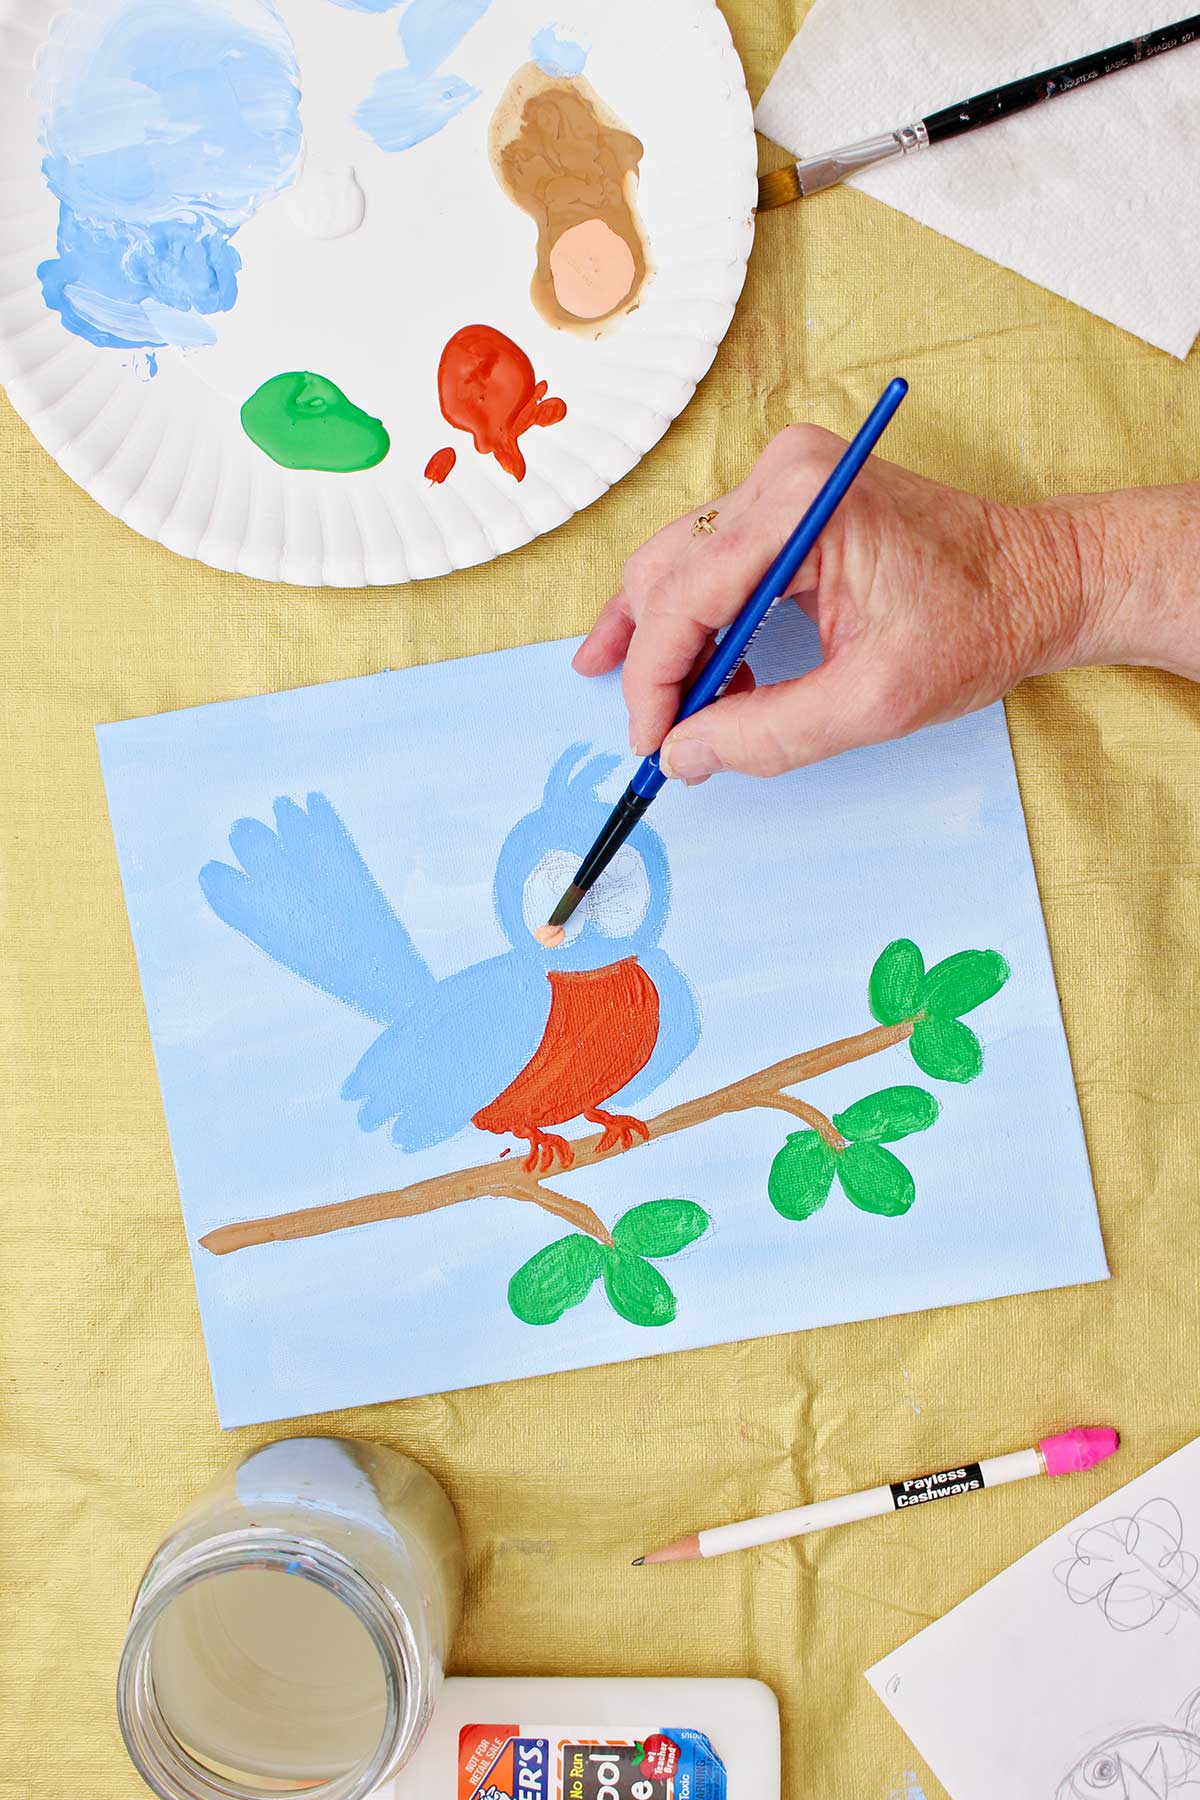
Next, I used some acrylic paints to paint in the bird figure that I had drawn.
I tried to choose colors that were similar to what color buttons I was planning to put in that area. So I painted a blue in the blue area and an orange on the tummy of the bird for example.
You do not have to do this if you don’t want to, but I find that it helps to cover the canvas area behind the buttons to make it look more filled in. So the blue paint shows through between the blue buttons on that area. It looks very nice when you’re done.
Paint each section of your drawing with a color that is close to the button color you’re wanting in that area.
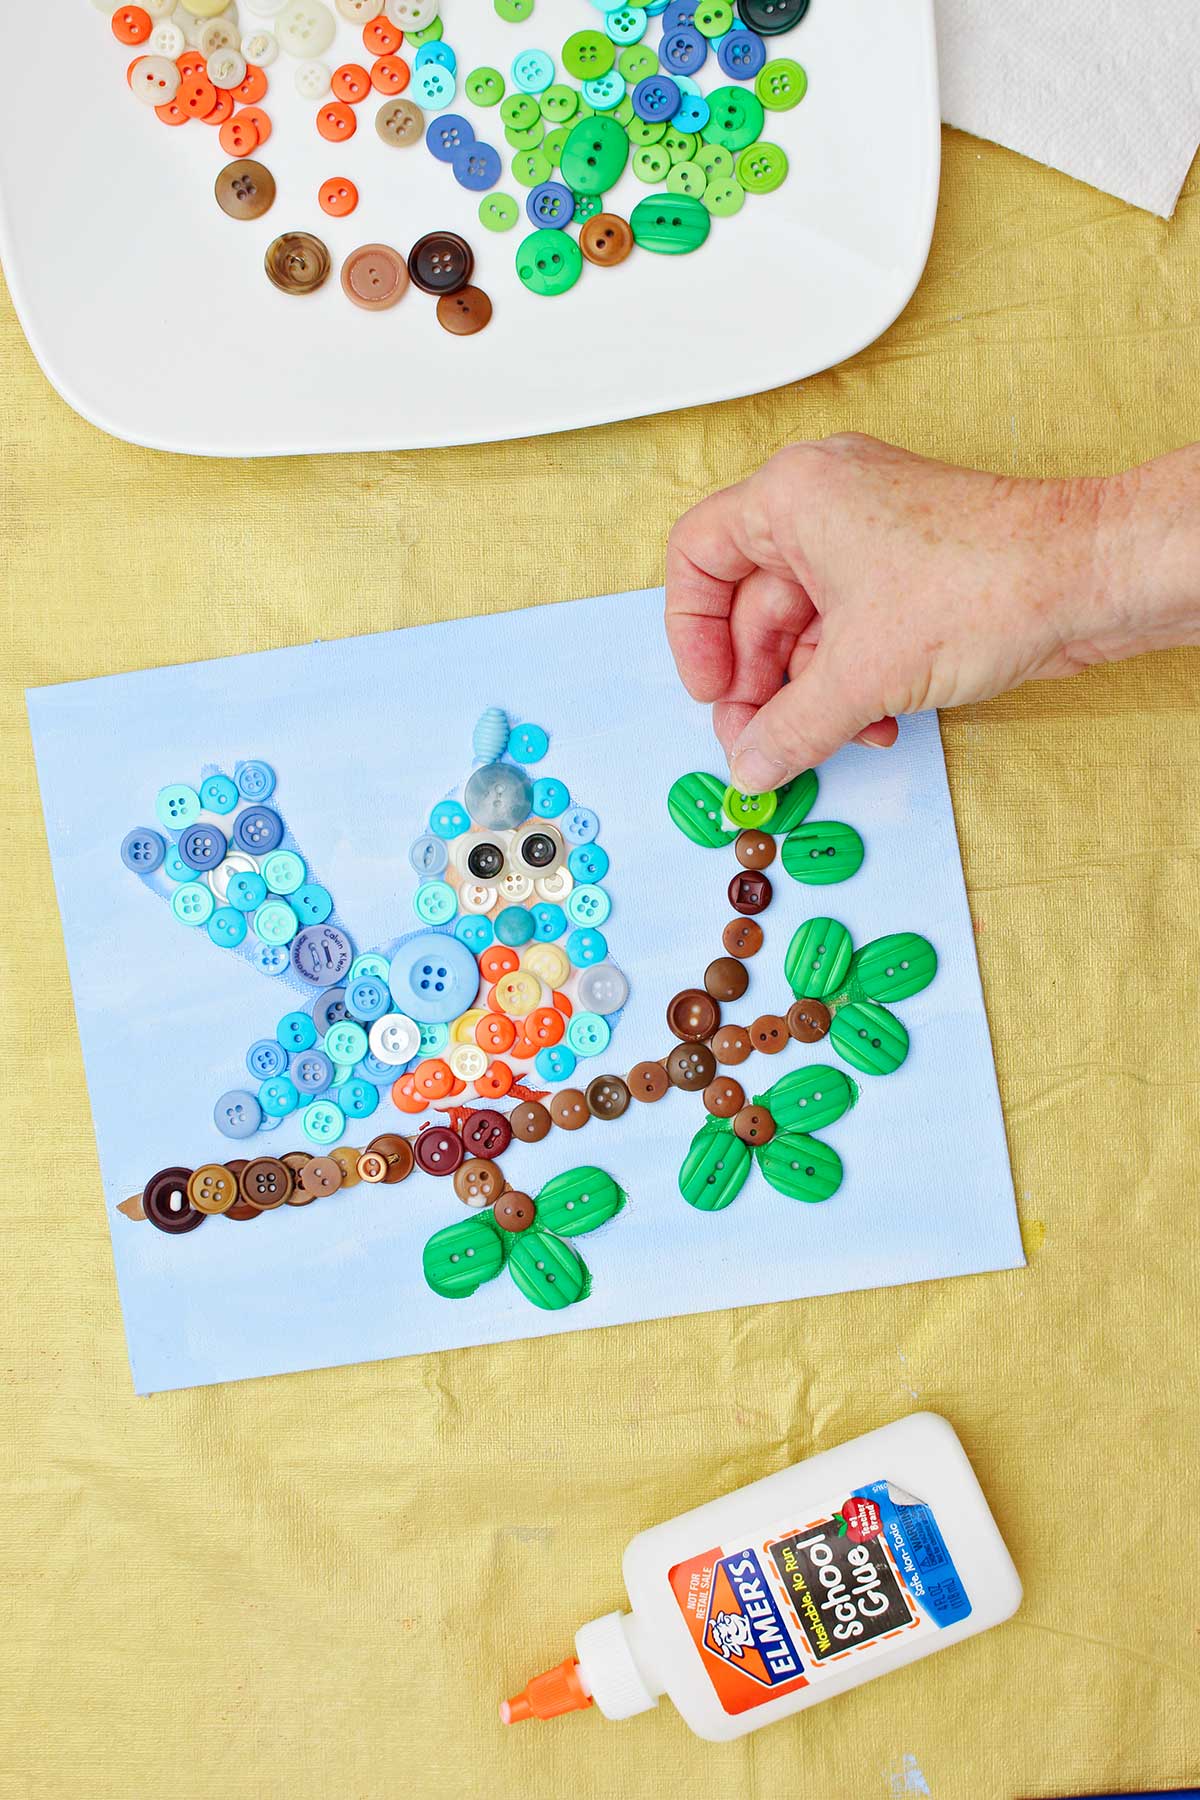
Glue on the buttons
Once your painting is done and dry, you can begin placing buttons onto the picture.
Choose an easy section to begin with. For me that was the blue part of the bluebird.
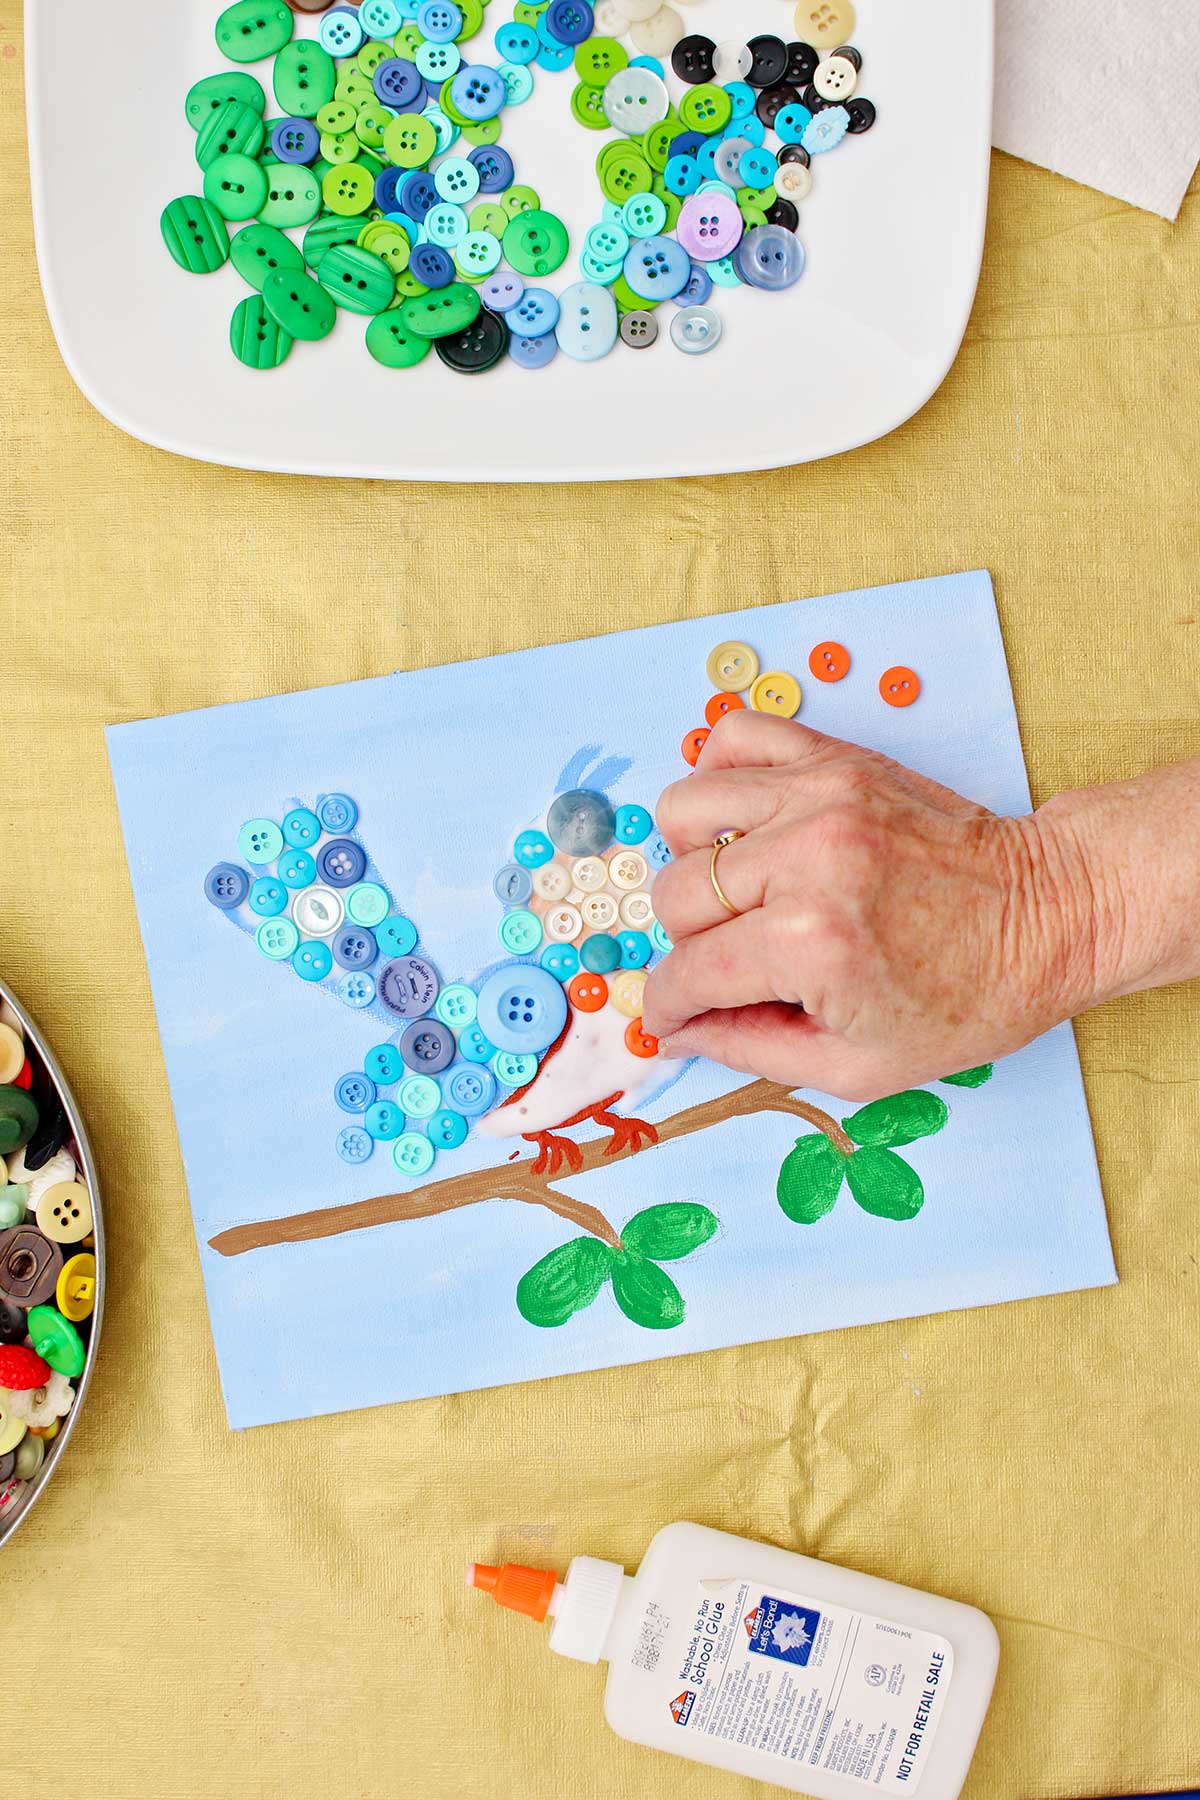
Put glue over the entire surface in the first area. I used Elmer’s glue, but it might be a good idea to try tacky glue to keep those buttons in place well while you are working.
Begin putting the blue buttons on that area and try to fit them inside the painted areas on the bird. Don't worry if they kind of go over the edging a little bit. I don’t think that can hardly be helped.
I tried to use a variety of the shades of blue on the bird and fit different sizes of buttons into the area to fit the space. It worked pretty well!
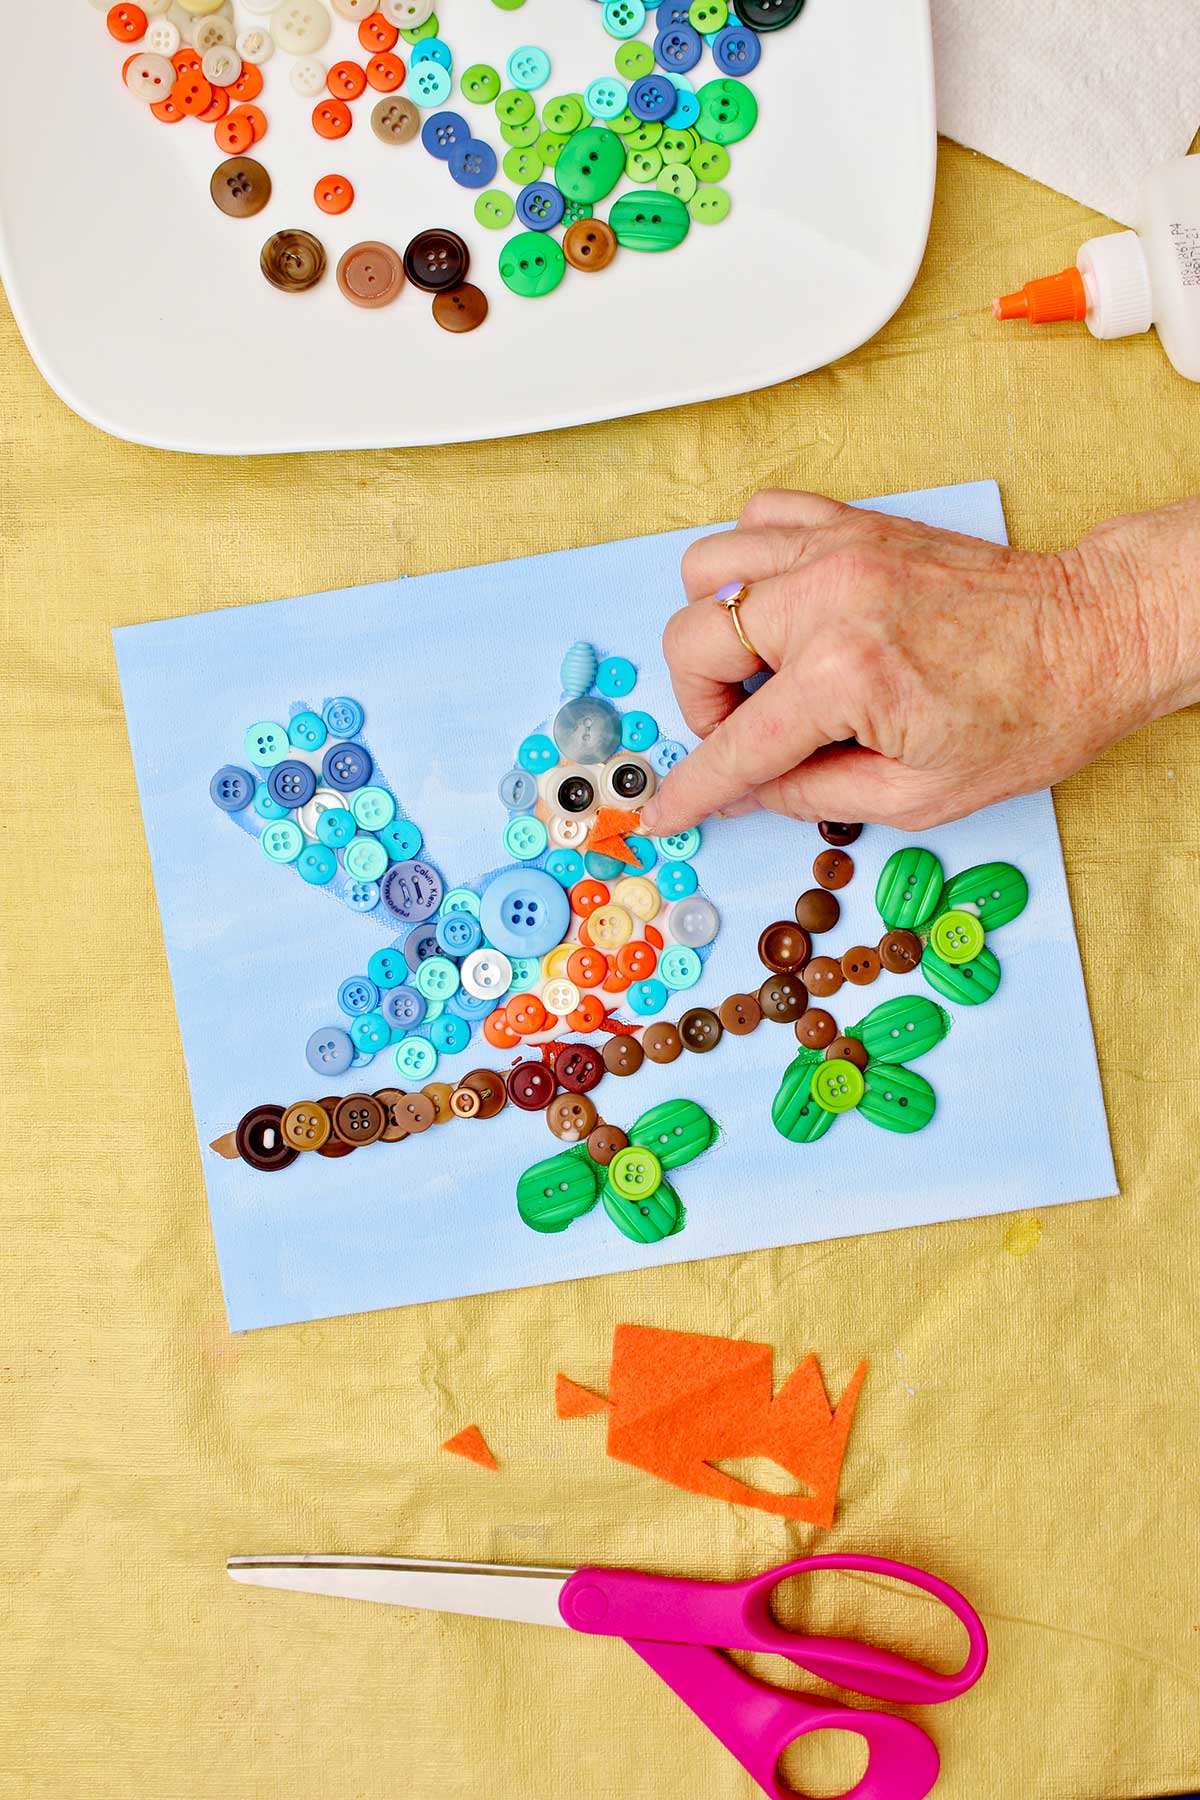
Button mosaic art- fit them all together
I plan to come back when this is pretty much dry and add a few buttons over the top of these buttons (a partial second layer). It will make it even more 3-D. You will see that later in the video.
This step takes a bit of time, it's like a puzzle. Just work from one section to the next on your drawing, changing colors to the color you want in the next section.
Once you have the entire picture covered in buttons, then step back and look at it and see what you think.
This is similar to a painting technique called pointillism where the painting is made with dots of color. When you step back, you see the whole picture more clearly.
Note: Here is a link to a Wikipedia article on pointilism: Wikipedia on Pointilism.
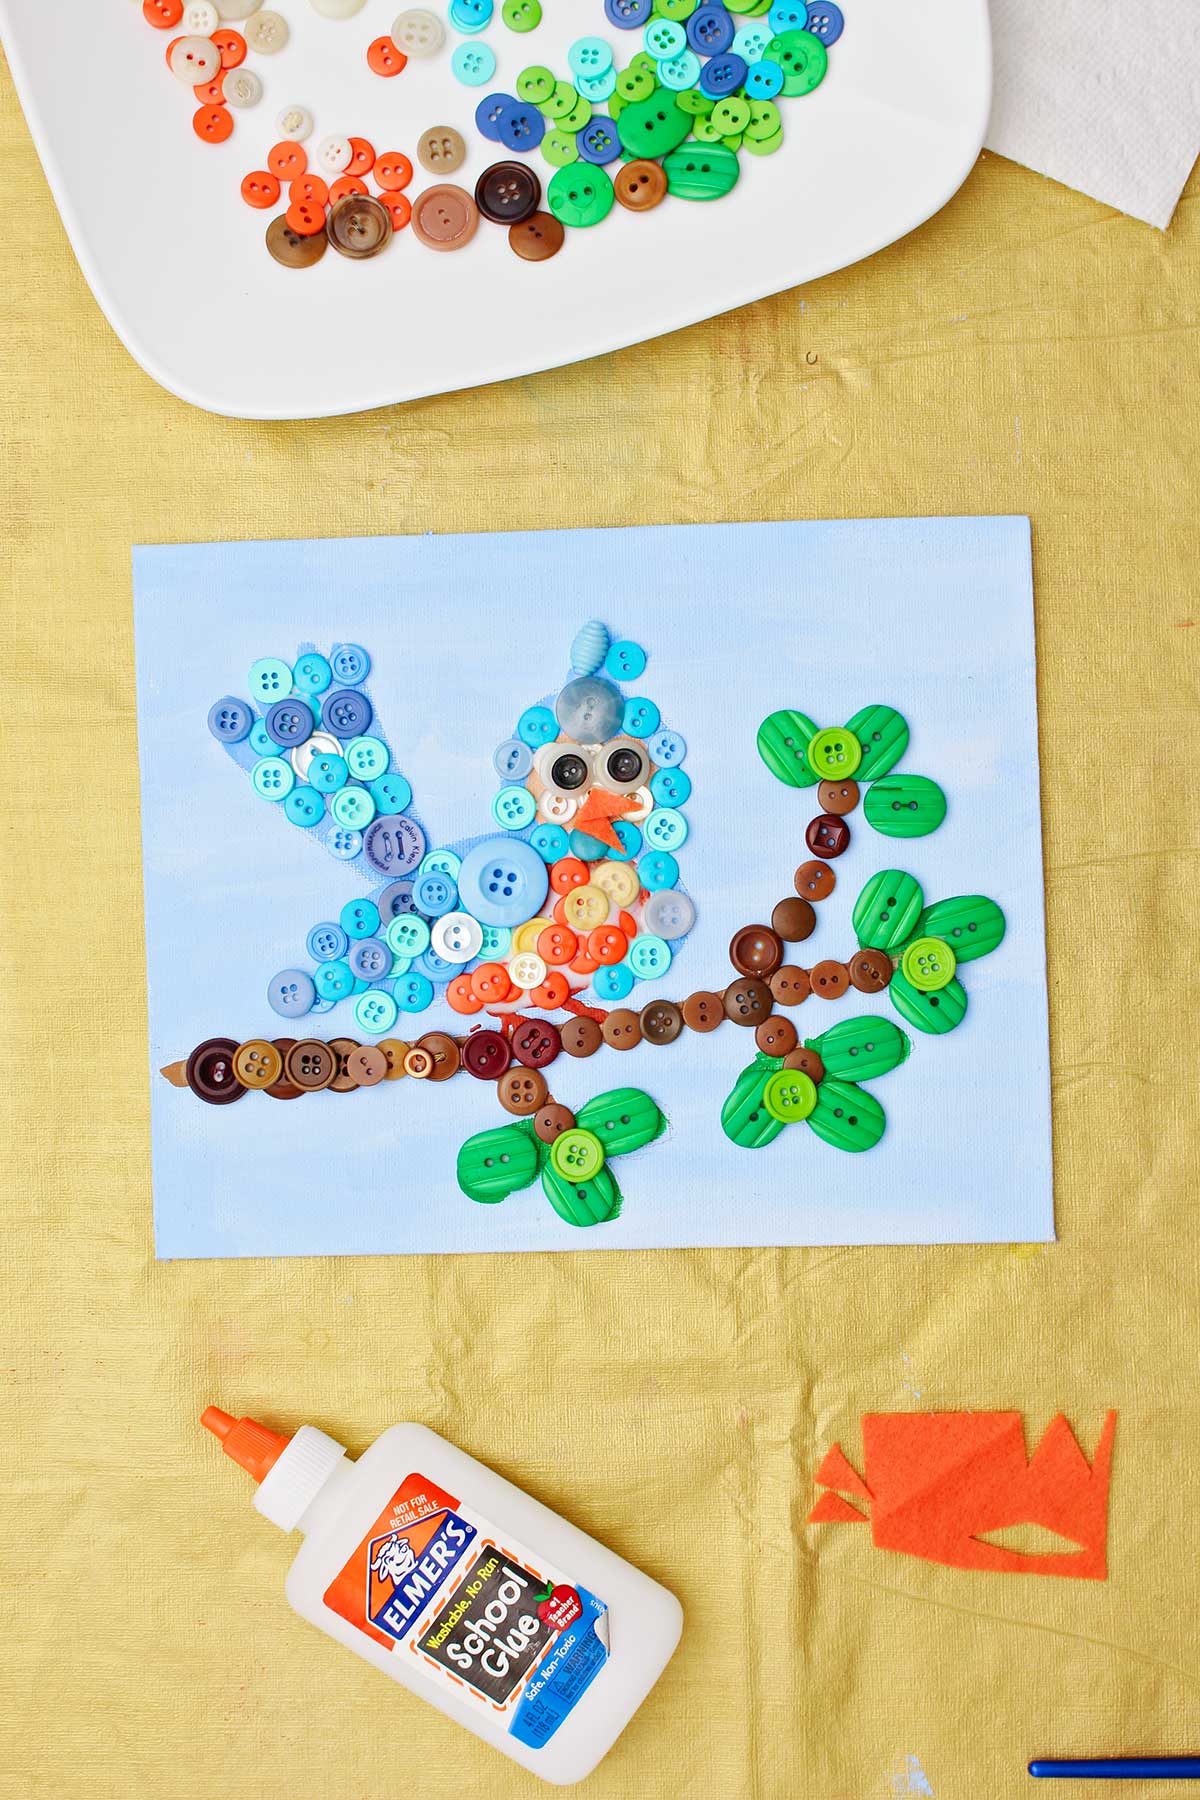
Add extra buttons and finishing touches
Now you can see what you want to add to your picture to make it more dimensional and more colorful. Work until it has the right look for be object you're making.
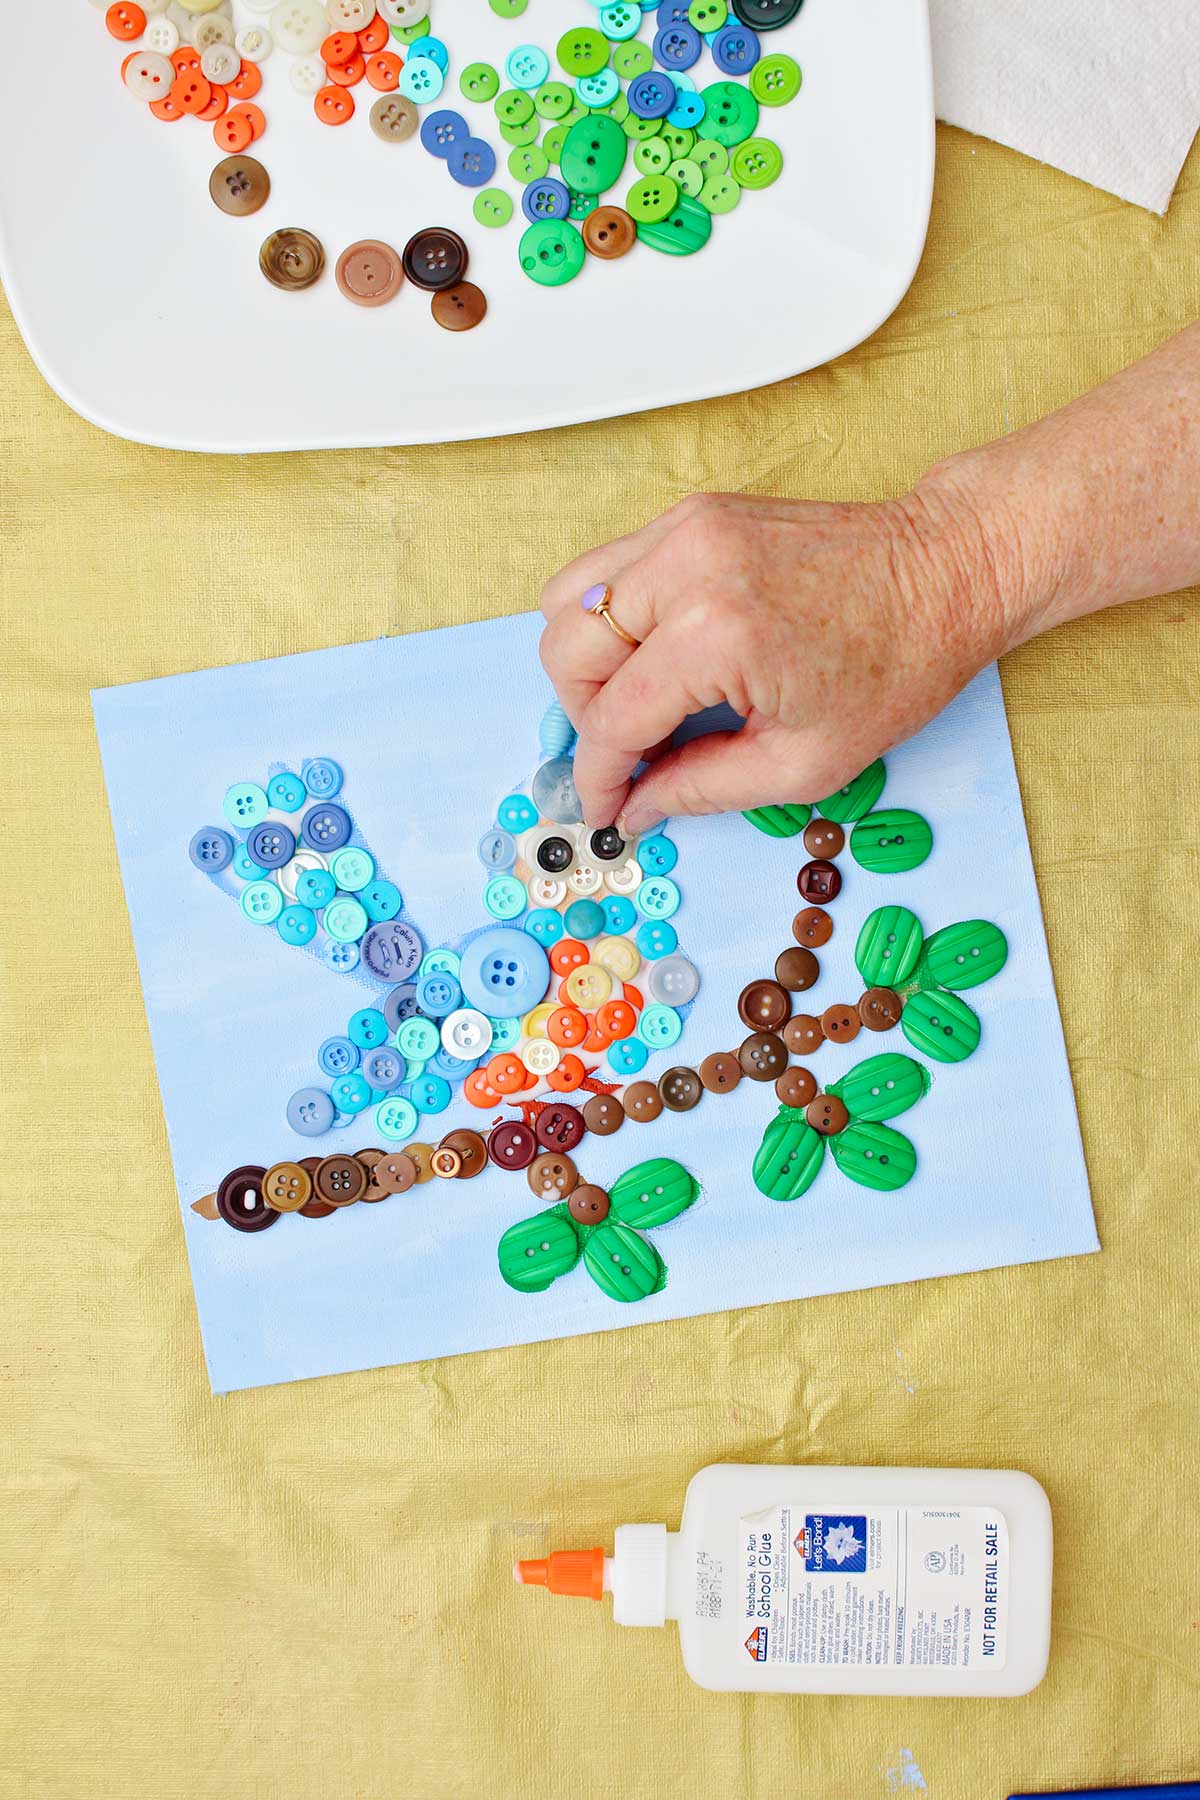
I chose to add a partial second layer of buttons over the top of the first. I let the first layer dry for a little while and then began to a few buttons over the top of the first layer. I didn’t do it over the entire surface, just in some areas.
So you can see a few more buttons added to the branch the bird is sitting on and a few in the middle of the wing and in the middle of the tail.
The "eyes" have it
The eyes were made with two white buttons.
Then on top of them were two small black buttons (third layer). They fit in on top of those white ones to make the pupils in the eyes. I thought that the eyes turned out really cute!
Like I said earlier, it is not possible to make button pictures real detailed. So just think of it as being an an image rather than a drawing with small details.
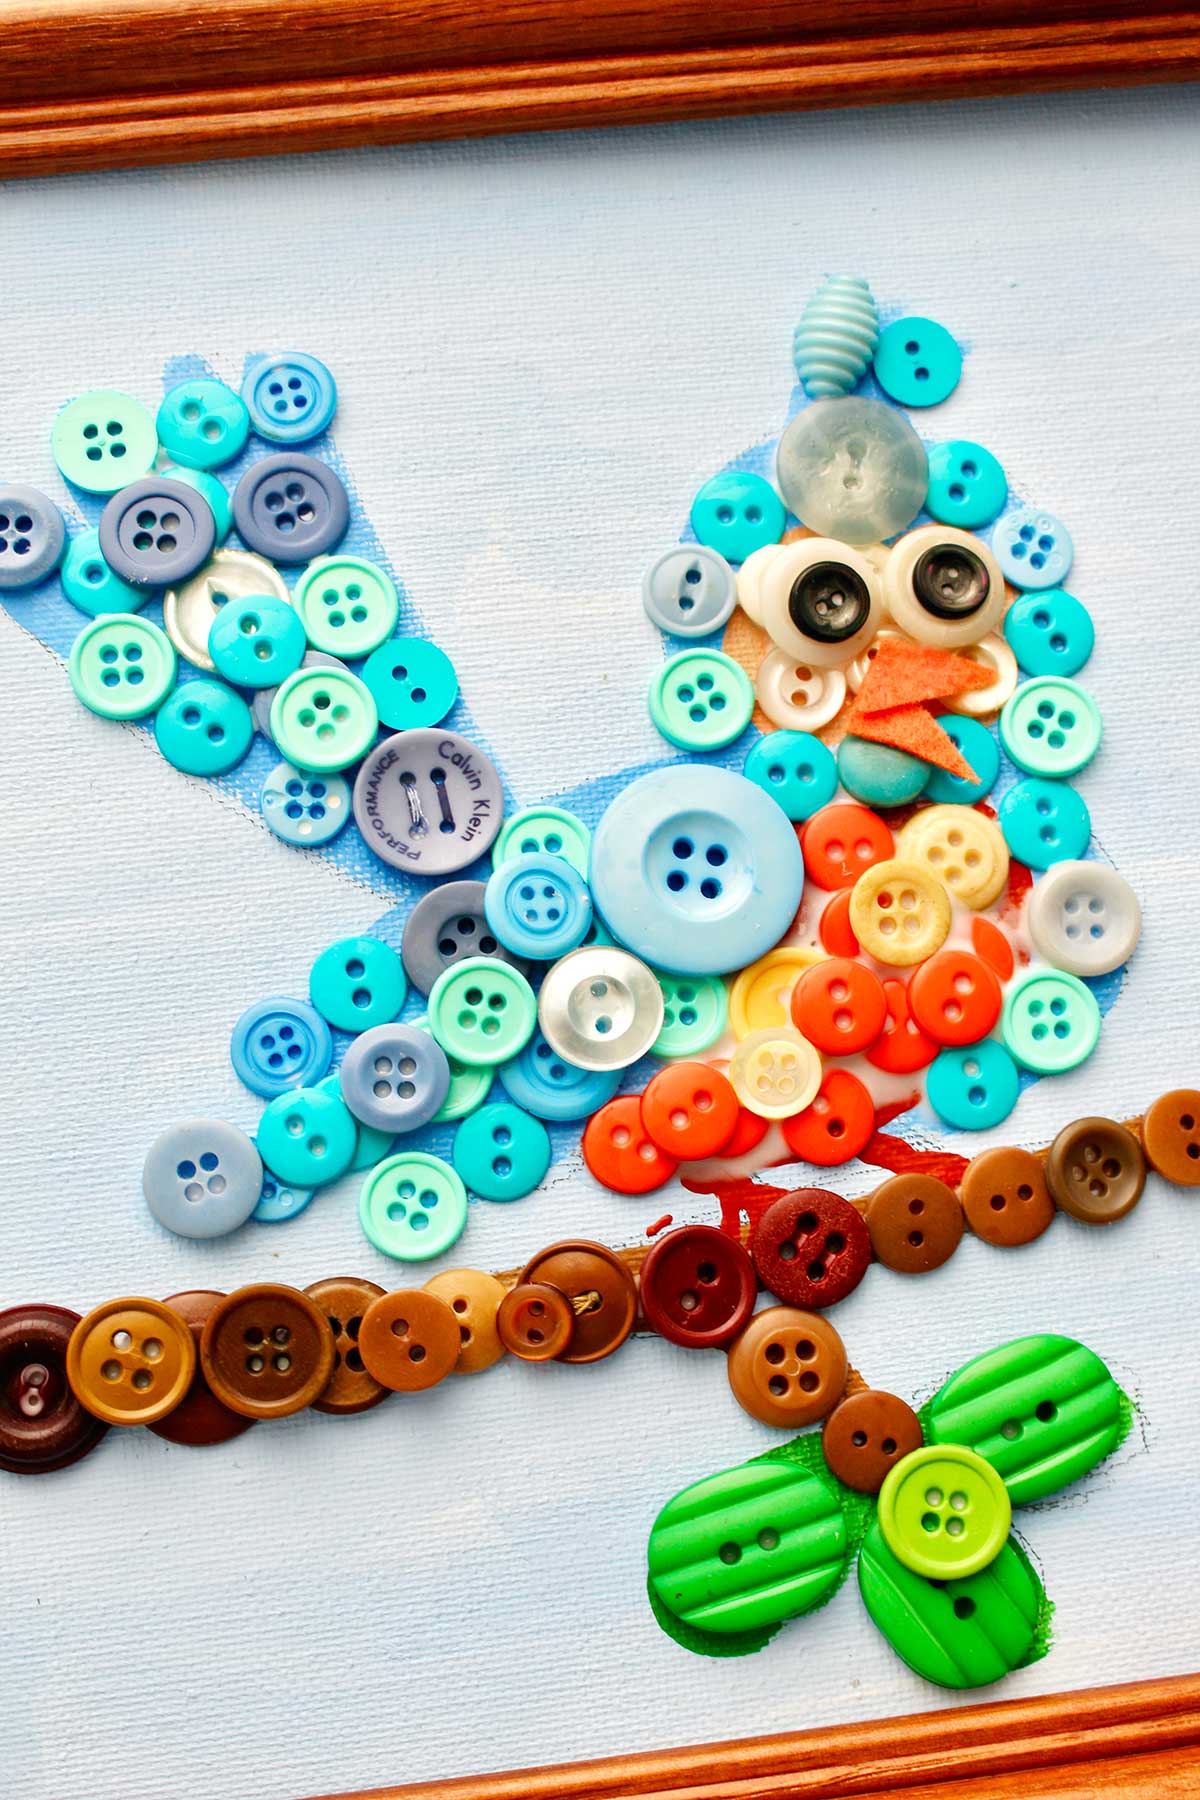
A beak from felt
I did not think that an orange round button would look good for the birds beak. So I found a small piece of orange felt in my craft supplies and cut two small triangles and glued them on as the birds beak.
Special supply options and ideas
I just wanted to point out that you could add other materials onto your button picture if you wanted to. I used a little bit of felt. But you could also use:
- Little beads
- Small pieces of jewelry
- Pebbles
- Seashells
- A twig from the yard.
You could use all kinds of materials to add to your button picture! Let your imagination run with that! And if you have extra buttons and pieces of jewelry, give this DIY Heart-Shaped Brooch a try.
Again, if you would like to follow along with me while making your button craft project, there is a free tutorial full length video at this link: Easy DIY Buttons Craft Project Full Length Video Tutorial. While at YouTube, subscribe to my channel for more video tutorials!
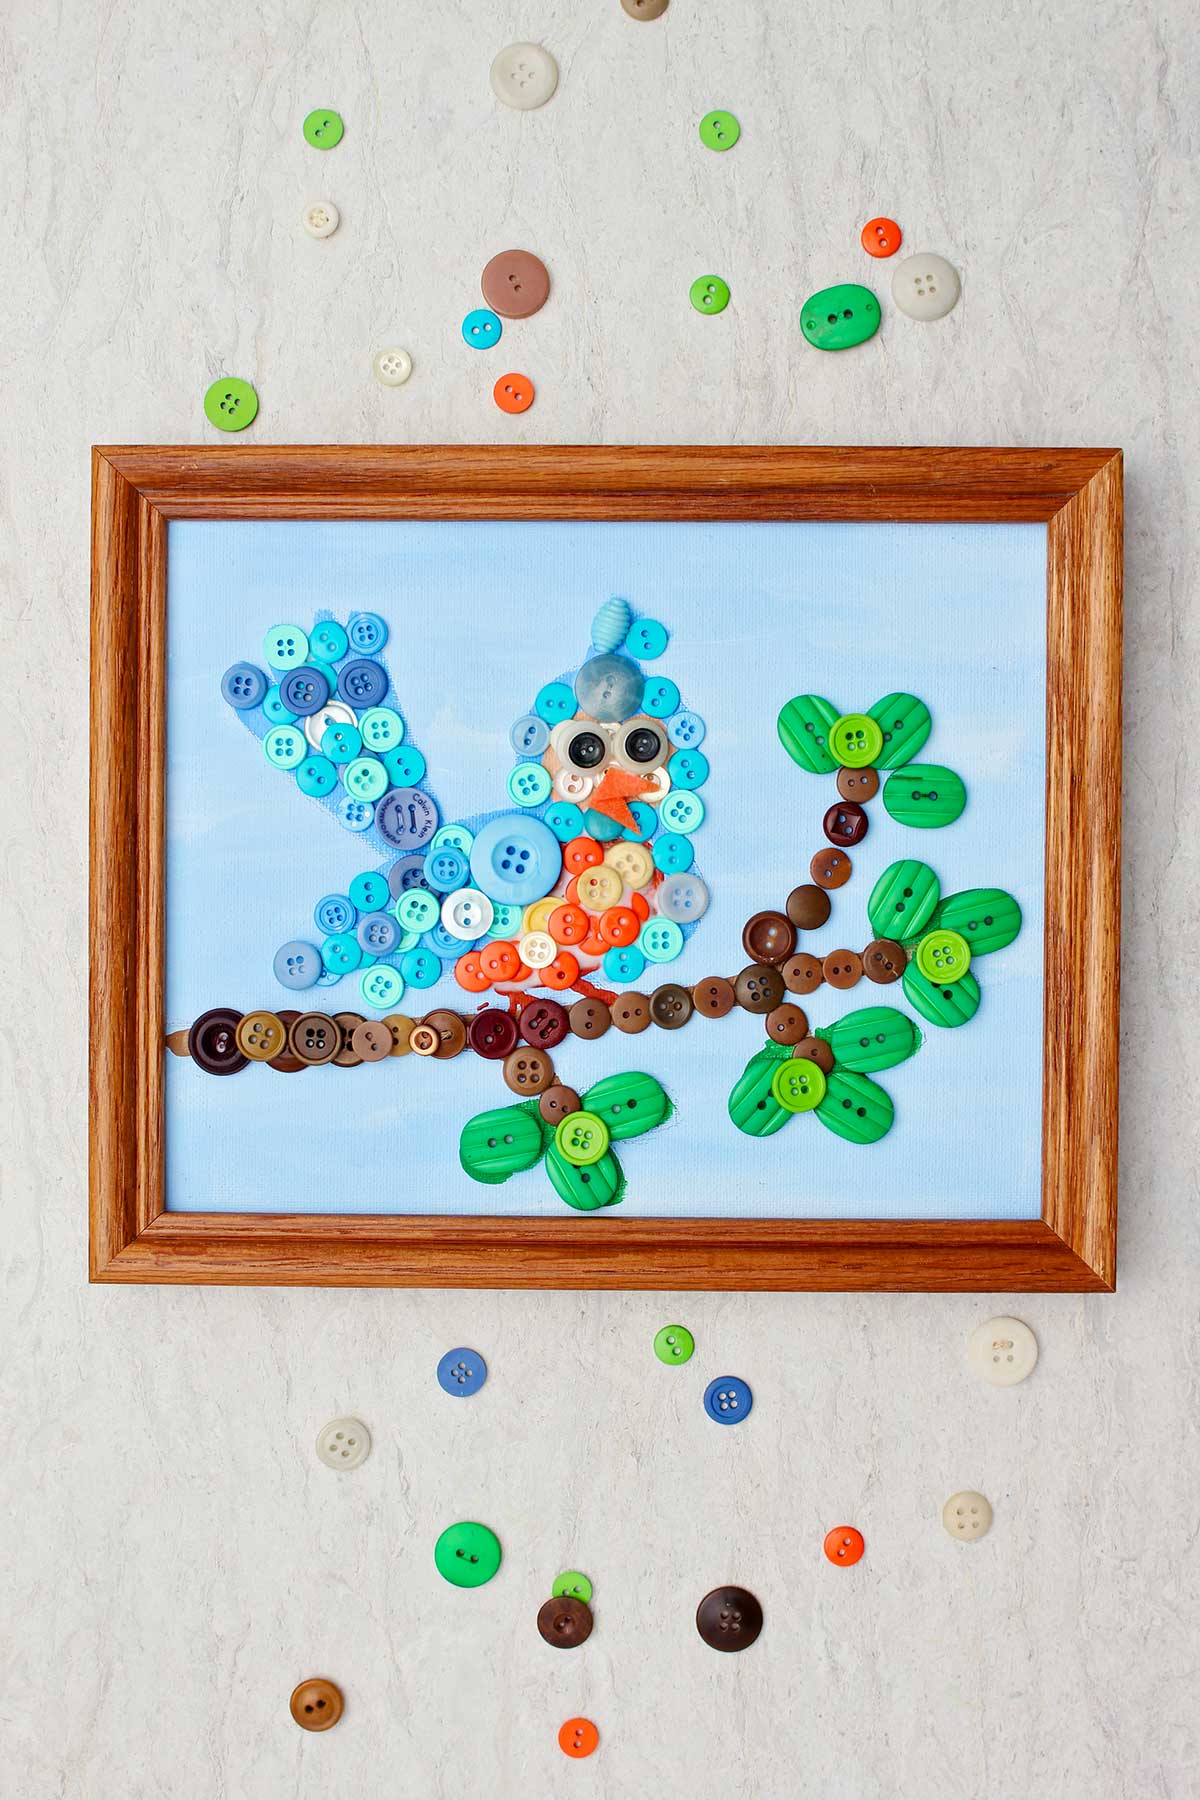
Frame your button craft project
It was fun to slip the picture into an 8 x 10" frame and see how it looked framed.
I hope to hang this button bluebird picture up in the bedroom where the grandkids sleep when they visit!
I’m thinking this would be a really fun gift item to make for a friend. It’s personalized doesn’t take very long, isn’t expensive but is very whimsical and fun.
Wouldn't three or four pictures made with buttons be a cute grouping in a kids bedroom or in a craft or sewing room?
Keep this idea in mind for possible Christmas or birthday gift ideas.
I’m eager to see pictures of what you make, you are such creative people!!
I love this craft, "painting with buttons", that puts all shapes, sizes and colors of buttons to use! First, paint a background and outline of your design on your canvas. Next you'll add layers of buttons to create dimension and fun accents, bringing your art project to life!
This simple craft is such a great way to use buttons of all kinds to create fun art! Start with a canvas and paint your background color and shapes. Next, sift through your buttons to find colors that you want to layer on top of the paint. Continue adding all shapes and colors until you like the final craft!

Want more ideas for canvas crafts and art projects?
For more fun ideas to create arts and crafts with a canvas, check out these posts!
- Cool Sharpie and Alcohol Painting on Canvas
- DIY Botanical Wall Art with Spray Paint
- Special Collage Handprint Art
- DIY Easy Abstract Heart Painting
- Tiny Canvas Painting Ideas
Enjoy!
If you try this craft, let me know! Go ahead and leave a comment, rate it, and tag a photo with #WelcometoNanas wherever you post.
Come join the fun at https://welcometonanas.com
Supply list for Easy DIY Button Craft Project (Painting with Buttons)
- 8x10" canvas board (or 8x10" stretched canvas or 8.5x11" cardstock)
- Glue (school glue or tacky glue)
- Paper and pencil to sketch and plan your design
- Buttons in colors needed for your picture
- Acrylic craft paints in colors similar to button colors for your picture
- Extra craft items to complete picture (felt, beads, etc)- optional
- Paint brushes
- Frame for 8x10" canvas (optional)
Easy DIY Buttons Craft Project (Paint with Buttons)
Equipment
- Paint brushes
Items Required
- 8x10" canvas board (or 8x10" stretched canvas or 8.5x11" cardstock)
- Glue (school glue or tacky glue)
- Paper and pencil to sketch and plan your design
- Buttons in colors needed for your picture
- Acrylic craft paints in colors similar to button colors for your picture
- Extra craft items to complete picture (felt, beads, etc)- optional
- Paint brushes
- Frame for 8x10" canvas (optional)
Instructions
- The first step is to think about what picture you would like to make out of buttons. You can make an any sort of picture, but it’s important to simplify the image so that it looks good made out of buttons.Make a simple sketch on paper of that object so it is mostly defined by the outline shape and some simple features.On your sketch you will want to make some notes about what colors of buttons you will use in each area of the object that you’re making. With these colors in mind you can look and see what buttons you have and what needs to be purchased.
- In the video in the pictures, you will see that I used an 8 x 10" canvas board on which to make my picture. This slips nicely into an 8 x 10" frame if if you would like to hang yours up on the wall in a frame.It’s nice to cover your canvas with either paint or a decorative paper as a background.I chose to make a bluebird for this project. I want the background to look like a sky.So I chose to mix up a bit of light blue paint from white and blue acrylic craft paint. Then I painted the entire surface of the canvas board.Set the canvas aside to dry when finished with the background.
- While the canvas is drying, get out your sewing buttons and begin to separate out buttons in the colors that you chose for your picture. I emptied the purchased package of craft buttons into my collection of older buttons on the plate to fill out some extra color needs for the picture.
- When the paint on the background is dry, you will want to transfer your sketch onto your canvas.
- Next, I used some acrylic paints to paint in the bird figure that I had drawn.I tried to choose colors that were similar to what color buttons I was planning to put in that area. So I painted a blue in the blue area and an orange on the tummy of the bird for example.Paint each section of your drawing with a color that is close to the button color you’re wanting in that area.
- Once your painting is done and dry, you can begin placing buttons onto the picture. Choose an easy section to begin with. Put glue over the entire surface in the first area. I used Elmer’s glue, but it might be a good idea to try tacky glue to keep those buttons in place well while you are working.Begin putting the blue buttons on that area and try to fit them inside the painted areas on the bird.
- I chose to add a partial second layer of buttons over the top of the first. I let the first layer dry for a little while and then began to a few buttons over the top of the first layer. I didn’t do it over the entire surface, just in some areas.The eyes were made with two white buttons.Then on top of them were two small black buttons (third layer). They fit in on top of those white ones to make the pupils in the eyes. I thought that the eyes turned out really cute!
- I did not think that an orange round button would look good for the birds beak. So I found a small piece of orange felt in my craft supplies and cut two small triangles and glued them on as the birds beak.I just wanted to point out that you could add other materials onto your button picture if you wanted to. I used a little bit of felt. But you could also use: Little beads, Small pieces of jewelry, Pebbles, Seashells, A twig from the yard.
- It was fun to slip the picture into an 8 x 10" frame and see how it looked framed. I hope to hang this button bluebird picture up in the bedroom where the grandkids sleep when they visit!

Leave a Reply