
Hand Print Art Collage
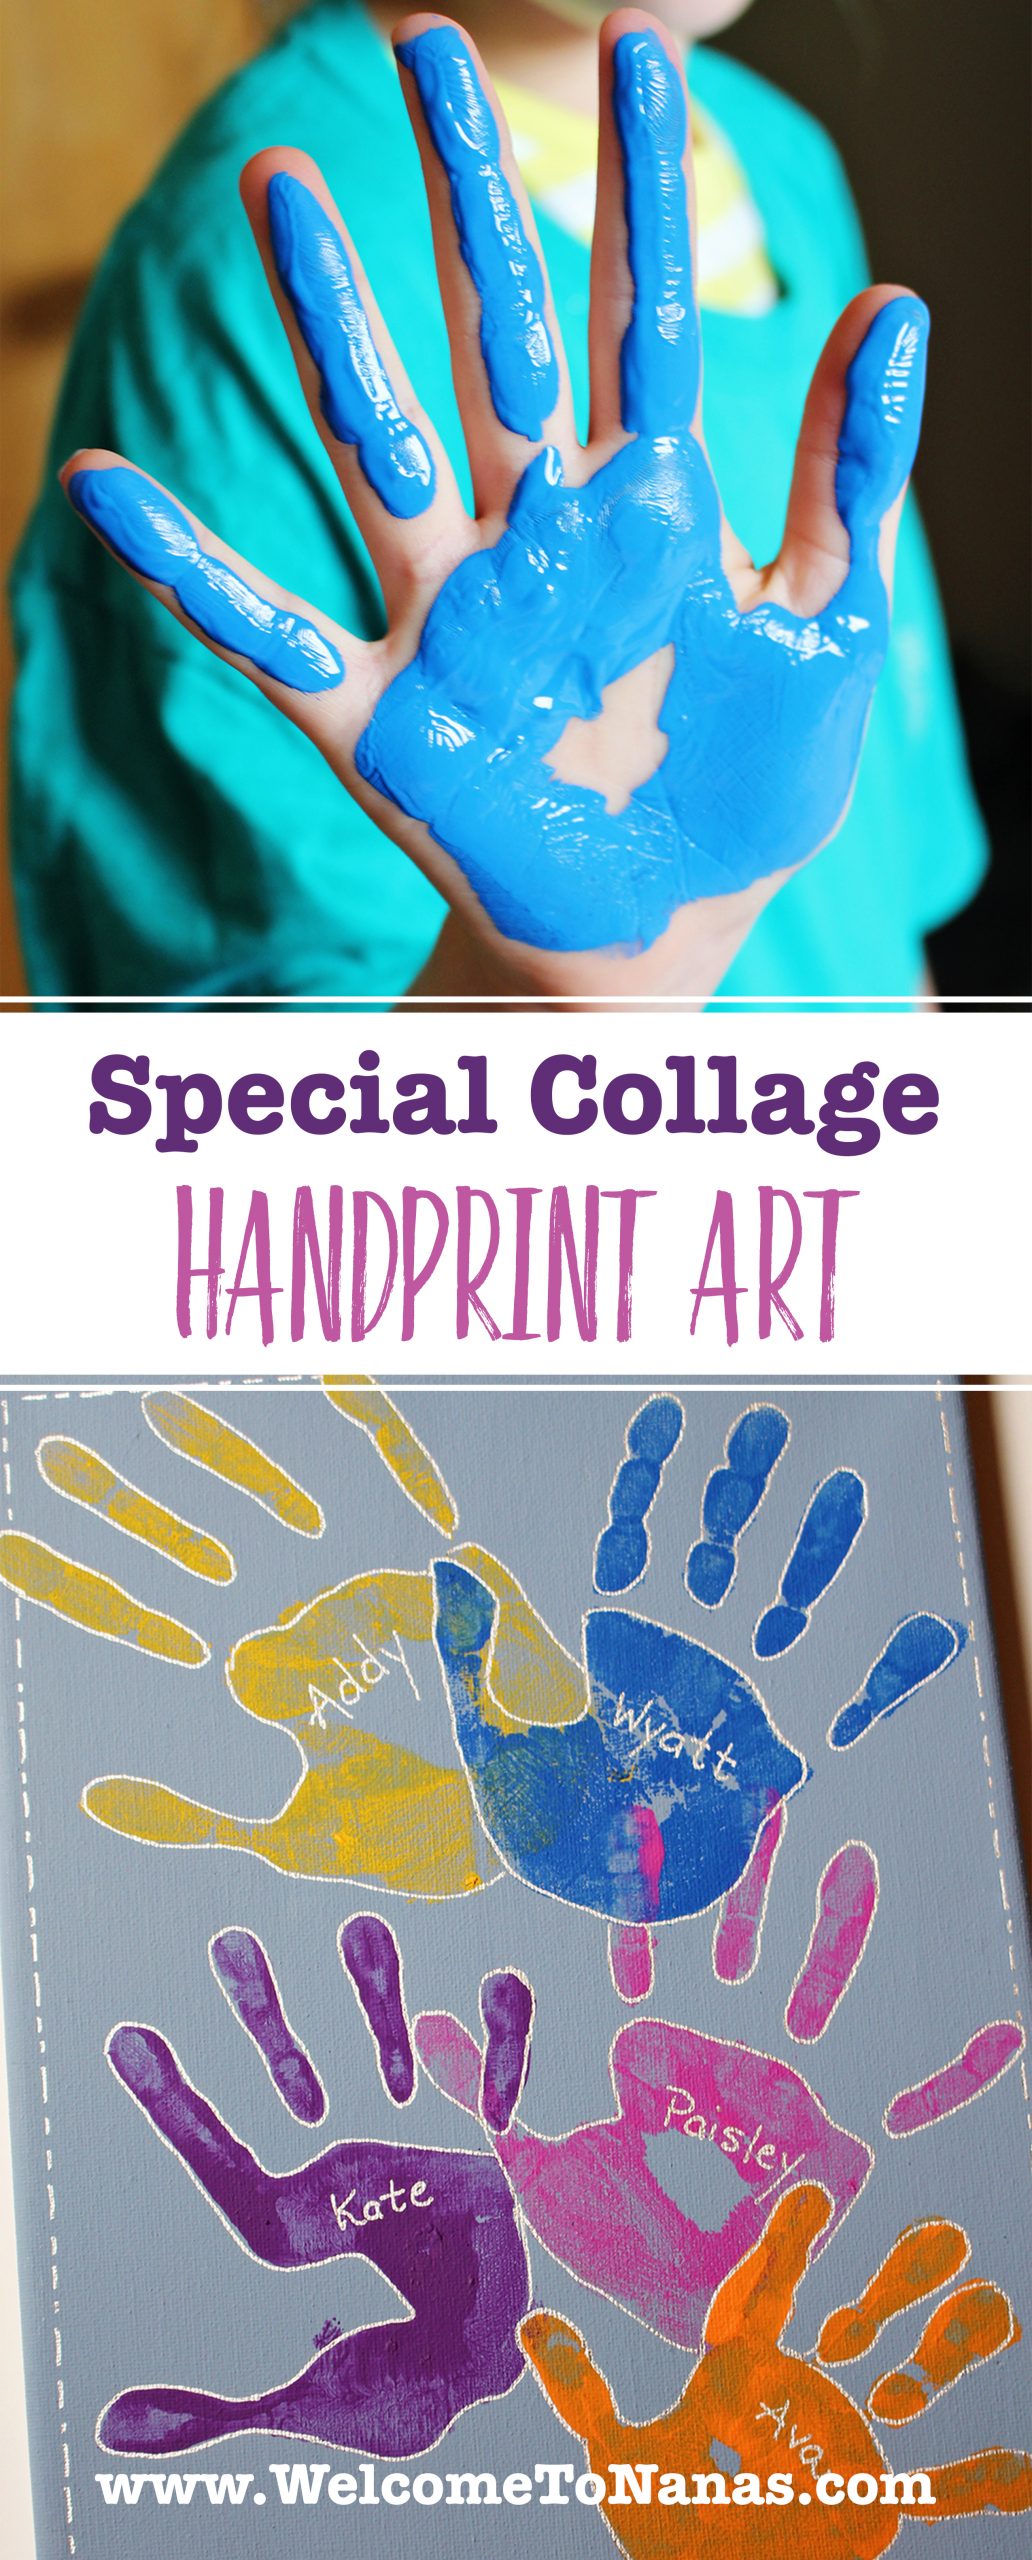
Special Collage Handprint Art made for an easy art project. It will warm your heart as you see the handprints and think of your grands! Plus, it’s a lot better to see their handprints on a canvas instead of on your walls or windows!
With 3 kids and 7 grandkids handprint art is a must. You'll appreciate the step-by-step directions to make this project happen.
This would be a perfect gift for Mother's Day, too!
You’ve heard of progressive suppers? Well this was a progressive art project! Papa and I brought along a canvas and some paints and added hand prints to the project as we stopped to visit each set of grands. Acrylic paints dry quickly so the project went right back in my craft bag at each stop. The final touches were finished at home.
Canvas size for handprint art
The size of your canvas will be determined by how many handprints will be on it! We have five grands so the 8x10 inch size (8 x 10 Inch Stretched Canvas Value Pack of 10![]() ) worked well. That filled it up though. A 9x13 inch or larger will be needed if there are more children or if the children are older and have larger handprints.
) worked well. That filled it up though. A 9x13 inch or larger will be needed if there are more children or if the children are older and have larger handprints.
How to Make This Handprint Painting
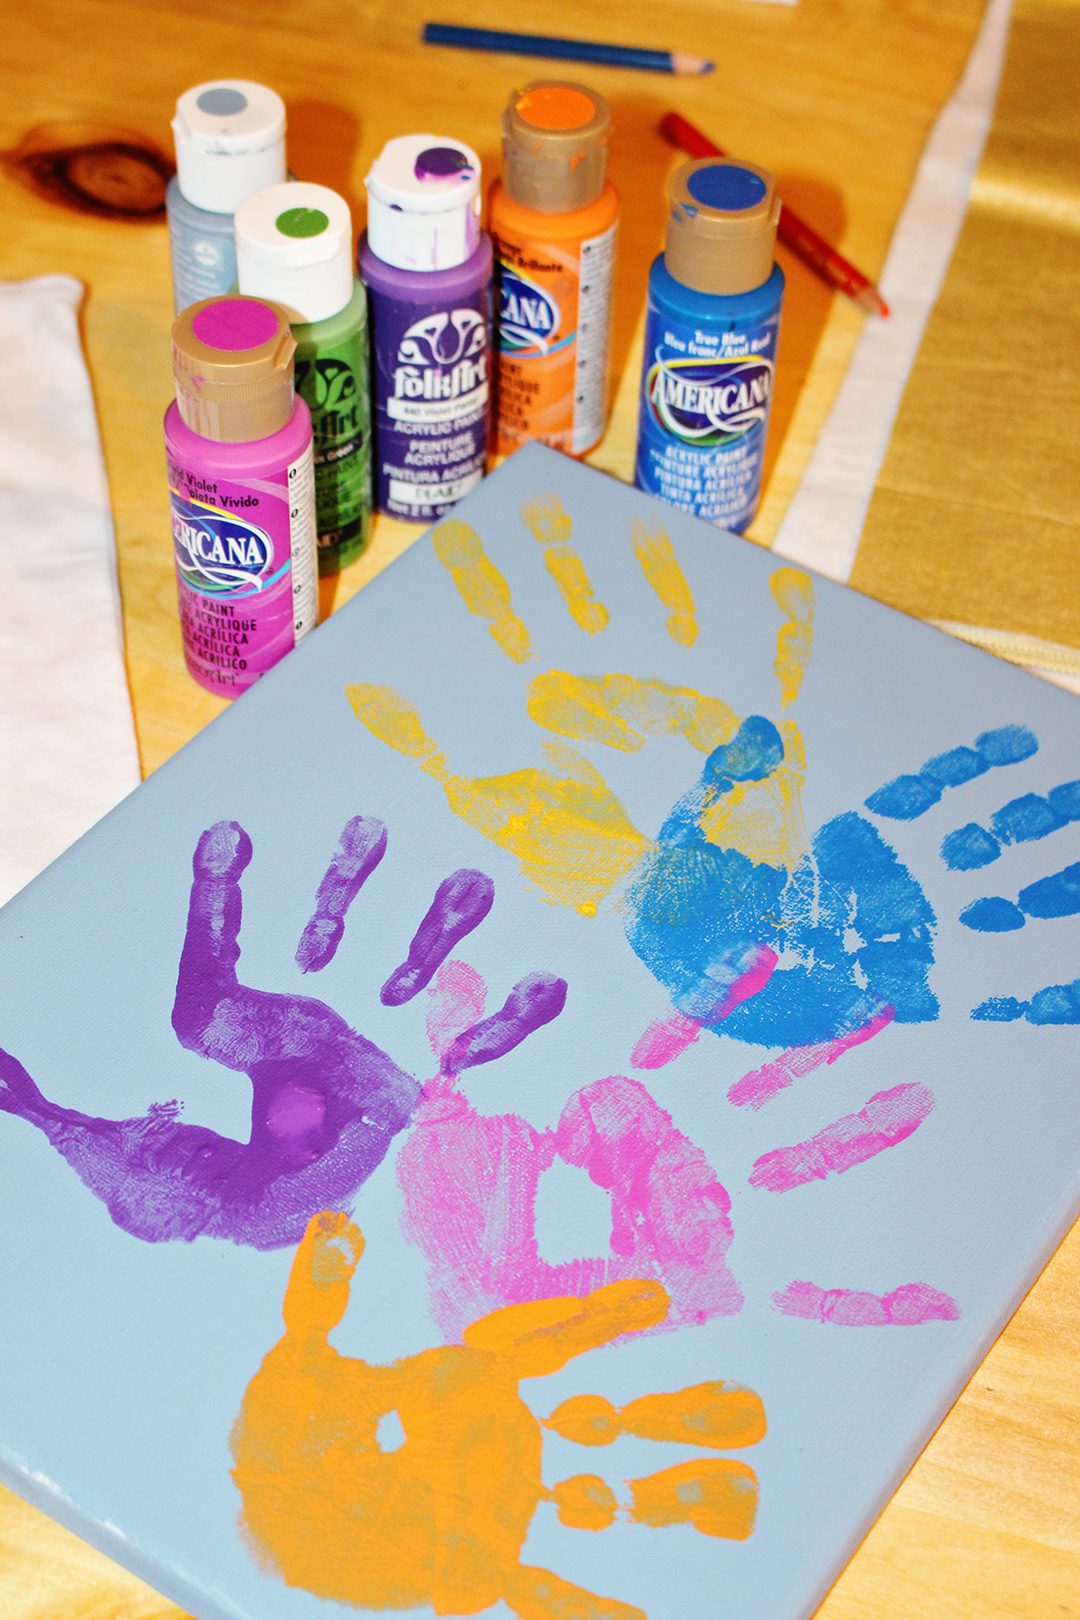
Paint the entire canvas a solid color of your choice. If I could do the Special Collage Handprint Art project to do over again, I would choose a lighter blue or a lighter gray color for the background. The blue I used was a too dark. Aren’t you glad I can make the goofs for you and save you the trouble?
Step 1: Grandkids Chose Handprint
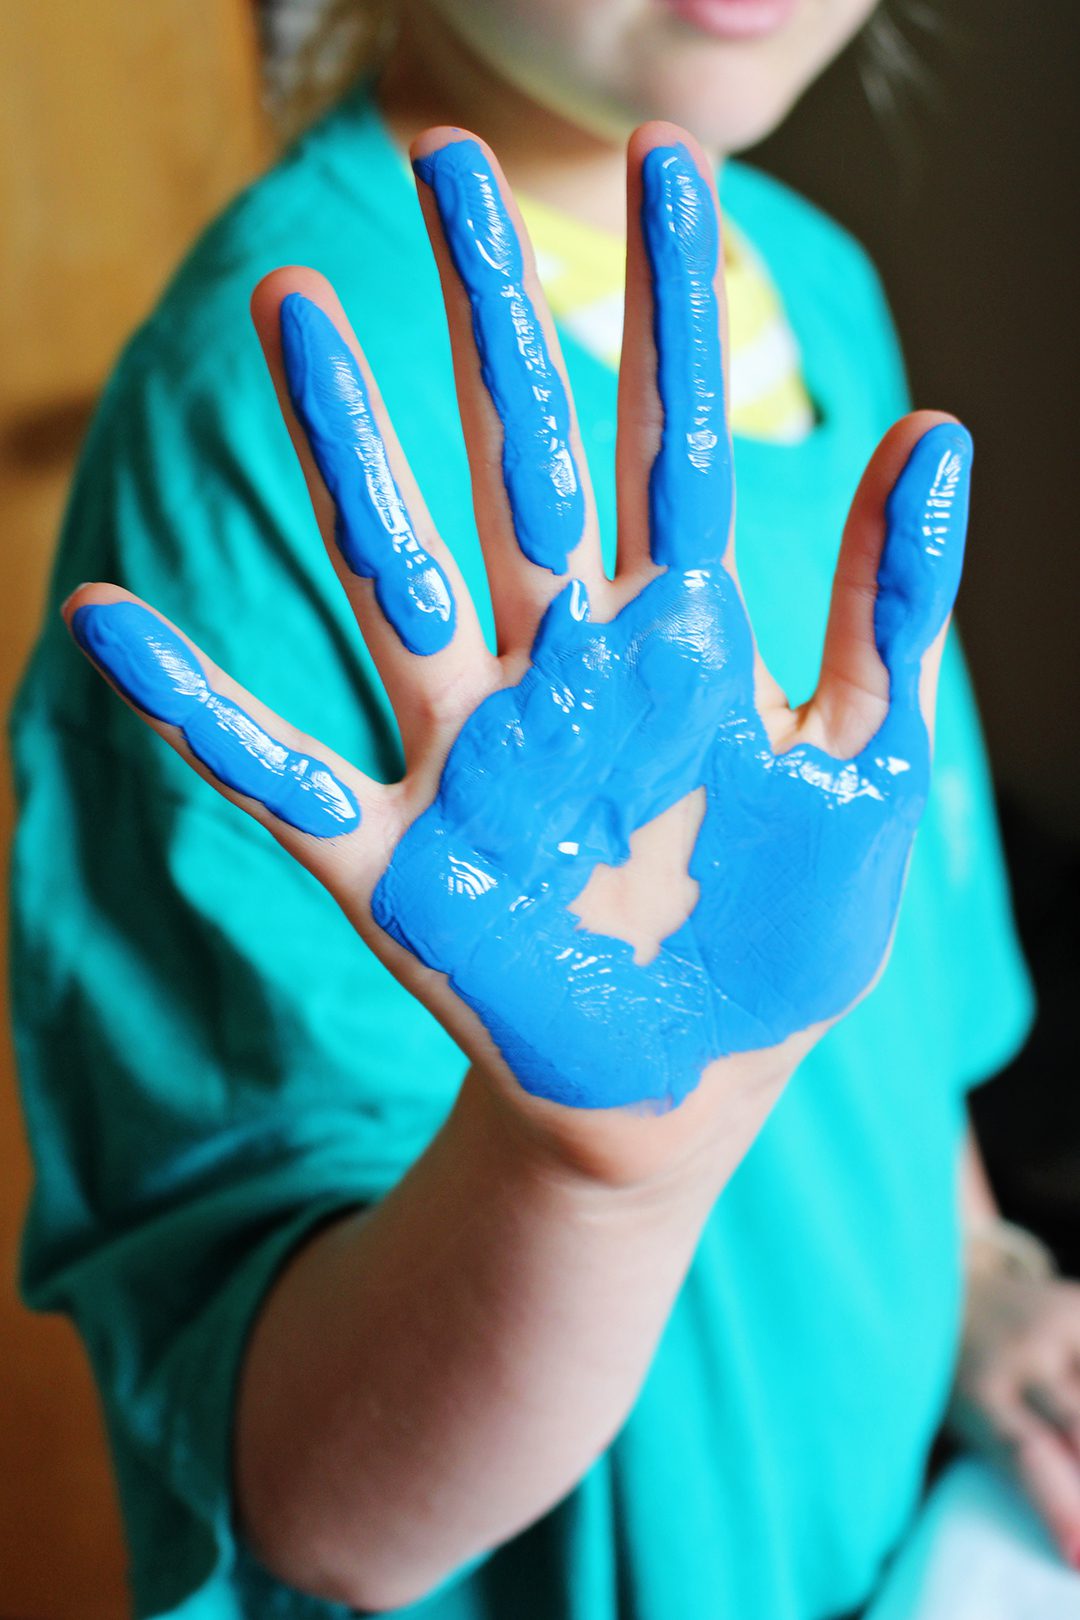
I brought a series of paint colors for the grands to choose from and let each choose a color for their handprint. Fortunately there wasn’t an argument over any particular color!
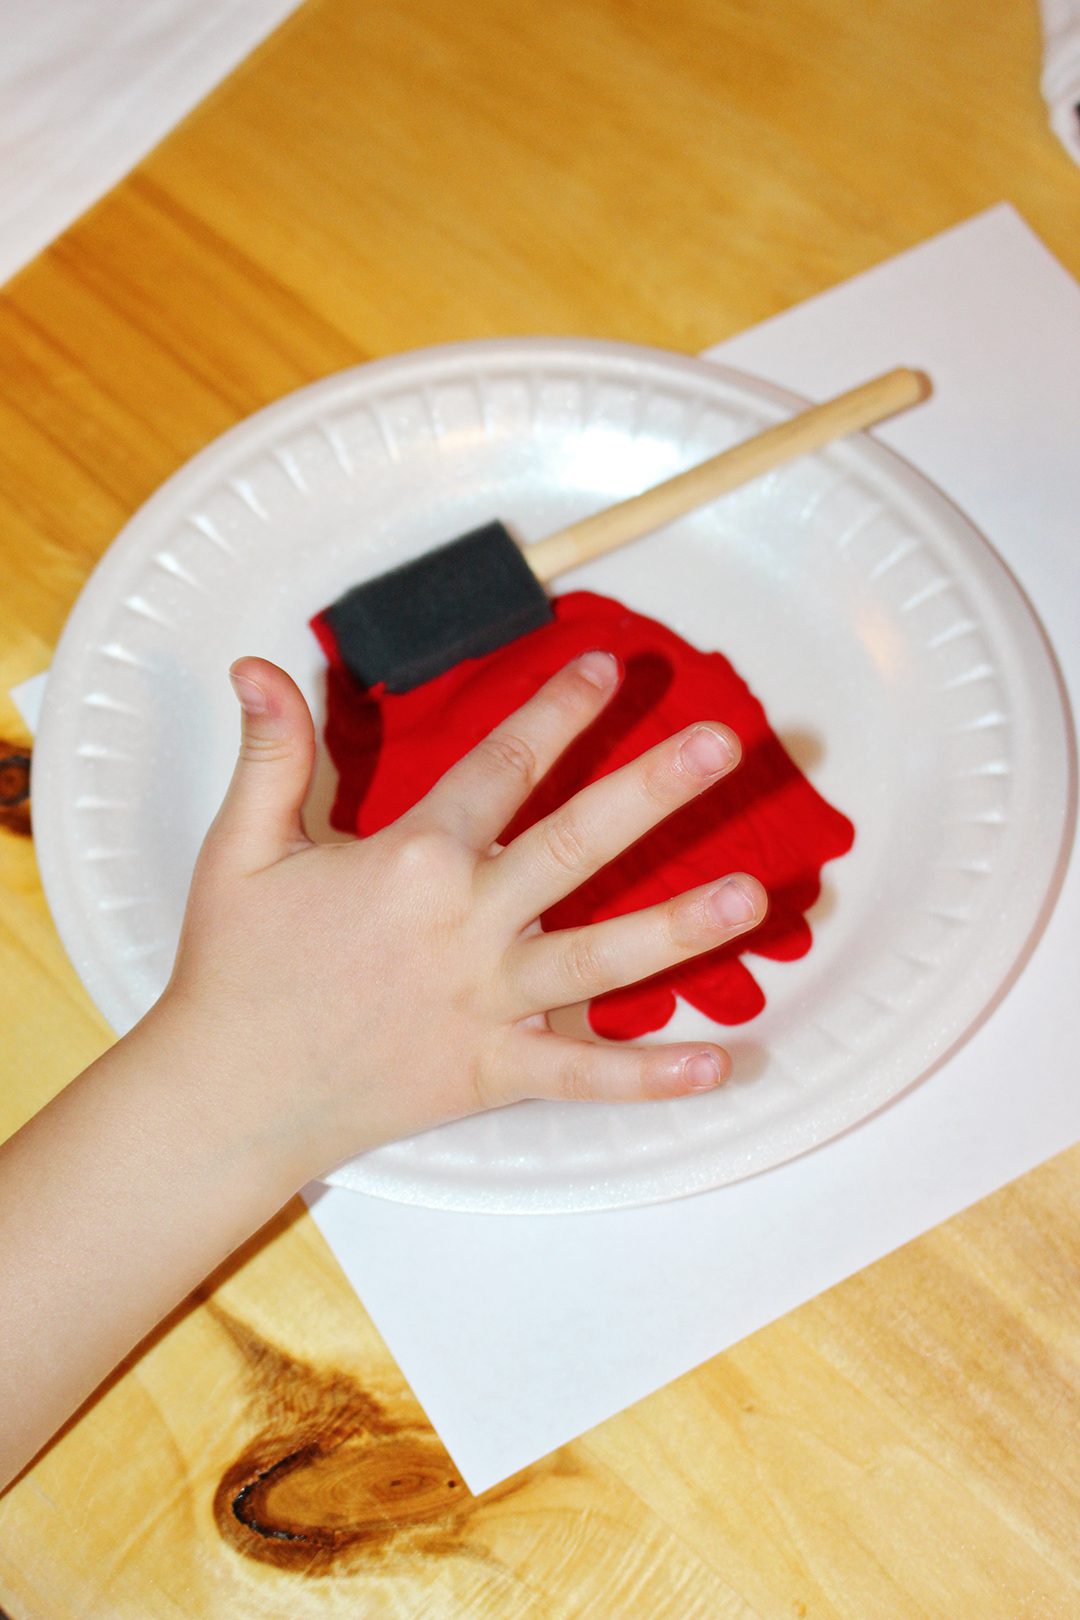
We squirted one color of paint at a time out on a paper plate. Use enough paint so you can spread the paint around on the plate in an area large enough for the child’s entire hand to fit. It may be a good idea to do a practice print on an extra piece of paper just to see if you are getting enough paint to make a good print.
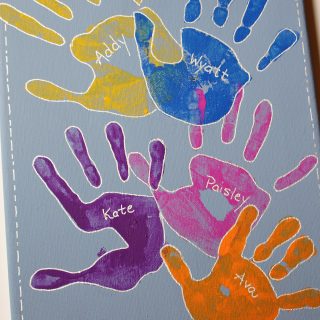
Step 2: Composition of Colorful Handprints
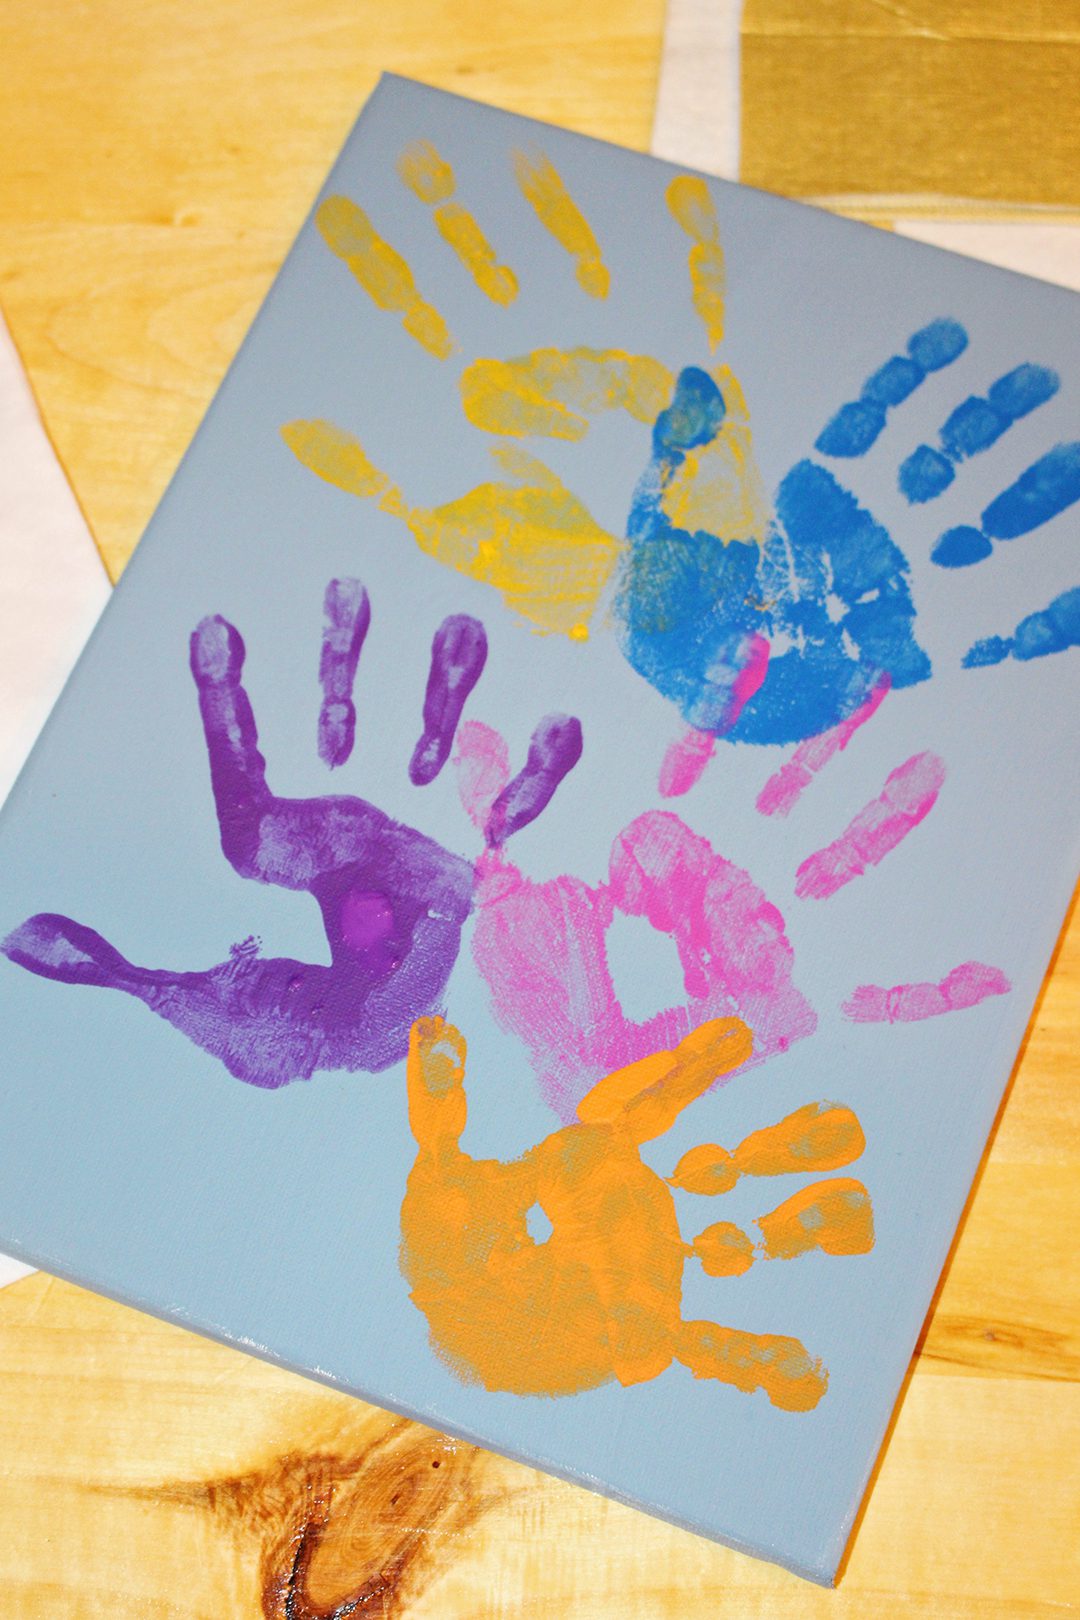
The kids went in an age order of oldest to youngest grand so that the largest handprints would be towards the back of the composition. In my progressive Special Collage Handprint Art project it was fortunate that our first stop was where the oldest grands lived. That was a happy accident, not because I thought of that before-hand. It would be easier if you did this project while all the grands are gathered in one place. But if that doesn’t work, use the progressive art project method! Ha!
Arrange the prints so that the first handprint is up towards the top of the canvas with fingers up into the corner. This will prevent the first handprint from being in the center and covered up by the handprints that are added later. It doesn’t take very long for acrylic paints to dry, so you only need to wait a few minutes between each handprint.
Step 3: Outline Handprints with Silver Marker
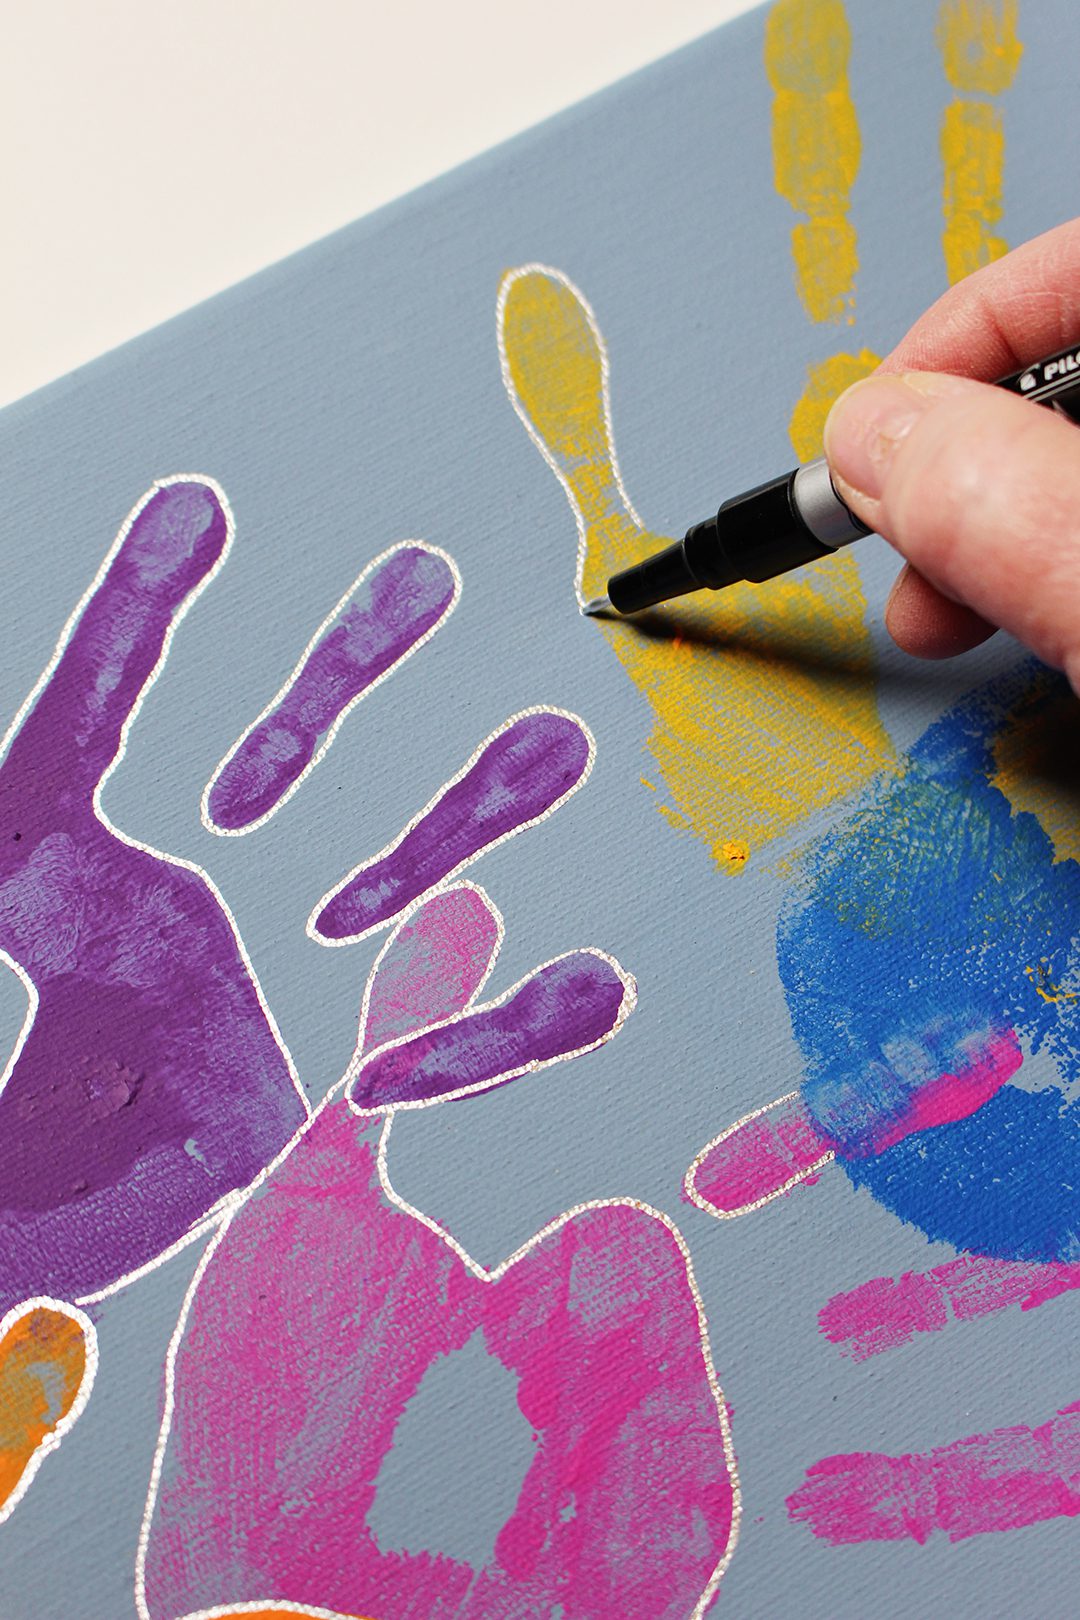
Now comes the fun part! I wanted the handprints to “papa”…I mean “pop” on the canvas. The plain painted prints seemed kind of dull. Let’s outline them with a silver marker.
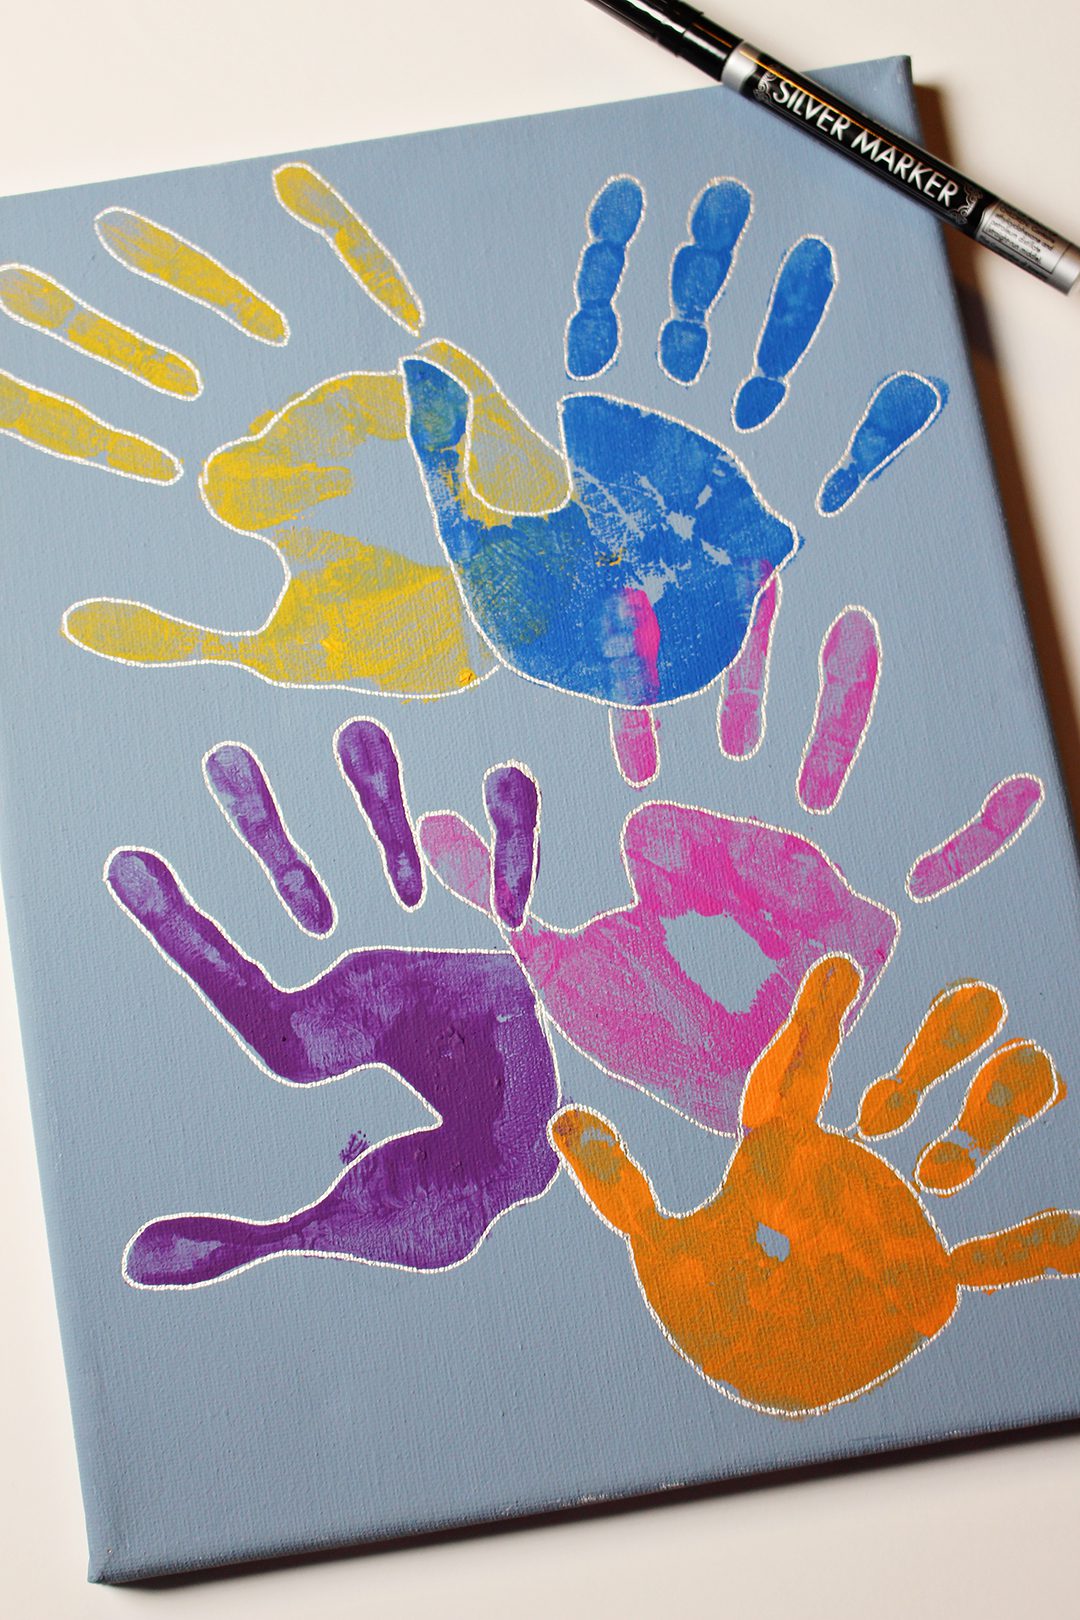
There were a lot of options for silver markers at the craft store. I settled for a Pilot Silver Marker (PILOT Markers, 1 Gold & 1 Silver![]() ). It came in a two pack with a gold marker too and I’m pretty excited to have them in my “stash”. It is a permanent marker that the package says will also work on plastic, glass, wood, coated paper and metal. It’s the type of marker that you shake, press gently on a piece of paper and then write. It worked really well on the canvas.
). It came in a two pack with a gold marker too and I’m pretty excited to have them in my “stash”. It is a permanent marker that the package says will also work on plastic, glass, wood, coated paper and metal. It’s the type of marker that you shake, press gently on a piece of paper and then write. It worked really well on the canvas.
I tried to make a smooth outline that followed the edge of the handprint fairly closely. The outline doesn’t have to be exact though, kind of ignore the little bumps and smudges that go this way or that.
A little dotted line around the edge of the canvas was added to give a bit more shine to the canvas and a visual boundary to the composition. You can use a Stainless Steel, 12" Metal Ruler![]() as a guide while you make this line if it is helpful to make it as straight as possible. Don’t make this line go over the handprints.
as a guide while you make this line if it is helpful to make it as straight as possible. Don’t make this line go over the handprints.
Step 4: Add Names to Handprint Art
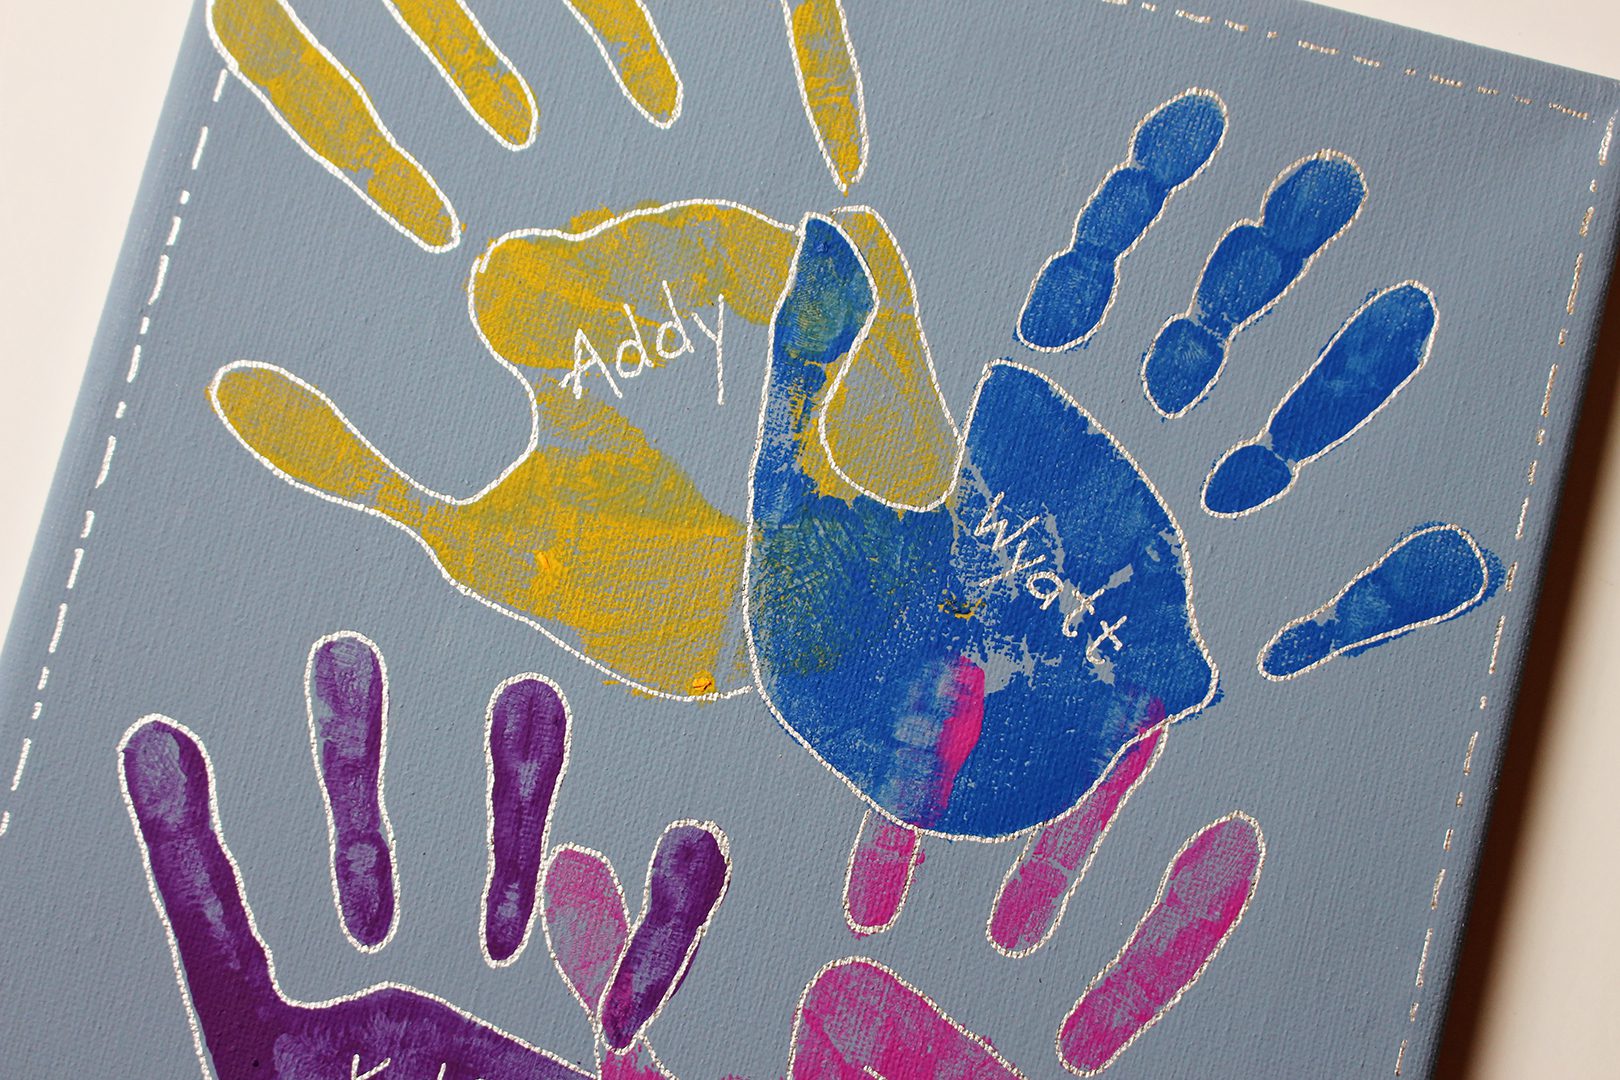
You can choose to write the name of each grand on their print if you like. I wanted to remember which print was made by which grand. They are growing so quickly that I may forget!
I didn’t think of this till now, but you could add the children’s ages and/or the date on the bottom of the canvas to remember when the Special Collage Handprint Art project was made. I think I’ll go back and do that on mine.

Window handprints or canvas handprints??
Aren’t kid’s handprints the cutest thing? I’ve been known to put off cleaning the windows on my French doors for weeks after the grands leave because I am nostalgic about their little messy prints on the glass! The Special Collage Handprint Art project is a much better keepsake than a dirty window!
With a new grand coming I'll have to add a tiny handprint to my collage in a few weeks. Can't wait to find out what name to write on that handprint!
Enjoy!
Welcome to Nana’s! Where there’s fun things to do with your “grand” kids!
Come join the fun at www.WelcomeToNanas.com
Colorful Handprints
Equipment
- White Uncoated Paper Plates, 9 Inch to use as pallets
- Stainless Steel, 12″ Metal Ruler, for edge lines (optional)
Items Required
- 1 8 x 10 Inch Stretched Canvas
- Acrylic paint- background color
- Acrylic paint- one color for each child’s handprint
- Silver marker (PILOT Markers, 1 Gold & 1 Silver)
Instructions
- Paint the entire canvas a solid color of your choice.
- Let each child choose a color for their handprint.
- Squirt one color of paint at a time out on a paper plate. Use enough paint so you can spread the paint around on the plate in an area large enough for the child’s entire hand to fit.
- Arrange the prints so that the first handprint is up towards the top of the canvas with fingers up into the corner. This will prevent the first handprint from being in the center and covered up by the handprints that are added later.
- It doesn’t take very long for acrylic paints to dry, so you only need to wait a few minutes between each handprint.
- Use a clean plate for the new color of paint for the second grand. The second print will be in the upper part of the canvas with the fingers into the other corner. It will partially overlap the first handprint.
- Repeat this process for each grand with a new color of paint. Move down the canvas with each handprint as shown.
- Draw a smooth outline with a permanent marker that follows the edge of the handprints fairly closely.
- Add any more decorations that you'd like, such as a dotted line around the edge of the canvas. You can use a ruler to keep the line straight as you draw.
- You can choose to write the name of each grand on their print if you like, as well as add the children’s ages and/or the date on the bottom of the canvas to remember when the Special Collage Handprint Art project was made.


Leave a Reply