Let's "Build" a Snowman!
A friend gave me a gift a couple years ago. A fun and silly sock snowman made out of a...you guessed it, a sock! I tucked the idea in my head to try with the grands as it was simple and perfect for a winter day craft.
The white sock is cut in half, or cut on the heel (if it is a sock with a heel!). The toe part will be used to create the body and the cuff part will be used to make a hat for the silly sock snowman. Don't throw anything away!
Tip: I used women's white socks and needed to use the toe sections from both socks for one snowman, one inside the other, to make it thick enough. That wouldn't be necessary with a thicker sports sock.
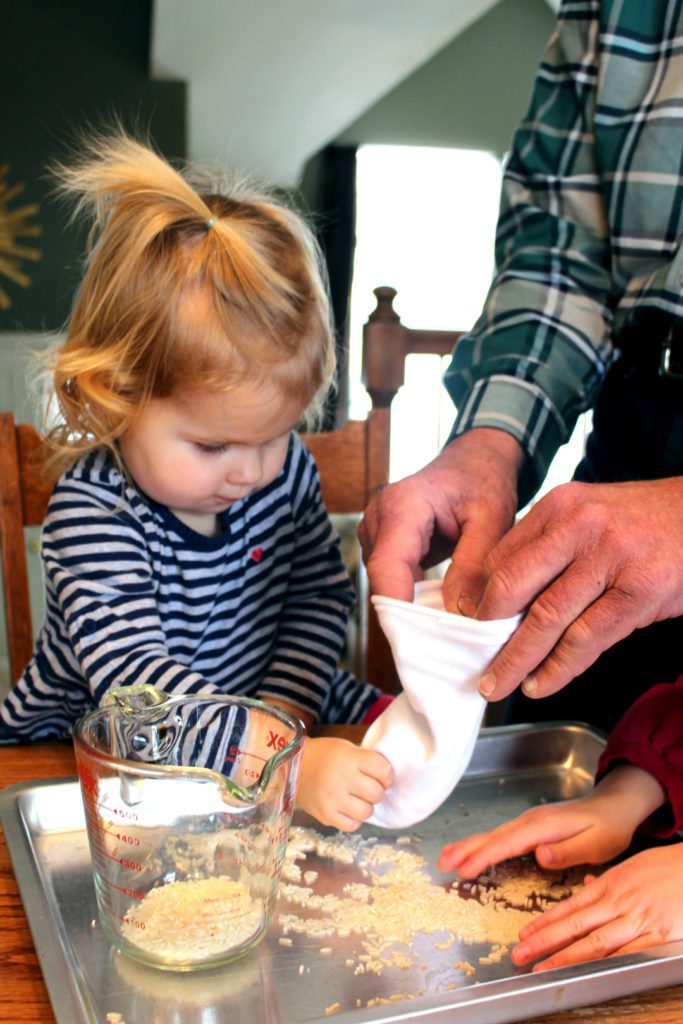
Fill with Rice
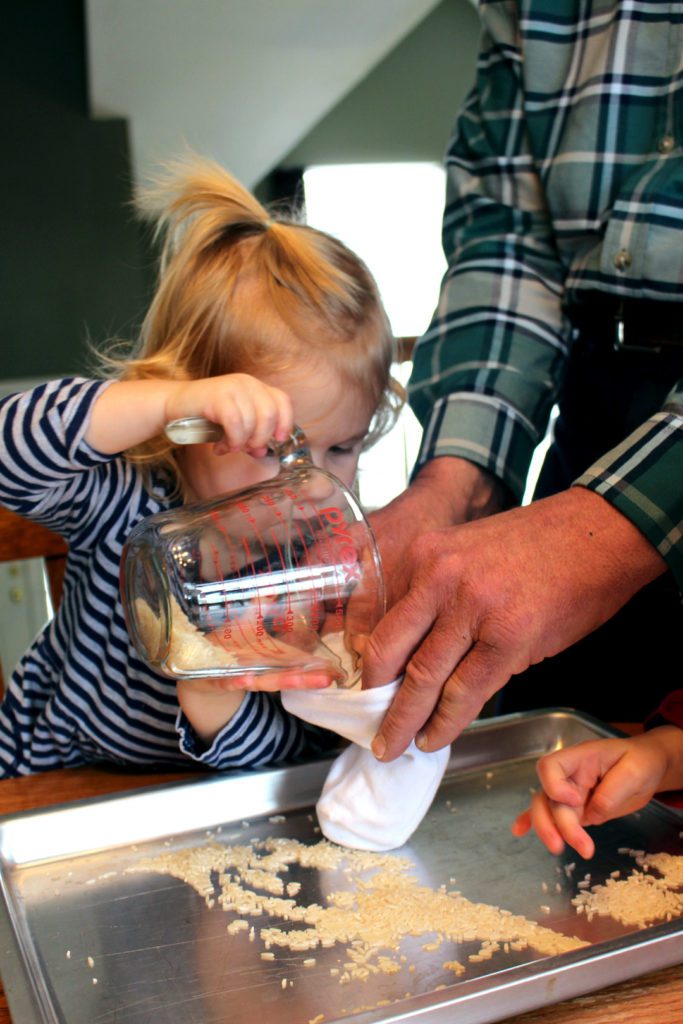
Fill the toe of the sock with rice until it is the desired size. This took a lot more rice then I was expecting, approximately a pound for the socks I was using. You can hold the sock while the grandchild fills it with rice.
Tip- Do this over a sheet cake pan so the rice doesn't go everywhere! Use a funnel, roll a piece of paper into a funnel shape or put the end of the sock over a masking tape roll to hold it open while filling. We also tried letting the littlest grand use a measuring cup to pour the rice. It still spilled. Even that was fun since it went in the pan!
No Double Chin
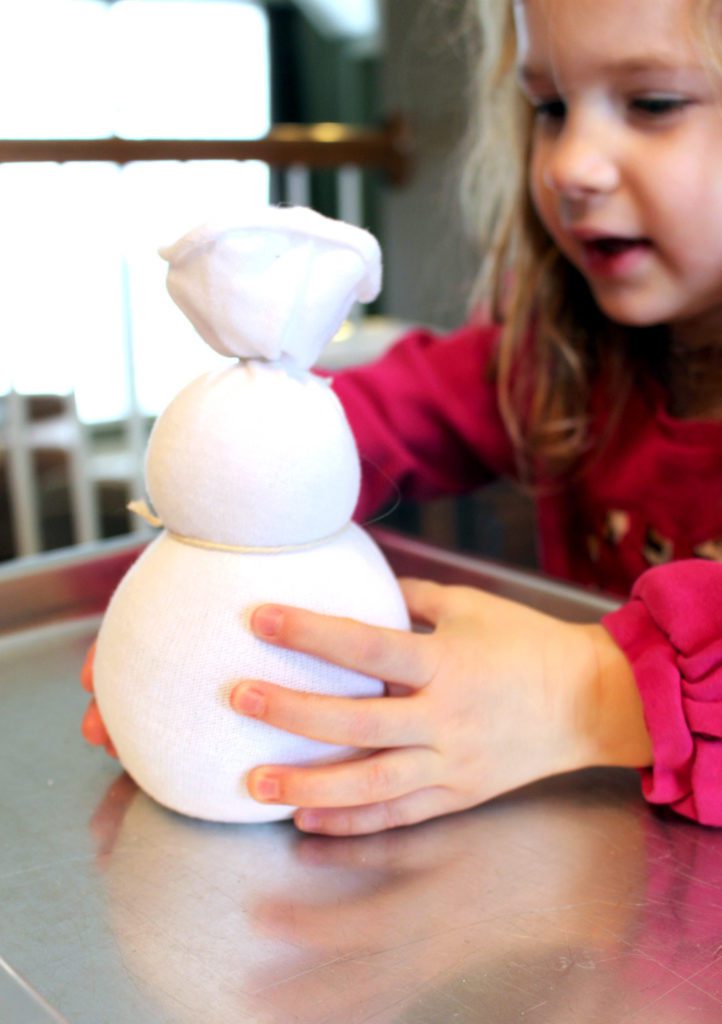
Use the rubber band or tightly tie string to close the top of the sock after filling.
Make a "neck" by putting a rubber band or tying string around the appropriate area.
Tip- Don't tie the neck off too tightly, you just want an indention for the neck to give the appearance of a snowball head.
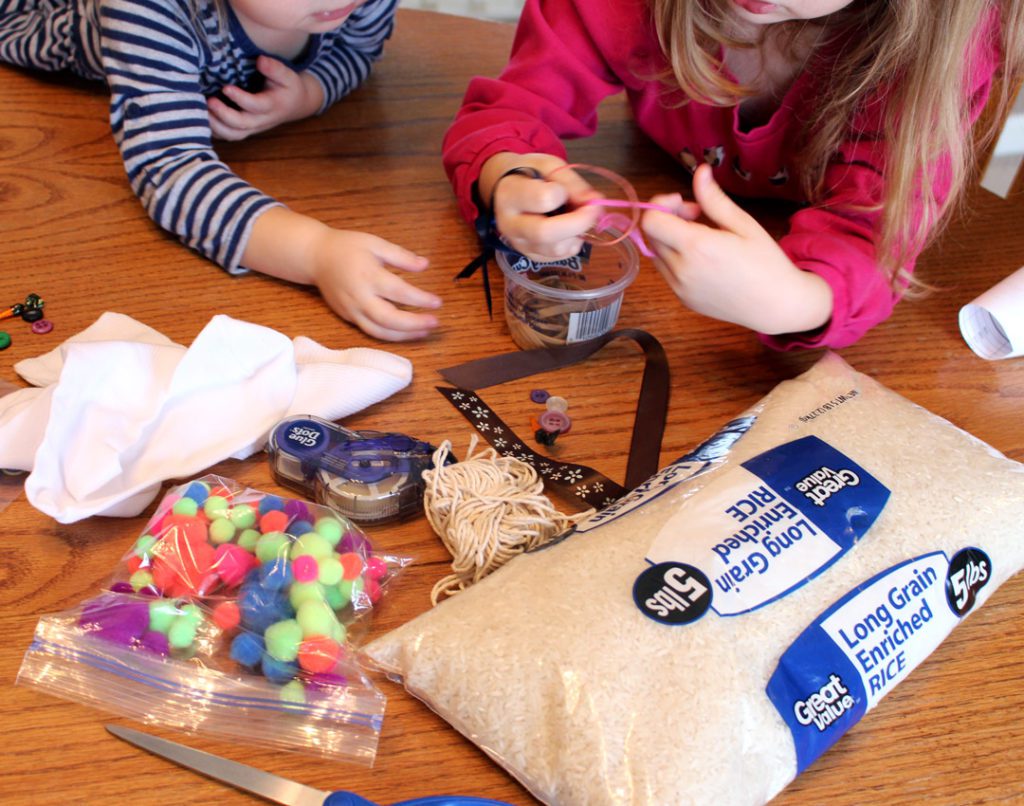
Dressing Your Silly Sock Snowman
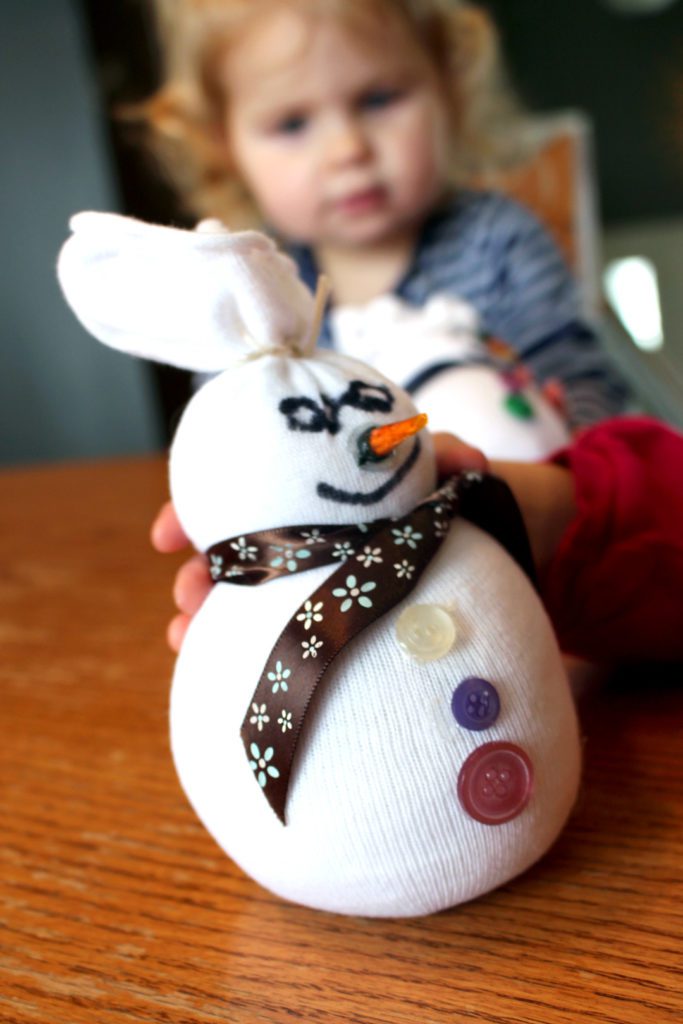
Let the grands choose how to dress their snowman. Use a ribbon or cut a fabric scrap to tie around the neck for a scarf. Use a bit of hot glue or glue dots to hold it in place if desired. Hot glue is dangerous, be careful around the grands! You may prefer trying the glue dots instead. I'm looking for suggestions on what glue would stick things to fabric and still be safe for little ones.
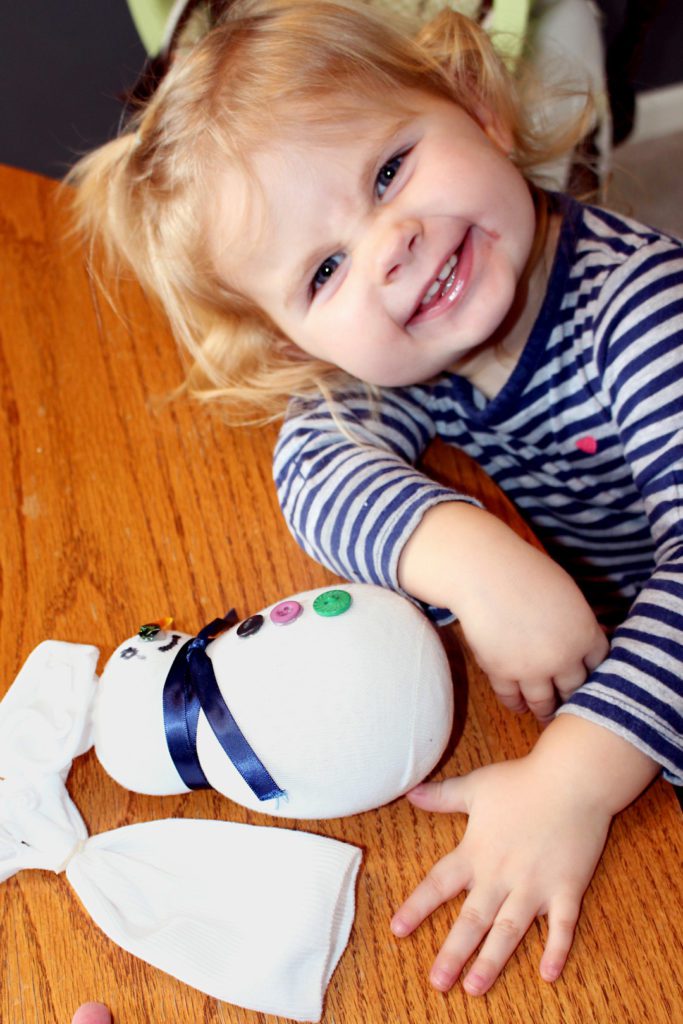
Glue three buttons down the front of the silly snowman belly and remember, they don't have to match!
Now for the hat.
Tie a rubber band around the remaining part of the sock, about half way down between the cut end and the cuff. Roll the cuff part of the sock a couple times and pull it down onto the head of the silly sock snowman. You may want to use a bit of glue to hold it in place.
Cut the top part of the hat to look like it is fringe and let it flop over to the side. Isn't it cute?
Tip: You can use a colored sock for the hat if you prefer. That's a great way to use those unmatched socks that always show up in the laundry!
Add Some Personality!
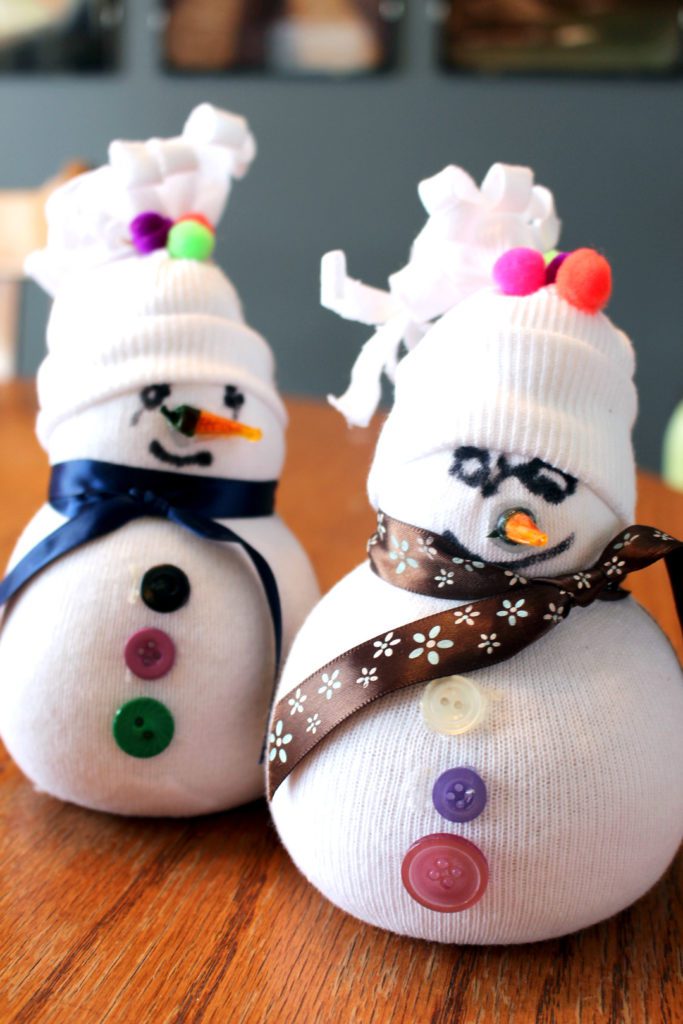
A snowman needs a face of course! Cut a small triangle out of orange felt or use an orange marker or paint for a triangle nose in the middle of the face. I happened to have a couple carrot shaped do-dads in my sewing stash. I have no idea where they came from but we used them up.
Add a couple eyes and a mouth with a black marker or paint. Have some fun. What expression will your silly sock snowman have?
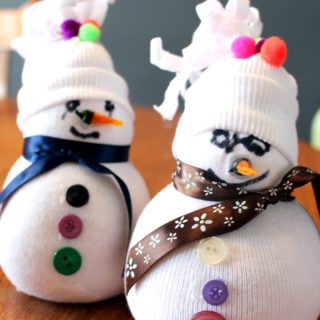
Add some pom-poms, more ribbon, pink cheeks, a mustache or anything else that strikes your fancy.
Why not make a whole family of silly sock snowmen?
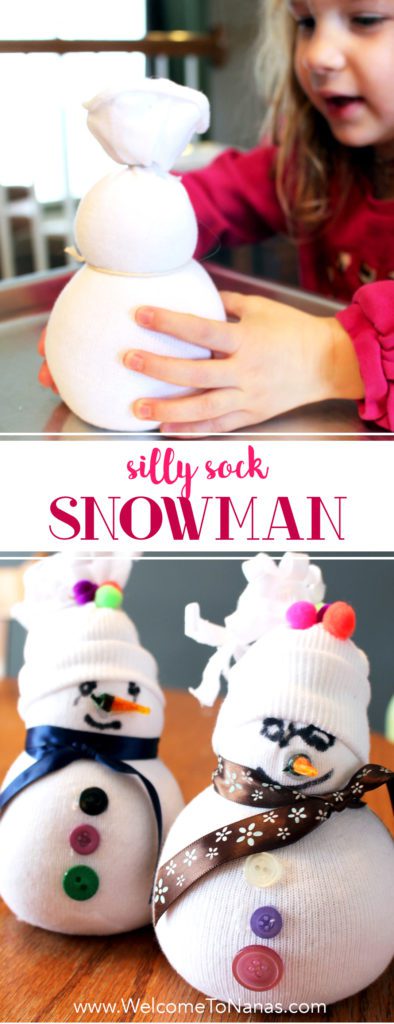
Silly Sock Snowman
Equipment
- Scissors
Items Required
- 1 White sock
- 2 lbs Rice
- 1 Colored sock for the hat (optional)
- 2 Rubber bands or white string
- Ribbon or fabric scraps for scarf
- 3 Buttons (don't need to match)
- Black marker or paint (for eyes)
- Orange felt, marker or paint (for nose)
- Extra items to personalize (optional)
- Hot glue gun or glue dots
Instructions
- Cut the sock in half or cut on the heel.
- Fill the toe of the sock with rice until it is the desired size.
- Use the rubber band or tightly tie string to close the top of the sock after filling.
- Make a “neck” by putting a rubber band or tying string around the appropriate area.
- Use a ribbon or cut a fabric scrap to tie around the neck for a scarf.
- Glue three buttons down the front of the silly snowman belly.
- Tie a rubber band around the second ½ of the sock, about half way down between the cut end and the cuff.
- Roll the cuff part of the sock a couple times and pull it down onto the head of the silly sock snowman.
- Cut the top part of the hat to look like it is fringe and let it flop over to the side.
- Cut a small triangle out of orange felt or use an orange marker or paint for a triangle nose in the middle of the face.
- Add a couple eyes and a mouth with a black marker or paint. Have some fun!
- Add some pom-poms, more ribbon, pink cheeks, a mustache or anything else that strikes your fancy.
- Why not make a whole family of silly sock snowmen?
Enjoy!
Welcome to Nana’s! Where there’s fun things to do with your “grand” kids!
Come join the fun at www.WelcomeToNanas.com


Leave a Reply