Rainbow T-Shirts, Oh, my!
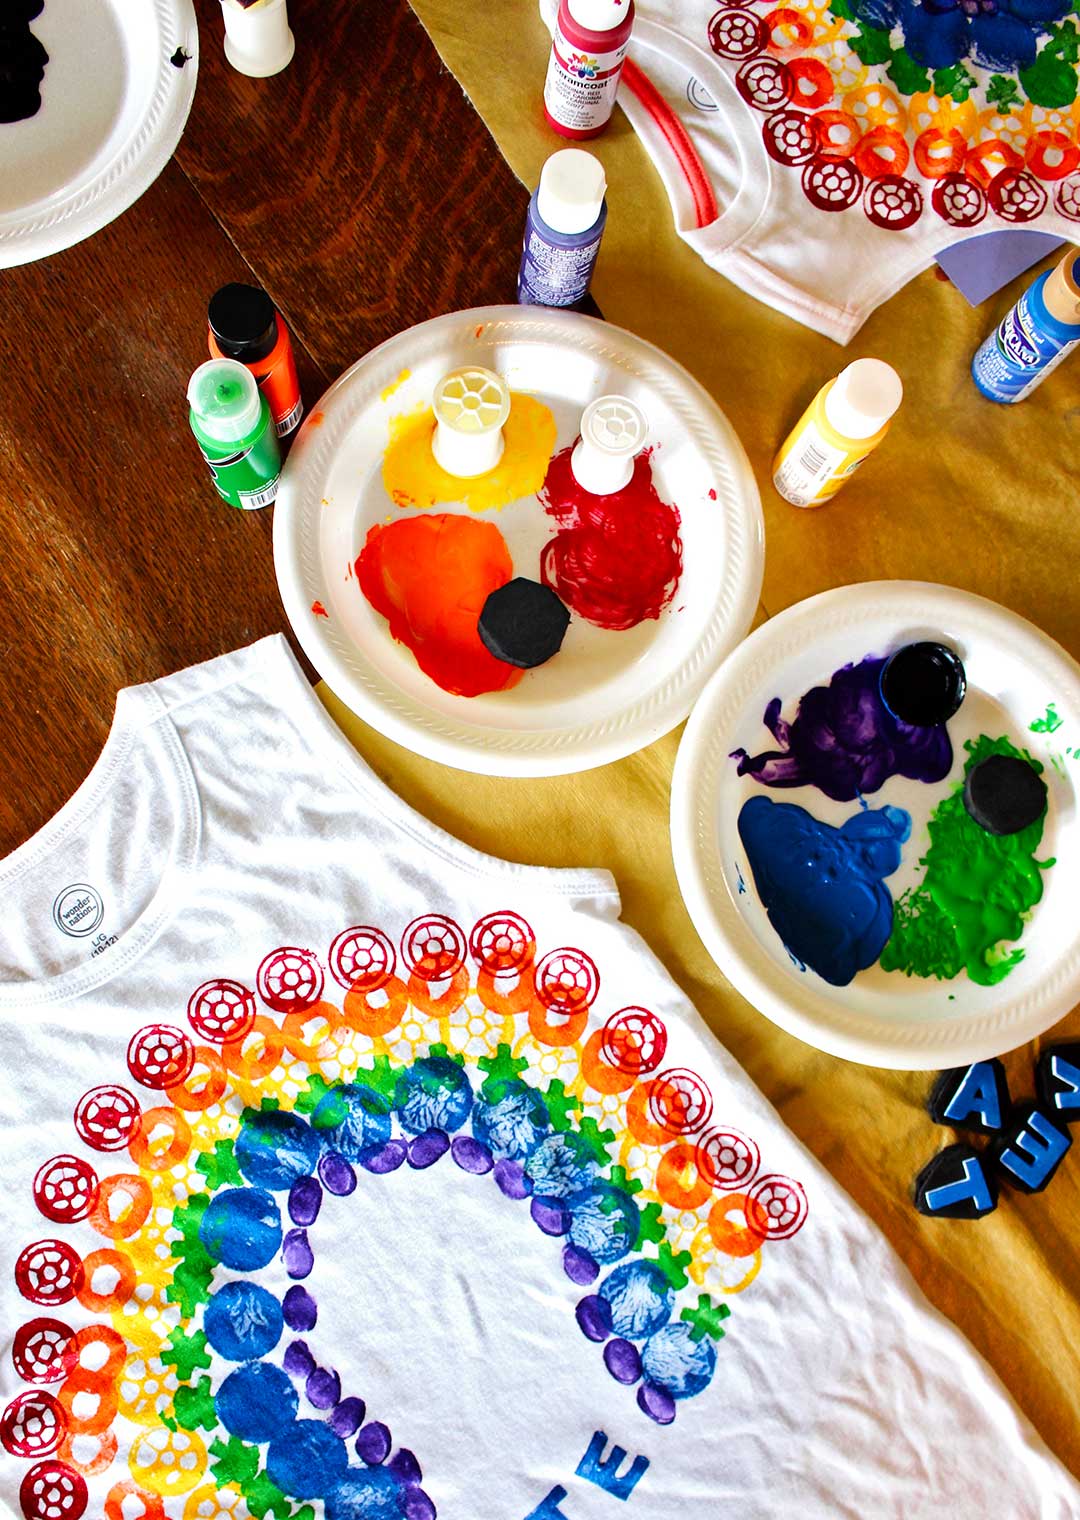
Oh my, the Rainbow T-Shirt DIY for Kids was so much fun with the grands. We found objects in Nana’s “stash” of craft stuff and found objects around the house that could work to use as stamps on our rainbow t-shirts.
Watch the video for making a rainbow t-shirt if you prefer!
DIY t-shirt stamp
Trying out objects to use as stamps and finding shapes to print that we liked was part of the fun of the project! We used the end of an empty plastic thread spool for the red and yellow colors, the letter “o” and the asterisk from some foam stamps I have for orange and green, the lid from a milk jug for blue and thumb prints for purple.
Later I thought about dots made from an eraser or the end of a marker, and legos as options. But you are so creative, you will think of things I never imagined using. Share your ideas for others to try!
Homemade printed shirts
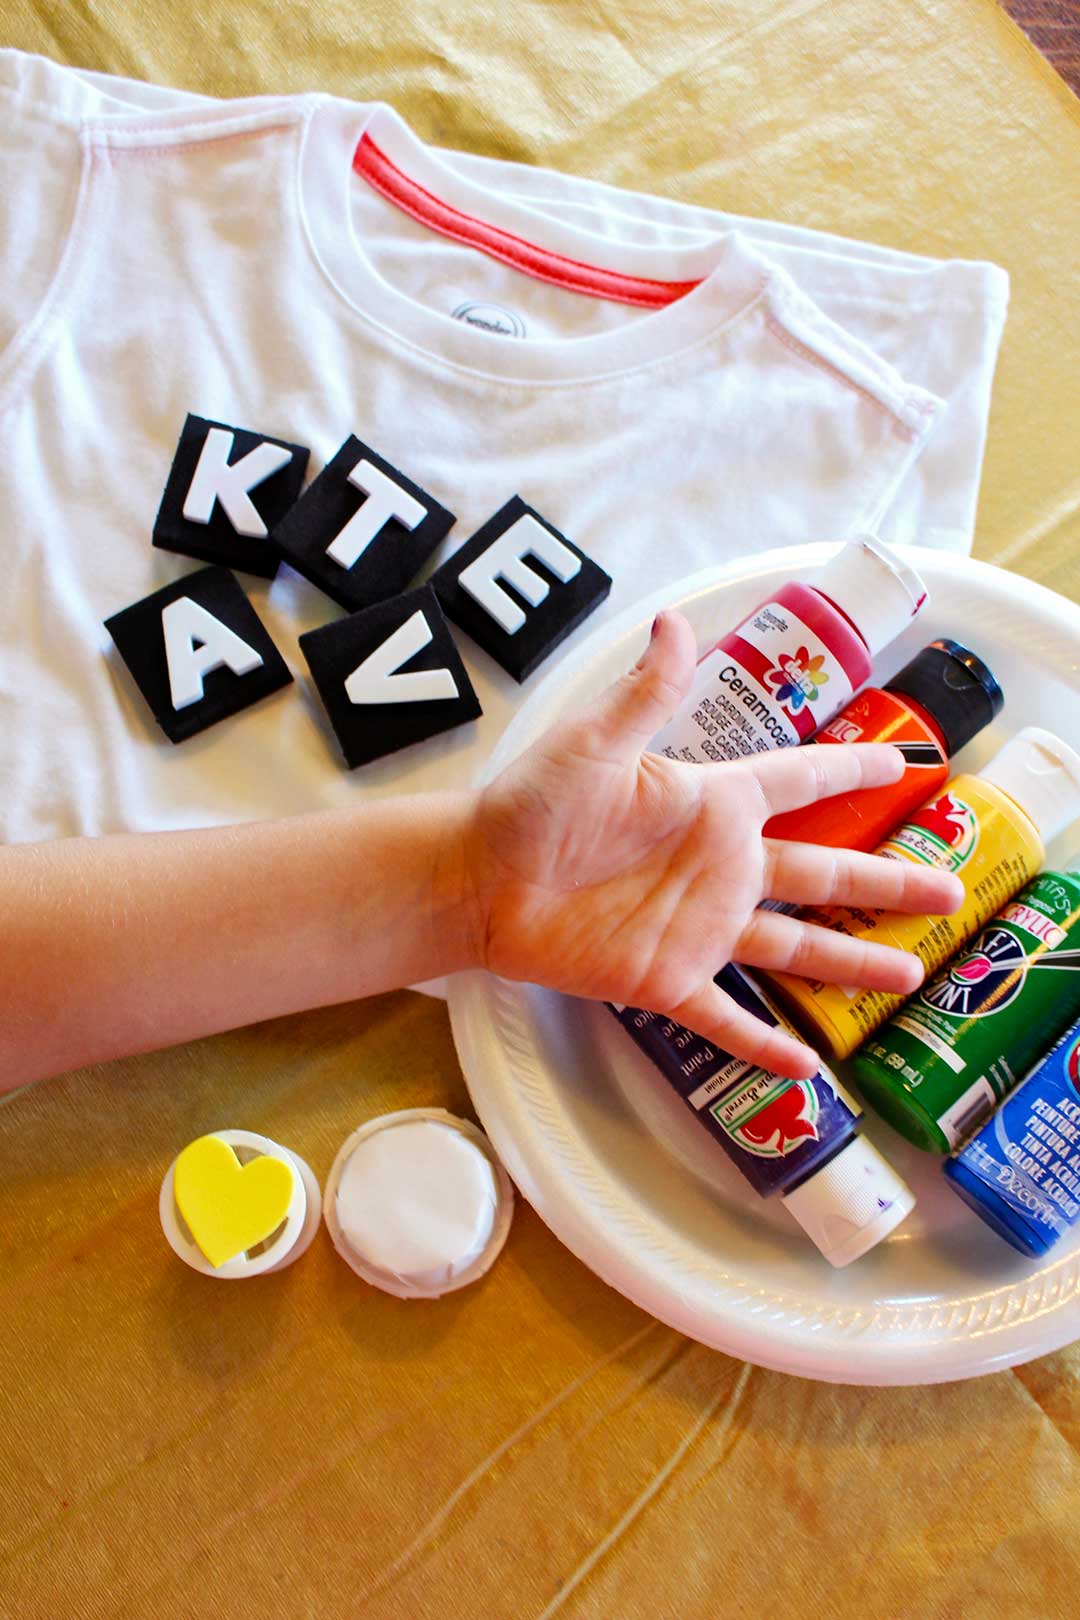
Of course, you will need a t-shirt in the correct size for each grand that will be doing this project with you. There are inexpensive white t-shirts at discount stores. And…pick up one for yourself while you’re at it, you will thank me later.
I chose white but the t-shirts could be in any light color that allows the paint design to show up (like pastel colors).
Wash and dry the t-shirt before painting to remove any finishes that may interfere with the paint adhering to the fabric.
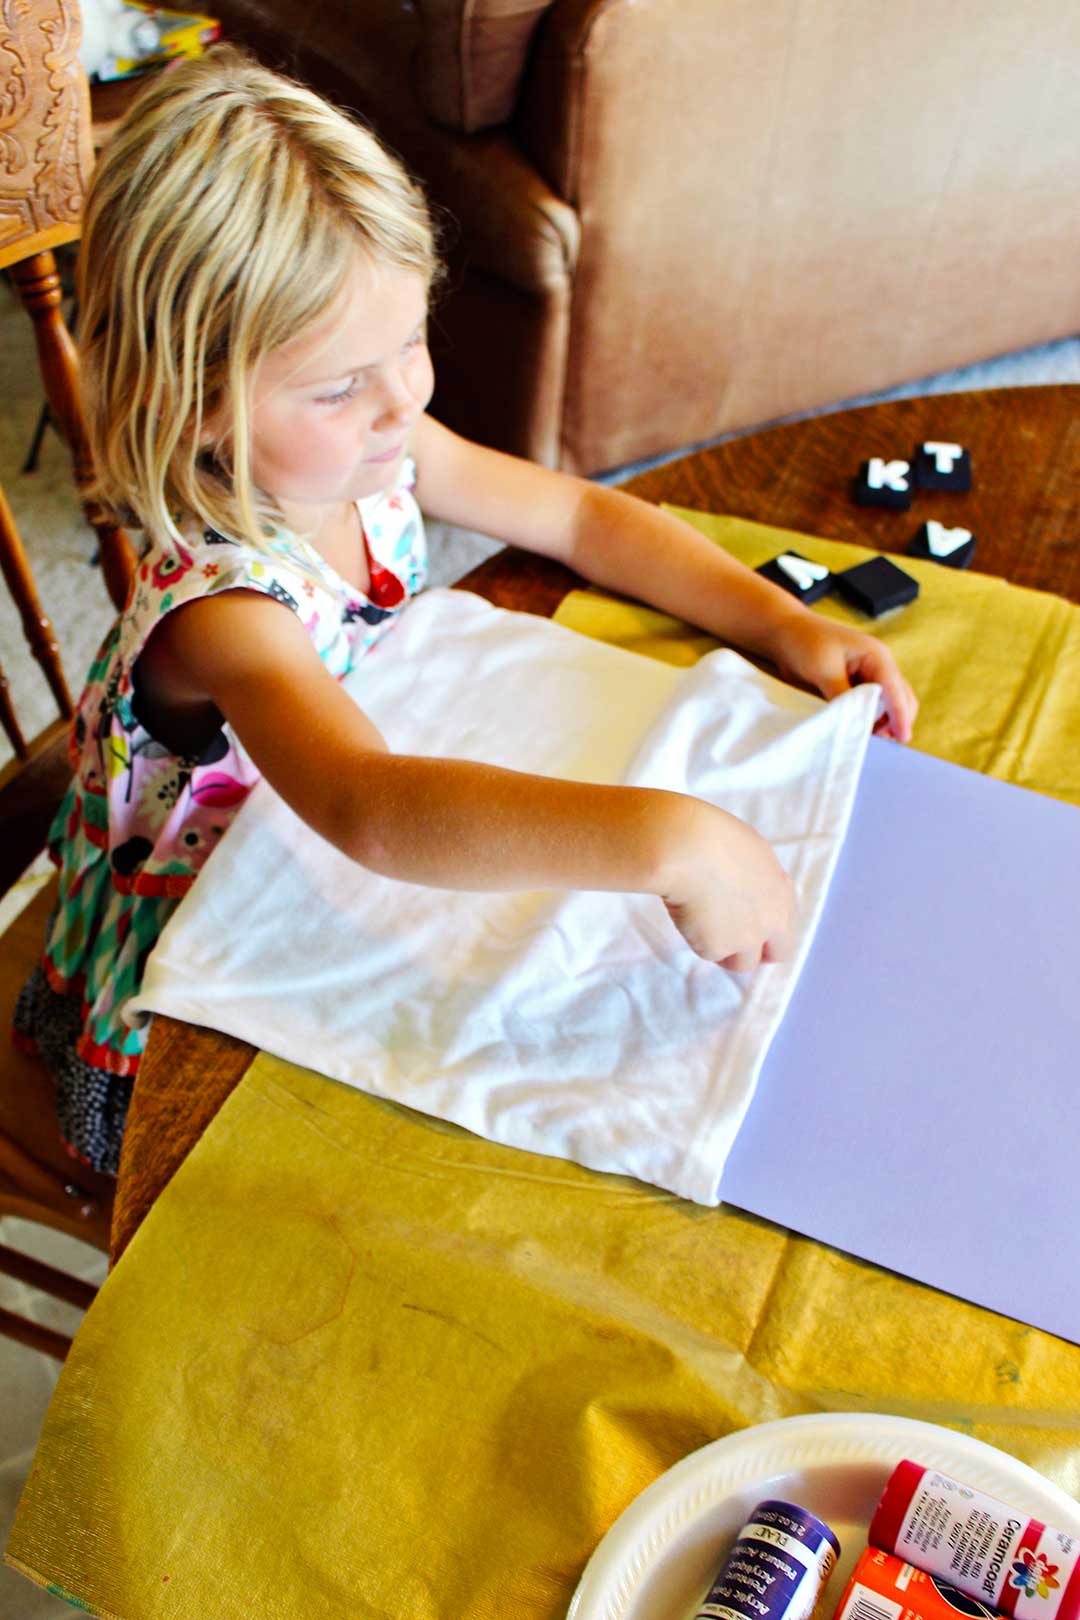
Slip a piece of carboard inside the shirt so that the paint doesn’t soak through to the back of the shirt.
Tip: You could open up an old cereal box and cut it to about the right size. Even several layers of newspaper would work if needed.
It's always a good idea to cover your work surface with paper or a vinyl tablecloth. Paint shirts or craft aprons are a good idea too!
How do you paint a rainbow on a shirt?
Explain to the kids that you will start with the largest arch of the rainbow first. It may help if you have them draw a light arch in pencil to help guide their stamping. You could do this for the younger children. It’s important that this arch is as large as possible to give room for the additional arches of color that will be made inside of this one.
We printed our arches in the traditional rainbow order of red, orange, yellow, green, blue and then purple. But you can let the grands do whatever they would like. It does look nice to make each arch the same color all the way from one end to the other though.
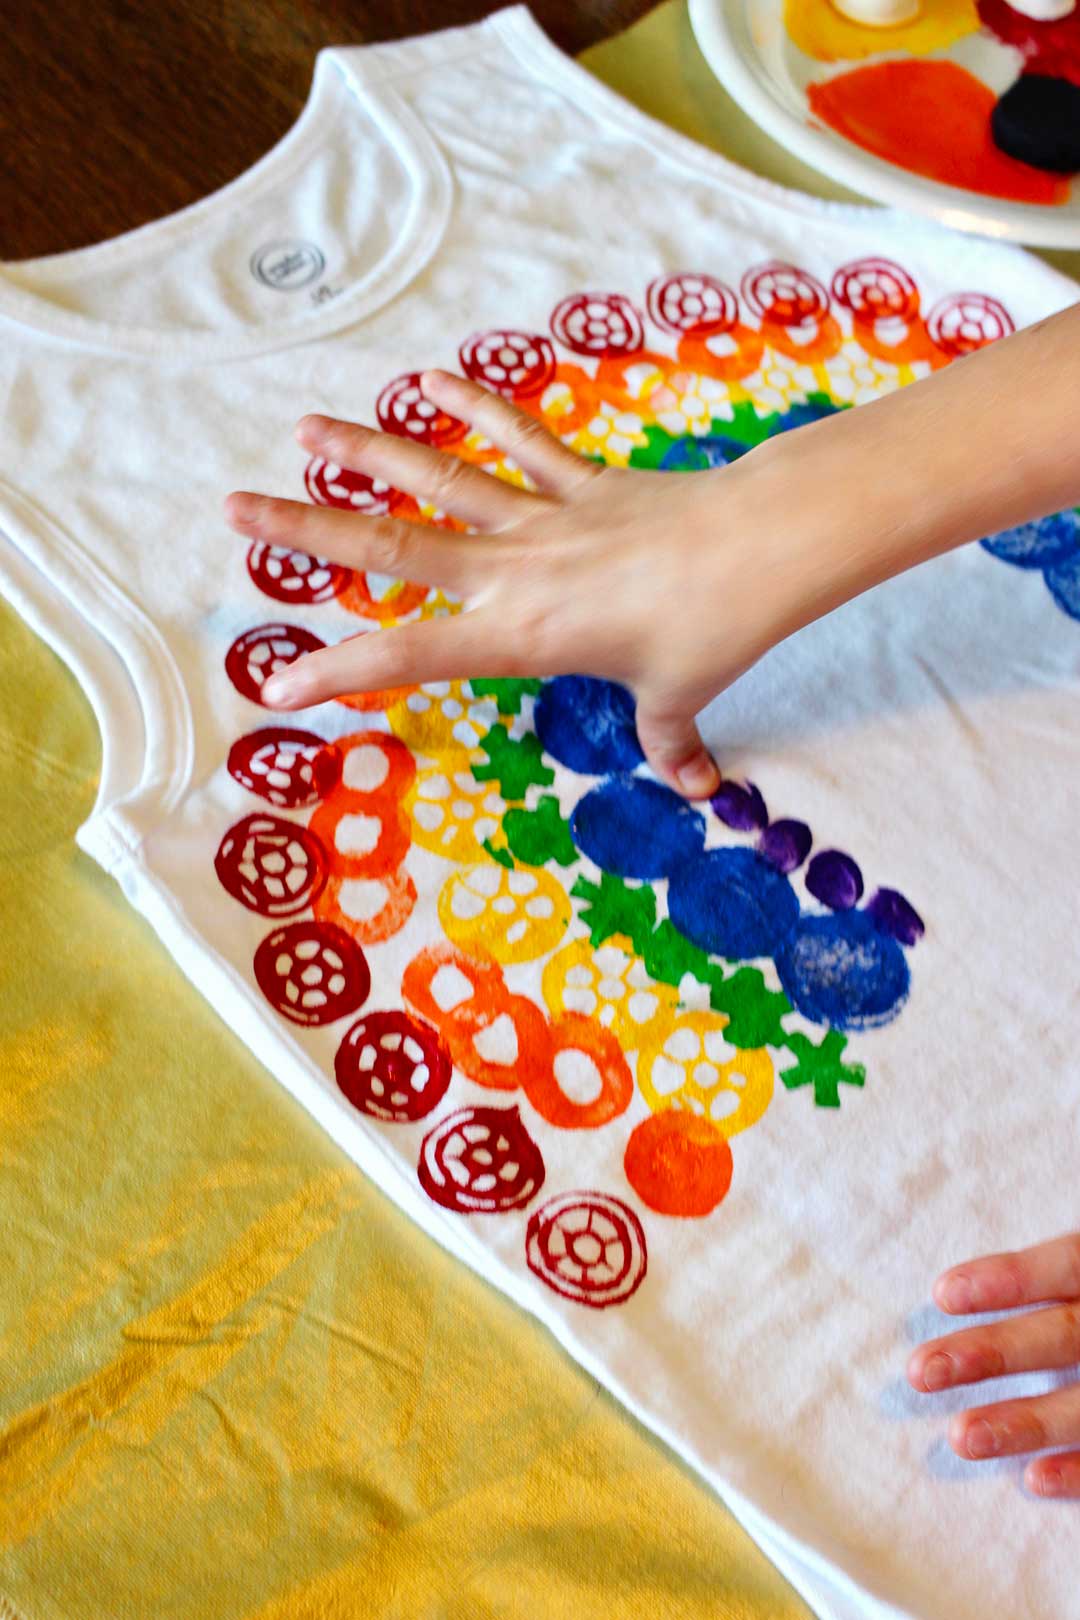
Rainbow striped t-shirt
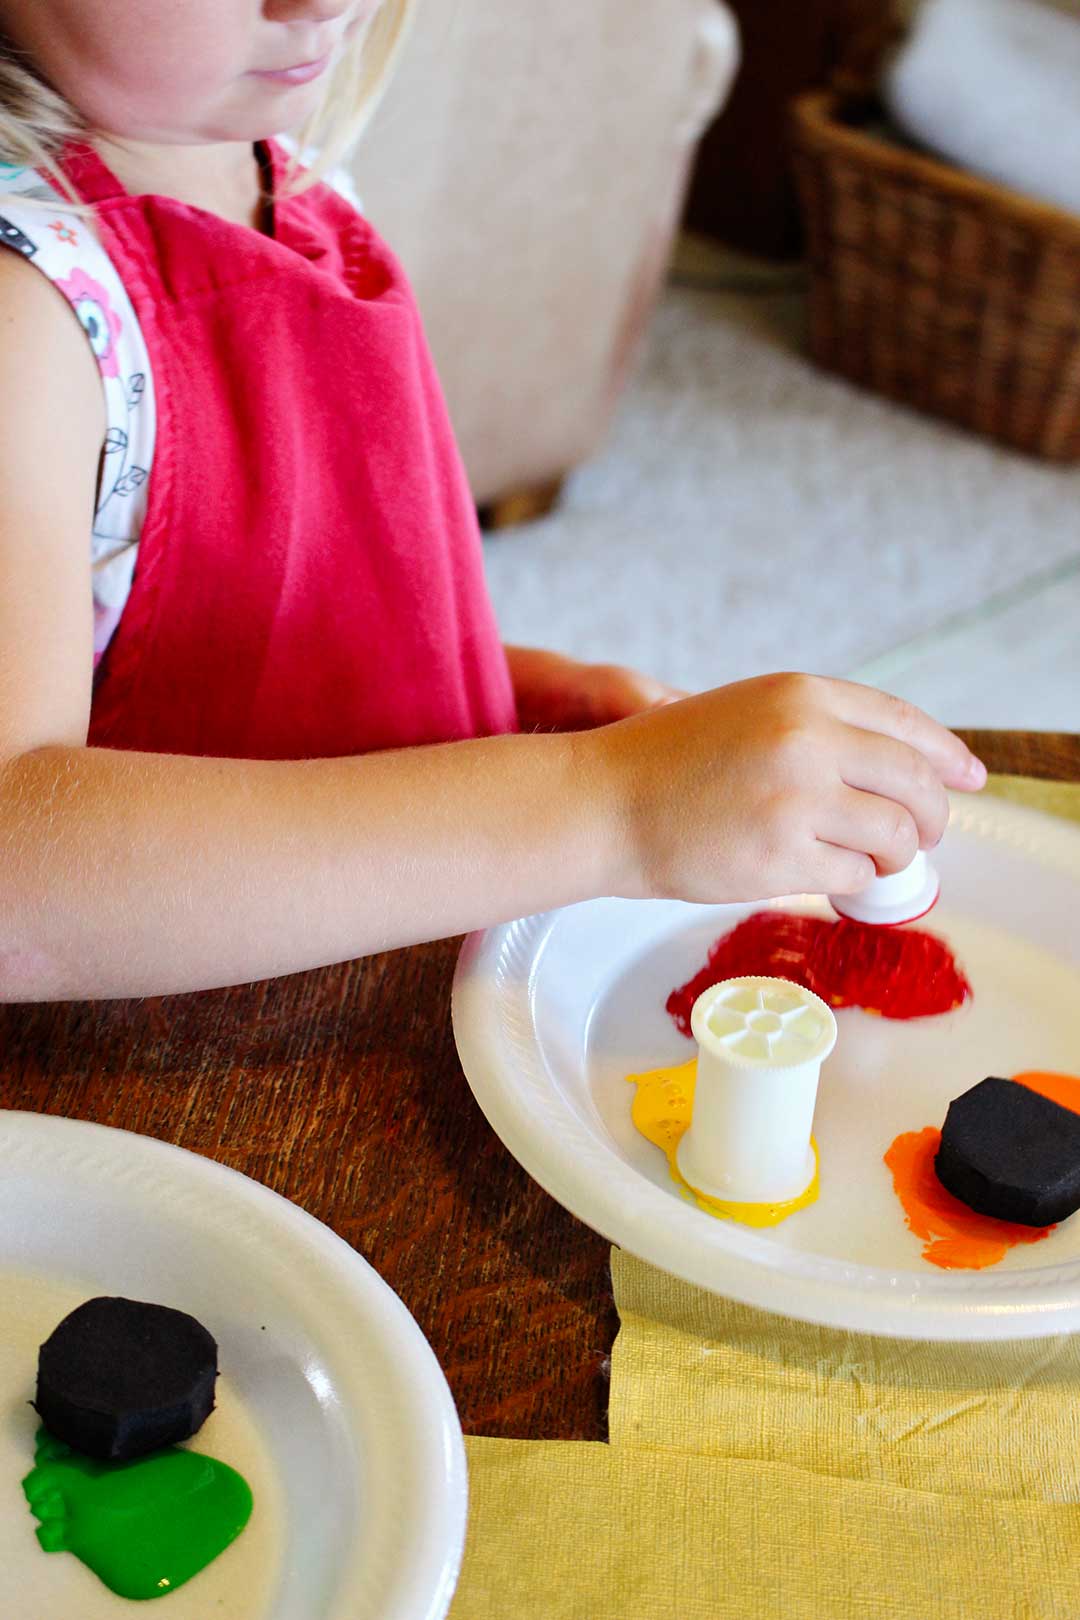
Squirt some craft paint in each color onto the foam plates. Spread the paint out a bit so that the stamps don't go into deep puddles of paint.
It works best to use the largest of your stamps on the outside arch, and in our case, we used the color red.
Then begin your second arch in a second color (we used orange) and overlap this stamp part way over the first stamp.
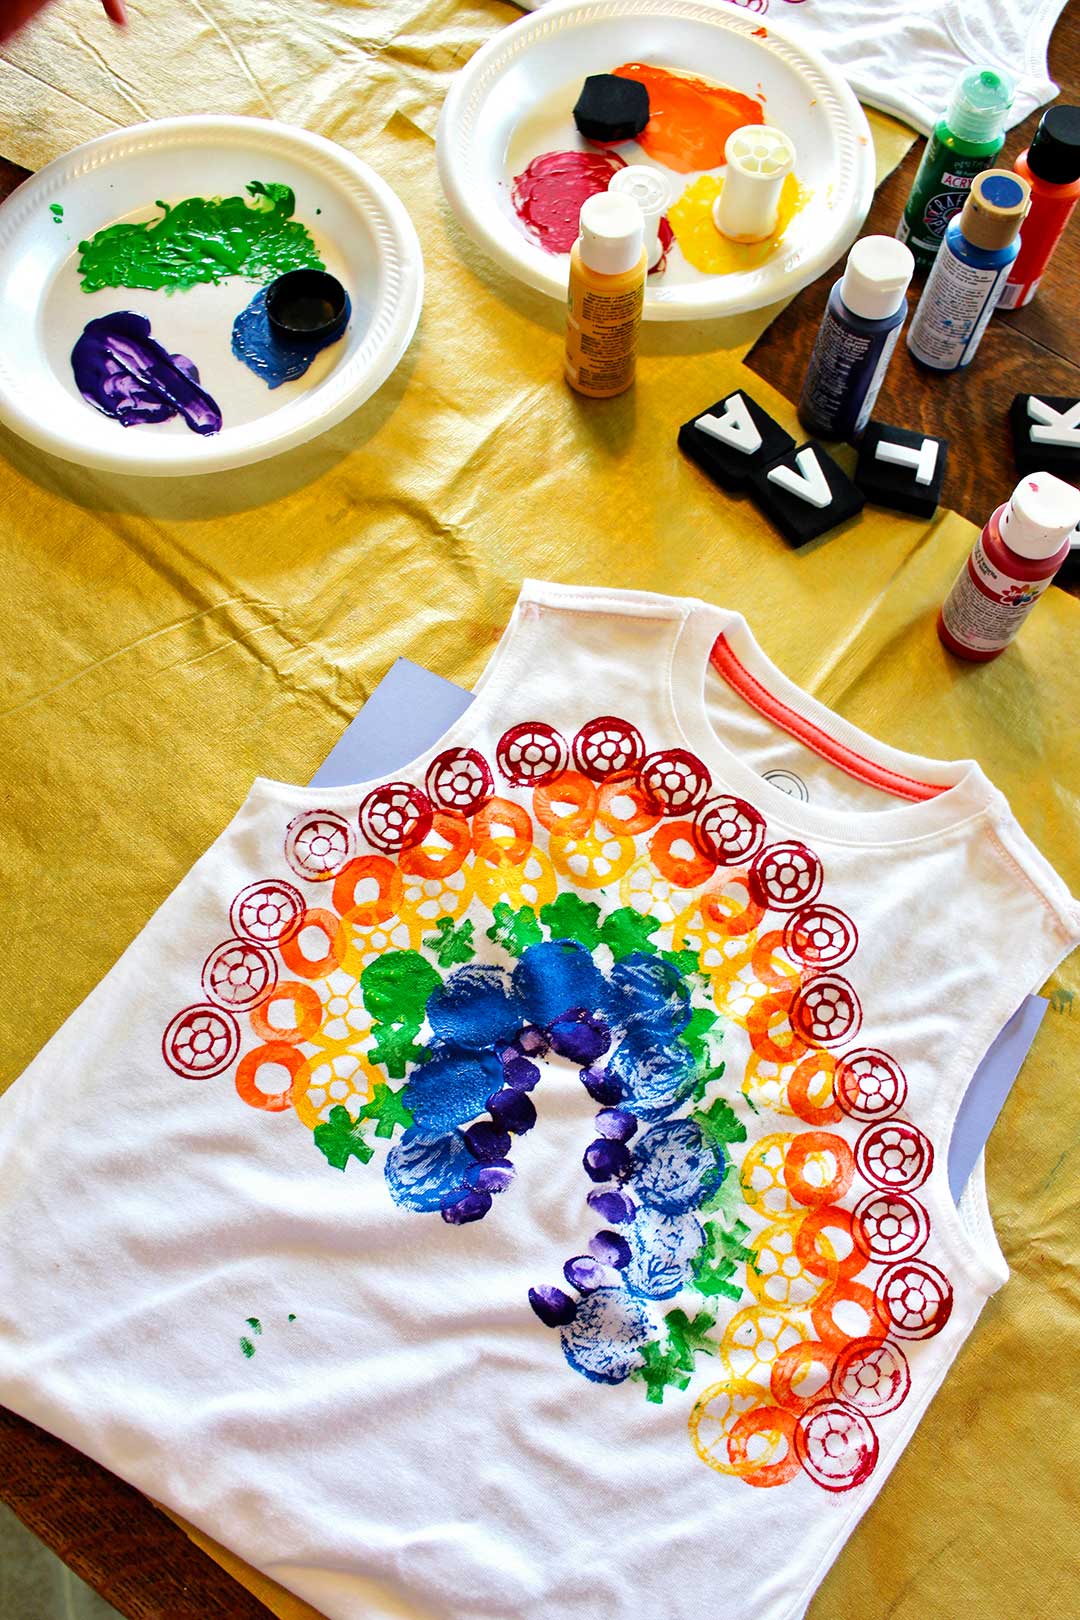
Repeat this with the yellow, the green, the blue and the purple.
We used thumbprints for the last arch of purple on our shirts. The kids liked this.
I have a set of about 11/2-inch foam letter stamps, so the kids wrote their names under the rainbow when finished. This is optional of course. Couldn't find these online (I got them in a discount store) but here is another type of alphabet stamps online.
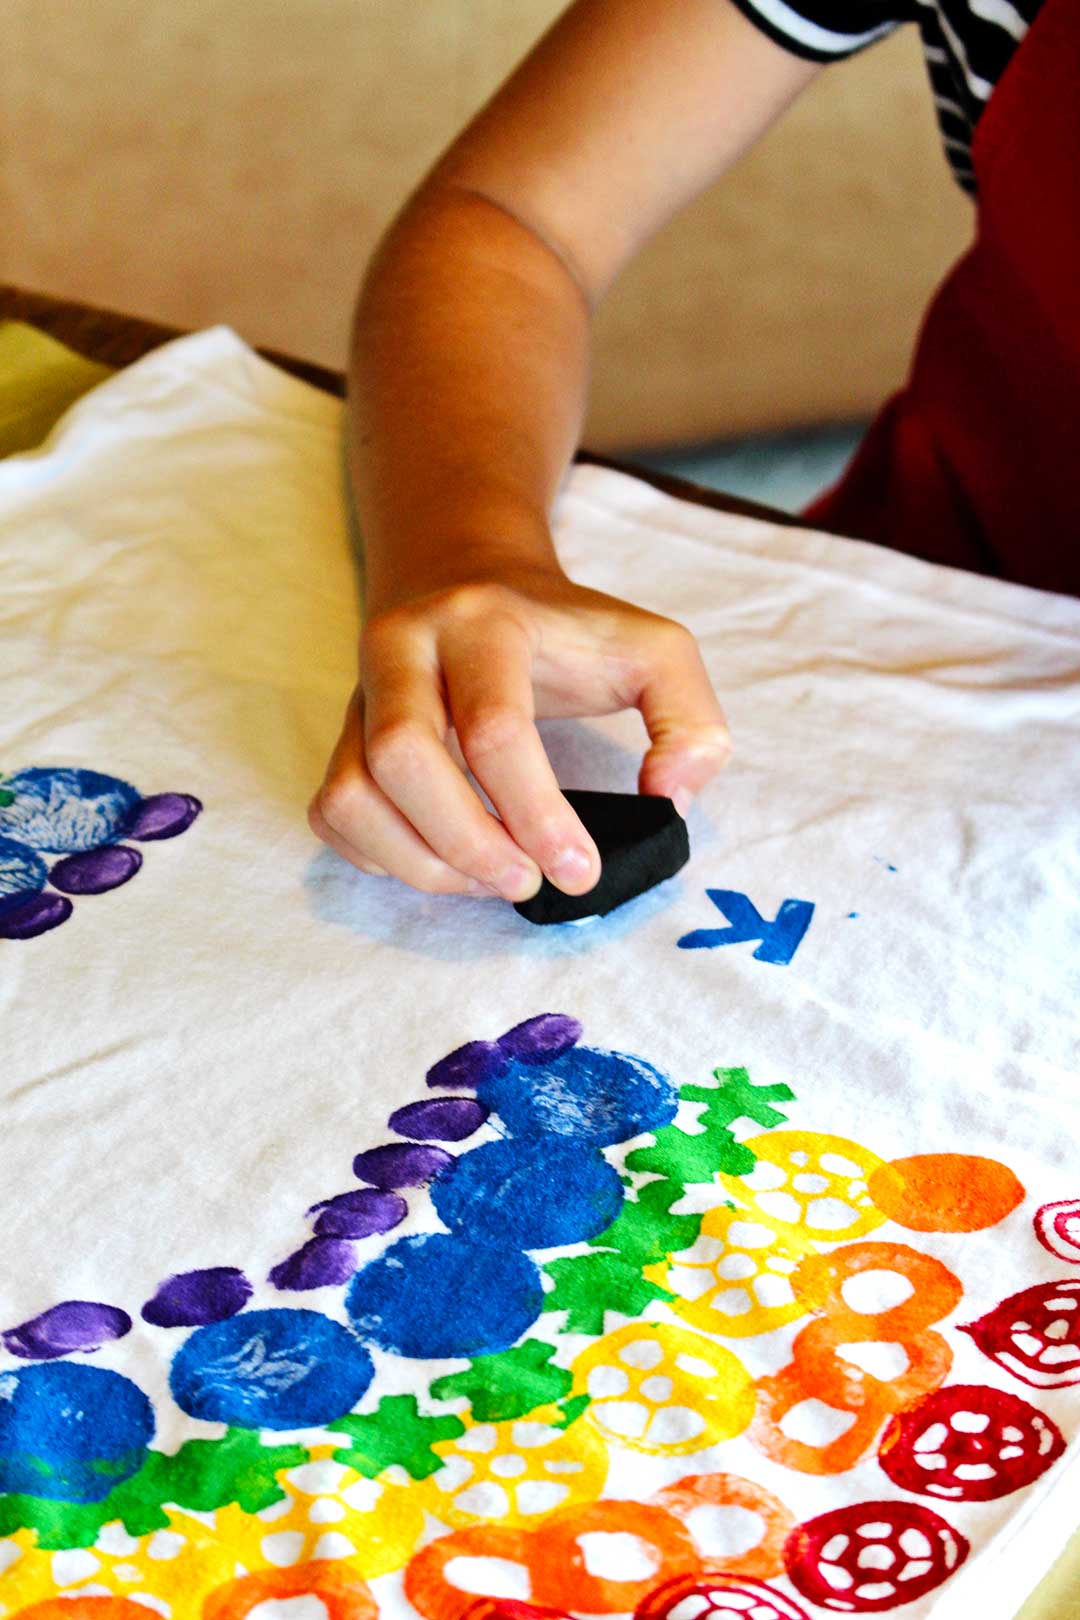
Rainbow t-shirt ideas
This project is easy and fun for summer and would be perfect to use for a group of children for a craft project for camp, Vacation Bible School, or a birthday party.
Here are other t-shirt ideas you may enjoy making!
- How To Tie-Dye a Swirl T-Shirt
- Hand’s Down Best Hand Print 4th of July Flag T-Shirt
- How To Decorate T-Shirts with Your Budding Artists!
- How To Make a T-Shirt Tote Bag (2 Ways!)

Enjoy!
If you try this craft, let me know! Go ahead and leave a comment, rate it, and tag a photo with #WelcometoNanas wherever you post.
Come join the fun at https://welcometonanas.com
Rainbow T-Shirt DIY for Kids
Equipment
- Items to use for stamps (i.e.- ends of pencils or markers, empty plastic thread spools, foam stamp shapes, Legos, thumbprints, lids off milk or cream cartons, etc.)
- Paint shirts or craft aprons
- Alphabet stamps to print names (optional)
Items Required
- Craft paint in rainbow colors (red, orange, yellow, green, blue, purple)
- T-shirts in appropriate sizes- I used white but can be a pastel color as well
- Foam plate or something to put paint on while stamping
- Covering for workspace- newspaper, vinyl tablecloth, or plastic tablecloth
Instructions
- Slip a piece of carboard inside the shirt so that the paint doesn’t soak through to the back of the shirt. It's always a good idea to cover your work surface with paper or a vinyl tablecloth. Paint shirts or craft aprons are a good idea too!
- Have the kids that you will start with the largest arch of the rainbow first. It may help if you have them draw a light arch in pencil to help guide their stamping.
- Squirt some craft paint in each color onto the foam plates.
- It works best to use the largest of your stamps on the outside arch, and in our case, we used the color red.
- Then begin your second arch in a second color (we used orange) and overlap this stamp part way over the first stamp. Repeat this with the yellow, the green, the blue and the purple.
- The kids wrote their names under the rainbow when finished. This is optional of course. We used a set of about 11/2-inch foam letter stamps.
Video

Supplies:
- Craft paint in rainbow colors (red, orange, yellow, green, blue, purple)
- Items to use for stamps (i.e.- ends of pencils or markers, empty plastic thread spools, foam stamp shapes, Legos, thumbprints, lids off milk or cream cartons, etc.)
- T-shirts in appropriate sizes- I used white but can be a pastel color as well, just so paint shows up
- Foam plate or something to put paint on while stamping
- Covering for workspace- newspaper, vinyl tablecloth, or plastic tablecloth
- Paint shirts or craft aprons
- Alphabet stamps to print names (optional)




Leave a Reply