Welcome To Nana's

  • All Crafts
  • Arts & Crafts
    • Drawing
    • Painting
    • Sewing
    • Paper craft
    • Nature
    • Recycled
    • Coloring Book
    • 3-D Project
  • Activities
    • Indoor
    • Outdoor
    • Science
    • Trip Activities
    • Recipes
  • Holiday
    • Christmas
    • Thanksgiving
    • Halloween
    • Easter
    • Fourth of July
    • Father's Day
    • Flag Day
    • May Day
    • Midsummers Day
    • Mother's Day
    • New Years
  • About
menu icon
go to homepage
  • All Crafts
  • Arts & Crafts
    • Drawing
    • Painting
    • Sewing
    • Paper craft
    • Nature
    • Recycled
    • Coloring Book
    • 3-D Project
  • Activities
    • Indoor
    • Outdoor
    • Science
    • Trip Activities
    • Recipes
  • Holiday
    • Christmas
    • Thanksgiving
    • Halloween
    • Easter
    • Fourth of July
    • Father's Day
    • Flag Day
    • May Day
    • Midsummers Day
    • Mother's Day
    • New Years
  • About
search icon
Homepage link
  • All Crafts
  • Arts & Crafts
    • Drawing
    • Painting
    • Sewing
    • Paper craft
    • Nature
    • Recycled
    • Coloring Book
    • 3-D Project
  • Activities
    • Indoor
    • Outdoor
    • Science
    • Trip Activities
    • Recipes
  • Holiday
    • Christmas
    • Thanksgiving
    • Halloween
    • Easter
    • Fourth of July
    • Father's Day
    • Flag Day
    • May Day
    • Midsummers Day
    • Mother's Day
    • New Years
  • About
×
Home » Arts & Crafts » Paper craft

How to Make a Paper Whirligig

Published: Sep 16, 2020 by Shelly · This post may contain affiliate links · 3 Comments

How to Make a Paper Whirligig is the perfect fast and easy craft idea for kids to pull out of the hat in a moment’s notice.

How to Make a Paper Whirligig!!

How to Make a Paper Whirligig is the perfect fast and easy craft idea to pull out of the hat in a moment’s notice. It is sure to entertain and intrigue any age child (or adult). An added plus is that you probably have all of the needed supplies on hand. What a great deal!

Easy Peasy Paper Craft Project

OK, learning how to make a paper whirligig is pretty straight forward.

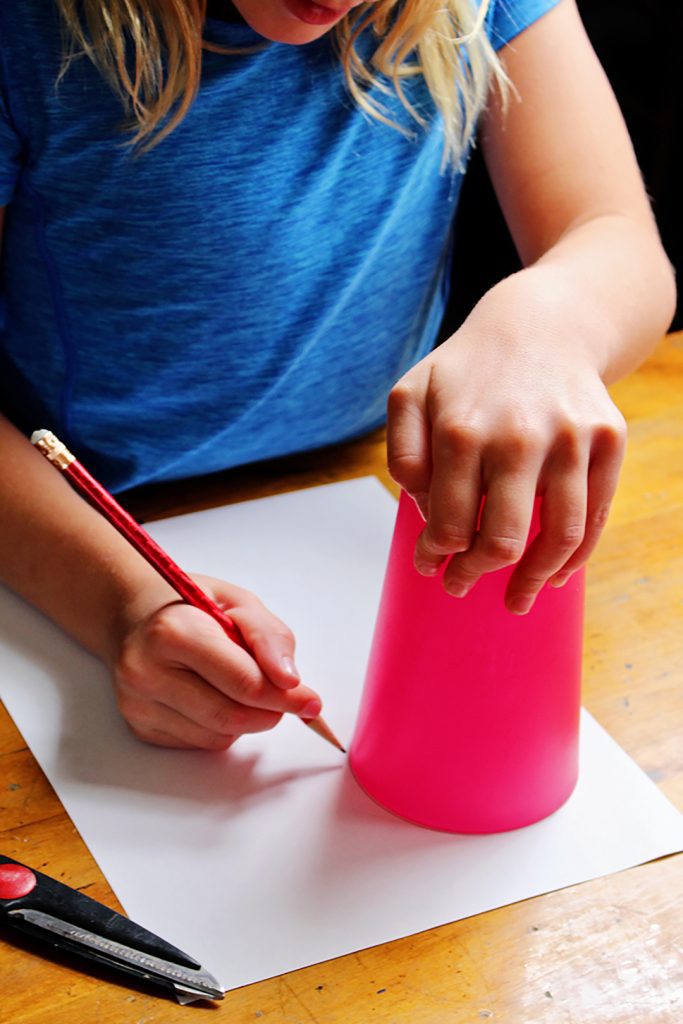
Grab a Cup for a Pattern

Use a cup to draw two of the same sized circles on a piece of paper. I used white paper so the grands could color a fun design and have it show up easily. 

Use a cup to draw two of the same sized circles on a piece of paper.

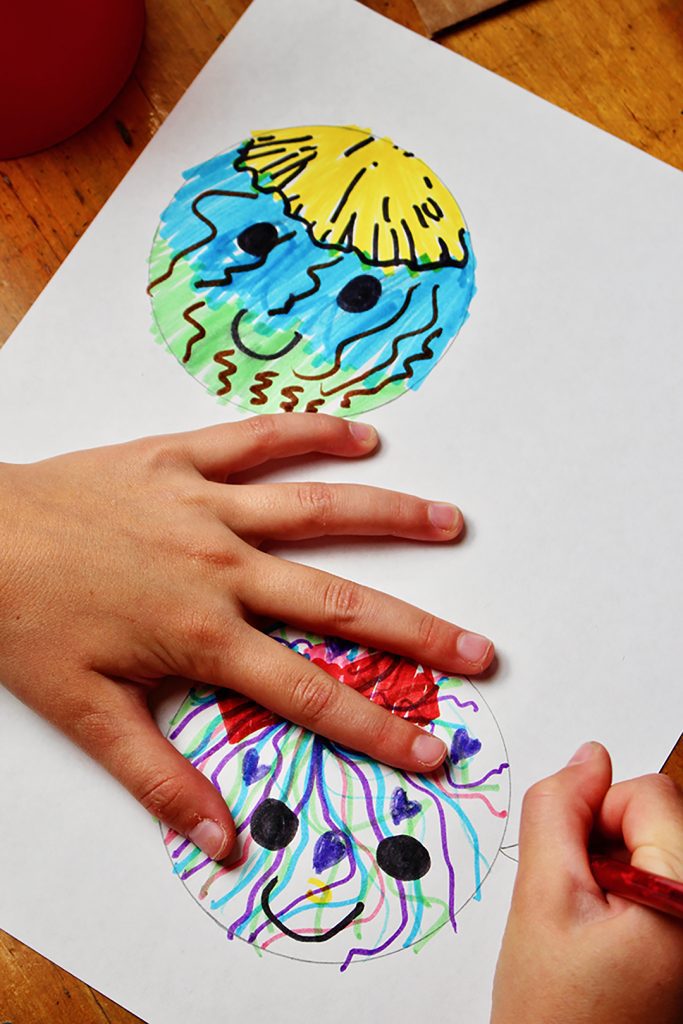
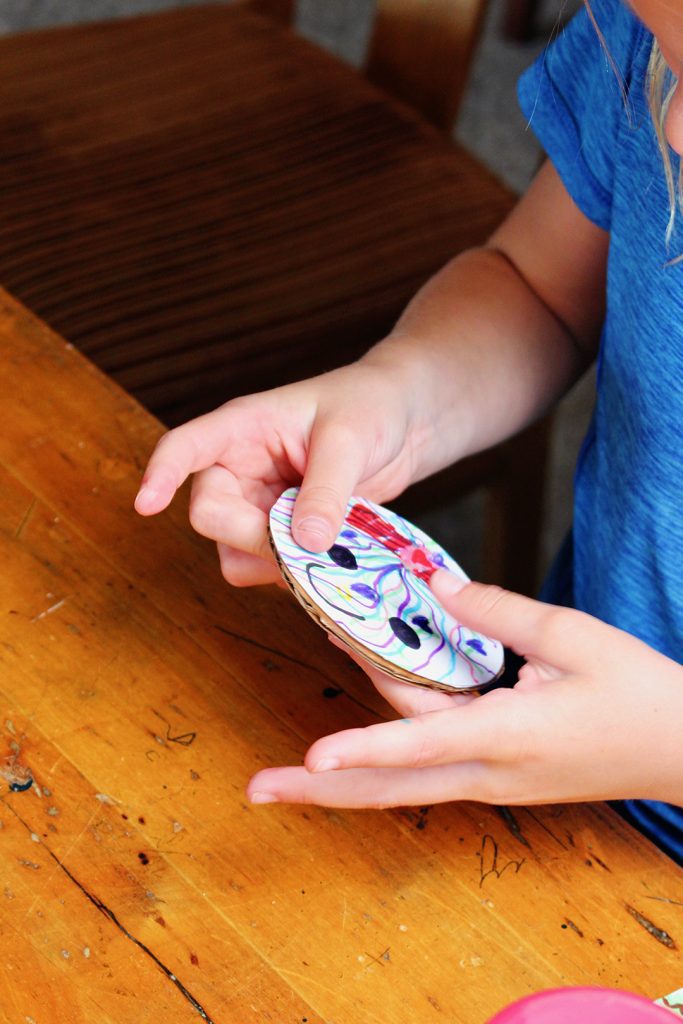
Decorate and Cut Out 2 Circles

Decorate the two circles with colorful designs of shapes, lines and patterns. The more colorful the designs the better as these circles will be spinning and creating a fun swirling pattern.

When your little artists are finished, have them cut the two circles out carefully.

Decorate the two circles with colorful designs of shapes, lines and patterns.

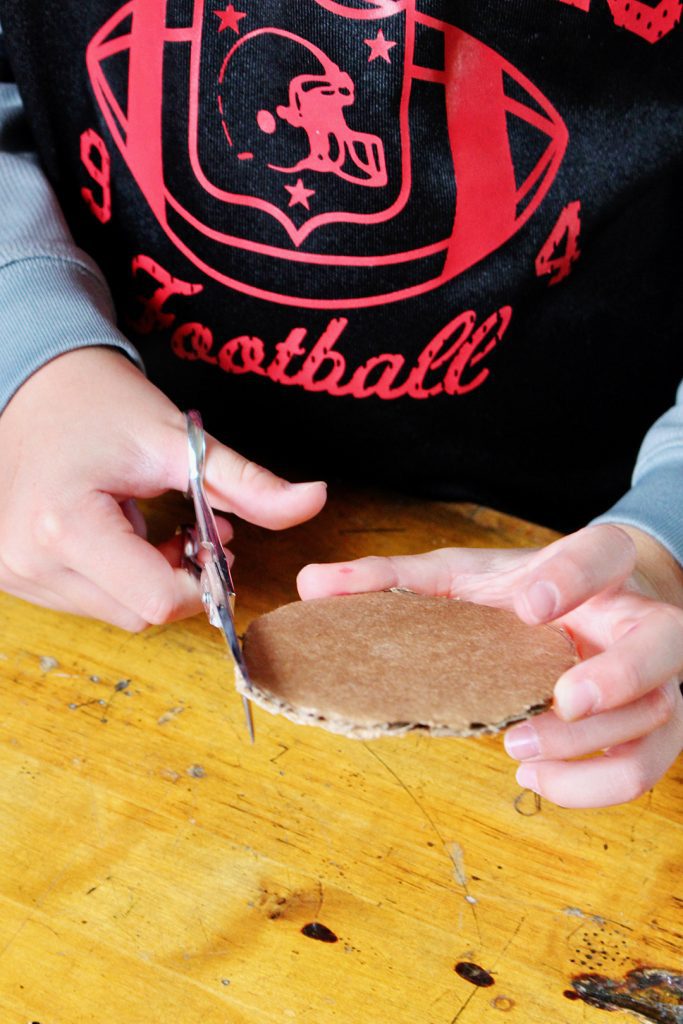
One Cardboard Circle

Draw another circle of the same size on a piece of cardboard and cut it out.

Note- The grands asked me to help with this as it was hard for them to cut the heavier cardboard that I had available.
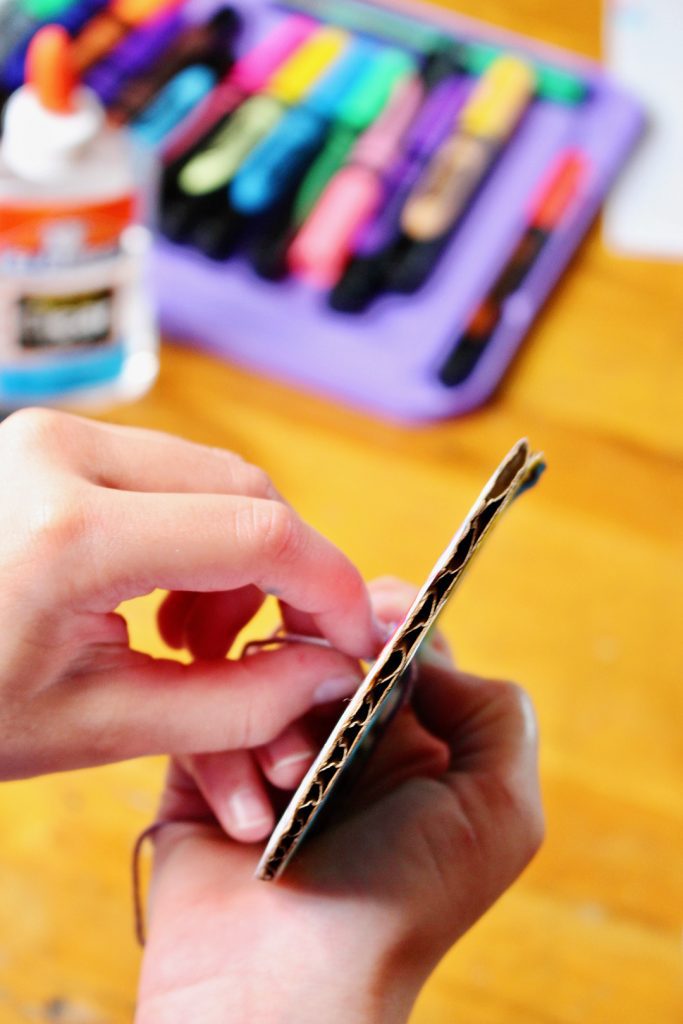
Draw another circle of the same size on a piece of cardboard and cut it out.

Glue and glue

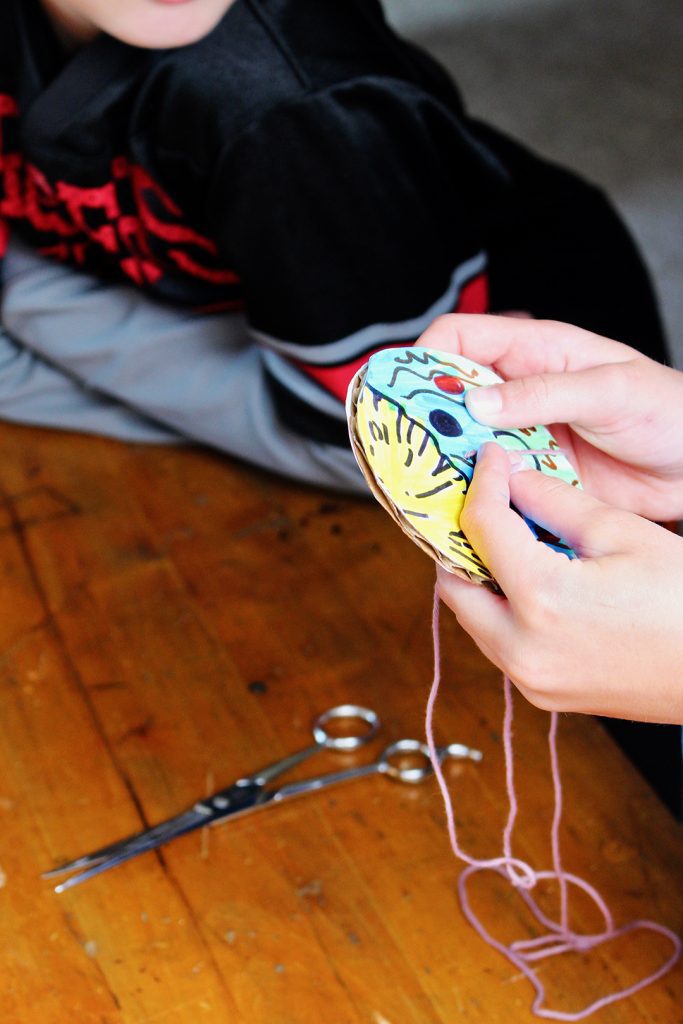
Glue the two decorated circles to the cardboard circle, one on either side. Match the edges as well as possible.

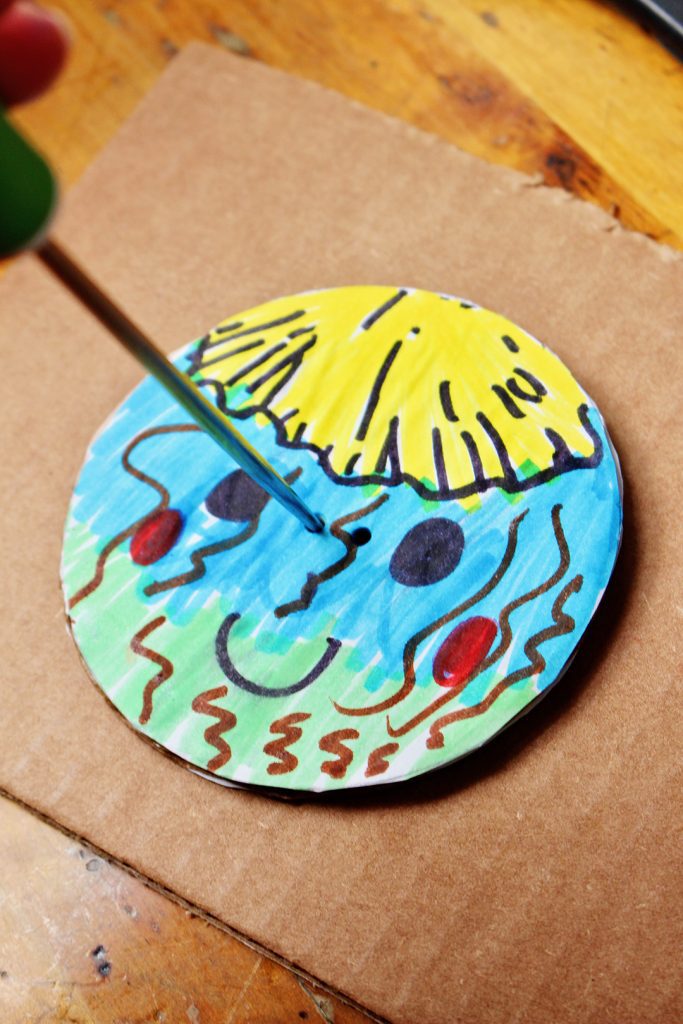
Poke holes in the whirligig

Use an ice pick or a nail to poke two circles through the cardboard. These two holes should be about an inch apart. I thought it was a bit weird to poke two holes into our circles as they were decorated as faces and the holes looked like nostrils!! Ha!

Glue the two decorated circles to the cardboard circle, one on either side.

Add a string and tie

Cut a string about 40 inches long and string it through one hole and then back up through the other hole. 

Note: We wrapped a piece of scotch tape around the end of the string so it went through the holes more easily. When the tape is on the string it kind of looks like the end of a shoe lace. Works like a charm and eased some frustration when the string frayed on the end and just wouldn’t go through that silly hole! 😉

Match the edges of the two circles and the cardboard as well as possible.

Put the two ends of the string together and tie them with a knot. Position the cardboard circle in the middle of the string.

That’s it.

You now know how to make a paper whirligig!

Use an ice pick or a nail to poke two circles through the cardboard.

Ready for some fun?

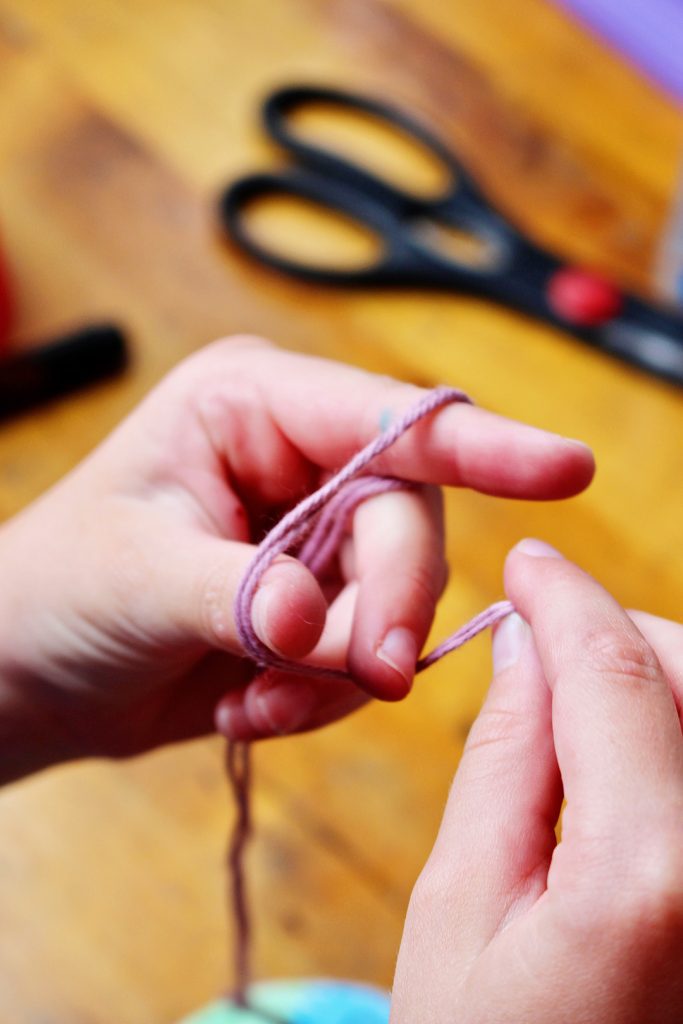
Put the looped ends of the string over a finger on each hand. Move your hands apart so that the cardboard circle is suspended in between your two hands.

Cut a string about 40 inches long and string it through one hole and then back up through the other hole.

Twist the string

Spin the circle piece around and around in one direction so that the string begins to twist and twist.

Pull your hands apart

After the string is pretty twisted, gently pull your hands apart and the string will untwist, spinning the whirligig and re-twisting the string in the other direction.

Put the two ends of the string together and tie them with a knot. Position the carboard circle in the middle of the string.

Retwist

As the string re-twists, allow your hands to move back together a bit so that the string can twist up more.

Then gently pull your hands apart again and the whirligig will spin in the opposite direction and re-twist the string.

As the string re-twists, allow your hands to move back together a bit so that the string can twist up more.

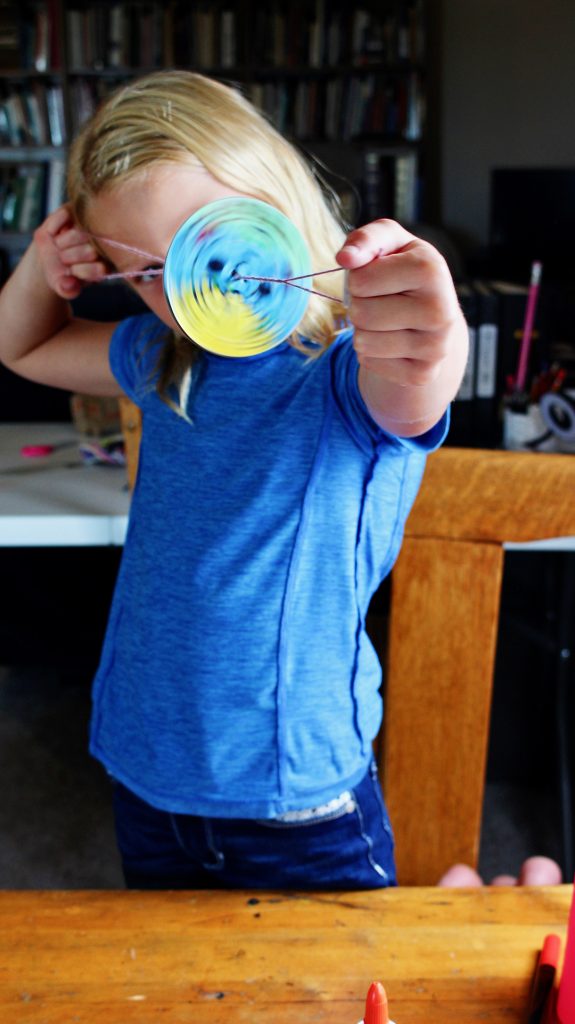
A Spinning Paper Whirligig

It takes some practice, but you will get the feel of gently moving your hands in and out, spinning the whirligig and allowing the string to re-twist. The paper whirligig will spin back and forth over and over again until your arms get tired!

It is kind of mesmerizing to watch the decorated, spinning whirligig make a pretty pattern as your hands move in and out and the string twists, un-twists and re-twists again.

It will take some practice, but spin the DIY Whirligig back and forth until your arms get tired!

How to Make a Paper Whirligig

Or a Button Whirligig...

I remember making a paper whirligig when I was young. I also remember making a whirligig out of a large button. If you would like to try the button idea, just thread your string through two holes in a large button. Tie the end of the string and spin it just like you did for your paper whirligig.

I like to imagine little children in pioneer homes doing this very activity. 

I also like to imagine your children in your home spinning their paper whirligigs! Attach a picture of your whirligig!

Give this DIY Paper Whirligig a try for a fun toy the kids can make at home!

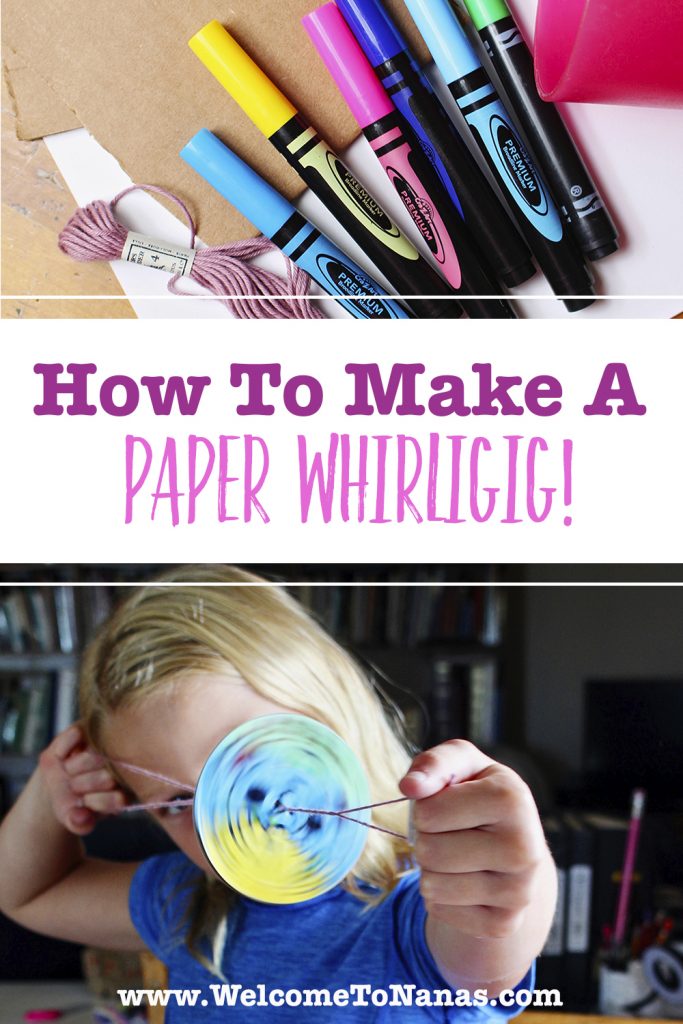
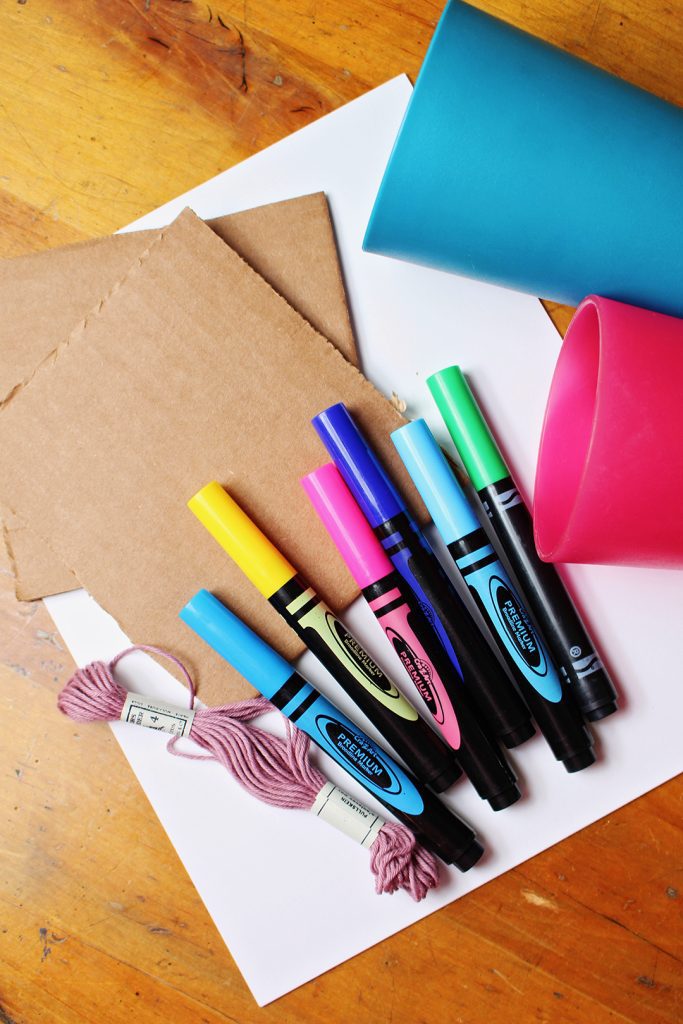
Supplies needed for How to Make a Paper Whirligig

  • 1 piece of white paper or cardstock
  • 1 piece of cardboard (I used a flap off of a shipping box)
  • A Cup
  • Markers
  • Scissors
  • Glue sticks or glue
  • Ice pick or nail
  • String

Enjoy!

Welcome to Nana’s! Where there’s fun things to do with your “grand” kids!

Come join the fun at www.WelcomeToNanas.com

More Paper craft

  • Three 4th of July firecracker treat boxes decorated with red white and blue paper and washi tape with some scraps of festive paper scattered around.
    Easy 4th of July Craft: Firecracker Treat Boxes!
  • Person showing a Father's Day card with red flowers and a windmill against a sunset with type saying "Happy Father's Day"
    A Kind Word Magazine Collage Card for Father’s Day
  • Three colorfully colored straw rockets.
    3 Cool Ways to Make Straw Rockets (Free Straw Rocket Template)
  • Four origami butterflies in pastel shades of blue, yellow, orange and pink.
    Easy Folded Origami Butterfly for Kids

Leave a Reply Cancel reply

Your email address will not be published. Required fields are marked *

Recipe Rating


This site uses Akismet to reduce spam. Learn how your comment data is processed.

Hello there! I'm Shelly (Nana), an artist, previously homeschooling mother of 3, and now proud grandma (Nana) of 6. I love sharing artistically inspiring, hands-on crafts for kids of all ages. Let's go have some fun!

More about me →

Popular Crafts

  • Hand squeezing the a completed batch of light blue fluffy slime.
    Homemade Slime
  • Completed colorful tissue paper flowers, a purple and pink one resting on a glass cake stand with others underneath.
    How to Make Tissue Paper Flowers
  • Overhead views of two different sprouts growing in glass containers.
    How to Grow a Tree from a Pine Cone
  • A sunset picture created with sharpies and alcohol on canvas, surrounded by bright sharpie markers..
    Cool Sharpie and Alcohol Painting on Canvas

Footer

↑ back to top

Privacy Policy

As an Amazon Associate I earn from qualifying purchases.

Copyright © 2025 Brunch Pro on the Feast Plugin