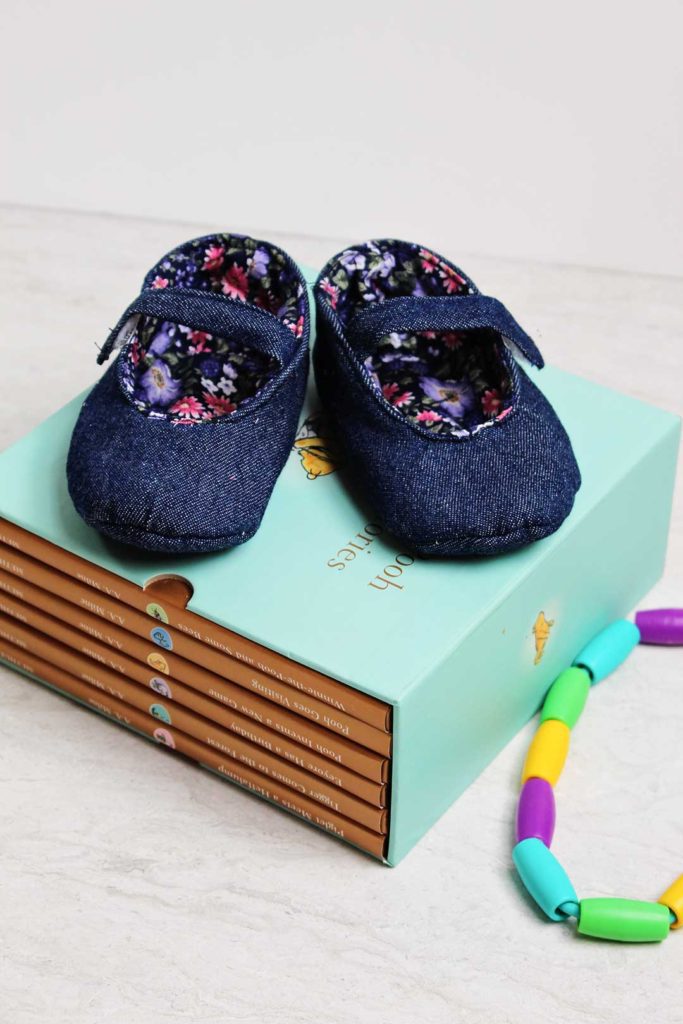
Baby shoes you can make yourself!
This Free Baby Shoes Sewing Pattern and Tutorial will “walk” you through "steps" so you are able to make these yourself. Can you believe it?
Be still my heart! Aren’t these little baby shoes the cutest thing?
There is nothing cuter then a baby in little soft soled shoes to match his or her outfit. The possibilities are endless, these can be made for any child with your amazing imagination and any little changes you prefer!
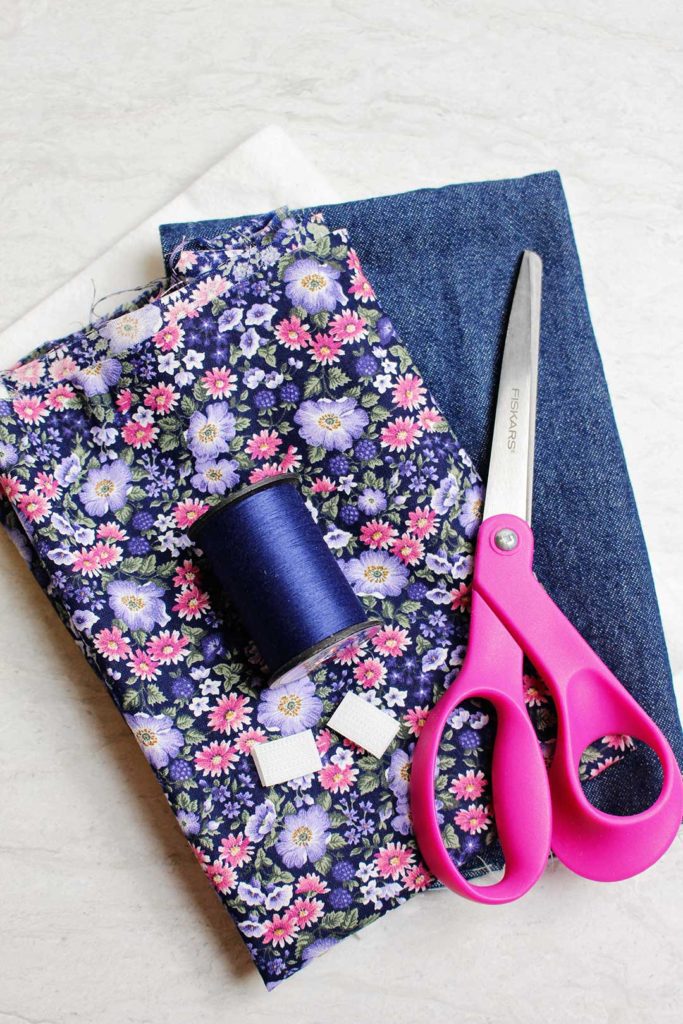
I'll "walk" you through the "steps"
I will not lie, this takes a bit more sewing skill than a plain straight seam sewing project. They are small and the space to sew is smaller as a result, especially around the curved top of the shoe. But with some patience and this Free Baby Shoes Sewing Pattern and Tutorial I know you can do it.
Free Baby Shoes Sewing Pattern and Tutorial
Download the Free Baby Shoes Sewing Pattern here. This shoe is for a 9-12 month old baby. It can be sized up or down by enlarging it about ½ inch in length. I may work on a size variation in the pattern at a future date. For now you can find the sole size for other age babies by searching on the internet.
Tip: Copy the pattern without the resize to fit option for printing or it may distort the pattern.
Fabric selection- so fun!
This project is a perfect way to use up some fabric scraps if you have some tucked away in a box or drawer. (You can never have too many fabric scraps and craft supplies, right?) If not, they can be made from two fat quarters of woven fabric. The quilters section has a plethora of choices!!
I made these shoes from a very light weight denim fabric and they sewed up very nicely. I thought they would go with so many outfits. These have a floral lining fabric. Use any design or color you want. Make multiple pairs if you can’t choose!! Of course this is a perfect way to personalize the little shoes for your baby girl or boy.
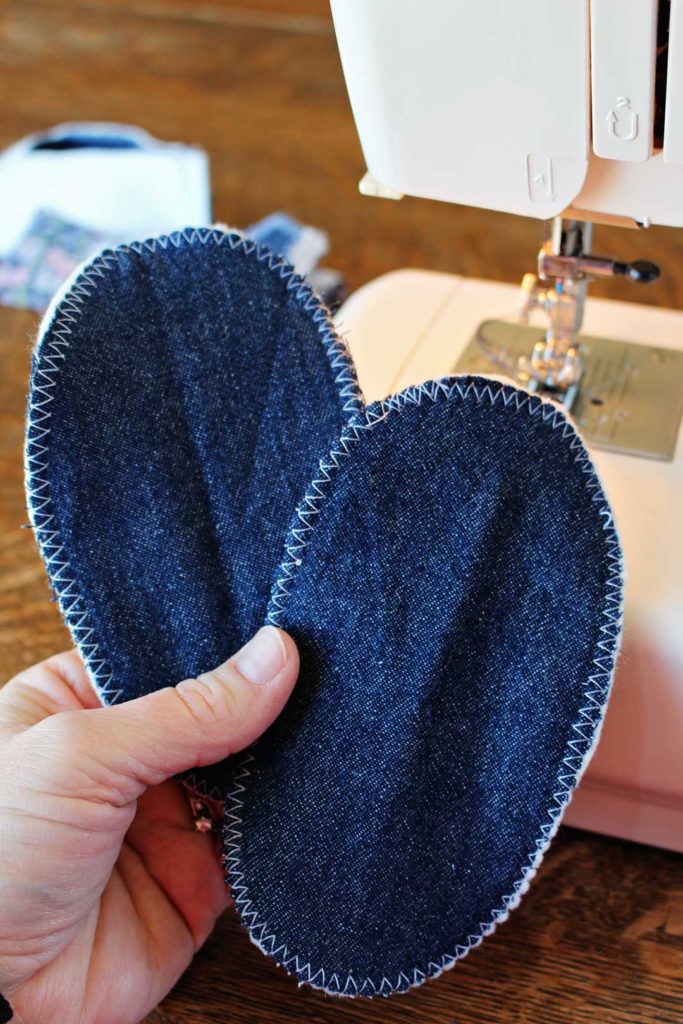
You may want to use an interfacing to give the shoe a bit more body. Use an iron on interfacing for that purpose.
Tip: Do NOT use a heavier weight fuzzy lining or interfacing. I took one for the team here. I tried that in this shoe and it is much too bulky. It was difficult to sew and turn inside out. It could work ok for the sole of the shoe only to give it a bit of padding though.
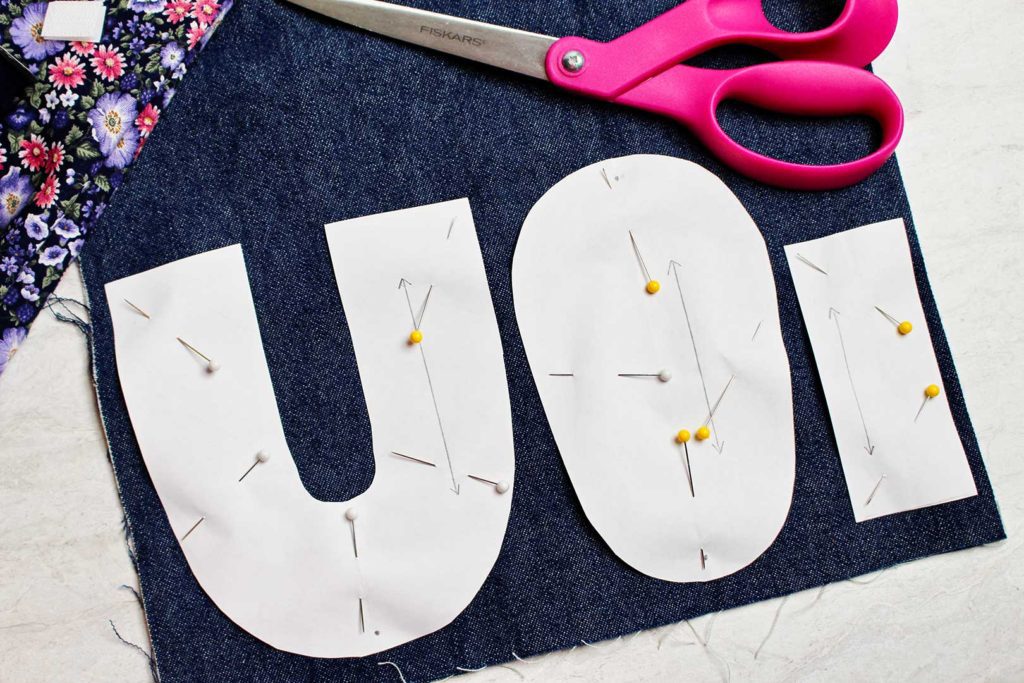
Pin and cut out the shoe pieces
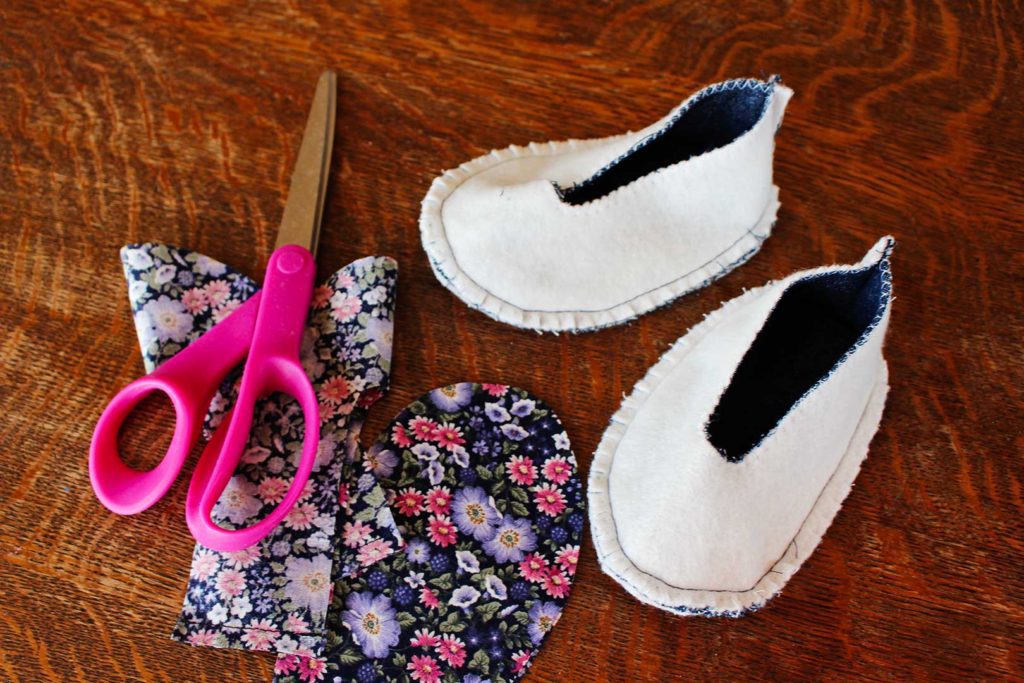
Pin and cut out 2 of each pattern piece from the main fabric. Then pin and cut out 2 of the sole and side piece of the liner fabric and interfacing (if you are using interfacing). You don’t need the small strap piece cut from the liner fabric.
Hey, if I had rearranged the pattern pieces in the picture it would say “I O U”!! And I do owe you, for letting me be a part of your creative life. Yeah, corny I know, but true!!
If you are using interfacing, iron it to the wrong side of the soles and sides of the shoes.
Note- My interfacing was stitched on and was thicker. Note my tip above, I don’t recommend using that except maybe on the soles.
Sew the back and sole of shoes
With right sides together, sew the back (short edge) of the shoe side piece together on each of the main fabric pieces and each of the lining pieces. Use a ¼ inch seam.
Pin the side piece to the sole fabric with right sides together and matching the center back dot on the sole to the seam on the side piece. Pin it all around the edge then sew a ¼ inch seam. Do the same on the lining.
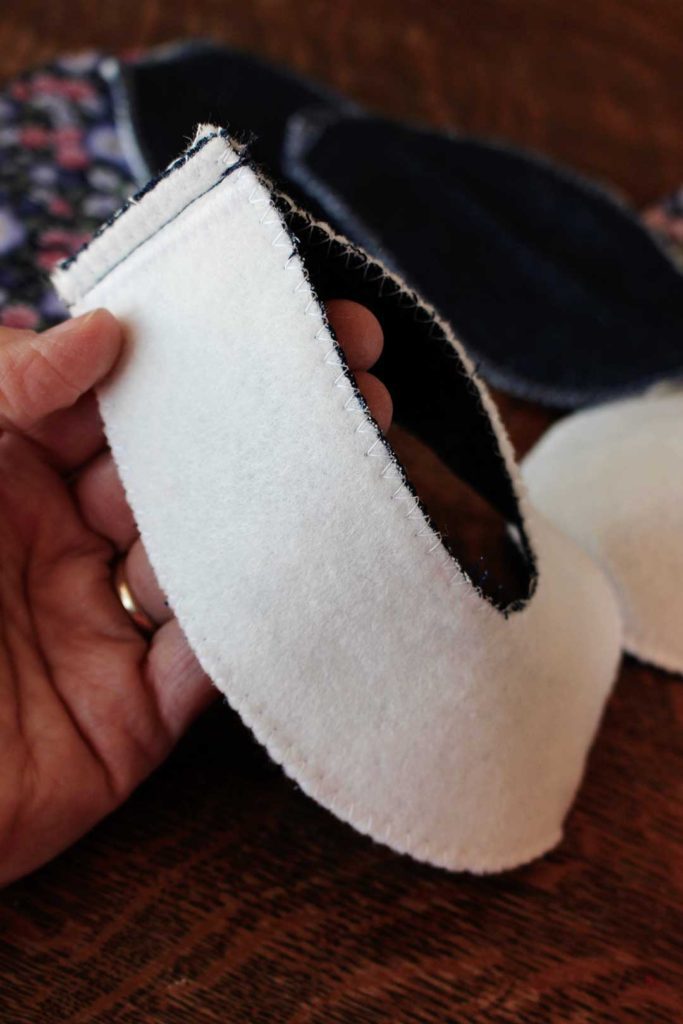
Make little clips around the seam allowance (careful not to clip through the stitching line). This will make the shoe lay better when turned inside out.
Sew the top edge of the shoes
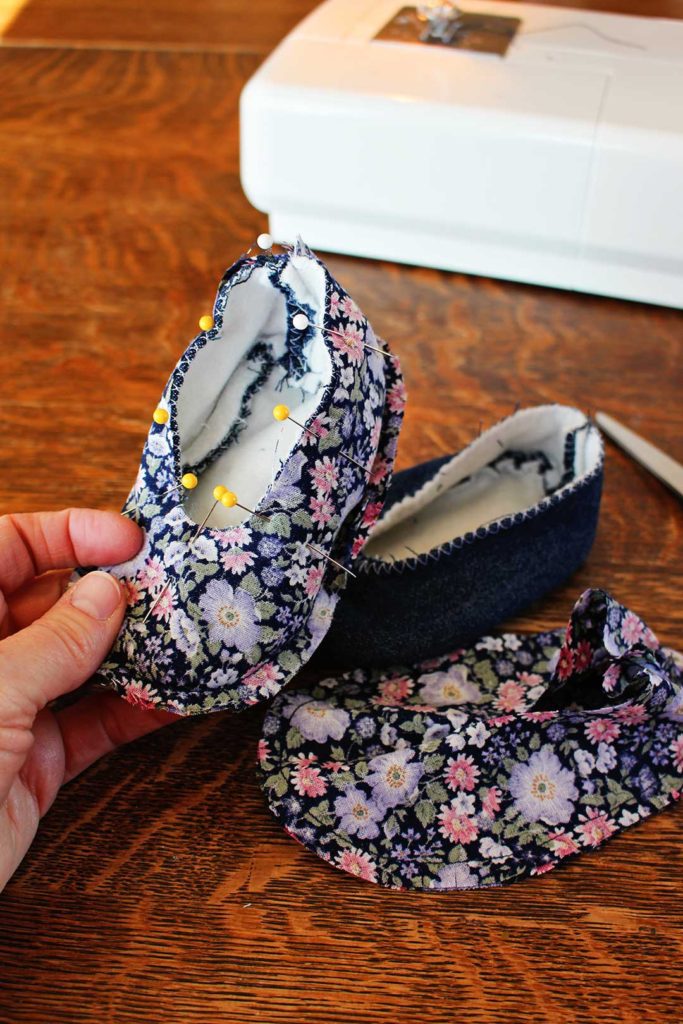
Insert the lining into the shoe, right sides together.
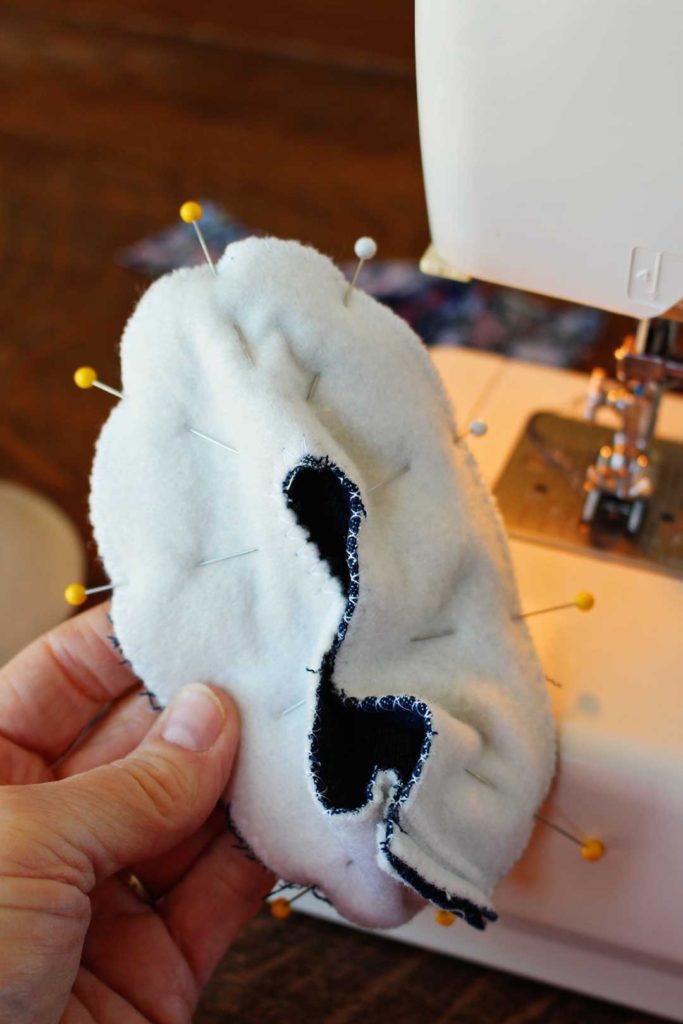
Pin the top edge of the shoe (still right sides together). Sew a ¼ inch seam around the top, leaving a 1 ½ inch opening on the outside side of the shoe.
Turn the shoe right side out through the opening you left in the top of the shoe.
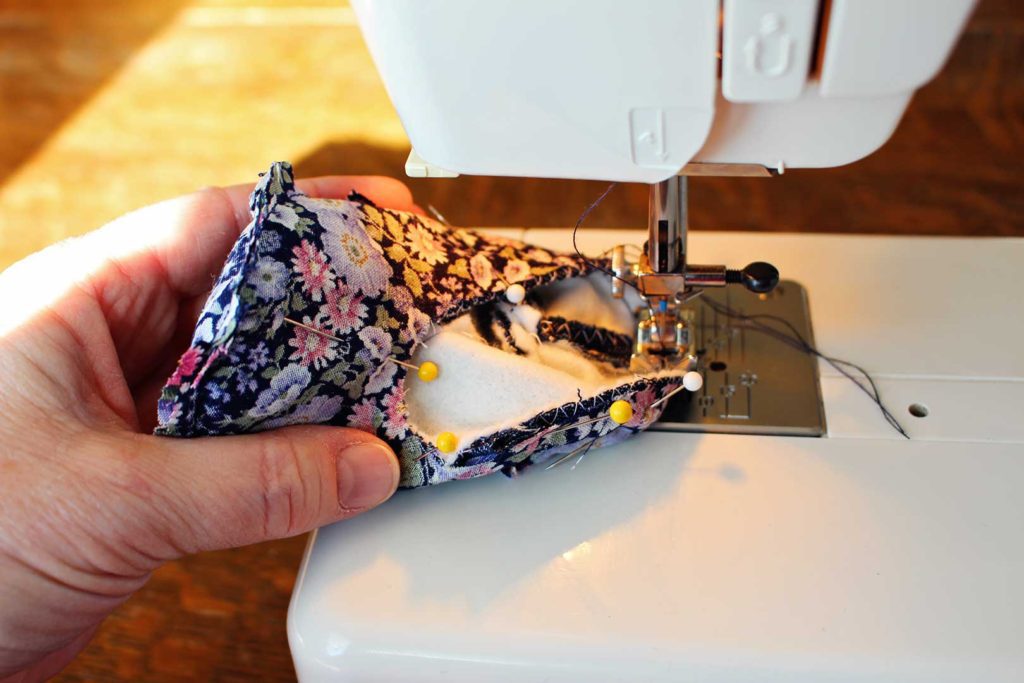
Make the straps for the shoes
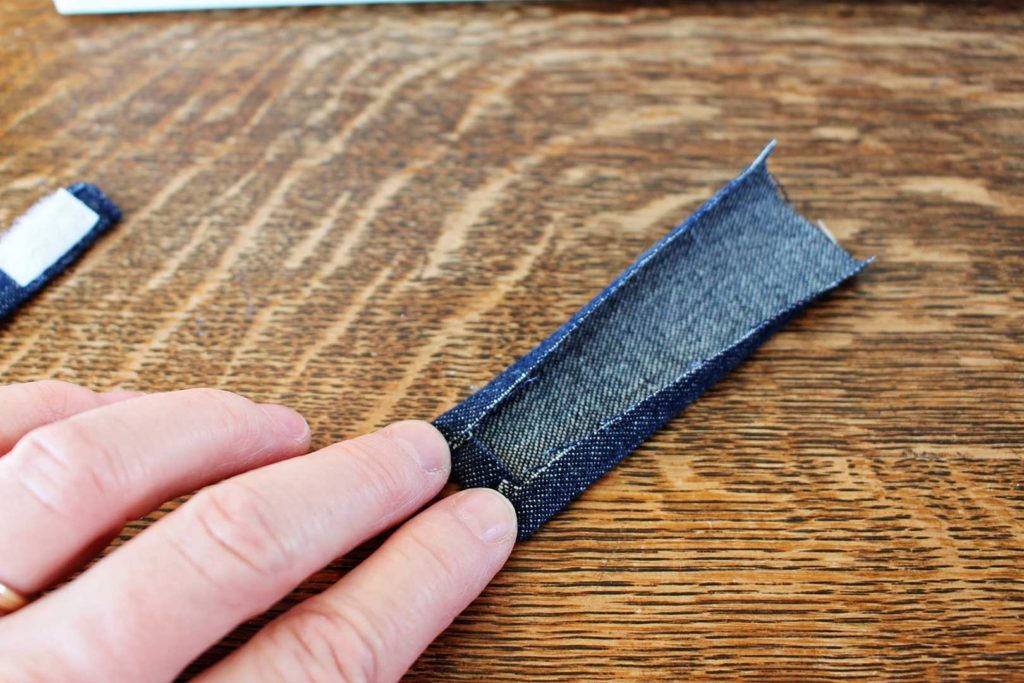
Iron down ¼ inch on the two long sides and one short side of the shoe strap pieces.
Fold the strap in half and sew close to the edges to hold it together.
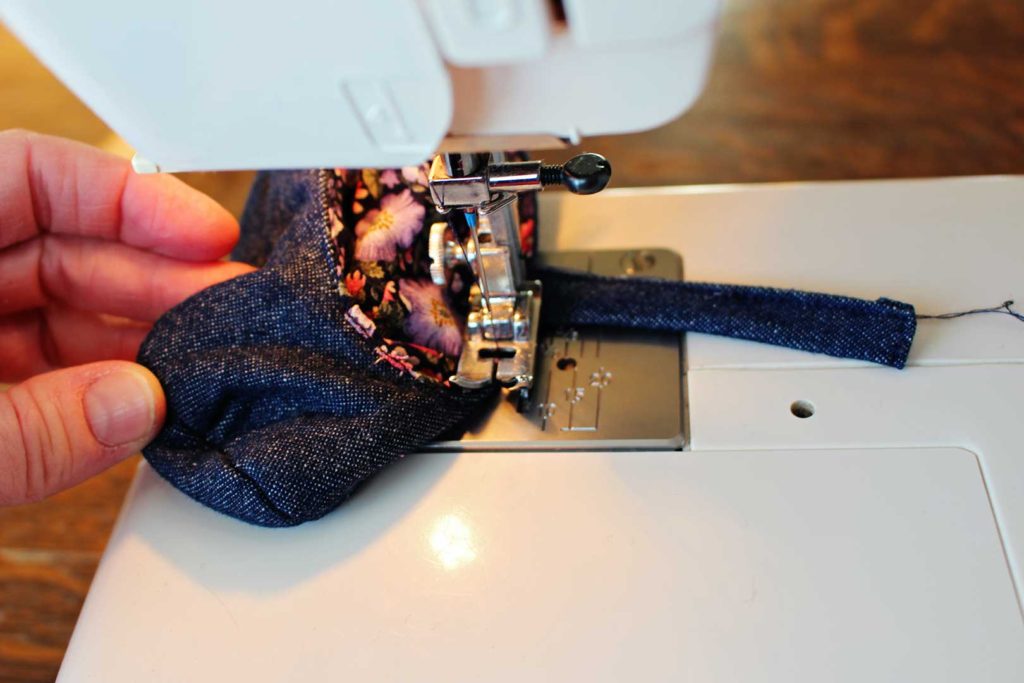
Insert the unfinished edge of the strap into the opening on the top of the shoe and sew the opening shut, which will sew the strap in place. I went ahead and top stitched all around the top edge of the shoe to help hold the lining in place. This is where the sewing got pretty tight. These shoes are little you know!
Sew a small piece of Velcro on the end of the strap and its matching piece on the shoe.
It would also be possible to sew a piece of elastic across the top of the shoe instead of the strap. They would look more like ballerina slippers if you did that.
Here is the link to that free baby shoes sewing pattern one more time!
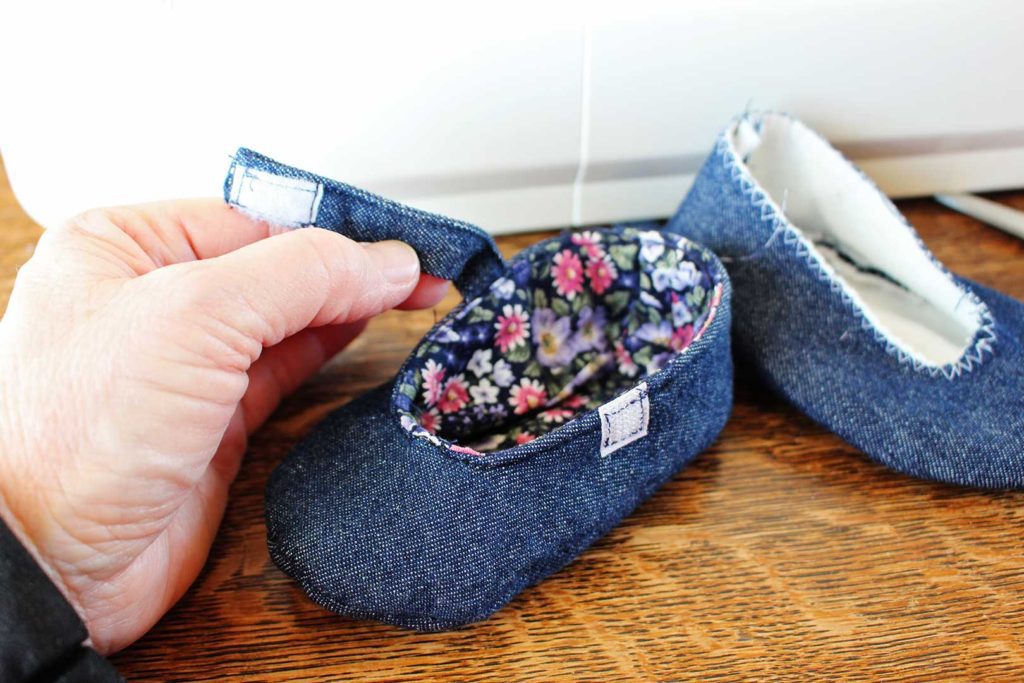
That’s it my friends!
Won’t these look cute on your grand, your child or to give as a gift?
I want to try it again without the heavy interfacing I used in this Free Baby Shoes Sewing Pattern and Tutorial.
Please, pretty please send me pictures of your baby shoes. I have left mine sitting on my desk they are so cute and fun to look at!
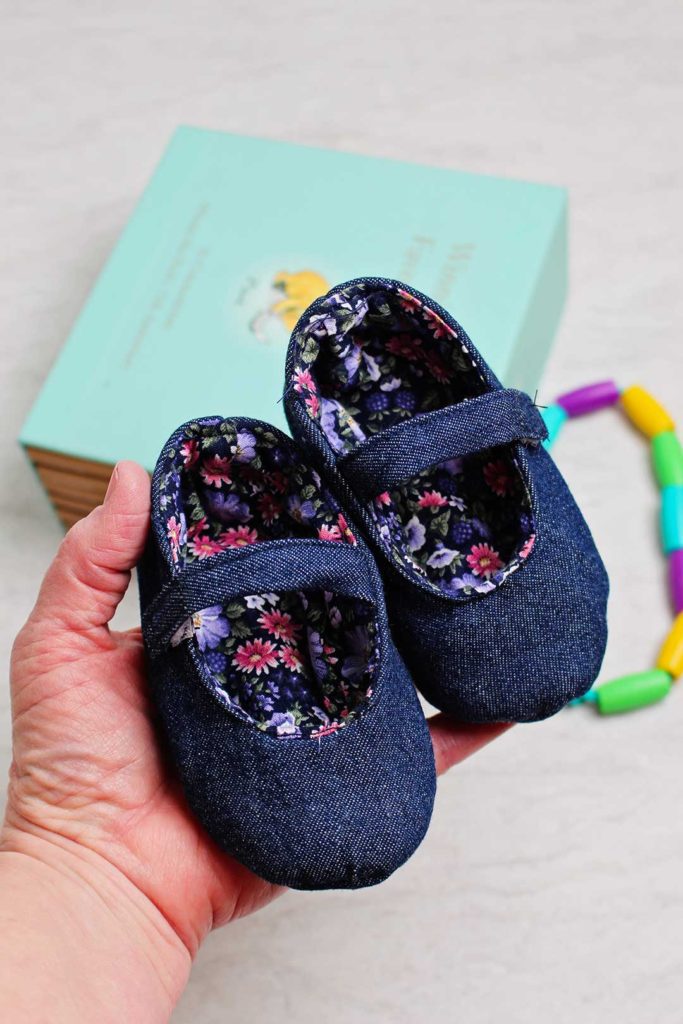
Supplies for the Free Baby Shoes Sewing Pattern and Tutorial:
- Fat quarter of fabric
- Fat quarter for the lining of the shoe
- Optional- iron on interfacing
- Velcro (small piece, less than an inch)
- Thread
Enjoy!
Welcome to Nana’s! Where there’s fun things to do with your “grand” kids!
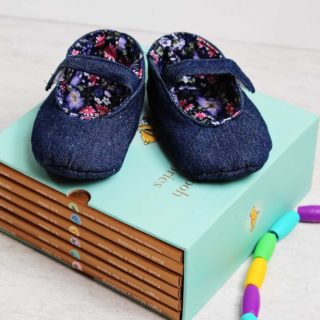
Welcome To Nanas Free Baby Shoes Sewing Pattern and Tutorial
Equipment
- Sewing machine
- Scissors
- Pins
Items Required
- 1 Fat quarter of fabric
- 1 Fat quarter of fabric for lining
- Interfacing- optional
- 1 inch Velcro
- Thread
Instructions
- Pin and cut out the pattern- cut two of fabric, lining (and lining- optional)
- Iron the interfacing to the fabric (optional- do not add interfacing to the strap piece)
- Sew the back heel seam of the shoe top on fabric pieces. Then do the same to the lining.
- Right sides together, sew the shoe top to the sole on the fabric. Then do the same to the lining.
- Insert the lining into the shoe, right sides together
- Sew the seam on the top of the shoe leaving a 1 ½ inch opening on the outside edge of the shoe
- Turn the shoe inside out through the opening you left on the top edge.
- Press under ¼ inch on the two long sides and one short side of each strap. Fold in half and stitch close to the finished edges.
- Insert the unfinished end of the strap into the opening at the top of the shoe.
- Sew around the top edge of the shoe to hold the strap on and to finish the edge of the shoe
- Place one small piece of the velcro on the end of the strap and sew on. Sew the matching piece of velcro on the shoe.
Video



Penny Slattery says
Dear Nana, Hi, My name is Penny Slattery And I love the Mary Jane shoes you have offered; I watched your tutorial for preparing these darling shoes and it is well done and I found it easy to follow.Thank you for sharing this tutorial. What I would love to have is One of your patterns and instructions for a boys pair of shoes. You see my oldest grandson and his wonder wife has given us a beautiful, bouncing baby grandson, our little Mickey! He is now 10 months old so I wonder if you have a 10 month size pattern. I would be so greatful if you could share a 10 month old pair of baby shoes. Your instructions are so well done and I would feel so privaleged and honored to have one of your boy shoe pattern to make my great grandson.
Thank you and God bless.