
A DIY Amazing Magnetic Chalkboard Rocks!
I saw a cute DIY Amazing Magnetic Painted Chalkboard in a young mother’s kitchen. It was complete with “I love you” notes from kids and cute magnets holding up to-do lists and colored pictures.
I loved the option of being able to write with chalk on the chalkboard painted surface as well as the option of using magnets.
It is a two for one I tell ya’!
I put the idea on my list as soon as I got home to share with you one day. Well, today is the day!!
Easy-Peasy Project but takes some time…
The DIY Amazing Magnetic Chalkboard takes some time, not because it is hard (It’s so easy), but because there is paint that needs to dry between each coat. The kids will love helping but you will need to call them back after each coat of paint dries.
What kind of chalkboard paint?
You will use chalkboard paint which comes in a liquid/brush on type or a spray on type. The spray paint type doesn’t work inside with photography and video so we used the brushed on type. You choose what works best for you.
Colored chalkboard paint? WHAT?!
I used the traditional black chalkboard color, but there is chalkboard paint that can be mixed to be the color of your choice. How cool is that? I want to try that next time. I’m late to the party, but I’d like to paint every bare surface in my house with chalkboard paint.
Oil Pans anyone?
The oil pans are available online or at most automotive stores. It is nice to choose one in person because you can see if it lays flat and doesn’t have a warp to it. If warped it doesn’t hang nicely and easily on a wall. I recommend using Command Strips for hanging by the way.
The oil pans are quite reasonable in price. The only thing I don’t like about them is the raised logos that are stamped into the metal. The logo gets covered in chalkboard paint but is still visible. Oh well.
Prepping the Oil Pan for Painting
I wanted the edges of the oil pan to remain silver and only paint the flat part so it looked framed and had a finished edge.
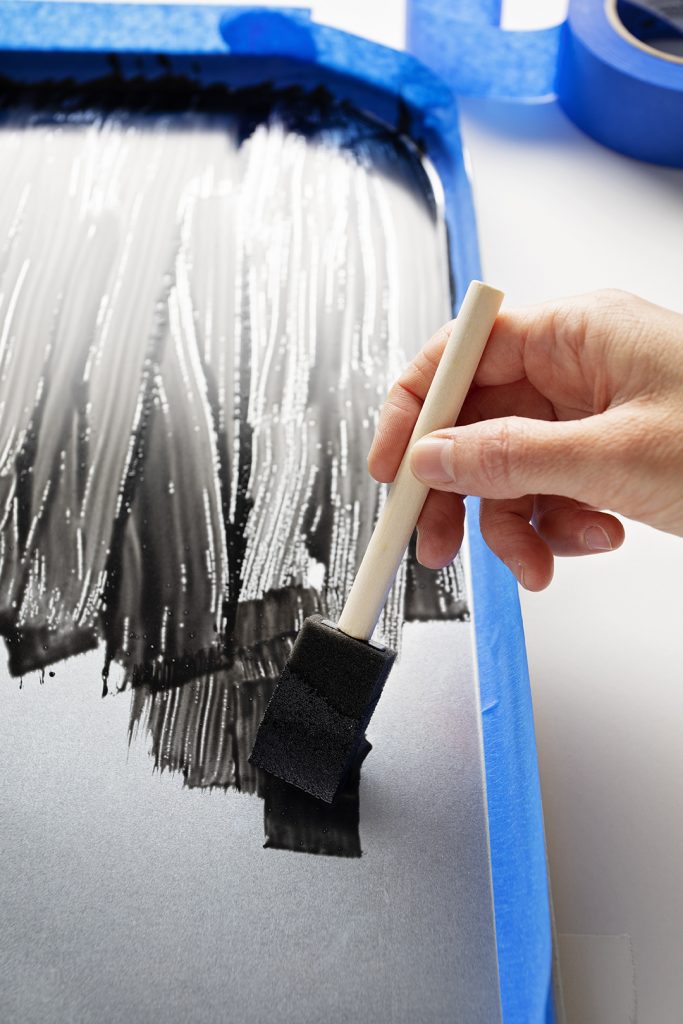
Use painters tape to tape off the edges of the oil pan so that the chalkboard paint only goes on the flat surface of the pan. Make sure the tape is pressed down well to give a crisp painted edge.
Painting with chalkboard paint
Stir or shake the chalkboard paint can up so it is well mixed before using. Use the sponge brush to paint the surface of the pan with strokes that go in one direction. Wait awhile while the paint dries (timing directions are on the can). Then paint the surface again with the brush moving a different direction. It may even need a third coat of paint. Let dry.
Prepping the surface for chalk
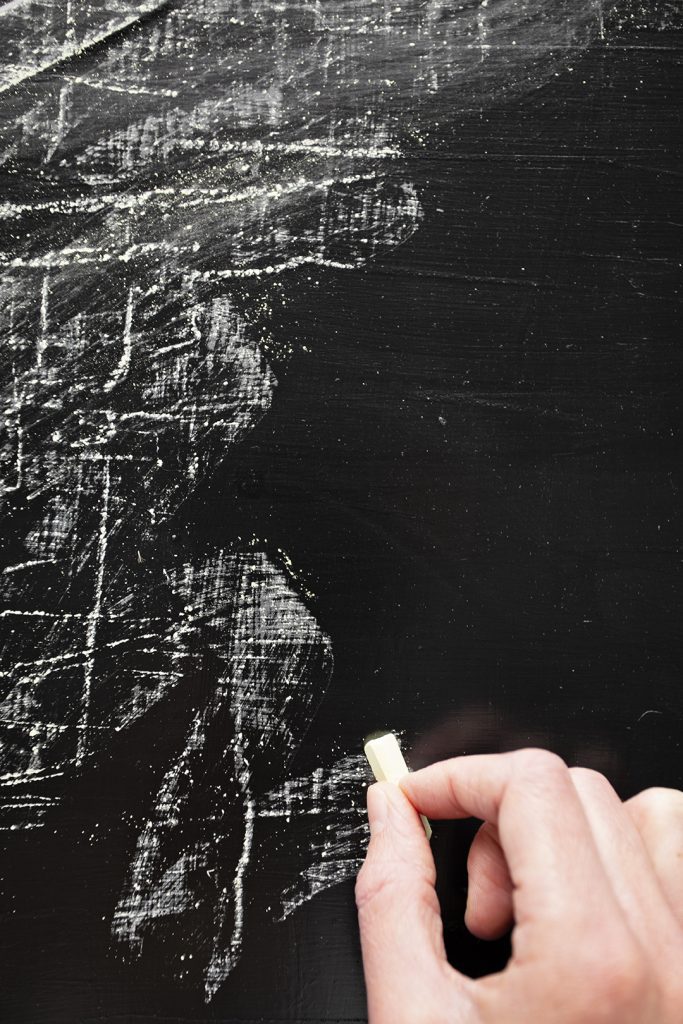
Use a piece of chalk on its side to go over the entire surface of the board. Wipe this off with a rag.
This “preps” the surface so that the chalk doesn’t stay on the paint permanently when you write on it later. Don’t skip this step.
Take off the tape carefully.
When taking off the tape, pull very gently as it can pull chunks of the paint with it. You may just go around the edge of the tape with the point of a knife first so this doesn’t happen.
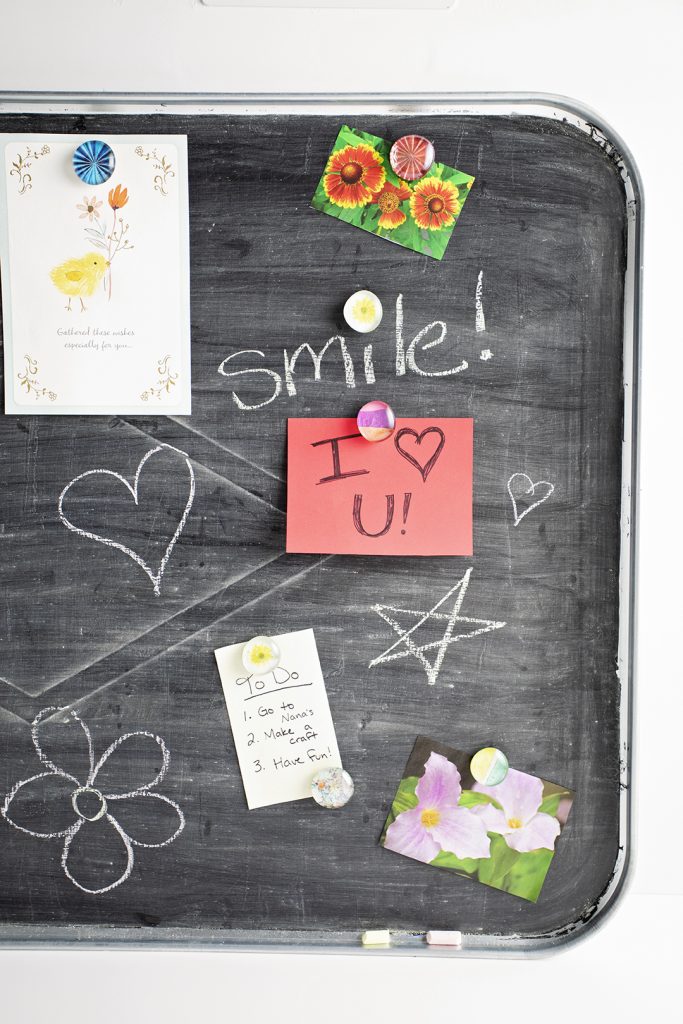
So many uses for a DIY Amazing Magnetic Chalkboard!!!
You could do so many things with an DIY Amazing Magnetic Chalkboard. How can I count the ways?
- Keep a toddler busy learning with magnet letters and shapes
- Make one for each child and display their art work and school papers in your home
- Create a display area in the child’s room
- Make a to-do center in your kitchen
- Use one to keep track of deep freeze contents (that’s what I need!!!)
- What are your ideas?
This darling DIY amazing magnetic chalkboard was inspired by a friend, Debbie. She made the one that I mentioned earlier. I just fell for the idea.
Debbie is an amazing Nana that is involved in her children and grandchildren’s lives in such cool ways. Debbie helps with 4H projects and attends their events as she lives close by to her grands. May all kids have a Nana like Debbie that loves and cares for them.
Glass Gem Magnets
Next week we will make the darling DIY Glass Gem Magnets featured on the DIY Amazing Magnetic Chalkboard video. Aren't they so cute?
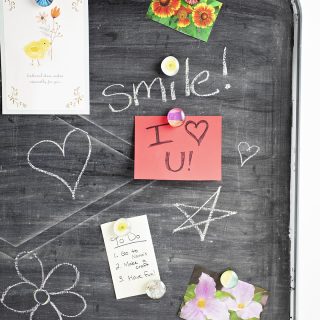
DIY Amazing Magnetic Chalkboard
Equipment
- Coverings to protect surfaces
Items Required
- 1 Oil pan (3×4’ from automotive store)
- 1 can Chalkboard paint
- 1 Sponge brush
- Paint tape
- Chalk
- Hanger for board 3M Command strips could work well
Instructions
- Use painters tape to tape off the edges of the oil pan so that the chalkboard paint only goes on the flat surface of the pan. Make sure the tape is pressed down well to give a crisp painted edge.
- Stir or shake the chalkboard paint can up so it is well mixed before using. Use the sponge brush to paint the surface of the pan with strokes that go in one direction.
- Wait awhile while the paint dries (timing directions are on the can). Then paint the surface again with the brush moving a different direction. It may even need a third coat of paint. Let dry.
- Use a piece of chalk on its side to go over the entire surface of the board. Wipe this off with a rag. This “preps” the surface so that the chalk doesn’t stay on the paint permanently when you write on it later. Don’t skip this step.
- When taking off the tape, pull very gently as it can pull chunks of the paint with it.
Video

Enjoy!
Welcome to Nana’s! Where there’s fun things to do with your “grand” kids!
Come join the fun at www.WelcomeToNanas.com


Leave a Reply