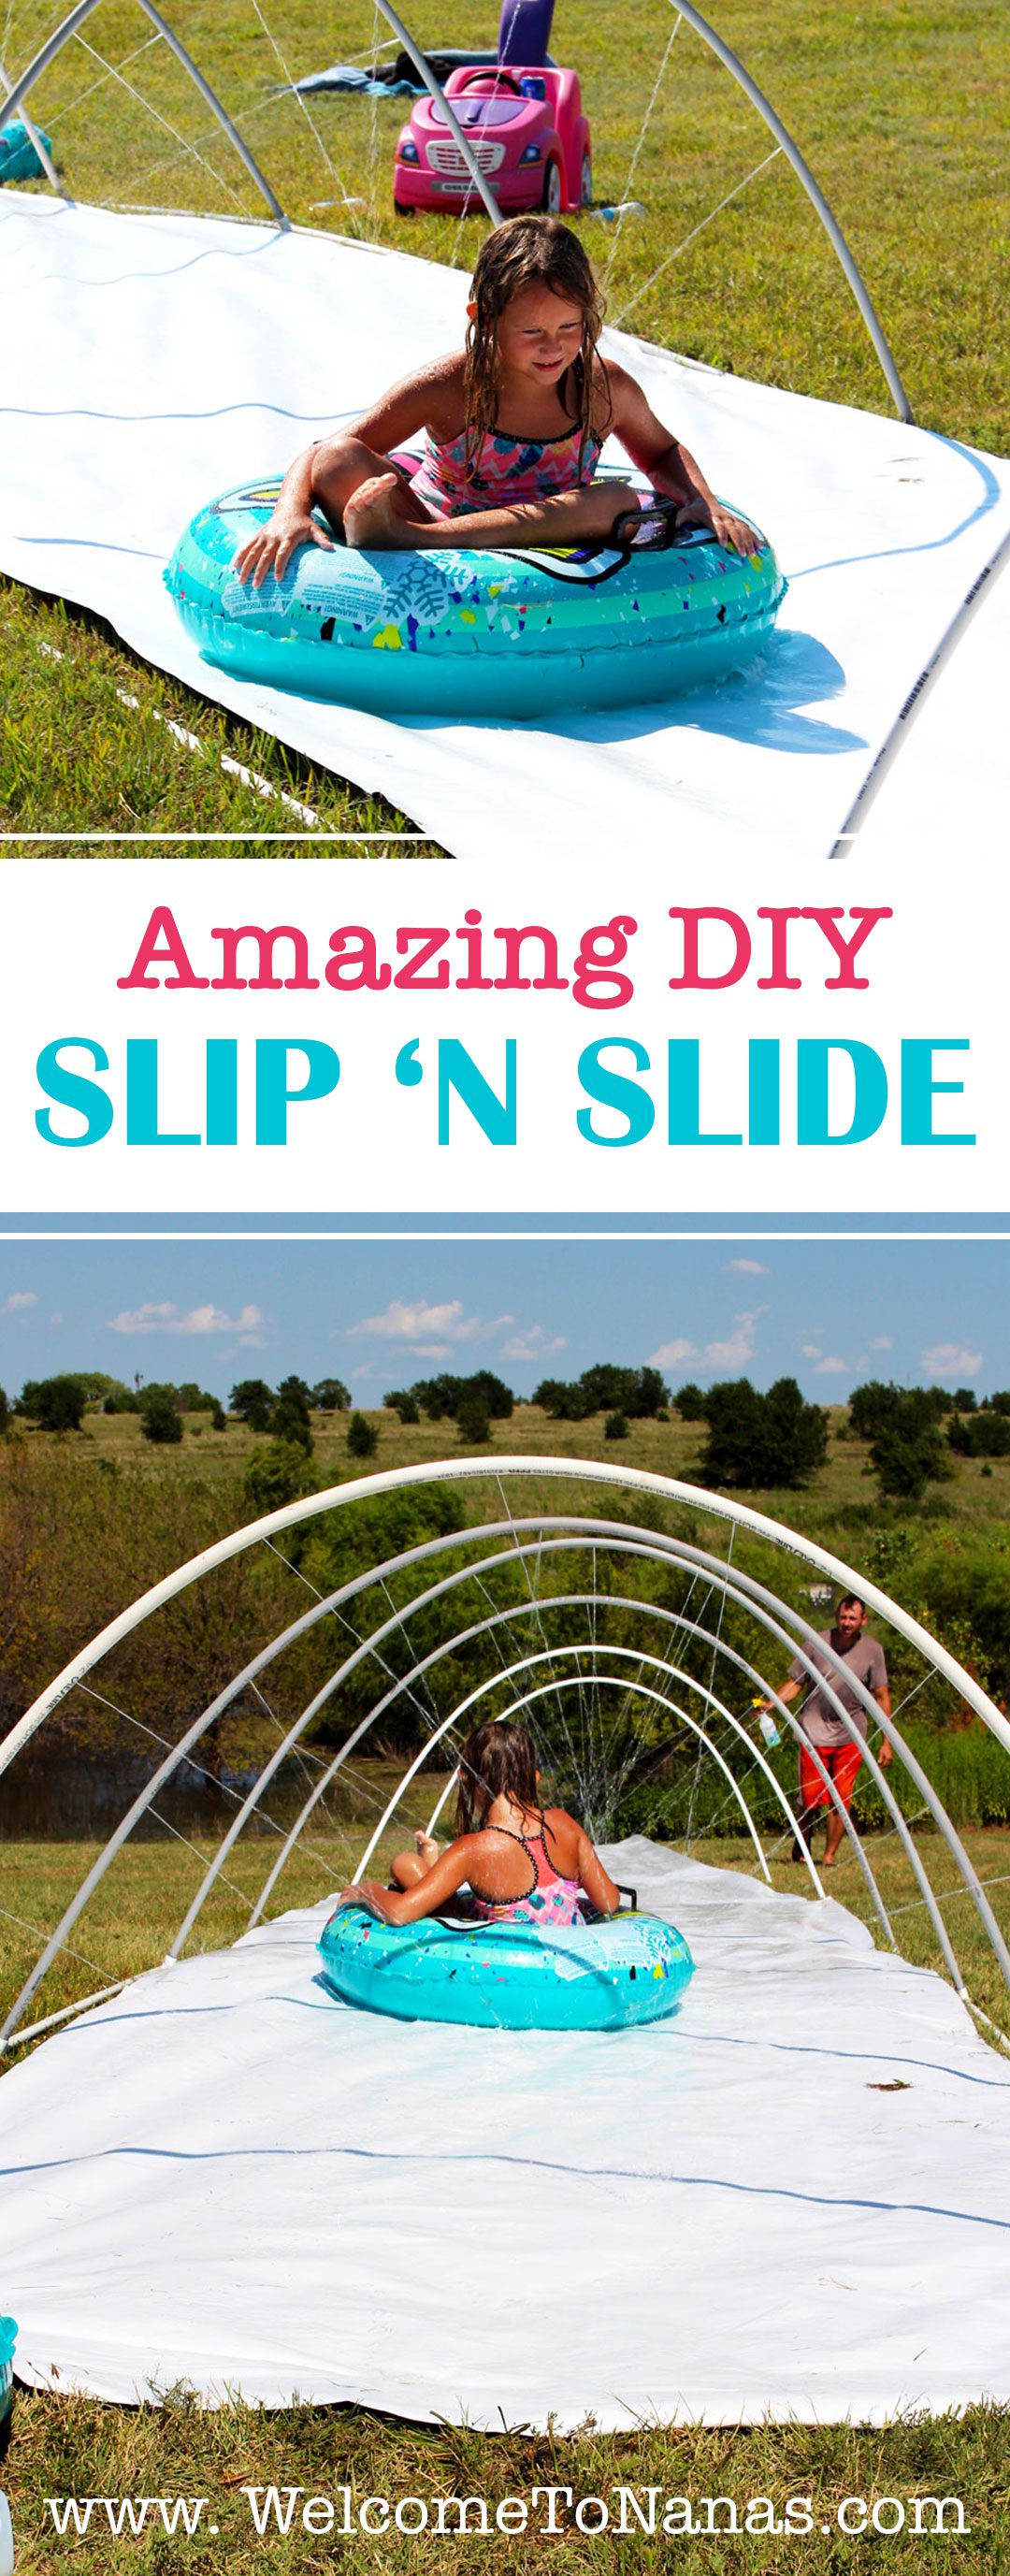
Amazing DIY Slip 'n Slide
A DIY Slip 'n Slide has some supplies cost to it, but it is worth it! I've been wanting to try this for some time.
Making the Slip 'n Slide
Being a farm family we have heavy plastic in our farm shed from a project we did a couple years ago. You can pick some up at a local discount store, farm center, garden center, lumber yard or on Amazon.
The slip 'n slide works on a flat yard, but if you have an area with a slight downward slope it makes this go from a fun slide to an Amazing DIY Slip 'n Slide!! A double layer of the plastic will make it a bit stronger which I think helps prevent tears.
Tip: Clear the ground of any rocks, sticks or other small objects that will tear the plastic or hurt those sliding.
Optional: Curl the plastic back around pool noodles on each side of the plastic and tape with duck tape on the back. This provides a "bumper" and keeps the kids on the slide.
Secure the plastic in place with landscape anchor pins on the edges.
Tip: Be sure to get the landscape anchor pins completely down into the earth to keep them away from grand little fingers and toes.
Wet and Wild
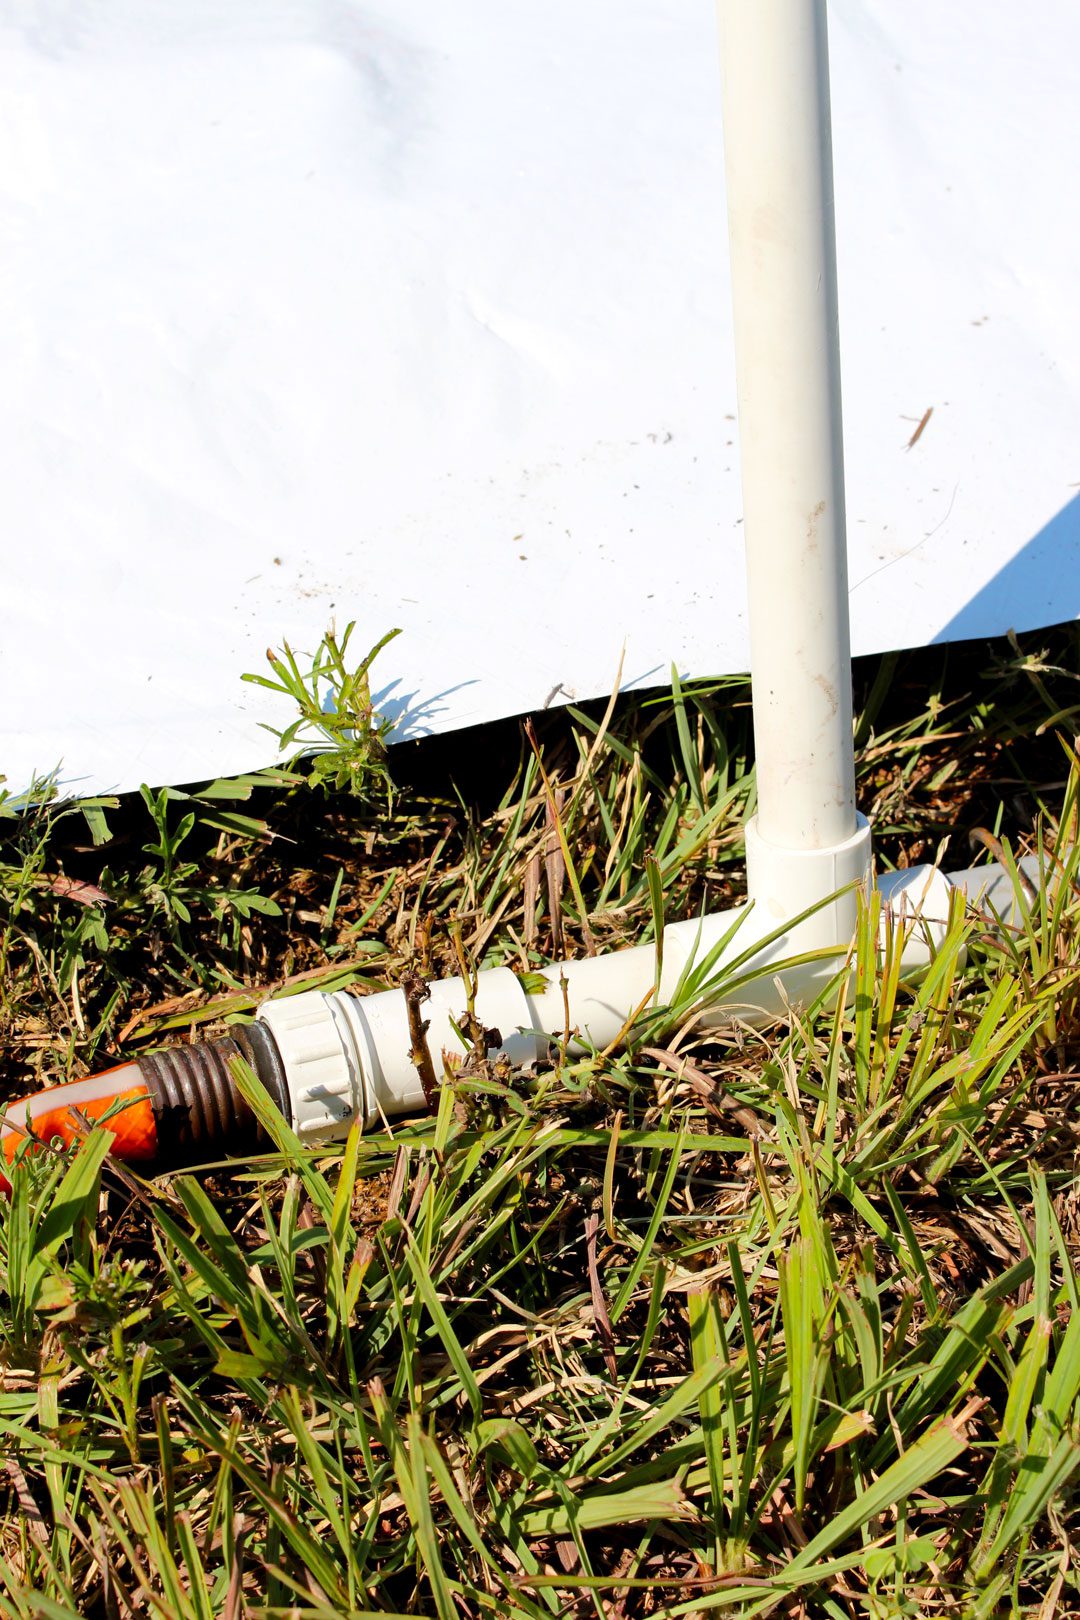
Connect the garden hose to a water hydrant and place the nozzle at the top of the slide. Hook a sprinkler to the hose to wet both the children and the slide. This gives the "slip" to the slide and keeps the kids cool as well.
Super Charged DIY Slip 'n Slide
For a really slick DIY Slip ‘n Slide try squirting a bit of baby shampoo or baby soap onto the plastic!
Tip: baby shampoo doesn’t hurt your eyes so don’t substitute other shampoos!
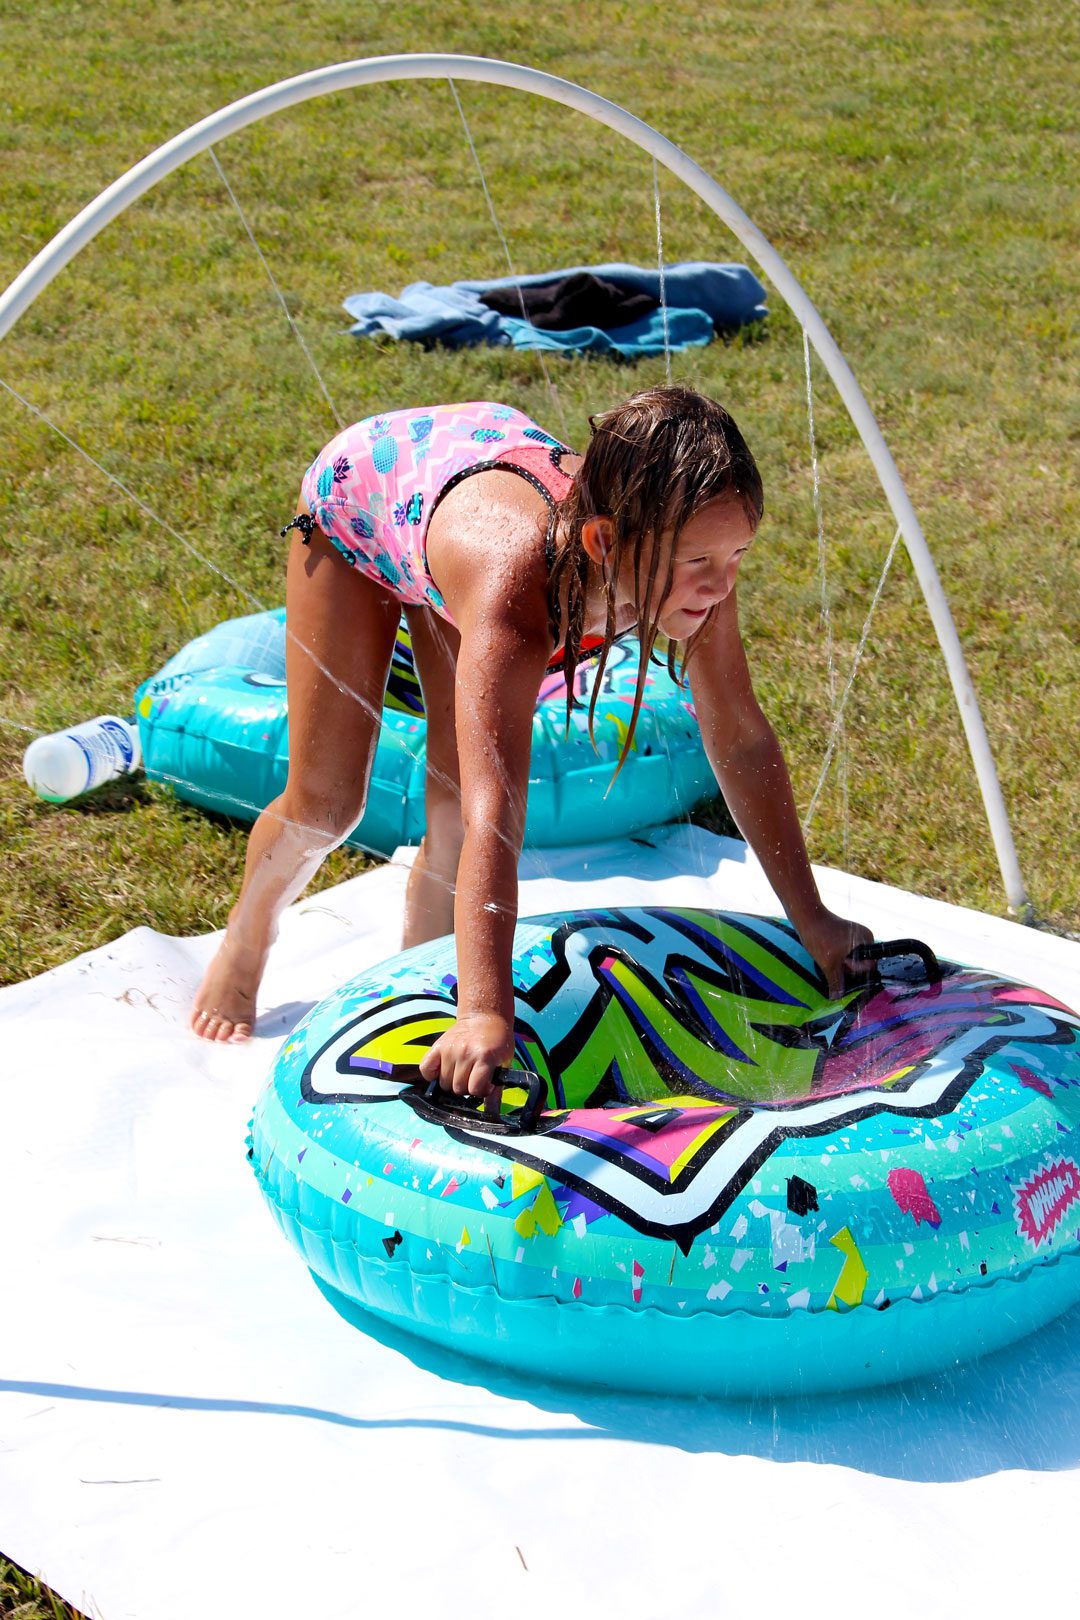
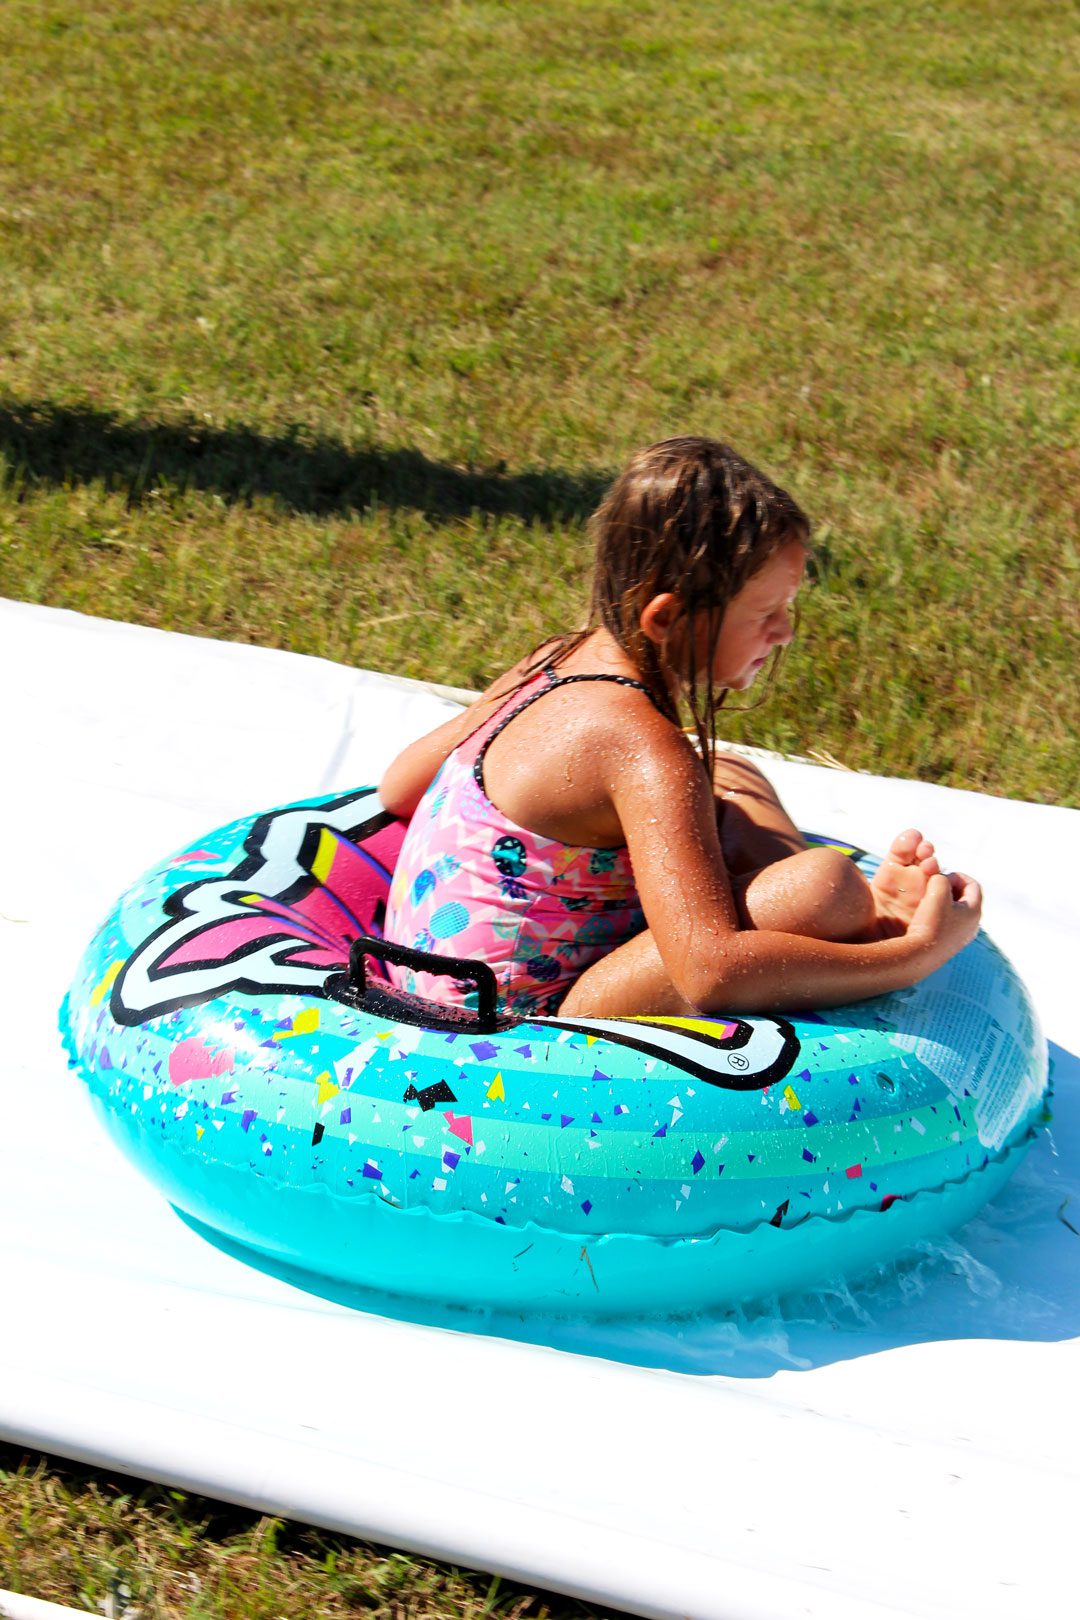
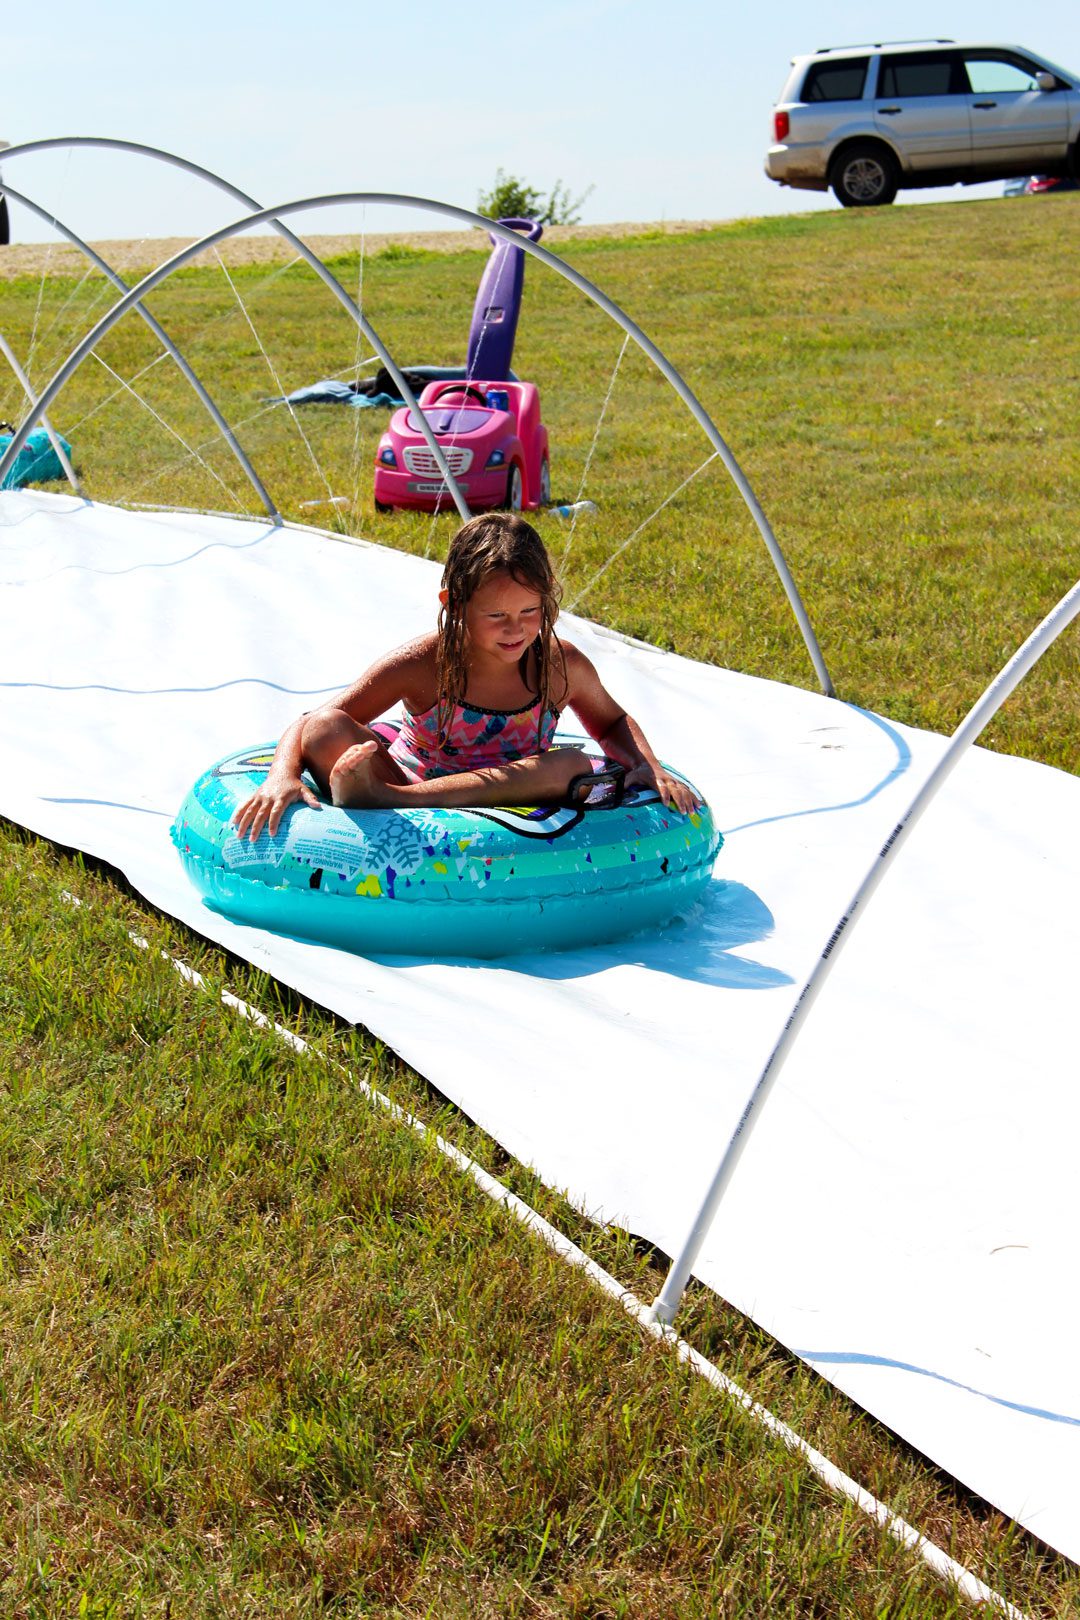
Optional: use a blow-up pool toy or inner tube on the slide. Note, this makes for an even faster slide. It also makes it more fun for Nana and Papa. We're not too into sliding on the ground otherwise.
Don't: stand or run on the slide.
Super Duper Charged Up DIY Slip 'n Slide
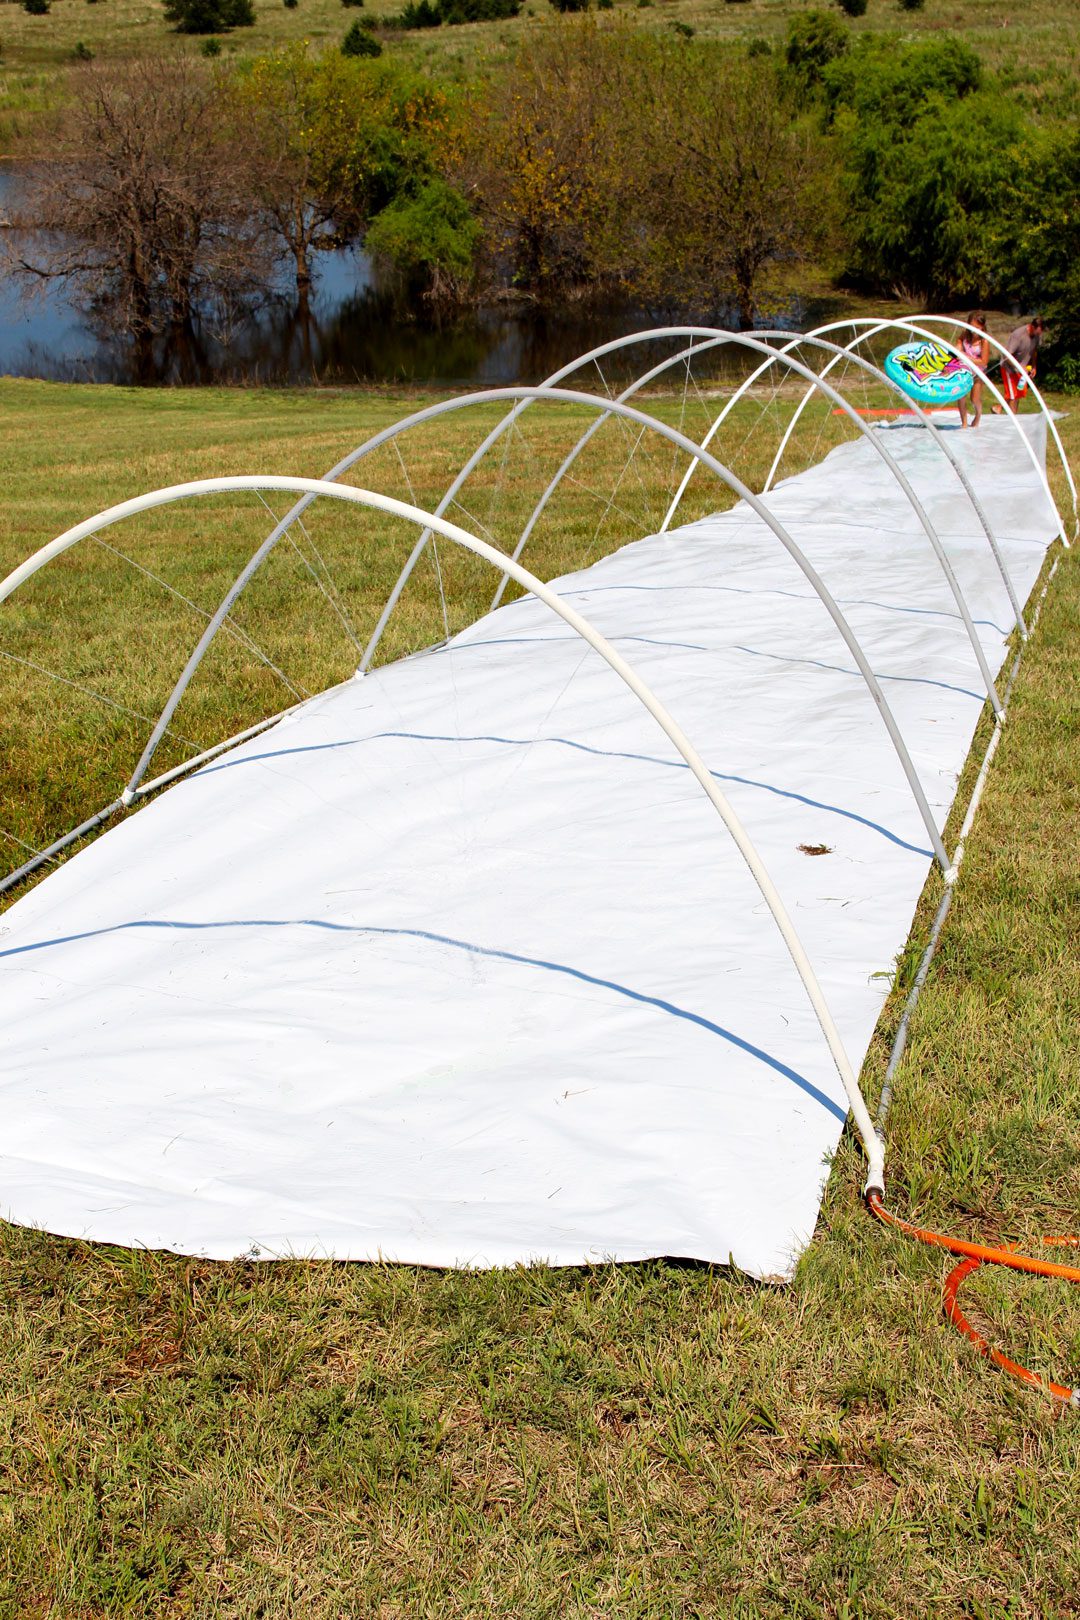
Our neighbors are awesome people. They love to do fun things with and for their kids. I saw they had made an Amazing DIY Slip 'n Slide and I "slipped" over and took these pictures.
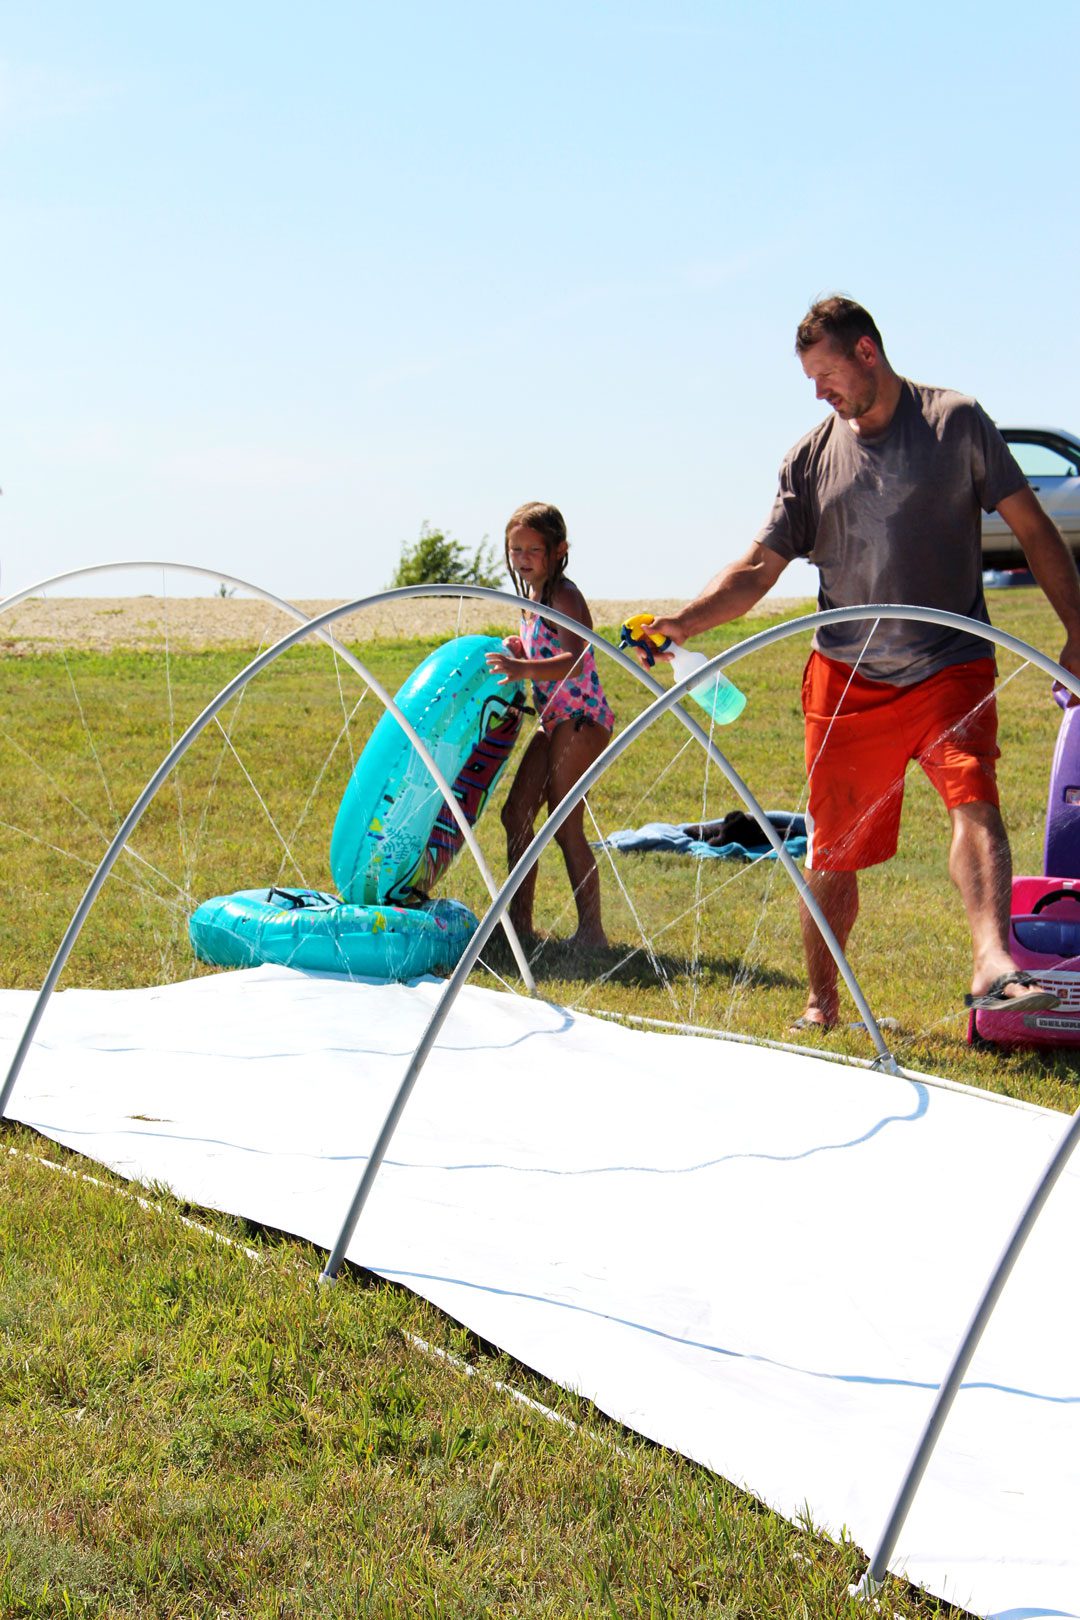
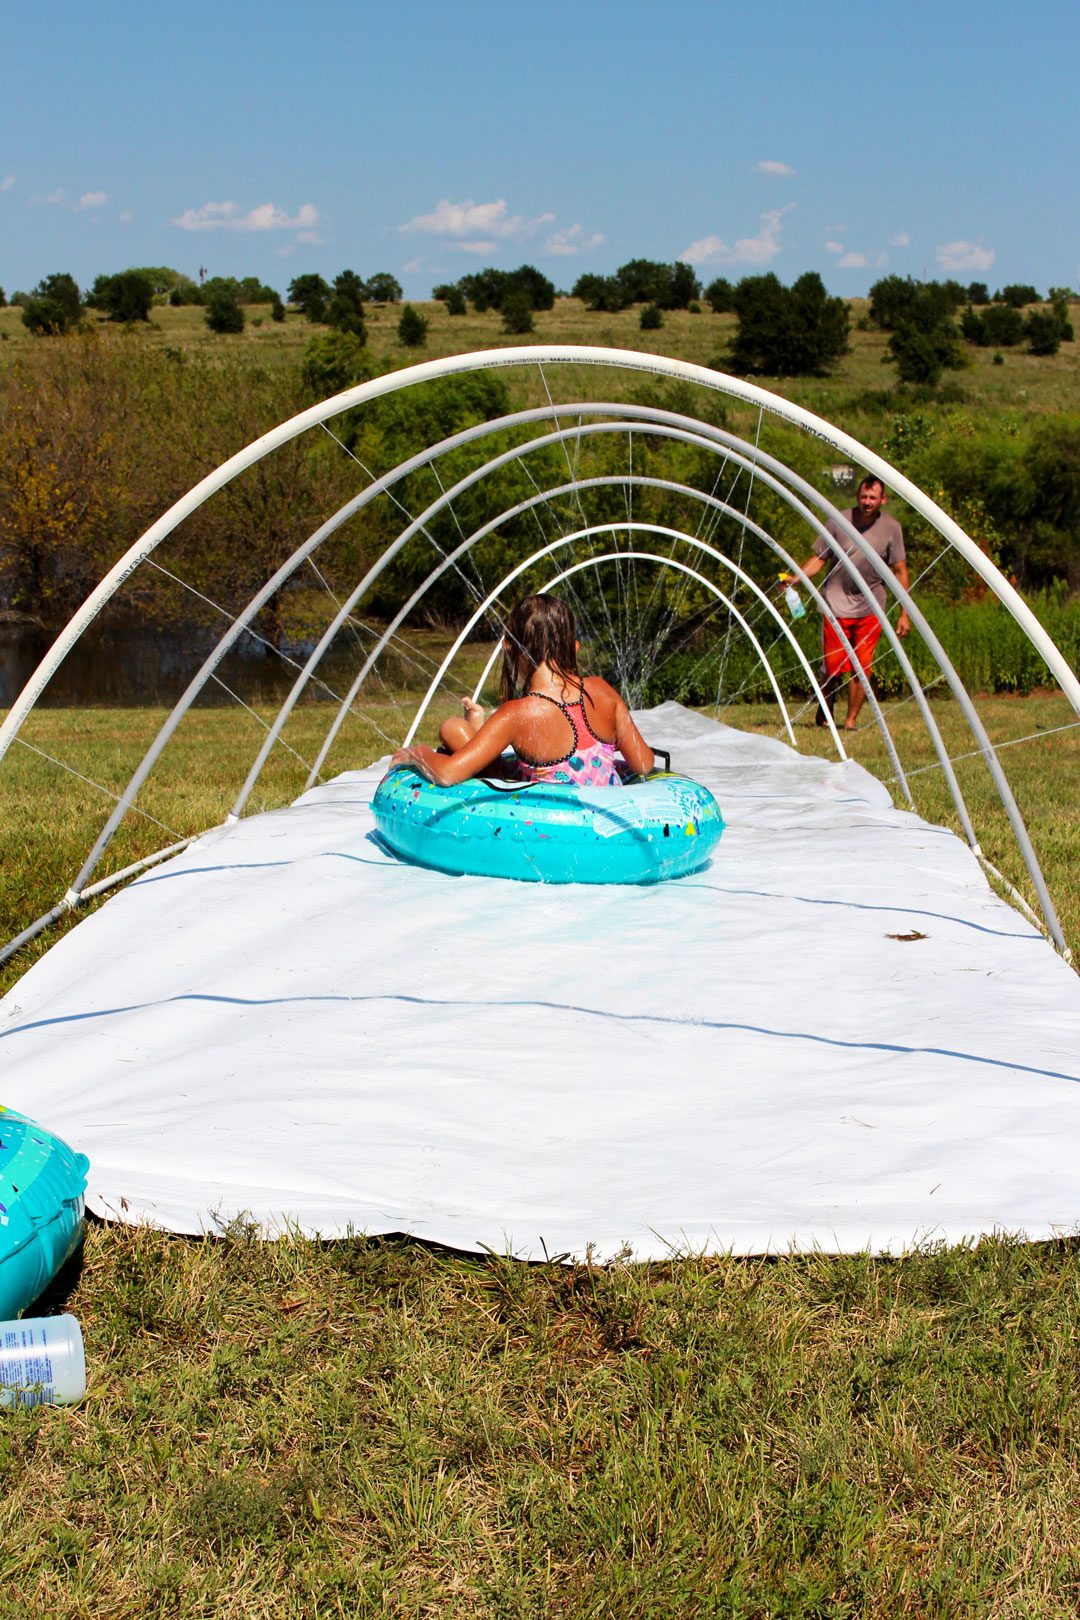
They ramped things up a few notches by using a super long piece of crawlspace underlaying plastic. They also created this great framework of plastic pipe. It kept the water sprinkling onto the slide through a framework that extended all the way to the bottom. To top it off they have a really long hill in their backyard.
This was a birthday party feature that will be hard to top!
They kindly gave permission to use these pictures. Thanks neighbors. Isn't she a sweetie?
Another practical tip: take the slide up when you are done or move it around the yard fairly often so it doesn’t damage your grass.
Let me know how yours turn out!
Watch out grands, here come Nana and Papa!
ENJOY!
If you try this craft, let me know! Go ahead and leave a comment, rate it, and tag a photo with #WelcometoNanas wherever you post.
DIY Slip n' Slide Supplies
- Heavy-duty opaque plastic sheeting 6 mil (12’x50’ 6 mil works well) (our neighbor used white crawlspace underlaying plastic)
- Landscape anchor pins
- Hammer
- Garden hose
- Sprinkler
- Inner tube (optional)
- Baby shampoo or soap (optional)
- Pool noodles and duck tape (optional)


Dorothy says
Hi my name is Dorothy! My kids really want a slip n slide how much is this? My email address is dorothy075 @gmail.com
Shelly says
Hey Dorothy! So glad you like the slip n slide! The cost for making your own will vary greatly, based on what materials you choose and how creative you want to be with it! The good thing is, no matter your budget, you can make your own variation of a slip n slide that fits you and your kids!
Lillian says
Thanks For The Amazing Idea! My Kids LOVE It!
Bella says
Can't Wait To Try! I'm Sure My Kiddos Will have a Blast!
Shelly says
I hope you got to this during the summer! Have fun
Shelly says
I'm so glad! Even the adults loved this one!!
Elaine Buskirk says
I would love to have a material list and measurements on how to build this. I do not see it in the post. Love this idea I have a Daycare and I would like to build it for summertime fun.