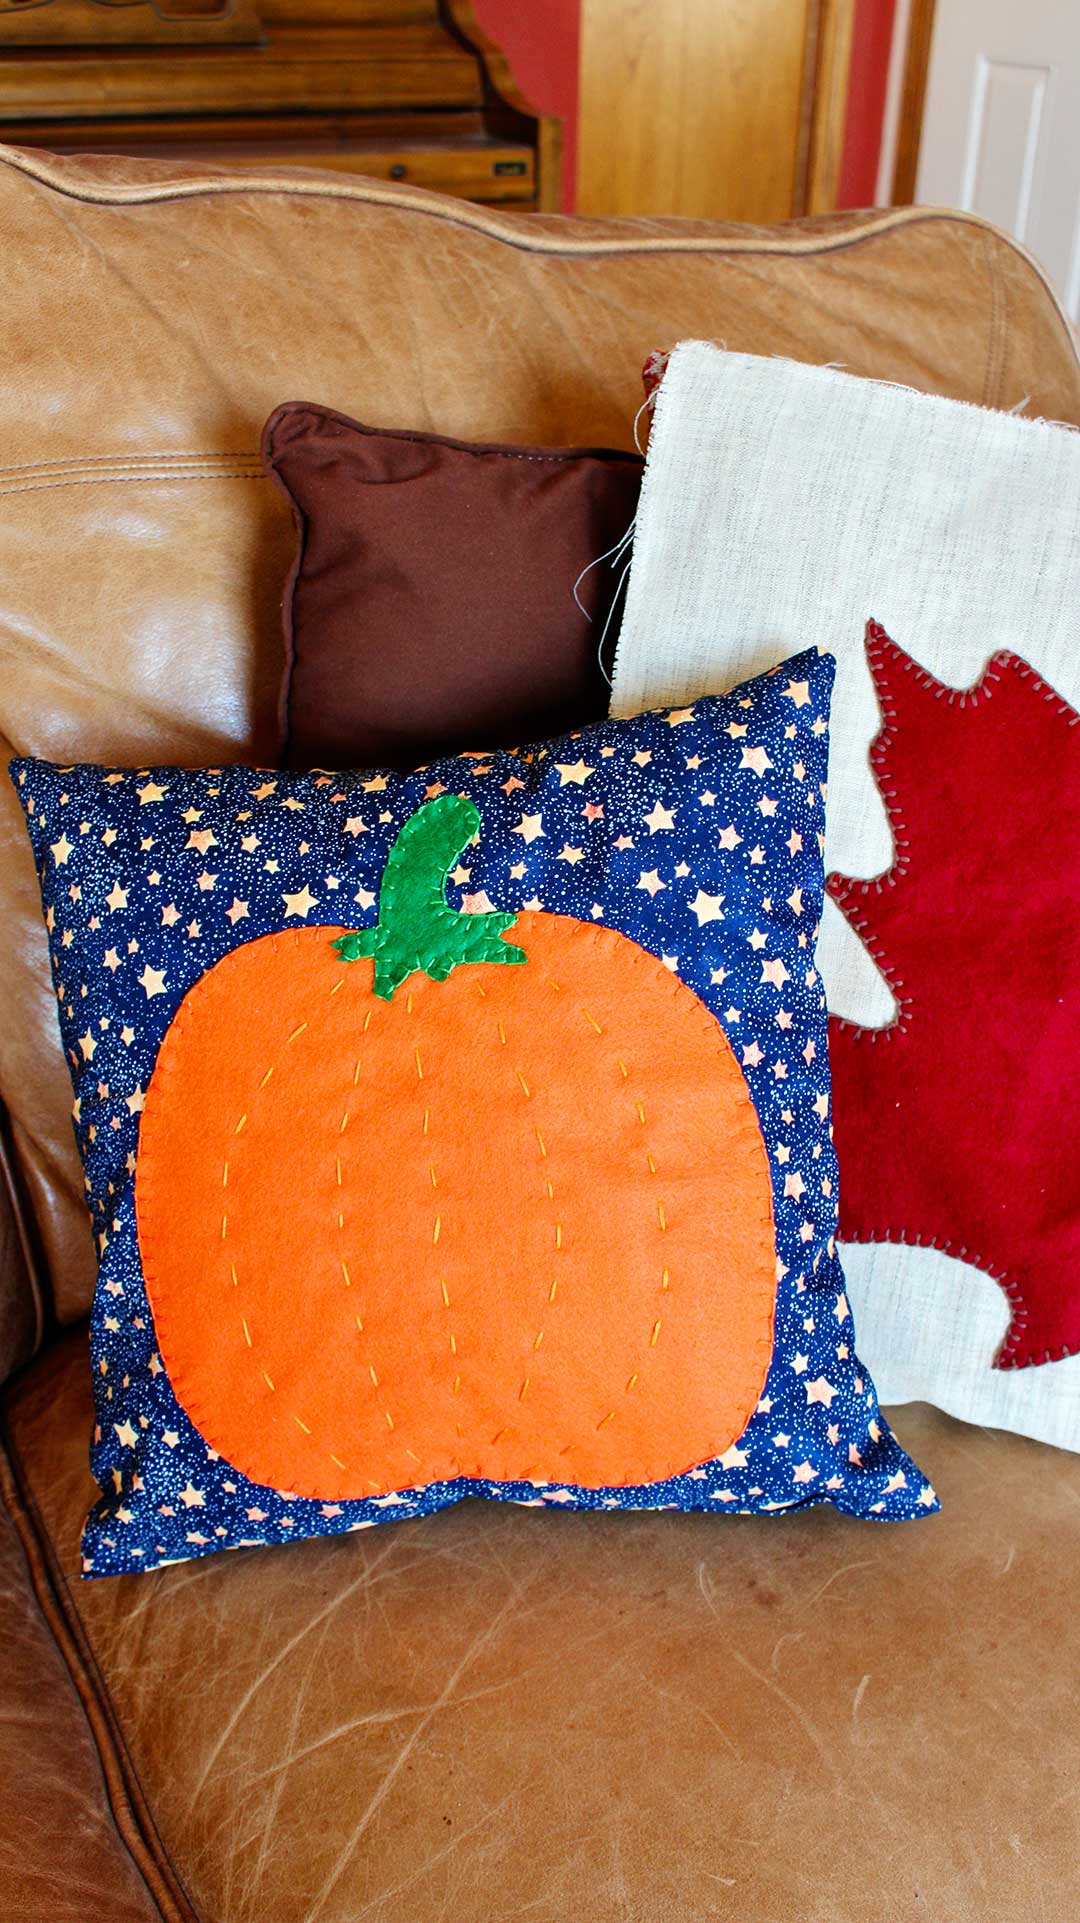
Sew a Pumpkin Fall Pillow
Let's have some fun and Sew a Pumpkin Fall Pillow for your couch. You will learn an easy embroidery stitch (the blanket stitch) to applique' on a felt pumpkin or jack-o-lantern! These are great skills you can use over and over again.
This is also a perfect "learn to sew" project for your kids or grandkids (or yourself)! Make several for gifts.
You will learn how to:
- Measure and cut a pillow in the size of your choice
- Cutting a decorative pumpkin from felt for the pillow front
- The embroidery blanket stitch for attaching the decoration to the front of the pillow
- How to sew and fill a pillow
- Get your pattern for the pumpkin fall pillow at Sew a Pumpkin Fall Pillow Free Pattern
Fall Throw Pillow fabric prep & cut out
Pre-wash your fabric before using. This is always a good idea with any project. Wash according to the instructions on the end of the bolt when you purchase it from the store.
Lay the fabric out and cut a square that is ONE INCH larger (both directions) than the size of the pillow you would like when you are finished.
I had a pillow form I found at a garage sale that I wanted to use. It was 14x14 inches in size, so I cut my fabric to 15x15 inches.
Tip: Reuse a pillow that you have as a pillow form! Gotta love up cycling!
Fall pillow sizes- 16x16, 18x18, 20x20
Most of the pillows on my couch are 18x18 inches in size. If I did this project again, I would make my pillow that size. But I was being resourceful in using what I had so that is a good thing too!
Your pillow can be any size you desire. The larger the pillow the more fiber fill stuffing you will need to use to stuff it. Just sayin’!
Tip: It works well to measure your fabric with a yard stick and mark with a white fabric marking pencil or chalk. Then you can just cut on that line and make sure it is straight. Those of you that have rotary cutters and marked cutting mats know that is the easiest way to do things! But use what you have and keep learning!
Free Pumpkin Fall Pillow Pattern
For the pumpkin design there is a Free Pumpkin Pattern for you to print off. Here is the link to that Free Sew a Pumpkin Fall Pillow Pattern.
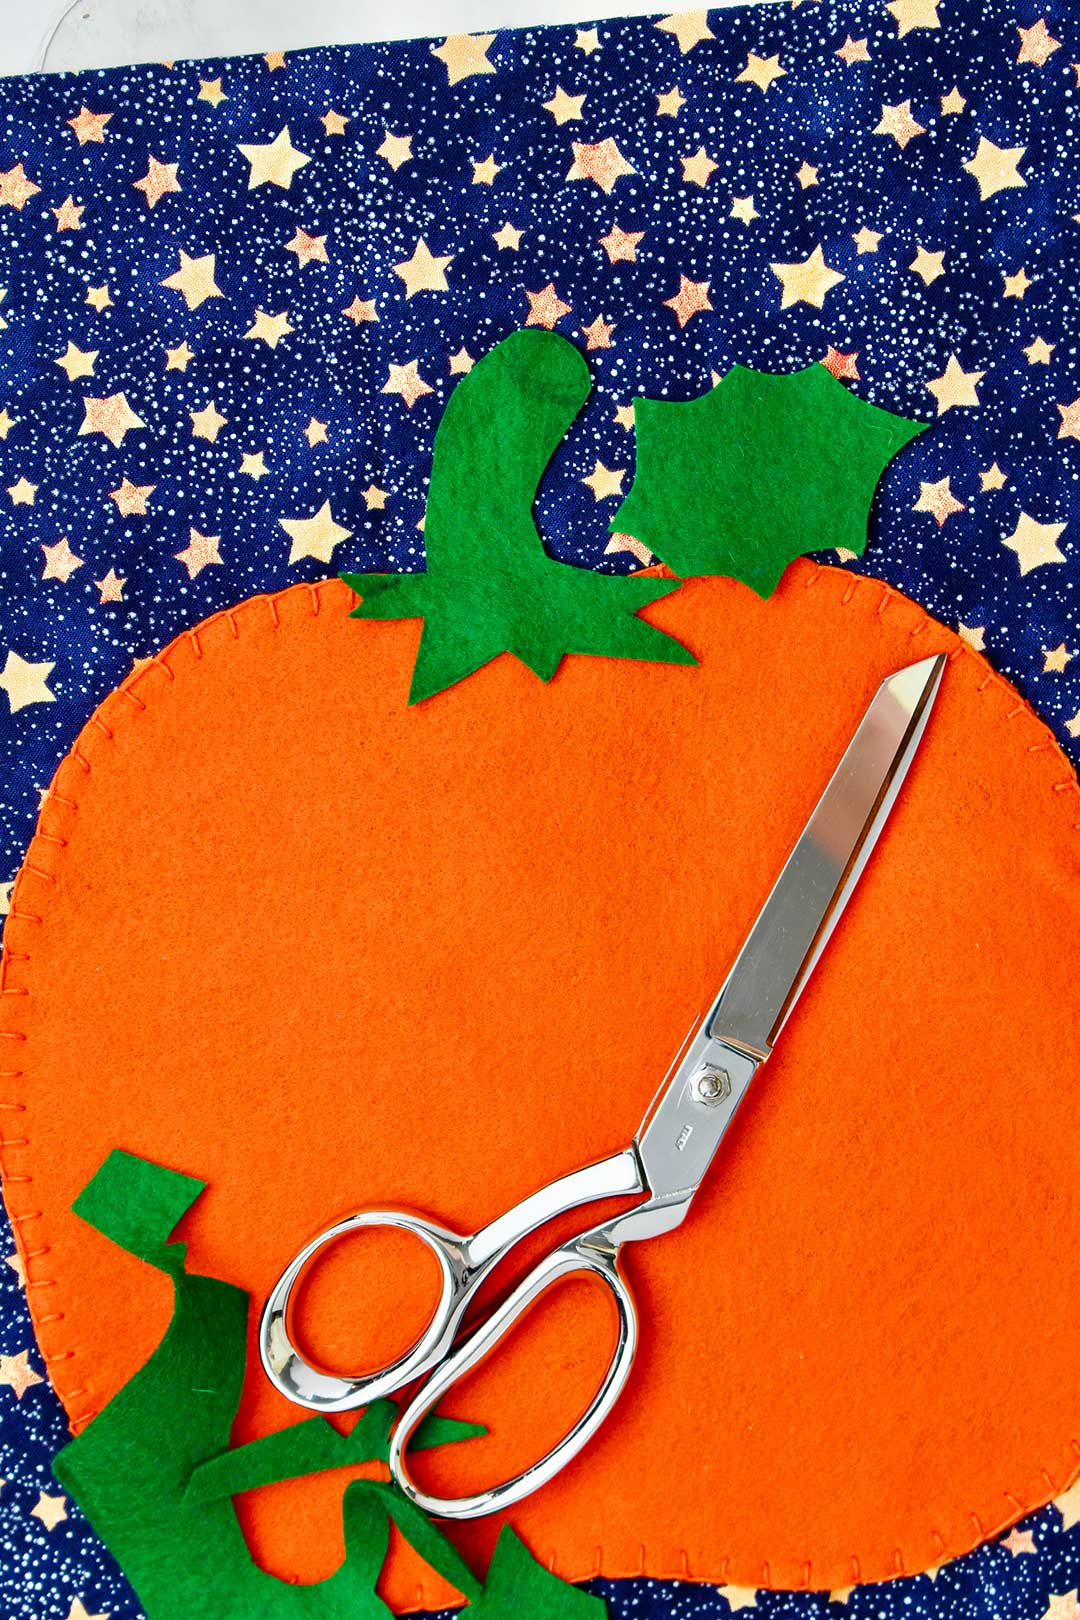
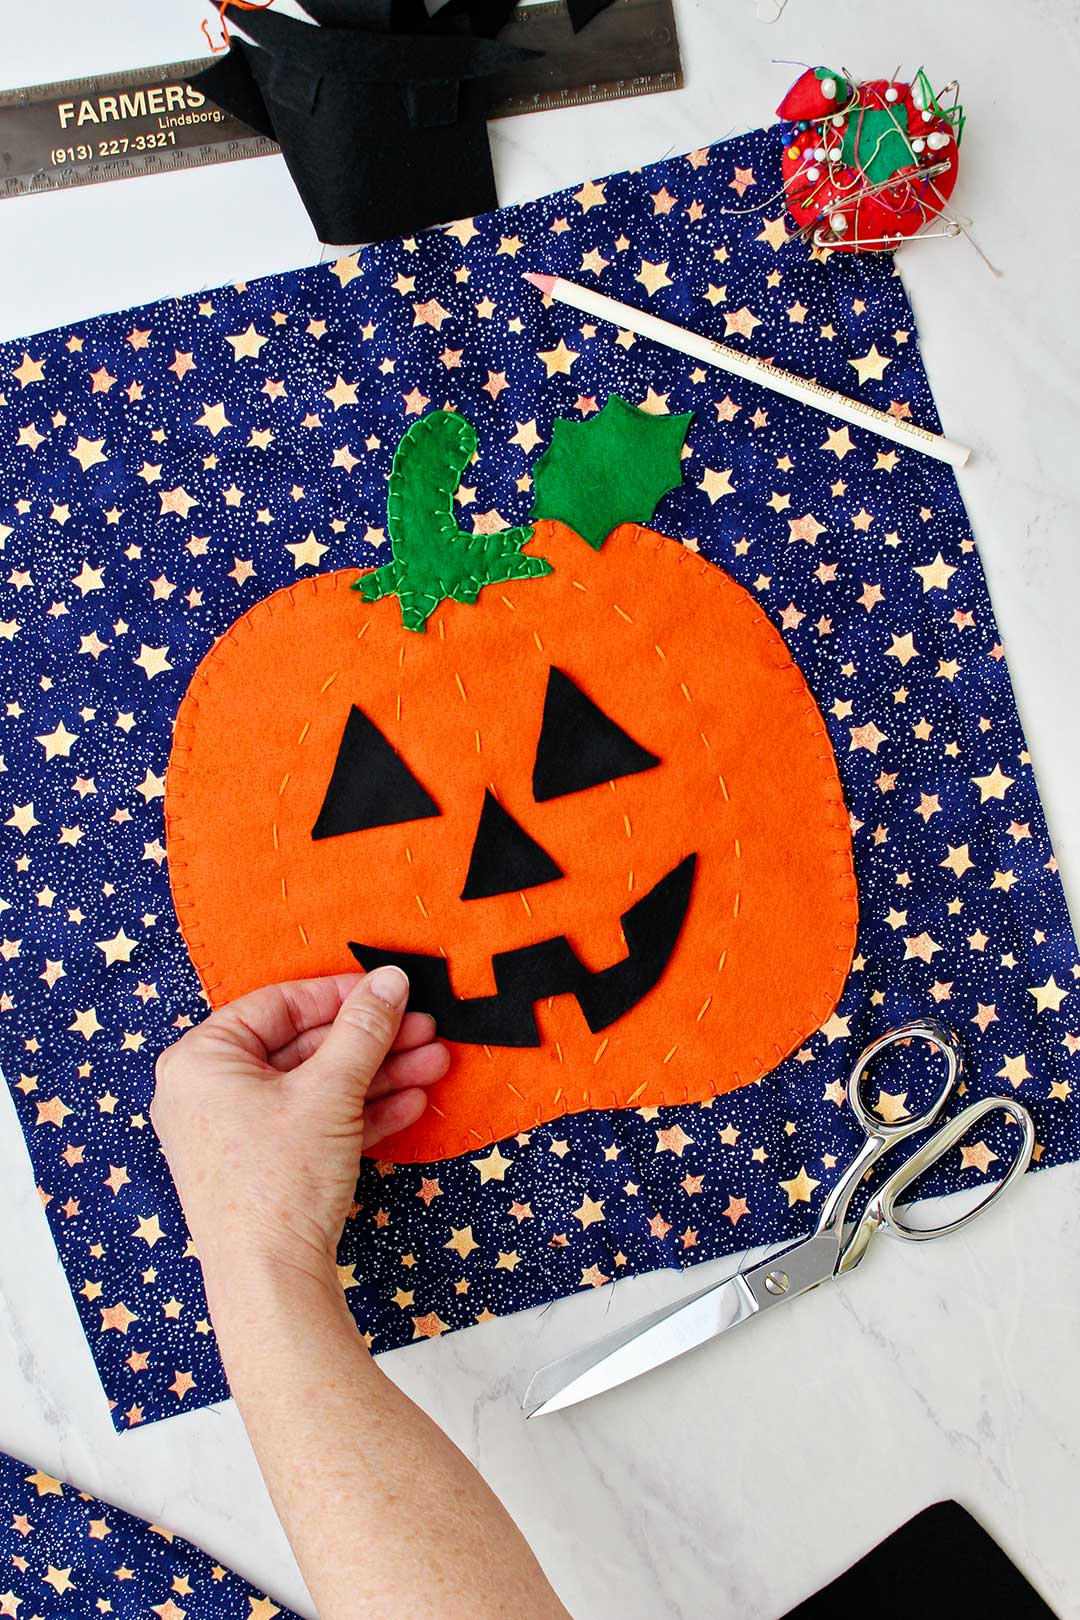
Cut the pumpkin shape out of the orange felt, the stem and leaf out of the green felt and the jack-o-lantern face out of black felt. The face is optional. I did not actually do this on my pillow as I wanted to use it for the entire fall season.
Note: Of course, you can cut any design you would like to applique on the front of your pillow. I do recommend that you use felt regardless of what design you choose so the edge does not unravel. I do not teach the more advanced technique of fabric applique in this tutorial.
Fall Leaf Pillow- optional design idea
I made a pillow with a maple leaf on the front, and it turned out very nicely. I really like it on my couch this fall!
Moment of honesty- I have had that leaf pillow cut out and ready to sew for a LONG time. This was my opportunity to finish it up! Thank you for helping me out! Ha!!
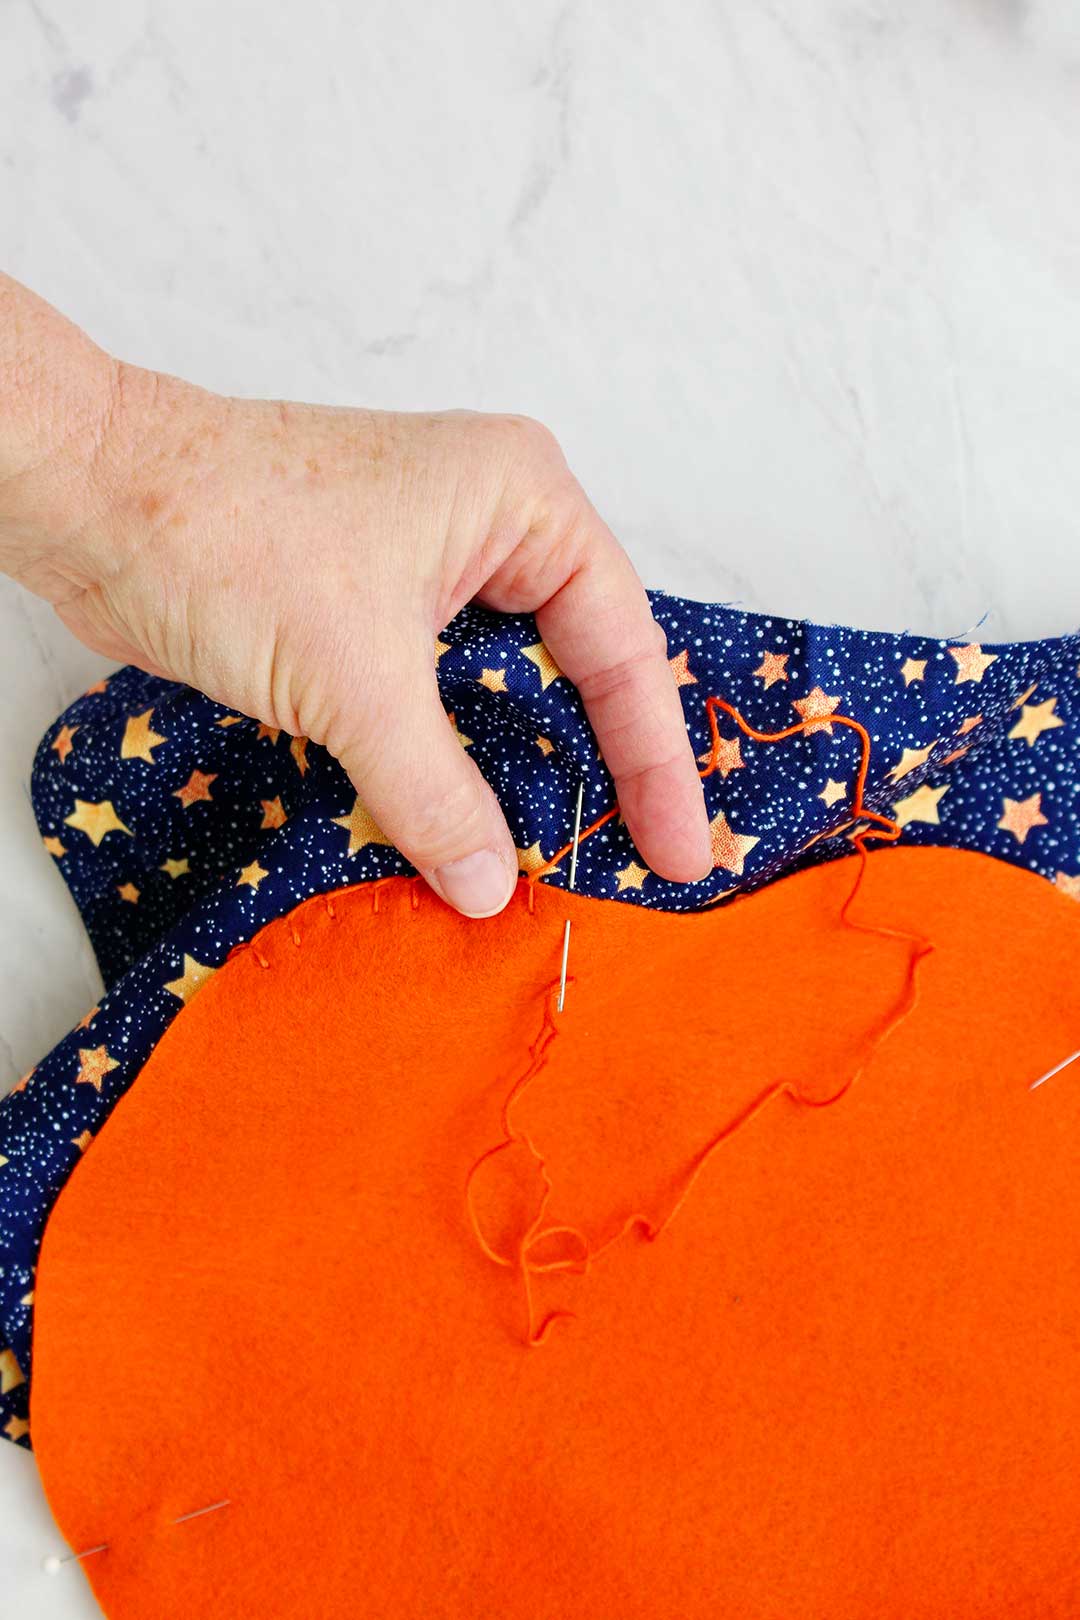
Pin the pumpkin piece of felt on the right side of one of your pillow fabric pieces. We will be attaching it to the fabric with an embroidery stitch called the blanket stitch. You can use a large embroidery hoop on your fabric if you desire. I do not do that in this tutorial.
How to embroider The Blanket Stitch video
OK, so the blanket stitch is one of my favorite embroidery stitches. You will find many uses for it including decorating patches on jeans!
I've made a short video to show you the blanket stitch more specifically. Here it is: How to Hand Sew- The Blanket Stitch.
How to thread a needle video!
Thread your embroidery needle with a whole piece of embroidery thread that is about 18-24 inches long. You will need to tie off your thread and get another before you are finished with the pumpkin. But I promise you it is worth it rather than trying to use a very long piece of thread and getting lots of knots. That is very frustrating.
Here is a video on how to thread your needle: How to Hand Sew- Threading a Needle 2 Ways.
How to knot your hand sewing thread video!
Tie a knot in the other end of your embroidery thread. Do not tie both ends together, you are sewing with just a single piece of thread, not a double thread.
Here is a short video showing you the trick I use in tying your thread: How to Hand Sew- Knotting Thread 2 Ways video tutorial.
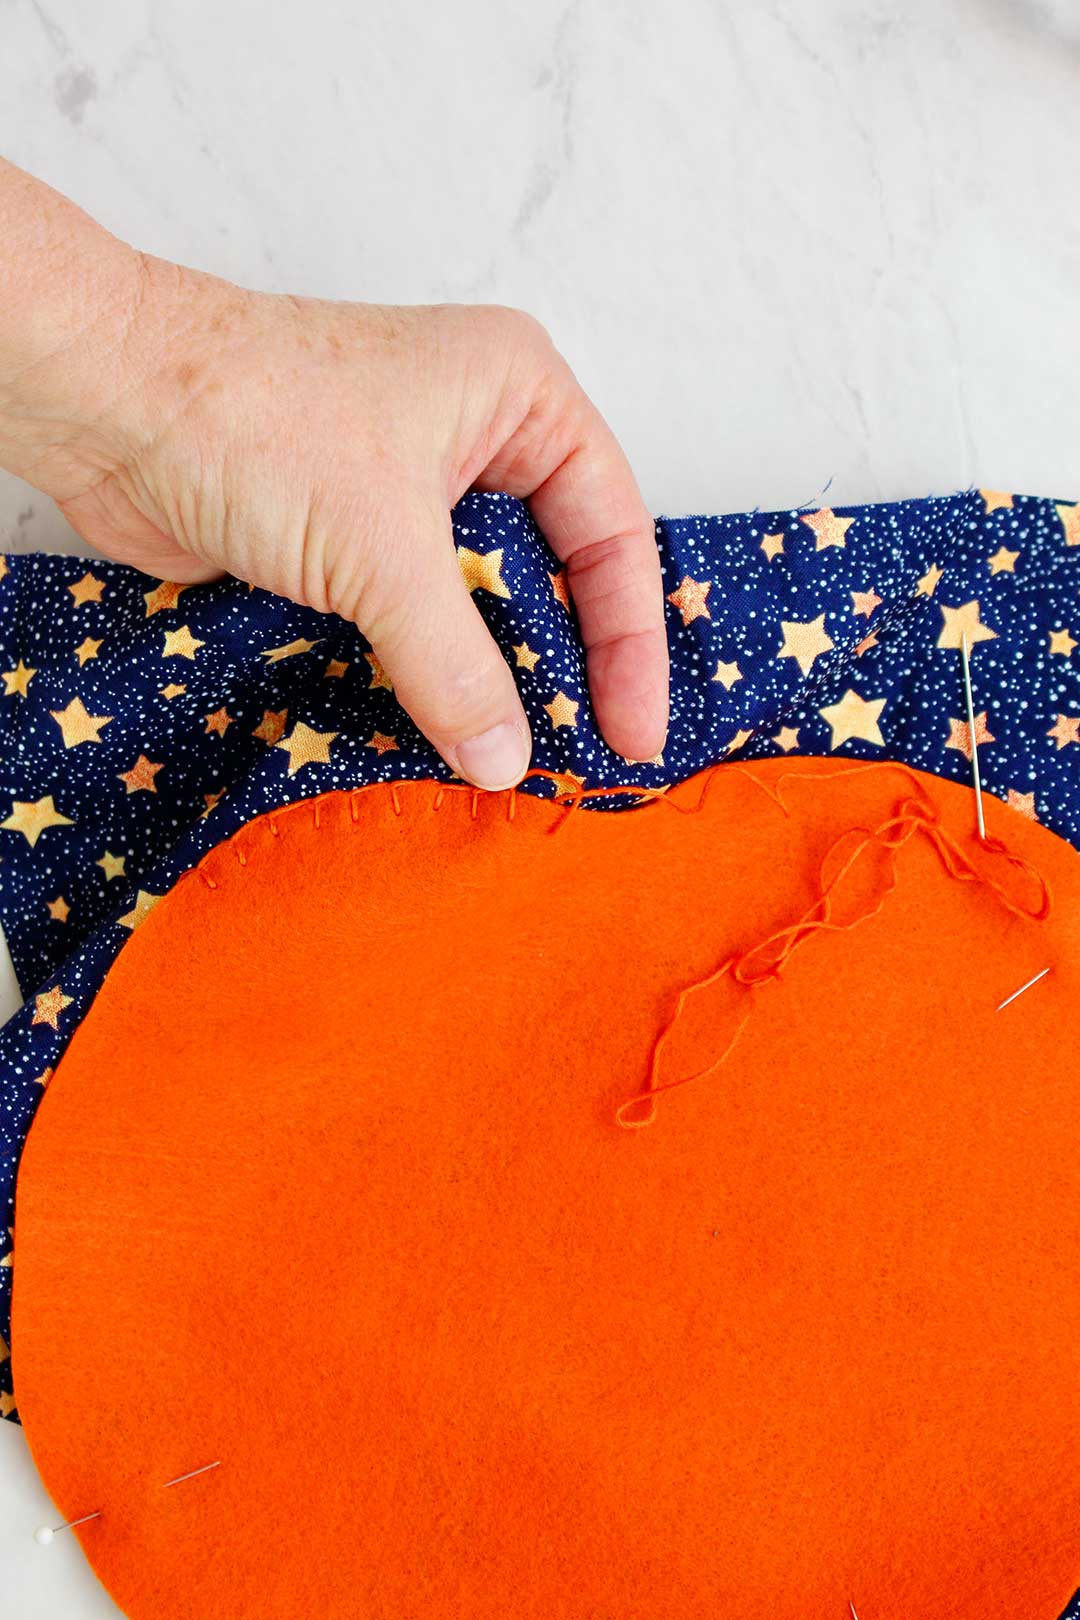
Bring your needle up from the back of the fabric right next to the edge of the felt.
Pull the embroidery floss to the left of the felt.
Go down through the felt about ¼ inch from the edge of the felt and about ¼ inch from where you came up through the fabric.
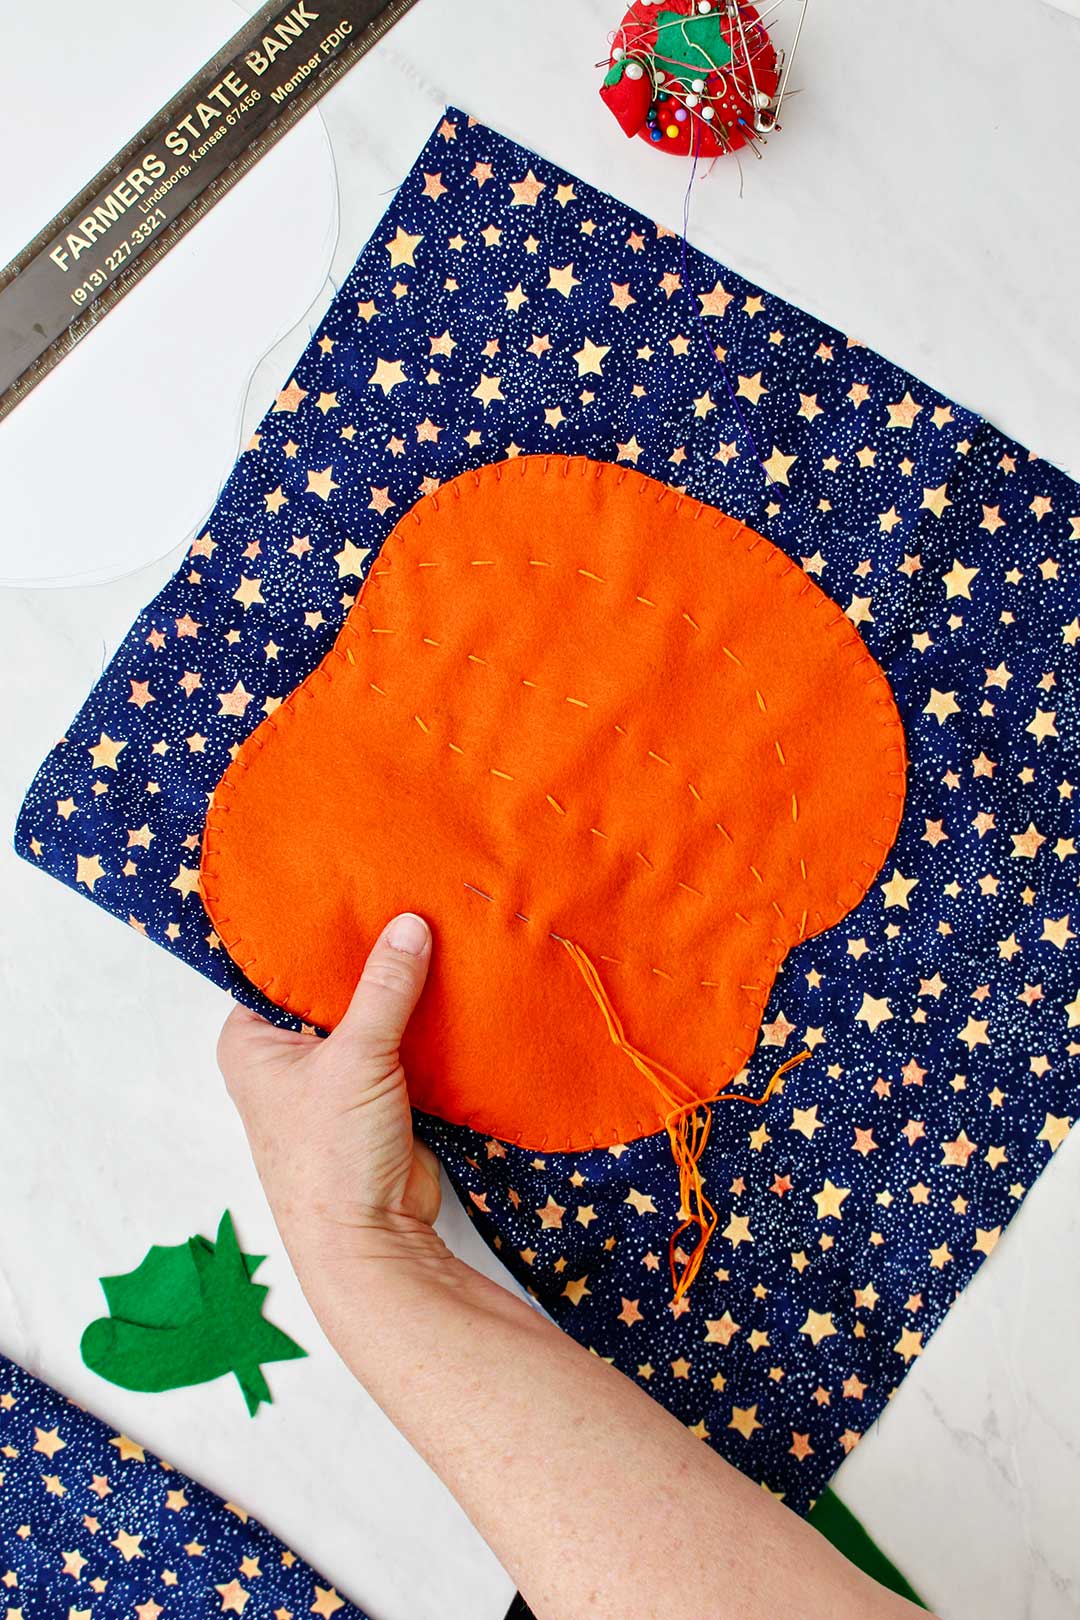
Pull the needle up through the fabric about ¼ inch from where you did previously.
Allow the thread on top of the fabric to be behind your needle. Carefully pull the needle up and it will make a stitch that is an “L” shape and is a 45-degree angle. Keep working with your stitch until it is a nice L shape, this is key! You will get faster as you practice.
Repeat that stich over and over until completely around the pumpkin.
Take your pins out as you go and make sure that the fabric and felt are lying flat as you go.
How to tie off my hand sewing thread video!!
When your embroidery floss gets short you will need to tie off that thread and start with another one (or finish your hand sewing if you are done). This is done by tying a little knot on the back of the fabric.
Here is a short video showing you how to tie off your embroidery thread on the back of the fabric: How to Hand Sew- Tying off the Thread video tutorial.
Tie off the thread by going down through the fabric right behind the stitch you just made, so that it holds the 45-degree angle in the last stitch.
You make a small, looped stitch, go through the stitch, and carefully pull it tight. Repeat 2 or 3 times. Cut off the thread leaving a ½ inch tail, so it doesn’t come untied.
Tie off your thread and get more as often as needed to finish edging your pumpkin.
Tip: When you start with a new thread just come up through your last stitch in the “L” bend of your last blanket stitch and then go ahead and make your next stitch! That’s an important tip!
How do I embroider the Running Stitch? Here's a video!
The indentions in a pumpkin that make it look like sections are called ribs. Did you know that? I didn't, I looked it up!
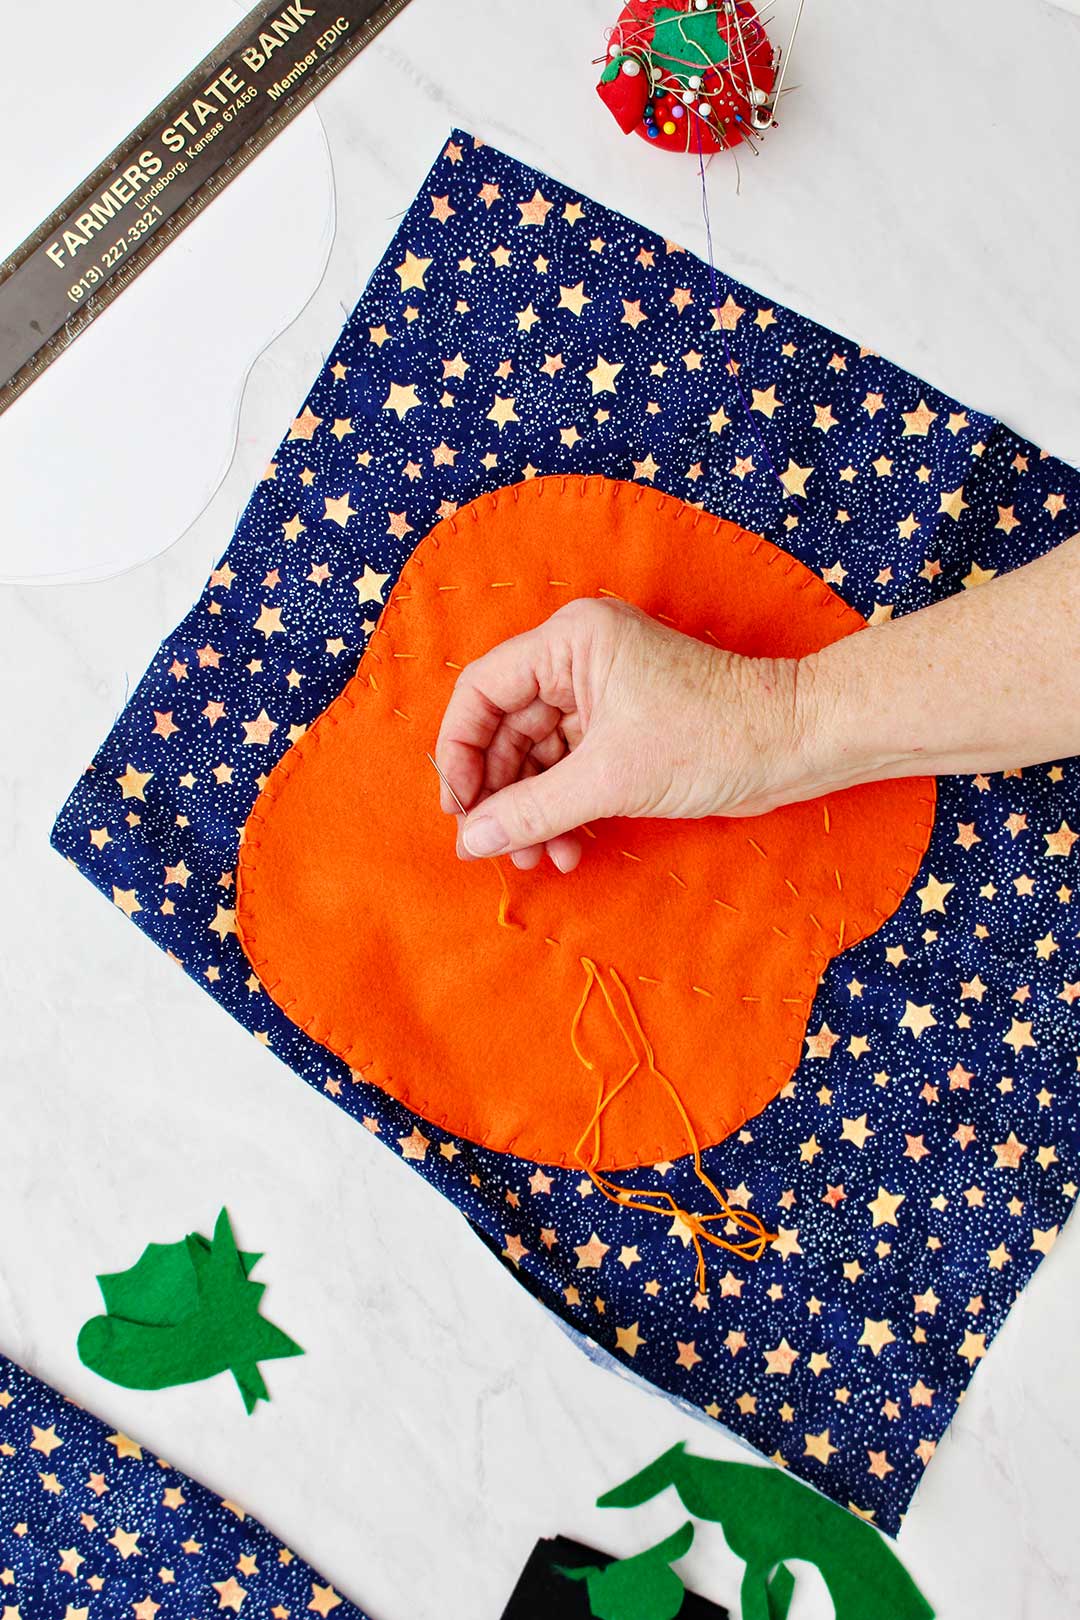
To make the pumpkin look as if it has ribs, you will use another embroidery stitch called the running stitch. If you have sewn by hand before you have probably used this stitch, even if you didn’t know its name!
Use the white fabric marking pencil to make “smile” lines (ribs) that run from the stem point to the center bottom of the pumpkin. I have marked these on your pattern with a dotted line. Here is the link to that pattern again if yours is cut into pieces already.
Thread your embroidery needle again with orange embroidery floss.
Come up from the back of the fabric on one end of a rib line. Stitch up and down through the fabric in stitches that are about ½ inch long.
This is the running stitch, easy-peasy. Especially if you watch the video: How to Hand Sew- The Running Stitch video tutorial.
From habit I try to make my stitches as even as possible, but it could be cute to vary the length of the stitch.
Stitch the length of the rib then repeat for each rib until finished. Tie off your thread and get more as often as needed to finish.
Jack-O-Lantern face on the Pumpkin Pillow
If you want a face on your pumpkin, you will pin the pieces in place and use the blanket stitch to sew them on with black embroidery floss.
Pumpkin stem
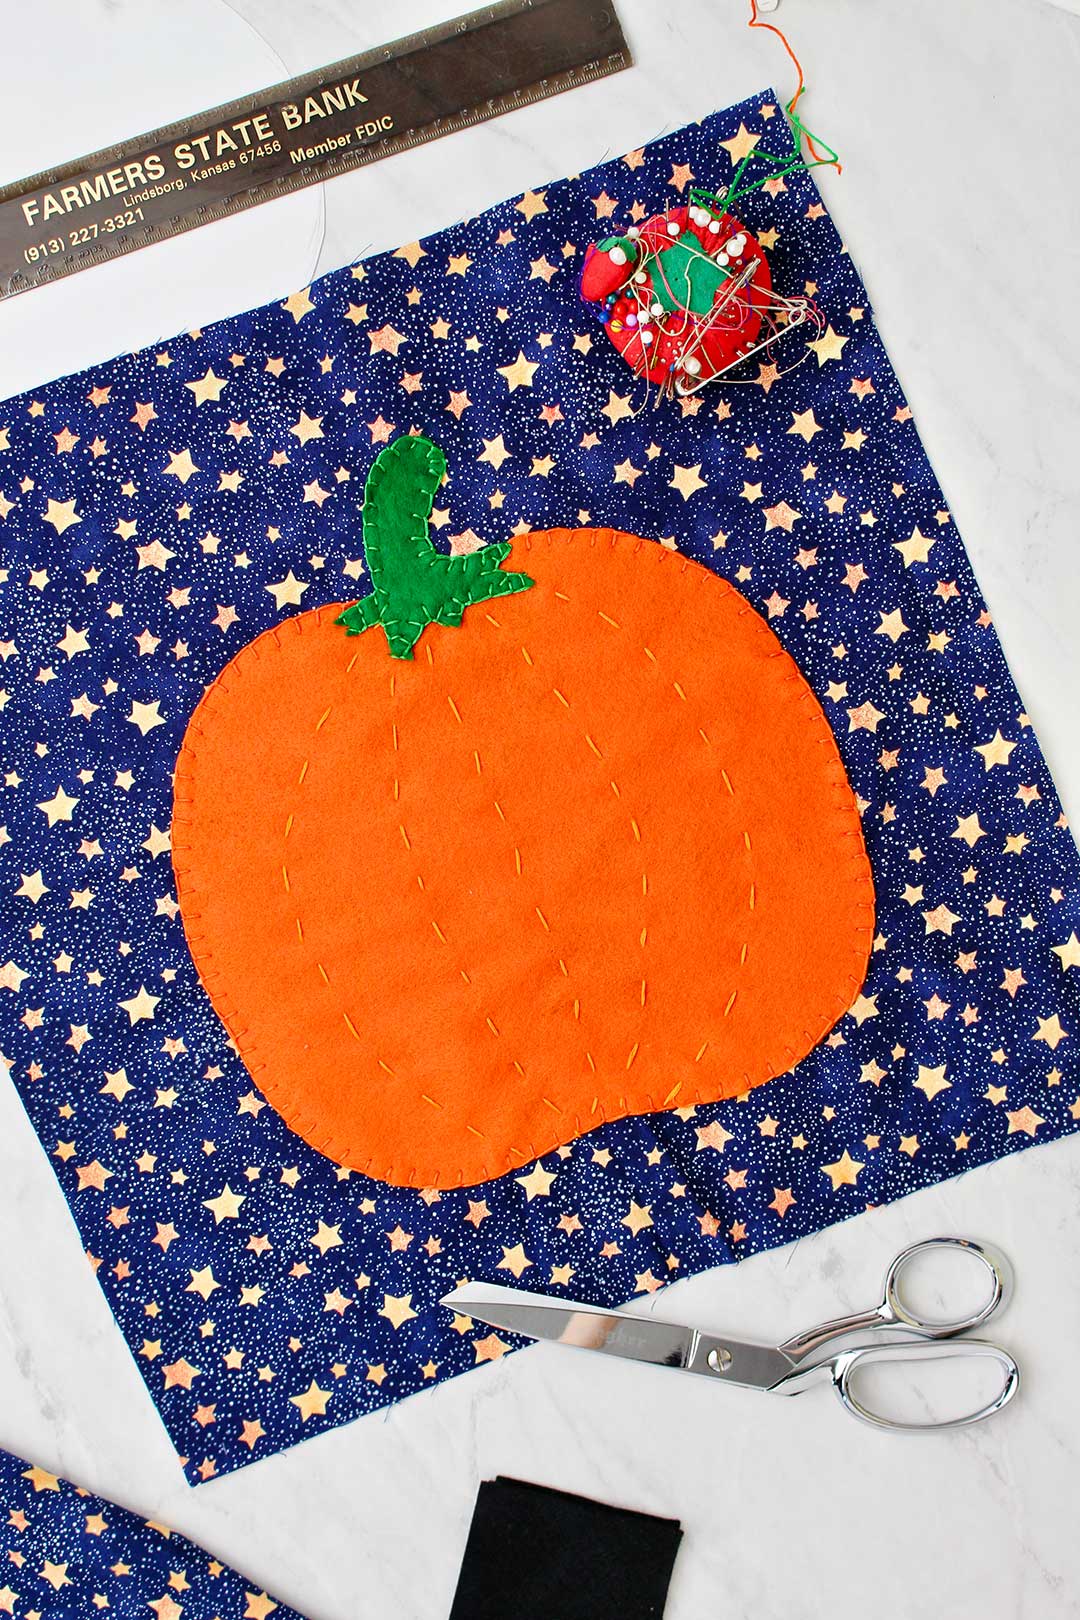
Sew the stem on the pumpkin using the blanket stitch and green embroidery floss. Sew on the leaf in the same way if you would like. I did not add this on my pillow (I actually forgot to sew my leaf on!).
How do I sew a pillow?
Sewing the pillow together is a very simple process. Many of you have done this before but if you haven't it is a great learn to sew project.
Place the two pieces of fabric together with the right sides facing one another, right sides together. Pull and move the fabric around until the edges match. Pin in place all around the edges.
If you are using a pillow form like I did, sew a ½ inch seam around three edges of the pillow. Backstitch when you start and when you finish to keep it from unravelling.
If you are using fiber fill stuffing, sew a ½ inch seam around all four edges of the pillow but leave a 4-inch opening. Backstitch when you start and when you finish to keep it from unravelling.
Cut the corners of the pillow at an angle as shown in the picture- but DO NOT cut through the sewing threads or your seams will unravel and there will be holes in the corner of your pillow. This step takes out extra fabric in the corners of your pillow when you turn it inside out.
Next, turn your pillow inside out through the hole that you have left. Work on the corners until they are as square as possible.
Stuff and finish sewing your pillow
Slip the pillow form inside the pillow (like a pillowcase) OR stuff the pillow with fiber fill through the 4-inch hole until it is full like you want it.
Pin the edge of the pillow that you left open for stuffing. The edges of each piece of fabric should be folded in ½-inch.
Sew across this pinned edge, close to the edge but catching both edges of the two pieces of fabric. Take the pins out as you sew.
It also works to hand sew the opening shut with a stitch called the slip stitch. Here is a video showing you haw to do the slip stitch: How to Hand Sew the Slip Stitch video tutorial.
Boom! You are done!
Making pillows is such an easy thing to do. I love using this type of project to teach someone how to sew. You may consider this for kids or grandkids!
I've tried to catch the whole process of How To Sew a Throw Pillow on a tutorial video- you can watch it here: How To Sew a Throw Pillow video tutorial. I'd love some feedback on your success using the video. This video is the pillow sewing only, not how to apply the pumpkin decoration on the front.
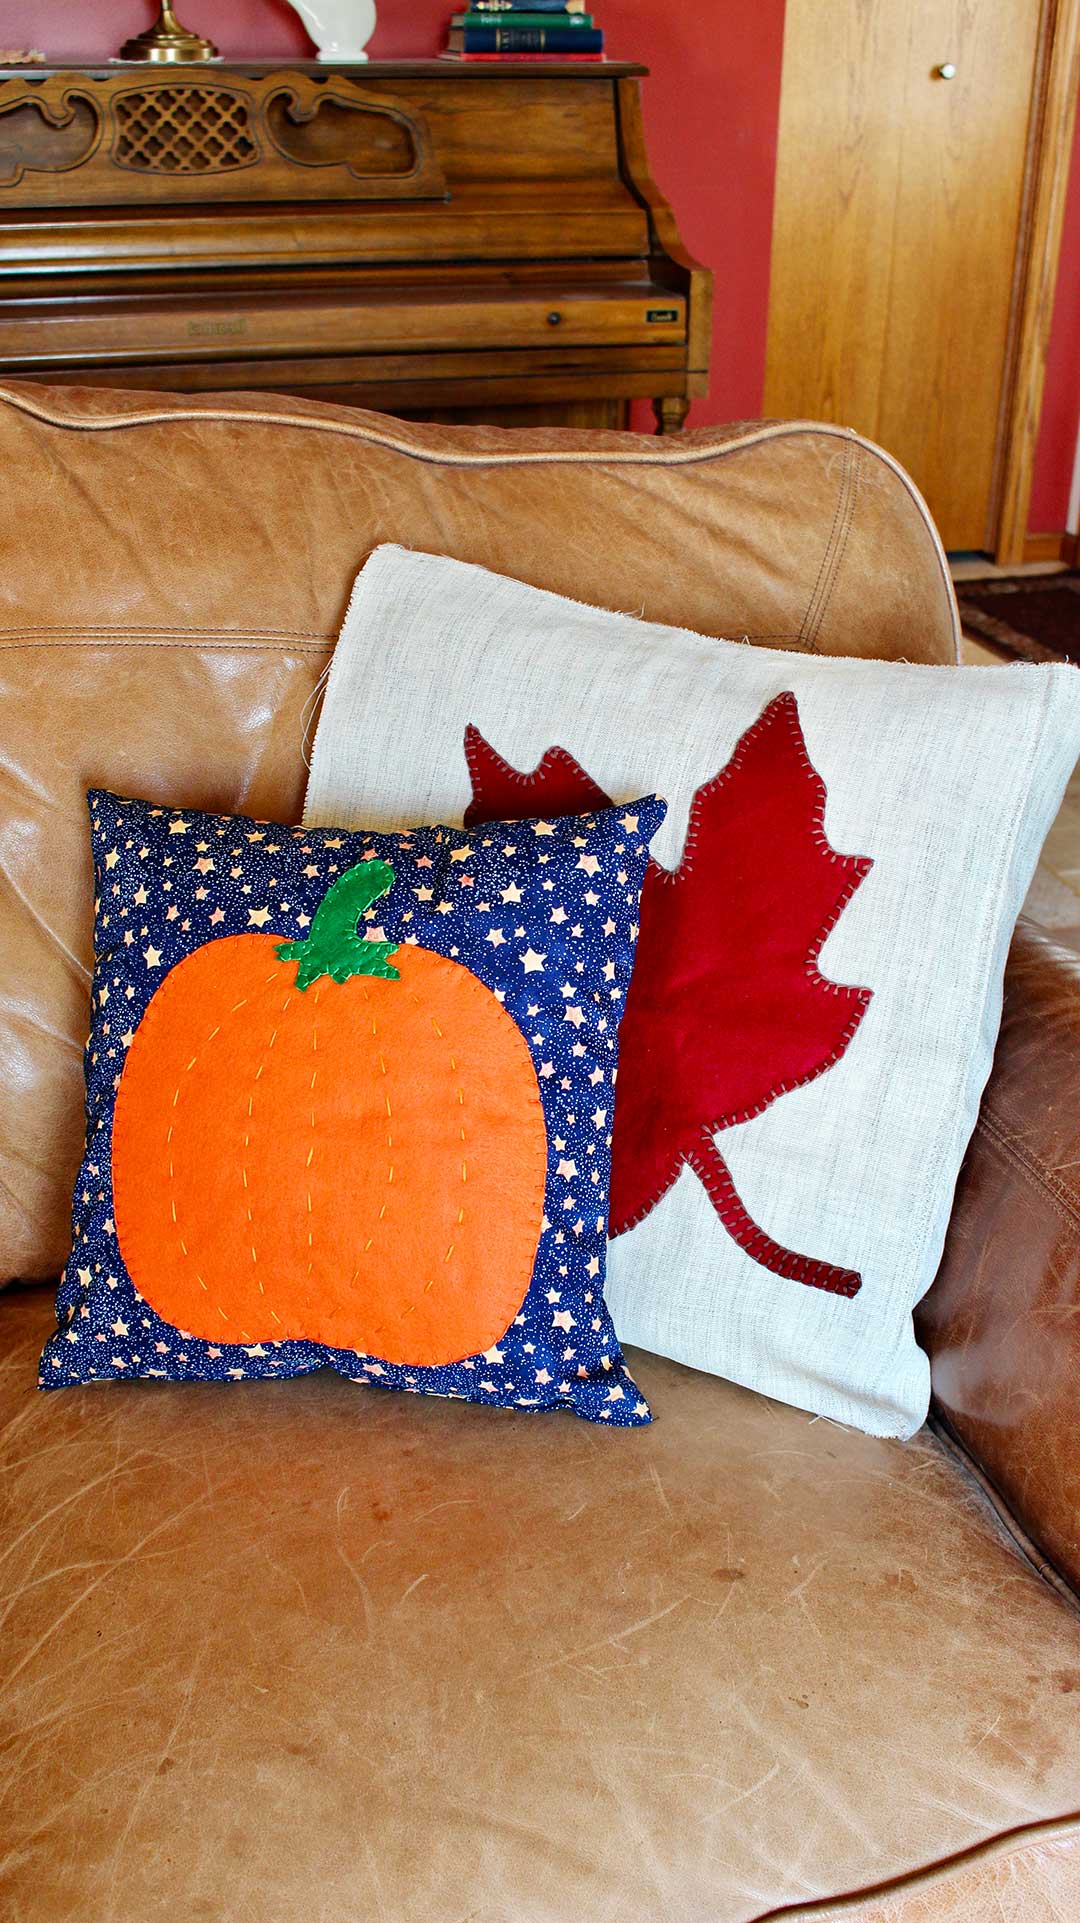
Upcycle an old pillow
Tip: You can use this same technique to recover an older pillow that needs updating. Just use the old pillow as a pillow form to slip inside your new pillow! That is a great way to upcycle something you already have. I love upcycling, don’t you?
Seasonal throw pillow ideas
This project can be used for any season by changing the design you applique to the front with the blanket stitch. Think snowflake for winter, flowers for spring, or a boat for summer- just for starters! Got your creative juices going?
Need gift ideas?
Can't you see this as a great gift idea- for Christmas or a birthday perhaps. Just customize the design on the front to reflect the person you are gifting it to! Love that idea.
Let me know what you come up with on your pillows- I’m always excited to hear about your projects.
Enjoy!
If you try this craft, let me know! Go ahead and leave a comment, rate it, and tag a photo with #WelcometoNanas wherever you post.
Come join the fun at https://welcometonanas.com
Sew a Pumpkin Fall Pillow
Equipment
- Sewing machine
- Scissors, pins
- Embroidery needle
- White fabric marking pencil or chalk
Items Required
- Copy of the Sew a Pumpkin Fall Pillow Free Pattern
- Fabric- ½ yard fabric of your choice (⅔ yard if making a pillow larger than 16x16 inches)
- Thread
- Pillow form (in desired size) OR Fiber fill stuffing
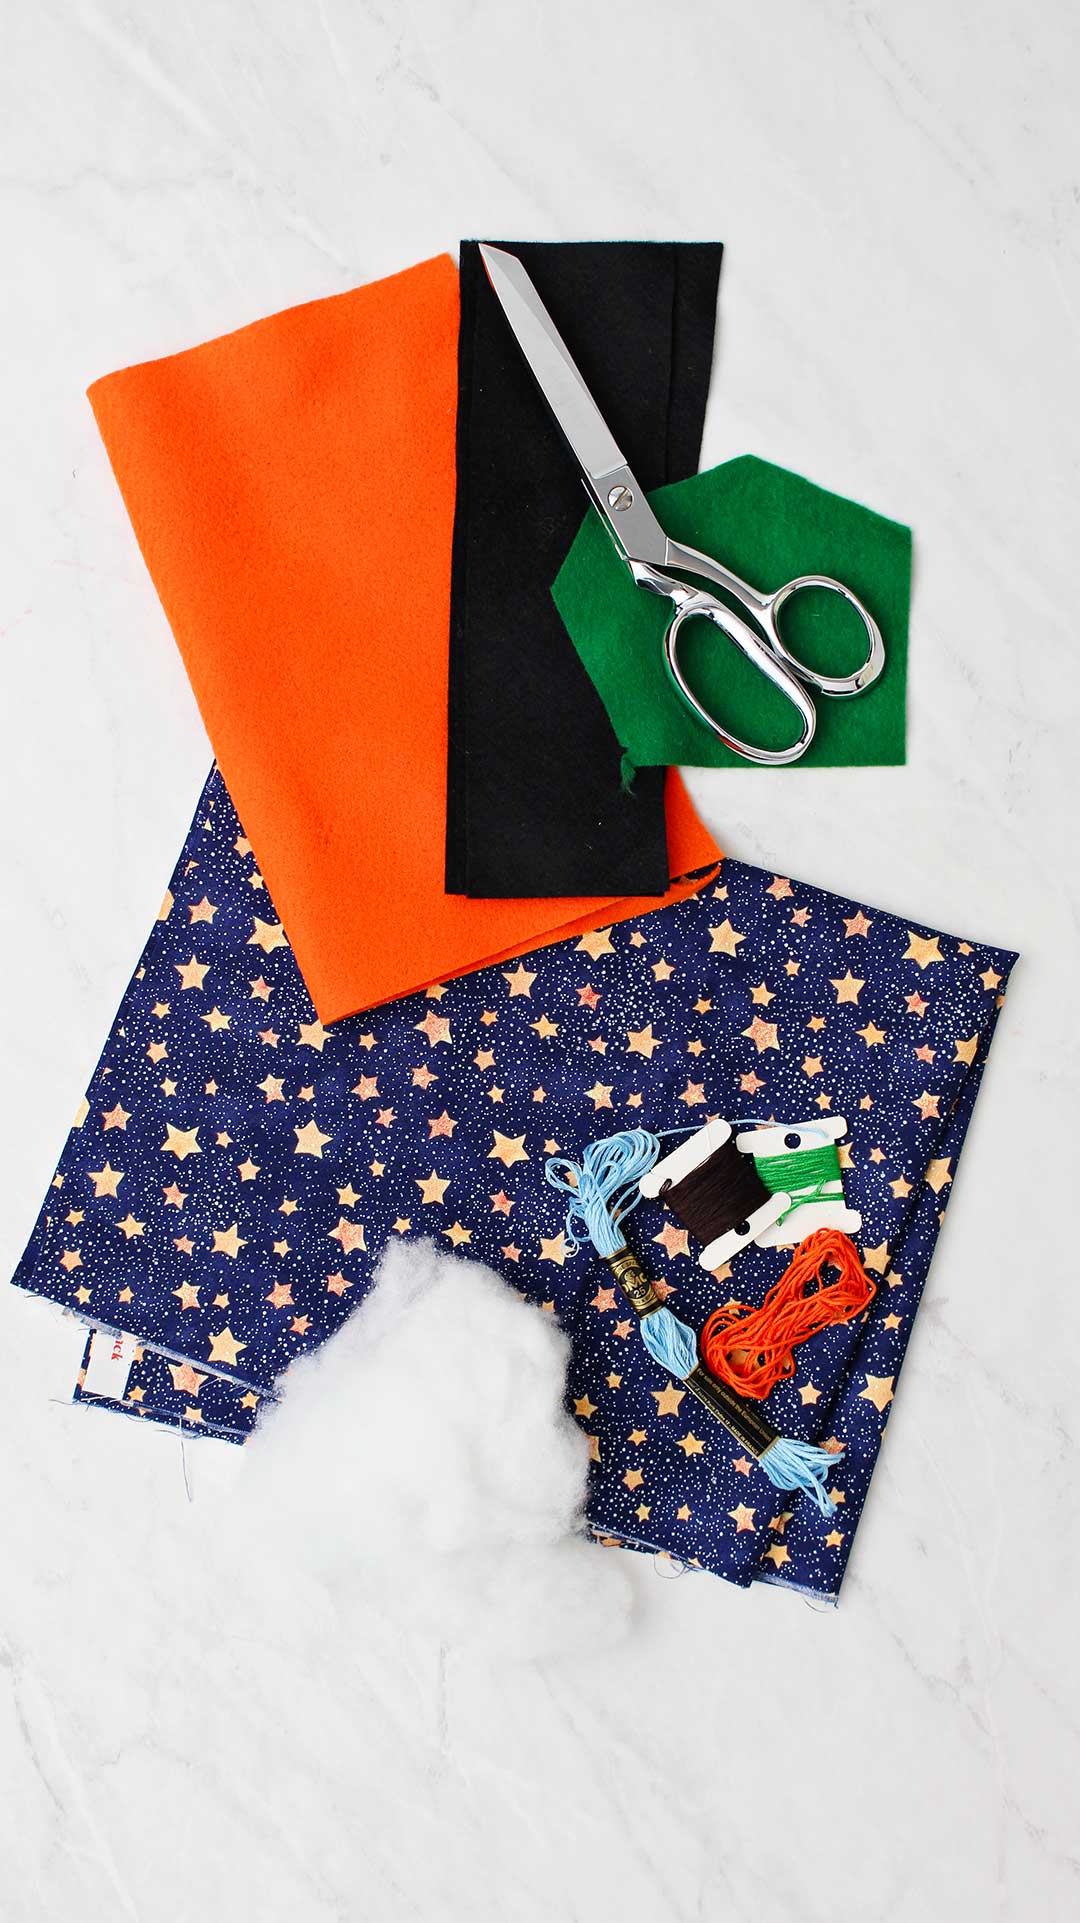
- Felt- 8x12 inch pieces of orange, green, black
- Embroidery floss in orange, green, black
Instructions
- Lay the fabric out and cut a square that is ONE INCH larger (both directions) than the size of the pillow you would like when you are finished.
- Cut the pumpkin shape out of the orange felt, the stem and leaf out of the green felt and the jack-o-lantern face out of black felt. The face is optional.
- Pin the pumpkin piece of felt on the right side of one of your pillow fabric pieces. Attach the pumpkin to the fabric with an embroidery stitch called the blanket stitch.
- There are videos on how to do these embroider stitches and how to sew a pillow on the website post by this name: https://welcometonanas.com/sew-a-pumpkin-fall-pillow
- Use the white fabric marking pencil to make “smile” lines (ribs) that run from the stem point to the center bottom of the pumpkin. I have marked these on your pattern with a dotted line. Here is the link to that pattern again if yours is cut into pieces already.Use the Running Stitch to make the lines on the pumpkin.
- Attach the stem and the face to the pumpkin with the Blanket Stitch.
- Sew the pillow: Place the two pieces of fabric together with the right sides facing one another, right sides together. Pull and move the fabric around until the edges match. Pin in place all around the edges.If you are using a pillow form like I did, sew a ½ inch seam around three edges of the pillow. Backstitch when you start and when you finish to keep it from unravelling. If you are using fiber fill stuffing, sew a ½ inch seam around all four edges of the pillow but leave a 4-inch opening. Backstitch when you start and when you finish to keep it from unravelling.
- Cut the corners of the pillow at an angle as shown in the picture- but DO NOT cut through the sewing threads or your seams will unravel and there will be holes in the corner of your pillow. This step takes out extra fabric in the corners of your pillow when you turn it inside out.Next, turn your pillow inside out through the hole that you have left. Work on the corners until they are as square as possible.
- Slip the pillow form inside the pillow (like a pillowcase) OR stuff the pillow with fiber fill through the 4-inch hole until it is full like you want it.
- Pin the edge of the pillow that you left open for stuffing. The edges of each piece of fabric should be folded in ½-inch. Sew across this pinned edge, close to the edge but catching both edges of the two pieces of fabric. Take the pins out as you sew.
Video
Supply list for Sew a Pumpkin Fall Pillow
- Copy of the Sew a Pumpkin Fall Pillow Free Pattern
- Fabric- ½ yard fabric of your choice (⅔ yard if making a pillow larger than 16x16 inches)
- Thread
- Pillow form (in desired size) OR Fiber fill stuffing
- Felt- 8x12 inch pieces of orange, green, black
- Embroidery floss in orange, green, black
- Embroidery needle
- Sewing machine
- Scissors, pins
- White fabric marking pencil or chalk


Leave a Reply