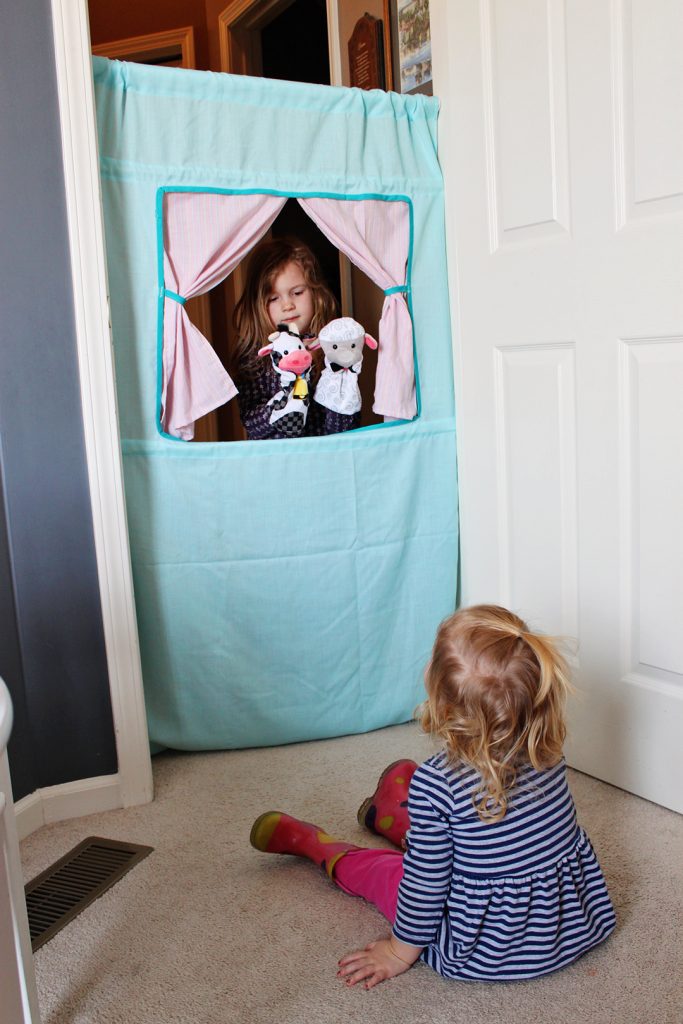
Portable Puppet Stage? Yes, please!!
A portable puppet stage would make a wonderful gift for the kids for Christmas! Think of all the wonderful puppet shows that are waiting to happen with this as a backdrop.
Sew a Portable Puppet Stage for a Doorway
Let’s look at how to sew a portable puppet stage for a doorway. You can make it and have it wrapped up and ready for Christmas in just a few hours with these instructions. (A puppet pattern will follow next week by the way!)
Straight line sewing needed- go!
This project will take some straight line sewing on a machine to complete. You can do it!!
Cut the fabric for the stage
Cut the larger piece of fabric to be 34 inches wide and 78 inches long. This is the main part of the puppet stage.
From the extra fabric, cut two pieces that are two inches wide and 33 inches long. Set these two pieces aside till later.
Finish the edges
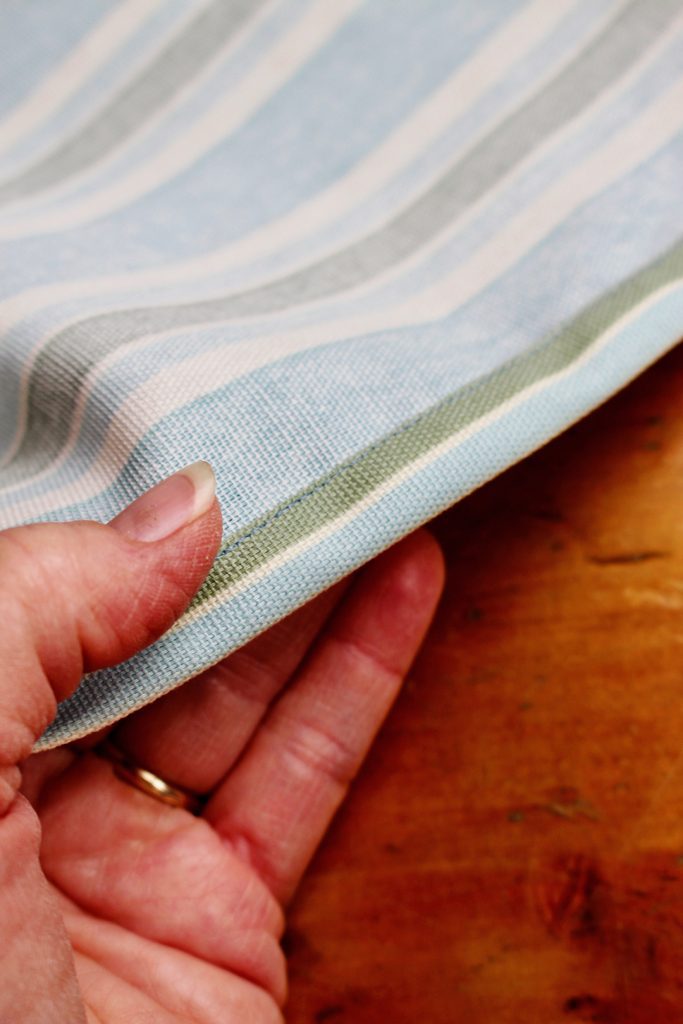
On each of the 78 inch sides, press under ½ inch to the wrong side of the fabric and then turn this under another ½ inch. Sew along the inside edge of this folded piece the entire way down to hold this in place. This finishes two edges of the puppet stage.
Do this same finish on one of the short edges.
Make a curtain rod pocket
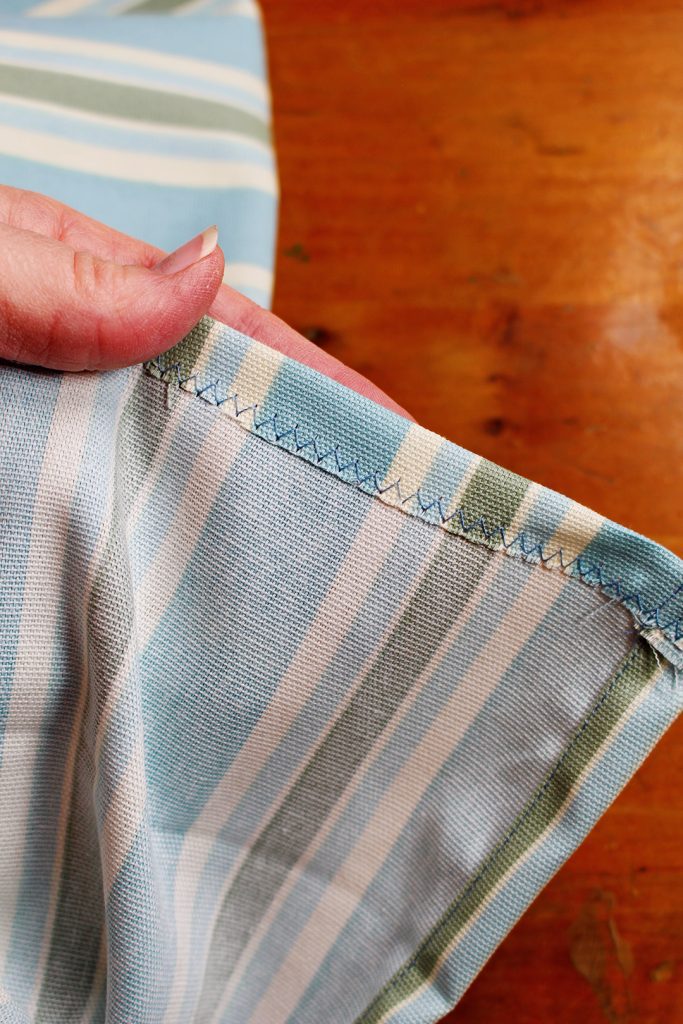
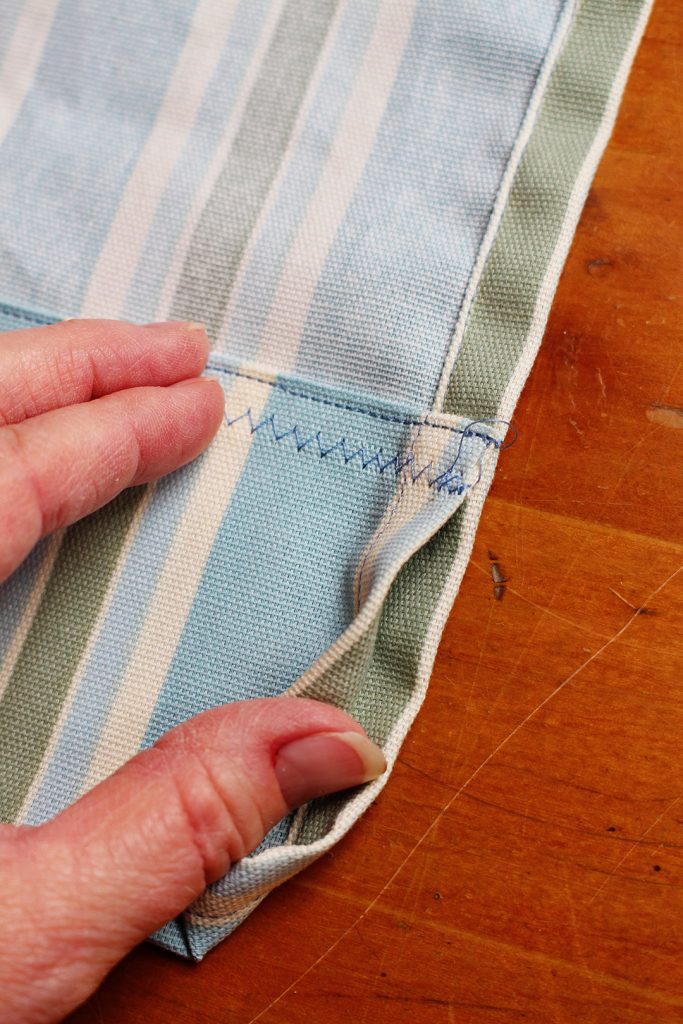
On the unfinished short end, press under ½ inch to the wrong side of the fabric and zig-zag it down so it will not ravel. Then turn this under again 4 inches to the wrong side. Sew along the edge of this folded piece (but not across the ends). This makes a pocket . Later we will slip the shower curtain rod into this pocket to hold the portable puppet stage up in the doorway.
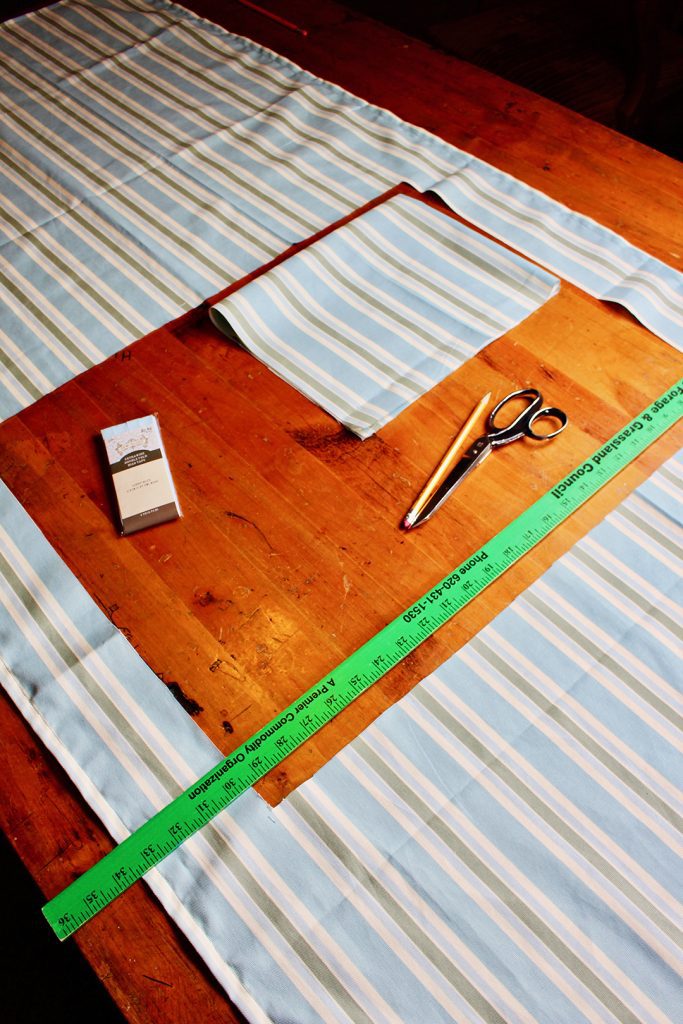
Now to cut the window for the puppets to peek through.
Draw a square that is 24 inches wide and 20 inches tall that sits 20 inches down from the top edge of the puppet stage (the top edge is the one with the pocket for the curtain rod). Carefully cut out this piece.
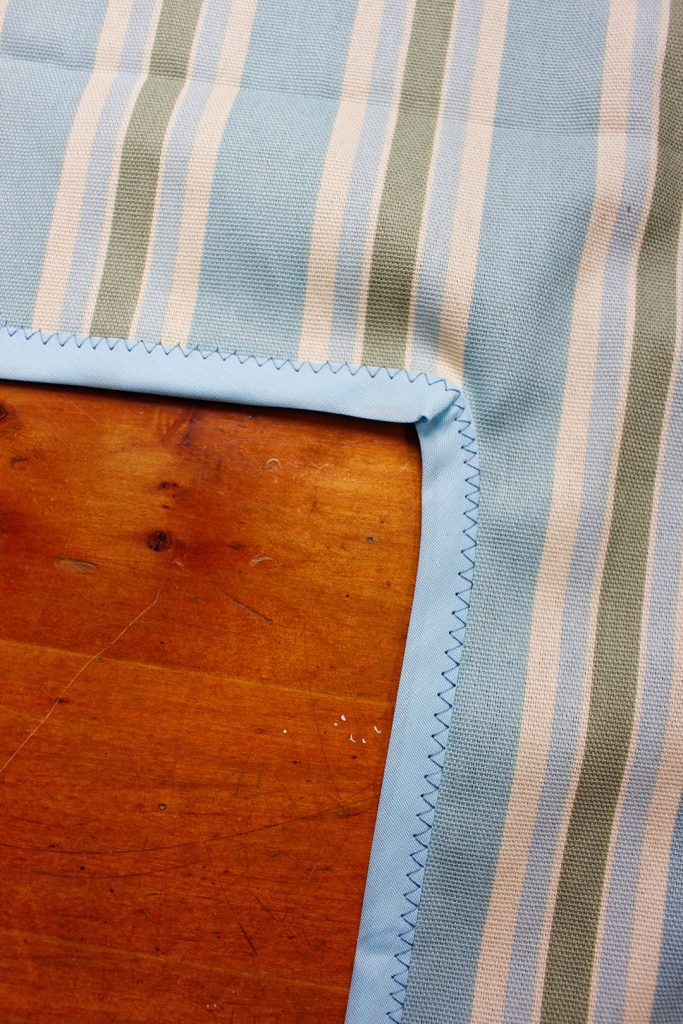
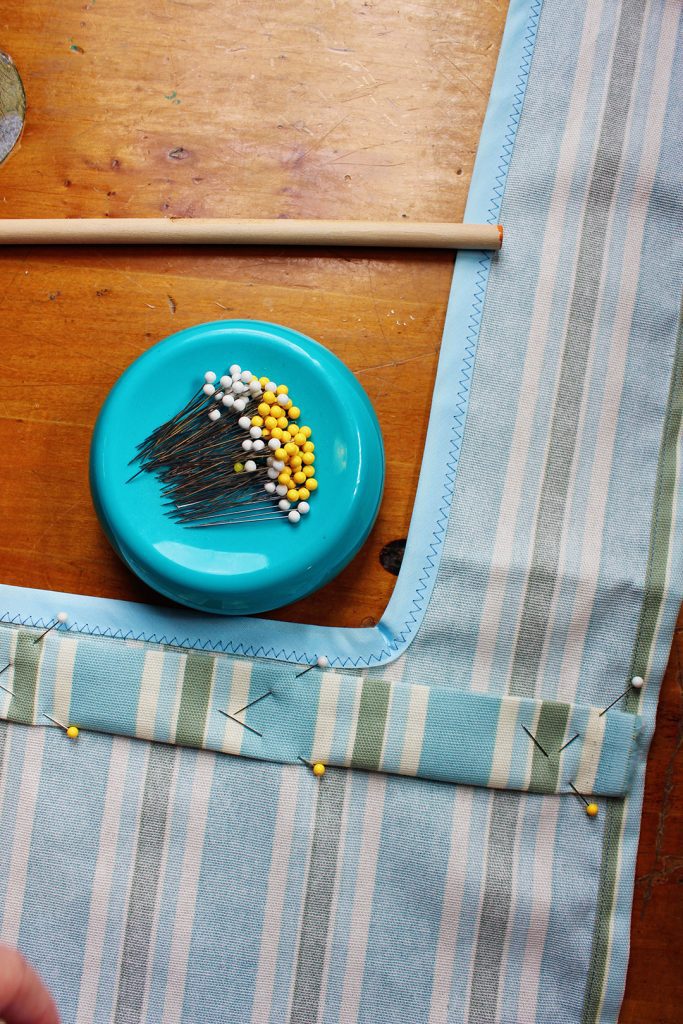
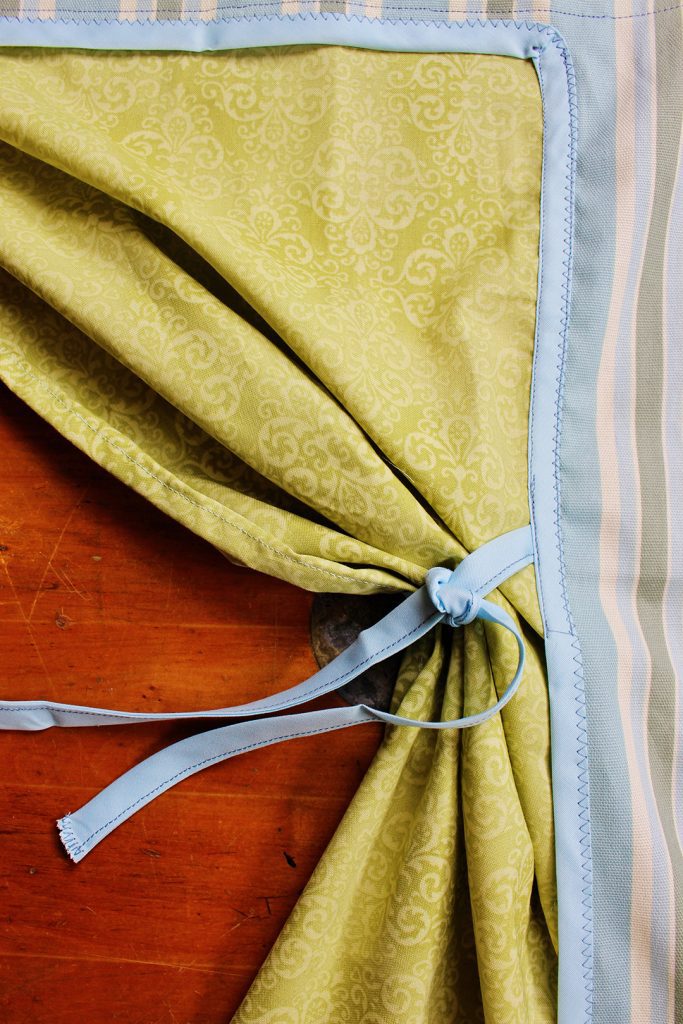
Pin the bias tape around the edge of this hole so that it finishes the edge. Zig zag around the edge of this bias tape. The picture shows what the corners will look like when done.
More pockets for dowel rods
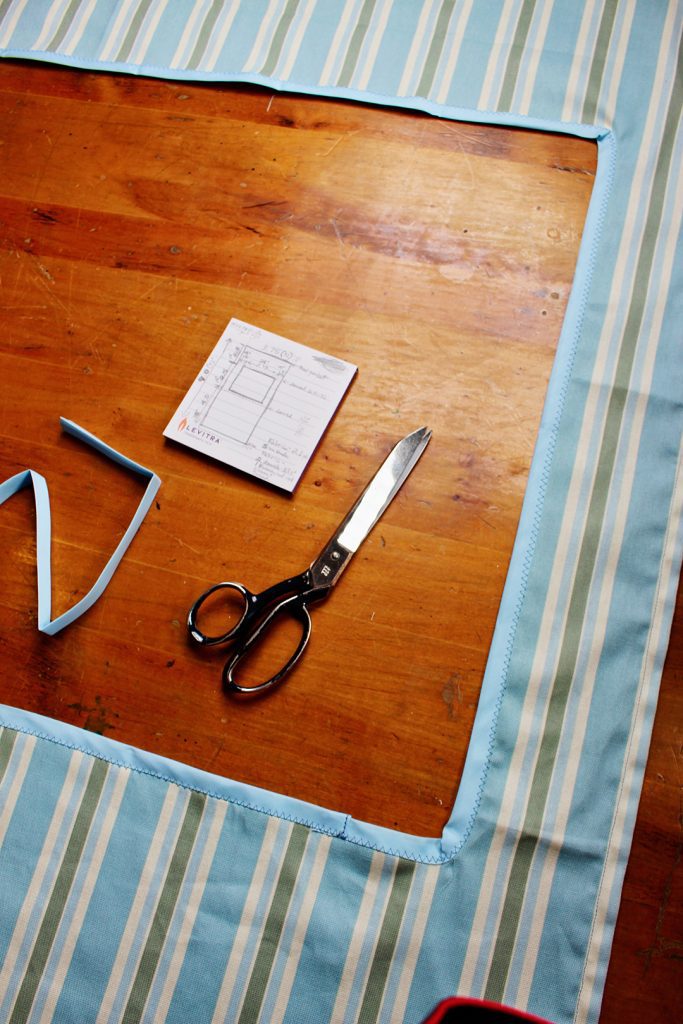
Take the two long pieces of the fabric out that we set aside earlier. Press under ½ inch on each of the long edges.
Pin one of the pieces across the puppet stage on the wrong side of the fabric, right under the lower edge of the window opening. Tuck under one end of the strip, but not the other end.
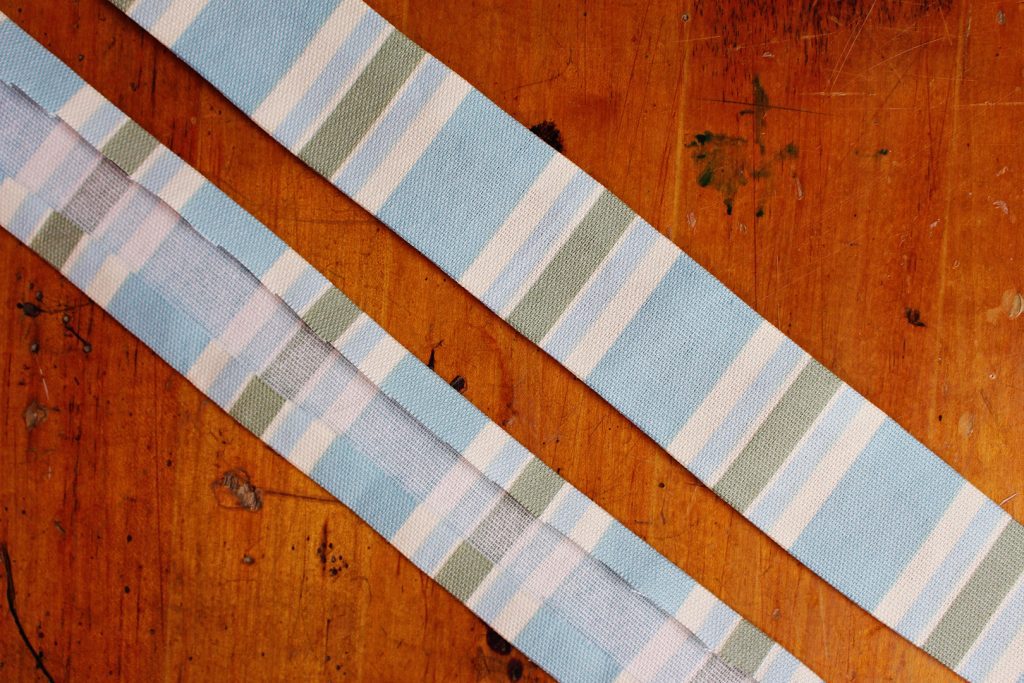
Sew around three edges of the edge of this strip, don’t sew over the unfolded end of the strip. This forms a pocket. We will slip a dowel rod into this pocket at a later time.
Pin the second strip right above the puppet stage window, just like you did the strip below the window. Don’t sew it yet.
It's curtains for you!
Let’s make the curtains to put in the window next.
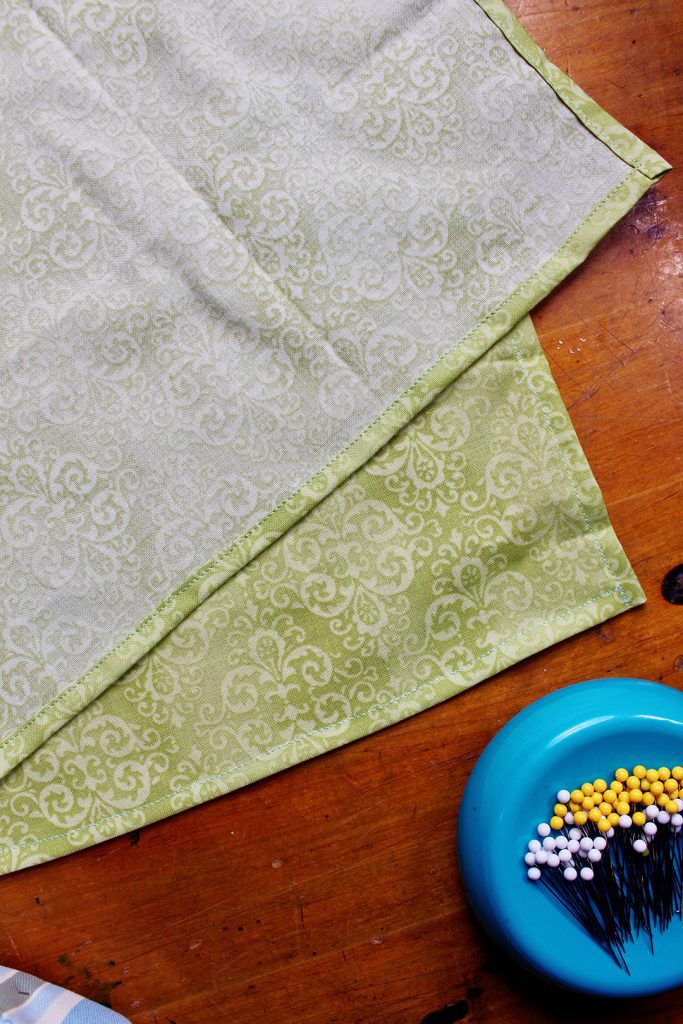
Cut two rectangles from the second piece of complementary fabric. These two rectangles will be 15 inches wide and 25 inches tall. Finish the two longer edges and one of the shorter edges the same way that you did the sides of the puppet stage (turn under ½ inch twice and sew down to hold).
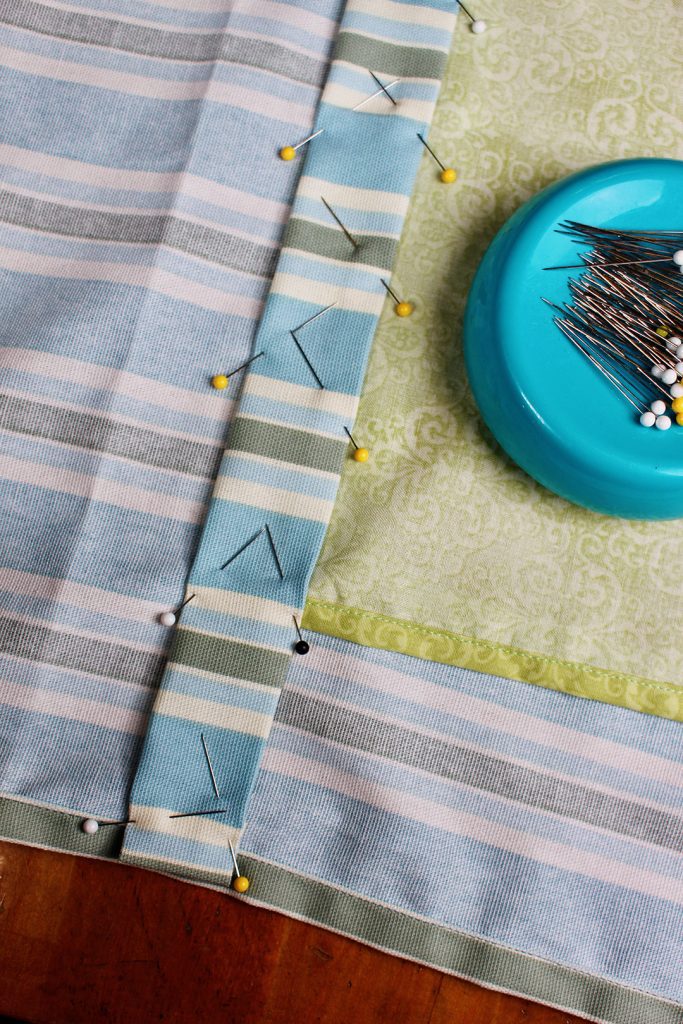
Lay the puppet stage down on a large table, wrong side up. We are going to sew the curtains to the puppet stage by tucking them under the long strip that is pinned above the window opening.
Attach the curtains in the window
Lay the two curtains down in the window hole area, wrong side up. The curtains will cover the seam binding on the edges of the window hole and will overlap about an inch in the center.
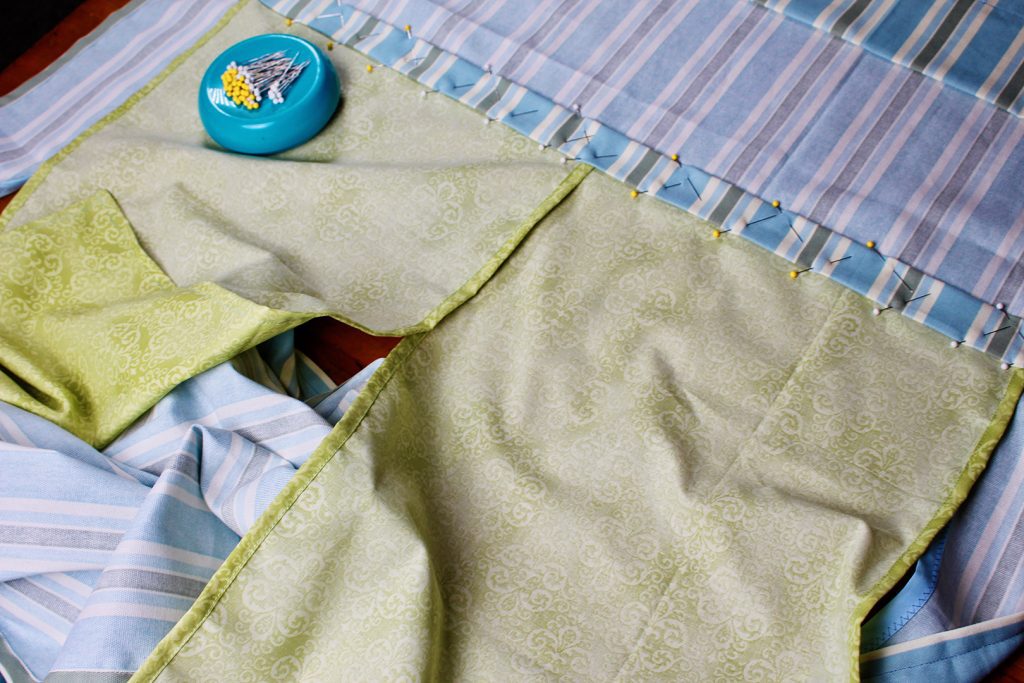
Unpin the bottom edge of the long strip in the area over the window and tuck the top edge of the curtains underneath it about ½ inch. Re-pin the strip so that the curtain will be sewn into the seam when you sew the strip down.
Sew this strip like you did the other one. Sew around three edges of this strip leaving the unfolded end open.
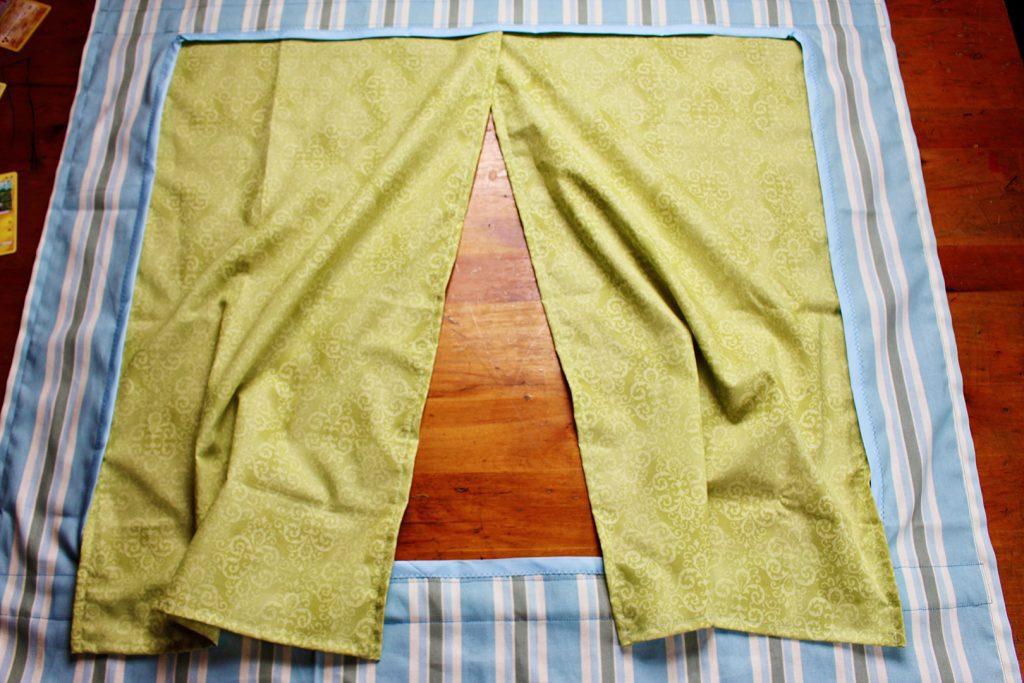
Curtain ties are next...
Cut 4 pieces of the bias tape 10 inches long. Sew around the strips to hold them together. These will be the curtain ties.
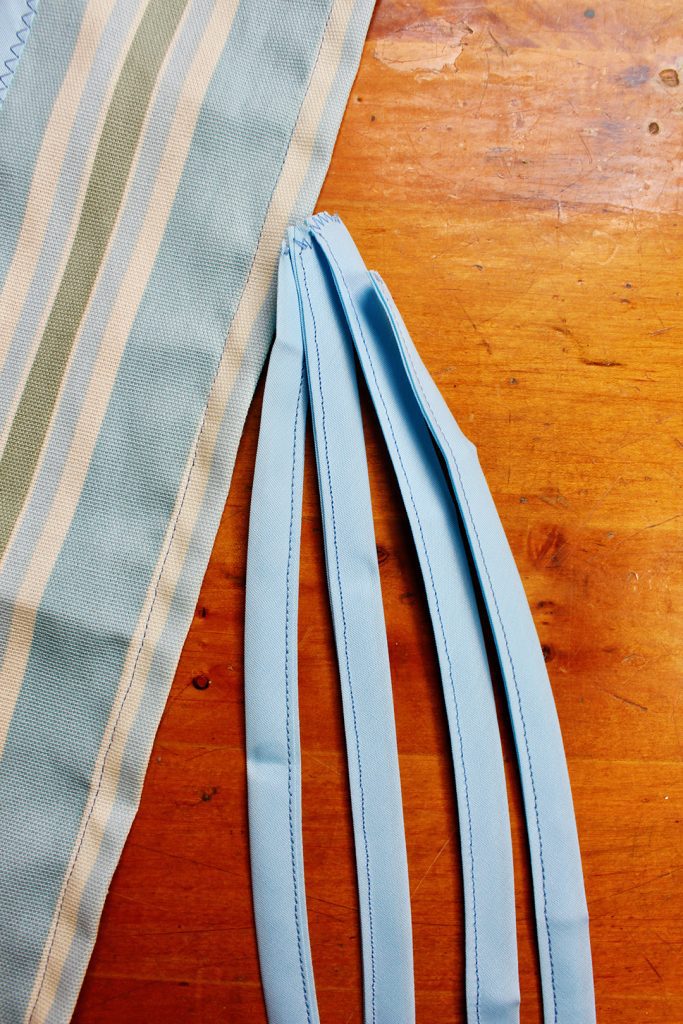
Pin one end of a tie to the side of the window hole 7 inches down from the top. Pin the curtain behind this tie and a second tie behind the curtain.
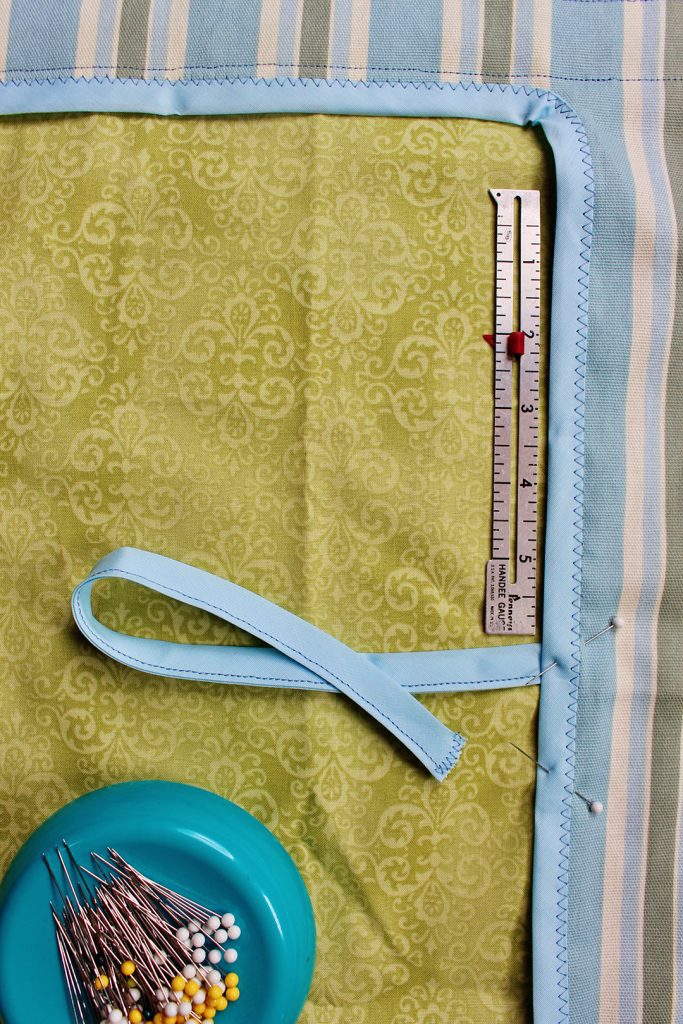
Sew down the side of the curtain through the bias tape and down over the ends of these ties. Backstitch over the ends of the strips again to strengthen the seam. Don't sew below the ties. The curtain below the curtain ties will hang free.
Do the same thing on the other side of the window opening.
These two curtain ties will tie together to hold the curtains open!
Cut the two dowel rods-
Cut the two ½ inch dowels to 31 inches long. Papa wasn’t home so I actually cut mine with a tree trimming lopper in the garage! Necessity is the mother of invention as they say! Ha!
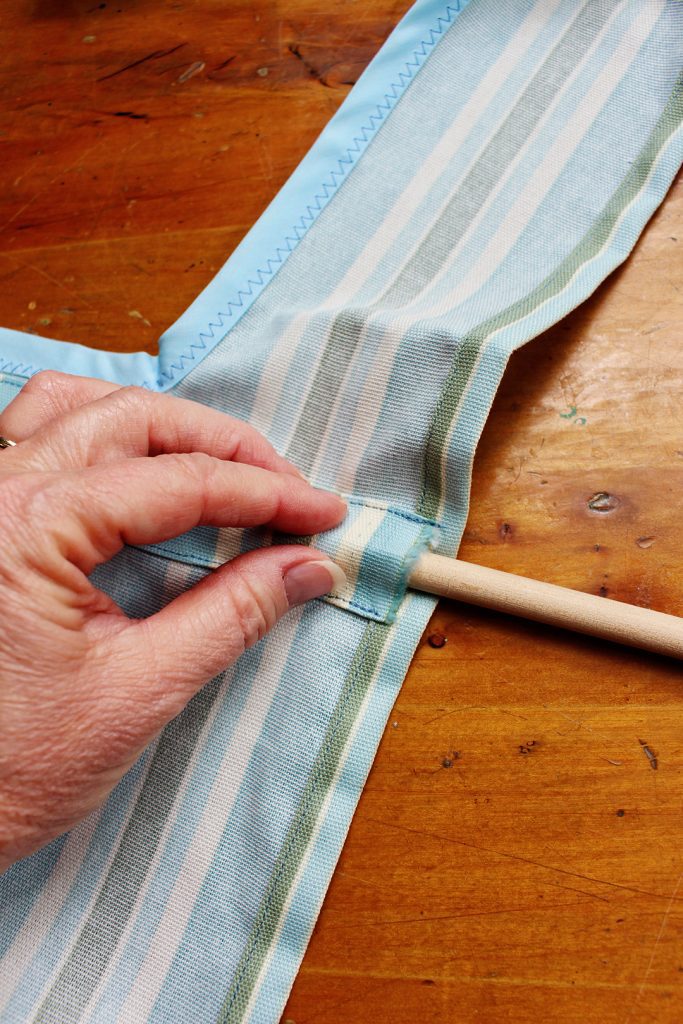
Slip one of the dowels into each pocket, one above the window and the other below the window. Sew the end of the pocket shut now so that the dowels don’t come out.
Slip the shower curtain rod into the top pocket.
Way to go- way to sew a portable puppet stage for a doorway!!!

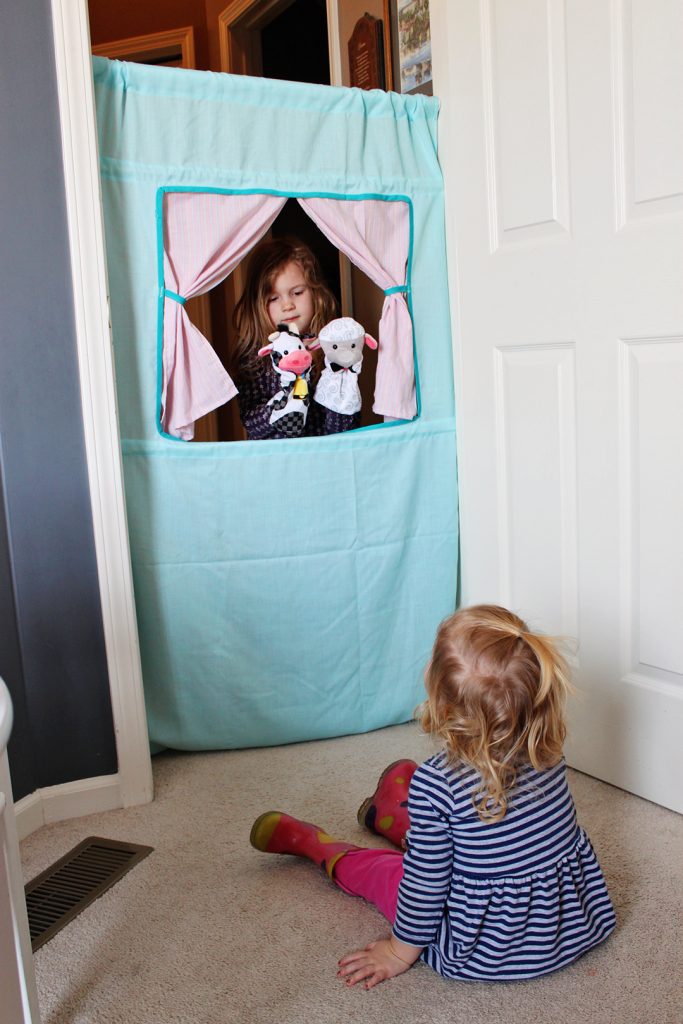
Now is time to check out how it works.
Adjust the curtain rod to fit into a standard 32 inch doorway at a height so that the bottom edge of the curtain just comes to the floor. You can move this down for younger children or up for taller children (or just have them sit in a chair as they perform their puppet show).

I know this looks silly with the door shut but it would look more silly for you to see into my storage room behind this door! Ha!
Here is another puppet stage I made for some of our grands a couple years ago. They are so little…my how they have grown.
Puppets are next!
Next week we will make some puppets to make the puppet shows come to life!
Until then, don't forget that you can make some easy paper bag puppets just for fun.
What a fun gift to fuel the imagination.

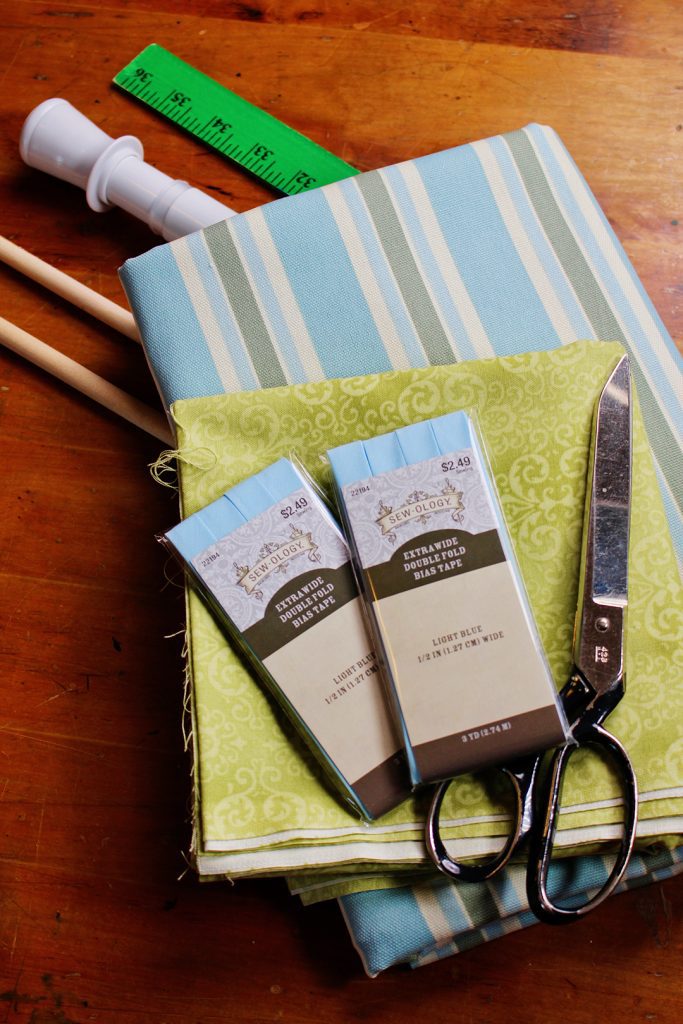
Supplies to Sew a Portable Puppet Stage for a Doorway
- 2.5 yards of heavier weight fabric
- ⅔ yard of a complementary fabric
- 2 packages of matching extra wide double fold bias tape
- Thread
- 2- ½ inch dowel rods that are 3 feet long
- One 27-40 inch adjustable tension shower curtain rod
Enjoy!
Welcome to Nana’s! Where there’s fun things to do with your “grand” kids!
Come join the fun at www.WelcomeToNanas.com


Marie Louise Van Heerden says
how can i make it fasten in the door.
Marie Louise Van Heerden says
hoe kan ik het in de deuropening vast maken?
groetjes Marie Louise