Paper Bag Puppet Pals
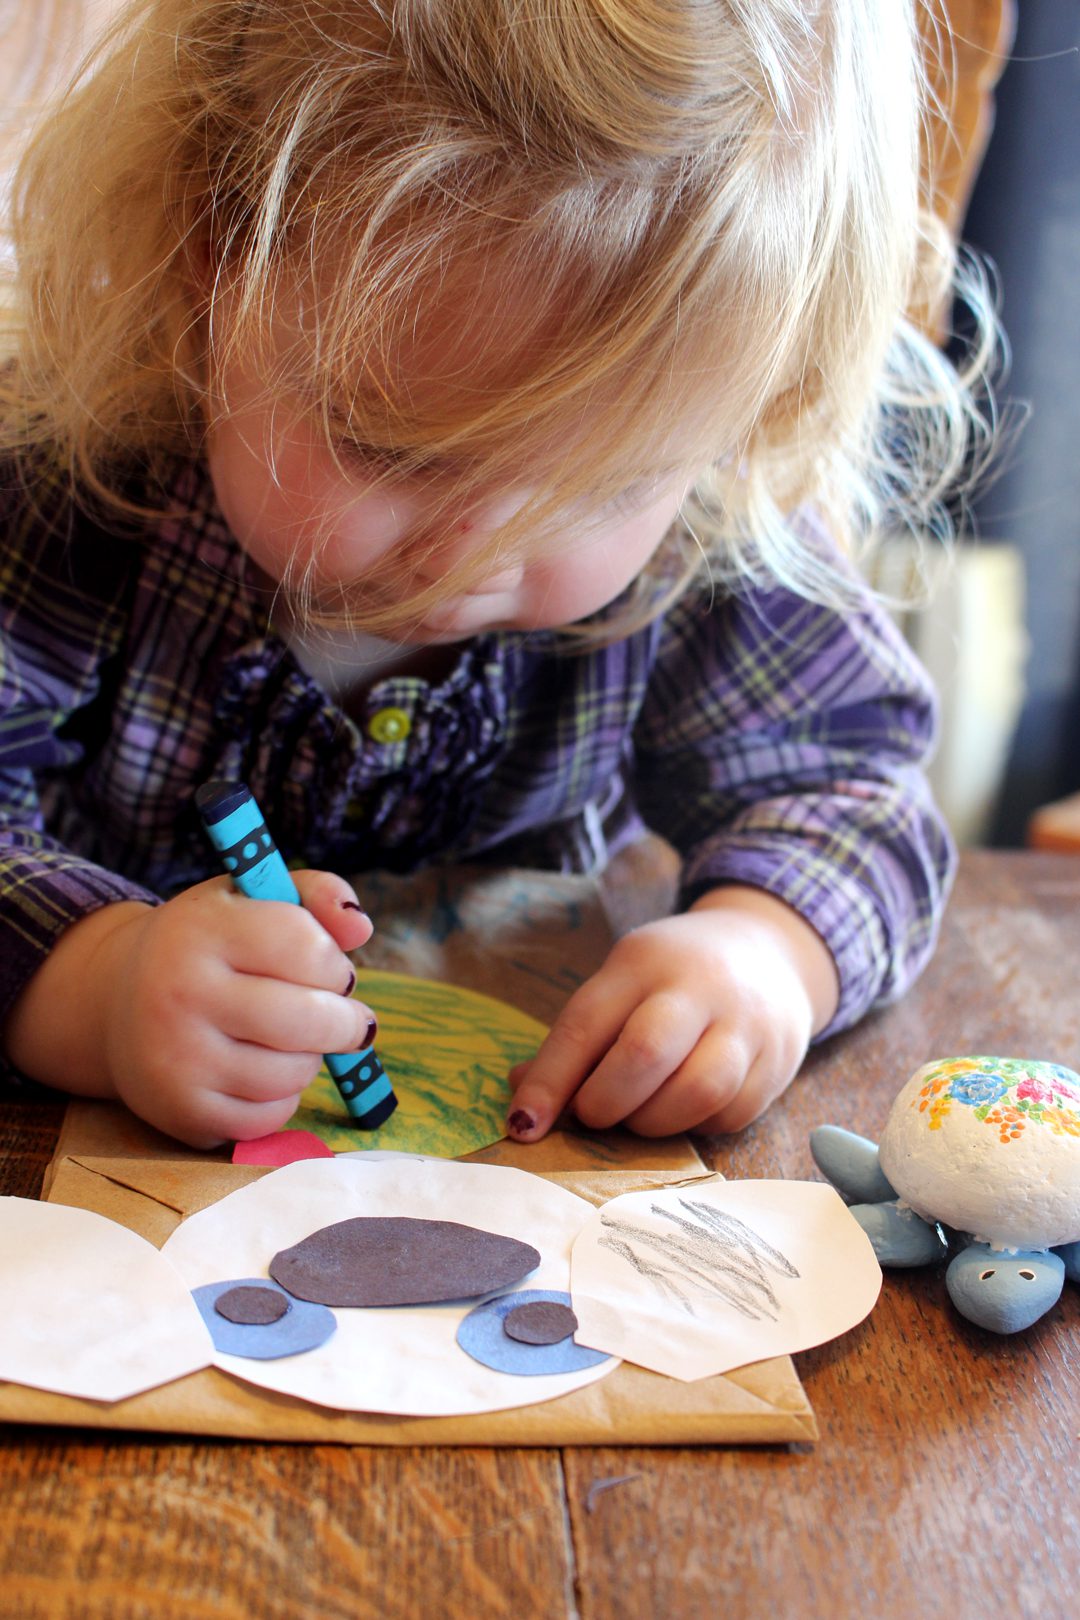
A paper bag puppet provides two times the fun. First there’s the fun of making it and then there is the fun of using it in your made-up stories with the grands.
Choose Your Character
Your imagination is the limit on what kind of paper bag puppet you would like to make. People, animal or fairy tale figures can all come to life in a puppet made with simple shapes cut out of construction paper, some paper bags and some glue. Come on, let’s go have some fun!
Left Holding the (Paper) Bag
The bottom of the bag is the upper part of the puppet’s head/face. When the hand goes inside the paper bag puppet it will move this section to make the puppet “talk”. Let’s make a couple examples and you can adapt the ideas to make whatever type of puppet you would like.
I know there are brown and white paper bags and I would guess other colors too in a craft store. I had brown paper bags in the sandwich size at home so that’s what we used.
Animal Paper Bag Puppets
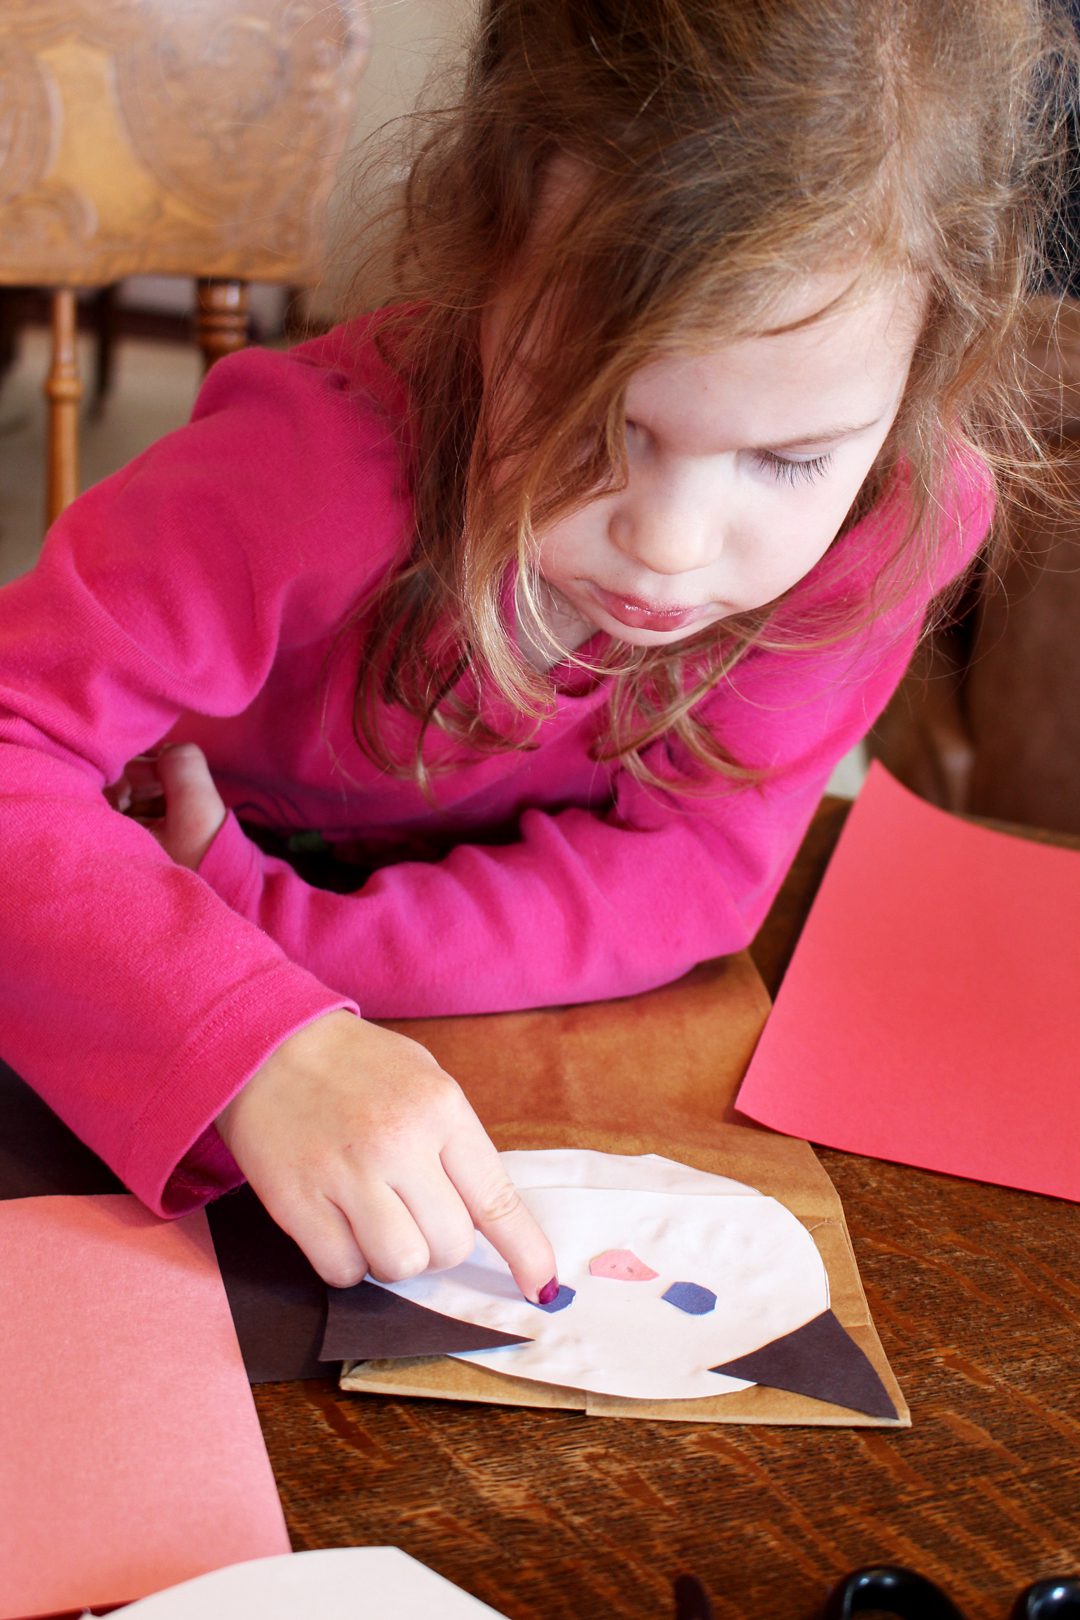
The grands and I made some animal puppets, using shapes cut from the construction paper to make the features. Round, oval, teardrop, heart and triangle shapes can fit together to make the animal features. Check out this cat and cow. OK, so the cow came out looking a lot like a dog so we added a tongue, but it’s a cow.
For ideas, look at real or cartoon pictures of the animal you’d like to make and think about what shapes and colors could make the animal feature. Don't worry about the colors being exact, get a little wild! Then add on tails, feet, and other features on the lower part of the sack for fun. Let the creativity flow.
People Paper Bag Puppets
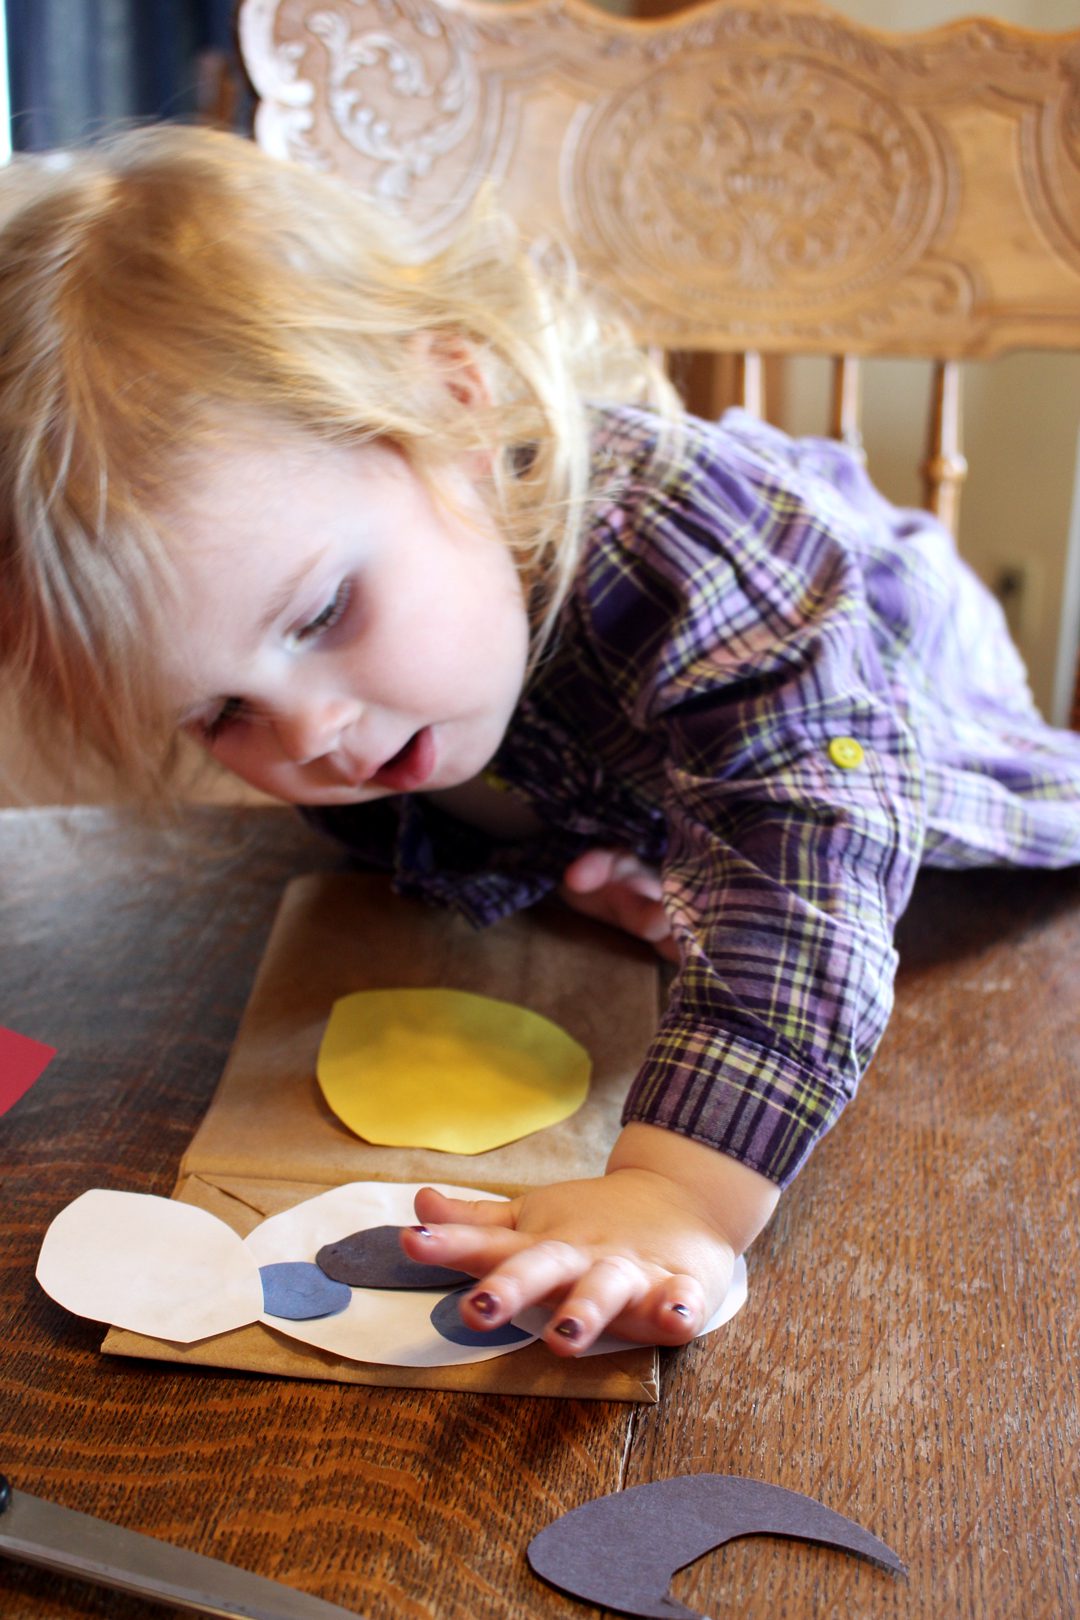
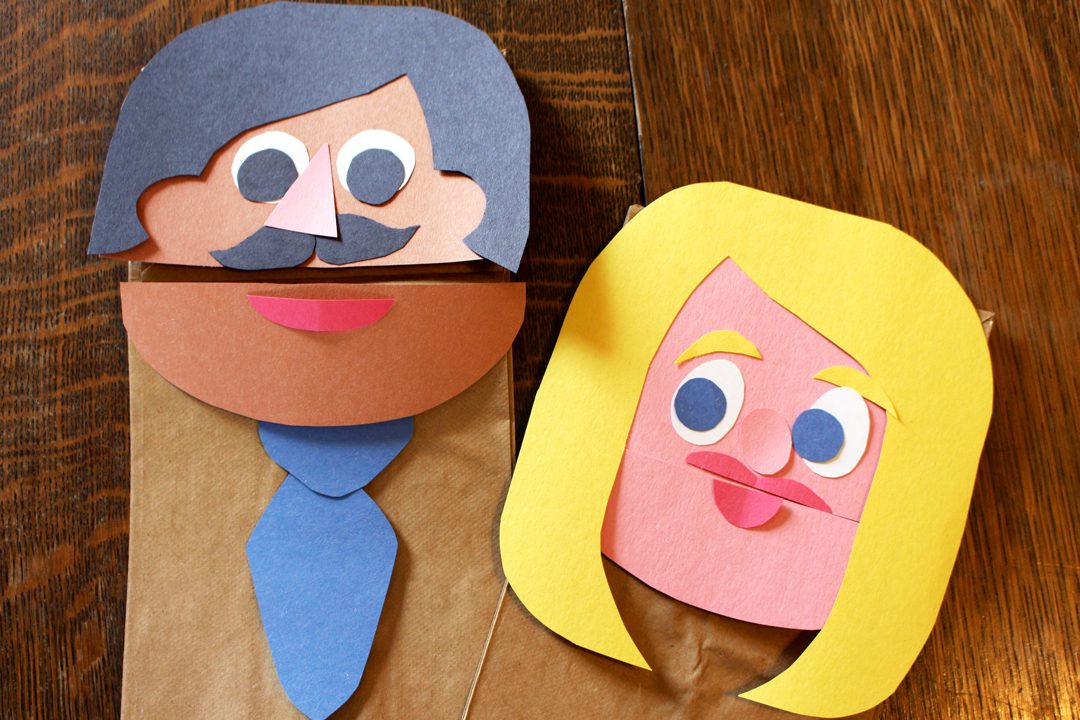
A second type of paper bag puppet is made with a larger face that is cut in half so the top part is glued to the upper flap part of the sack and the lower part is glued right below the flap on the bag itself.
This time let’s make some people puppets. Start by cutting out a face shape that is about 5 ½-6 inches wide and five inches tall. Cut across the face shape from side to side, about ⅔ of the way down the face. Glue the two face pieces on the upper flap and the bag so that the two pieces meet on the edge of the flap, reforming the full face shape.
Add hair, eyes, nose, glasses, mustache, beard…whatever features you would like your paper bag puppet person to have. Then add clothes of whatever type this person would look good wearing!
Extras Are Nice
You can always add extra things like pipe cleaner whiskers, yarn hair, pom-pom nose or button eyes if you want to make the puppet a bit more 3-D. You can also use markers or crayons to add details if you wish.
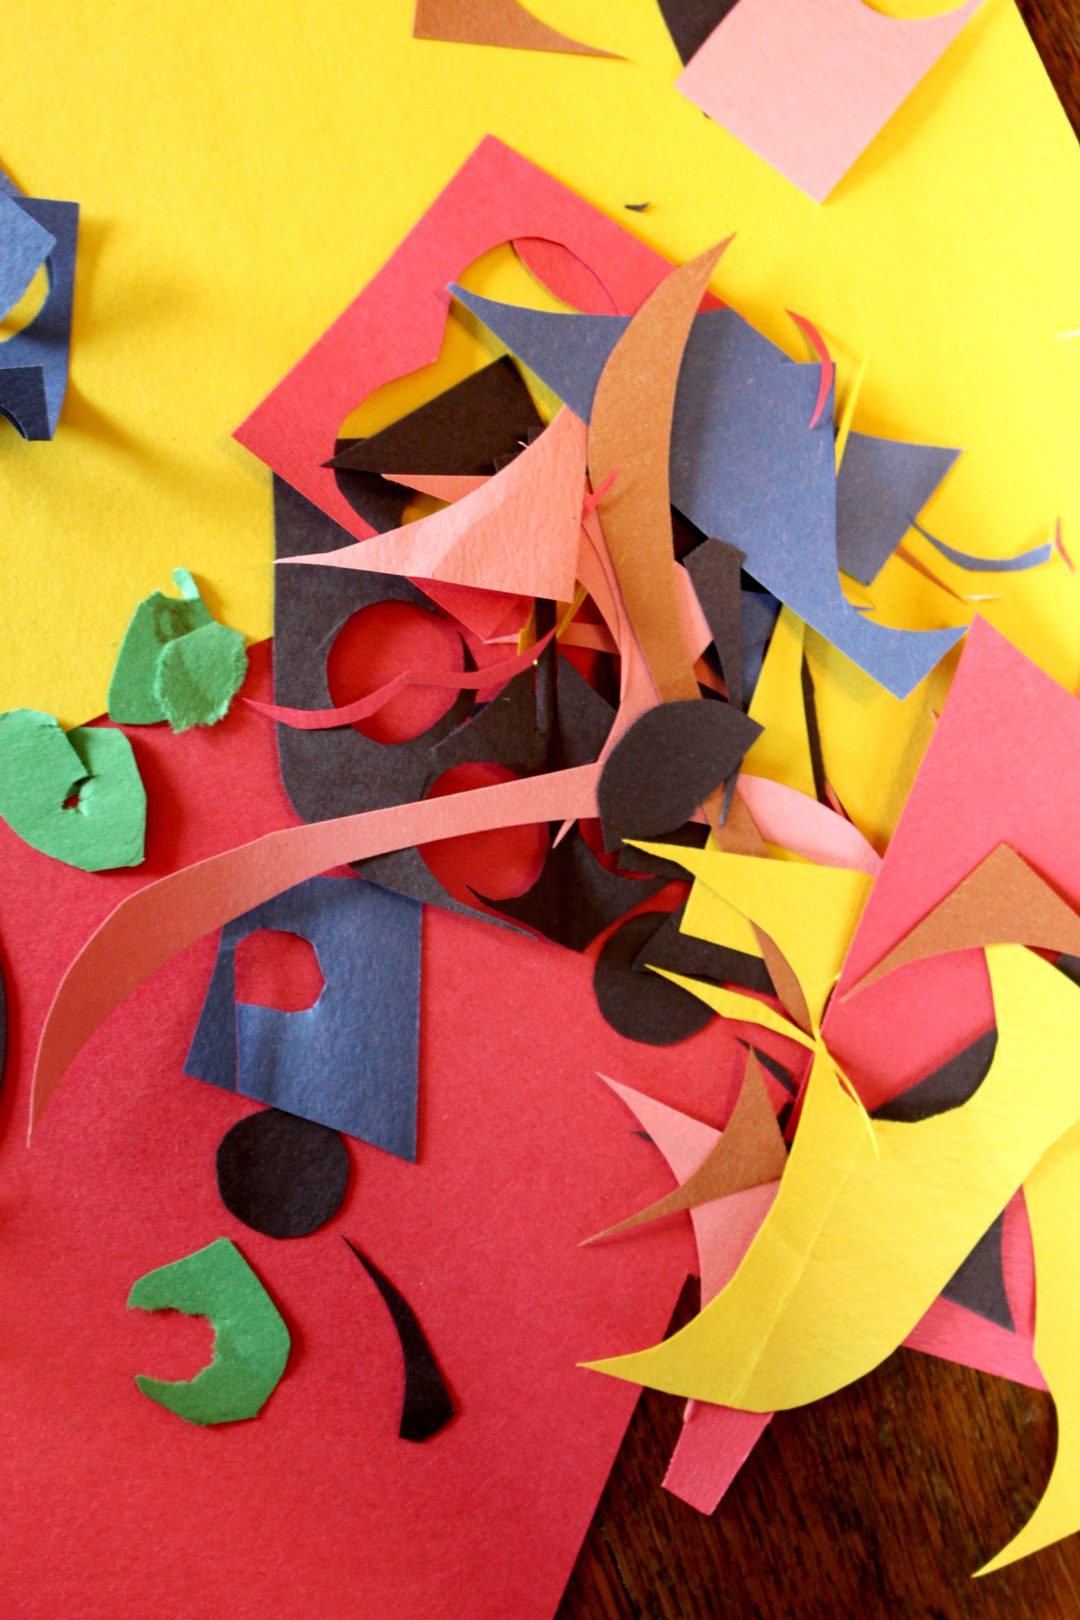
I don't know why but seeing the color of paper scraps makes me happy. It's like a modern art painting!
Paper Bag Puppets Pals Tell Your Story
Provide the materials and a bit of instruction and let your grand use their imagination to create just the right puppets for their made up stories. I needed to help cut shapes for the youngest grand but even at two she could do the gluing.
A Puppet Show!
For the second part of the fun, have a puppet show. You can help or you can be the appreciative audience.
The mask was a random extra project made while waiting for sister to finish coloring! Ha!
Watch for instructions on making more puppets and your own puppet stage coming soon to a blog near you!
You'll Need:
- Construction paper
- Scissors
- Glue Sticks
- Paper sandwich bags
Instructions:
- Decide what character you would like to make (animal, person, fantasy)
- Cut shapes from the construction paper to make the features of this character (circles, ovals, heart shapes, triangles, etc)
- Position the bag so the opening of the bag at the bottom.
- Glue these cut out pieces onto the part of the bag that would be the bottom of the bag keeping the flap part from getting glued over.
- Add extra things like pipe cleaner whiskers, yarn hair, pom-pom nose or button eyes if you want to make the puppet a bit more 3-D.
- Stick your hand up into the sack and use the flap as a "mouth" to make the puppet talk.
- Make sure to create and enjoy a puppet show!
Enjoy!
Welcome to Nana’s! Where there’s fun things to do with your “grand” kids!
Come join the fun at www.WelcomeToNanas.com


Bokang Mosenohi says
omg I love one of I mean like every thing 💖 💖💖💖💖💖💖 all of them are pretty some are beautiful and thanks to the idea of the paper bag pocket book I think it said that but it was amazing 😻🤩😻🤩😻🤩😍🤩😍🤩😍🤩😍