This One's For You, Nana
So, fellow nanas, this activity is just for you! Do you miss the grands between visits? How about making a picture board full of your absolute favorite pictures of those kids that you love?

Pick a Pack of Pictures
Start by gathering the pictures. The 4x6” size works great. The project takes about 20 pictures in both vertical and horizontal orientations. Be one of the few people that actually prints off some of those digital pictures usually kept trapped inside a computer. What a novel idea!
Find one or two pictures of each of the grands, those pictures that pop with their personality or show them doing something they enjoy. Each child is so very different and special. Ask for pictures if you don’t have any. Then gather pictures with various groups of people or at various events that make your heart happy. I chose one with all of us together and made it a 5x7” size to place kind of in the center of the board. Don’t overthink it or the kids will be full grown before you finish the project, ha.
The Bulletin Board
Your picture board can be created either horizontally or vertically depending on where you would like to hang it. I wanted to perk up my office and had a horizontal spot to fill. Your spot may need the bulletin board to go vertically instead. Roll with it!
I left my picture board with the cork showing but you could cover it with gift paper or fabric to provide a colored surface under your pictures. It would probably work best to choose a solid color or a small print so it works as a background and doesn’t overpower the pictures. If you do this, cut the paper or fabric to fit the size of the bulletin board and then staple it down around the edges.
Positioning the Pictures
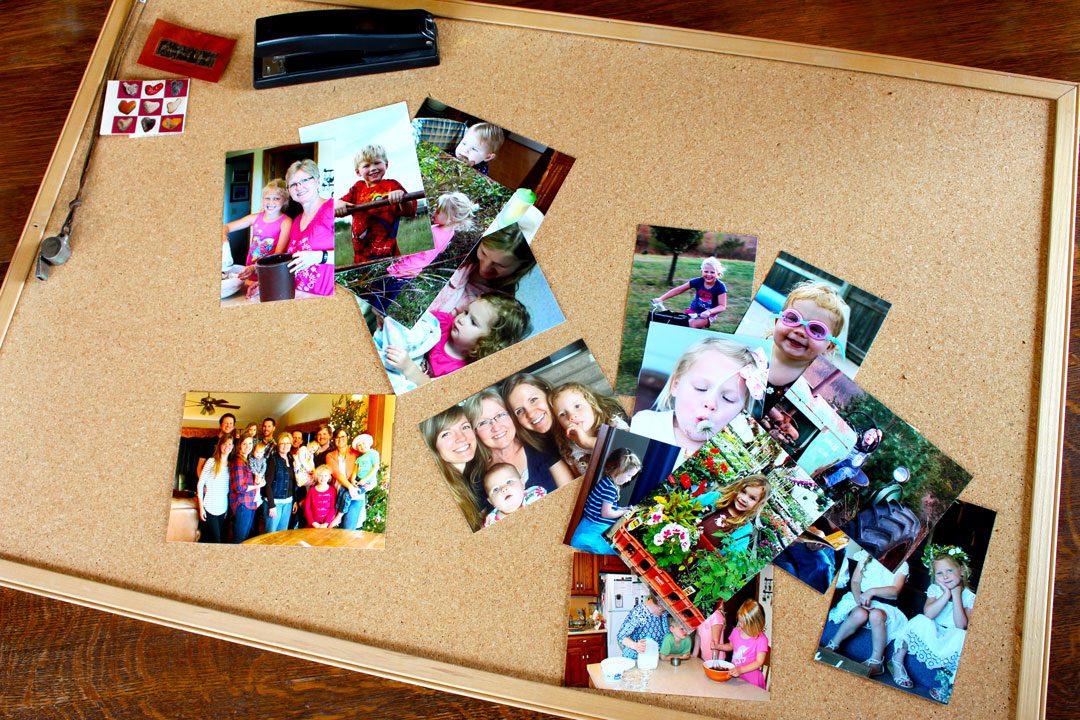
There are no exact rules for positioning your pictures. Put them out all over the picture board. Shift them around to fit evenly over the surface. Again, don’t overthink it. Have fun! After moving them around a while you will step back and say, “I like this arrangement”! Way to go.
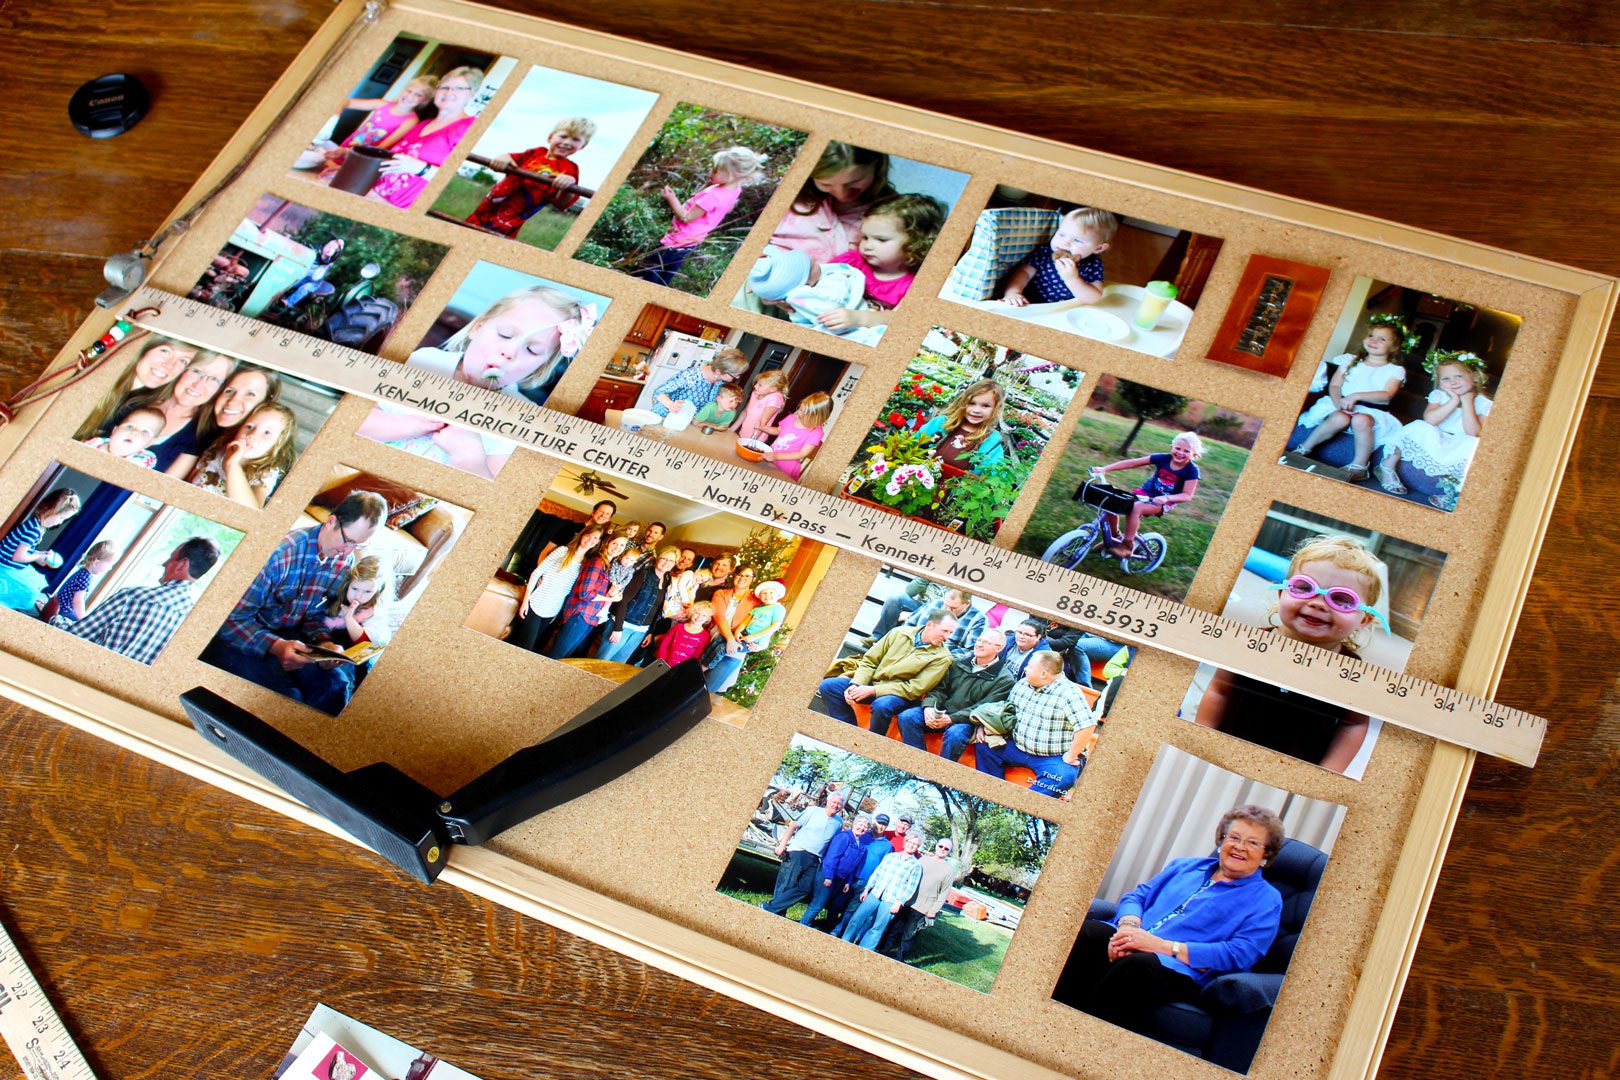
Place a yardstick across the bulletin board and straighten the pictures up a bit. Try to get them spaced out fairly evenly across the board.

Staple the Pictures Down
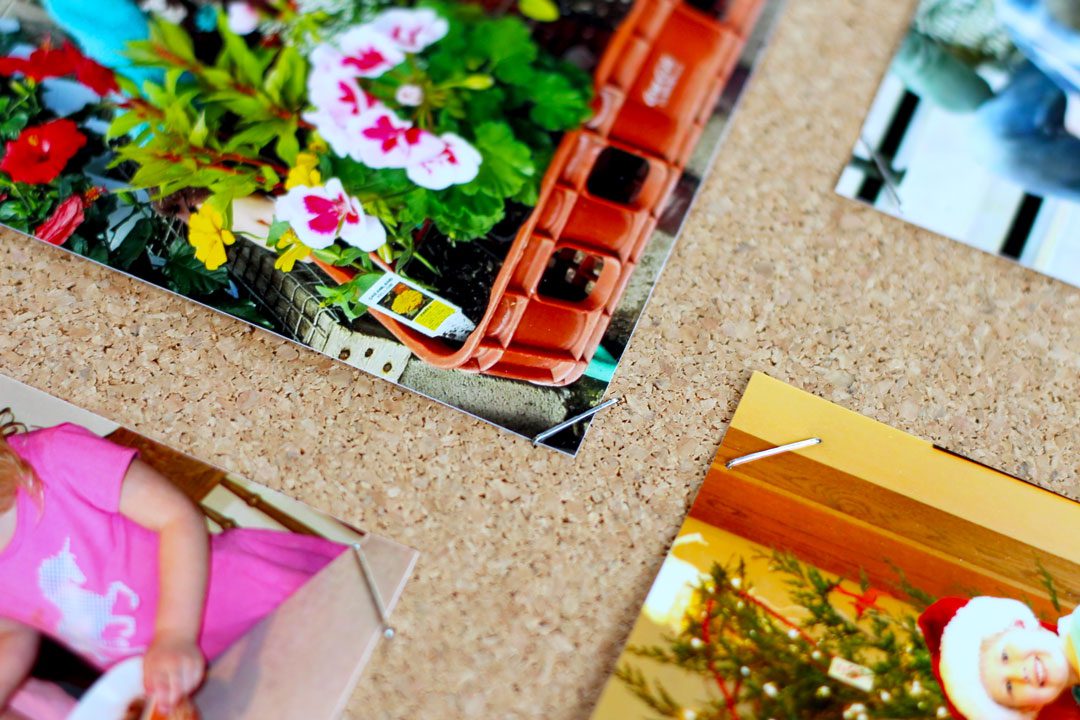
When you are happy with how it looks, open up your stapler so it can staple on a flat surface. Staple each picture down, catching the corners only. These staples are easy to remove and pictures can be exchanged for updated ones at any time.
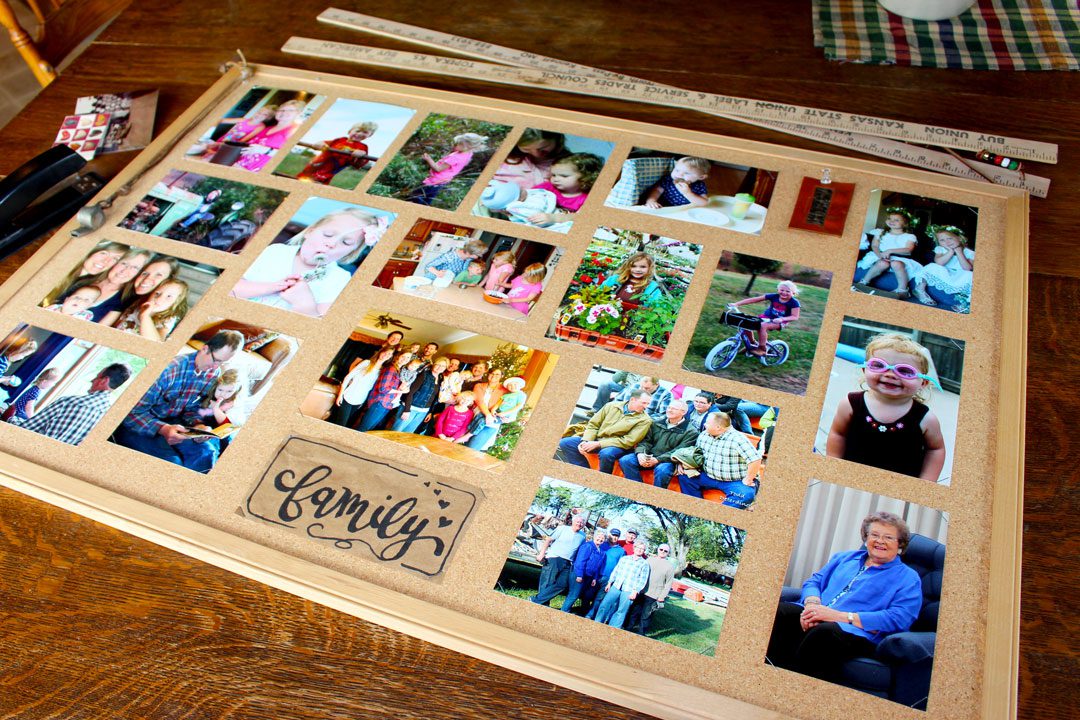
It’s fun to print or draw a little picture sized word or phrase to add in amongst the pictures. “Family” just seemed to be a fit- go figure! If you want, you can staple a few extra momentos over the board- the skies the limit. Send me a picture of your creation!
Tip- this makes a great gift. I made one for my mom, grandma-great. She loved it!

You'll Need:
- Bulletin board- 2'x4' size
- Optional- paper or fabric to cover the bulletin board
- Stapler that will open up to staple on a flat surface (and staples)
- 20- 4x6" pictures of grandchildren
- Optional- printed or drawn word or phrase
Instructions:
- Gather and print off about 20- 4x6” sized photos
- Choose either horizontally or vertically bulletin board orientation depending on where you would like to hang it.
- Leave the picture board with the cork showing or cover it with gift paper or fabric (optional)
- Spread the pictures out all over the picture board.
- Shift the pictures around to fit evenly over the surface of the board till satisfied with the arrangement.
- Place a yardstick across the bulletin board and straighten the pictures up a bit. Try to get them spaced out fairly evenly across the board.
- Open up your stapler so it can staple on a flat surface. Staple each picture down, catching the corners only.
- Print or draw a little picture sized word or phrase to add in amongst the pictures (optional).
- Hang the board up on the wall!
Enjoy!
Welcome to Nana’s! Where there’s fun things to do with your “grand” kids!
Come join the fun at www.WelcomeToNanas.com


Leave a Reply