Nana-Greats Apple Pie with Lattice Crust
Weave strips of crust to make your apple pie turn out as pretty as it is delicious!
A food and a craft all at once, can it get any better?
Pie Baking and Knife Skills for Kids
Most of my students at school have never baked a pie before, in fact they’ve never even seen a pie being made (I'm a Home Ec/FACS teacher in our local high school). Many don’t have safe knife skills and have not sliced an apple. They were thrilled to get to do this in class and felt so accomplished.
So, I thought, perhaps the grands would enjoy making an apple pie with Nana! Making a pie yourself is so satisfying, and helps them realize there are many things they can do if they try.
Plus, I have a crust trick that makes pie making so much easier! Hold on, it's coming! 😉
This is probably an activity to do with the older grands. They need to be old enough to have the coordination necessary to handle a knife safely. It is important they learn to do so, though.

Apple Varieties for an Apple Pie
An apple pie is better with an apple variety that is crisp and tart. I like Jonathan, Granny Smith, Gala or Fuji myself. Picking your own apples would be an amazing addition to this experience. We don’t have our own apple tree or an orchard close to us, but you may.
Wash the apples well. (I used Gala apples in this pie.)
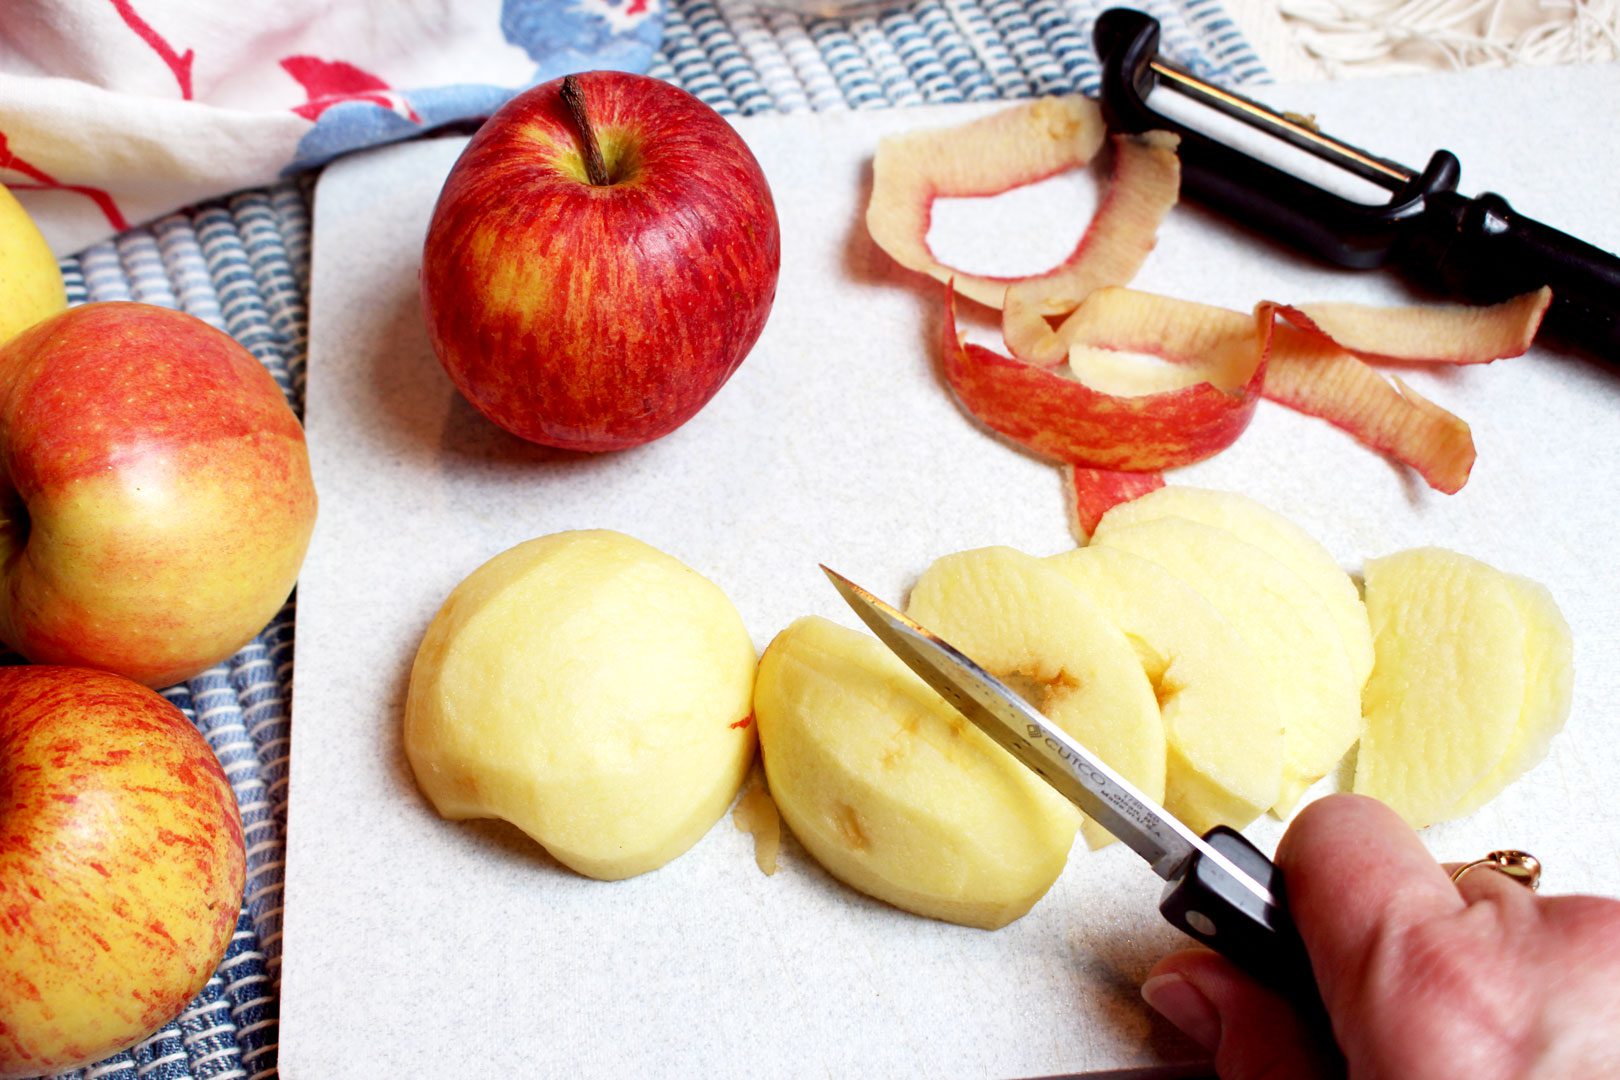
Apple Peeling and Slicing
Place a cutting board on the counter. This is a great opportunity to explain how a cutting board provides a good cutting surface and protects the countertop. Don't cut directly on a countertop, it makes cuts and ruins it.
Cut the apples in half and take out the core. Show the grands how to safely cut out the seed center as well as the stem sections.
Peel the apples. Show the grands how to hold an apple and gently draw the peeler towards yourself to cut a long peel. This method is safe and fast when you get the hang of it.
Lay the cut side of the apple down flat on the cutting board. Slice the apple into ⅛th inch slices by cutting straight down onto the cutting board. Keep fingers tucked back as you slice.
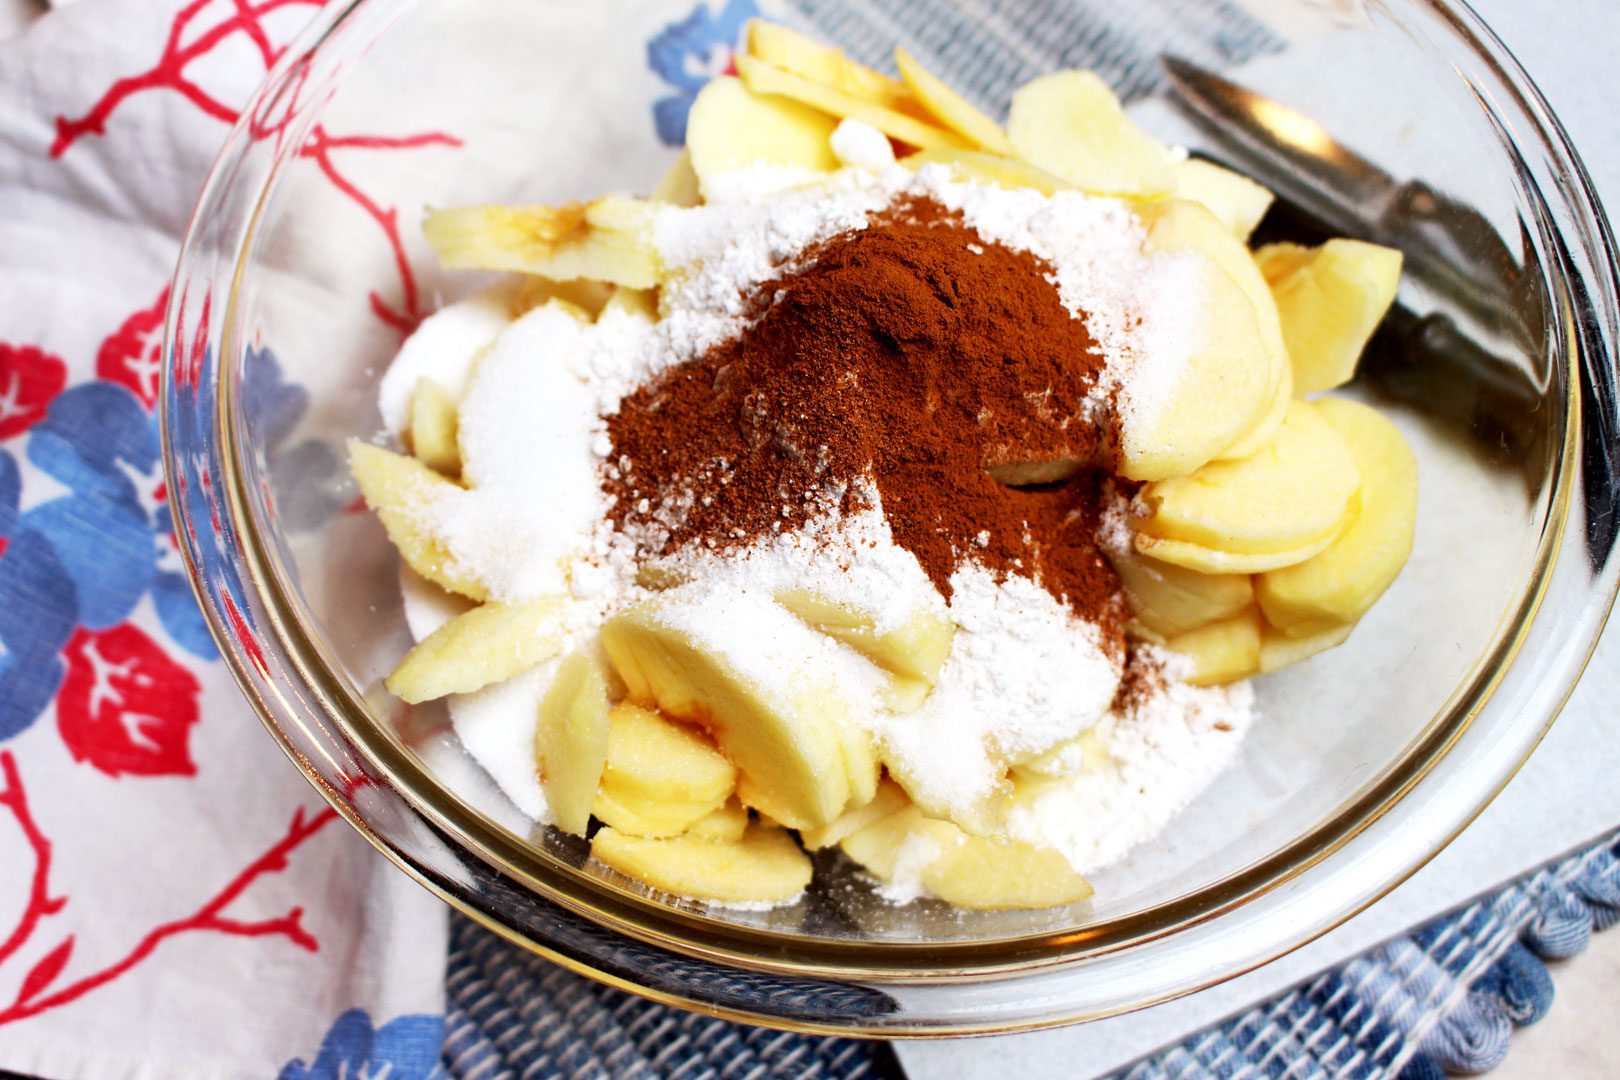
Apple Pie Filling
When you have 6 cups of sliced apples, mix the sugar, flour, cinnamon and nutmeg in and set aside.
Pie Crust Extraordinaire
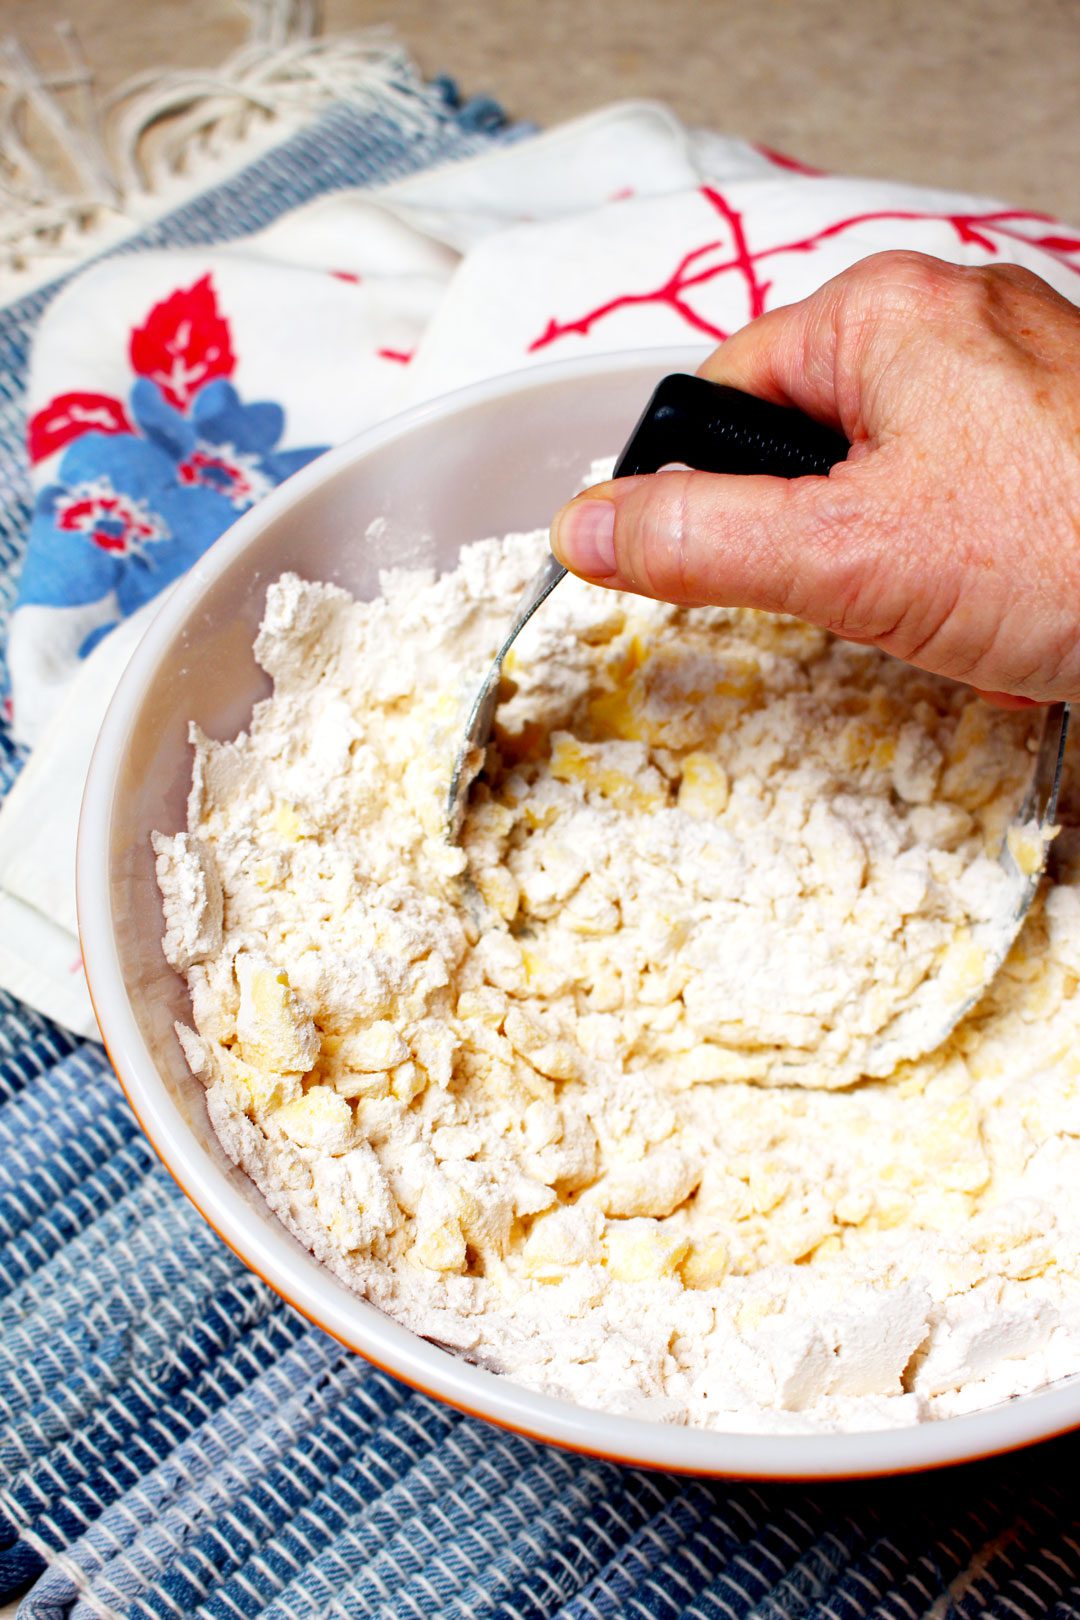
To prepare the crust, place the flour, salt and shortening in a mixing bowl. Use the pastry blender or two forks to cut the shortening into the flour. "To cut in" will be a new cooking term and is one of the favorite things to do for most kids! Cut until the mixture is crumbly.
Add water, a little at a time, and mix with a spoon until the mixture becomes a soft dough that sticks tougher well but you can handle it, it isn’t sticky.
Pie Crust Rolling Secret Tip (ha)!
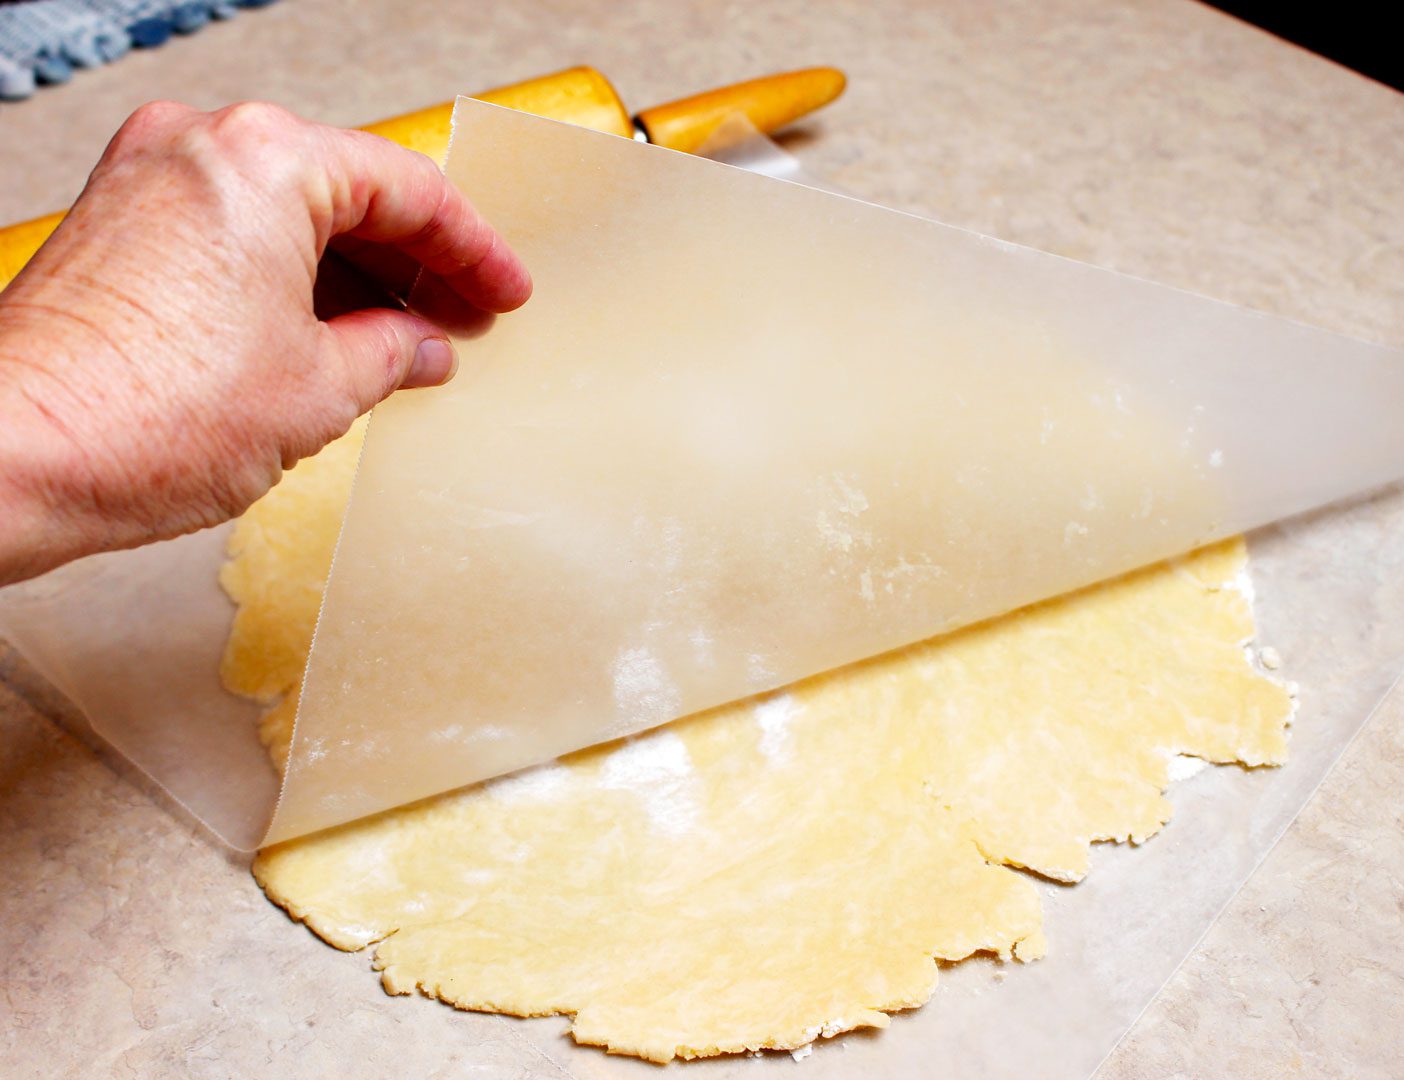
So, the secret tip to rolling out pie crust is waxed paper!! Place a 12-14 inch piece of waxed paper on the counter top. Sprinkle with a little bit of flour. Place ½ of the dough onto the waxed paper. Press down into a large, round patty looking shape. Sprinkle a little flour on the top of the crust and then place another piece of 12-14 inch waxed paper over the dough. Using a rolling pin, roll the dough out into a circle that is larger than the pie pan and about ⅛th inch thick. You can set the pie plate on the crust to gauge the size.
Gently peel off the top piece of waxed paper. Place the crust into the pan with the second piece of waxed paper on top and then gently peel off the paper. Gently press the crust into the pan. If the crust tears a little, just press it back together. For now, leave the extra crust dangling over the edge of the pie pan.
Spoon the apple mixture into the pie pan. Fill it until it is slightly mounded.
Roll out a second crust with the second ½ of the pie dough the same way you did the first. You can use the same waxed paper if it didn’t get too sticky with the dough from the first crust.
Peel off the top piece of waxed paper. Using a kitchen knife, cut the dough into ¾ inch strips.
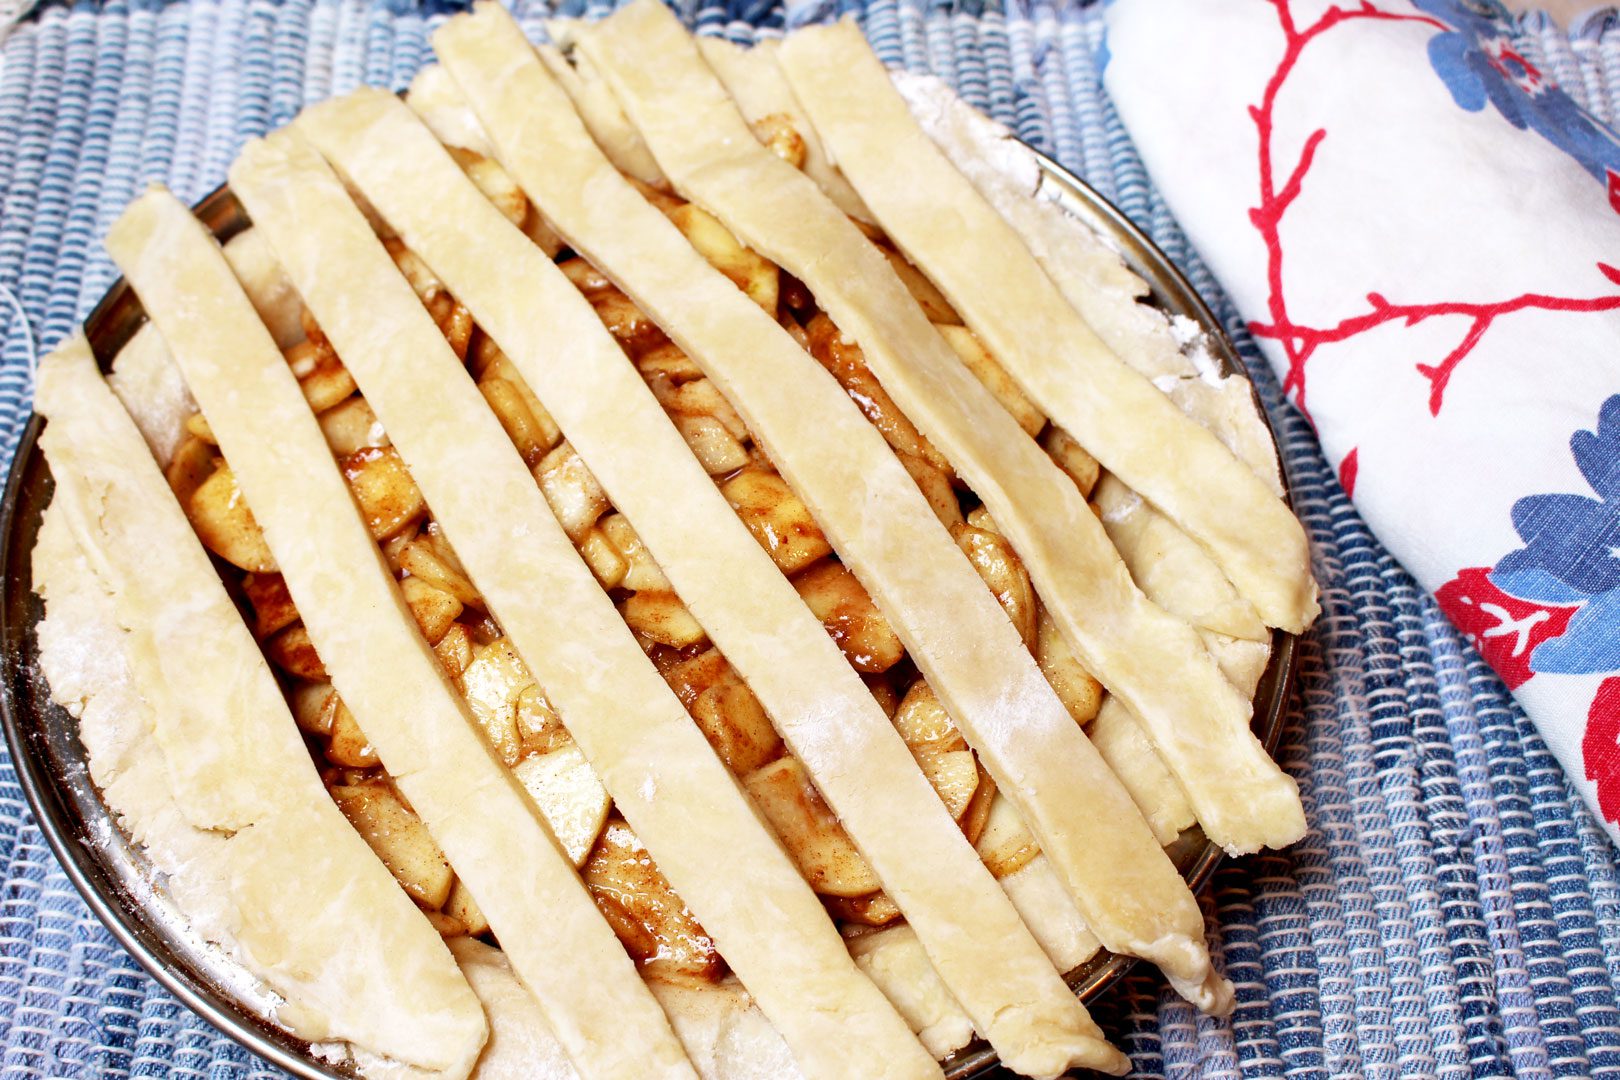
Weaving the Lattice Pie Crust
This part is fun!
Gently peel off the strips and lay them in one direction across the pie with about ½ inch space between each strip. Fold every other strip half way back and lay another strip across the pie, perpendicular to the first set of strips. Take the folded back pieces and lay them back on the pie. Fold back the opposite strips of dough. Place another strip on the pie and fold the strips back over the pie. Continue doing this until the top of the pie is covered with woven strips. You may need to cut off parts of the longer strips to reuse in the weaving.
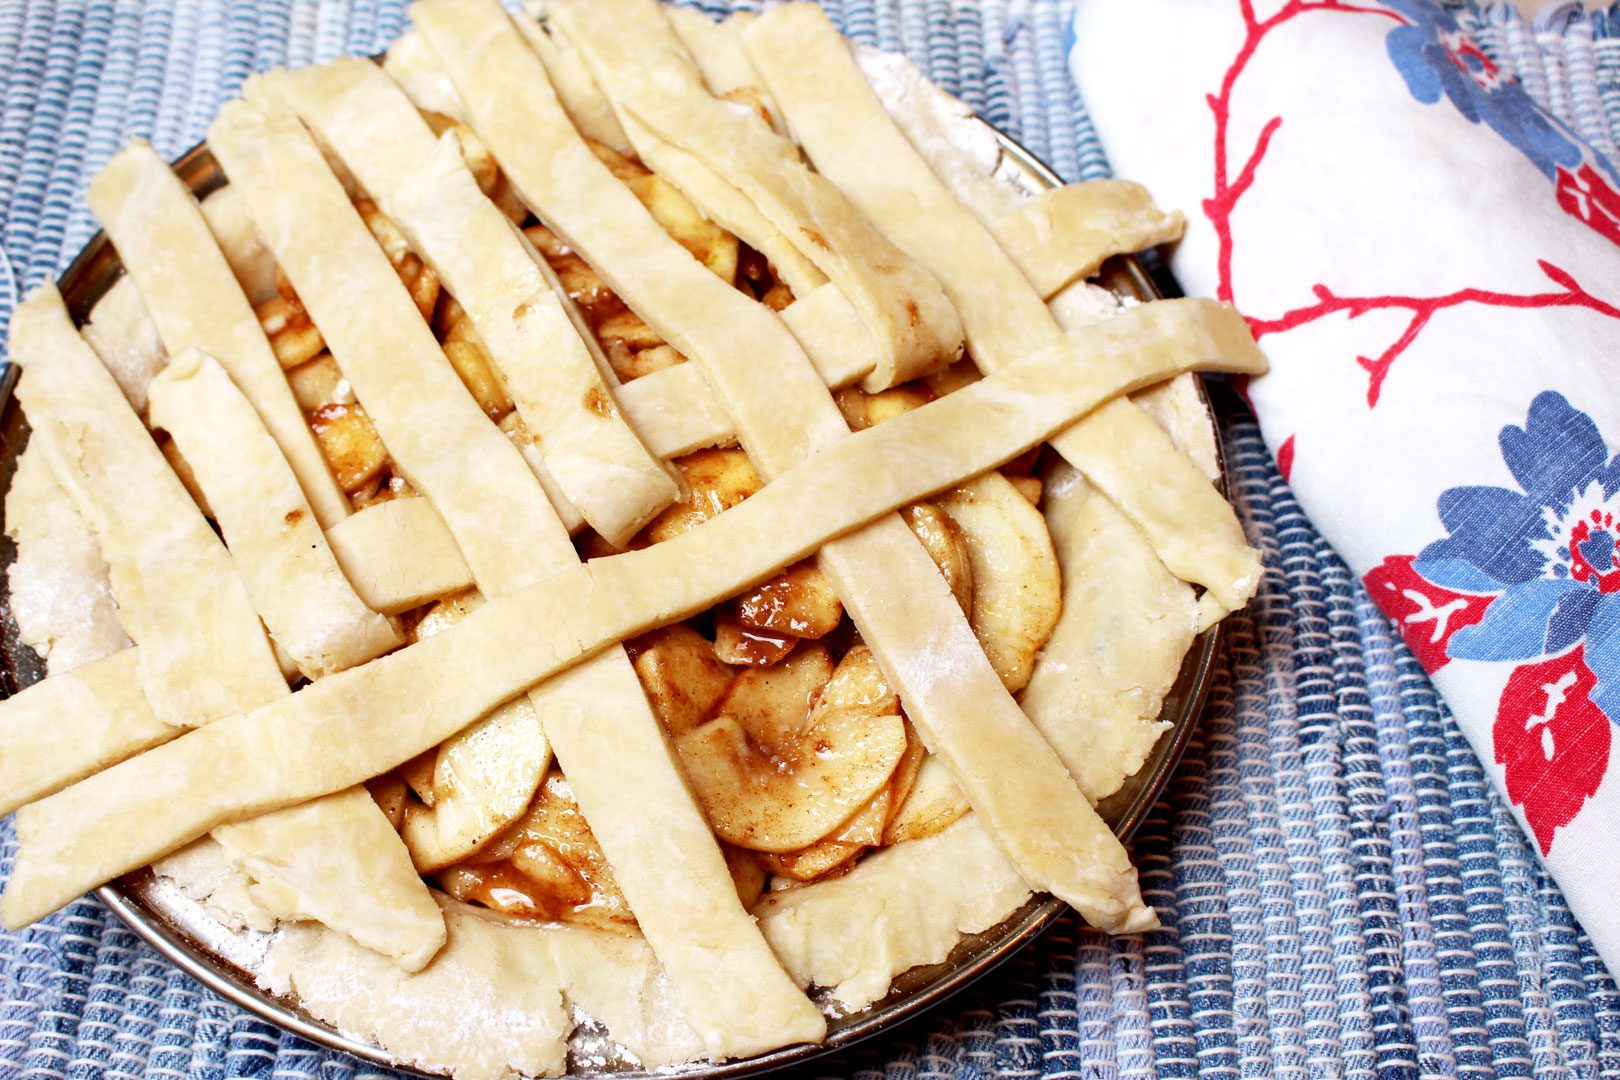
Seal the Edges of the Apple Pie Crust
Use a knife to cut around the outer edge of the pie plate, cutting off all the extra pie dough that is dangling over the edge. Set the extra dough to the side.
You can press the edges of the crust together with a fork or pinch it into a fluted edge with your fingers. That’s what my mom always did (this is what I demonstrate and I’m using her pie plate).

Nana-Great and Her Amazing Apple Pies
Making an apple pie always makes me think of my mom. She would often have 2 or three pies sitting on the counter when I got up on a Saturday morning (and I didn’t get up late). They were for Sunday noon company. It seemed that they came out of no where, like magic. They were a labor of love and were oh so delicious! This recipe is much like hers. Now you have taught your grands how to do the same!
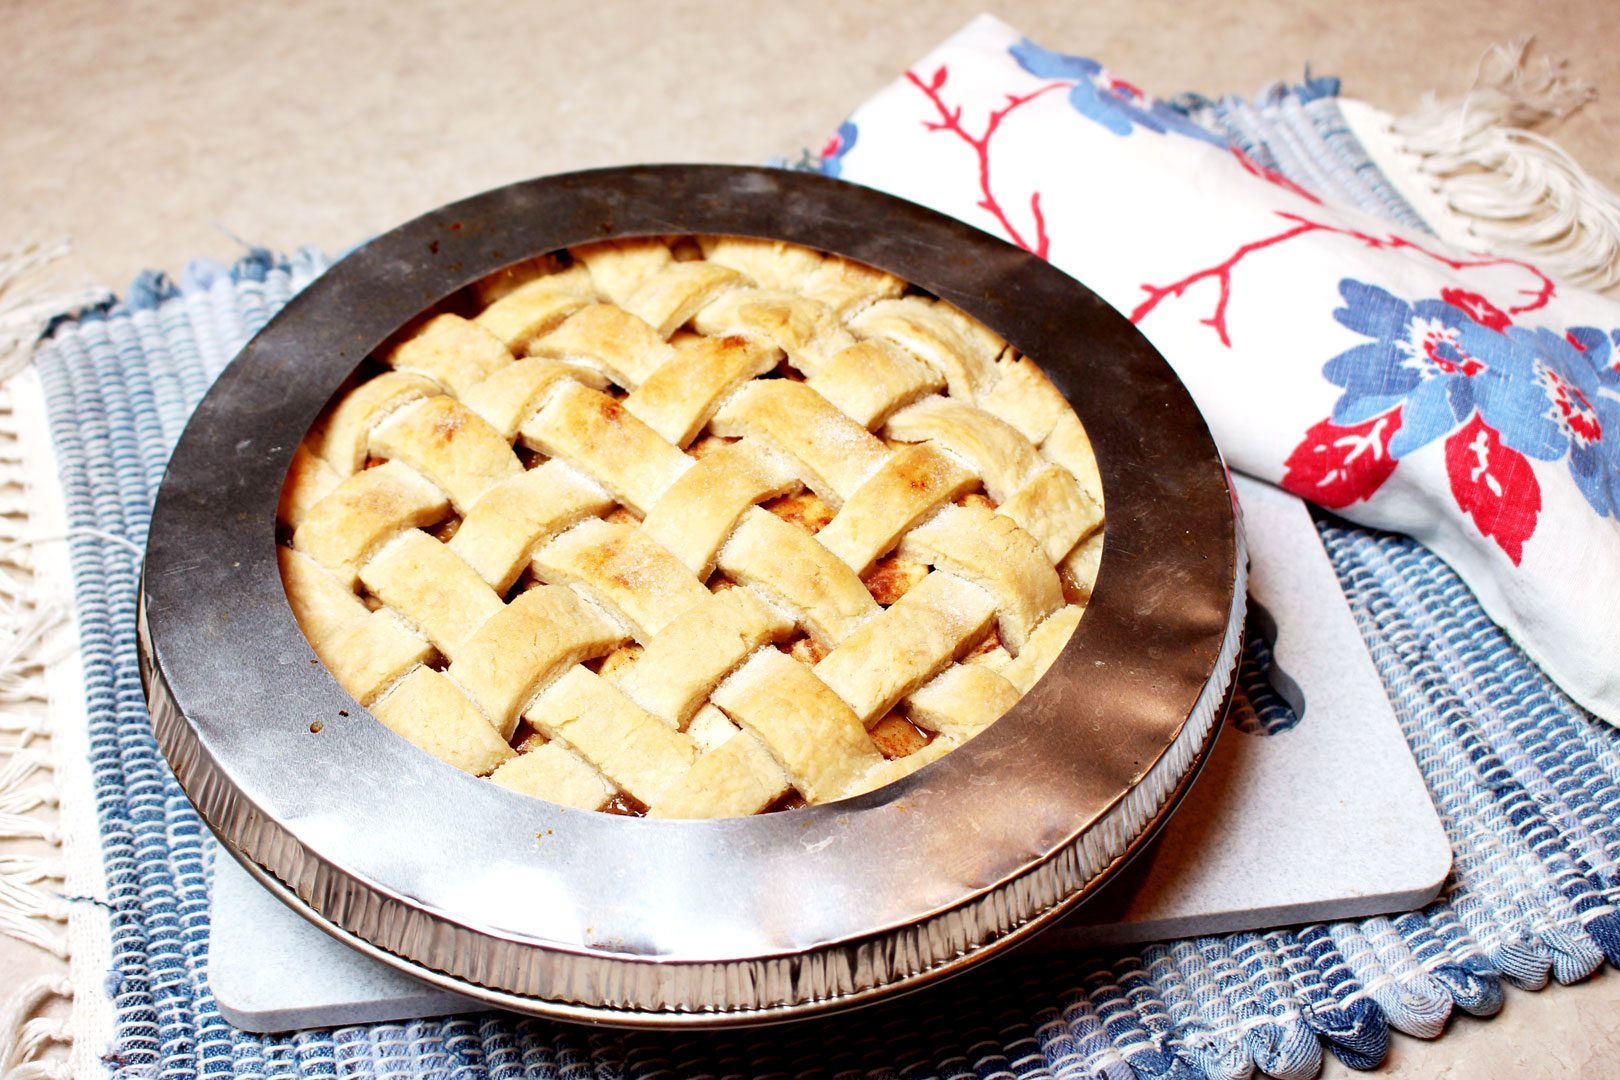
Throw it in the Oven for (grand)Baby and Me!
Bake the pie at 375 degrees for 45 minutes.
Tip: Put a strip of aluminum foil around the outer crust for the first half of the baking. I purchased a round aluminum pie crust shield for this purpose. It’s re-usable. Either work fine.
Mmmmm...
Mmmm, it smells so good in the house when there’s a pie baking in the oven! The kids will be so proud to serve their pie after supper. Don’t forget a scoop of vanilla ice cream!
For one more extra treat… My mom used to roll out the extra bits of dough and sprinkle them with cinnamon sugar. She would cut them into pieces and bake them on a cookie sheet. We got to eat them like cookies when they were cooled off. Be sure to keep an eye on them though, they burn easily! This made it a bit easier to wait until dessert to get to eat the pie!

Enjoy!
Welcome to Nana’s! Where there’s fun things to do with your “grand” kids!
Come join the fun at www.WelcomeToNanas.com

Nana-Greats Apple Pie with Lattice Crust
Equipment
- Pie plate
- Rolling Pin
- Pastry blender
- Measuring cups
- Measuring spoons
Ingredients
- Recipe for pie filling:
- 6-7 cups sliced apples about 6 apples
- ¾ cup sugar
- 3 Tbsp. flour
- 1 tsp. ground cinnamon
- ½ tsp. ground nutmeg
- Recipe for pie crust:
- 3 cups flour
- 1 tsp. salt
- Shortening like Crisco
- ¼ cup cold water
Instructions
- Apple pie filling:
- Wash, core and peel the apples.
- Place in a mixing bowl.
- Mix the dry ingredients and add to the apples.
- Set aside.
- Pie crust:
- Mix the dry ingredients in a mixing bowl.
- Cut in the shortening.
- Add the water, a bit at a time, until a dough is formed (not sticky)
- Roll out ½ of the dough between 2 pieces of waxed paper.
- Place the crust in the pie plate, pressing it against the sides
- Spoon the filling into the crust lined pie plate.
- Roll out the second ½ of the dough.
- Cut into ¾ inch strips.
- Lay strips across pie about ½ inch apart.
- Weave the remaining strips perpendicular to the first set of strips.
- Cut off the extra dough around the edge of the pan and seal the edges of the crusts.
- Sprinkle with sugar.
- Cover edges of crust with a narrow piece of aluminum foil for first half of bake time.
- Bake at 375 degrees for 45 minutes or until golden brown.

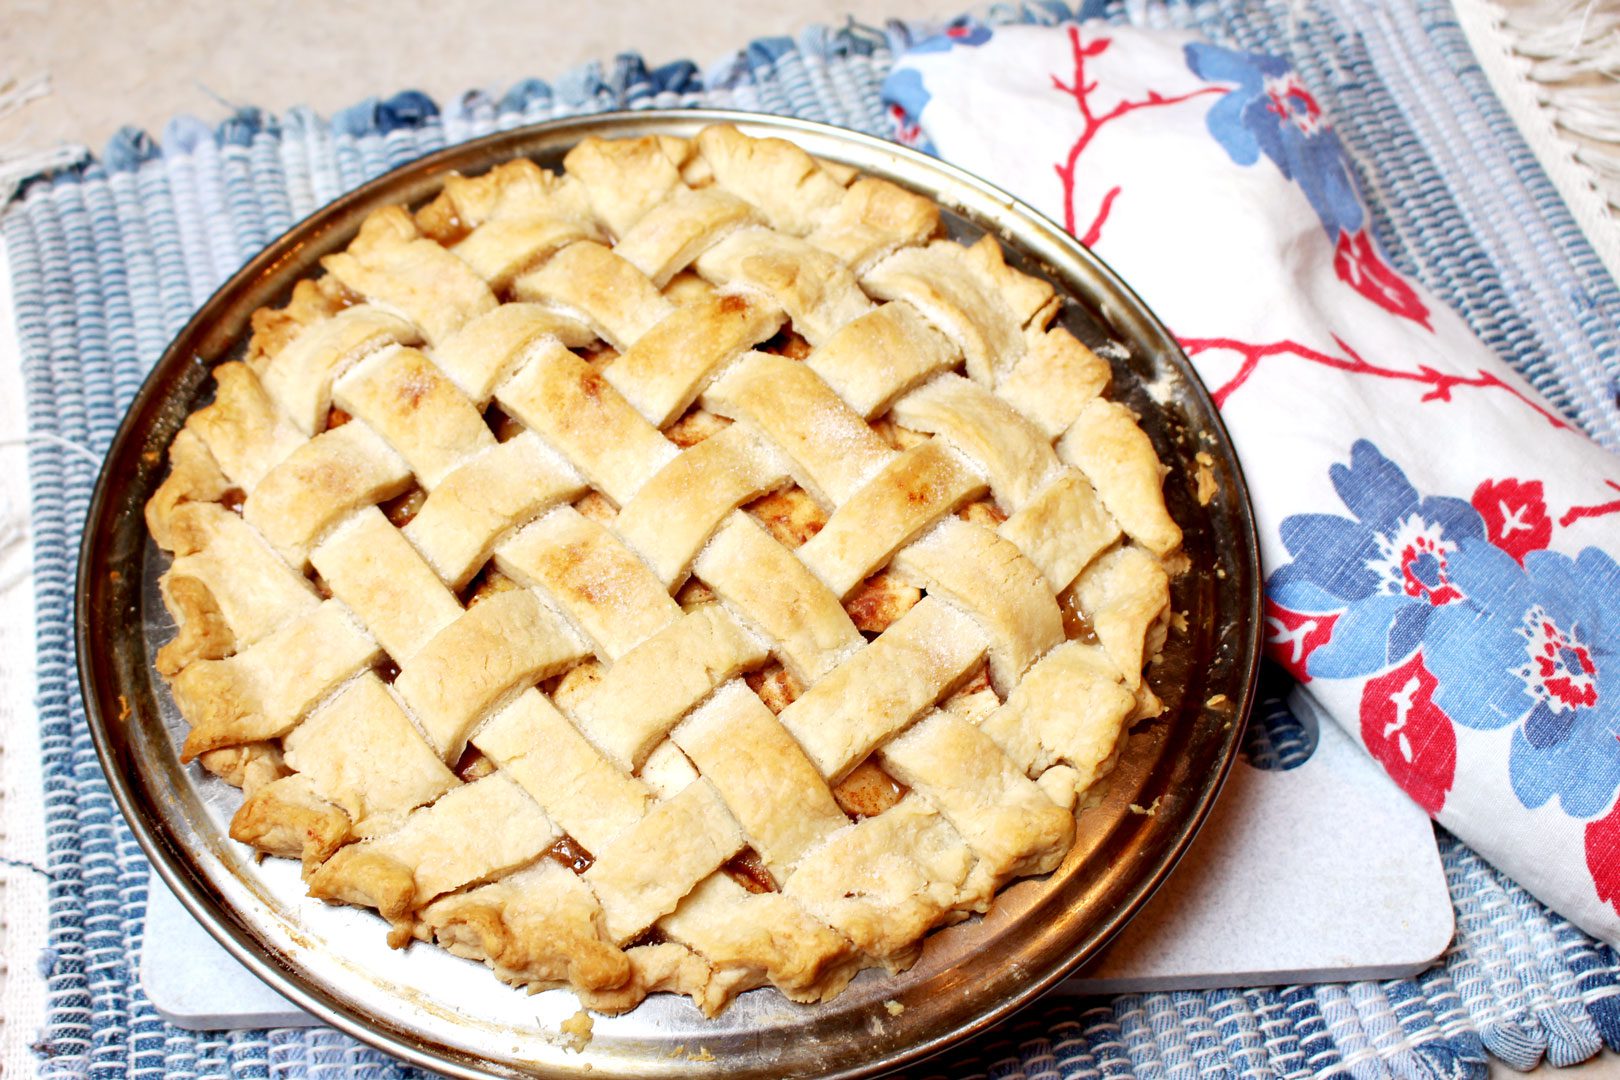





Shelly says
Mom made the best apple pie. Glad to share it with you!