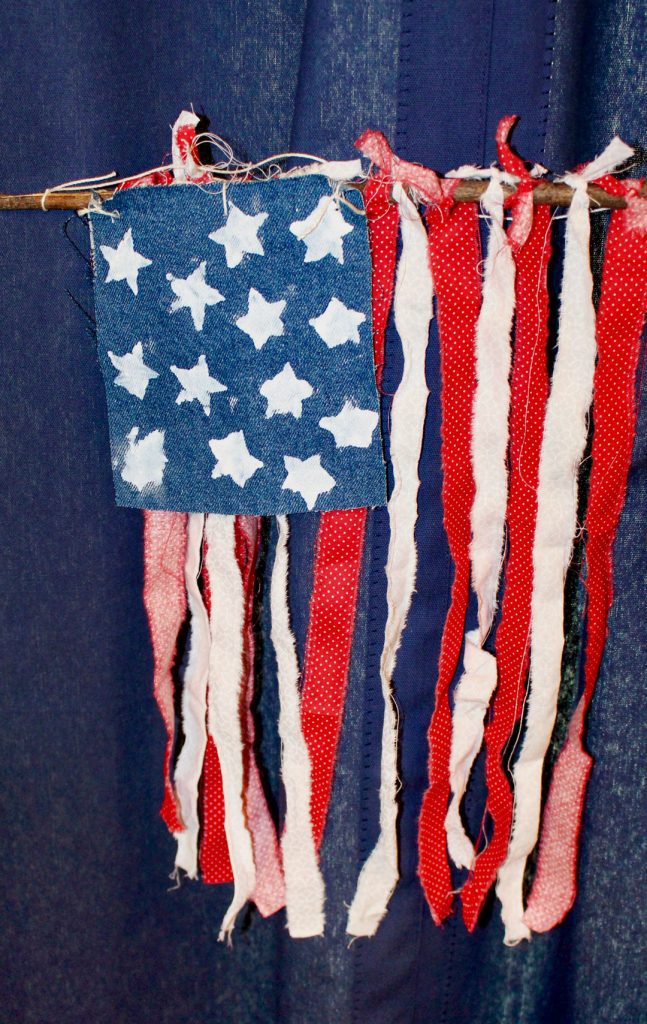
July 4thprovides the opportunity for the coolest red, white and blue crafts!
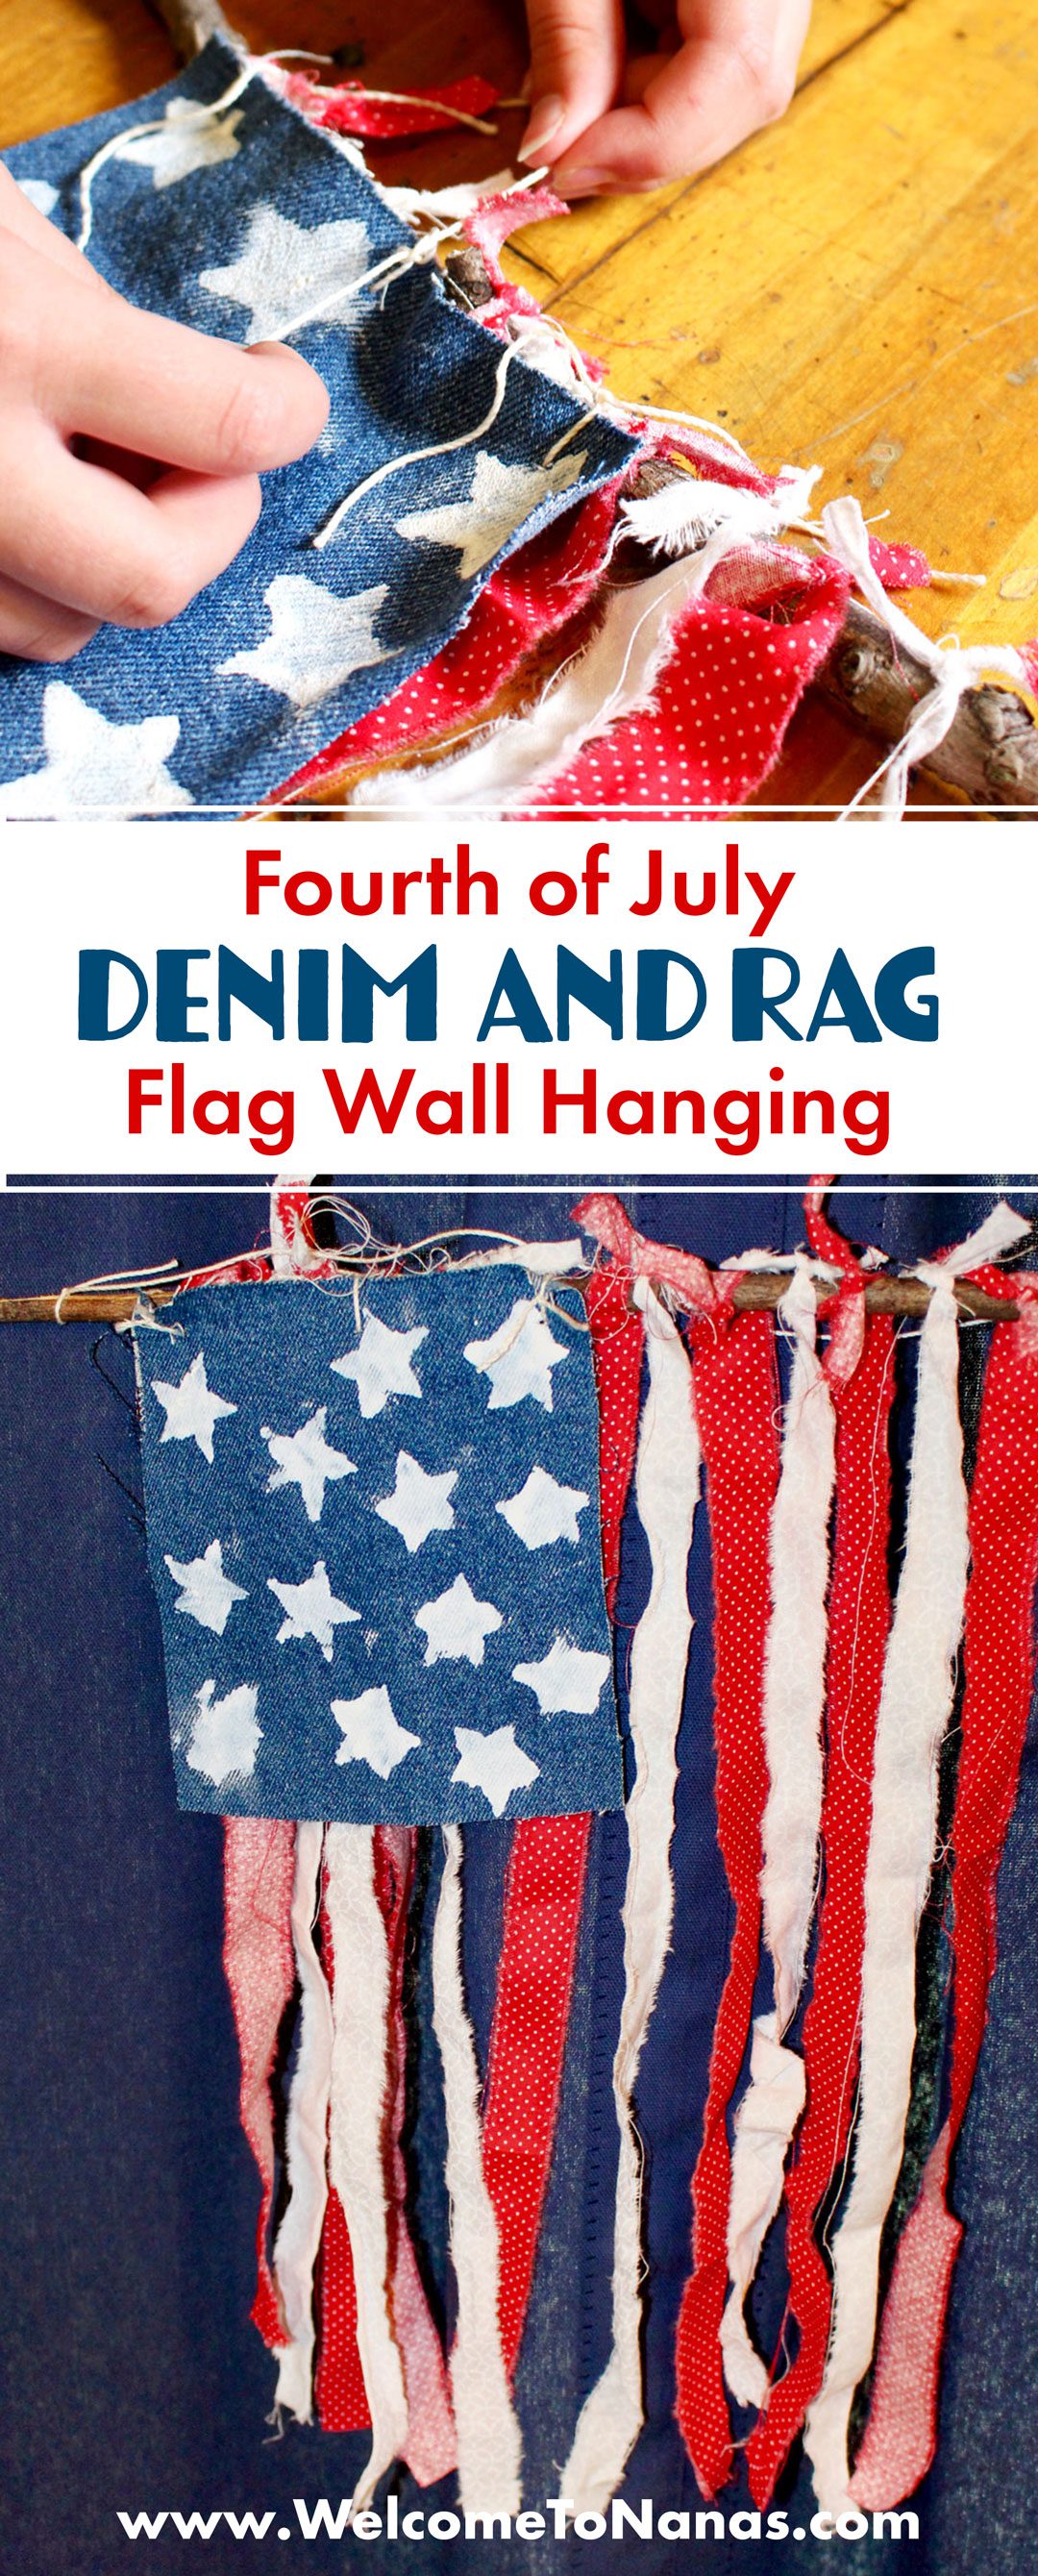
A Fourth of July Denim and Rag Strip Flag is easy for all ages to make and doesn’t take a long time.
Yea for Old Glory!
I must say, they turned out great and seeing Old Glory (even in craft form) warmed my heart.
Chase the Stick
I sent the kids outside to find sticks to use for their flags. They need to be about ½ inch in diameter and 14-16 inches long, fairly straight and without branches. A ½ inch dowel rod of the same length would work well too. We just liked the rustic look of the branch.
Cut slits into the fabric along one edge about ¾-1 inch apart.
Red & White Stripes
The fat quarters of red and white fabric worked great. We made three Fourth of July Denim and rag strip flags from the two fat quarters to give you an idea of how much to purchase.
The kids favorite part of the project!
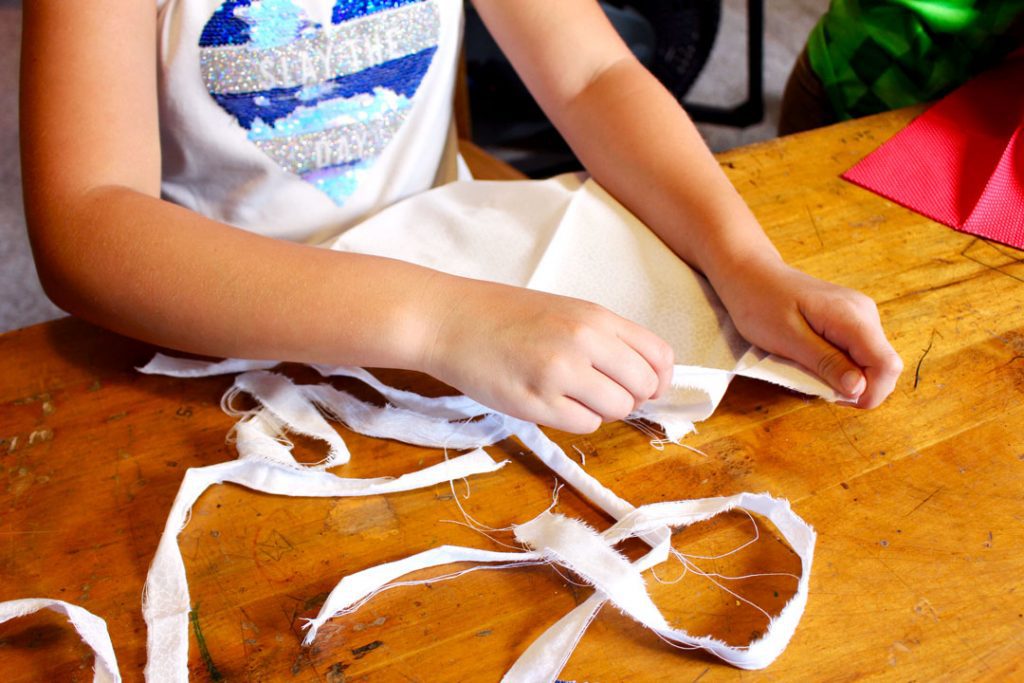
The kids LOVED this part, making the rag strips! Let the kids grab hold of the fabric along the edge you slit and tear the fabric strips. They will need 7 red strips and 6 white strips.
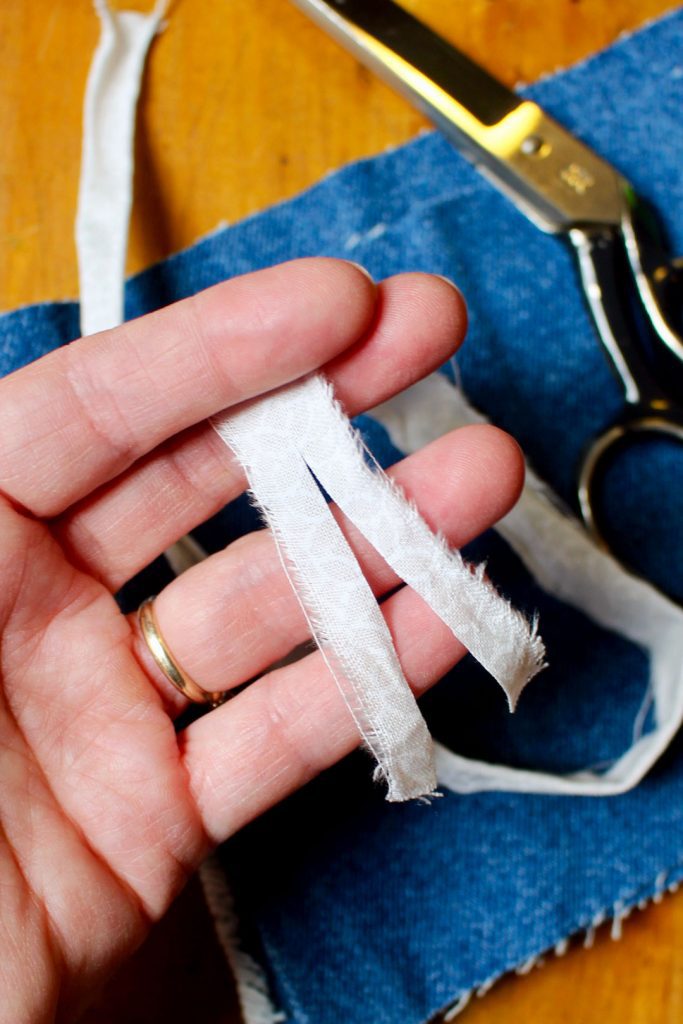
On one end of each strip, cut a slit about two inches down into the strip.
Tie on the Rag Strips
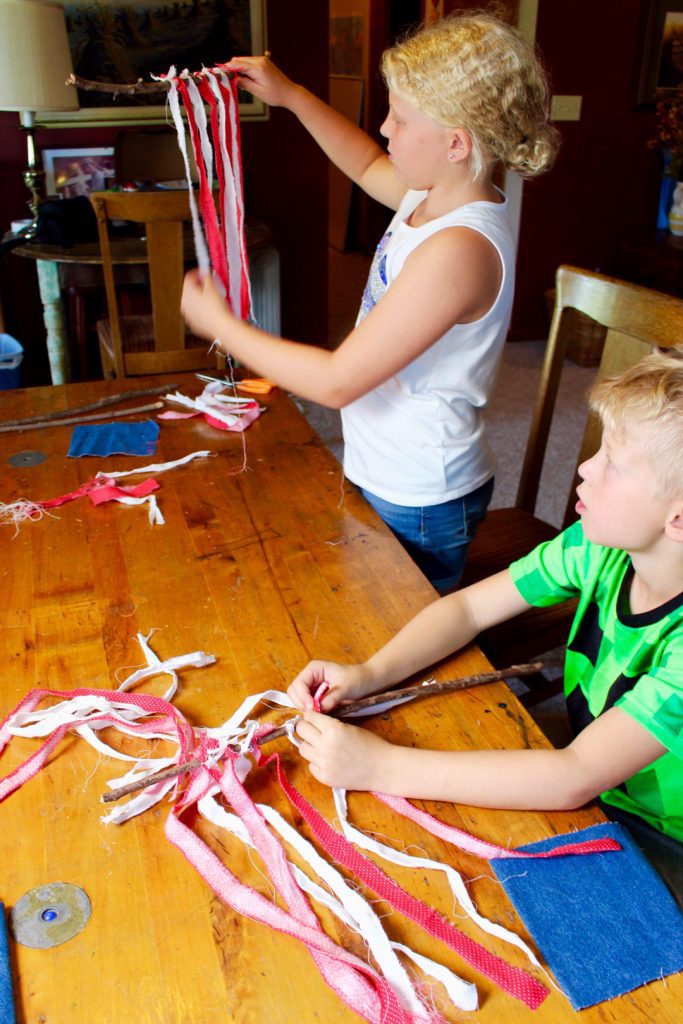
Let the kids tie this end of each strip onto the stick. Start and end with a red strip and make a red, white red pattern. This, of course, is the stripes of the flag.
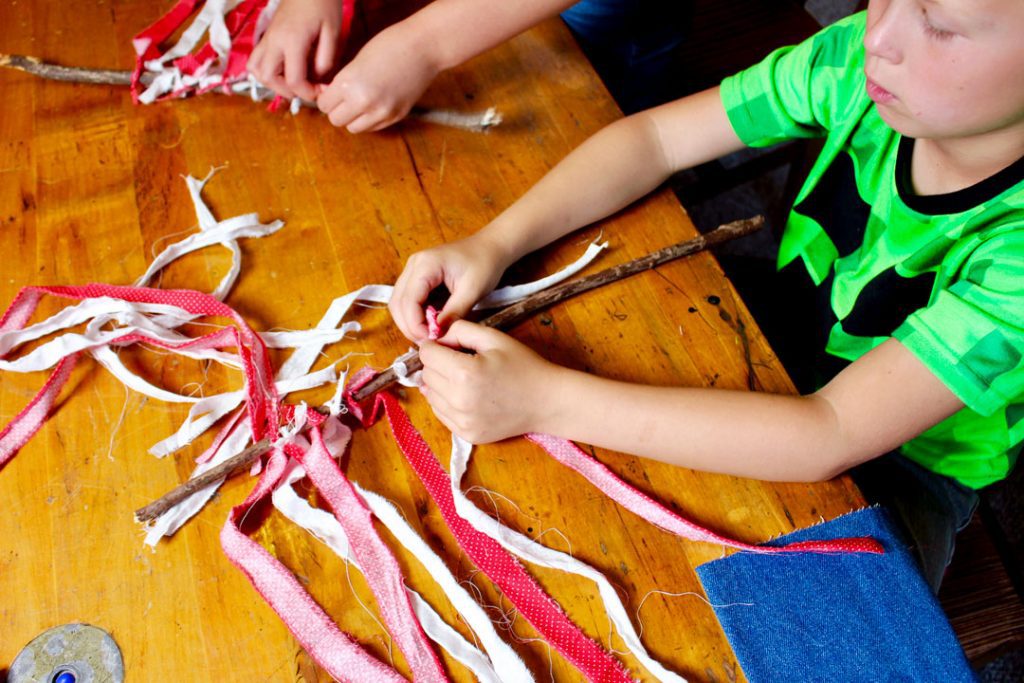
Teach the kids how to tie a square knot. This may be a new skill for young kids.
Tip: We had a good discussion about the symbolism of the stripes of the flag standing for the first 13 colonies. There were some good questions as the kids were young and didn’t know the history of the flag. We talked about how there was a star for each state in the United States on the blue part of the flag as well.
Paint the Stars on the Denim
Draw a star that is about one inch wide/tall on a foam plate. Carefully cut it out with an Exacto knife to make a star stencil. Be very careful to do this on a cutting board. This is definitely an adult step!
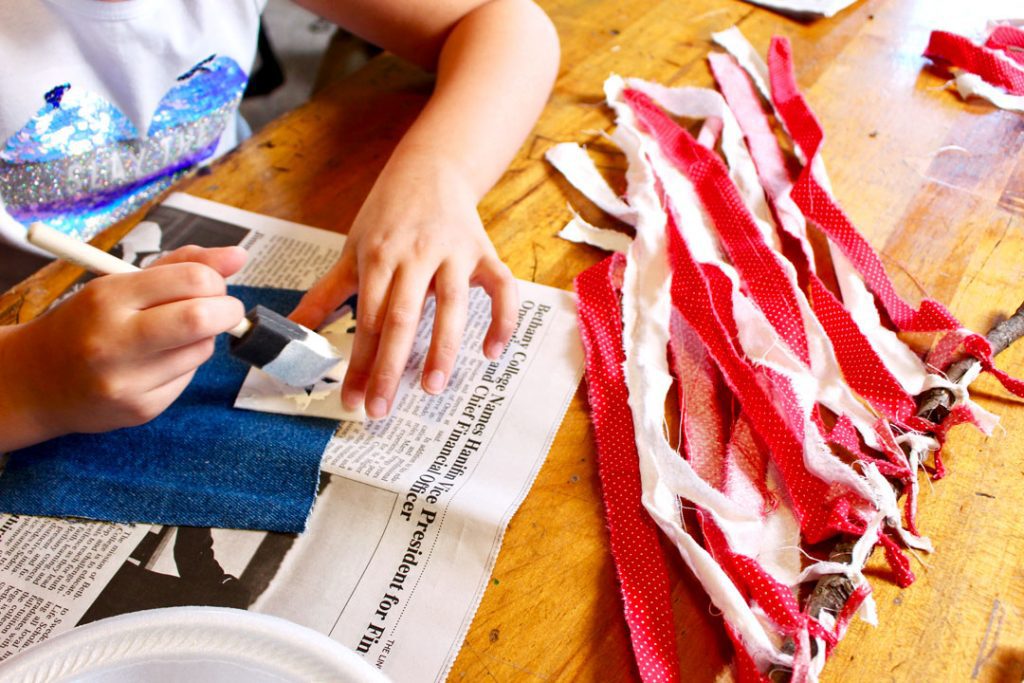
Use the stencil and the foam brush to dab the white paint onto the denim squares in star shapes. I let the kids choose how many stars to paint. Two wanted 13 stars for the 13 colonies and one wanted to make 5- that was enough! Ha!
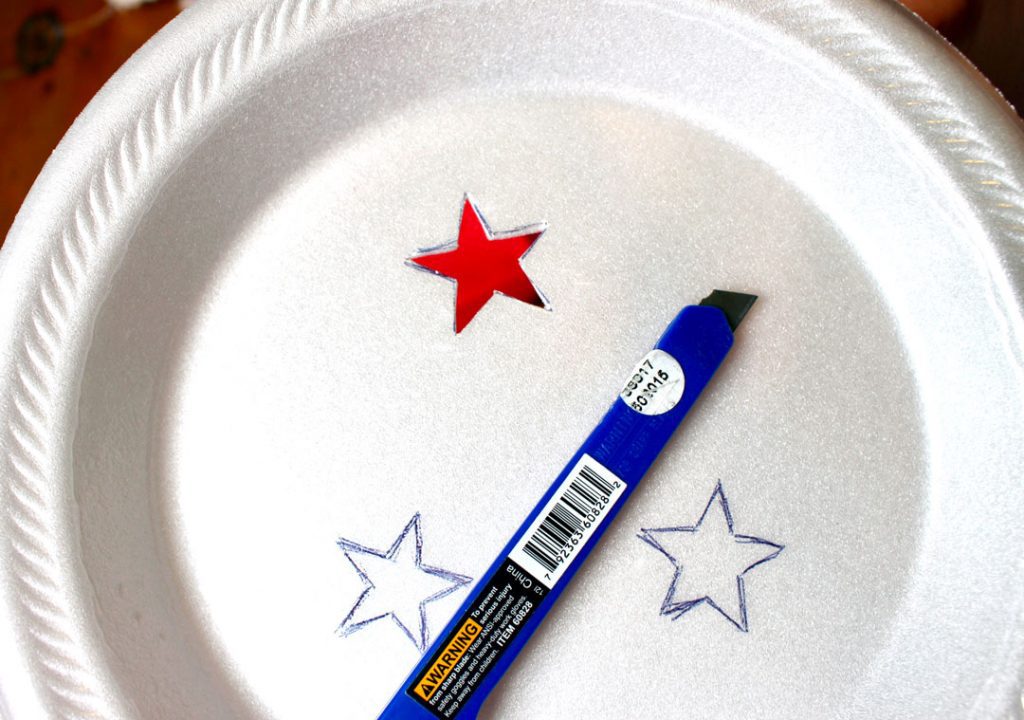
Tip: Hold the stencil down firmly for the littles. Some of the stars come out kind of blobby but there is a better chance of them looking like stars if the stencil doesn't move!
Tip: Wipe off the back of the stencil each time it is used to paint a star. This will keep the stencil from dragging paint across the fabric when moved.
Let the paint dry for a bit before continuing.
Finish Up Old Glory
Poke three very small holes across the 5 inch edge of the denim piece. It doesn't matter if they go through a star.
Pull 5 inch pieces of string through the holes and tie the denim piece to the top left side of the flag. The denim will be in front of the fabric strips so it looks as if the flag is hanging down. Trim the strings to have about one inch ends.
Note- This is the proper way for a flag to be hung, with the blue star section to the left. For this reason don’t tie the denim square on the right side of the flag.
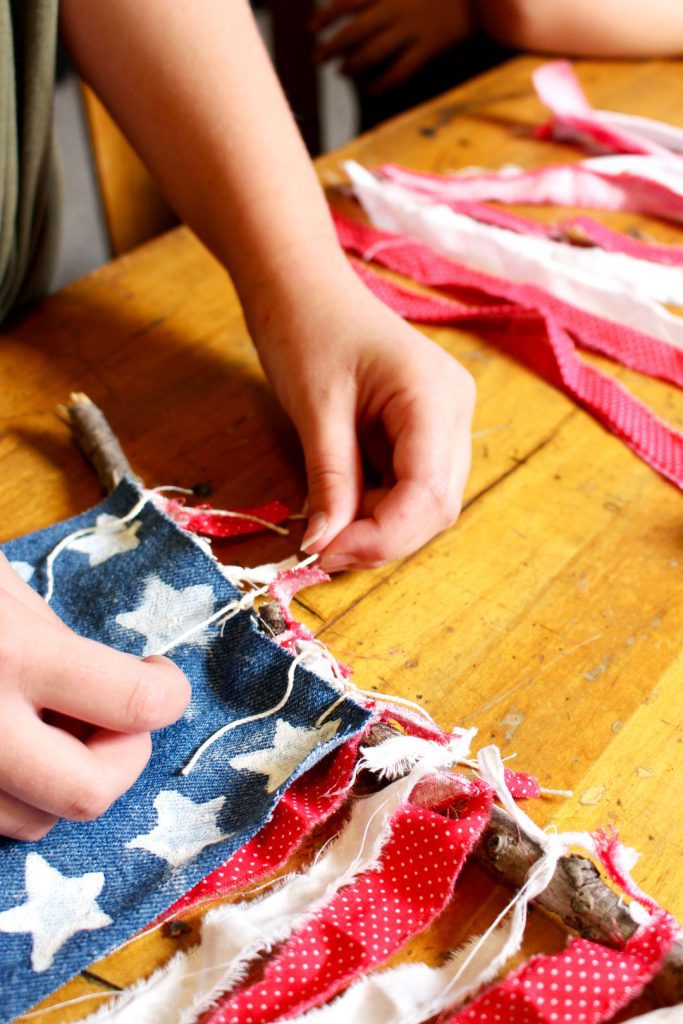
Tie a longer piece of string to each end of the stick so it can be hung.
I know this Fourth of July Denim and Rag Strip Flag is just a craft, but it warmed my heart to see the flags on the table as they took shape. The red, white and blue is just beautiful.
Want a bit more Fourth of July fun?? Add to your Fourth of July kid activities with Grilled Papa Burgers (recipe here), an Old Glory Red White and Blue Cake (recipe here) and a Hands Down Best July 4thT-Shirt (directions here)!! You have the makings of quite a party here!
Have a Safe and Wonderful Fourth of July!! Happy Birthday, America!
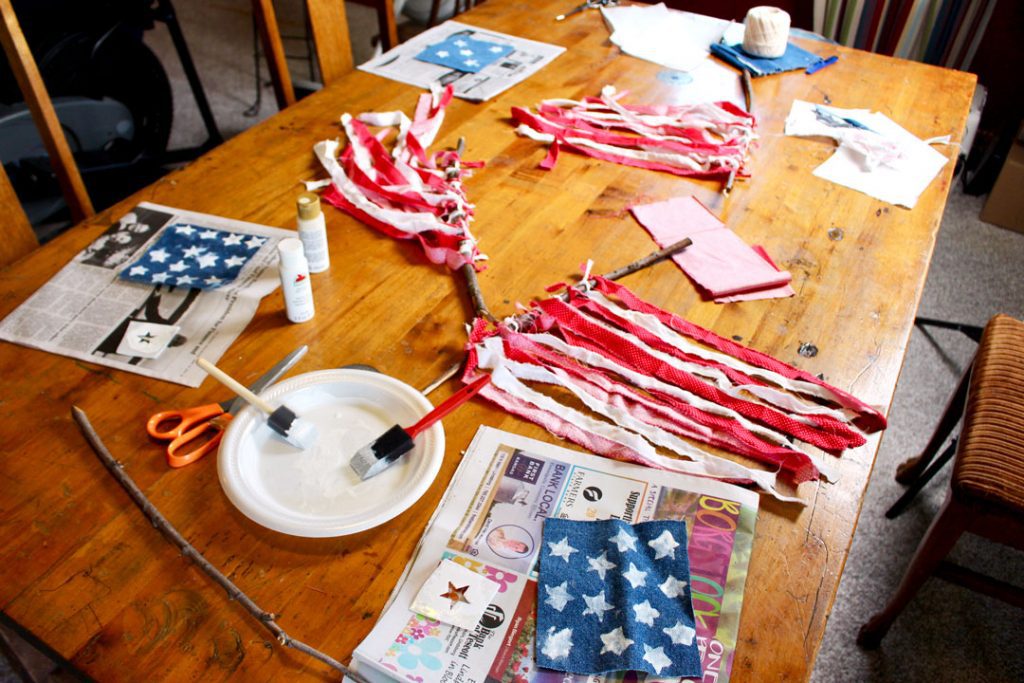
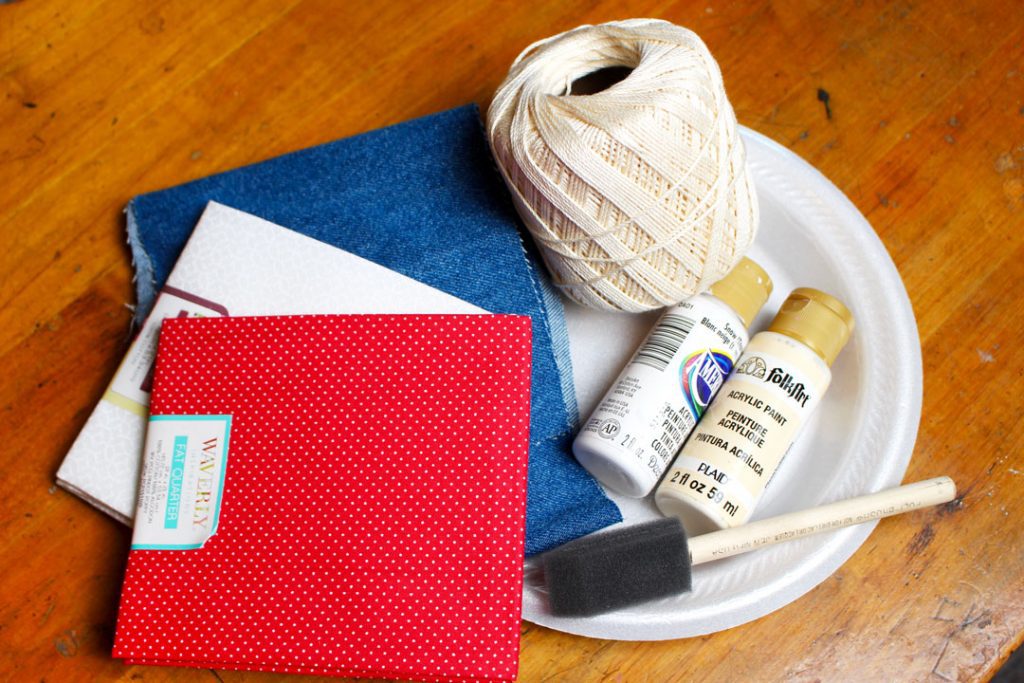
Supplies for Fourth of July Denim and Rag Strip Flag:
- Red cloth, ribbon, yarn (a fat quarter of fabric works well)
- White cloth, ribbon, yarn (a fat quarter of fabric works well)
- Denim pieces (dark denim works best)- cut to 6 inches by 5 inches in size
- White string
- Stick- dowel or from a tree. About ½ inch in diameter, 14-16 inches long and free from branches
- White acrylic paint
- Foam paint brush
- Star stencil cut from a foam plate or waxed cardboard (cereal box)
- Exacto knife
Enjoy!
Welcome to Nana’s! Where there’s fun things to do with your “grand” kids!Come join the fun at www.WelcomeToNanas.com


Leave a Reply