Hand’s Down Best Hand Print 4th of July Flag T-Shirt
This Hand Print 4th of July Flag T-Shirt was a fire-crackin’ fun project with the grands. It didn’t take long and the results were worth ooh-ing and aah-ing over.
I picked up the sleeveless t-shirts for just a few dollars each at Wal-Mart. They worked really well and I could find them in every size needed. It is always best to wash them before painting on them. I didn’t have time to do that for this project as we picked them up and made them while traveling on vacation.
Paint for the Hand Print 4th of July Flag T-Shirt
Acrylic paints worked great for this Hand Print 4th of July Flag T-Shirt project. We used some to paint rocks before so hopefully you still have them up on your shelf! To make the paint adhere well to the fabric, it’s a best to thin them out a bit with Acrylic Medium.
If you want to use paint only and no medium, don’t paint too thickly or it will get really stiff and crack when flexed as it is worn. After painting and allowing it to dry 24 hours, set it by placing them face down between two pieces of scrap fabric and ironing.
Hand/Finger Painting The Flag
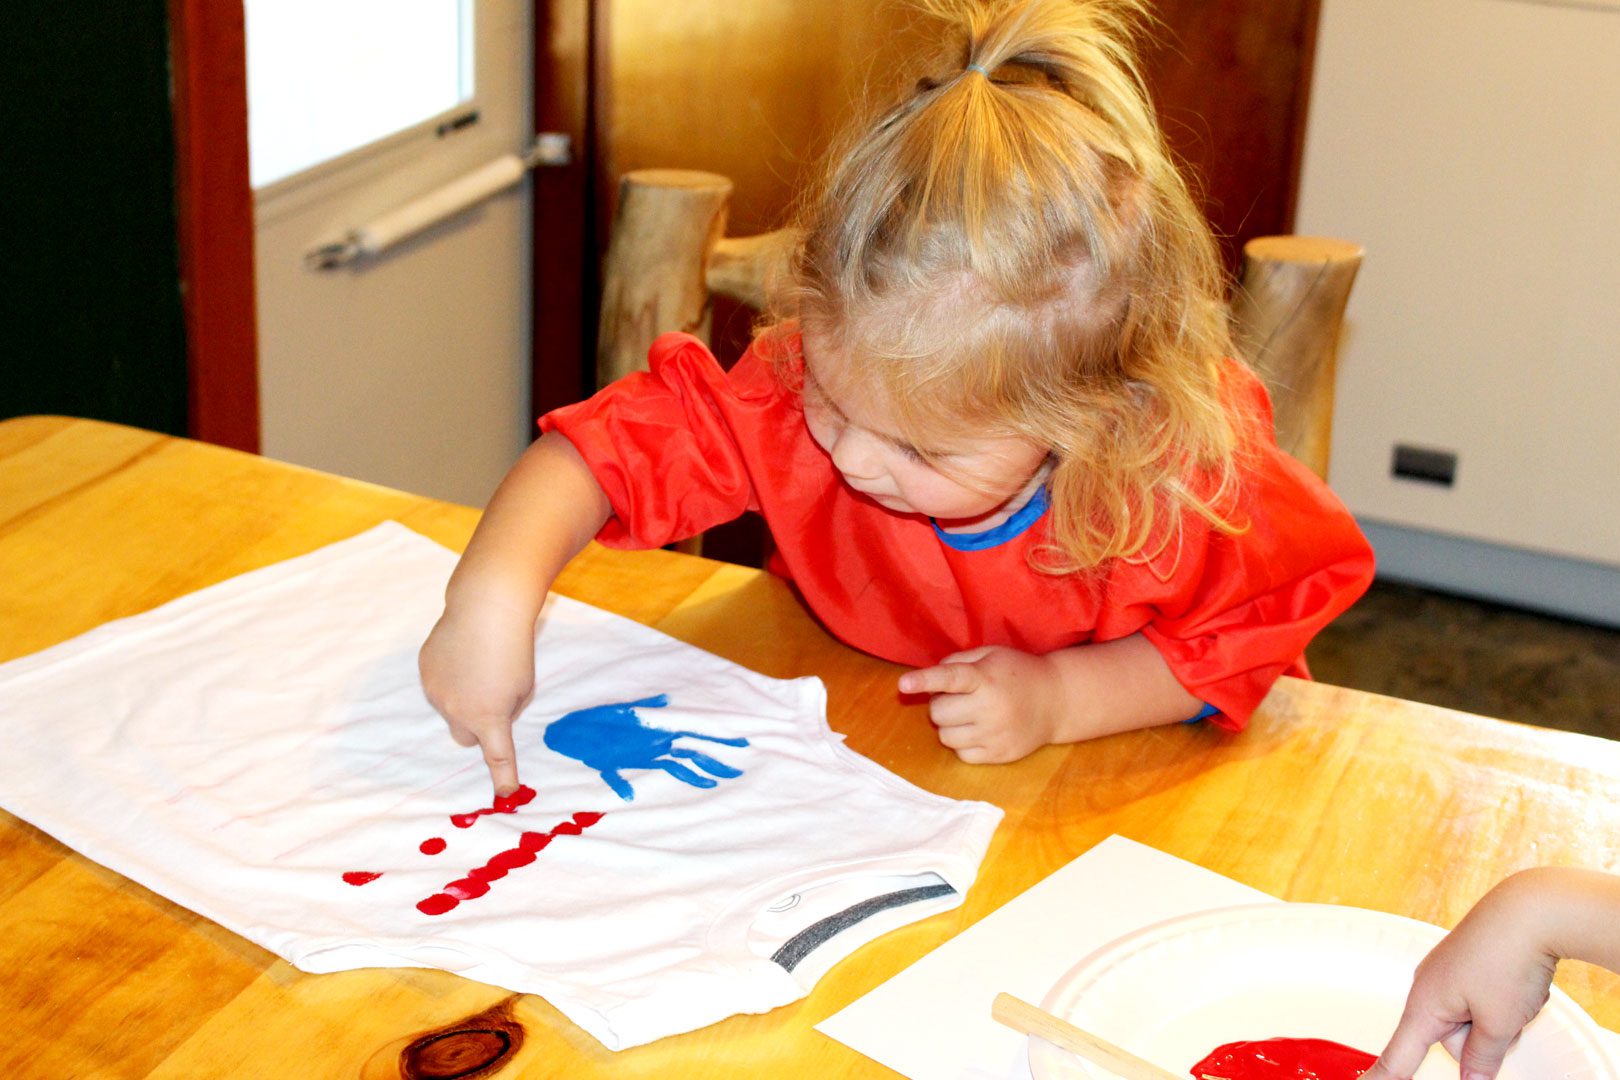
The kid’s hands and fingers are the paint brushes this time! They loved pressing their hands and fingers into the paint.
Tip: It helps to show the grands what the shirt will look like when finished so they understand where they will place the blue handprint and the red fingerprinted stripes.
Place a piece of cardboard inside each shirt so the paint doesn’t soak through to the back of the shirt.
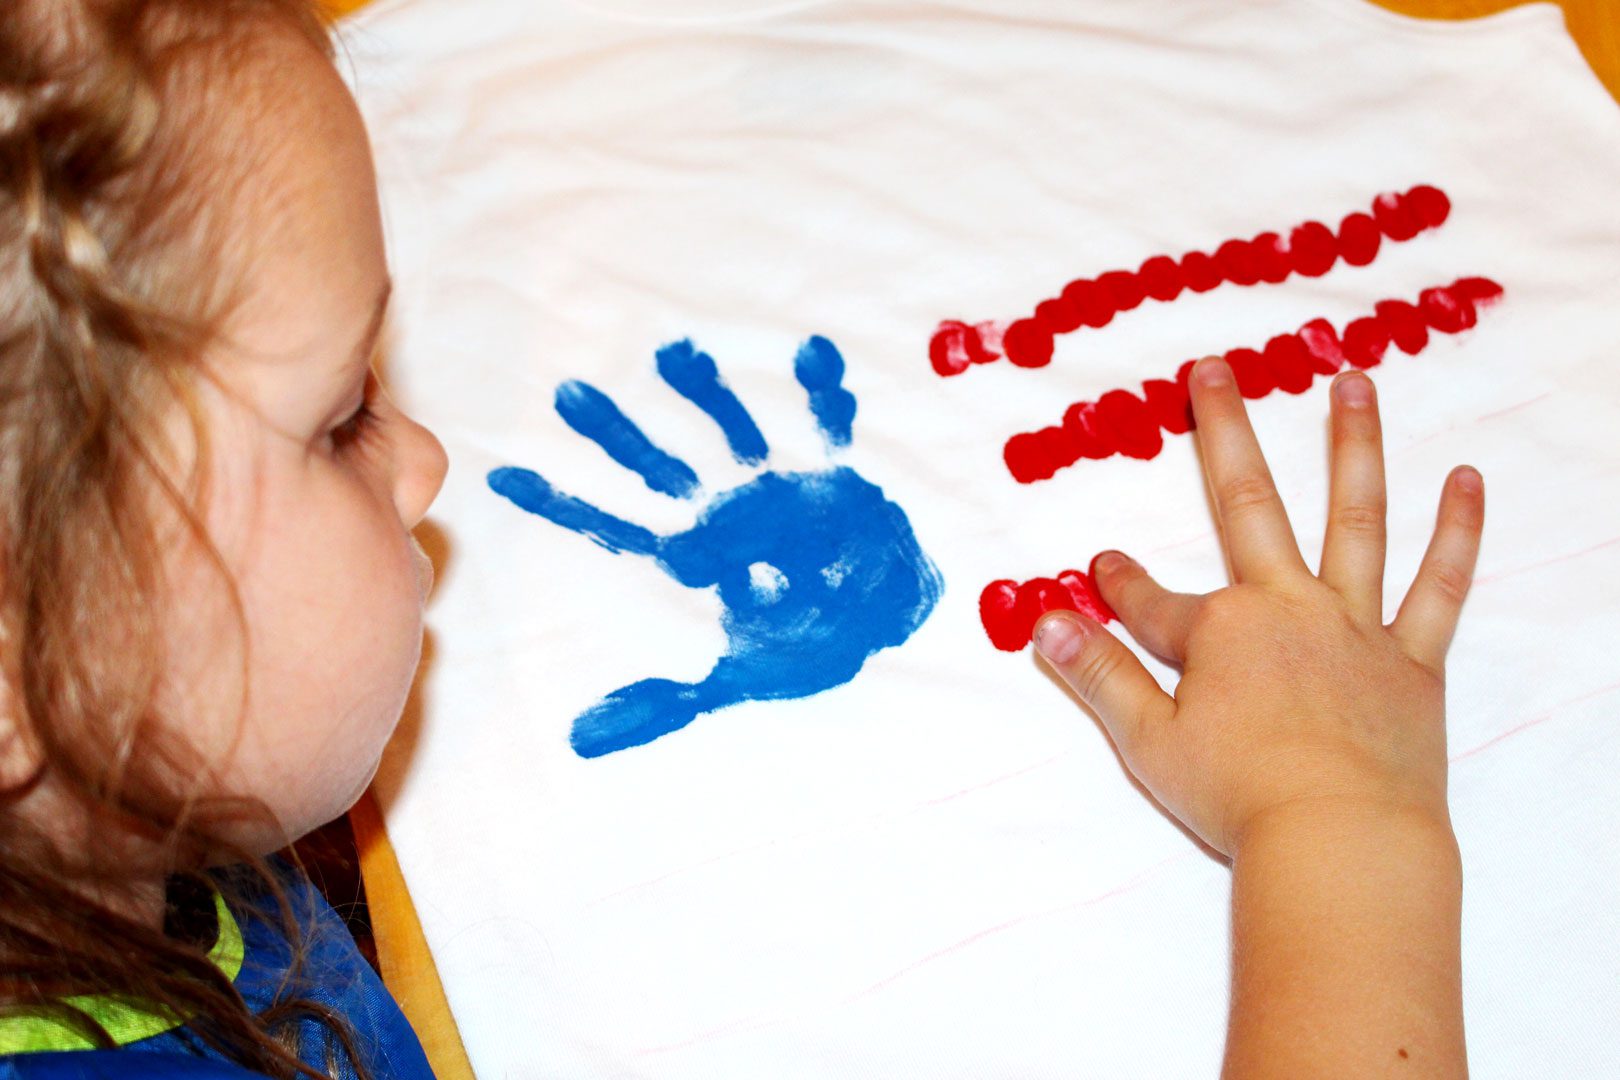
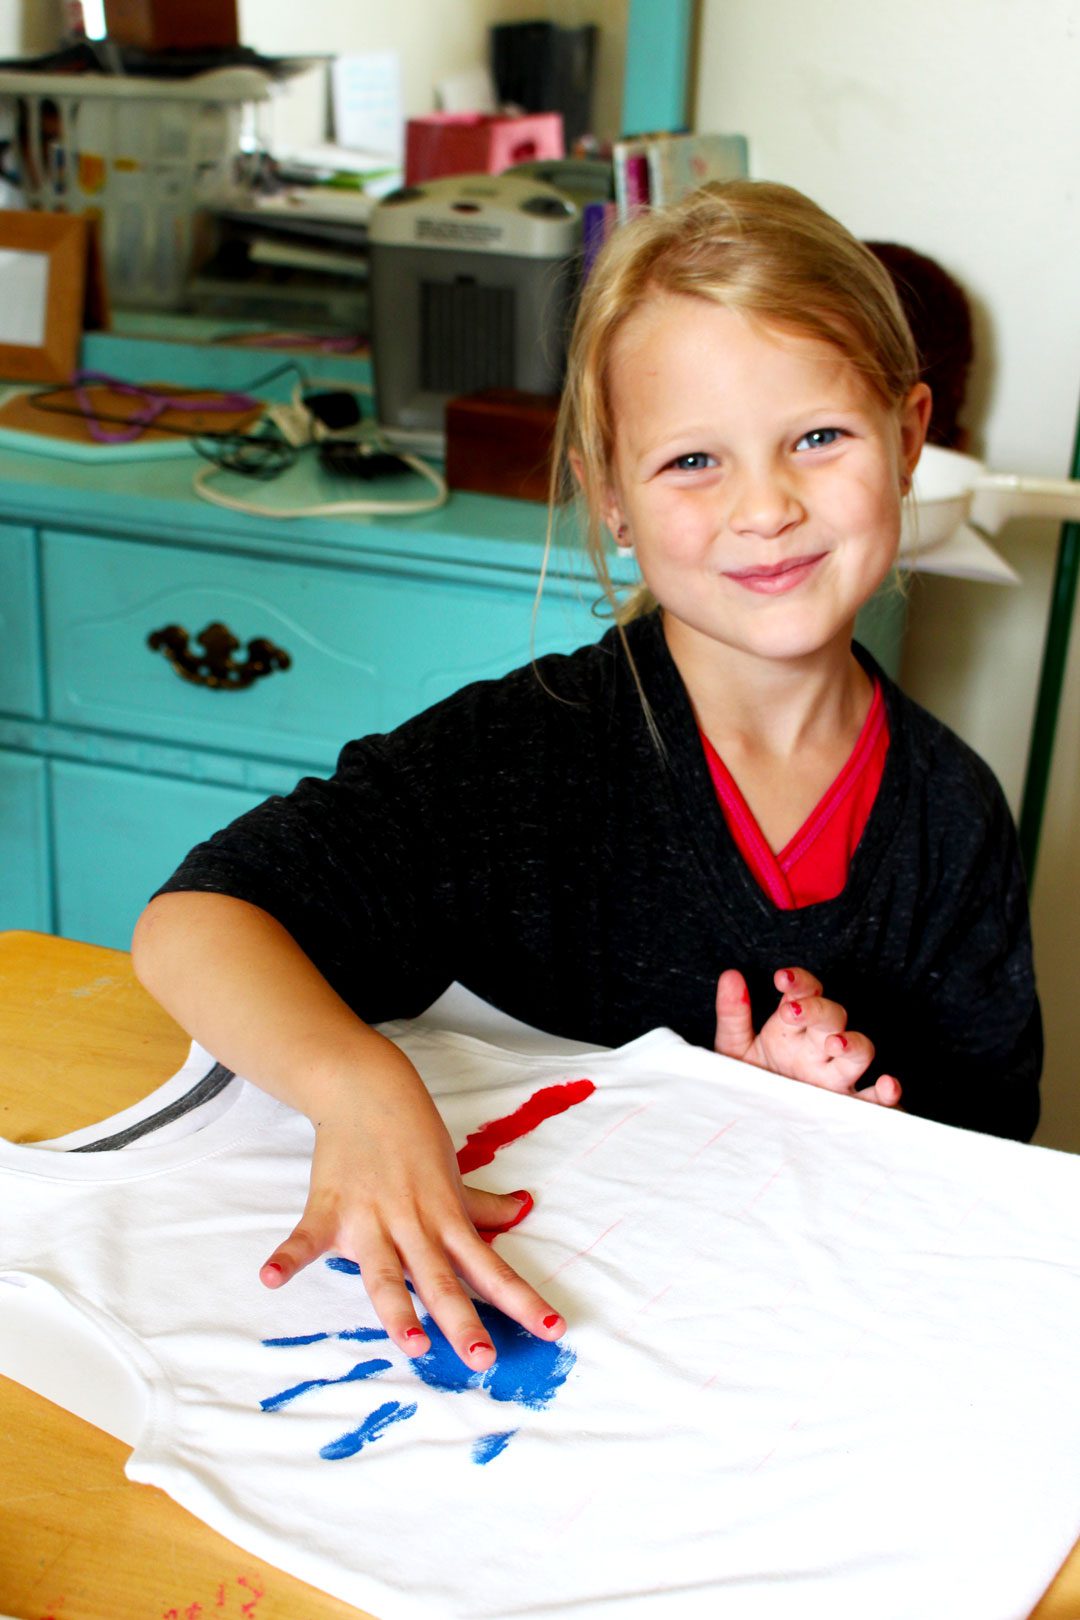
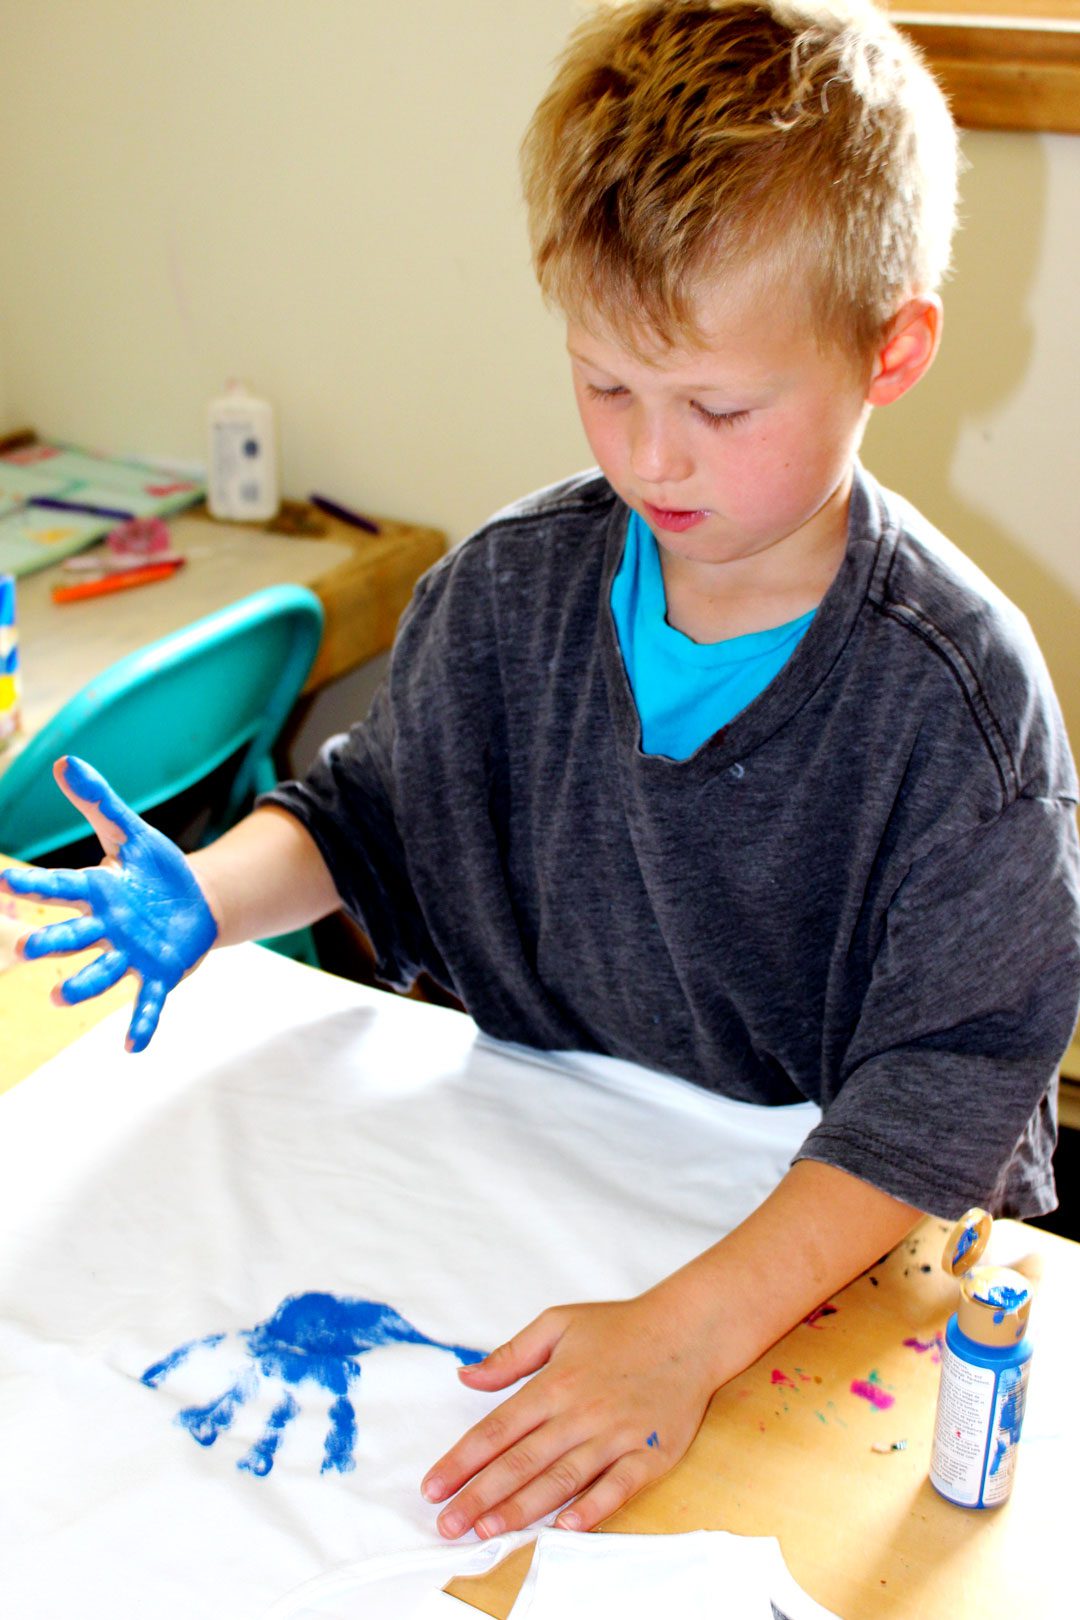
First I squirted some blue paint onto a foam plate and spread it out a bit with a foam brush. After showing the kids where their handprint was to go on the shirt, they pressed their hand (with fingers spread) into the paint and then onto the shirt.
We washed our hands well to get all of the blue paint off. It is water based so it came off easily with soap and water.
Tip: Have an old towel available for them to use so you don’t get paint on your nice ones!!
Stars and Stripes Forever
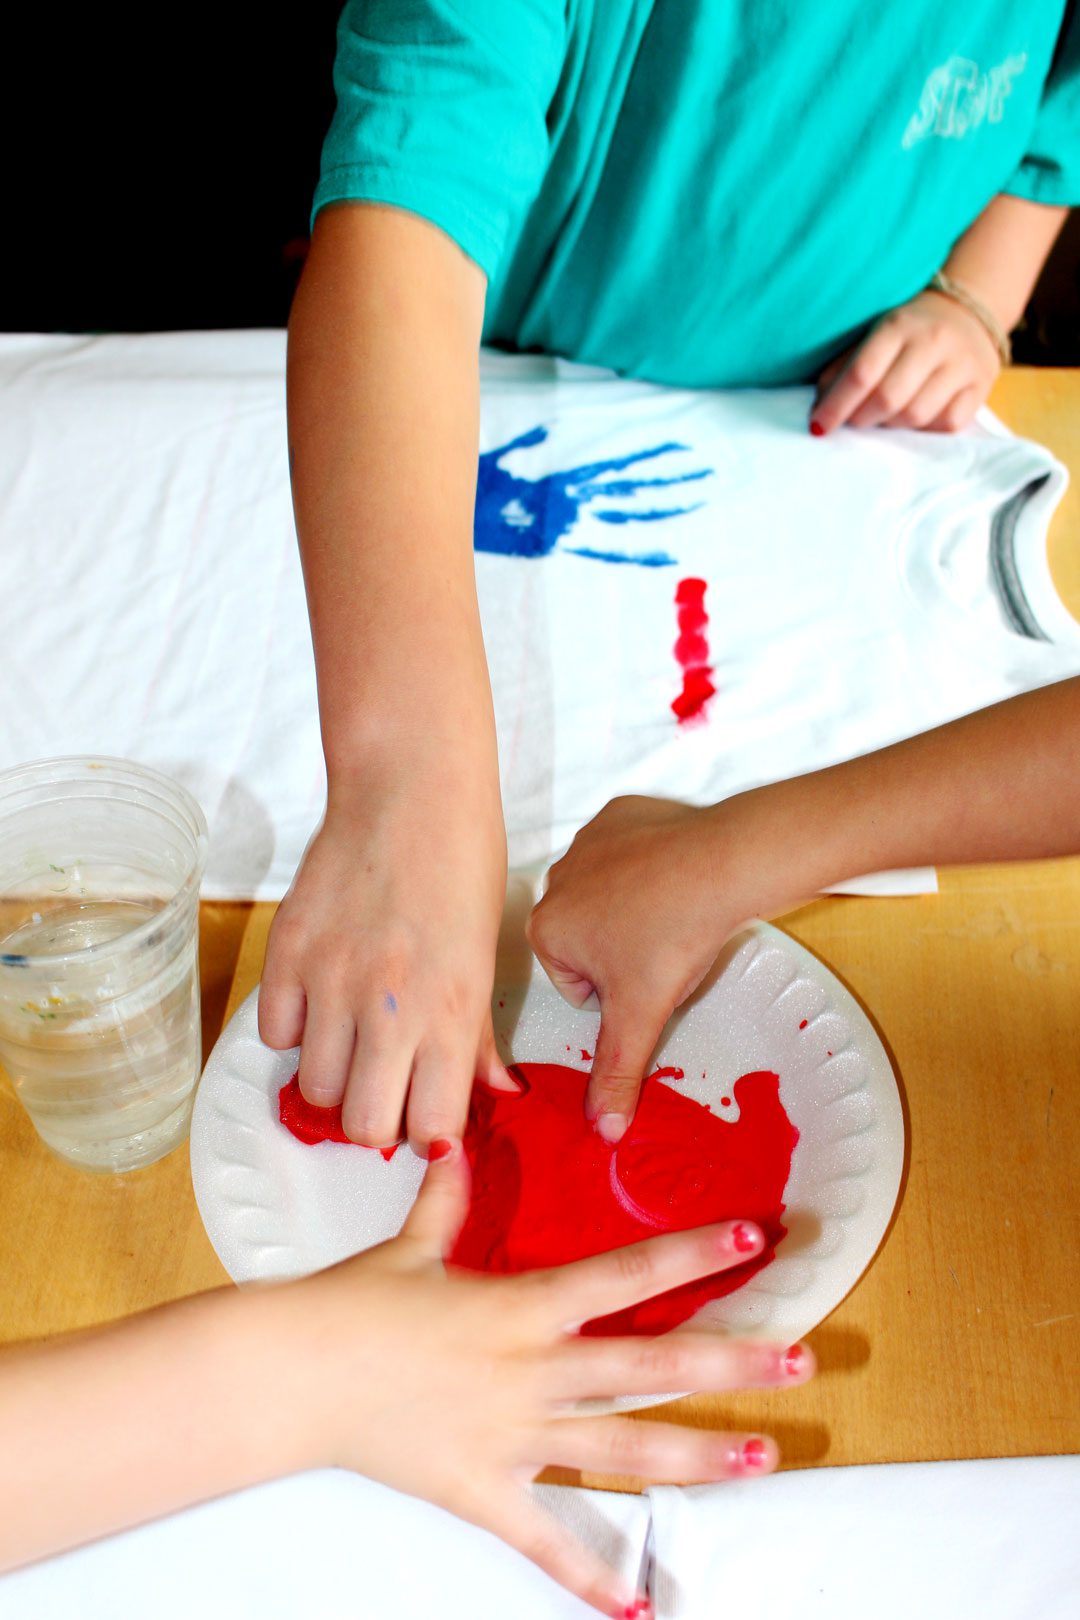
Next I squirted red paint onto a foam plate and placed it where they could reach it easily.
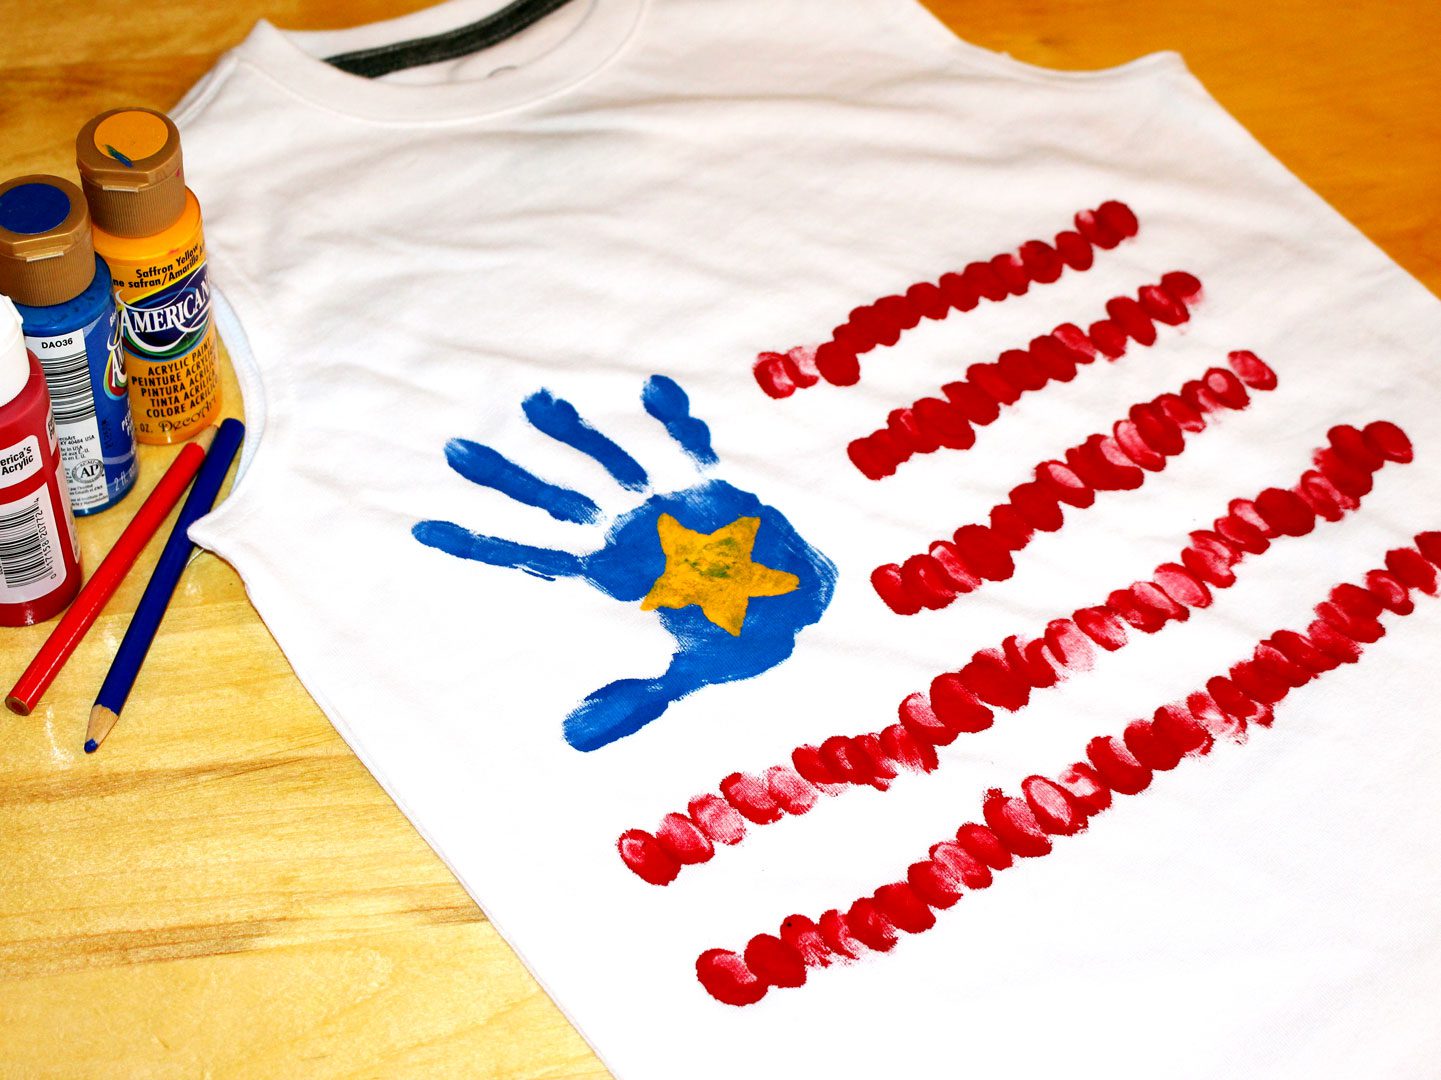
To make it easy for the grands to know where the red stripes would go, I drew a few horizontal lines on the shirt with a red colored pencil. This really worked well or the stars and stripes would have looked pretty wonky!
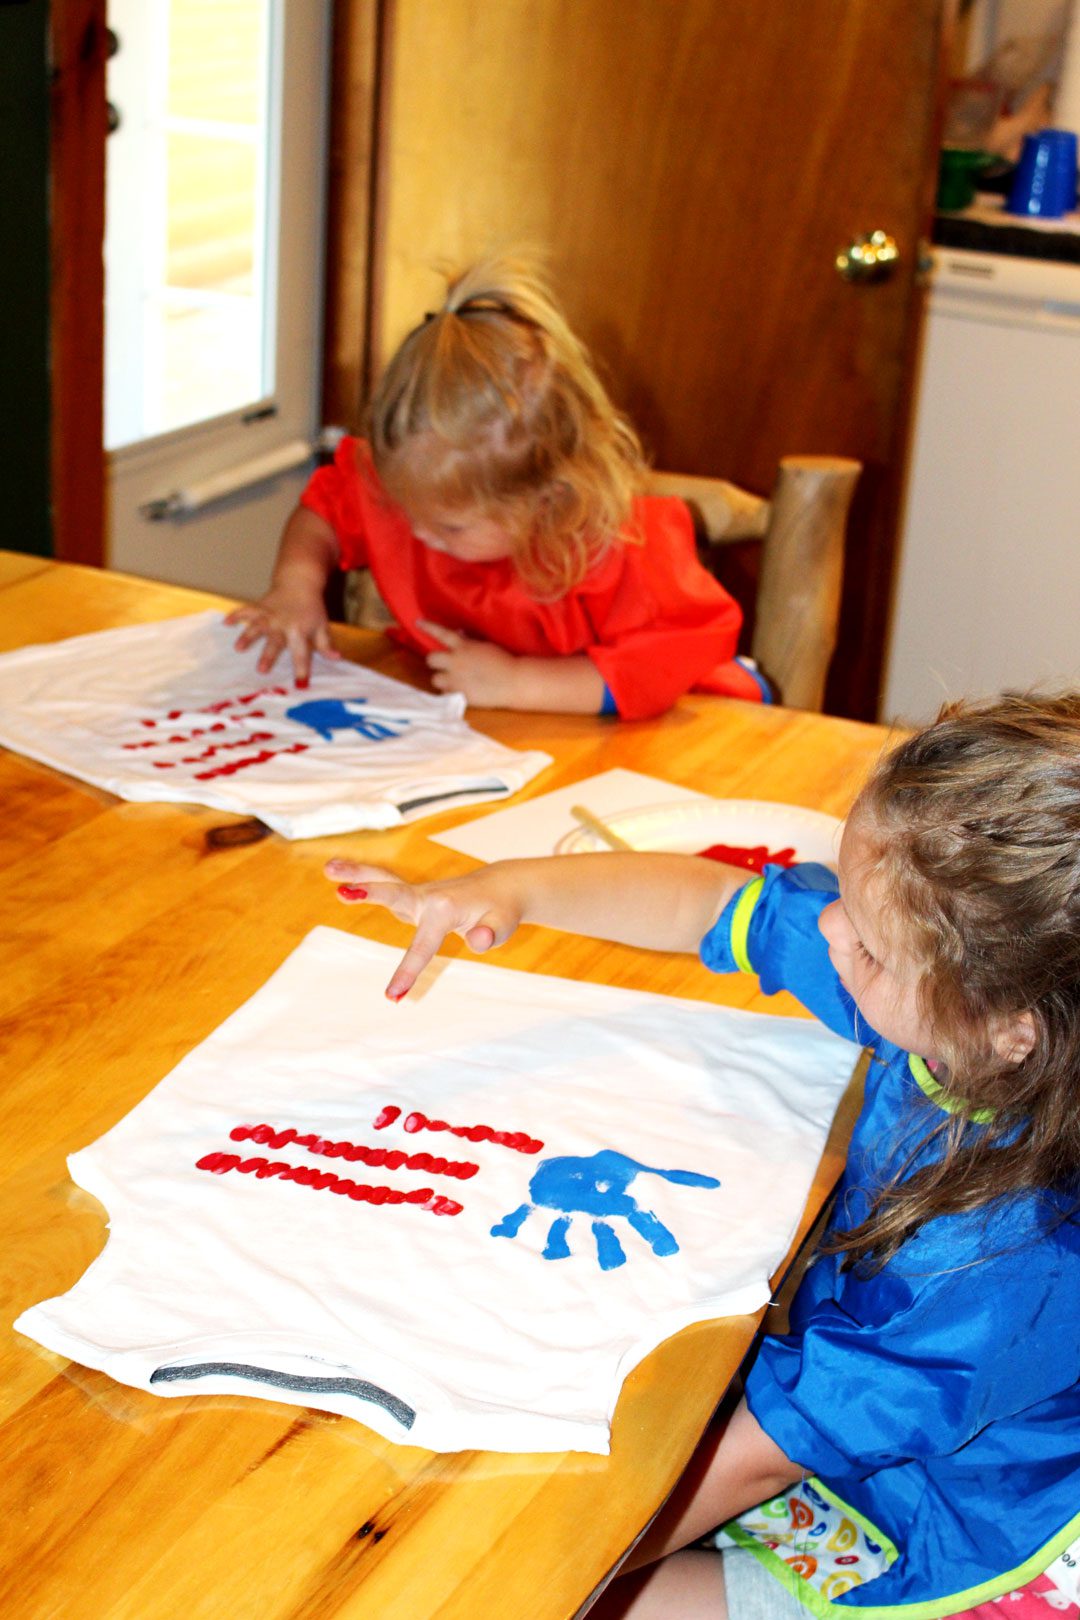
The grands used their thumbs to press into the red paint and then press onto their shirt. This took a little coaching as they wanted to hurry the process along and just smear the paint on. After showing them how it worked (so their shirts have a few Nana prints on them) even the little grands did a great job.
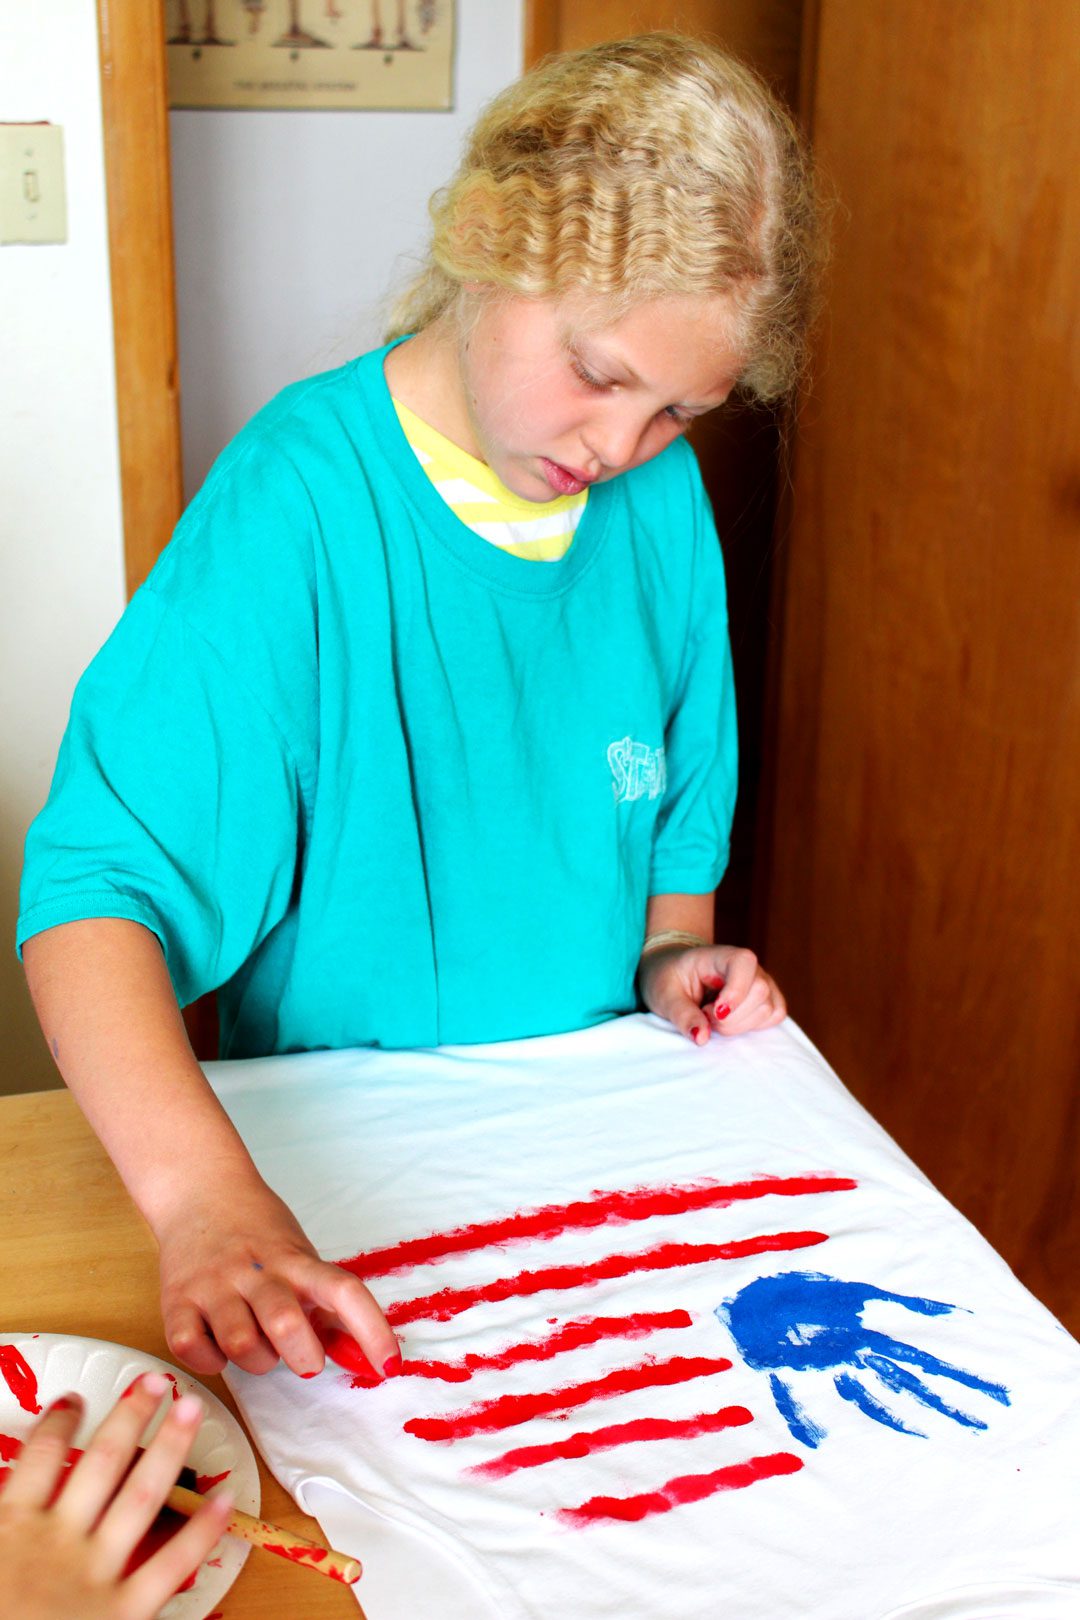
Tip: Use a fingertip instead of the thumb if that is easier for the little artist.
Tip: Dip the thumb or finger into the paint with each fingerprint so the stripes are nice and red and place the prints right next to each other to make a continuous line. A second hand washing took off the red paint.
We let the shirts dry for a bit before printing the yellow star.
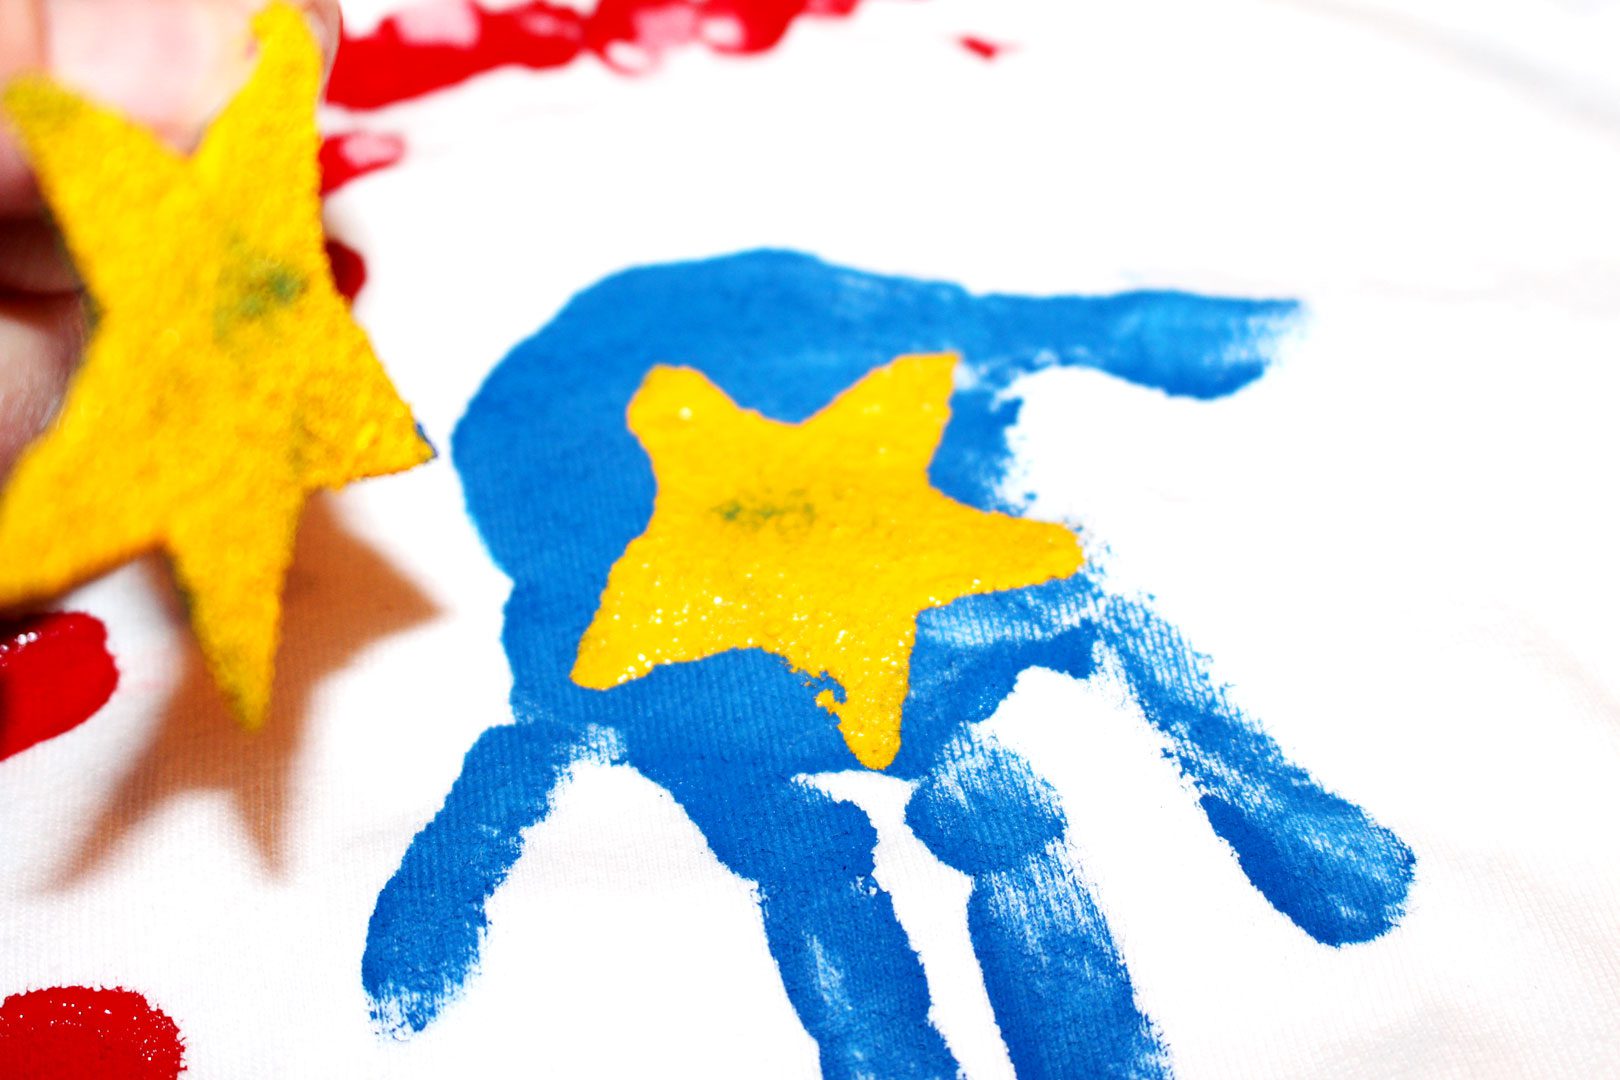
I cut a 1 ½ inch star out of a piece of felt to use as a stamp. A piece of sponge could work as well.
Place some yellow paint on a foam plate. Dip the star into the paint, making sure the surface is completely covered. Press the star onto the center of the blue handprint area, press all of the points so it prints well. Remove.
Let dry.
Freewheel Bursts of Color
A few of the grands wanted to do so freewheel painting so they used brushes to add colorful starbursts around the flag to look like fireworks. I thought that was a fun idea. Next time we may paint their names and more fireworks on the back of their shirts. Kids have such good ideas!
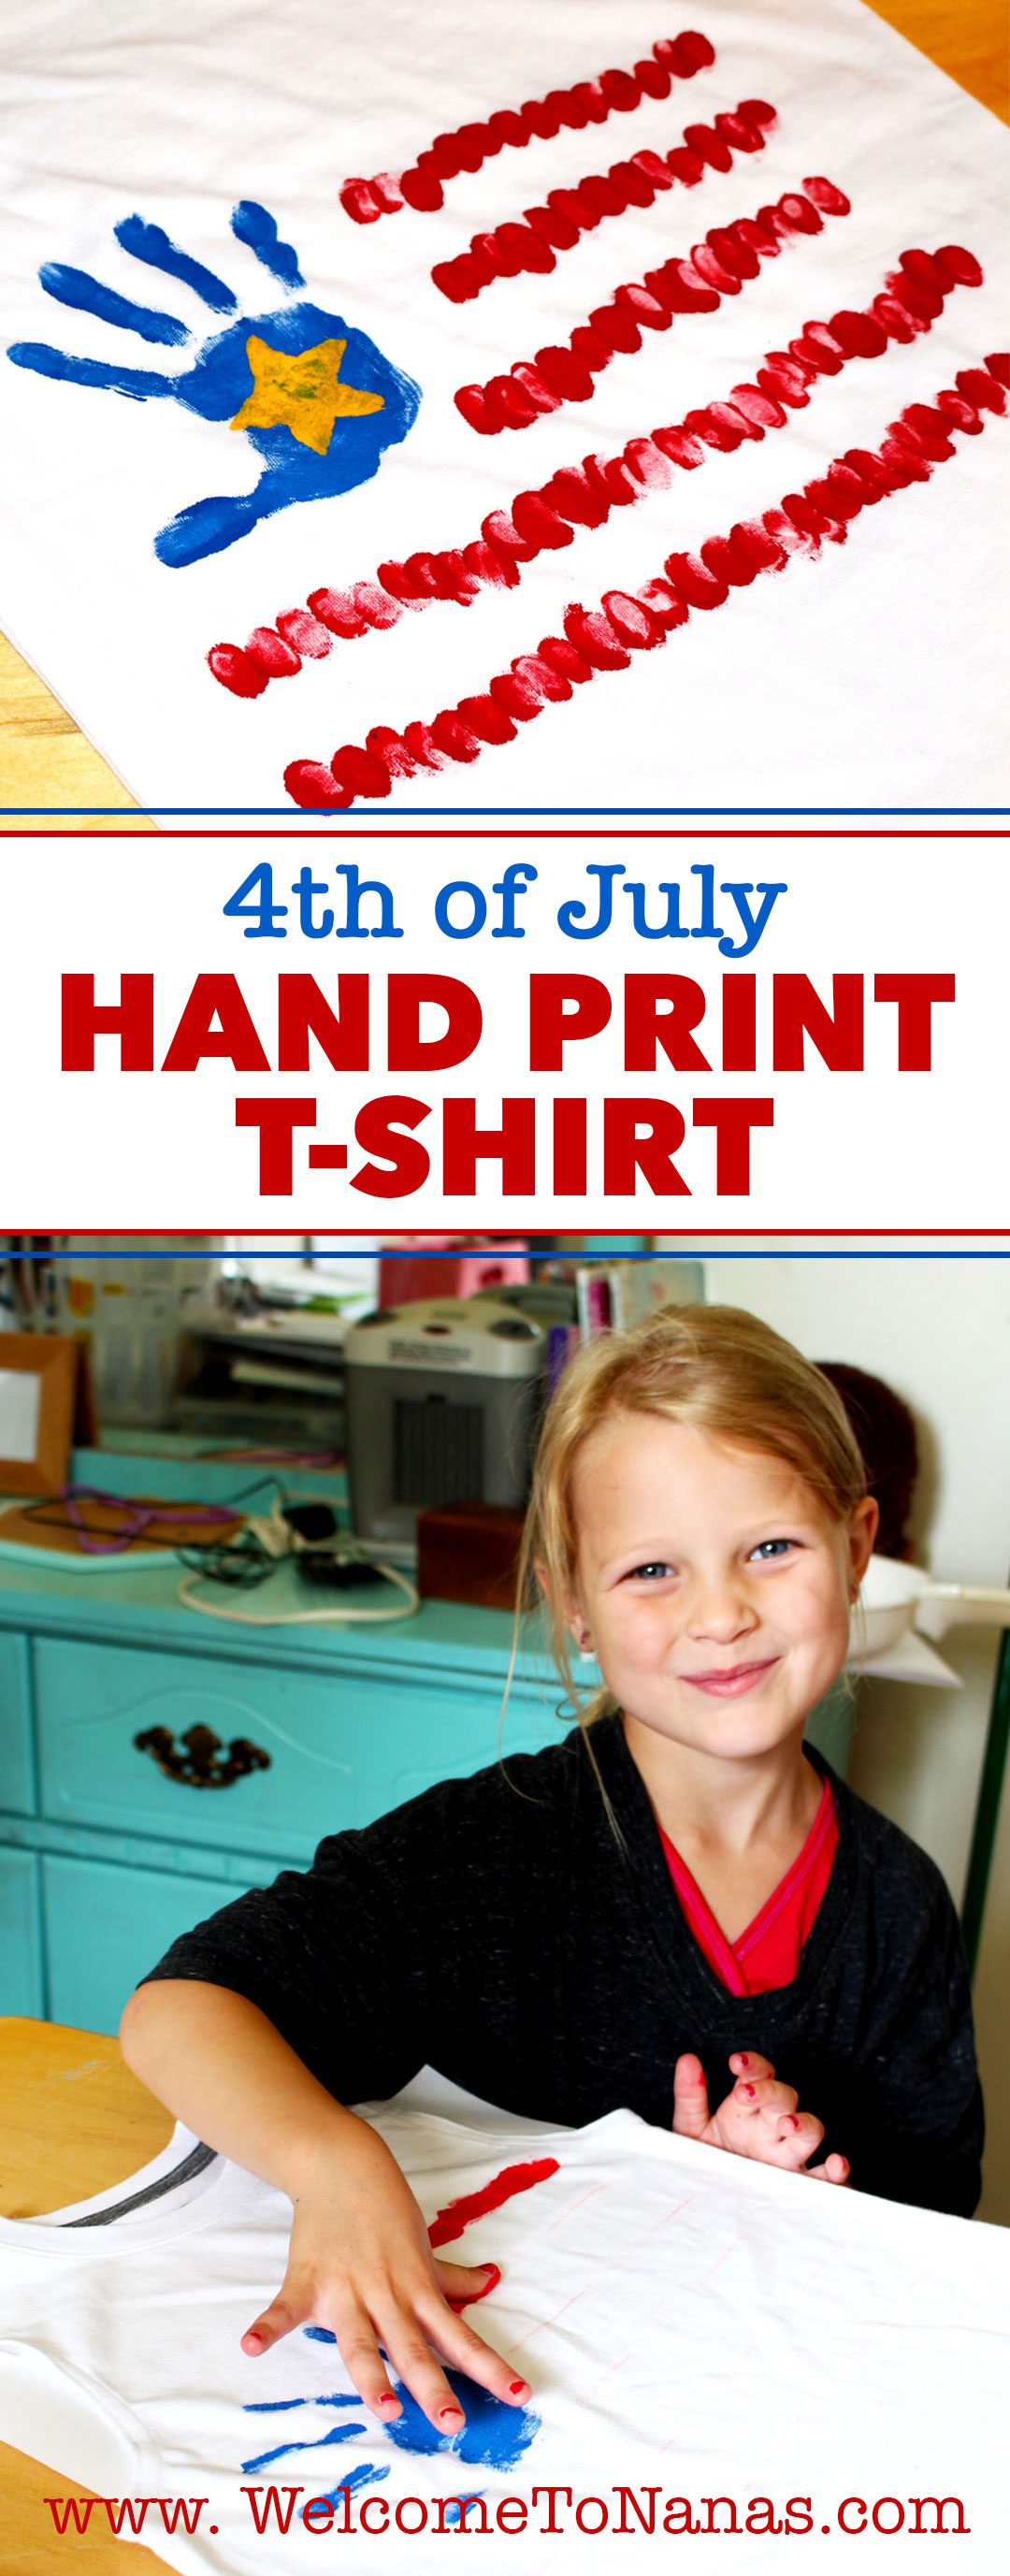
Hand Print 4th of July Flag T-Shirt
See. What did I tell you? These are, hands down, fire crackin’ cute shirts, aren’t they? The grands will have a bang-up good time wearing them on the 4th of July. Be sure to take a picture and post so I can see it!!
Have a safe and wonderful 4th of July!
Enjoy!
Welcome to Nana’s! Where there’s fun things to do with your “grand” kids!
Come join the fun at www.WelcomeToNanas.com
Supplies:
- T-shirt in an appropriate size for each child
- Foam plates to use as paint palletes
- Acrylic paints in Red, Blue, Yellow
- Small sponge or piece of felt
- Cardboard to use inside the shirt (so paint doesn’t soak through)
- Red colored pencil
- Foam brush
- Old towel



Leave a Reply