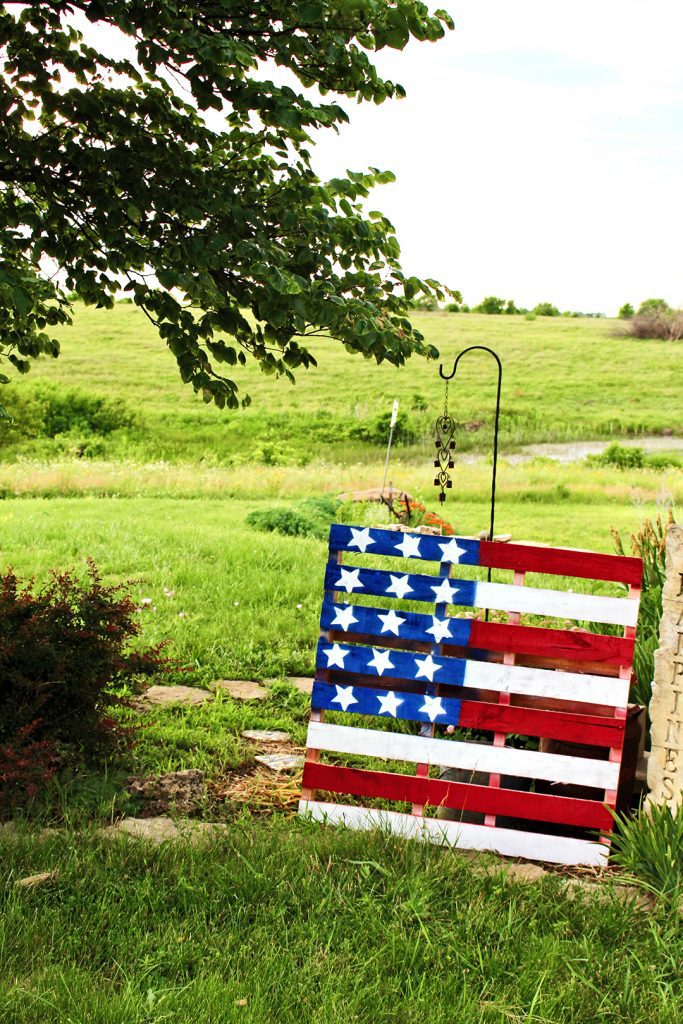
Fourth of July Wooden Pallet Painted Flag for any yard
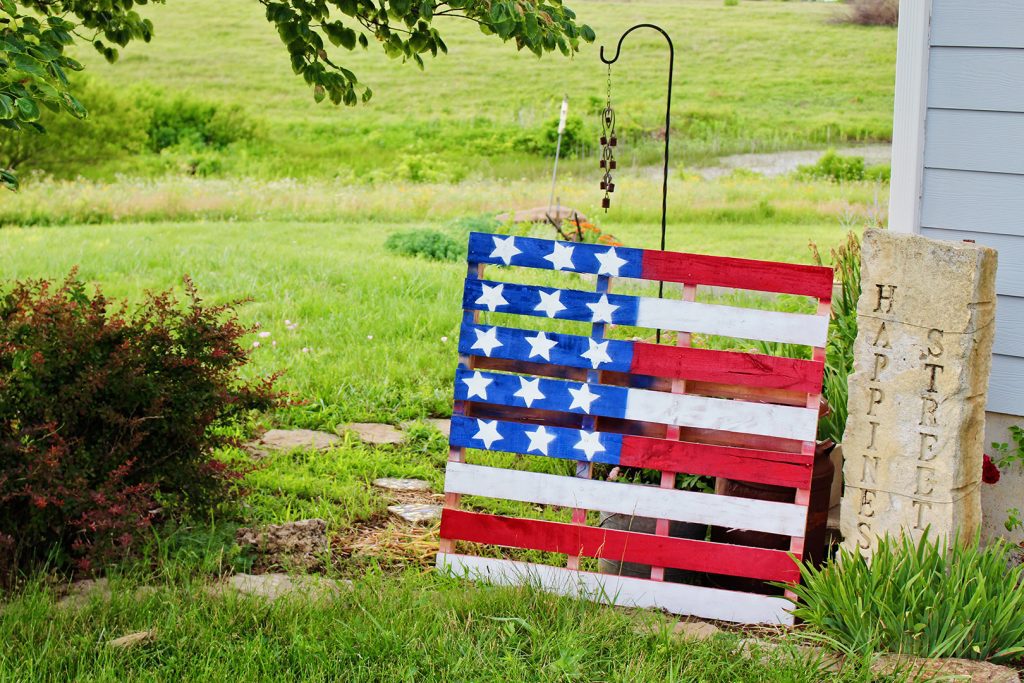
I live out in the country so I wish more people got to see my Fourth of July wooden pallet painted flag! The cows, Simon the cat, Papa and I like it so much. The grands have the perfect yard to display one in for all to see. How about you?
I think the flag and the Fourth of July help remind us of all that we have in common in the United States. What an important thought to build upon these days as we seek to be kind, compassionate and learn from one another.
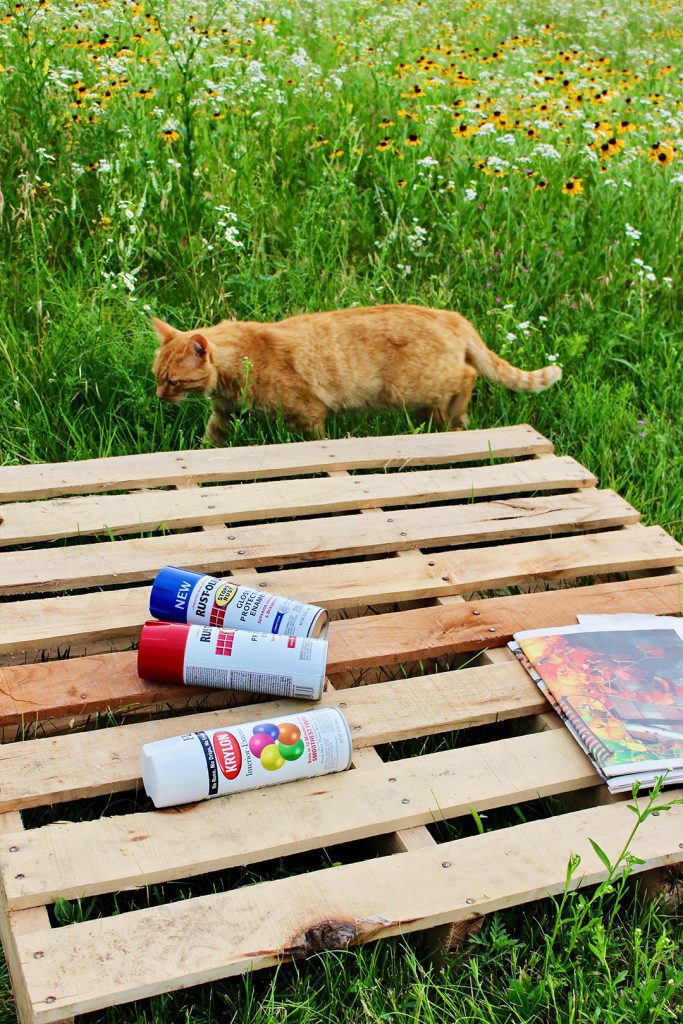
Wooden pallet crafts
Pallet crafts are popular. But this Fourth of July wooden pallet painted flag is the first pallet craft that I’ve done myself or with the grands. I don't thing it won’t be the last!
You can’t get a more simple large craft. The pallet boards make up a simple striped pattern and the free star stencil pattern makes the stars easy to paint on the field of blue.
Spray painting- no brush to clean!!
Spray painting is a simple skill that is good for the grands to learn. I remember the first time I got to do spray painting when I was young. It kind of amazed me to paint a surface so effortlessly and not have to clean up a brush. My dad was a stickler for getting a paint brush clean!
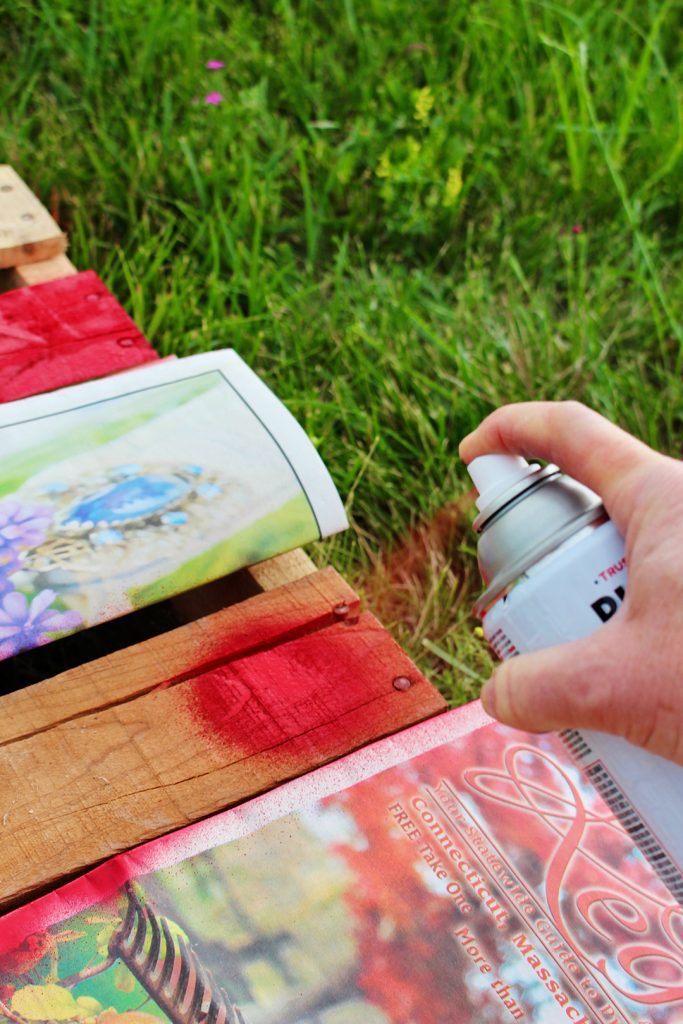
Preparing to spray paint
Prepare the surface by brushing the pallet off well with a broom.
Tip: If we do a pallet craft again, we will paint it with a primer first to seal the wood. You may want to consider it. The raw wood really soaked up the spray paint.
Spray painting needs to be done outdoors because of the fumes. Choose a sunny, not too windy day to complete this project with the grands.
Tip: Lay newspaper or cardboard down on the surface under the pallet to prevent paint from spraying on it. I wouldn’t want you to have a red, white and blue driveway! 😉
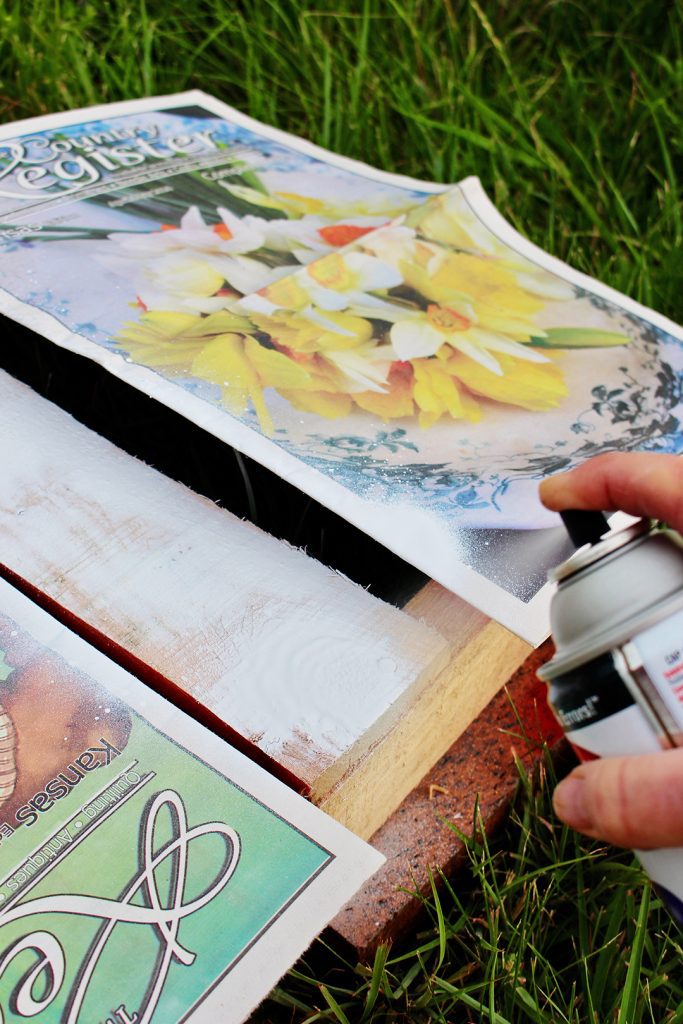
Let’s start with the red paint.
Position the pallet so that the slats fun horizontally.
The top left ¼thof the pallet will be left unpainted for the blue area. Mark this area with a pencil to help you keep in mind where you will stop painting the stripes. Don’t worry about paint going over this line a bit, you will paint over it with the blue.
If possible you want the top slat and the bottom slat to both be red strips on the flag. If that doesn’t work, choose the top slat to be red.
Spray paint the top slat red (except for the part you leave to be painted blue later). Spray several light coats instead of one heavy coat.
Then spray every other slat red the rest of the way down the pallet.
Use newspaper or cardboard to block off the slat you are going to paint from the one(s) next to it.
Let these slats dry.
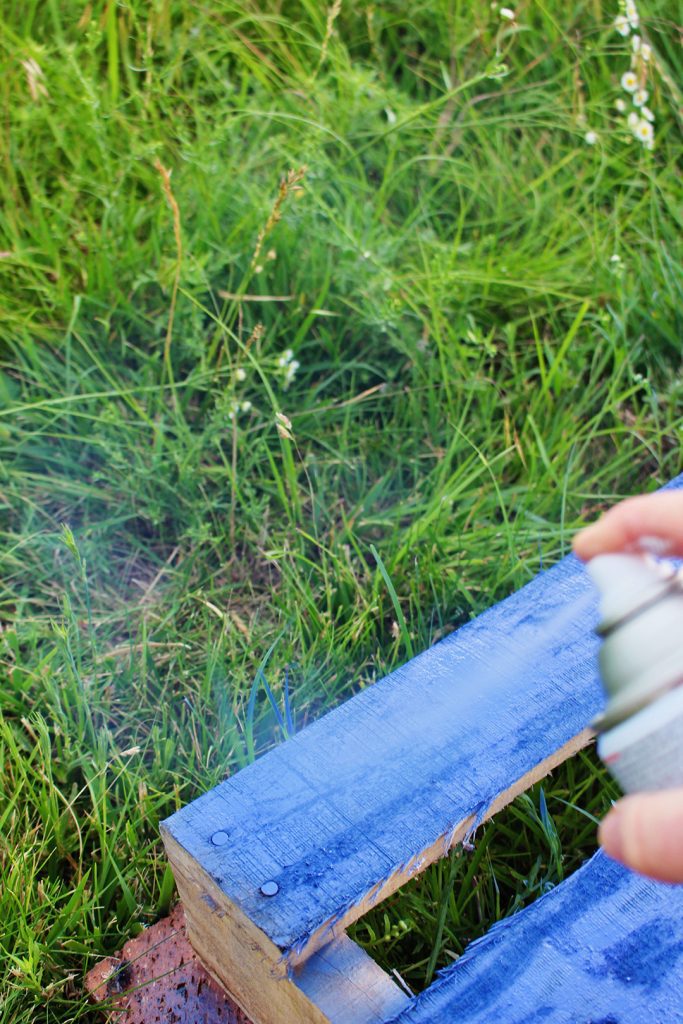
Let’s paint white next.
Repeat the same process with the white spray paint. Paint the unpainted, every other slats that are left after painting the red! Let these slats dry.
Paint the blue color.
Lay (or tape) down newspaper or cardboard around the area you will paint blue for the background behind the stars. This area is about ¼ the size of the pallet and will be in the top left corner of the pallet when it is standing. You want it to come out so that it covers the complete width of a slat, don’t just paint half of a slat.
Note: I love the blue so much I made it more than ¼ the pallet size. You might have noticed that!
Paint the blue section.
Let this area dry.
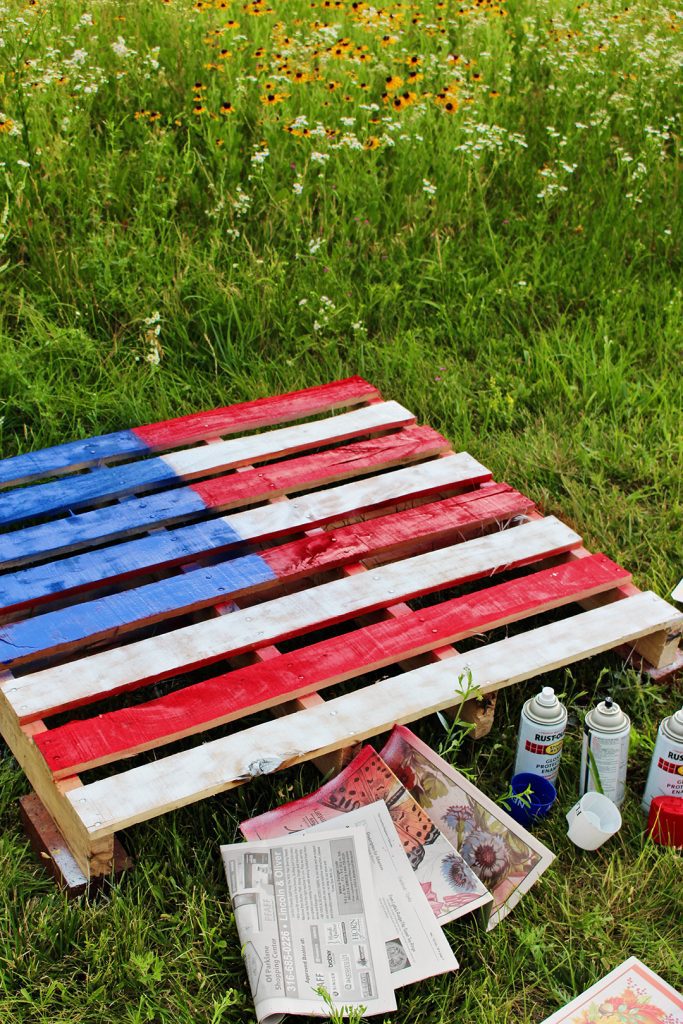
Now comes the fun part, STARS!
How to use the free star template
Print off the free star template.
Tip: Print several free star stencil templates as they will get wet from the paint. If your printer can print on cardstock that will help make the stencil stronger. You can get that free star stencil by clicking here.
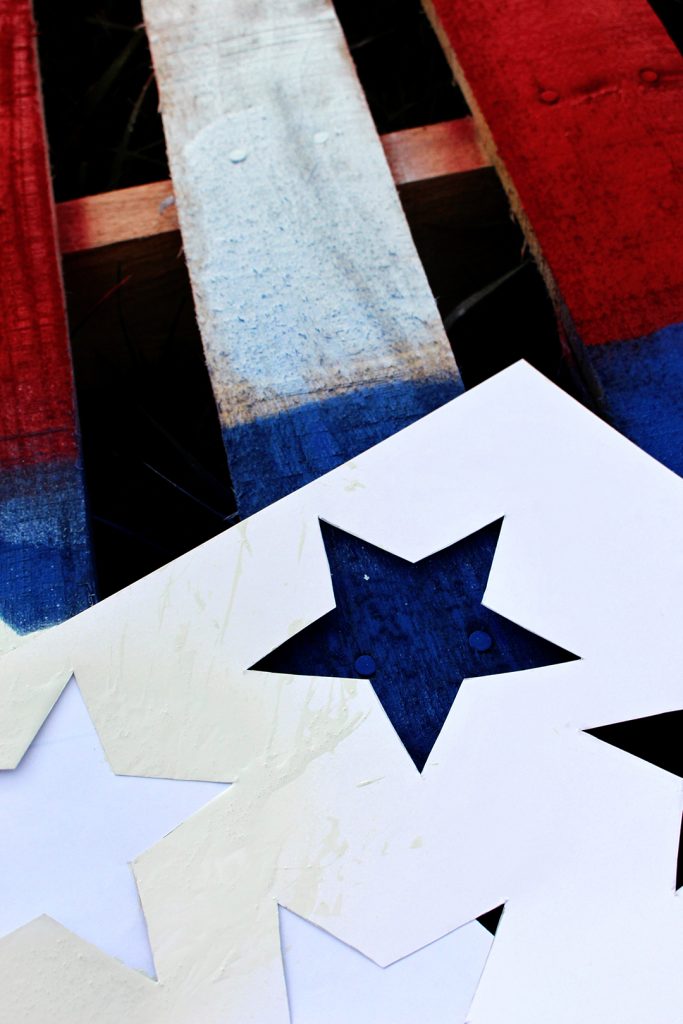
Cut out the stars carefully to leave neat edges on the star templates. Remember, you throw away the cut out star shape and keep the paper with the star shaped hole to use as the star stencil.
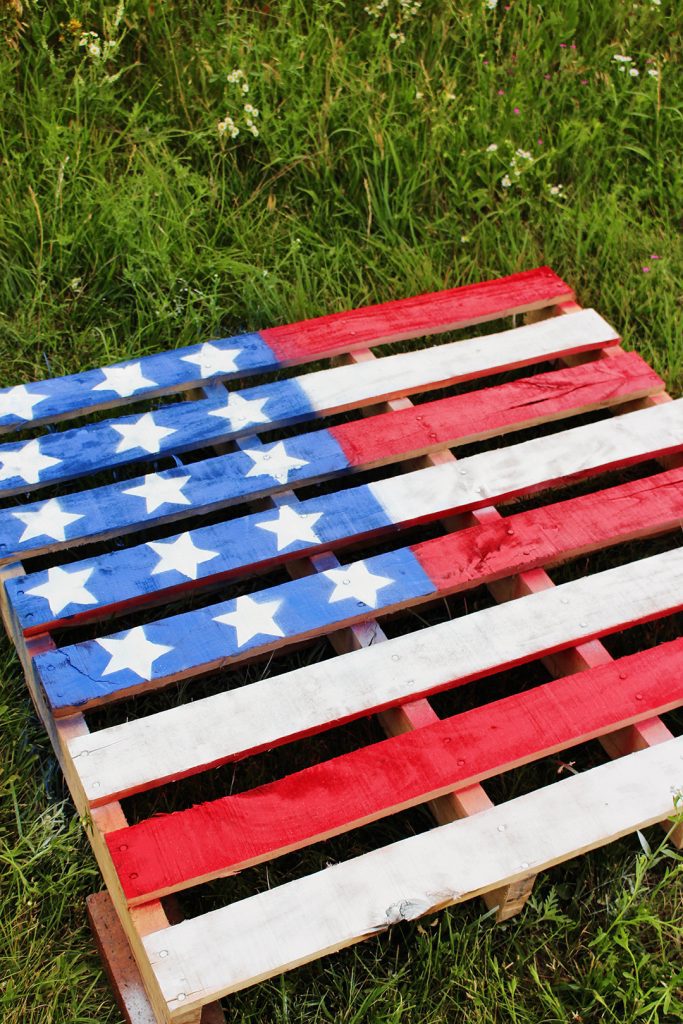
Lay a star template down on the blue painted area. Spray a white star shape on the blue background. Paint stars across the blue area as desired. Of course you won’t spray paint 50 stars! So have fun making a whimsical pattern or lining them up straight. Whatever you would like.
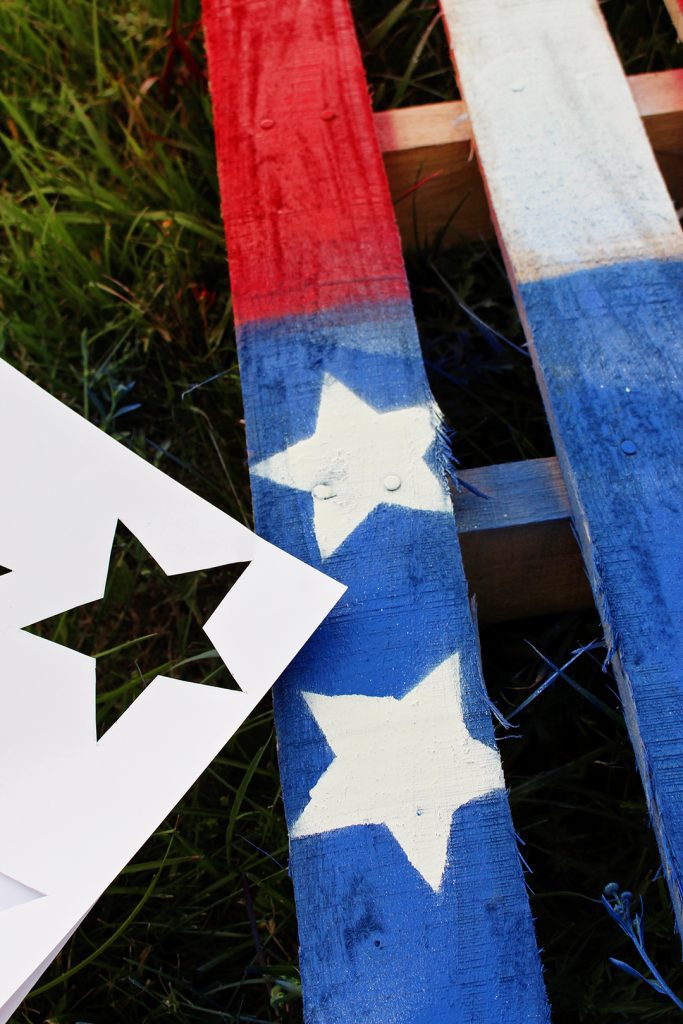
Tip: Use a dry star stencil for each star you paint for the best results. Especially if you use regular printing paper.
Let the stars dry.
Note: If you are wanting the painted pallet flag to last longer you can spray it with a clear protectant spray paint.
A tip from my dad...
Tip from my dad: After you are done with the spray paint, turn the cans upside down and spray for a couple seconds. This will clear the nozzle and allow you to use the spray paint again for another project.
Again, I wish I lived where more people could see my Fourth of July Painted Star Pallet Flag. I think it turned out nicely and is perfect for the 4thof July!
More July 4th Fun Projects
Don’t forget these other fun July 4thprojects found on WTNs! Bake an Old Glory Red White and Blue flag cake, make a Hands Down Best Hand Print flag t-shirt or create a Denim and Rag Strip flag for a decoration.
Supplies for the Fourth of July Painted Wooden Pallet Flag:
- One pallet- with board slats that are all spaced apart.
- Red Spray Paint
(this is Rust-Oleum spray paint and primer)
- White Spray Paint
(this is Rust-Oleum spray paint and primer)
- Blue Spray Paint
(this is Rust-Oleum spray paint and primer)
- Optional- Clear Protectant Spray Paint
(also Rust-Oleum)
- Free star template- print off here
- Cardstock paper on which to print star template
- Large pieces of cardboard or newspapers
Enjoy! And be safe!!
Welcome to Nana’s! Where there’s fun things to do with your “grand” kids!
Come join the fun at www.WelcomeToNanas.com


Amanda says
That looks good. Thank you for the added tip Dad, I didn’t know that . I’m looking forward in fixing mine up now .
Shelly says
🙂