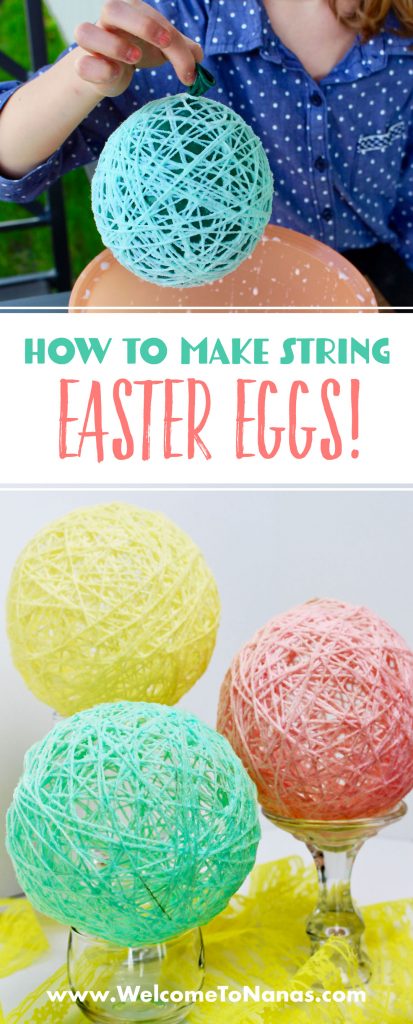
Easy to make Easter eggs- a bit of magic
Easy to Make String Easter Eggs is one of those throw-back crafts to my childhood. I remember blowing up balloons and winding string and being mesmerized by the lacy egg form that remained after popping the balloon. Somehow there was a bit of magic in it all.
Find a way to share the experience...
I can’t wait for you to share this with your grands or to show them how to do it over the computer. My grands and I are social distancing- which is SO hard! But we have done two crafts together by sharing the instructions (with their mother’s help) over Facebook Messenger. I will be trying Zoom next time. I’ll be sharing about this in a future post.
Lots of tips to make it a success!
I think back when I was a kid I made my Easy to Make String Easter Eggs with a sugar solution on the string to make it harden. But I’d like the grands to have something that will last awhile or be able to be packed away and used again next year without drawing bugs! Ha!
Please take note of the tips that I share with you after each step. It will prevent some challenges in the creation process! I promise you, I know they make a difference. I took one for the team in doing a few things that didn’t work. More about that later.
Cover the table- for sure!
Tear off a piece of waxed paper and put it down on the table under the container you will be using to hold the glue. You’ll be glad you did.
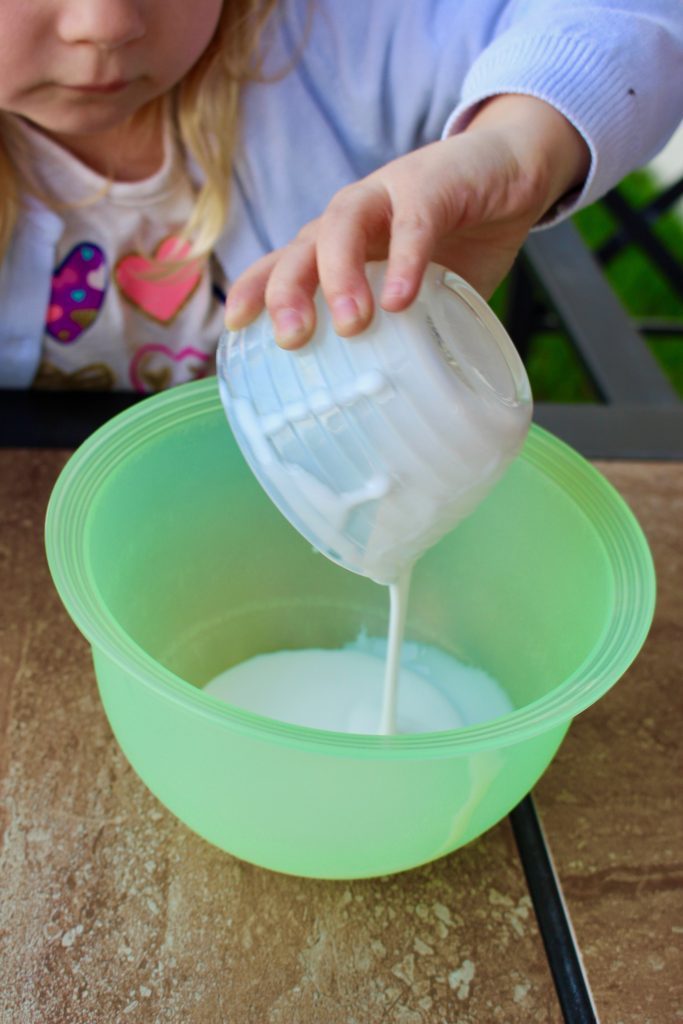
The glue and string go in the bowl-
Place about a cup of glue in the mixing bowl container. Unwind the string into the bowl right on top of the glue. Unwind about 20 yards of string into the bowl. When you cut the string, keep ahold of the cut end of the string so it doesn’t get lost in the bowl.
Tip: The KEY to this step is to place the string in circles that gently fall on top of one another. You don’t want the string to tangle.
Get the string covered with glue
Gently press the string down into the glue with a spoon so that all of the string is saturated with the glue. Do NOT stir the string into the glue or it will become one large knot.
Tip: With our first attempt at the eggs, I watered the glue down, 50% glue, 50% water which didn’t work. As a result, I recommend using only glue for the solution, but if you find it is just too thick, water it down to about 75% glue and 25% water.

Blow up the balloons
Blow the balloons up to be about the size of your fist and then tie them off. This was actually pretty hard for the grands. You may have to do this step for the littles.
Tip: Have the kids stretch the balloons out a bit before trying to blow them up.

How big should the Easter eggs be?
Little water balloons are the perfect size and shape for this craft. It is totally possible to make larger Easy to Make String Easter Eggs with larger balloons as well. The ones I made are larger. Just remember that younger grands can’t hold these larger balloons in their hands and will get frustrated more quickly or may not be able to help at all. I had to help the grands a lot with these larger eggs.
Tip: Use the inexpensive balloons from the store. Don’t use the “made for helium, latex balloons”. They are much heavier and didn’t pop and pull away from the string very easily.
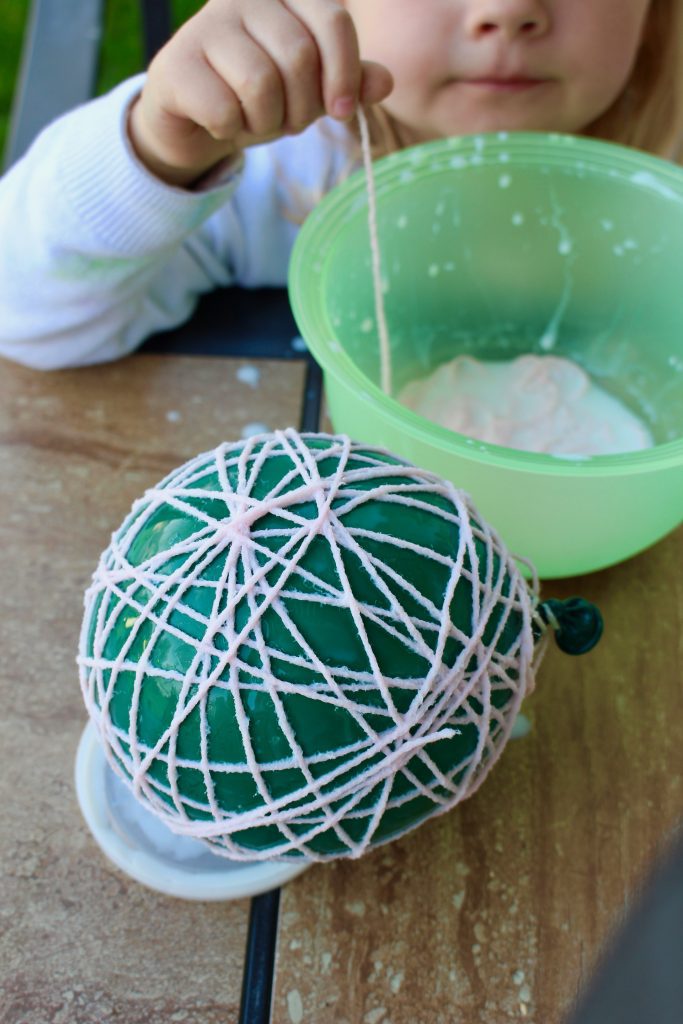
Winding the string
Start winding the string on the balloon by holding the balloon in one hand and then taking the cut end of the string and placing it on the balloon close to the tie off knob.
Begin to wind the string around and around the balloon. As you pull the string out of the bowl, run it between your finger and thumb to get the extra glue off the string. You may have to stop occasionally to let the glue run down the string into the bowl so do this step over the bowl!
Turn, turn, turn...
Keep turning the balloon in your hand so that the string goes around the balloon in every direction. Stop and look at the balloon, turning it this way and that to find areas of the balloon that are not covered by the string.
When you run out of string, look at the balloon and see if you are happy with the string coverage. If not, just place more string in the bowl and repeat this process.
Tip: The Easy to Make String Easter Eggs become much stronger if you cover them well with string. Take a look at one of the end pictures in this post for an example. It doesn’t have to be covered solid, but if the coverage is too light it is much more likely to collapse.
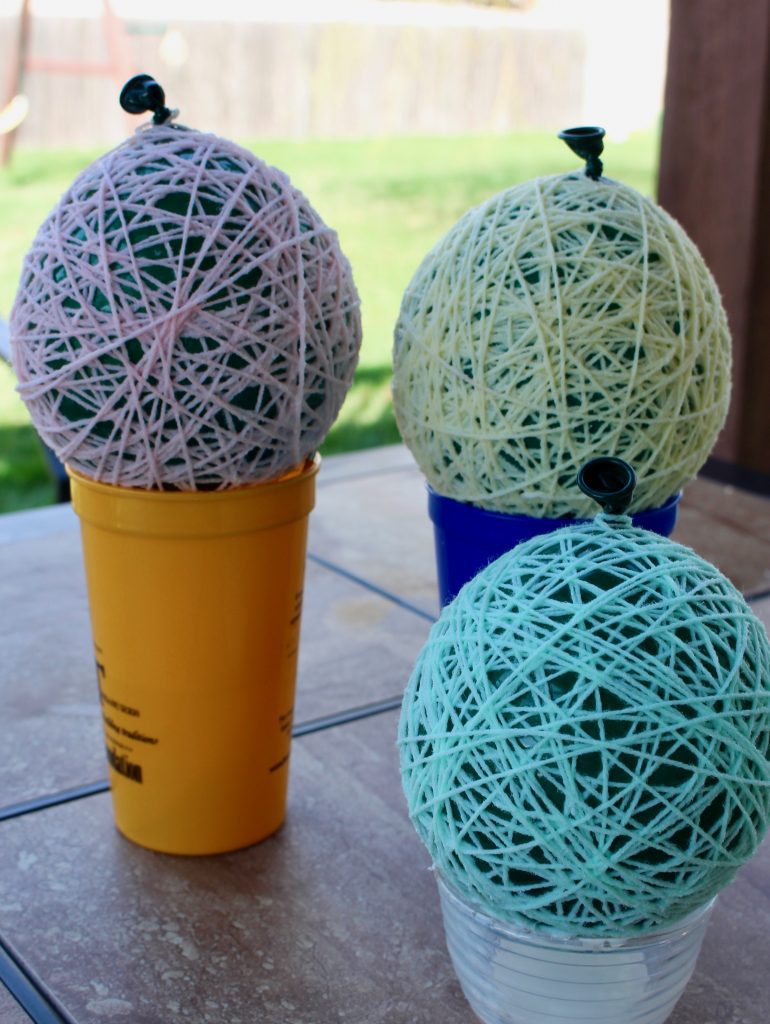
Let the Easy to Make Easter eggs dry well
When done, lay the egg on the waxed paper and allow to dry for a couple days.
Tip: The string must be dried hard before continuing on to the next step. I know this for sure, take my word for it, if not dry, the eggs collapse. It is quite disheartening! J
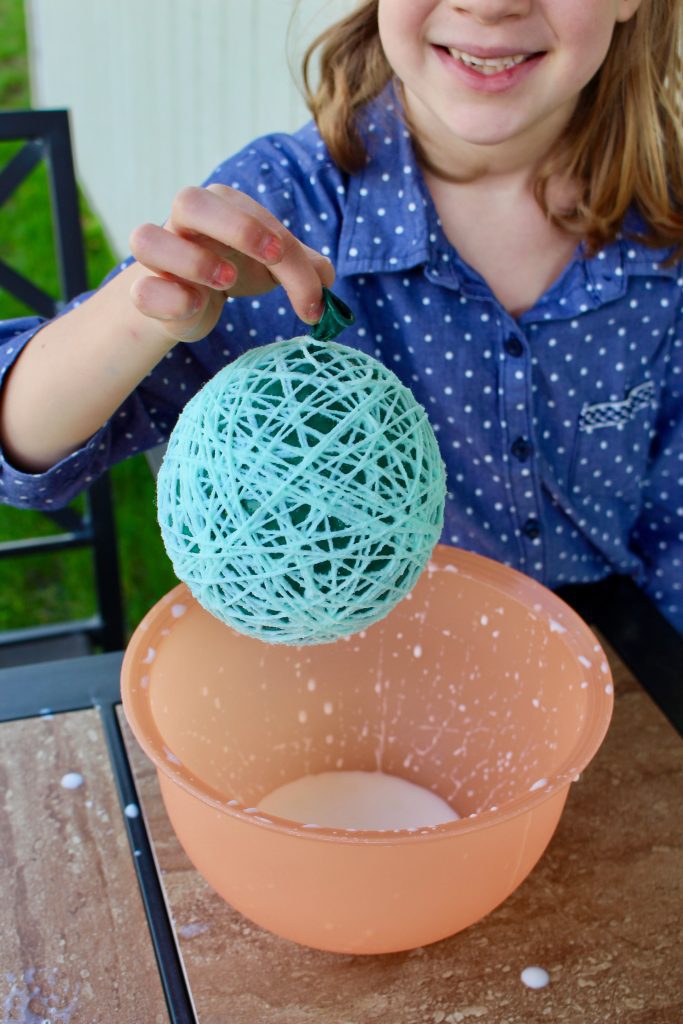
Pop the balloon!
When the string is completely dry, pop the balloon! This was the step that the grands were the most excited about. The littles wanted me to do it and covered their ears while they watched!
Tip: You may need to cut off the tie end of the balloon to get it off the egg. A pair of tweezers works well to pull the other balloon parts out of the inside of the Easy to Make String Easter Eggs.
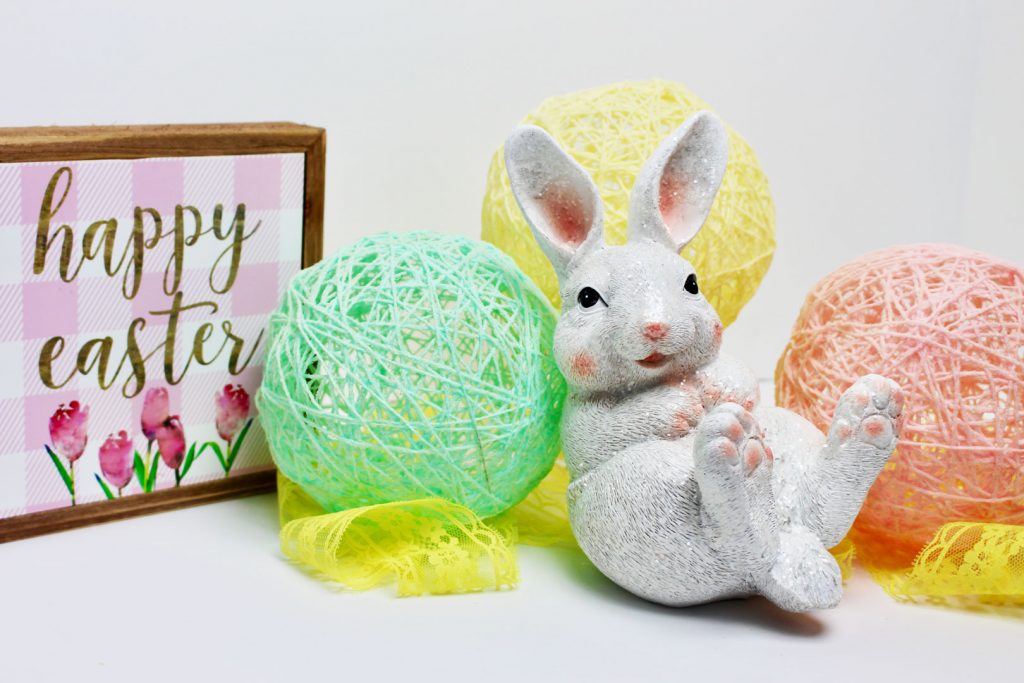
Decorate as desired
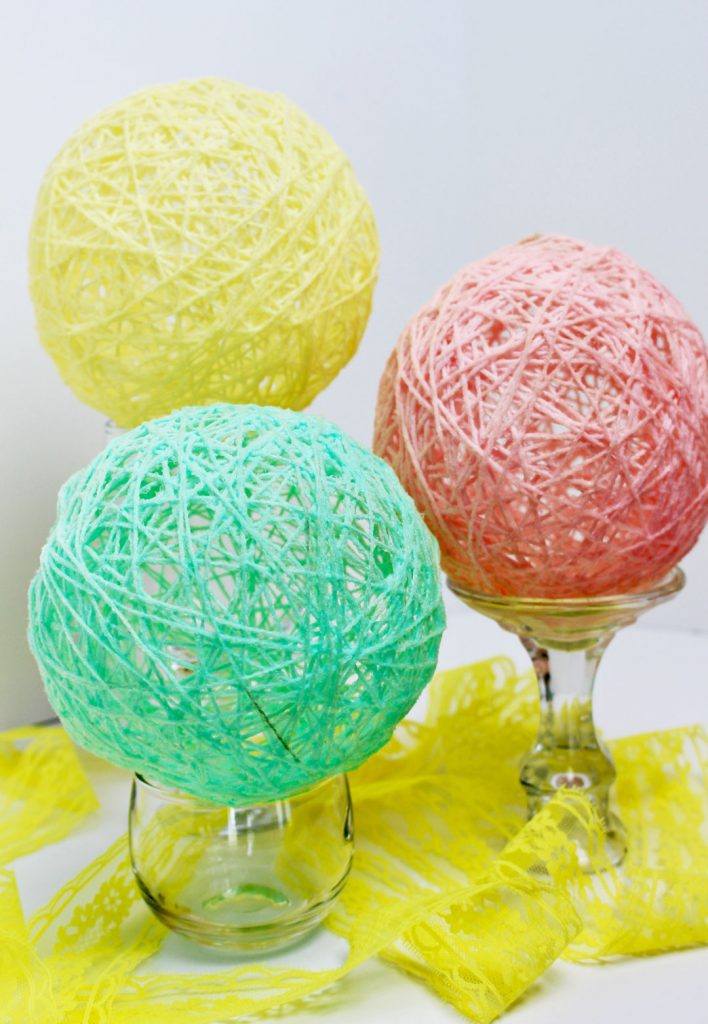
You can hot glue ribbon on for decoration. It is also cute to cut a hole in the front of the egg, glue trim around the opening and then place Easter grass and candy or small toys inside. There are so many ways to make your eggs unique!
Our eggs turned out much more round than I expected (because of the type of balloons I used). But I still think they look so cute displayed with the little Easter bunny I picked up last year.
Please send me a picture of your Easter display using the eggs you make!
A moment of "realness"
Now, a moment of “realness”. It’s easy to see some pretty pictures and think that all things go well and easy for others. Um, not so much.
So, I think that I did absolutely everything wrong with these eggs that I could do wrong. And you know, with the coronavirus lockdown that we are in, a person can’t just run out and get more supplies. SO, I will save you a boatload of issues by having done the troubleshooting to make this craft truly “EASY to Make String Easter Eggs”!!
My glue was too runny, the balloons were too heavy and stuck to the string in a weird way, I used yarn and it wouldn’t harden up very well, and I didn’t let them dry long enough.
Here is the result of our first try! You should have seen the grand’s faces as the eggs crumpled up when we popped that balloons! We laughed and laughed.

Try, try again!
The second time worked much better, but the yarn was my only option for string and it still isn’t my first choice for the string.
Please take note of my “Tips” after each section to avoid the many snafus that I ran into. I still LOVE this craft, but didn’t anticipate the snags that popped up!
So many other ways to use Easy to Make Easter eggs- how about for party decor?
I’ve been pondering the many other ways that Easy to Make String Easter Eggs could be used.
This craft would make awesome decorations at a wedding or party of any sort. They could be made any color or size, can be set on a table or hung from the ceiling and are very inexpensive.
Let your mind run on that and send me pictures of other ways you use them for decorating.
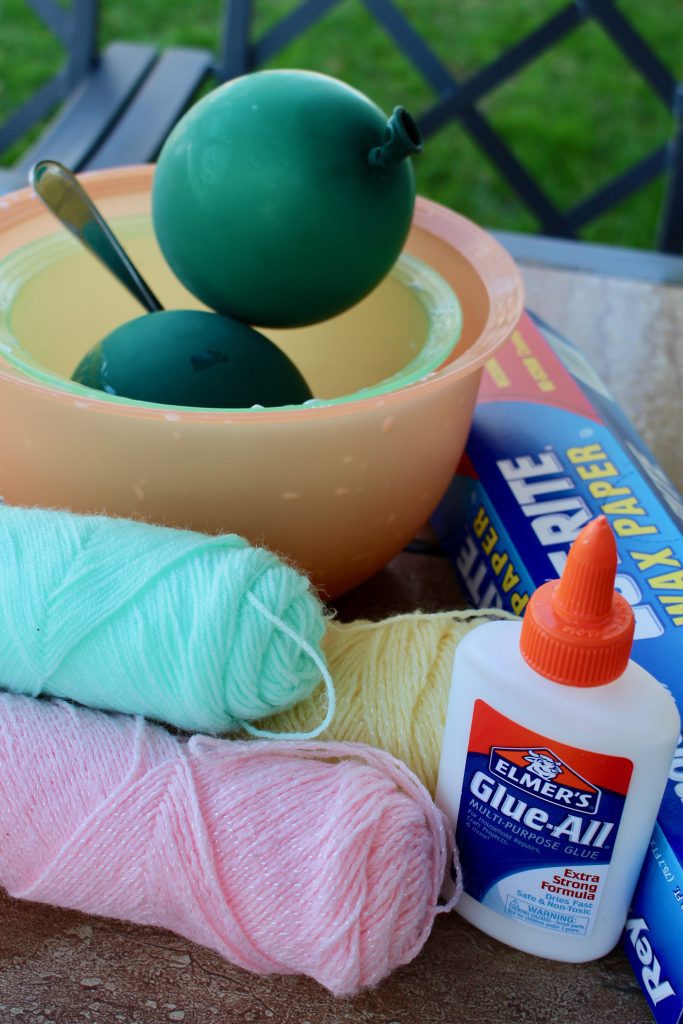
Supplies:
- String- crochet string works well (yarn was not easy to work, fyi)
- Balloons- water balloons work great for small eggs
- (do not use helium quality, heavier weight balloons)
- White glue- (it is worth it to get a brand name glue)
- Container- like a mixing bowl
- Waxed paper
Other Fun Easter craft ideas at WTN
For more fun Easter craft ideas check out these ideas. How about some fun decorated Easter eggs using crayons and egg dye. Find the instructions here. Or a cute Easter bunny made from a washcloth and a ribbon that will fit in an Easter basket and then later be used to soothe a boo-boo, a Boo-boo Bunny! You can see this cute idea by clicking here.
Happy Easter!
In this time of challenge, this holiday is a message of hope. Blessings on you and your families. If you need a word of encouragement, please email me.
Enjoy!
Welcome to Nana’s! Where there’s fun things to do with your “grand” kids!
Come join the fun at www.WelcomeToNanas.com


Leave a Reply