DIY Boutonniere For Dad
Dad needs a boutonniere for Father’s Day just like mom needed a corsage for Mother’s Day, right? Help the grands to have a great gift lined up for Dad to make him feel special. Papa may enjoy one too!
It's a Snap!
If you already made a corsage then making a boutonniere is a snap. You have all the techniques down and it will only take minutes. If you haven’t made the corsage yet, this is a great starter project to try as a warm up!
Let’s walk through the steps on how to make a boutonniere.
Choosing the Flowers
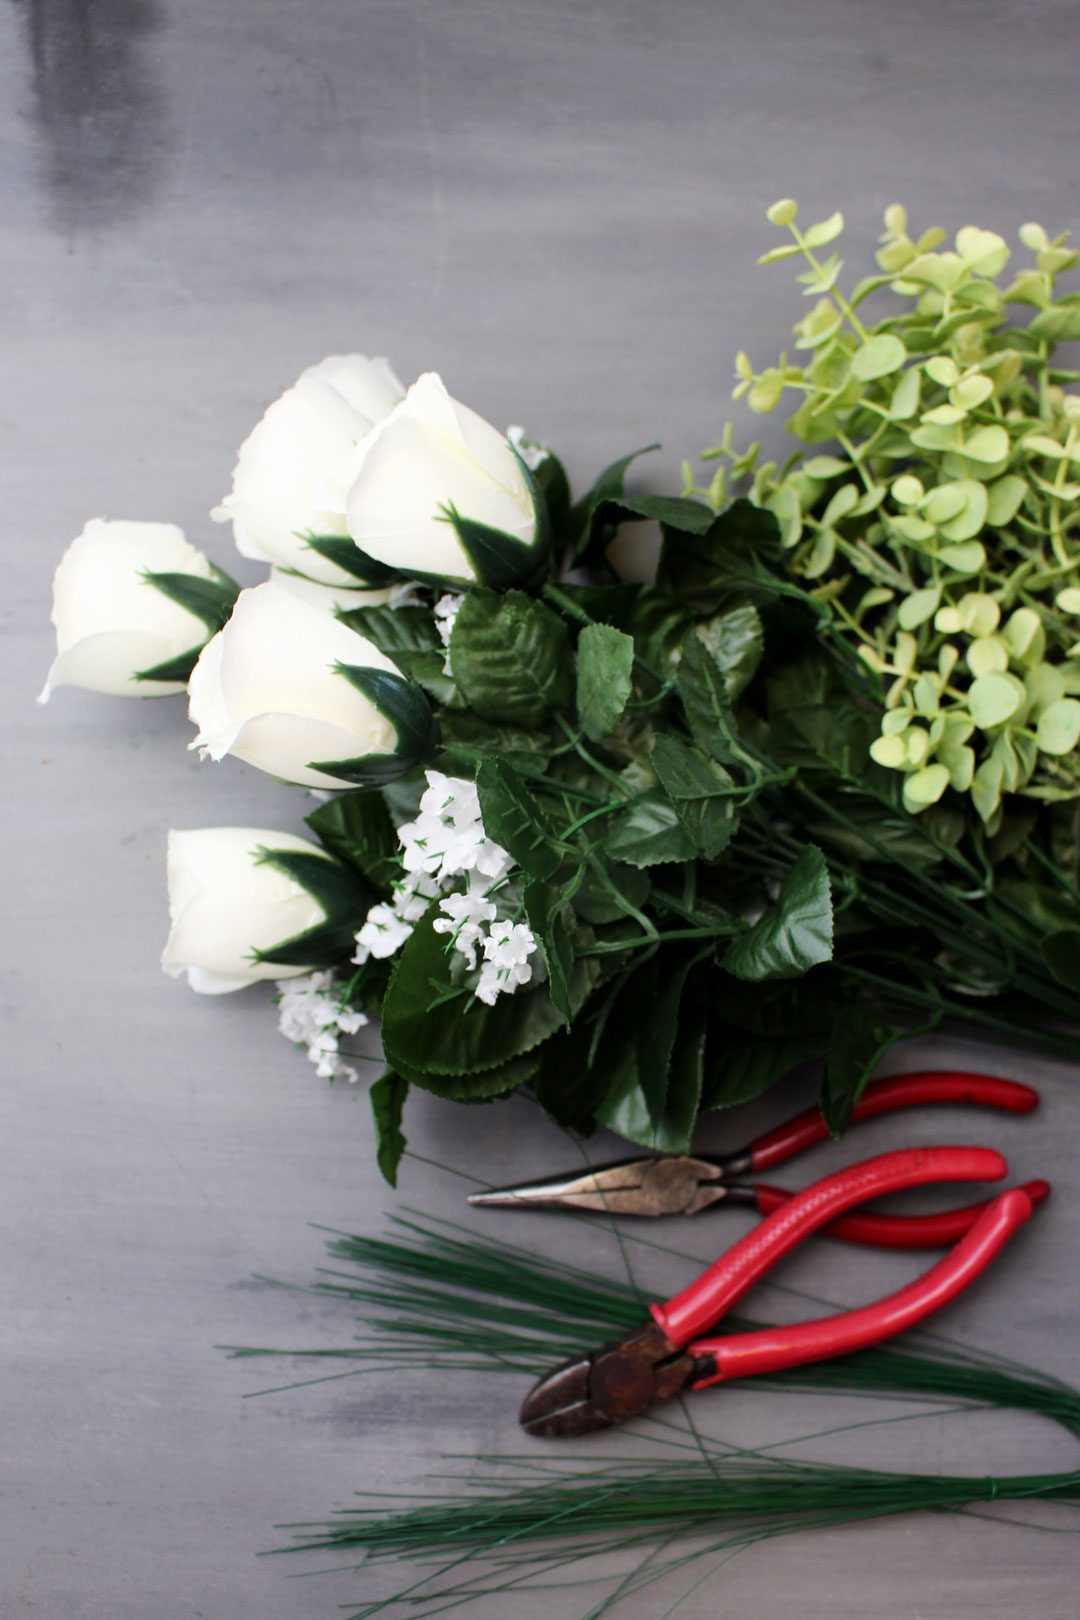
The last boutonnieres that I made were for a wedding so we bought flower and greenery “bushes” to have a number of flowers to work with for less money. That is what you will see in the picture.
A single stem flower at the store is the main thing you need for the base of this project when making one boutonniere. The craft stores often have these supplies on sale for ½ price so watch the ads!
Tip: Look for flowers that have silk greenery where they connect to the stem and not hard plastic. The plastic is much more difficult to work with than the silk fabric.
Extra Greenery
You may choose to add a second type of greenery, flowers or decorative objects other than the leaves found on the flower stem if you like. It is not required, just personal preference. For this example, I’ve used a white rose and one other type of greenery to match the Mother’s Day corsage we made earlier.
Tip: For one boutonniere, you can snip a small piece of greenery out of another silk flower arrangement that you own. I won’t tell!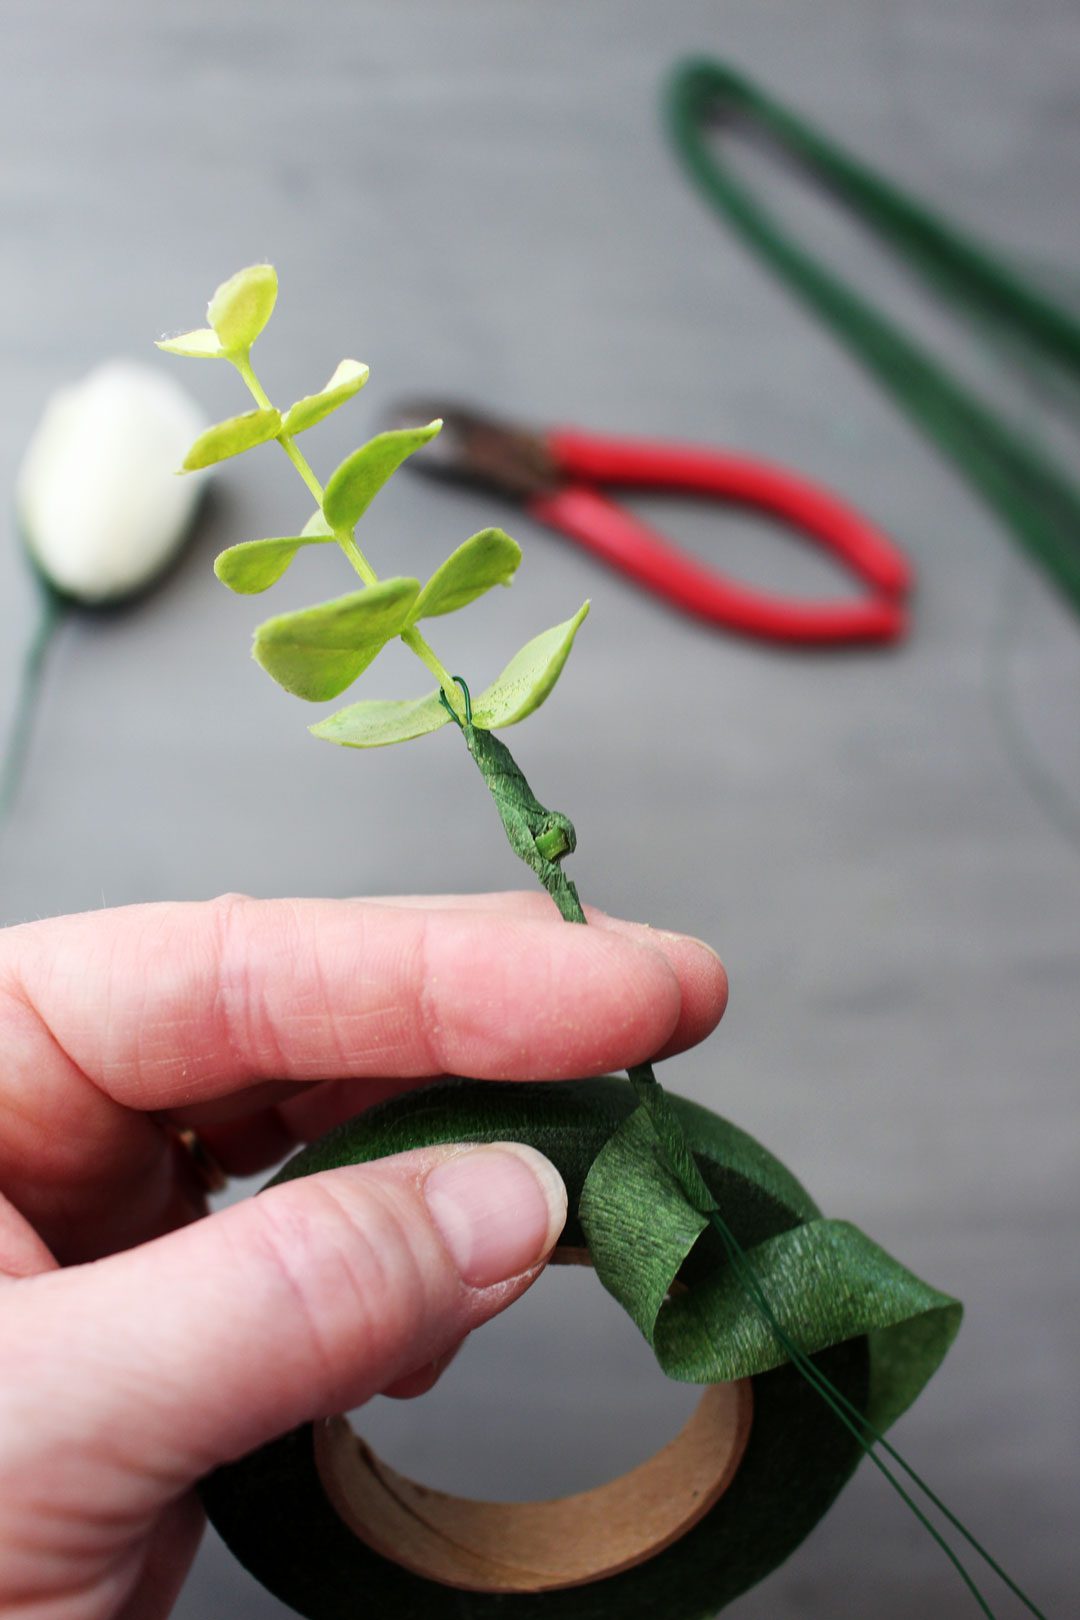
Preparing the Stems
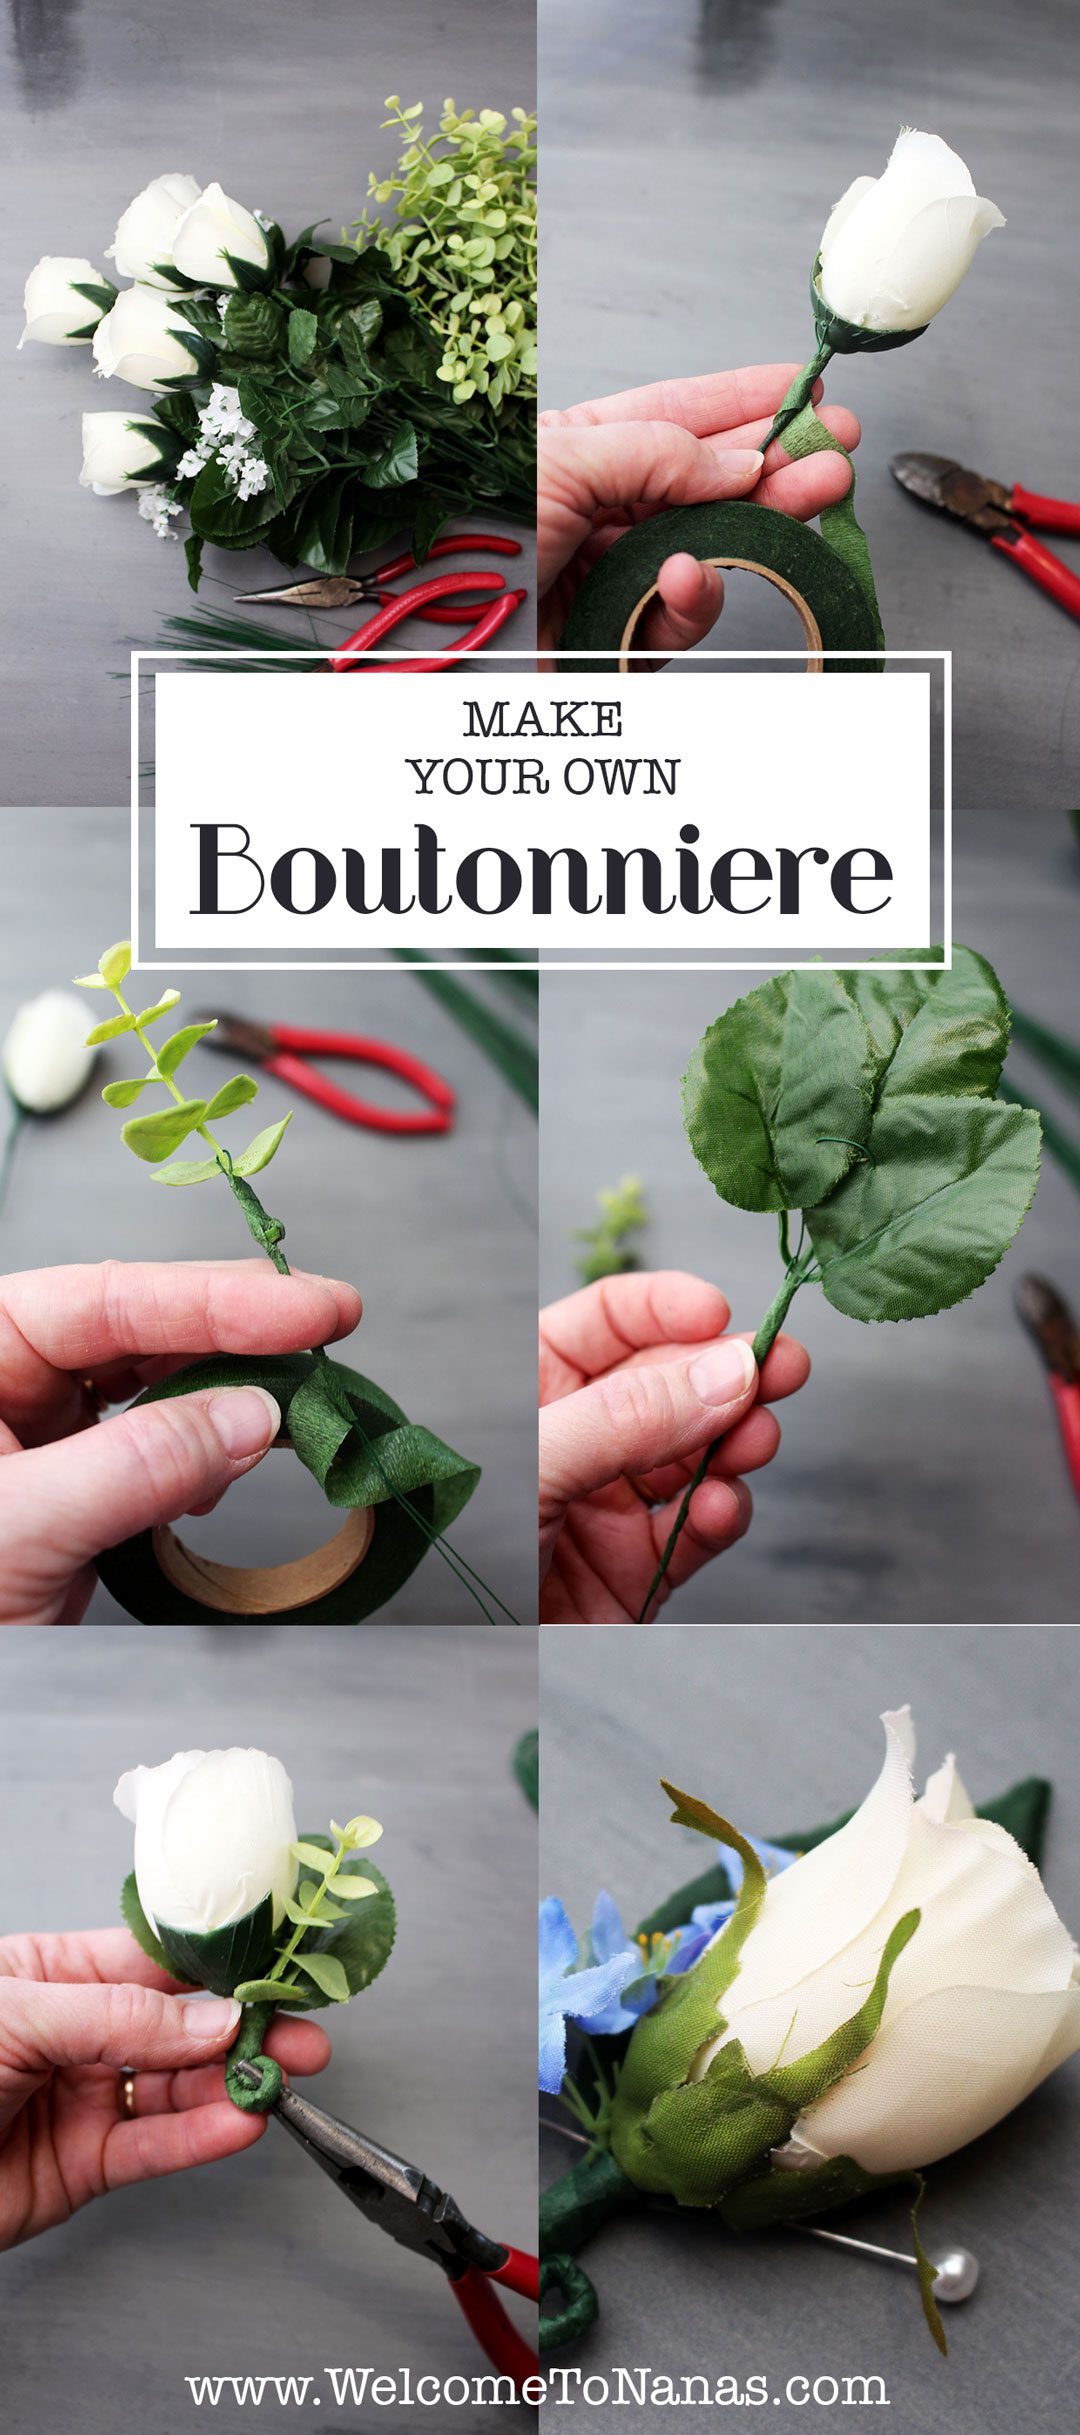
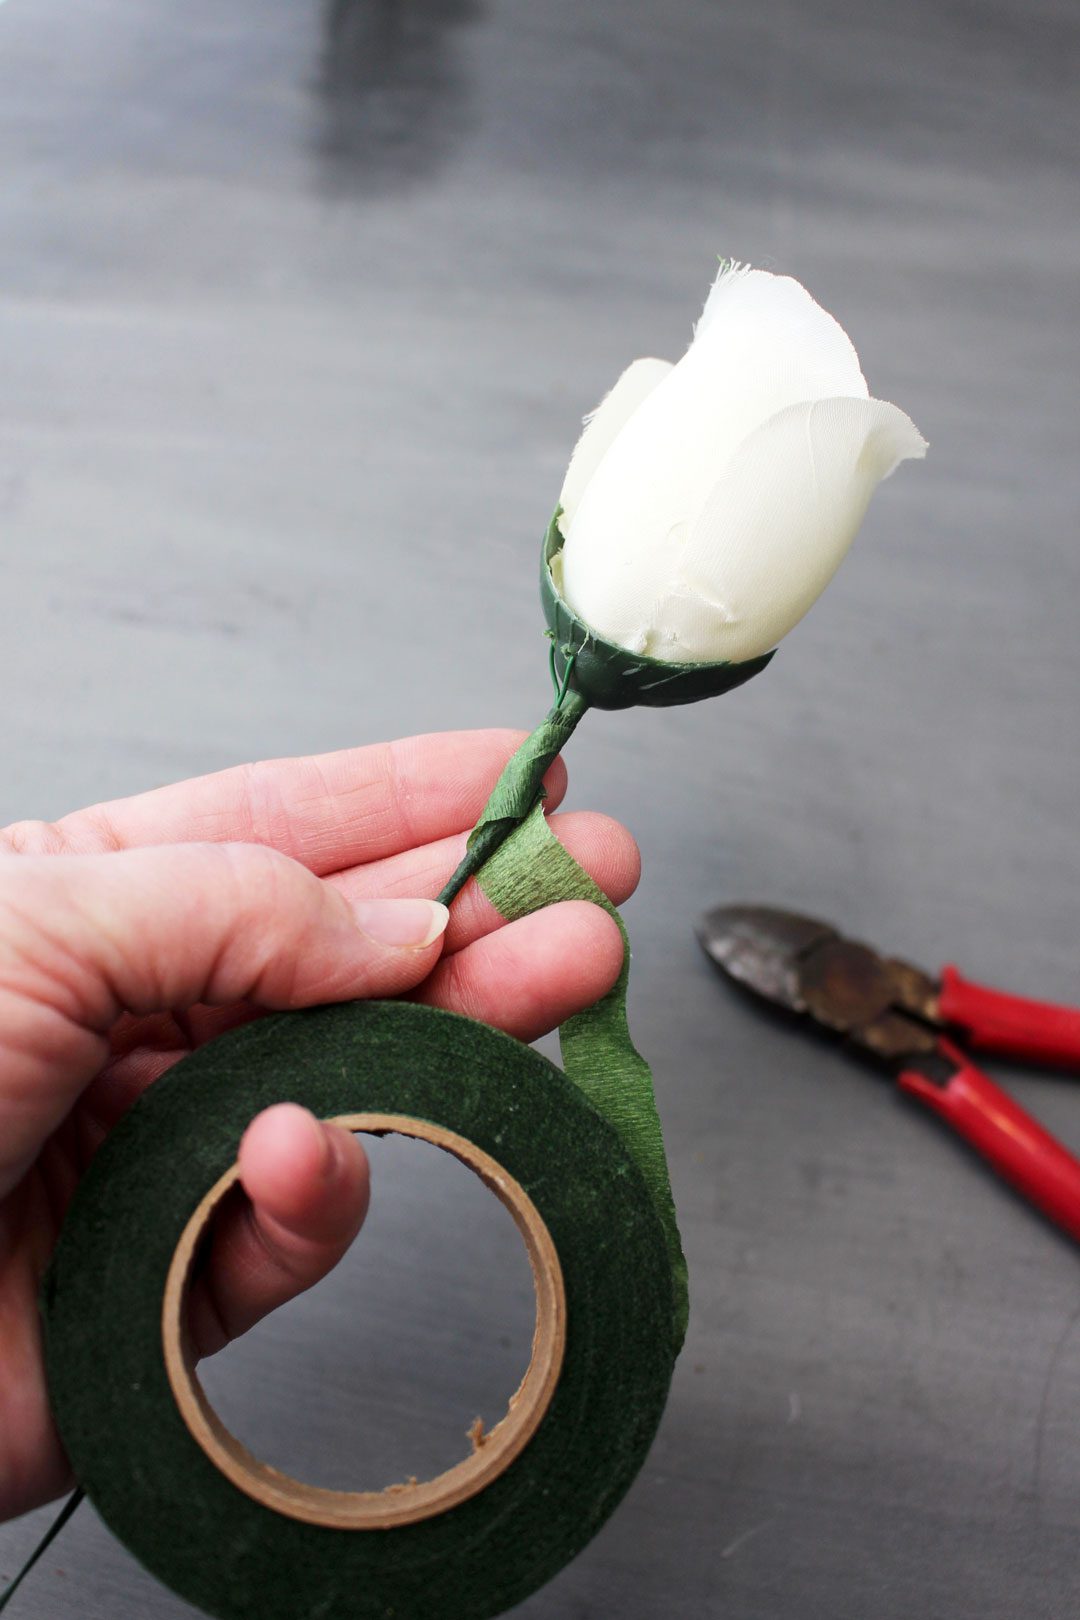
Remove the leaves off the rose stem. Fold a piece of the wire and hook it through the base of the rose. Wrap the wire and stem tightly with floral tape, kind of winding it around and around as you go down. Tear off the floral tape at the end. It is kind of sticky so it sticks together as you wind it.
Choose one 2 or 3 leaf grouping that you removed from the rose stem. Fold a piece of the wire and hook it through the leaves, causing them to overlap slightly. Wrap the plastic end of the leaf group and the wire with the floral tape. These will be placed behind the rose when we arrange the various pieces.
Repeat this with the piece of greenery (and each additional flower and decorative item if you chose that option).
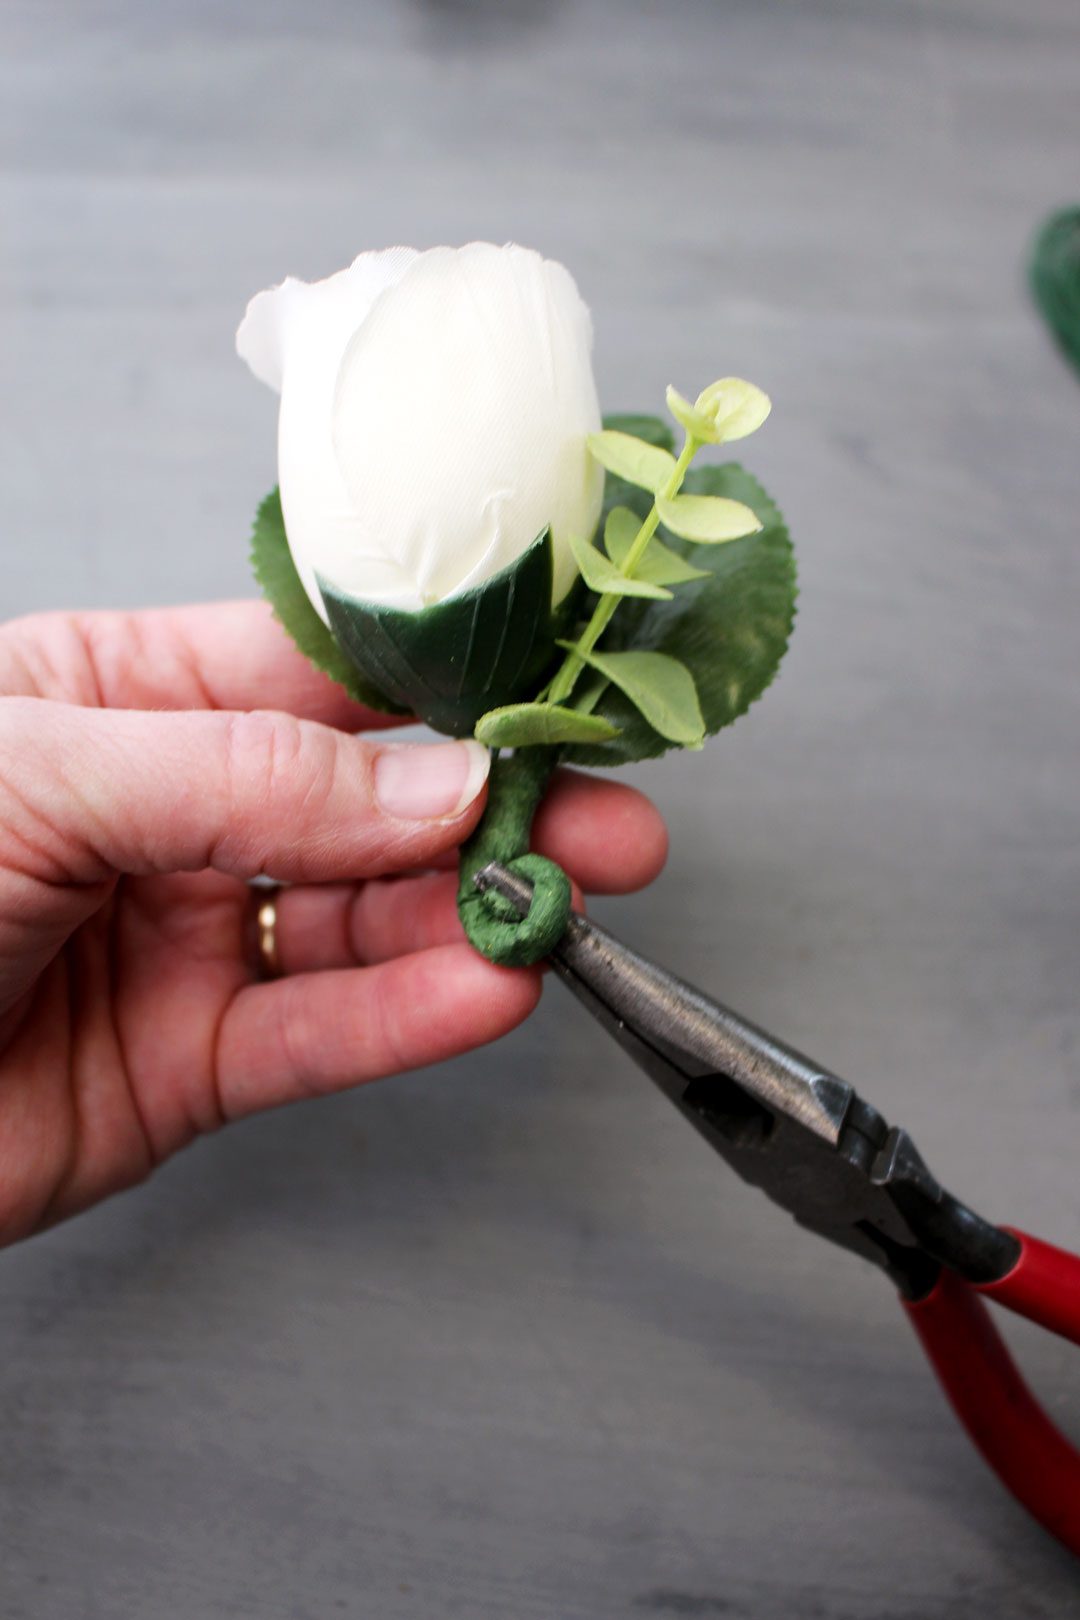
Arrange the rose and greenery in your hand until you like how it looks. The leaf grouping is placed behind the rose as a backdrop for the flower. The other greenery tucks on the side of the rose.
Keeping the stems in the same position to one another, wrap tape tightly around all of the stems to hold them together.
Finishing Touches
Clip off the end of the wires about 1 ½ inch away from the rose to make kind of a stump at the end of the boutonniere. Using a needle nosed pliers, grasp the end of the stump and curl it up tightly towards the boutonniere as a finishing touch.
Tip: You can cut the end of the boutonniere shorter and wrap the end with floral tape and not curl the end if preferred. I have also wrapped the stump with twine and hot glued the ends in place to give another look.
Boutonniere Variety!
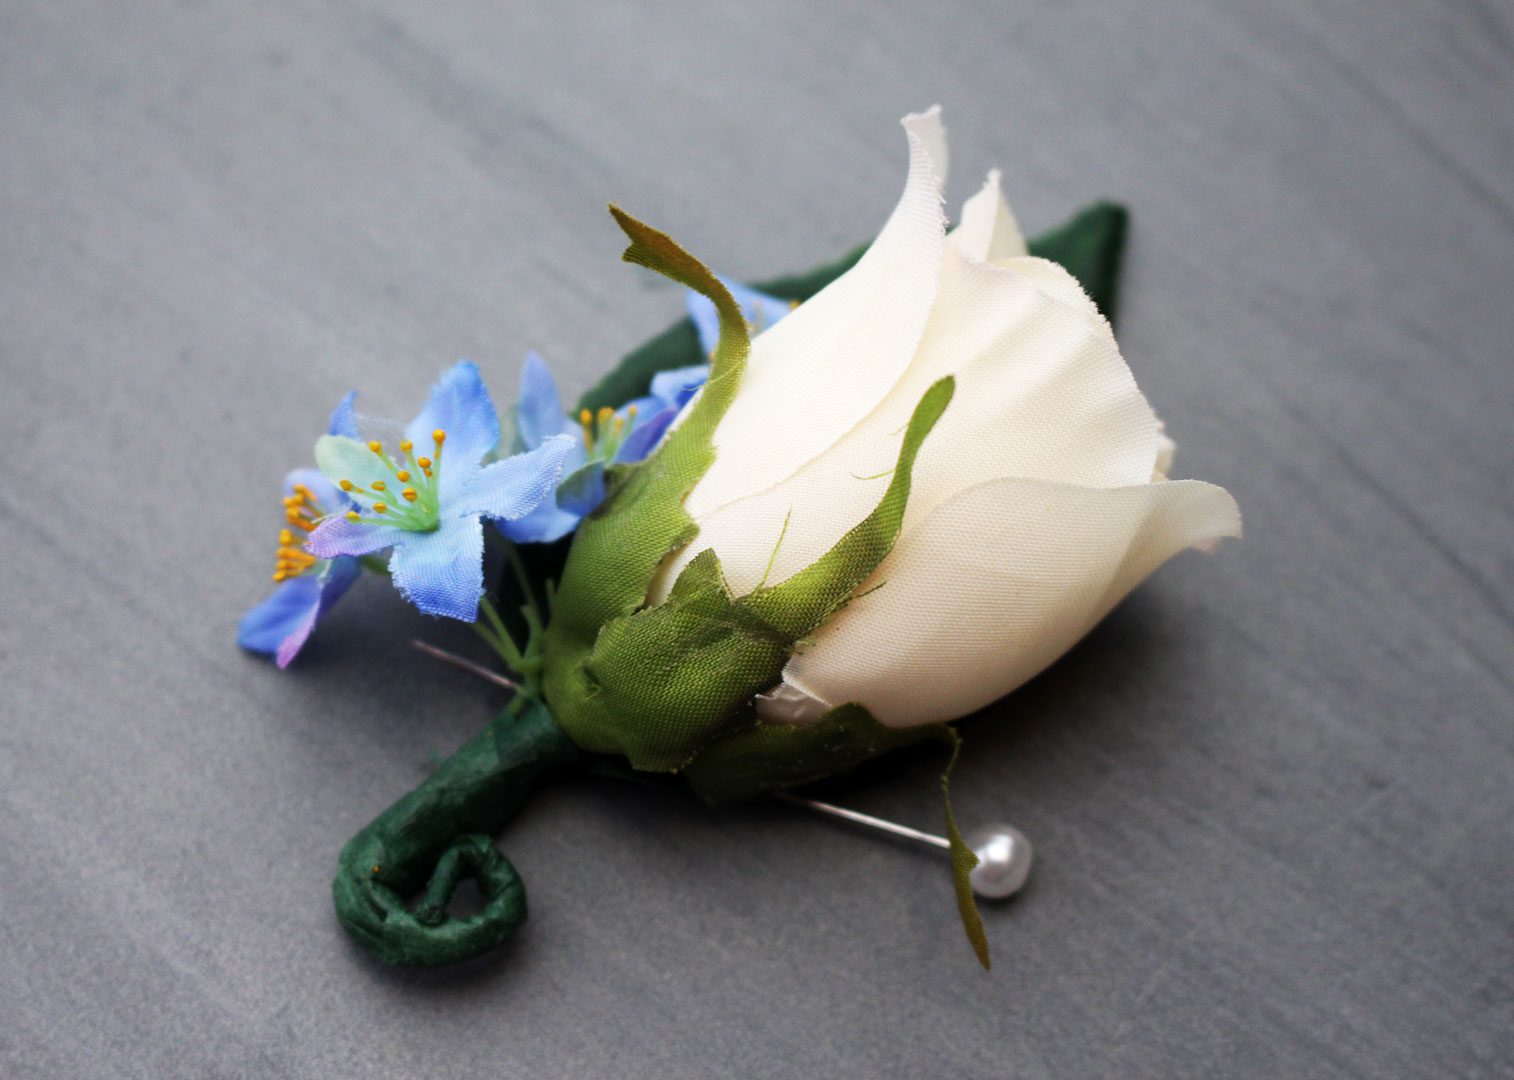
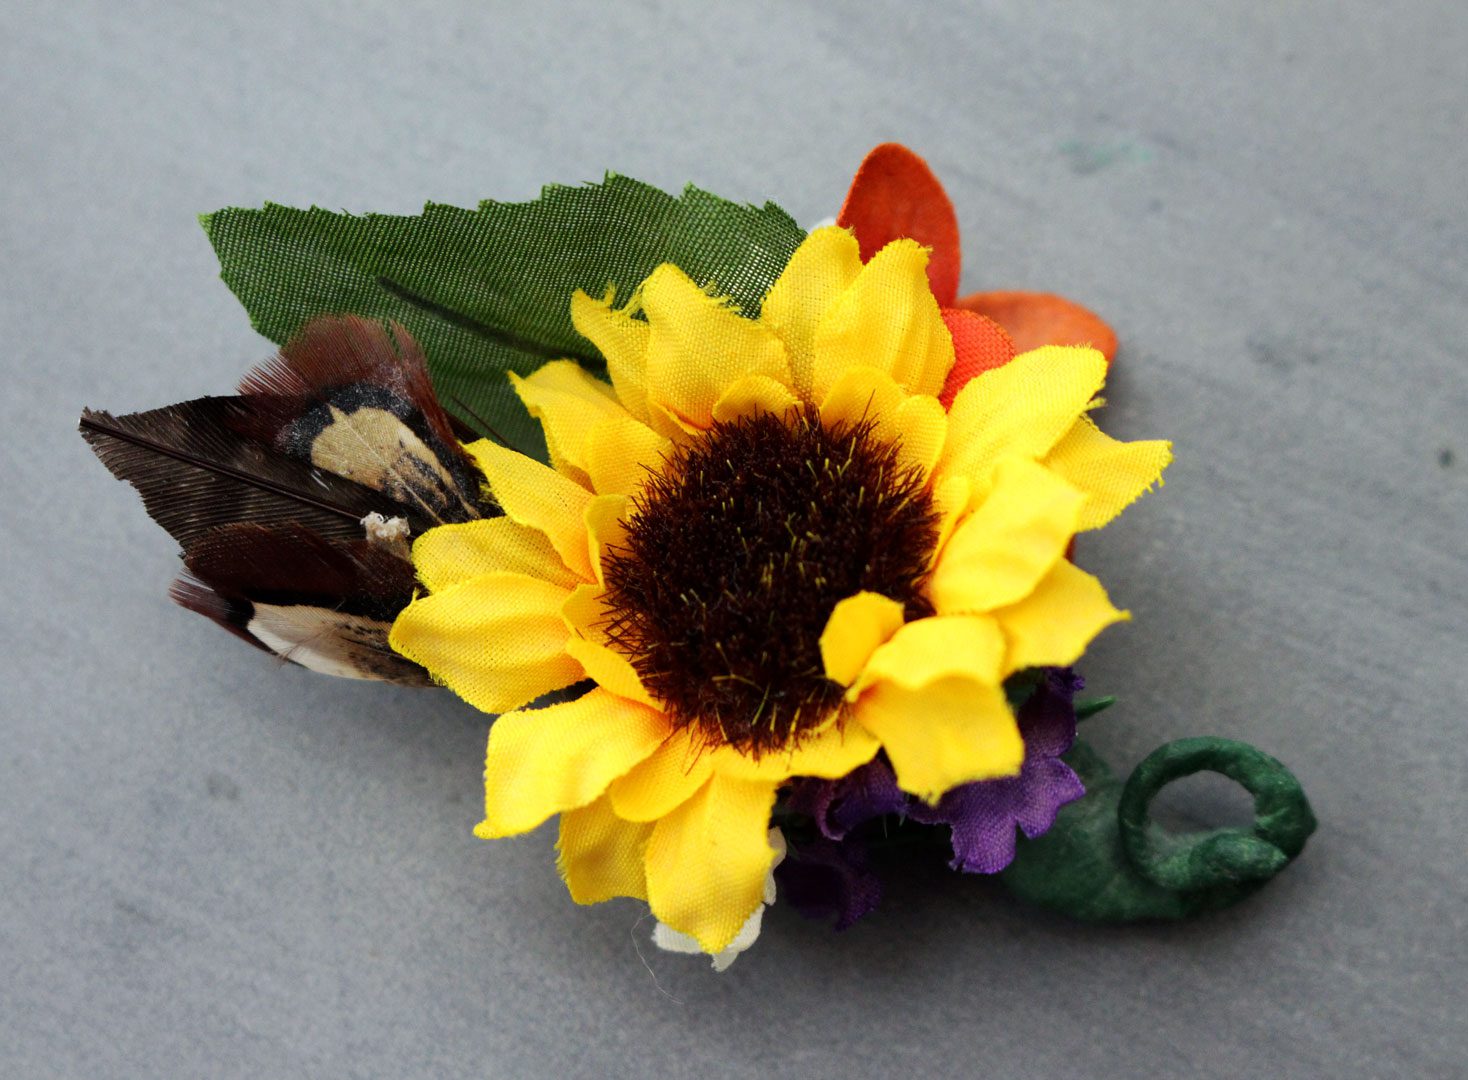
You can use all sorts of flowers and items of interest to craft your boutonnieres! See how it changes the look? Isn’t that fun? You can make them fit the occasion and person with a few fun changes!
Find instructions for the DIY corsage here and the DIY flower crown here!
Enjoy!
Welcome to Nana’s! Where there’s fun things to do with your “grand” kids!
Come join the fun at www.WelcomeToNanas.com
Supplies
- Silk Flower (a rose is traditional but may be another 1 ½-2” flower of choice)
- Optional: Greenery (1 type other than what is on the flower. May “sneak” this out of a silk floral bouquet you already own)
- Optional: Extra item of interest to put in boutonniere (i.e. small colored flowers, feather, decorative stems)
- Floral Wire (24 gauge)
- Floral Tape- green (or match to type of material)
- Wire Cutters-
- Needle Nosed Pliers-
- Corsage Pins-



Leave a Reply