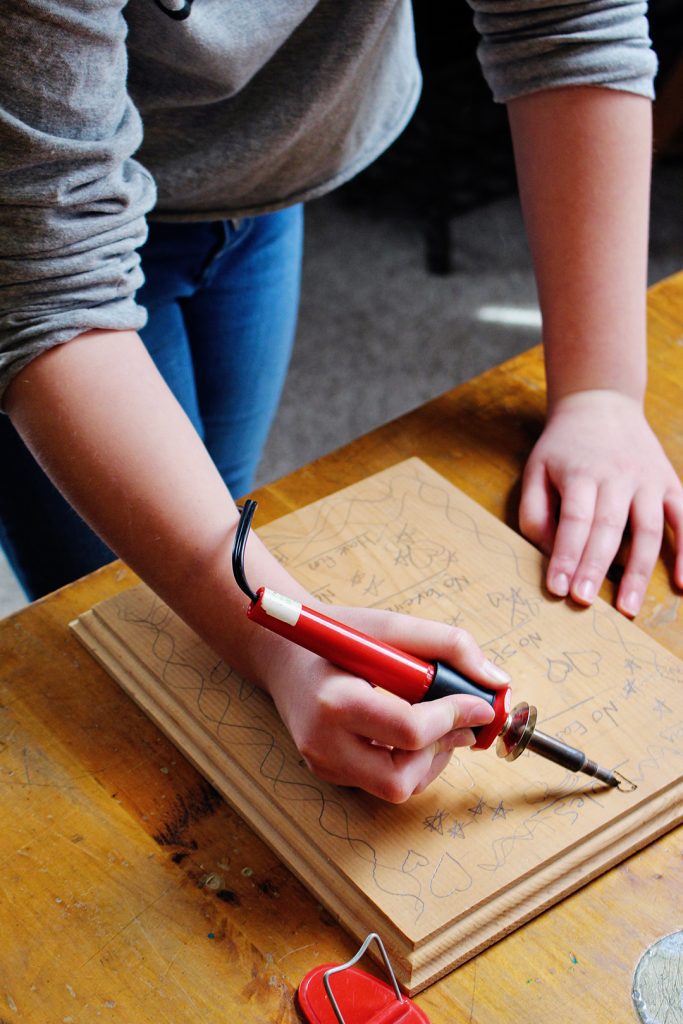
Did you know that wood burning is also called pyrographics? Doesn’t that sound fancy? It means writing with fire or heat. Beginning wood burning is fun and really intrigued the grands.
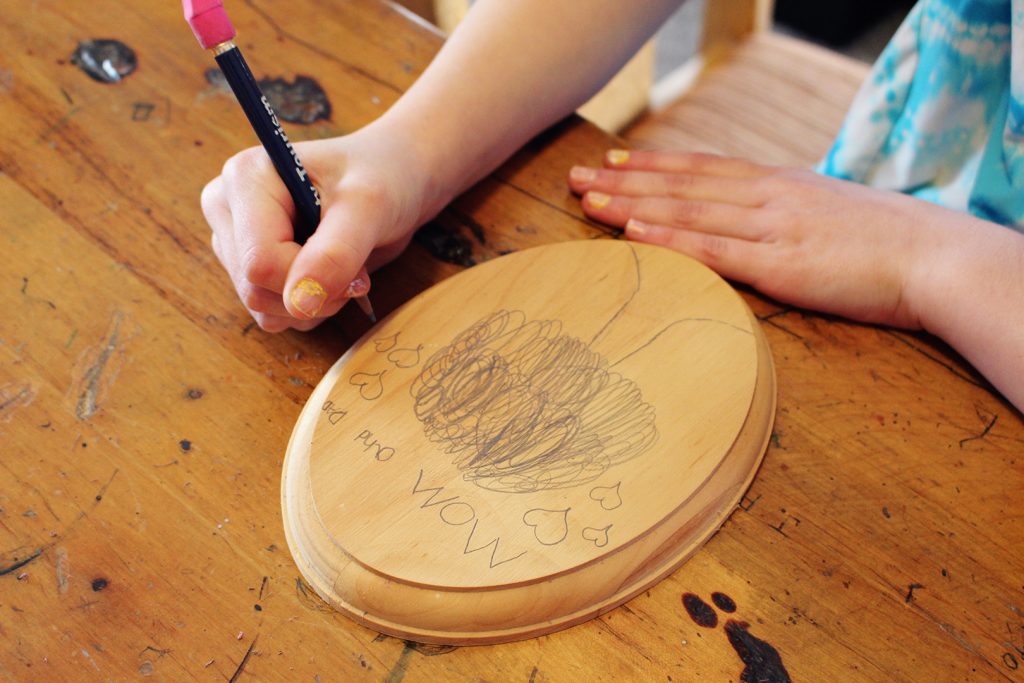
Woodburning is cool…no hot!
Wood burning is so cool! No, actually wood burning is hot!
Bad intro, I know, but a perfect lead in to mentioning that beginning wood burning is not a project for the very little grands. A wood burning tool gets very hot, so use your discretion on which of your budding artists is ready.
Beginning wood burning supplies
There are very few supplies needed for beginning wood burning. Basically the Wood Burning Tool and wood to decorate is all you need. If you would like to draw your design first you would need a pencil of course.
I’ve had this Wood Burning Tool for many, many years. It heats up quickly but only has one temperature option and no interchangeable tips. If this is a one-time experience it doesn’t make sense to purchase a high dollar tool, but if you think that you may use it more in the future, then you may want to consider a tool with more options (which costs more of course).
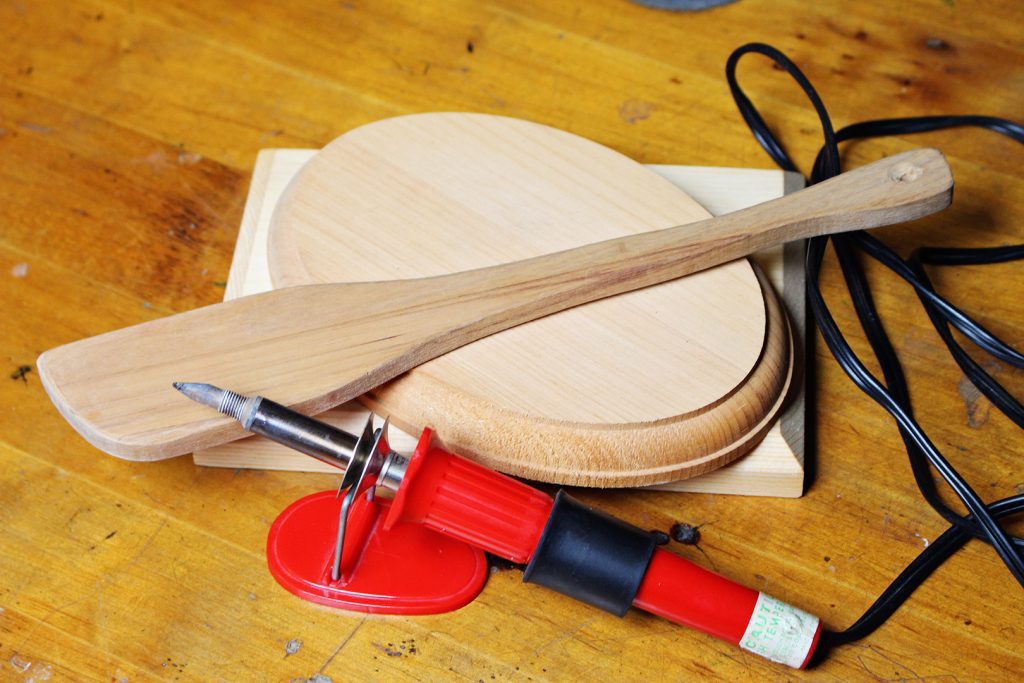
Note: Some Woodburning Tool (75 piece kit) can also solder. That would be a handy option to have for other craft projects. Those that move beyond beginning wood burning will want the option of a tool that can heat to a higher temperature and can regulate the temperature easily. That means there will be a temperature guage box with knobs or a regulating knob right on the device/cord. A variety of tips are also a great asset in creating variety in designs. I’m planning to purchase a higher quality tool with the soldering option myself to use for more advanced projects and for repairing jewelry.
Wood pieces to decorate
Craft stores have an aisle of wood pieces and objects made out of wood. There are cross cut wood pieces, signs, shapes, boxes, letters and shapes of all sizes to choose from. It would be fun to take the grands and let them choose their project, but I just had a variety of small items for them to choose from and they were happy.
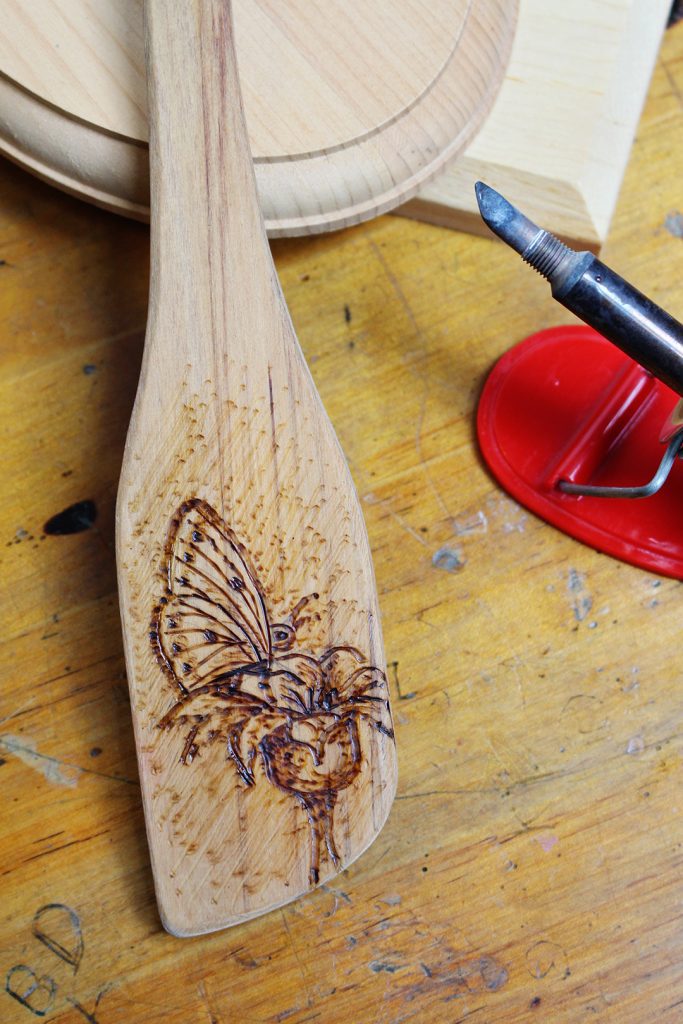
I wanted to try wood burning on Wooden Spoons myself. Plain wooden spoons were more difficult to find in the stores then I had anticipated. The wooden spoons I found already had designs of some type on the handles. They are easy to find online though. Wouldn’t they be cute gifts for a bridal shower, for mother’s day or for Nana???
Drawing a wood burning design
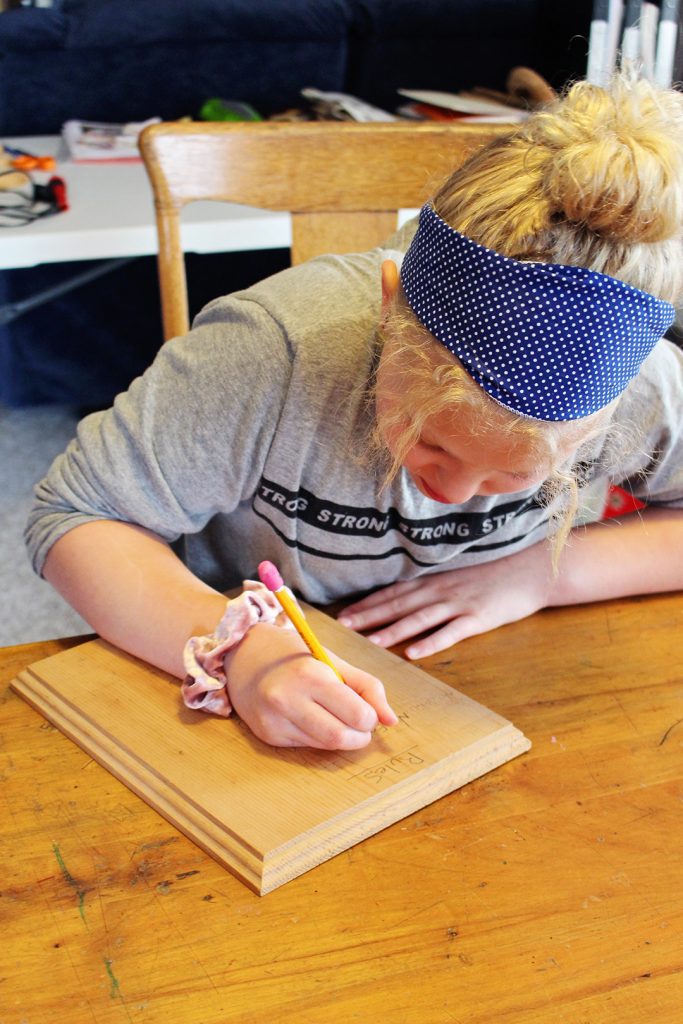
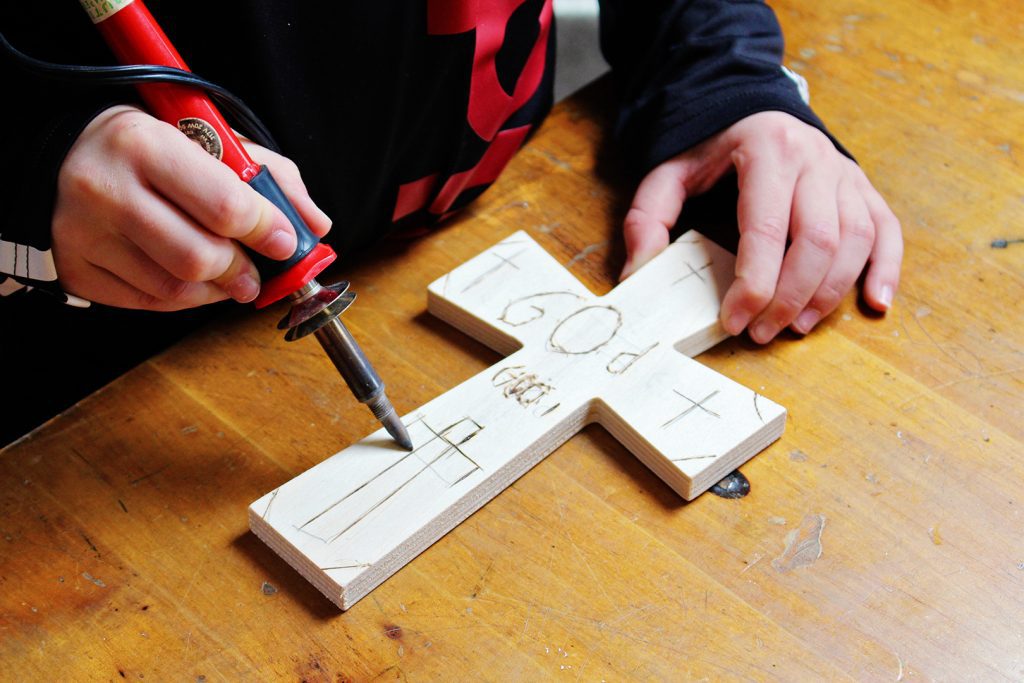
The kids wanted to draw their designs on the wood before burning the design in. I made a boo-boo here by not providing some white paper for them to do some doodling first. If you draw directly onto the wood it is difficult to erase and redraw without leaving indentions in the wood. It didn't bother them too much though.
If we do this again (and I plan on it) we may try tracing around our wooden item and making our own patterns on paper. Then after experimenting with designs, we could place the pattern on top of our wooden piece and trace over the drawing, leaving light indentions into the wood for a wood burning guide. That would even work for designs copied off of photos and such.
Safety in beginning wood burning
Beginning wood burning is a craft that takes some safety instruction. Before starting I explained how the Wood Burning Tool worked and how hot it would become. We let it heat up as the kids got their designs on their boards. I let the kids practice a bit to get the feel of how long to leave the tip on the wood to get darker or lighter marks. Since the woodburning tool only had one tip, they also experimented with the various surfaces and angles of the tip. They made straight lines, dots, wider continuous lines as well as darker areas by moving the tool to various angles and leaving it on the wood for various lengths of time.
The tool comes with a little stand and the grands also learned how to set it on the stand if they needed a break. We didn’t have any trouble with it tipping over onto the table, but next time I’ll have a large ceramic tile or a trivet to set on the table under the tool, just in case.
I stood by them the whole time, especially as they were beginning wood burning, in case they forgot the safety instructions. The grands did a wonderful job and were very, very careful.
They took turns with the Wood Burning Tool to give their hands a rest from the process. This worked really well since I only had one tool and three grands!
Patience...
Beginning wood burning takes patience. It is wise to start with a small wooden piece and then get larger if they are really interested.
If I do this again I think that Wooden Spoons or a Christmas tree ornament would be a great option for them to complete more quickly and gain skills. We would also do some coloring of the design with colored pencils or water based paints after we were done. I will also mention that it is good to have some ventilation as the tool will put off a bit of smoke as it burns into the wood. We didn’t have any trouble, but it would be nice.
Repurpose old items with wood burning
There was an artist in our town that used a Wood Burning Tool to decorate repurposed items in his home. He did wood burning on wooden boxes, dressers, fronts of drawers and wooden trays for example. My kids were intrigued and inspired years ago when we toured his studio. That’s when I purchased my old wood burning tool and we first had a go at it.
Let's do this again!
The grands and I will keep this craft in mind when we need gifts for specific events in the future!
Beginning wood burning is definitely something we will try again, especially if I get a better wood burning tool. There are so many options, so much potential.
Be sure to attach pictures of what you make!
Enjoy!
Welcome to Nana’s! Where there’s fun things to do with your “grand” kids!
Come join the fun at www.WelcomeToNanas.com
Supplies for Beginning Wood Burning
- Wood Burning Tool
-
- OR Woodburning Tool (75 piece kit)
- Wooden item(s) to wood burn
- Wooden Spoons
- Pencil
- Paper


Leave a Reply